How to Fix Windows 10 Running Slow after Upgrading to Version 21H1?
Your system might be extremely slow after installing the 21H1 update if a system device (like an external storage device) is conflicting with the update. Moreover, an outdated device driver (like a DVD ROM driver) may also cause the issue at hand. The issue arises when a user notices his PC to be extremely slow after upgrading to the 21H1 update.
There can be many reasons for your PC getting slow after upgrading to Windows 21H1 but the following are found to be the main culprits:
- Missing the Latest Windows Patches: Microsoft, after releasing a major update (like 21H1), notices the user feedback and if required, develops patches to clear out the bugs of the feature update. If your system is missing such a patch, then it may result in the slowness of your PC.
- Outdated PC Drivers: If the OEM of your system has not updated its system drivers (especially, drivers of Blu-Ray or DVD drives) to be compatible with the Windows version 21H1, it may cause the PC issue under discussion.
- Corrupt System Files: If the essential system files of your system have become corrupt due to previous system updates (or a sudden power shut down), then your system can become very slow.
- Conflicting Applications: If there are applications (like Opera GX Browser) present on your system, it can massively decrease the system speed, resulting in the issue at hand.
You can fix your computer running slow after upgrading to Windows 10 version 21H1 by clean booting your PC and updating the device drivers (as discussed below) but before that, check if booting your system with bare minimums sorts out the performance issue. Also, check if cleaning the internals of your PC (by using a compressed air can) solves the issue if there is too much dust.
Apply the Latest Windows Updates/ Patches to Your System
Your system may be extremely slow due to a bug in the 21H1 update and updating to apply the patch may solve the problem.
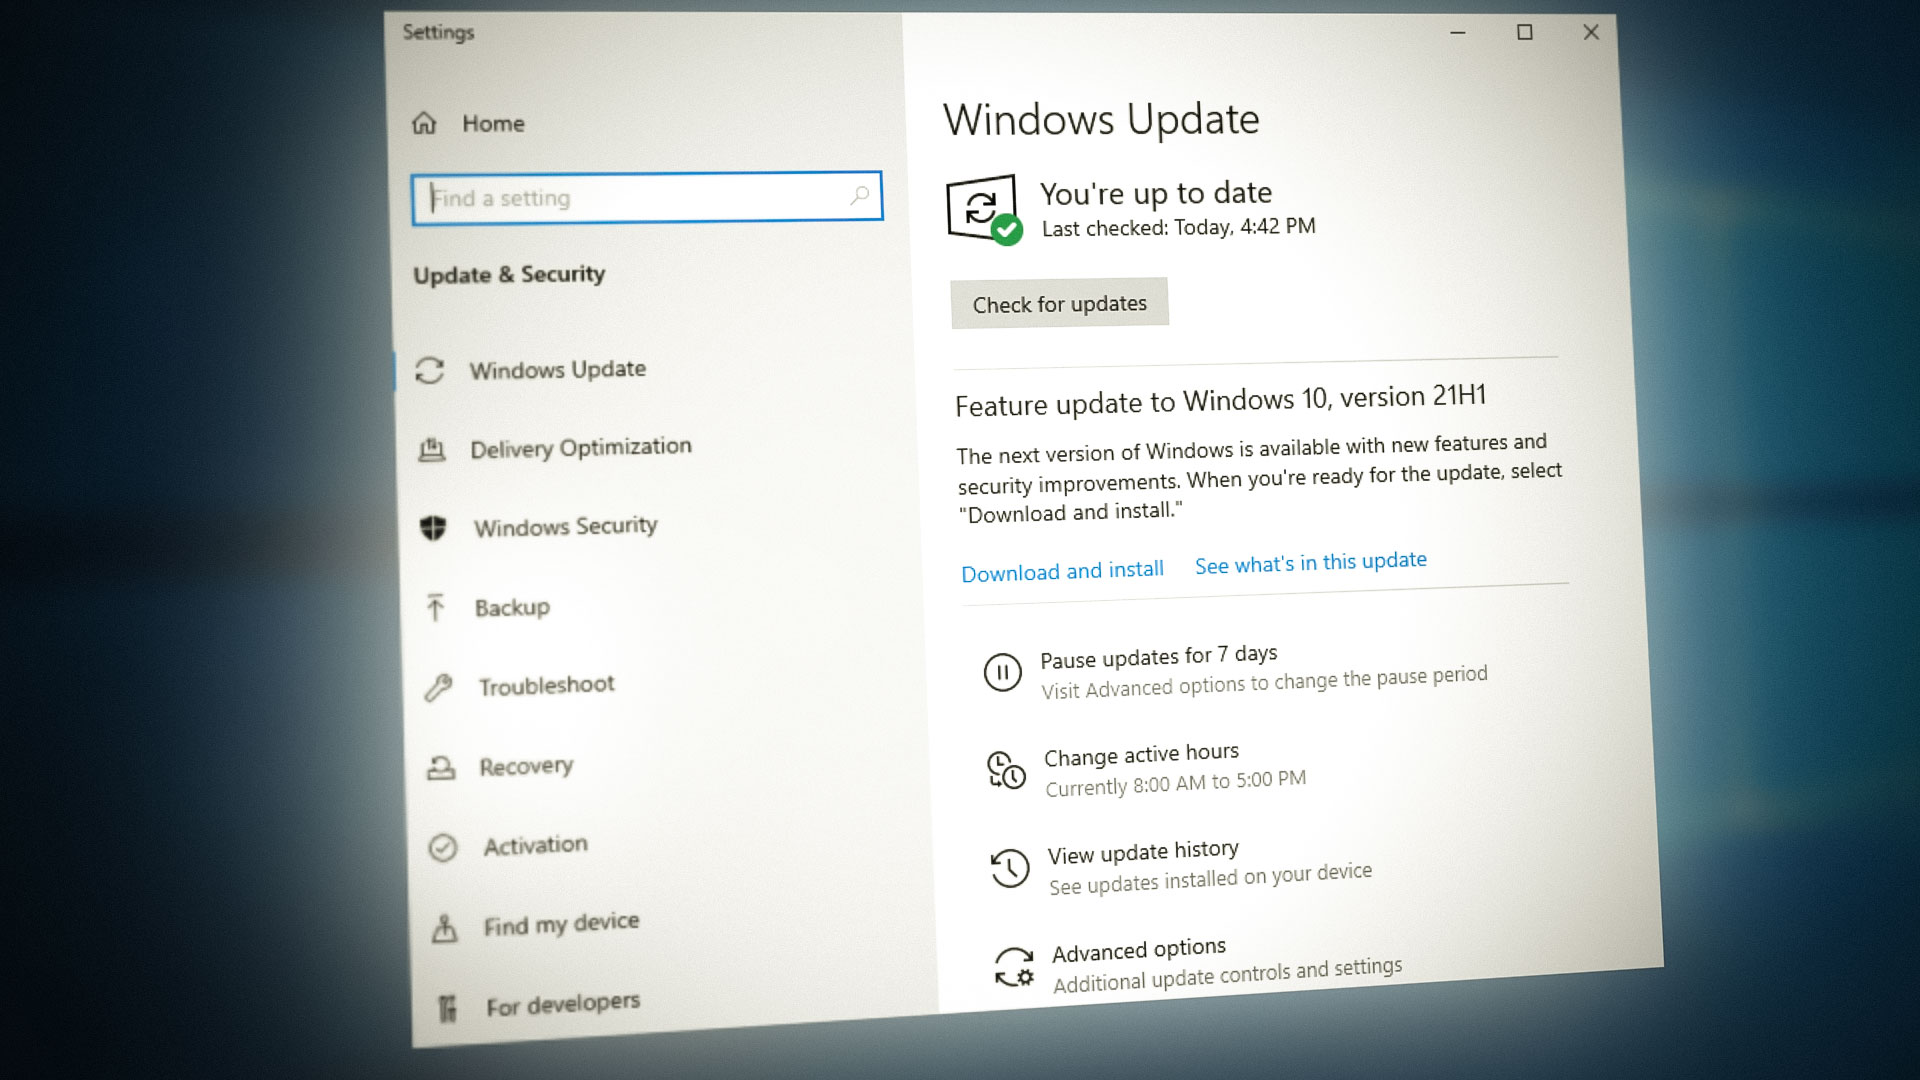
- Click Windows, key in Updates, and select Check for Updates.
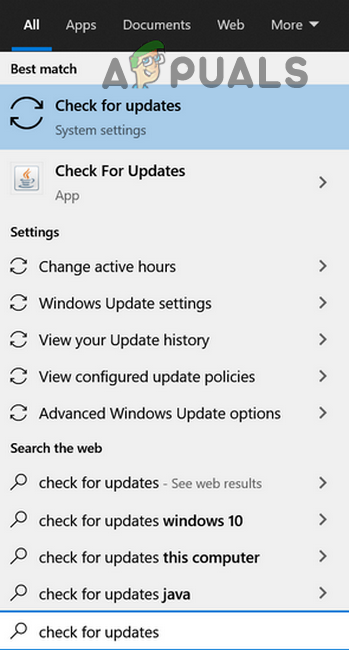
Open Check for Updates - Now, in the Windows Update window shown, click on Check for Updates and wait till the update check is complete.
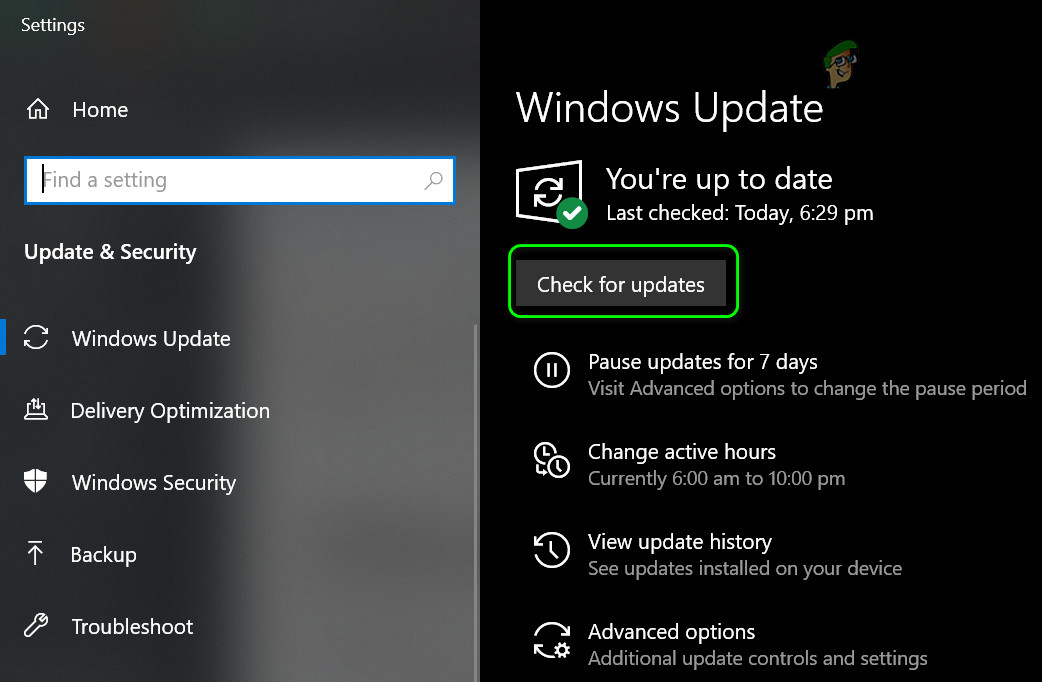
Check for Windows Updates - If it shows up that some updates are available, then install these updates (including the optional updates as well).
- Once the PC’s Windows is updated, check if your system is working normally.
Set the Visual Effects of Your PC to Best Performance
If you have set your PC to operate for the best appearance, then it can overburden your system and make it sluggish. In this scenario, setting the Visual Effects of Your PC to Best Performance may solve the problem.
- Click Windows key, type in ‘Advanced System Settings‘, and select the option returned in the result.

Open Advanced System Settings - Now, in the Performance section, click on Settings, and in the resulting window, select Adjust for Best Performance.
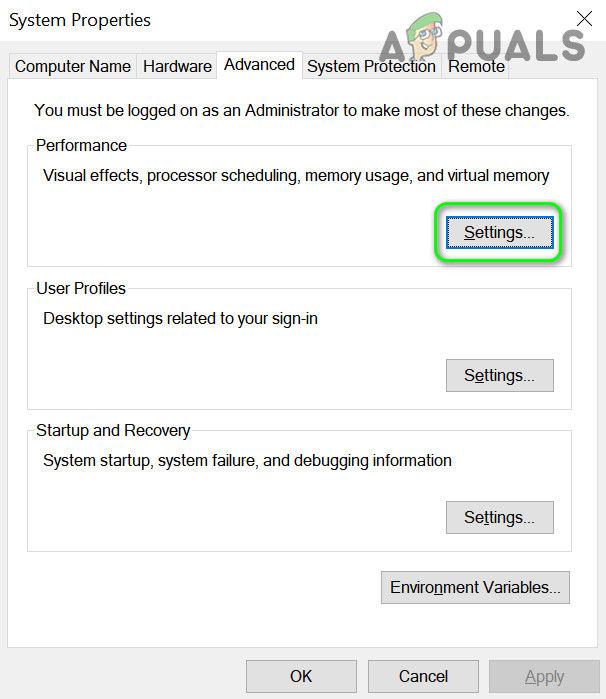
Open Performance Settings in Advanced System Settings - Then apply your changes and check if the PC’s performance has improved.
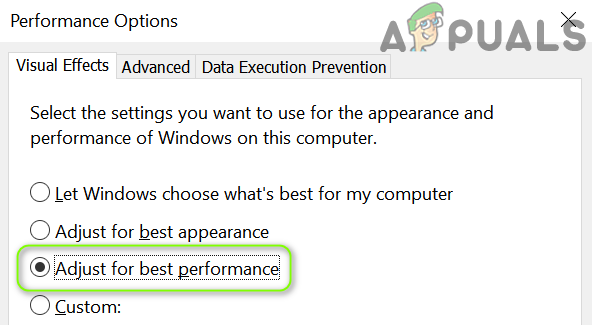
Enable ‘Adjust For Best Performance’ in the Advanced System Settings
Update the PC’s Device Drivers to the Latest Releases and Disable the Conflicting Devices
Your system may be sluggish if an outdated device driver (especially DVD/ Blu0Ray drivers) is conflicting with the 21H1 update. In this case, updating the device drivers (or disabling the conflicting devices) may solve the problem.
- Update the device drivers of your PC to the latest releases. Also, make sure to download the latest drivers from the OEM website and if your OEM has an update utility like Dell Support Assistant, then use that utility to update the device drivers. The outdated SATA Controller driver and AMD Graphics driver are reported to cause the issue.
- Once the device drivers are updated, check if the system is functioning normally,
- If not, right-click on Windows and select Device Manager.
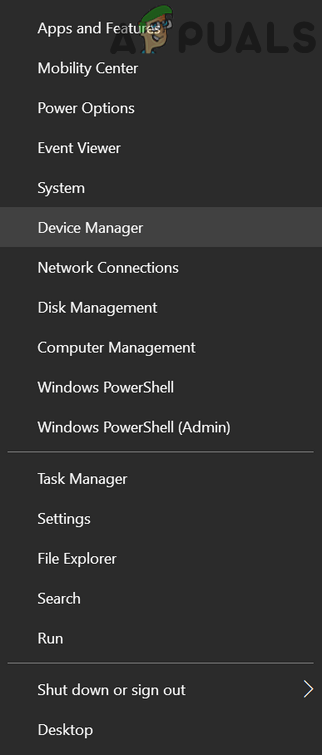
Open Device Manager of Your System - Then expand DVD/CD ROM/ Blu Ray Drives and right-click on your DVD Drive.
- Now select Disable Device and then confirm to disable the DVD drive.
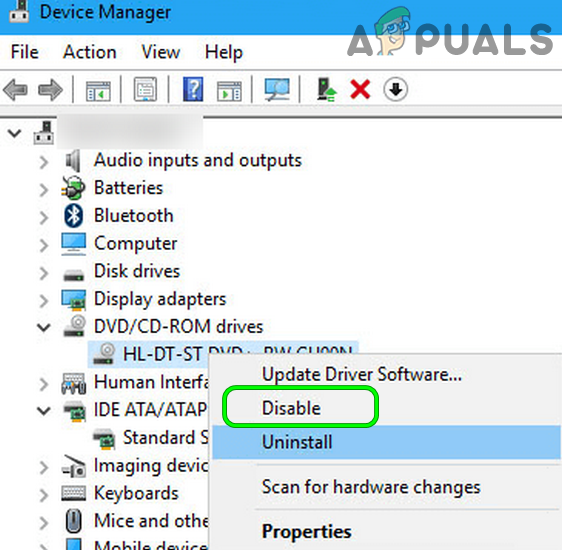
Disable DVD Device in the Device Manager - Then check if the system is clear of the sluggish behavior.
- If so, then check if updating the SATA Controller driver from the OEM website solves the problem.
If the issue persists, then you may have to disable the non-essential devices in the Device Manager one by one to find out the problematic one.
Disable the News and Interests Widget
The News and Interests widget is known to be sluggish and causes the operating system to get slow. In this case, disabling the News and Interests widget might solve the problem.
- Right-click on your system’s Taskbar and hover over News and Interests.
- Now, in the sub-menu shown, select Turn Off and then check if the PC performance has improved.
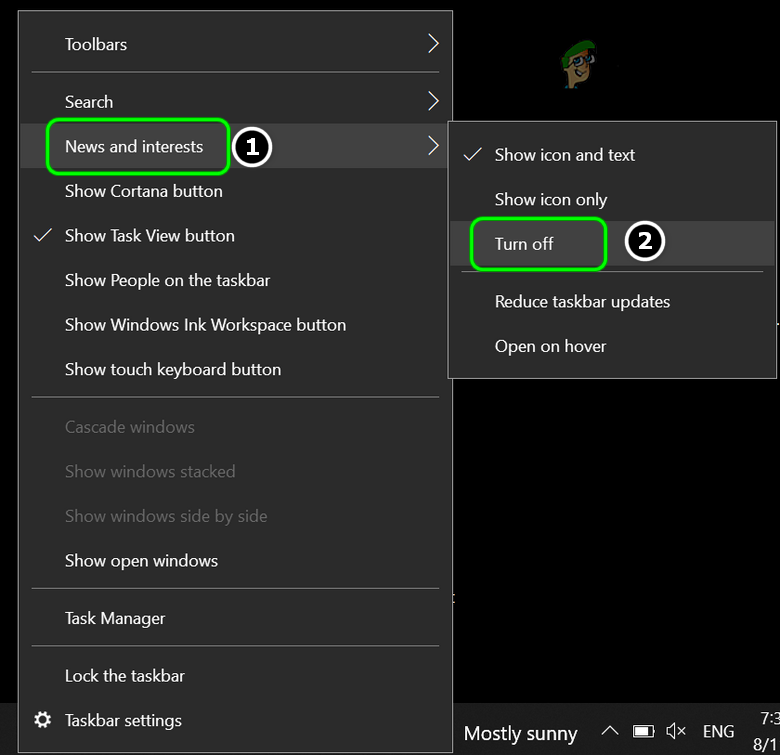
Turn off News and Interests on the Taskbar of Your System
Disable the Hibernation Capability of Your System
Although hibernation is quite a handy feature, sometimes it can overburden the system and make it sluggish. In some cases, the information doesn’t get stored properly when the computer hibernates resulting in a lot of excess memory being used. In this case, disabling the PC’s hibernation capability may solve the problem.
- Click Windows, type CMD, right-click on the Command Prompt, and select Run as Administrator.
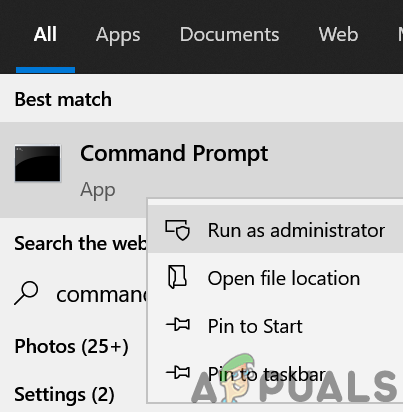
Open Command Prompt as Administrator - Now execute the following:
powercfg -h off
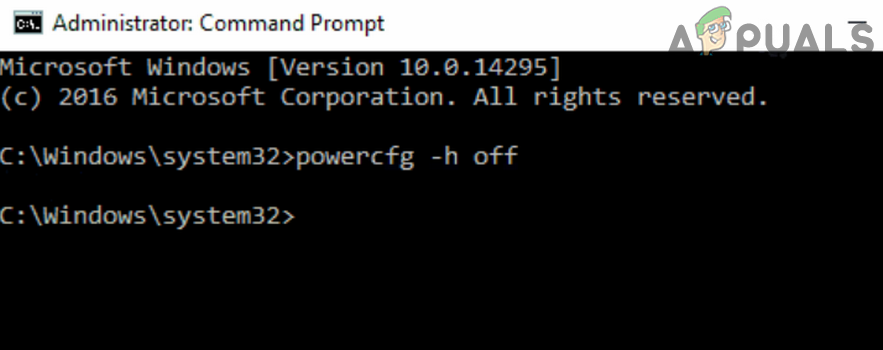
Disable the Hibernation of Your System Through the Command Prompt - Then close the Command window and click the Windows button.
- Now type the following and then press the Enter key:
shutdown /p /f
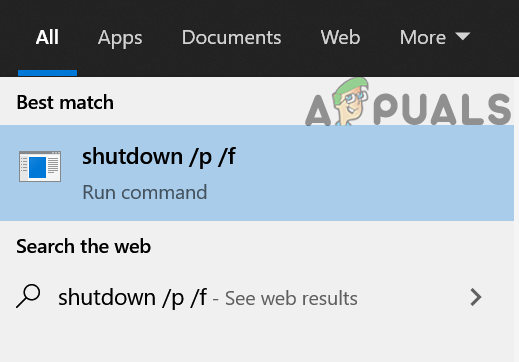
Run the Shutdown /p /f Command - Then let your PC shut down and wait for 1 minute.
- Now power on your PC (start-up will be a little slow from normal) and check if the PC is working fine.
Disable the Windows Search at the System Startup
Windows Search is known to cause issues with your system when it defaults to run at startup. Disabling this feature solved the lag in a lot of users after the update.
- Click Windows, key in System Configuration, and open System Configuration.
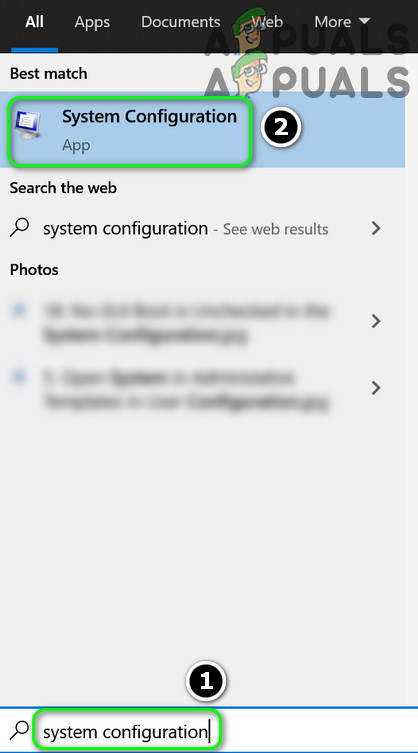
Open the System Configuration from the Start Menu - Now, in the Services tab, uncheck Windows Search and apply your changes.
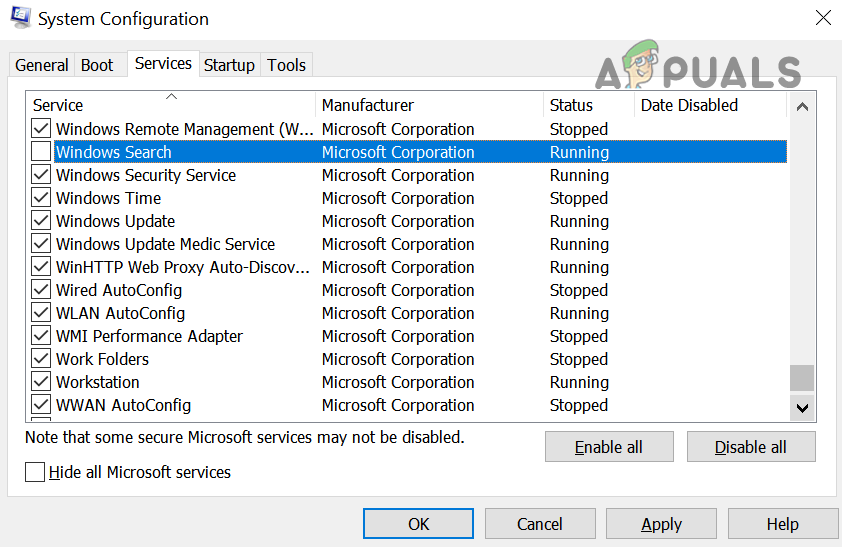
Disable Windows Search in the Services Tab of the System Configuration - Then restart your PC and upon restart, check if the system is operating normally.
Scan Your System for Malware
You can never rule out the possibility of malware which can be causing your system to get slow. Running a quick scan will rule that out.
- Perform a Malware scan of your system with an anti-Malware product (like Malwarebytes).
- If it reports malware on your system, then clear that malware and afterward, check if the system performance has improved.
Perform the DISM and SFC Scans of Your System
Windows 10 may get extremely slow on your system if the essential Windows 10 files are corrupt or missing. In this context, performing the DISM and SFC scans will replace the corrupt files with fresh ones and thus solve the problem.
- Click Windows, type CMD, right-click on Command Prompt, and select Run as Administrator.
- Now execute the following:
DISM /online /cleanup-image /restorehealth
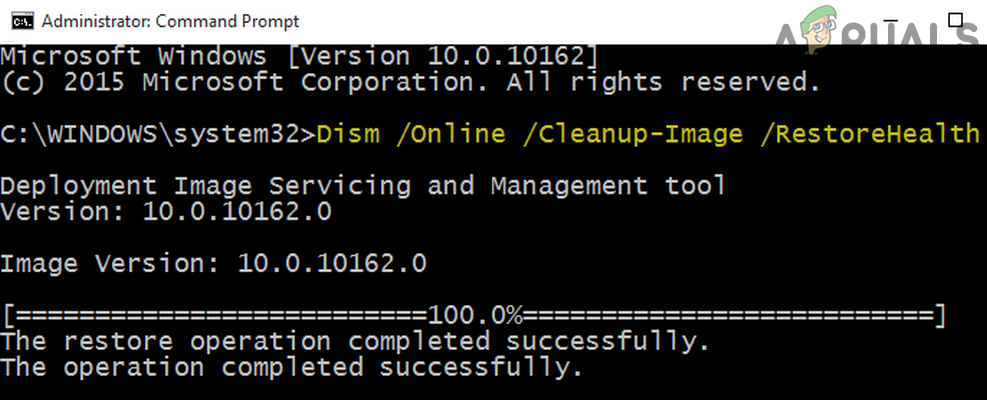
Use the DISM Command to RestoreHealth - Then wait till the scan is complete (usually, it can take up to 20 to 30 minutes) and afterward, execute the following (it may take some time to finish, so try it when the PC can be freed for some time):
sfc /scannow
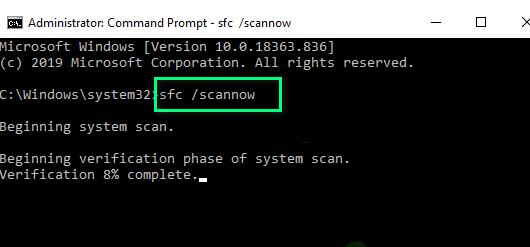
Perform an SFC Scan - Now, wait till the SFC scan is complete, and then check if the PC’s slowness is cleared.
Clean Boot Your PC and Disable/Remove the Conflicting Applications
The slow behavior of your PC could be the result of the application’s conflict with the 21H1 update. In this case, clean booting your system to identify the conflicting application and then disabling/removing the conflicting application may solve the problem.
- Clean boot your PC and check if the PC is performing normally.
- If so, enable the processes, services, and applications (that were disabled during the clean boot process) one by one till the problematic application is found. Once found, either disable the problematic application and uninstall it. Opera GX Browser is reported to cause the issue.
Uninstall the Conflicting Windows Update
The extremely slow Windows 10 PC could be the result of the installation of another conflicting update on your system and uninstalling the same may solve the problem.
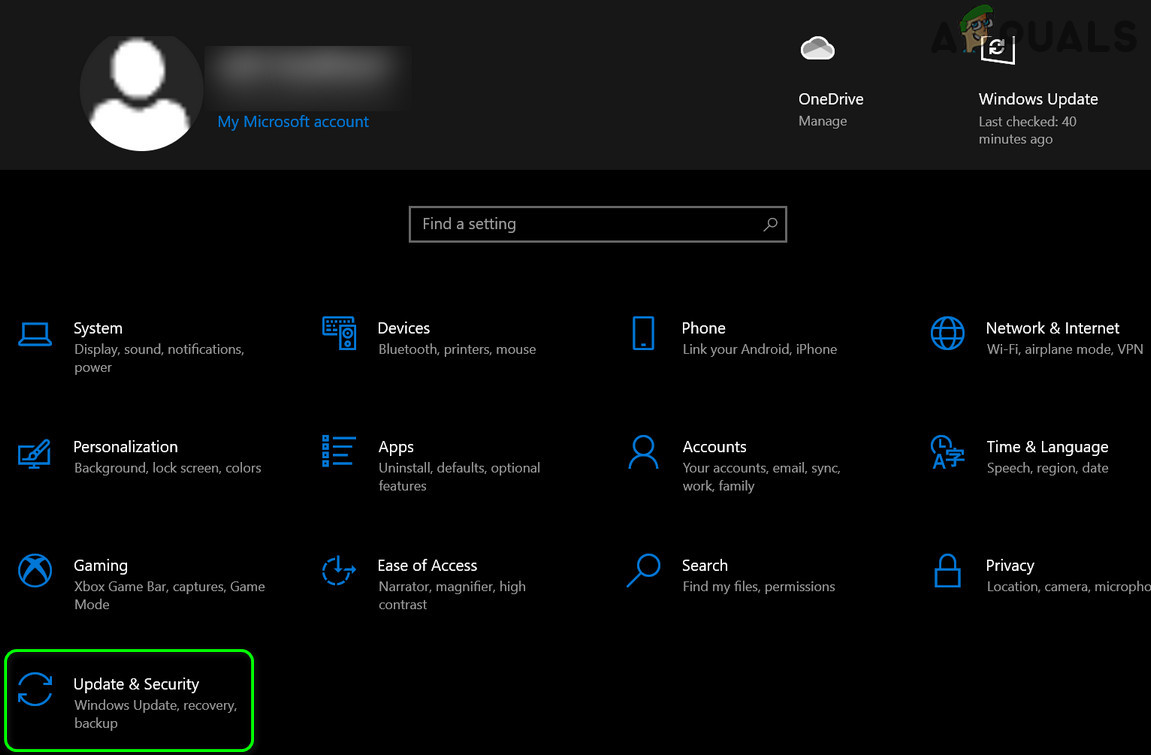
- Right-click Windows and select Settings.
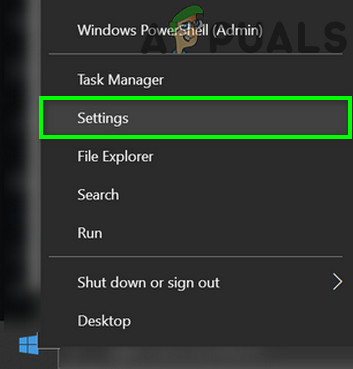
Open Windows Settings - Now select Update & Security and in the next window, open View Update History (in the right pane).
Open Update & Security - Then click on Uninstall Updates and in the new window shown, select the problematic update (e.g., KB5003537 Cumulative NET Framework Update is reported to cause the issue) and click on Uninstall.
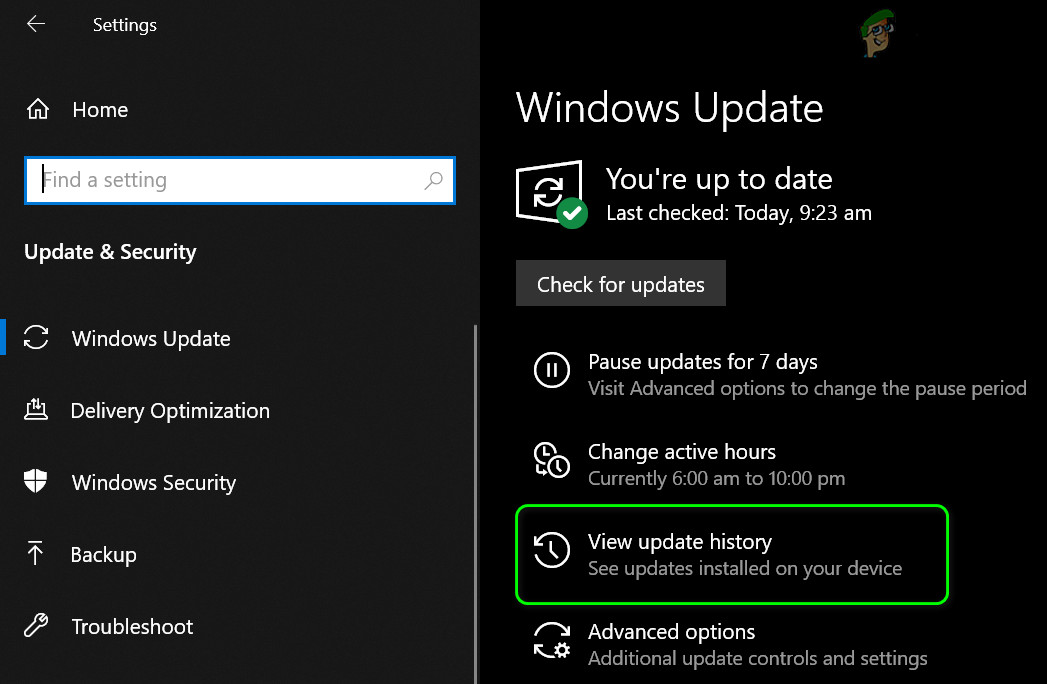
View Update History of Your System - Now follow the prompts to uninstall the update and then restart your PC.

Open Uninstall Updates - Upon restart, check if the system is working fine.
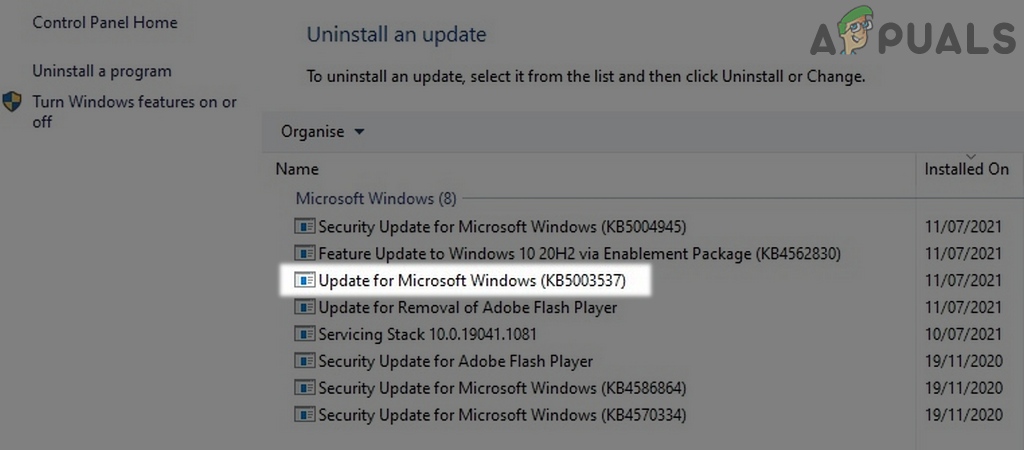
Uninstall KB5003537 Update
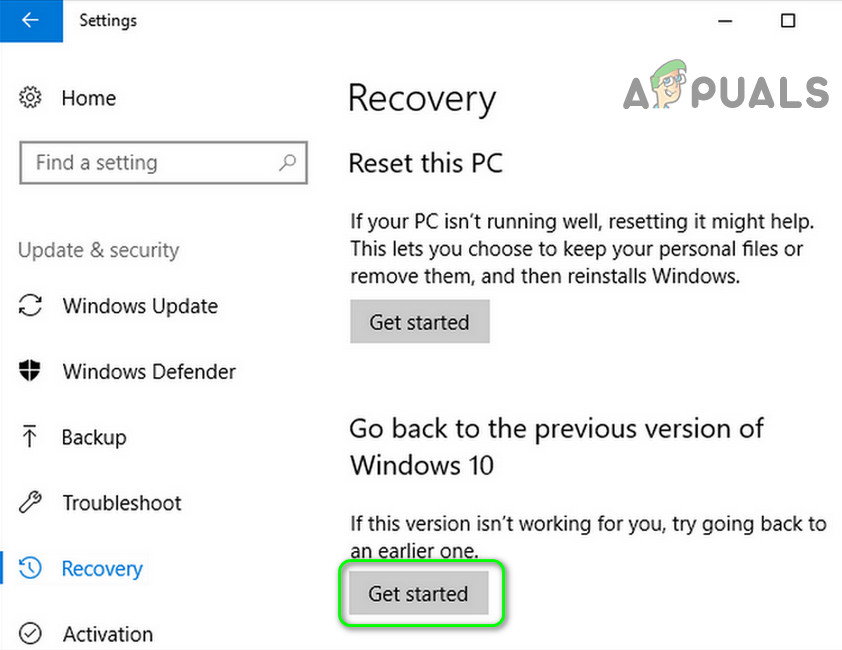
In case of a feature update, you may have to revert to a previous version of Windows 10 (Settings>> Update & Security>> Recovery>> Go Back to the Previous Version of Windows 10).
Perform an In-Place Upgrade of Your PC’s Windows
If none of the solutions did the trick for you, then performing an in-place upgrade of your PC’s Windows may solve the PC’s slowness issue. Before moving on, back up essential files (just in case…) and create a system restore point.
- Launch a web browser and navigate to Microsoft’s Windows 10 page.
- Now scroll down and under Create Windows 10 Installation Media, click on Download Tool Now.

Download the Media Creation Tool from the Microsoft Website - Let the tool download and once downloaded, launch it as administrator (click Yes, if UAC prompt received).
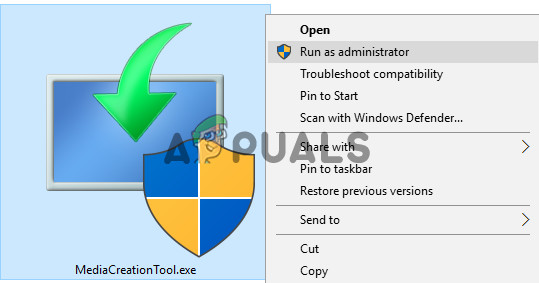
Launch the Media Creation Tool as Administrator - Now select Upgrade This PC Now and when asked to, make sure to select Keep Windows Settings, Personal Files, and Apps.

Select Upgrade This PC Now - Then follow the prompts till the upgrade process is complete.
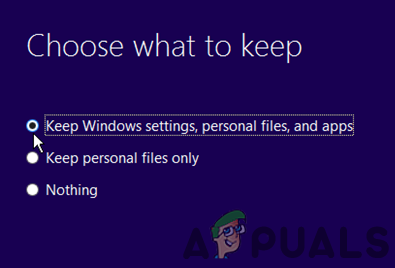
Keep Windows Settings, Personal Files, and Apps - Once completed, hopefully, the slowness of your PC after 21H1 is cleared.
If your PC is too slow to complete the above steps, then you may create a Bootable USB and use it to upgrade the PC.
If the issue persists, then check if your system’s RAM is healthy and working fine, otherwise, you may have to perform a clean installation of Windows with the latest Windows ISO.


