Fix: Windows Upgrade Error Code: 8007042B – 0x4001E
The error 8007042B – 0x4001E typically signals a Windows upgrade error with more than one possible cause. This problem commonly occurs when users attempt to upgrade to Windows 10 or 11 from Windows 7 or 8.1.
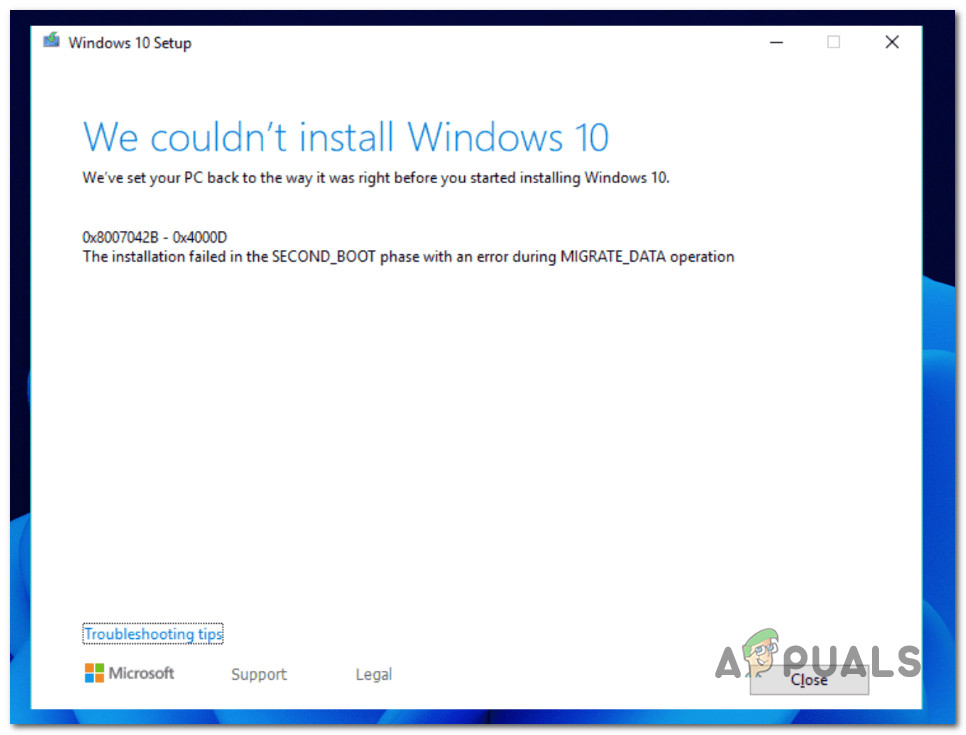
Most commonly, this problem will occur due to a failed installation in the second boot phase while attempting the PRO_OOBE or MIGRATE_DATA operation.
You can expect to see the 8007042B – 0x4001E error after the upgrade to Windows 10 / 11 fails due to nonessential connected hardware, an outdated Windows build, a corrupted windows profile, malfunctioning drive, 3rd AV party interference or some system corruption affecting the upgrade procedure.
Here’s a shortlist of potential fixes that you can use to troubleshoot the issue:
1. Remove every nonessential hardware
If you’re starting to troubleshoot the issue, remove every non-essential piece of hardware unnecessary for the upgrading procedure on Windows 11. This includes docks, USB devices, printers, external drives, and everything else you can upgrade without.
After you’ve removed every non-essential peripheral, restart the upgrade operation once again and see if the problem is now fixed.
2. Create a new Windows Profile
A profile-related 8007042B – 0x4001E error occurs most commonly due to corrupt registry entries under HKLM\SOFTWARE\Microsoft\Windows NT\CurrentVersion\ProfileList or invalid files in the \Users directory.
Both scenarios can be swiftly resolved by creating and using a new Windows account during the upgrade.
Follow the steps below to create a new Windows account to bypass the 8007042B – 0x4001E error:
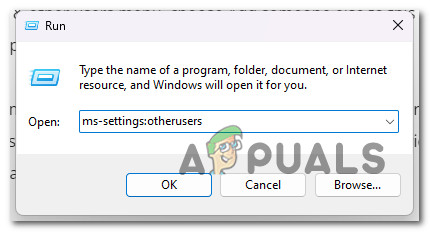
- Press the Windows key + R to open the Run dialog box.
- Next, type “ms-settings:otherusers” in the text field and press Enter to open the Settings app’s Family & Other Users tab.
Open the Other Users tab - From the next menu, add someone else to this PC from the Family & other users menu on the Other users page.
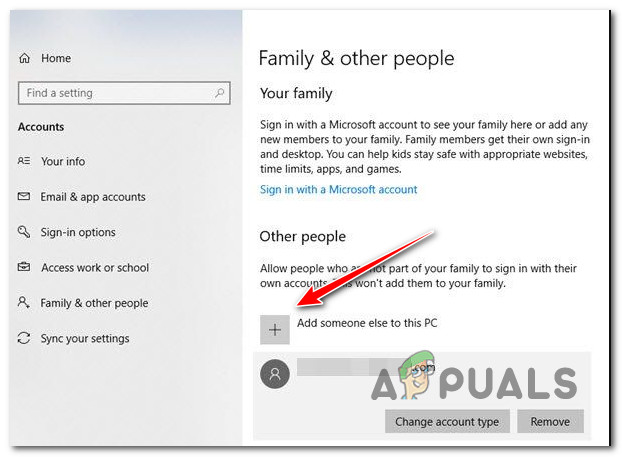
Add someone else to this PC - Finish the remaining steps to create a new Windows account, restart your computer, and sign in with the new account.
- Deploy the upgrade process again and see if you can avoid the 8007042B – 0x4001E error.
If the same error is still occurring, try the next method below.
3. Deploy CHKDSK scans
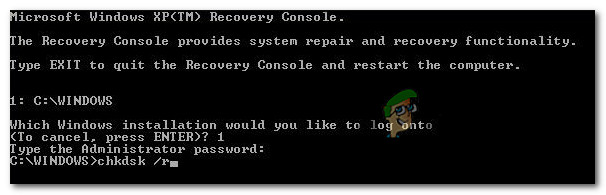
If you’re still using a traditional (HDD) drive, you should first run a CHKDSK scan to see if the 8007042B – 0x4001E error is caused by a failing disk sector that is starting to fail. During this process, corrupted sectors will be swapped out for their unused counterparts.
By running a CHKDSK scan to replace bad storage sectors with good ones, you can confirm this scenario and extend the life of your storage hardware (for a few more months).
To rule out this possibility, run a CHKDSK scan from an elevated CMD prompt.
Note: The CHKDSK utility can check for errors and corruptions and fix any logical errors or damaged data that may have been caused by something else.
After the CHKDSK scan, restart your computer to see if the 8007042B – 0x4001E error is still there.
If you still get the 8007042B – 0x4001E error when upgrading your Windows version, move on to the next step.
4. Remove 3rd party antivirus
Another likely cause of this problem is a third-party program that interferes with the Windows setup upgrade and doesn’t let it do certain things. This problem is usually said to happen with Zone Alarm, but it could also happen with other third-party antivirus suites.
If you’re using a third-party antivirus, you could temporarily turn off its real-time protection and see if the Windows 11 upgrade works while the security suite is turned off.

Note: Most AV suites have an icon in the taskbar that lets you immediately turn off real-time protection. If that’s not possible, look in the Settings menu for a way to turn off the AV shields that are currently on.
You can also think about removing the third-party suite altogether, especially if you’re using an antivirus suite that also works as a firewall.
If this method doesn’t work, scroll down to the next possible fix.
5. Deploy SFC & DISM Scans
If none of the methods have allowed you to fix the issue, you should start troubleshooting against a potential system file corruption.
Keep in mind that during the upgrading process, the installation wizard will use a lot of local dependencies. If these dependencies are corrupted, you can expect to see the 8007042B – 0x4001E as system file corruption prevents the upgrading process from completing.
Before you go for the radical route and go for a clean install, you can use a series of built-in tools (System File Checker and (Deployment Image Servicing and Management) to see if you can fix the corruption issue.
Use the instructions below to deploy SFC & DISM scans in quick succession:
- Press the Windows key + R to open the Run box.
- Then, in the Run box, type “cmd” and press Ctrl + Shift + Enter to open a Command Prompt as an administrator.
Open an elevated CMD window - When the User Account Control asks if you want to give admin access, choose Yes.
- At the elevated CMD prompt, type the following command and press Enter to deploy an SFC scan:
sfc /scannow
Note: It’s important to remember that System File Checker only works locally and doesn’t need to be connected to the internet. It replaces broken system files with healthy copies from a local cache of backup system files.
- After the SFC scan is done, do a DISM scan from the same elevated CMD window, no matter what the results are:
DISM /Online /Clean-Image /RestoreHealth
Important: Keep in mind that DISM is a newer technology and that you must always have access to the Internet. This is important because DISM will use a part of WU to find healthy files to replace the damaged ones.
- Start your computer up once more and see if the Windows upgrade procedure now completes without issues.
If you’re still experiencing the same 8007042B – 0x4001E error, move down to the next method below.
6. Perform a clean install
If you’ve come this far without a viable fix, the only viable option is performing a clean install.
However, going this route means that unless you back up your data in advance, you will be erasing every bit of personal data (including media, programs, games, and documents) from the OS drive.
To avoid a complete personal data wype, move all your important documents & other files away from the OS drive where you’re about to install a new Windows version. You can move it to a secondary drive, save it on a cloud account, or locally on an external USB stick.
When you are ready to commence the clean install operation, follow this step-by-step article.


