How to Run CHKDSK Scan on Windows
Over time, a hard disk drive that is in use starts accumulating damage and errors caused by a wide array of different things (from unexpected system shutdowns to corrupted software and from bad sectors to metadata corruption). This can not only be detrimental to a hard disk’s overall lifespan but can also slow it down in the short term, and no one likes a slow hard drive. That being the case, Windows users should always check their hard disk drives for errors every few days and fix any errors they find so as to preserve the health and functionality of the drives.
Microsoft was entirely aware of this, which is why there has existed a utility on the Windows Operating System for basically as long as the OS itself that is capable of not only scanning a hard disk for errors and corruptions but also repairing any corruptions it finds and salvaging any and all readable information from bad sectors on drives. This utility is known as CHKDSK (or the Disk Error Checking utility, if you will). CHKDSK has been a constant throughout the many makeovers Windows has had and through the many different iterations of Windows that have been developed and distributed.
Windows 10 also has the CHKDSK utility built into it, although the Disk Error Checking utility works a bit differently on Windows 10 than it did on its predecessors. In addition, Microsoft has also done some work on the CHKDSK utility, making it a bit less intrusive and a bit easier for Windows 10 users to go through their day to day tasks on their computers with CHKDSK checking their hard disk drive for errors and trying to fix them in the background. If you want to run the CHKDSK utility on a computer with Windows 10 installed, you can go about doing so two different ways – you can either do so using an elevated Command Prompt that has administrative privileges, or you can run the utility from the Properties dialog of the hard disk drive partition you want to scan.
The following are the two different ways you can use to run the CHKDSK utility on Windows 10:
Method 1: Run the CHKDSK utility from Computer
First and foremost, you can run the CHKDSK utility directly from the Properties dialog belonging to the partition of your computer’s hard drive you want to scan for errors. To do so, all you need to do is:
- Open Computer. You can do so by either double-clicking on the Computer icon on your Desktop (provided that you have one) or pressing the Windows Logo key + E to launch Windows Explorer (Windows Explorer usually launches with Computer opened by default, but if it takes you someplace else, simply navigate to Computer using the left pane of Windows Explorer).
- Locate the drive you want to scan for errors using the DHKDSK utility and right-click on it.
- Click on Properties in the resulting context menu.
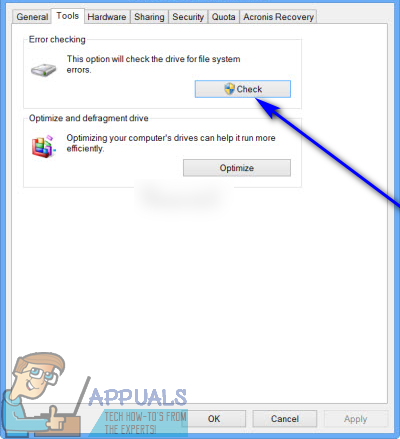
- Navigate to the Tools tab.
- Under the Error checking section, click on Check to launch the Disk Error Checking utility. The utility will be launched and it will begin checking the selected drive for file system errors and other problems such as bad sectors.
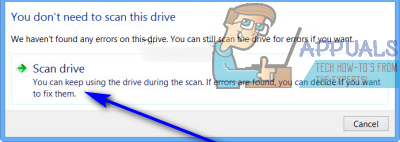
- If Windows detects any errors or other problems on the selected disk, it will simply ask you to check the disk. If the system did not find any errors on the disk, you will instead see a message stating You don’t need to scan this drive, although you can still go ahead with the scan. Simply click on Scan drive to have CHKDSK scan the selected drive for errors and issues.
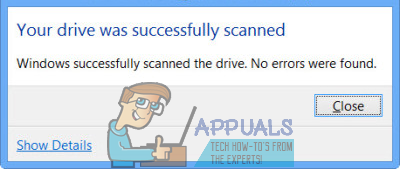
- The scan might take a fair bit of time depending on just how fast your computer is. Once the scan has been completed, if Windows did not find any errors on the disk, it will inform you of that, but if the utility did fine errors or other issues on the drive, you will instead see a message that reads:
“Restart your computer to repair the file system. You can restart right away or schedule the error fixing on next restart.”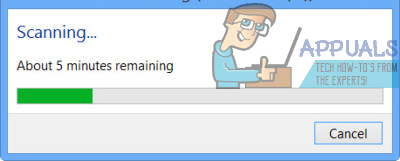
- Simply restart your computer – either immediately after the scan finishes or a bit after that, once you save all your work and close any open applications.
- When your computer boots up, CHKDSK will attempt to fix any and all errors that it found and fix any bad sectors or other problems that it found on the drive. Once it does so, it will inform you of what it was able to achieve. It should be noted that you are going to have to be a bit patient with CHKDSK during this step as fixing errors and problems on a drive can take a fair bit of time.
Method 2: Run the CHKDSK utility from an elevated Command Prompt
On a Windows 10 computer, you can also run the CHKDSK utility from an elevated Command Prompt that has administrative privileges. To do so, simply:
- Right-click on the Start Menu or press the Windows Logo key + X to open the WinX Menu.
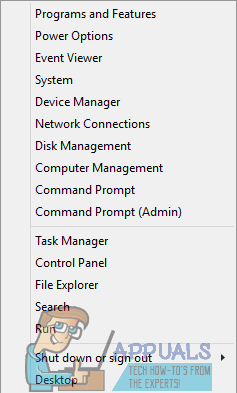
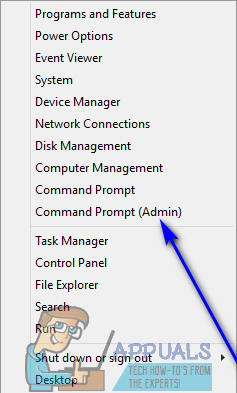
- Click on Command Prompt (Admin) in the WinX Menu to launch an elevated Command Prompt that has administrative privileges.
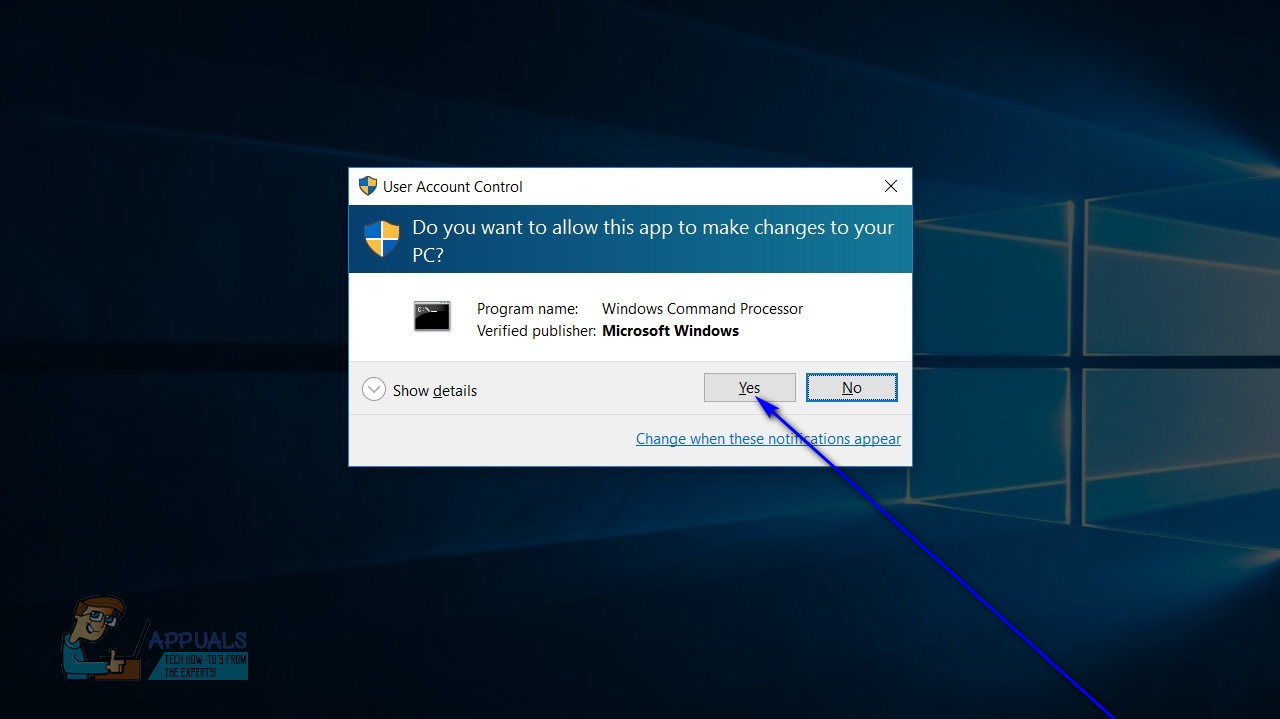
- If you are met with a User Access Control dialog asking if you’re sure you want to launch the Command Prompt, click on Yes.
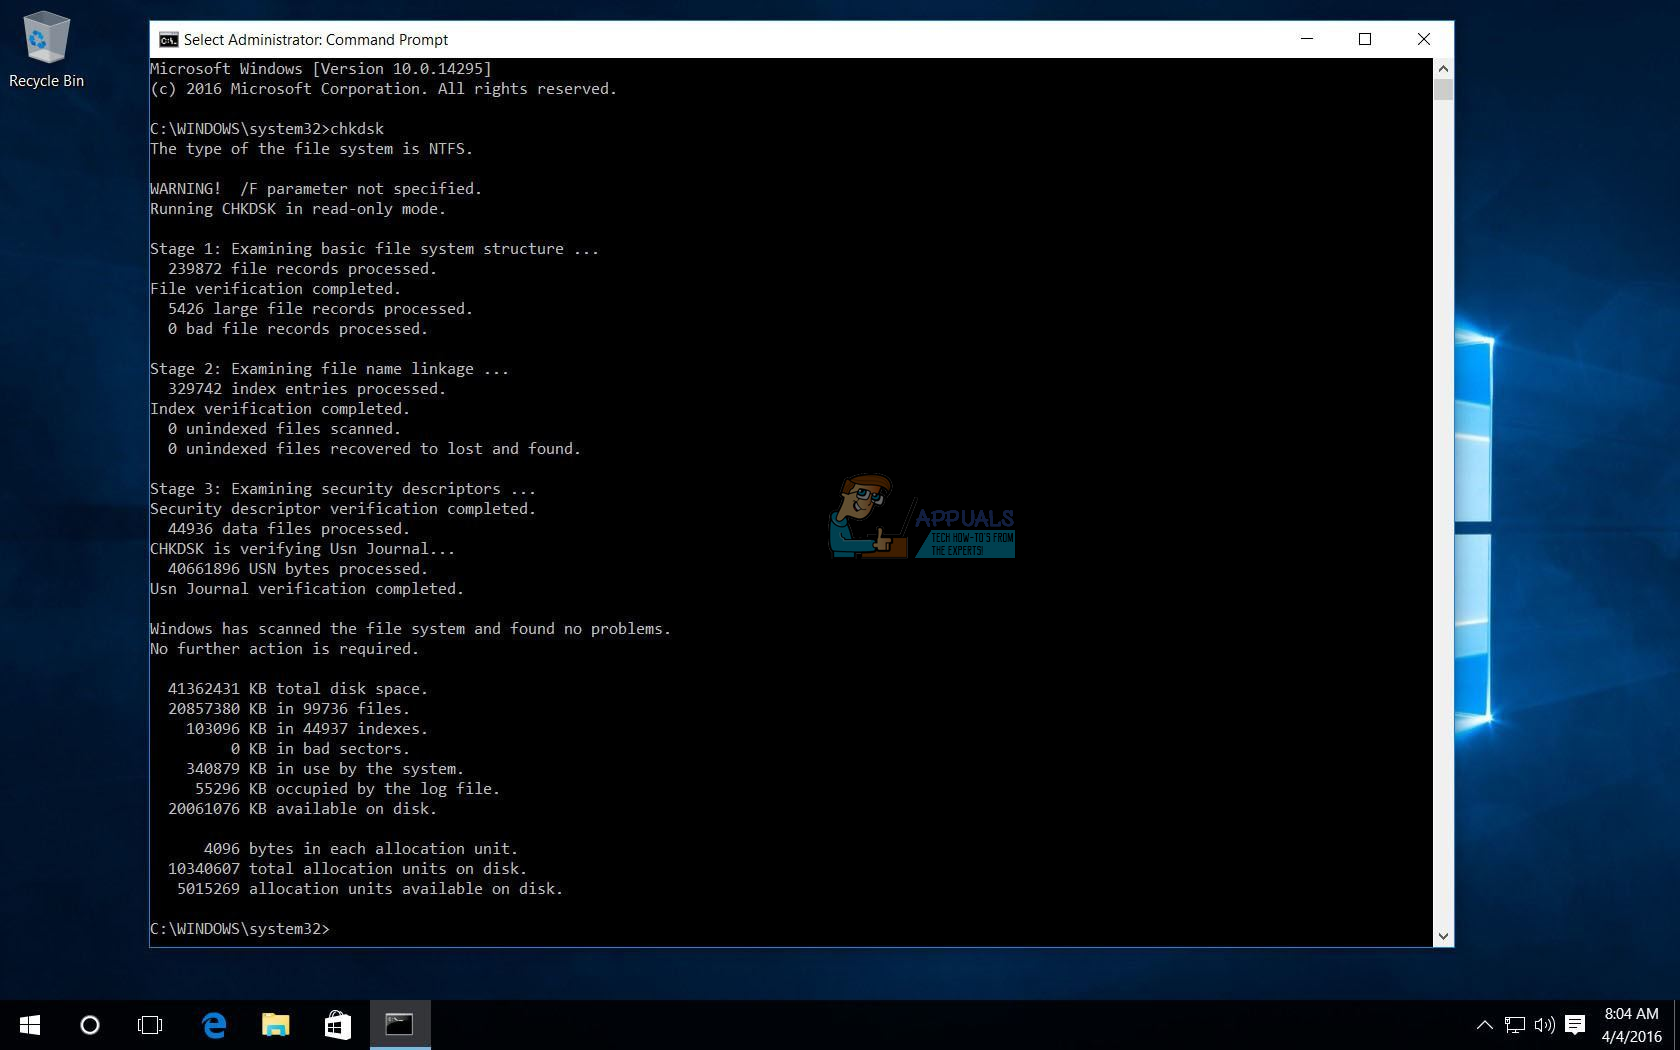
- In the elevated Command Prompt, type chkdsk X: (X being the drive letter corresponding to the partition of your computer’s hard drive(s) that you want CHKDSK to scan) followed by the parameters you want CHKDSK to perform the scan with and then press Enter. Running a CHKDSK scan without specifying any parameters will result in CHKDSK only scanning the selected drive and presenting you with a summary of its findings – the utility will not be able to fix any errors or problems it finds. You can choose from the following parameters when running the CHKDSK utility from an elevated Command Prompt:
/f - Tells CHKDSK to fix any and all errors that it finds
/r - Tells CHKDSK to locate bad sectors on the drive and try to recover any and all readable information from them
/x - Tells CHKDSK to forcefully dismount the selected drive before scanning it
The final command you type into the elevated Command Prompt will look something like:
chkdsk C: /f (if you want CHKDSK to scan your computer's C drive for errors and try to fix any that it finds)
or
chkdsk D: /f /x (if you want CHKDSK to dismount your computer's D drive and then scan it for errors and fix any that it finds).
- Simply wait for the CHKDSK utility to work its magic. You’ll be able to continuously monitor the utility’s progress throughout the process.
Note: The CHKDSK utility can’t scan the partition of your computer’s hard drive(s) that Windows 10 is installed on while the computer is in use. That being the case, if you try to have CHKDSK scan your computer’s root drive from an elevated Command Prompt, you will be asked if you would like the CHKDSK utility to perform the scan the next time your computer boots up. Simply type y (for yes) and press Enter to schedule the scan for the next time your computer starts up. If you are having CHKDSK check an external drive or a partition of your computer’s hard drive(s) that it doesn’t boot from, on the other hand, the scan will begin as soon as you press Enter in step 4, right then and right there in the elevated Command Prompt.