Fix: Windows Update Fix Error 0x800f080A (Windows 10/11)
The error 0x800f080A appears when Windows users attempt to install cumulative, feature updates, or optional updates directly from the Windows Update pane. This problem is confirmed to occur on both Windows 10 and Windows 11.

Although this problem is most commonly caused by a local inconsistency affecting the WU component, there are several scenarios where the problem can actually be traced back to some kind of system file corruption affecting Windows Updates or an associated system dependency.
If you’re just starting to troubleshoot this issue, start by leveraging the built-in repair tools to see if you can fix the issue – Windows Update Troubleshooter, SFC (System File Checker), DISM (Deployment Image Servicing & Management).
However, this problem can also be related to some kind of 3rd party interference. As you’ll find out below, there’s a sizable list of 3rd party programs that are confirmed to interfere with the WU component in different capacities.
Another possibility is corrupted temporary data affecting a WU component or dependency – In this case, resetting the WU component or refreshing every Windows file are two reliable ways of fixing the 0x800f080A error.
Below you’ll find a collection of confirmed methods that other affected users have successfully used to troubleshoot this issue.
1. Restart & Reinitiate the installation
Before you start following any of the other potential fixes featured in this article, the first thing you should do is reboot your system and retry the installation of the failing update after the next startup.
A lot of affected users that started to experience this issue immediately after a feature or cumulative update failed to install have confirmed that the installation was completed successfully after the restart.
Note: There’s no official confirmation on why this is effective, but the Windows community suspects that certain WU updates need to be installed right after a successful boot when there aren’t any potentially conflicting 3rd party services that could influence the installation.
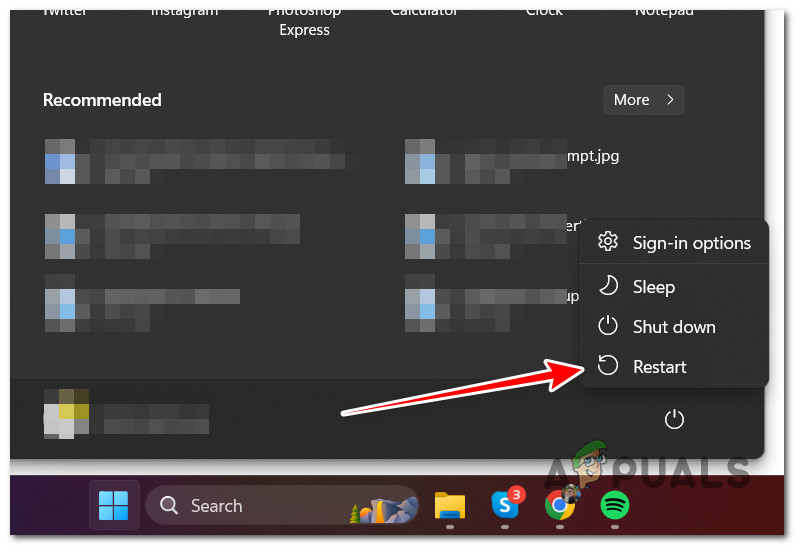
If you haven’t tried this already, initiate a system restart and re-try the installation of the failing update as soon as the next startup is complete.
2. Run the Windows Update Troubleshooter
If you’re getting the 0x800f080a problem because of a typical WU discrepancy, running the Windows Update Troubleshooter and implementing the recommended fixing method should help. Most of the time, you don’t even have to do anything since most of the recommended fixes will be automated and require minimal intervention from your side.
Note: The Windows Update Troubleshooter includes a set of automatic repair options that may be used to remedy the most common causes of a failing Windows update.
If Windows Update Troubleshooter is able to pinpoint the source of the problem, follow the on-screen instructions to implement the recommended remedy.
Follow these steps to run the Windows Update Troubleshooter and apply the recommended fix:
- Open the Run dialog box by pressing the Windows key + R.
- Enter the Control Panel interface by typing “control” and pressing the Enter key.
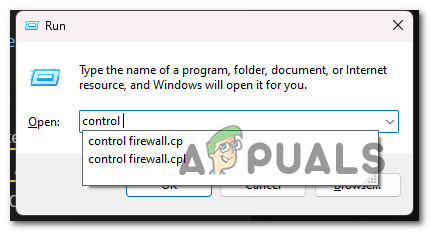
Open the classic Control Panel menu - When asked by User Account Control, click “Yes” to allow administrator rights.
- Use the Control Panel’s search feature and search for “troubleshooting” (Type in the bar located on the top-right corner of the screen).
- Select Troubleshooting from the list of search results.
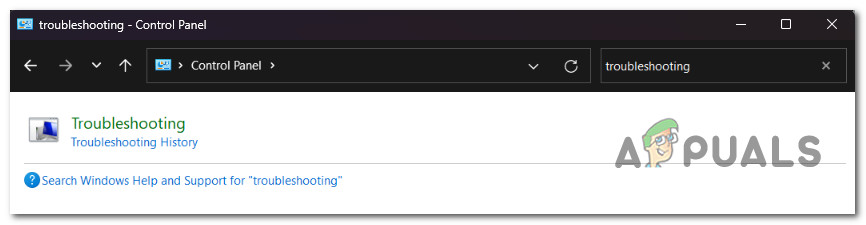
Troubleshooting - Next, you’ll see a list of troubleshooters. Scroll down and Run the Windows Update troubleshooter.
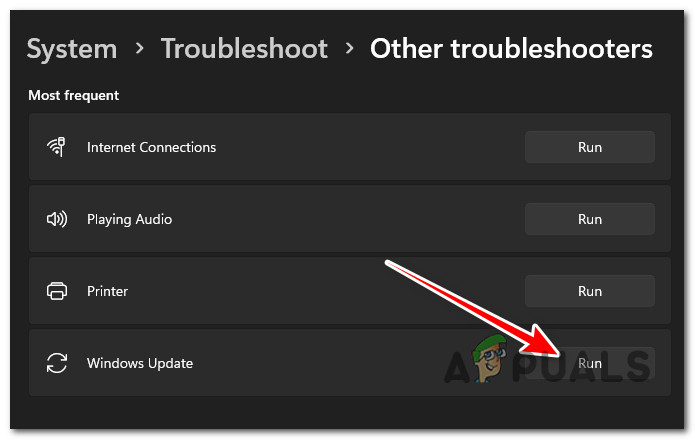
Run the Windows Update troubleshooter Note: Unless you’re using Windows 11, this screen will be different as the Troubleshooters are still part of the classic Control Panel menu.
- When the Windows Update Troubleshooter prompts you, click Next and wait for the initial scan to finish.
- If you identify a suitable solution, click Apply this Fix to put it into action in the present scenario.
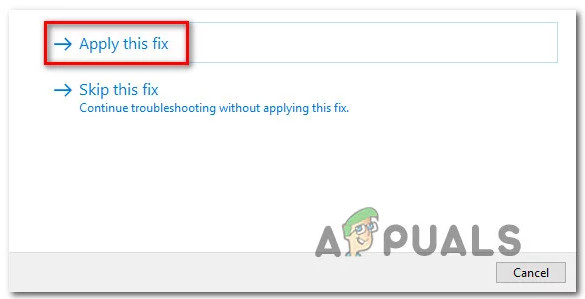
Apply the fix - After the fix has been enforced, reboot your PC and see if the problem is now fixed by attempting to install the pending update once again.
3. Install KB5000808 update manually
If you’re looking for a quick fix that will allow you to install the failing update without necessarily finding & fixing the root cause of the issue, utilizing the Windows Update Catalog is the easiest and quickest way of circumventing the 0x800f080a error.
Important: Going this route will not address the root cause of this issue. Even if you are able to overcome the error and apply the faulty update, this will not fix the underlying source of the problem.
Even if you manage to ‘sideload’ the failing update via the Windows Update Catalog, there’s a chance the problem will return with the next pending update from Microsoft.
Our recommendation is to continue troubleshooting with the other ways below even if this method allows you to install the failing update.
Update: A lot of users have confirmed that they used this method successfully to install the KB5000808 update after the conventional way of installing the WU update failed.
To get around the 0x800f080a problem by utilizing Windows Update Catalog, follow the instructions below:
- Open the Microsoft Update Catalog homepage in your web browser.
- Use the search box in the upper-right corner of the Microsoft Update Catalog page to locate the failed update.
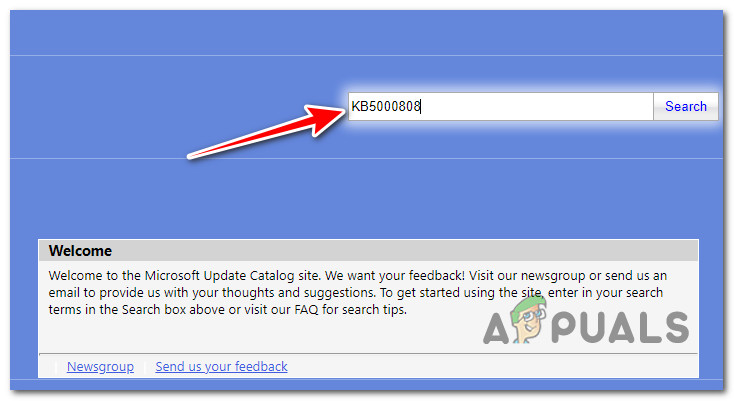
Searching for the missing update via the Microsoft Update Catalog Note: The updated code may be found in the WU error notice on the Windows Update page.
- From the list of results, identify the update appropriate to your Windows version.
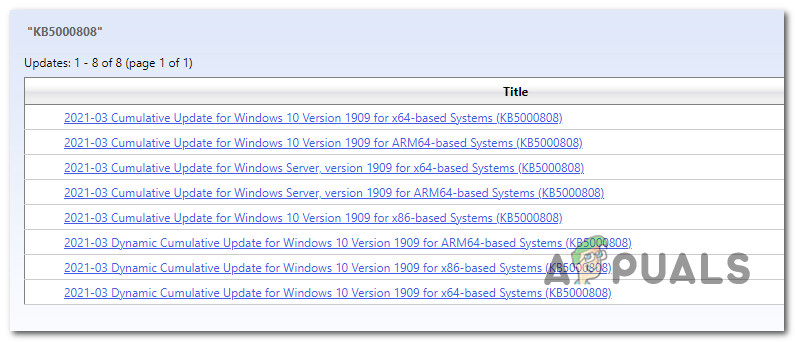
Downloading the Windows Update catalog Note: Consider the CPU architecture and Windows version while seeking for a relevant update, after assessing the data.
- Once you’ve identified the necessary update, click the Download button and wait for it to finish downloading.
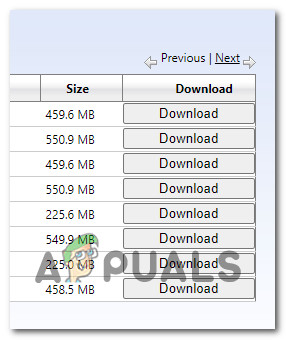
Downloading the correct update - Once the download is finished, double-click the executable file from the Downloads folder.
- Complete the sideloading of the next Windows update by following the on-screen instructions.
- Now that the update has been installed, restart your computer and check to see whether the 0x800f080a has vanished from the Windows update screen.
4. Perform SFC and DISM scans
The 0x800f080a Windows Update issue might potentially be caused by system file corruption affecting a system file.
Fortunately, Windows has a set of tools (SFC & DISM) that allow you to identify common system file corruption and repair the great majority of them without any required intervention on your part.
You may run both of these programs from an elevated Command Prompt window in fast succession to solve the underlying reasons for the 0x800f080a Windows Update error.
Here’s a simple step-by-step approach to conducting System File Checker and Deployment Image Servicing & Management scans:
- To open the Run dialog box, press the Windows key + R.
- Next, type “cmd” and press Ctrl + Shift + Enter to open a Command Prompt with elevated permissions.
Open an elevated CMD window - To grant administrator access, click Yes on the User Account Control (UAC) box.
- Enter the following command at the elevated CMD line and press Enter to run the initial SFC scan:
sfc /scannow
Note: The SFC tool has a tendency to stall in the middle of a scan, even if the scan is still running in the background. If you see this behavior during the scan, DO NOT stop it – doing so may result in logical problems on your OS disk. Wait a few minutes, and the utility should unfreeze on its own.
- Let’s run a DISM scan when the SFC scan is finished. To do so, use the following command:
Dism /Online /Cleanup-Image /CheckHealth
Important: DSM uses a subcomponent of Windows Update to download healthy versions of broken system files; hence, an internet connection is required to run this type of scan.
- Once both types of scans have been performed successfully, restart your computer and install the pending update once again to see if the issue is now fixed.
5. Uninstall potential conflicting programs (if applicable)
Even though Windows Update is supposed to be an isolated OS component that can’t be affected by a 3rd party process or startup items, there are a lot of confirmed cases where 3rd party applications are actually responsible for the 0x800f080a error.
Typically, security programs or system management programs are responsible for interfering with the installation of pending Windows updates.
Here’s a short list of programs that other users have confirmed to cause this issue:
- CCleaner
- Tune Up Utilities
- Win Optimizer
- Advanced System Care
- Argente Utilities
- System Mechanic
- Simplitec
- ReImager
- AVG TuneUp
- Glary Utilities
- Daemon Tools
- Speccy
If you’re currently using any of the programs listed above, follow the instructions below to temporarily uninstall them and see if the failing update now installs without the 0x800f080a error:
- Press Windows key + R to open up a Run dialog box.
- Next, type ‘appwiz.cpl’ inside the text box, then press Ctrl + Shift + Enter to open up the Programs and Features menu.
Open up the Programs and Features menu - At the User Account Control (UAC), click Yes to grant admin access.
- Once you’re inside the Programs and Features menu, scroll down through the list of installed programs and locate the installation that you suspect might be causing the 0x800f080a error.
- Right-click on the problematic program, then click on Uninstall from the context menu.
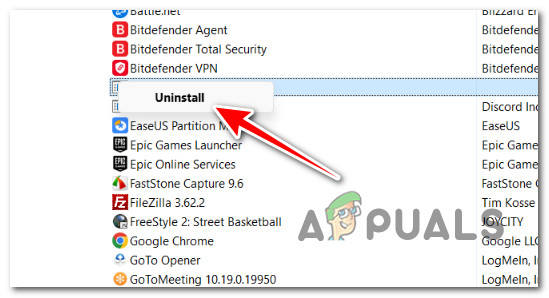
Uninstall the problematic program - Follow the on-screen instructions to complete the uninstallation.
- Reboot your Windows PC and see if the update is now installing without issues.
6. Refresh every Windows Component
Another reason why you might experience this problem is an inconsistency related to Windows Update or an associated dependency.
Before you move down to other methods that will produce ever-lasting effects on your system, a quick and effective way to make sure that no temporary WU files are causing the 0x800f080a error is to refresh every Windows Update component & download folder with a series of terminal commands (performed from an elevated CMD prompt).
Note: Microsoft released several ‘bad’ updates in the past that ended up creating installation problems with certain builds. The problem with these bad updates is that even if Microsoft addressed the issue quickly, there’s a chance the ‘bad’ update installation files are already physically present in one of the two folders (catroot2 and SoftwareDistribution) that Windows Update is using to store temporary files.
If you haven’t tried this yet, follow the instructions below to refresh every relevant WU component and clear the contents of the two Windows Update folders (Catroot2 & SoftwareDistribution):
- Begin by pressing the Windows key + R to bring up the Run dialog box.
- Then, in the text box that just appeared, write “cmd” and hit Ctrl + Shift + Enter to start an elevated Command Prompt terminal window.
Open a CMD window with admin access - When you see the UAC (User Account Control) window, click or tap on Yes to grant the necessary access.
- Once inside the elevated Command Prompt, enter the following CMD commands in the same order as listed below and press Enter after each one to stop any WU-related services:
net stop wuauserv

net stop cryptSvc

net stop bits

net stop msiserver
Note: To clarify what you’re actually telling the terminal to do – These instructions will halt the Windows Update Services, MSI Installer, Cryptographic services, and BITS services.
- After stopping all necessary services, use the following commands to clean and rename the SoftwareDistribution and Catroot2 folders:
ren C:\Windows\SoftwareDistribution SoftwareDistribution.old
ren C:\Windows\System32\catroot2 Catroot2.old
Note: These folders are in charge of storing updated files used by the WU component. Since you can’t delete them conventionally, renaming these directories will drive your operating system to produce new healthy counterparts. This will happen the next time you initiate the download of a pending Windows update.
- Now that the directories have been renamed, use the following commands to re-enable the previously deactivated services:
net start wuauserv

net start cryptSvc

net start bits

net start msiserver
- Restart your computer and install the pending update once again to force your OS to create new download folders. See if the 0x800f080A is now fixed.
7. Repair install or Clean install
If none of the solutions listed above were successful in resolving the 0x800f080a error while installing certain Windows Updates, you can assume that your problem is caused by an underlying system corruption issue that cannot be resolved without targeting the entire OS installation (with DISM and SFC scans).
If you’ve come this far without a resolution, replacing every Windows file with a healthy equivalent is the only option left. This can be accomplished by either an in-place fix (repair install) or a clean install.
A clean install is a simpler method, but the primary disadvantage is that you won’t be able to save your personal data (applications, games, personal media, etc.) unless you back them up first.
If, on the other hand, you choose a repair install, the process is somewhat more time-consuming, but the key benefit is that you get to preserve all of your personal data, including apps, games, personal media, and even certain user settings.


