How to Monitor your Network Performance using NPM?
We have entered an era where everything, in one way or another, is connected to a network. Computer networks are great and make carrying out tasks easier unless they are not maintained properly. The health of your computer network is very important especially if you are operating a business from the network. We all use high-end computers in our network and that’s what we should be doing, however, that is not the gist of network maintenance. High-end PCs enable you to perform resources demanding tasks which is great, though, there is one key point most of us miss on. To ensure that your network stays healthy and to avoid any downtimes which often occur to be a disaster, you have to deploy an automated tool that will monitor your network’s performance.
Manually maintaining a network has become near to impossible now if you take into consideration the complexity of networks these days. Why is that? The answer is quite obvious. The more traffic you have on your website, the harder will it be to maintain your network and keep it at optimum performance without the necessary tools. This was not the case when networks were invented as there weren’t that many people surfing the internet every day. Other than that, you also have to consider the fact that data is becoming more complex and large which affects your network directly. Hence, an automated tool that monitors your network’s performance and helps you manage and respond to issues before they have a major impact is necessary. For this purpose, we will be using the Network Performance Monitor tool by Solarwinds. Every IT engineer is aware of Solarwinds and they require no introduction when it comes to network and system management tools. NPM has to be their all-time-best product and it is an industry favorite, so you are in safe hands.
In this article, we will be showing you how to monitor your network’s performance using the Network Performance Monitor tool.
Installing Network Performance Monitor
Afore we get into the monitoring stuff, you have to deploy the NPM tool on your system. To download the tool, head to this link and click on Download Free Trial if you wish to evaluate the tool. You will be downloading the Orion Installer which is a utility that you can use to download and install multiple Solarwinds products like SAM, IPAM, SCM and more. Once you have finished downloading, follow the below instructions to install the tool:
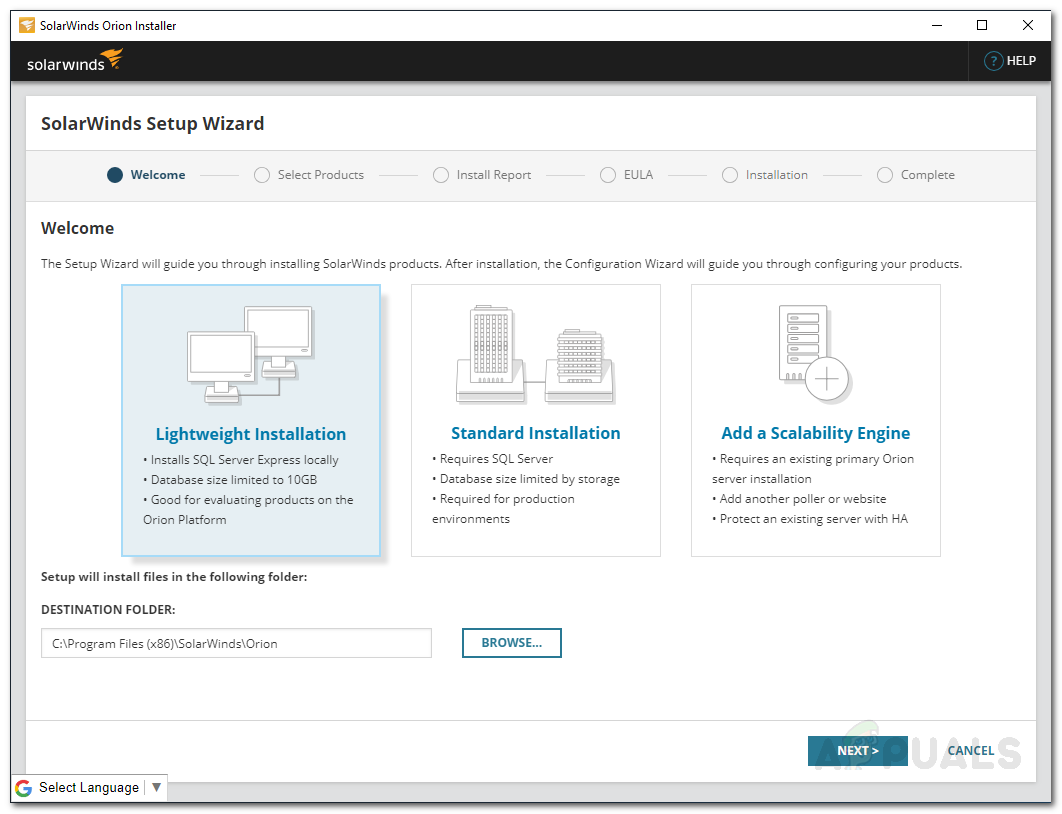
- Run the Orion Installer and wait for it to open up.
- If you wish to evaluate the tool, choose Lightweight Installation which will install all the required components. In case you are willing to test it directly on your main SQL server, choose Standard Installation. You can also alter the installation directory by clicking Browse. Then click Next.
Orion Installer - On the Select Products page, make sure Network Performance Monitor is selected and then click Next.
- After that, the installer will a few system checks. Wait for it to complete.
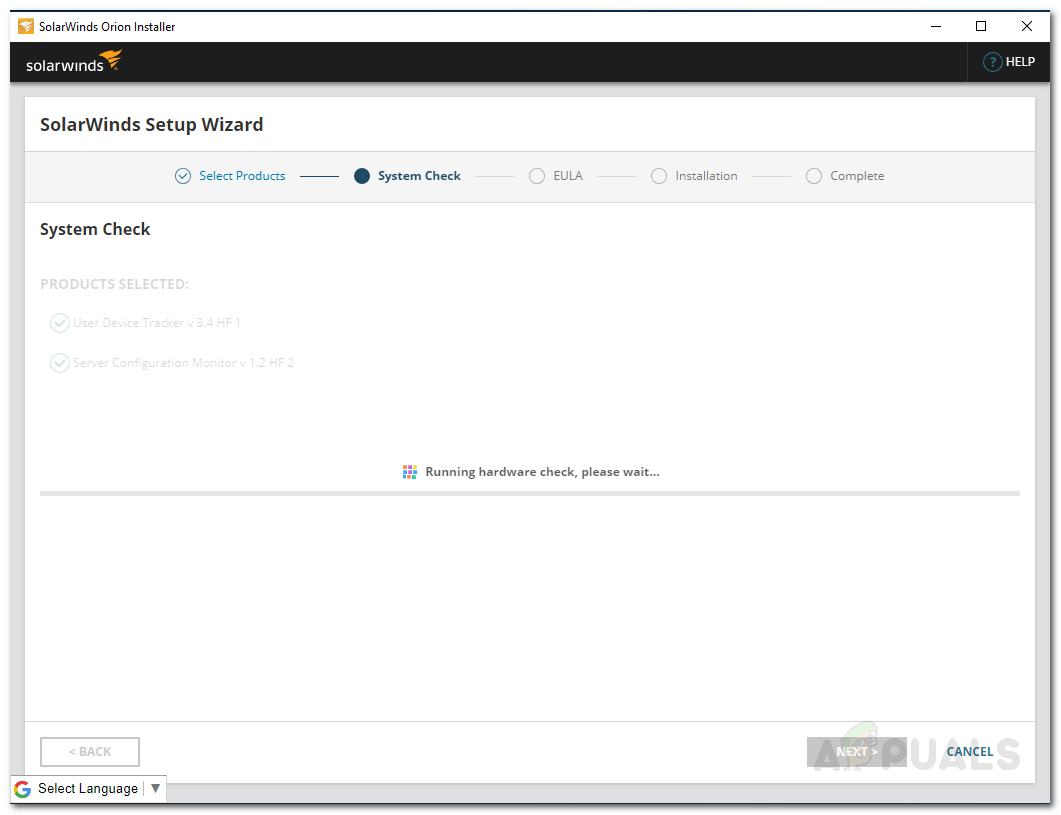
Orion System Checks - Accept the license agreement and then click Next.
- The installation will begin. Wait for the Orion Installer to finish installing Network Performance Monitor.
- Once the installation wizard has finished, the Configuration Wizard will open up. Click Next to begin the configuration wizard.
- On the Service Settings page, make sure the services are ticked and then click Next.
- If you chose Standard Installation, provide your database credentials and then click Next.

Database Settings - Similarly, on the Database Account page, you can either create an account or provide account credentials that the Orion Web Console will use to access the database. Click Next.
- Click Next again to begin the Configuration Wizard. Wait for it to finish and once the wizard has completed successfully, click Finish.
Discovering your Network
Now that Network Performance Monitor has been installed on your system, you will have to log in to the Orion Web Console and then discover your network using the Network Sonar Wizard. Doing that is pretty simple and here’s how to do it:
- Once you close the configuration wizard, you will be automatically prompted to the Orion Web Console page. If you are not, you can easily access it by opening a web browser and typing ‘HostnameorIPaddress:Port’. The default port is 8787 for Orion Web Console.
- You will be asked to create a password for the admin user when you access it the first time. Do so and then click Save & Login.
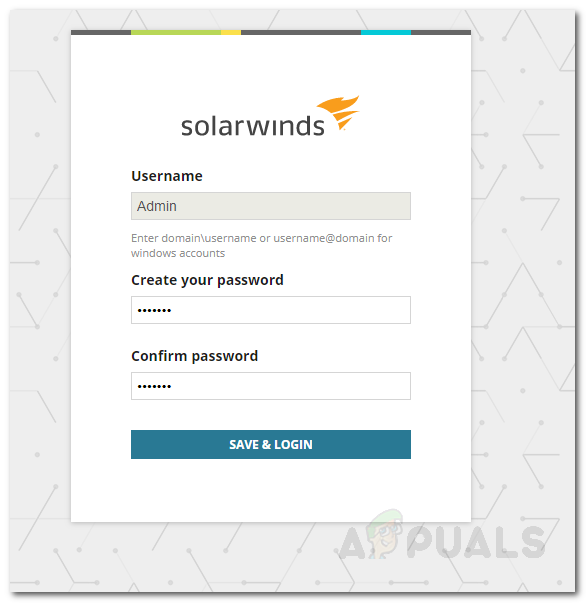
Creating a Password - Now, navigate to Settings > Network Discovery on the toolbar.
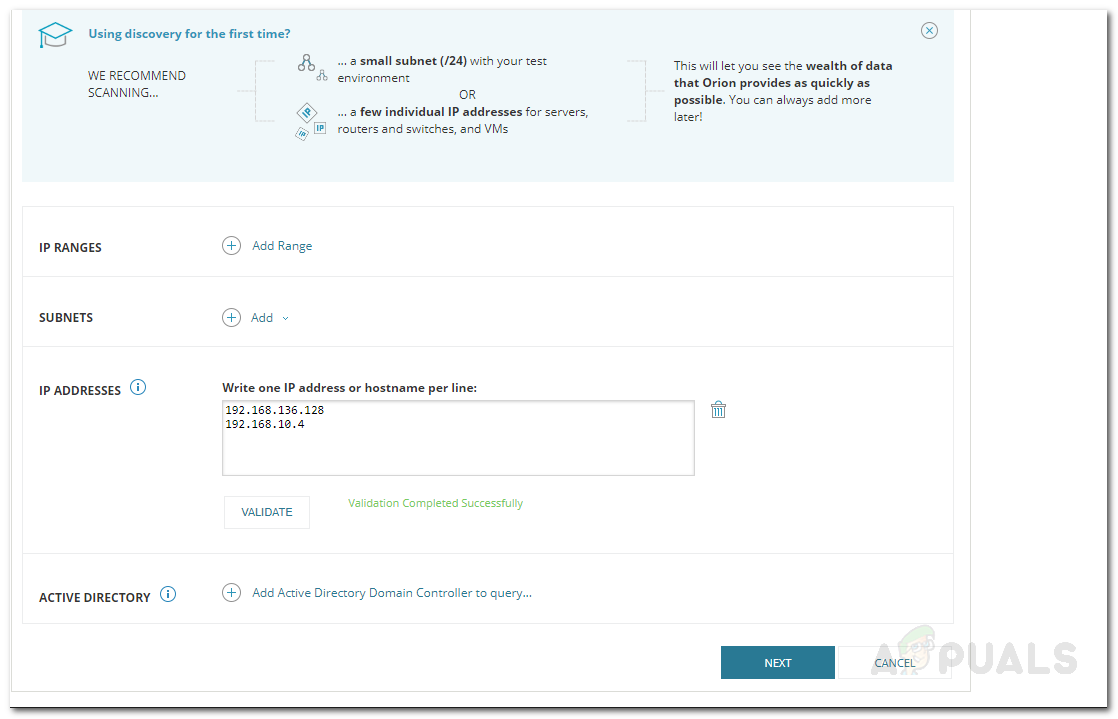
- Click on Add New Discovery to start the Network Sonar Wizard.
- You will be provided four options for discovering your network i.e. an IP address range, subnets, individual IP addresses or via the Active Directory Controller. Add in one of the given fields and then click Next.
Network Discovery - Now, on the Agents page, select the provided option (pretty self-explanatory) if you wish to do so and then click Next.
- You can discover any VMware ESX or vCenter hosts on your network on the Virtualization page. To add a host, just click Add New Credential, provide the required credentials, and hit Save.
- Now, on the SNMP page, if you are using any SNMPv3 strings, click the Add New Credential button and provide the credentials. Also, if you are using SNMPv1 and SNMPv2 community strings other than public and private, add them using the Add New Credential option.
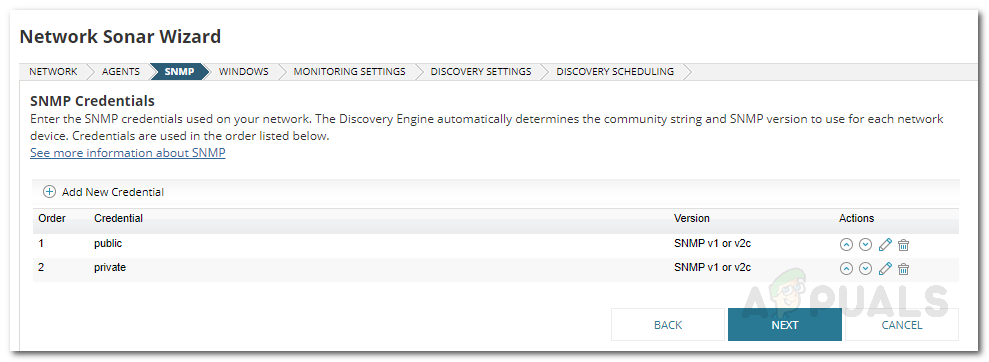
SNMP Discovery - After that, if you wish to discover any Windows devices on your network, click the Add New Credential button and provide the credentials on the Windows page. Then, hit Next.
- For the Monitoring Settings panel, if you are discovering Windows devices, it is recommended that you use WMI as the polling method. Leave the ‘Manually set up monitoring after devices are discovered’ option selected and then click Next.
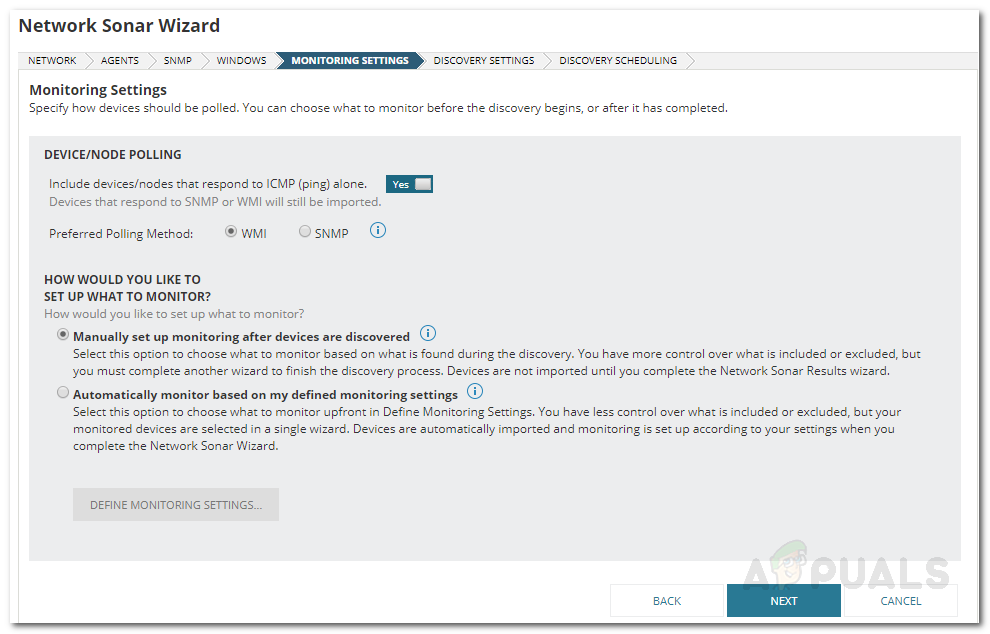
Monitoring Settings - Give this discovery a name on the Discovery Settings page and then hit Next.
- If you wish to scan your network more than once, you can change the Frequency on the Discovery Scheduling page. Once done, click Discover.
Adding Discovered Devices to NPM
After you have discovered your network using the Network Sonar Wizard, you will have to import the discovered devices to NPM. This can be done using the Network Sonar Results Discovery which opens up automatically when the Network Sonar Wizard has discovered your network. Here’s how to add your devices:
- Select the devices you want to monitor and then click Next.

Discovery Results - After that, select the interfaces you want to monitor and then click Next.
- Follow it up with the volume types you wish to monitor and then hit Next again.
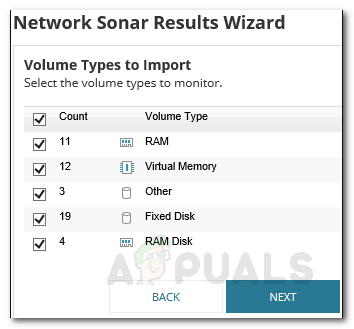
Volume Types Monitoring - Preview the import summary and once done, click Import.
- Wait for the import to complete and then hit Finish on the Results page.
Start Monitoring
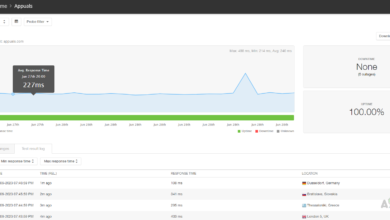
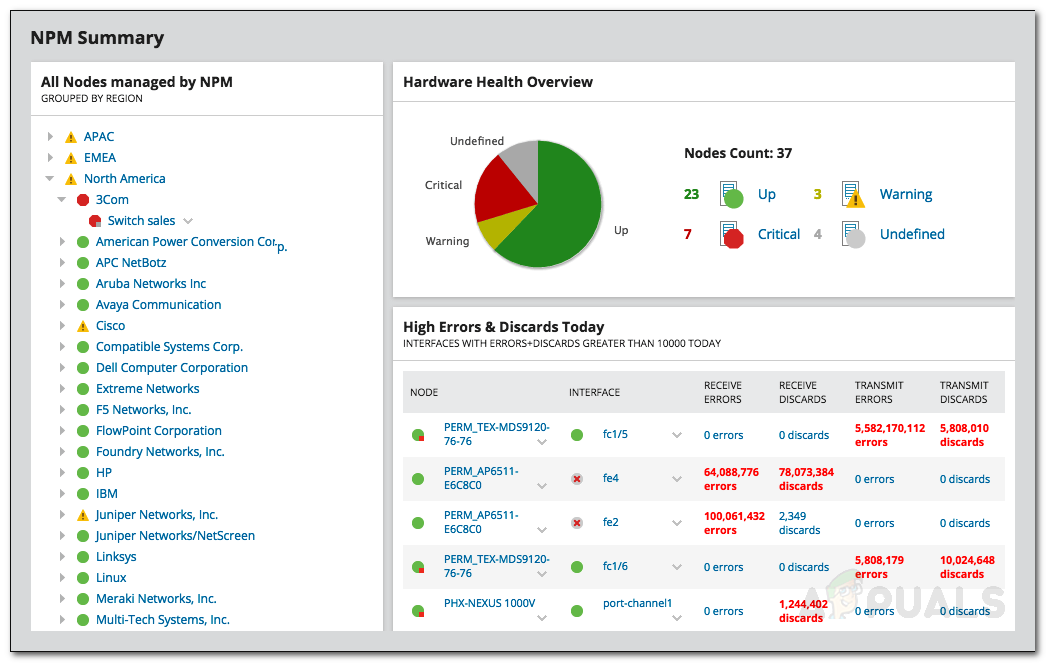
Now that you have set everything up, you can start monitoring the devices you have added to NPM. To do that, simply navigate to My Dashboard > NPM. Here, you will be shown the summary of the devices that you have added. It might not be instantaneous as the tool might require some time to collect the data. After it has collected enough data, it will show the performance of your network and you can monitor easily. The tool also displays alerts that you can keep an eye on to fix issues that are caused in the network.