How to Fix AMD Driver Timeout Issue on Windows?
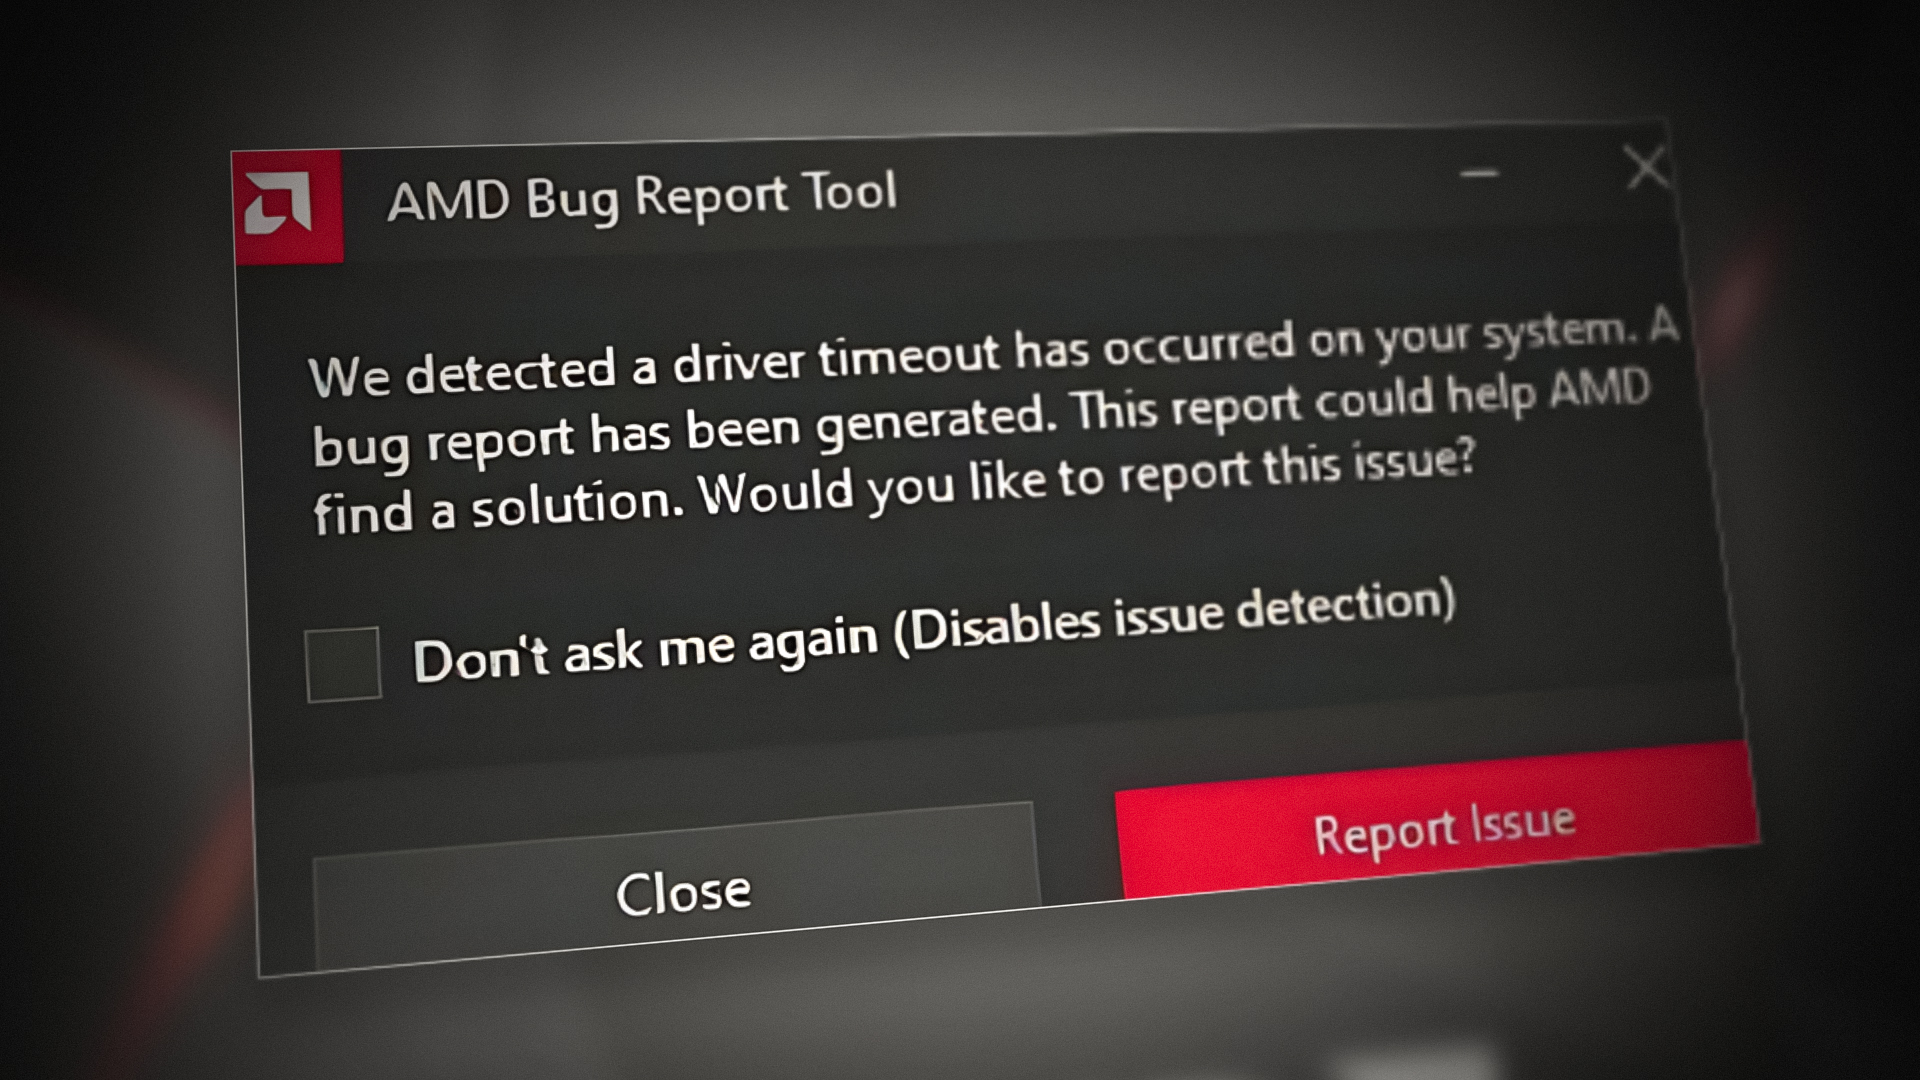
When the AMD driver timeout happens, your screen may flicker or go black, and you’ll usually see a message saying “Display Driver Stopped Responding…” This often pops up while you’re playing games like Dota 2 or CS2, or even when you’re just switching between windows or tabs. This error is called a TDR (Timeout Detection and Recovery) event. It means your graphics card driver didn’t respond in time, so Windows tried to reset it.
The most common cause of this issue is unstable GPU speeds or power problems—this can happen if the GPU is running at high speeds set by the factory, or if it’s been undervolted. Other things like outdated drivers, incorrect RAM settings (like XMP/DOCP), BIOS settings, bad power supply cables, MPO (multi-plane overlay), or certain Windows power plans can also cause this error.
Now that you know the causes, let’s discuss the solutions.
1. Update the Operating System to the Latest Build
An outdated version of Windows may not work well with your AMD driver, which can cause timeout errors. Updating Windows to the latest version often fixes this issue.
- Press the Windows key, type “Check for Updates” in the search bar, and open the System Settings.
- In the Windows Update section, click Check for Updates. If updates are found, download and install them. Don’t forget to check for any Additional Updates too.
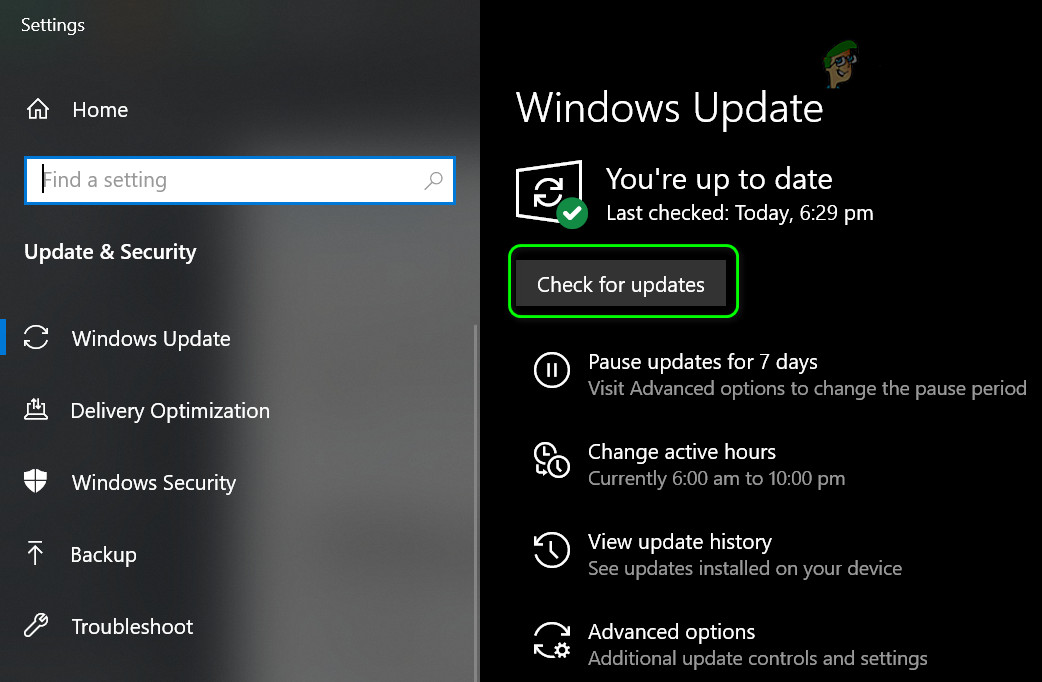
Check for Windows Updates - Restart your computer and see if the AMD driver timeout issue is fixed.
- If updating Windows doesn’t solve it, try running these repair scans: SFC, DISM, and ChkDsk.
If the problem is still there, consider cleaning out dust from your system or GPU and making sure your RAM sticks are properly installed.
2. Set Your PC to the Best Performance Mode
If your PC is running on battery saver or a power-saving mode, it might not be giving your AMD driver the resources it needs, causing a timeout. Switching to high performance can help.
2.1. On a laptop:
- Click the Battery icon in the system tray and set the Power Mode slider to the far right for best performance.
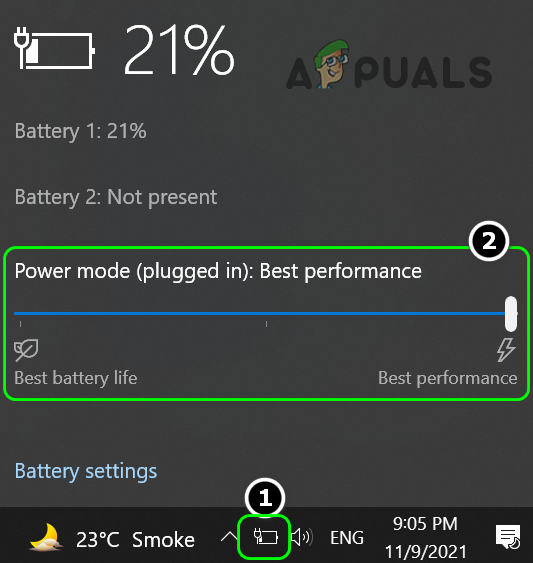
Set Power Mode to Best Performance - Check if the driver timeout problem is gone.
2.2. On a desktop PC:
- Right-click the Windows icon and select Power Options.
- Under Related Settings, choose Additional Power Settings, then select Create a New Power Plan.
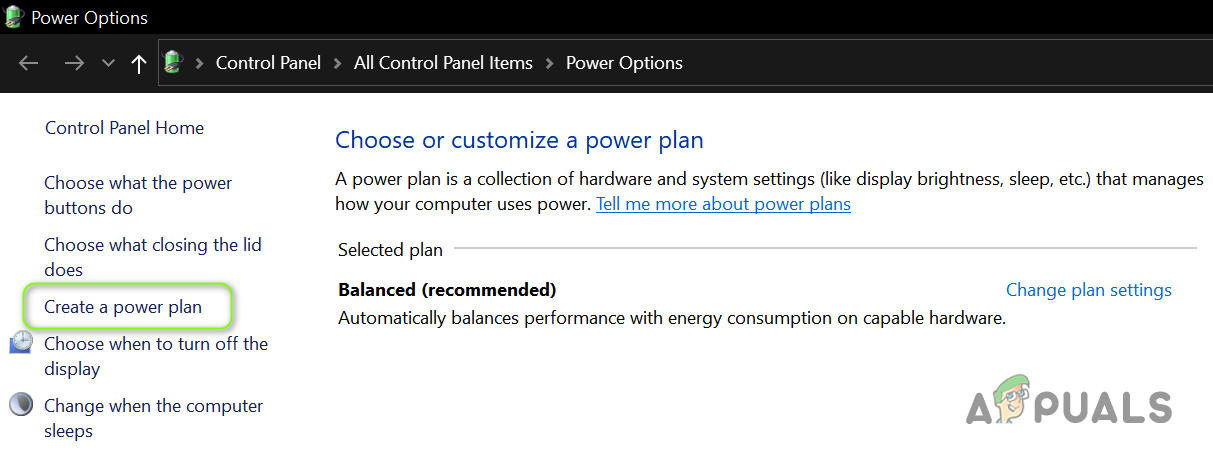
Create a Power Plan - Select High Performance and click Next.

Create a New High-Performance Power Plan - Click Create and restart your PC.
- Once restarted, see if the AMD driver issue is fixed.
3. Increase the System’s Virtual Memory
Virtual memory helps your computer by using part of your hard drive as extra RAM. If it’s set too low, your AMD driver might not have enough room to work properly. Increasing virtual memory could help.
Before you start, make sure you have free space on your drive. You can use Disk Cleanup or remove temporary files.
- Type “View Advanced System Settings” into the search box and open it.
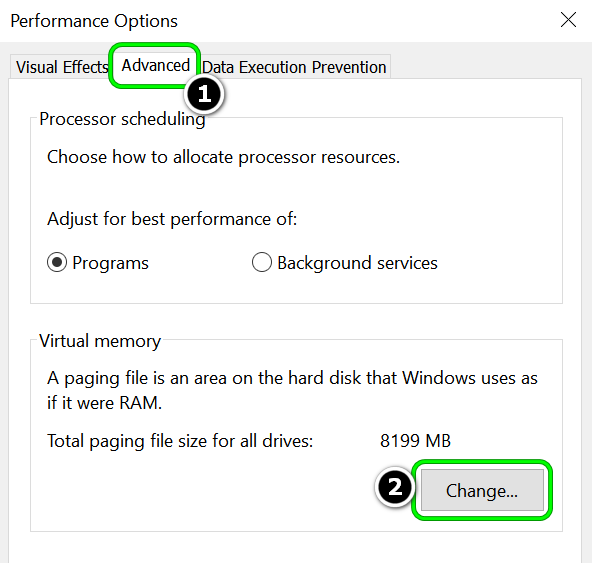
- Click on Performance Settings and go to the Advanced tab.
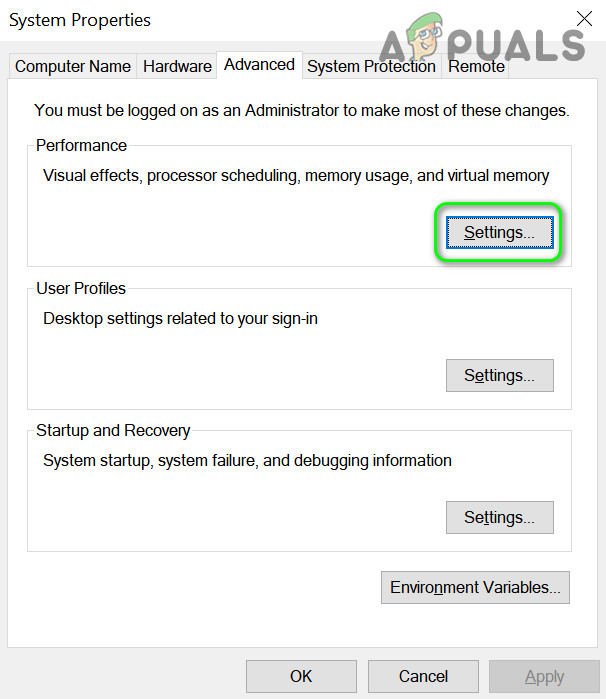
Open Performance Settings in Advanced System Settings - In the Virtual Memory section, click Change.
Click on Change in Virtual Memory Section - Uncheck Automatically manage paging file size for all drives. Choose your main system drive.
- Select Custom size. For the initial size, type in the number labeled “Recommended” from the total paging file section (e.g., 1908 MB).
- For the maximum size, enter the current “allocated” value (e.g., 6144 MB).
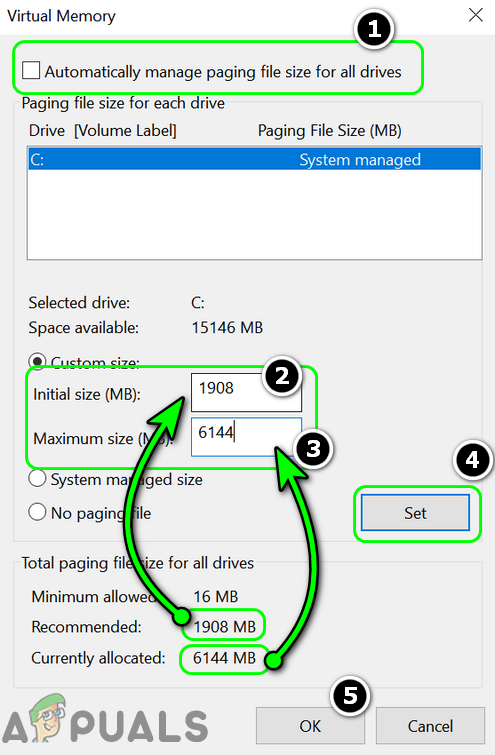
Set Custom Size of Virtual Memory of Your System - Click Set, then Apply, and restart your computer.
- After reboot, check if the AMD driver timeout problem is fixed.
4. Decrease the Refresh Rate of Your Display
If your monitor’s refresh rate is too high or not supported by your card, it may cause timeout errors. Lowering the refresh rate may help.
- Right-click the desktop and choose Display Settings.
- Go to Advanced Display Settings and open Display Adapter Properties.
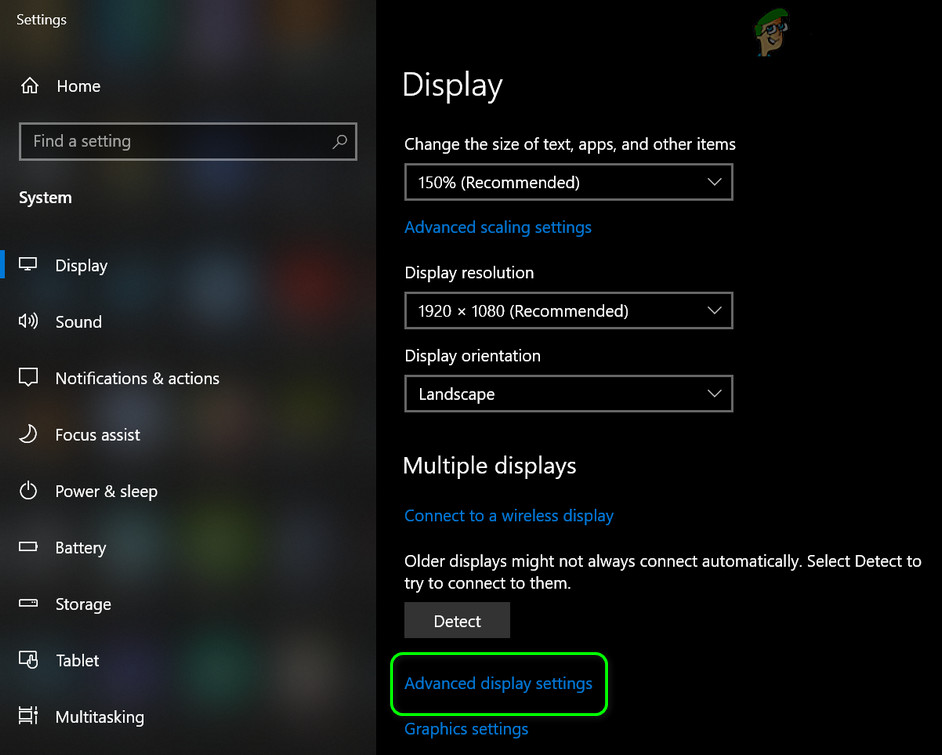
Open Advanced Display Settings - Select your display, then open the Refresh Rate menu.
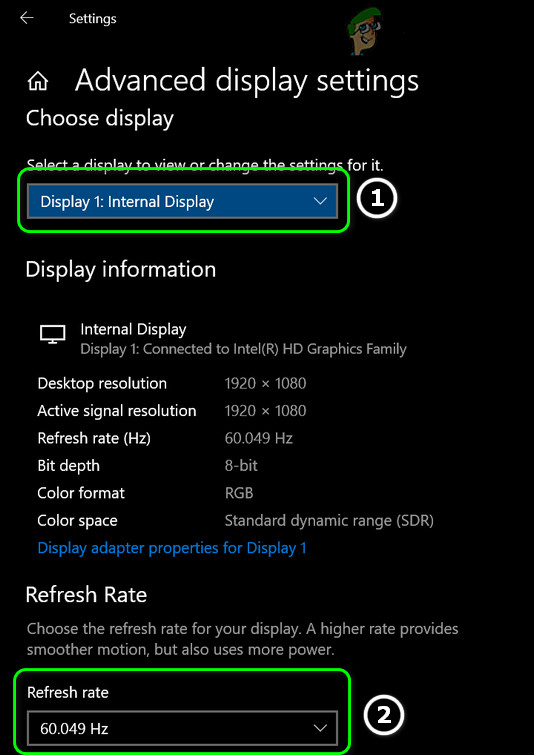
Set the Refresh Rate in the Windows Settings - Choose a lower refresh rate (for example, drop from 144Hz to 100Hz), then apply changes.
- Restart your computer and check for the timeout error again.
- If the problem continues, try temporarily disabling and re-enabling your AMD graphics card in the Device Manager.
5. Disable Fast Startup of the System
Windows Fast Startup helps you boot up quickly, but sometimes it interferes with AMD drivers. Disabling Fast Startup can help.
- Right-click the Windows icon and choose Power Options.
- Click Additional Power Settings, then on the left, select Change What the Power Buttons Do.

Open Additional Power Settings - Choose Change Settings That Are Currently Unavailable.
- Uncheck Turn on Fast Startup, then click Save Changes.
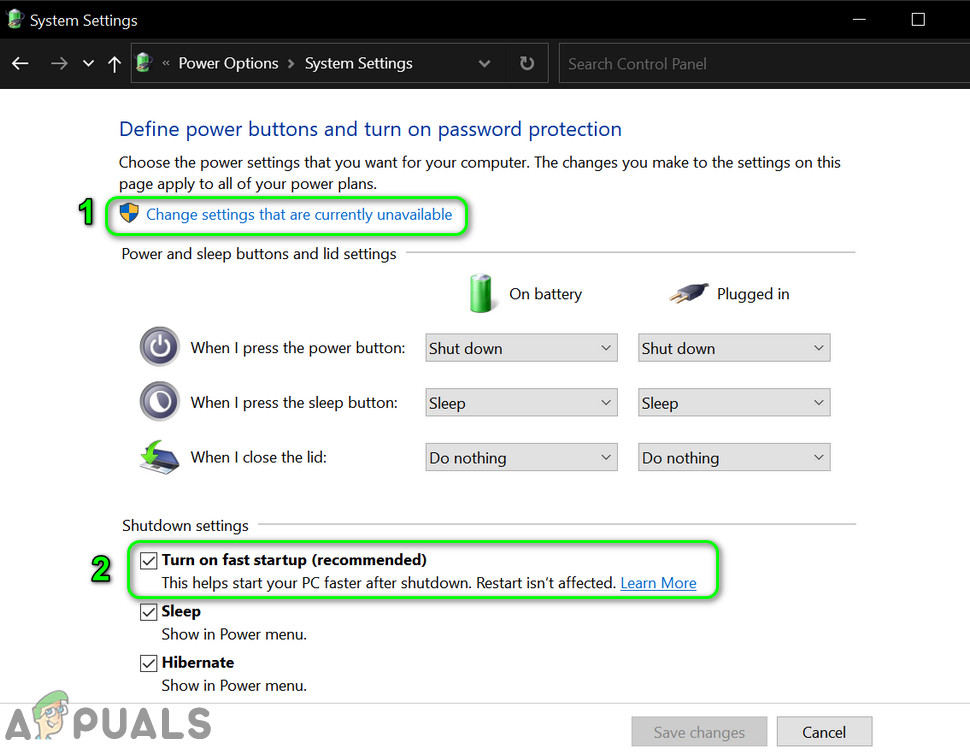
Disable Fast Startup - Restart your PC and check if the problem is fixed.
If you still have issues, try doing a clean boot to see if another program is causing conflicts.
6. Disable Issue Reporting of the AMD Driver
If the timeout error message pops up but your system still works fine, disabling “issue reporting” in the AMD Adrenaline software can stop those messages from showing.
- Open the AMD Adrenaline software and go to Settings.
- Turn off the Issue Reporting toggle, then restart your PC.
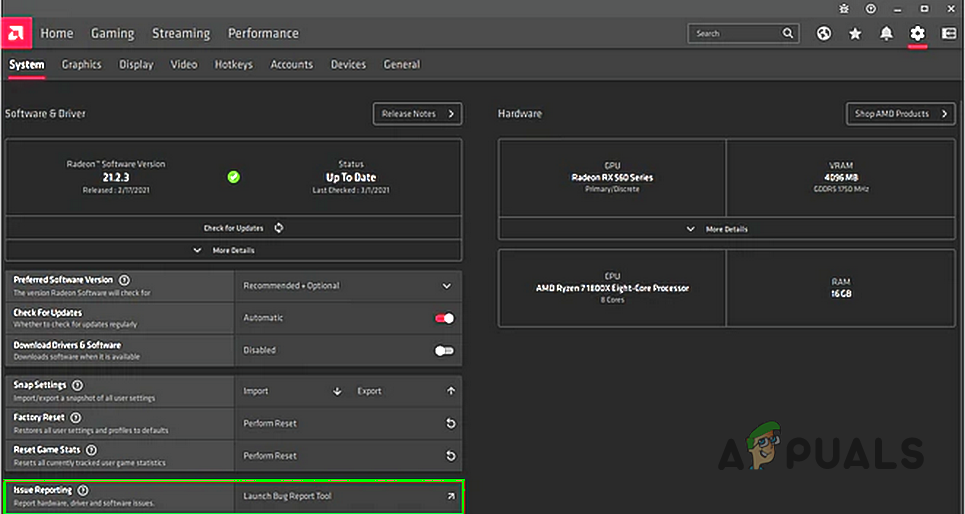
Disable Issue Reporting of AMD - After restarting, check if timeout error messages stop appearing.
7. Update, Reinstall, or Try an Older AMD Driver
A broken or outdated AMD driver is a common cause of timeout errors. You can try updating to the latest version, reinstalling, or rolling back to an older, more stable version.
- Right-click the desktop and choose AMD Radeon Settings.
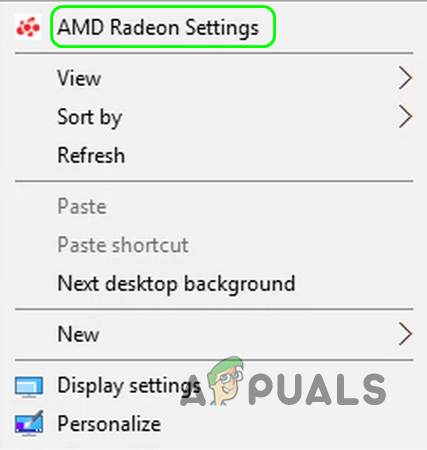
Open AMD Radeon Settings - Go to Updates (bottom left) and choose Check for Updates.
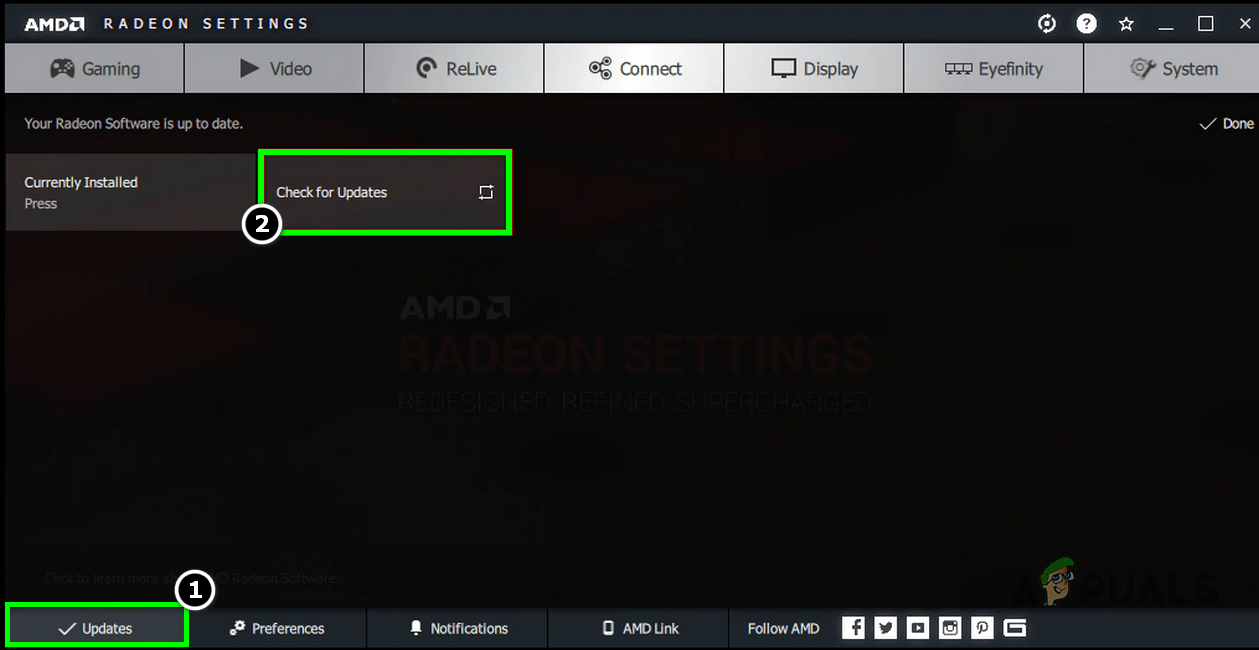
Check for AMD Drivers Updates - Download and install if a new driver appears.
- Restart your PC and check if the problem is fixed.
- If there’s no improvement, try downloading and installing the latest driver using the offline installer—no need to uninstall the old one first.
If you still have problems, do a clean installation:
- Get the latest trusted AMD drivers from the AMD website.
- Download AMD Cleanup Utility or Display Driver Uninstaller (DDU):
https://www.amd.com/en/support/kb/faq/gpu-601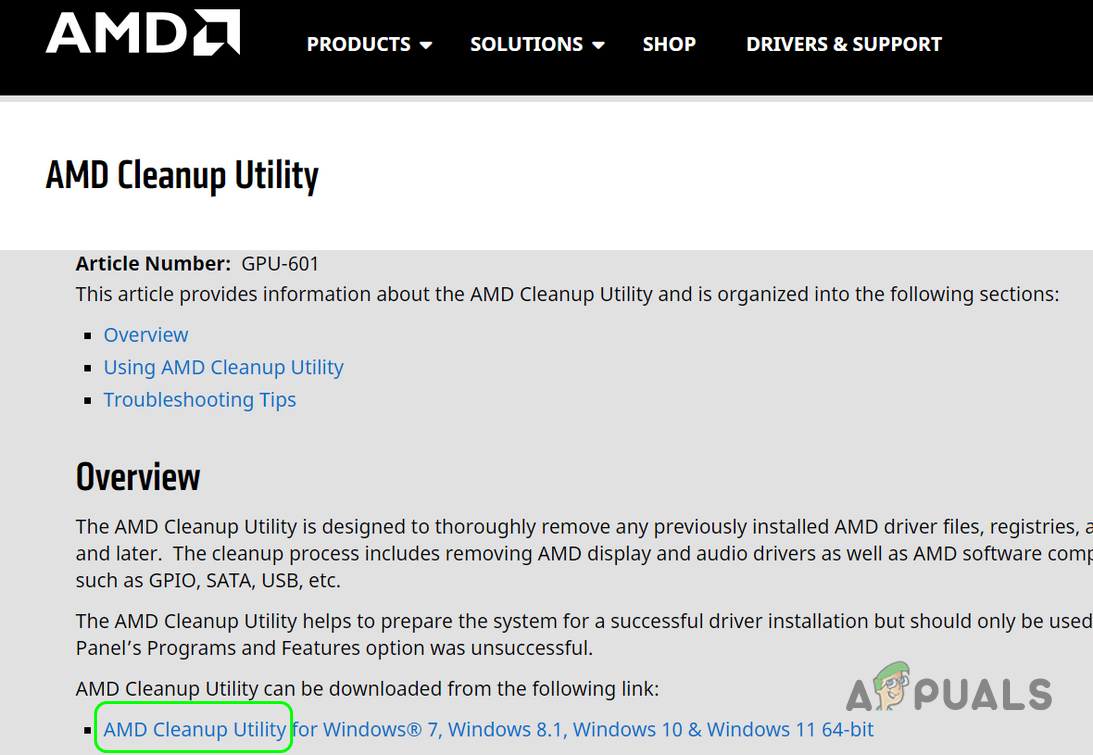
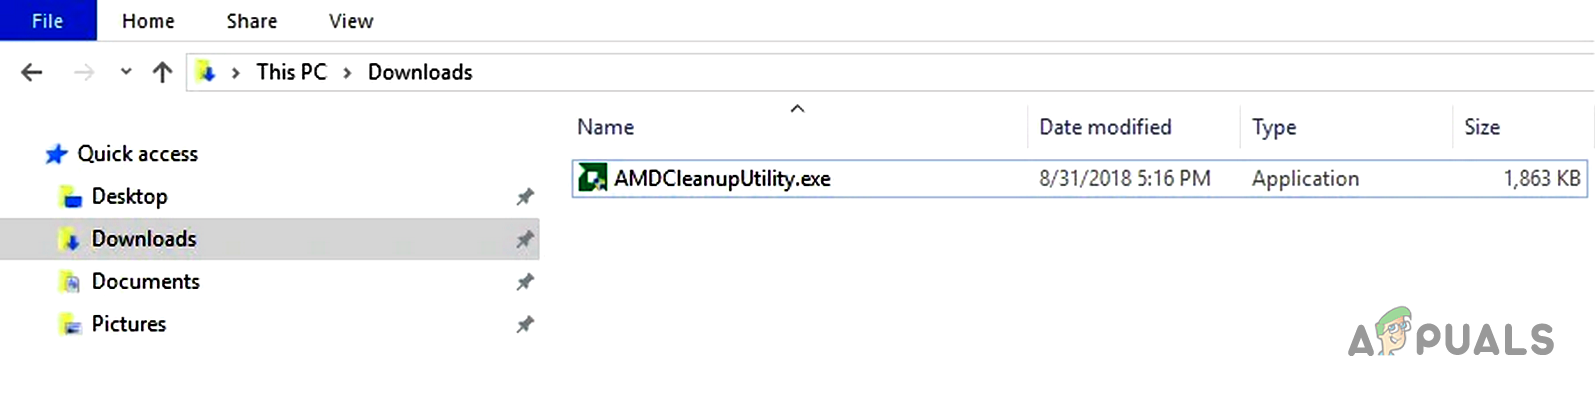
Download AMD Cleanup Utility - Run AMDCleanupUtility.exe.
Launch the AMD Clean Up Utility - Agree to restart in Safe Mode as prompted, and follow on-screen steps.
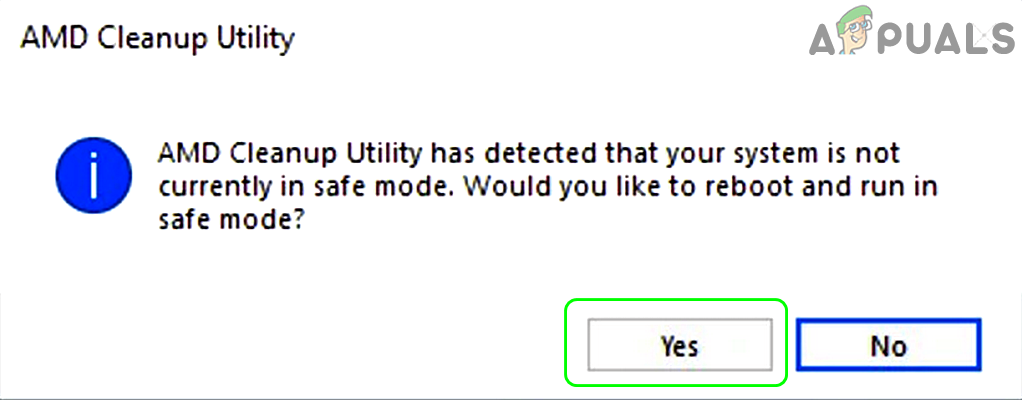
Confirm the AMD Cleanup Utility to Launch Your System in Safe Mode - Wait for drivers, utilities, and apps to be removed. The screen may flicker—that’s normal.
Wait till the AMD Cleanup Utility Removes Drivers, Applications, and Utilities - Click Finish in the dialog box and Yes to restart once done.
Click Finish When AMD Cleanup Utility Completes - After restart, wait a couple of minutes, restart again, then install the fresh AMD drivers using the default settings.
- Restart your PC, enable your internet, and see if the issue is fixed.
- If not, uninstall again as before, restart, and during reinstallation, check the Factory Reset box for a truly clean install.
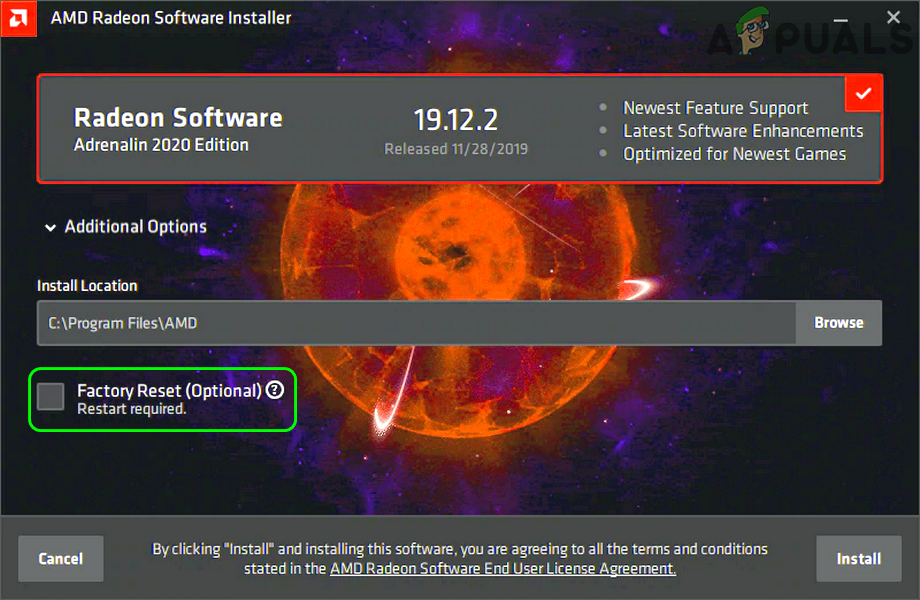
Select Factory Reset When Installing AMD Driver - Reboot and check for the timeout error again.
If the most updated drivers just won’t work on your system, going back to an older driver version can sometimes fix the problem.
- Uninstall your current AMD driver as above, then go to:
https://www.amd.com/en/support/download/drivers.html
- Select your AMD product and hit Submit.

Select Your AMD Product and Click Submit - Scroll down, click on Previous Drivers.
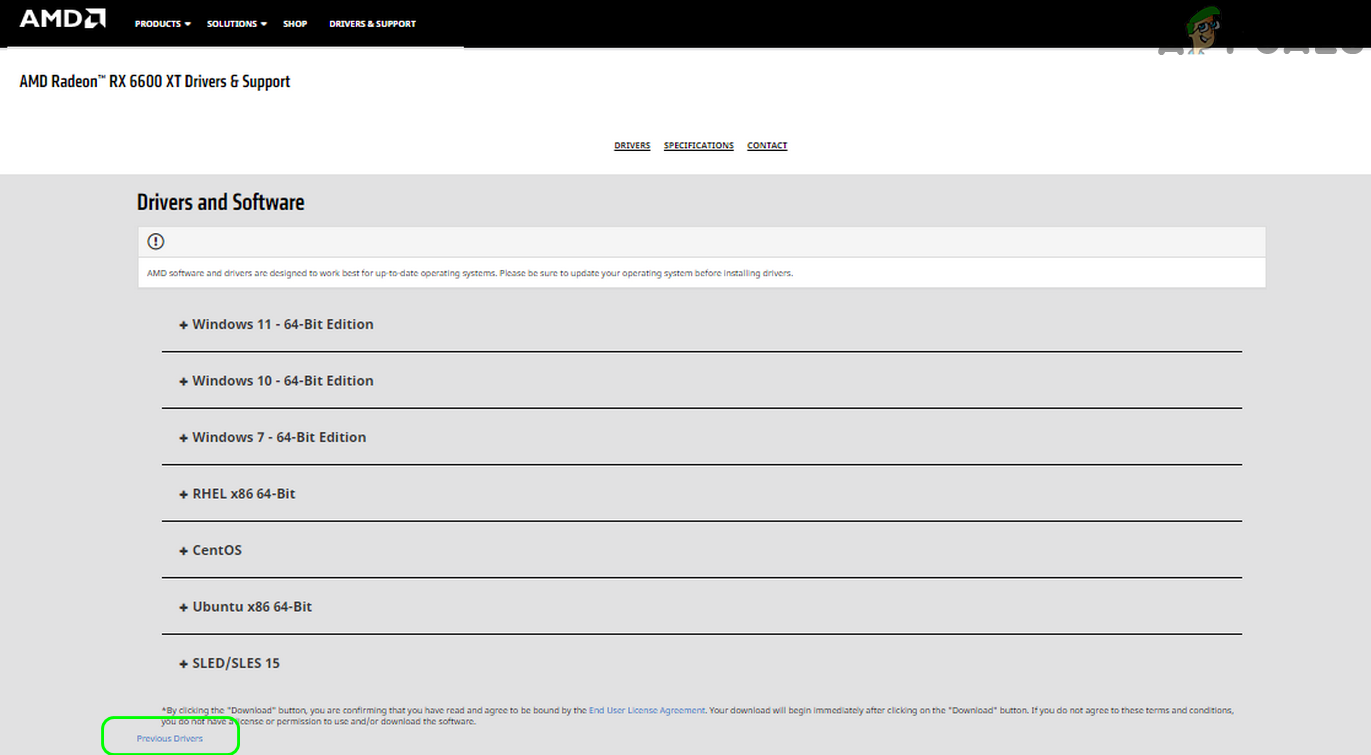
Download Previous Drivers of the AMD Card - Download, install, and restart each time to see if the timeout issue disappears. Try other versions if needed.
8. Install the AMD Driver Without the Adrenaline Software
- Uninstall your current AMD driver as described earlier and restart your computer. Download the newest AMD drivers that come with Adrenaline.
- Start the installer as administrator and begin installation. When the driver files are being extracted, make a note of the folder path.
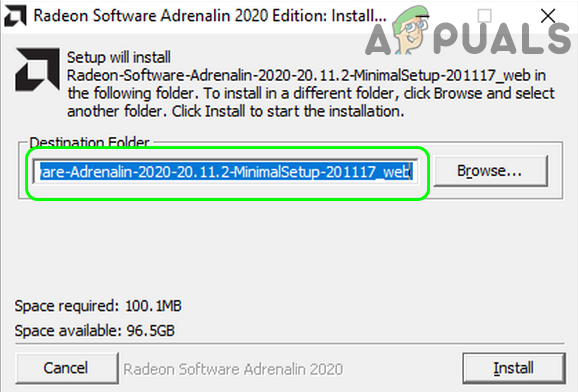
Copy the Path of the Extraction Folder of the AMD Driver - As soon as extraction is done, cancel the rest of the install.
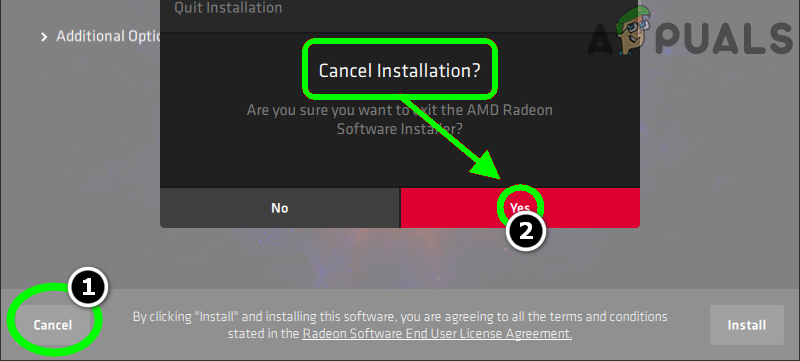
Cancel the AMD Installation - Open Device Manager, find and expand “Display Adapters,” right-click your AMD card.
- Choose Update Driver → Browse My Computer for Drivers.
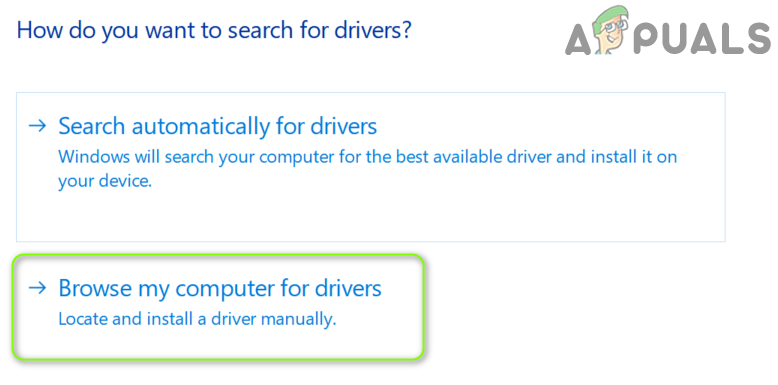
Select Browse My Computer for Drivers - Browse to the location where the driver files were extracted, and install.
- Reboot after installation and check if the timeout issue is resolved.
9. Clear the Shader Cache
Shader Cache helps games start faster by storing certain files, but if these files get corrupted, it might cause AMD driver timeouts. Clearing the cache often solves this.
- Open the AMD Adrenalin application. Go to Settings → Graphics.
- Click Perform Reset next to Shader Cache, and confirm the reset.
- Try running your game or software again to see if the timeout error is gone.
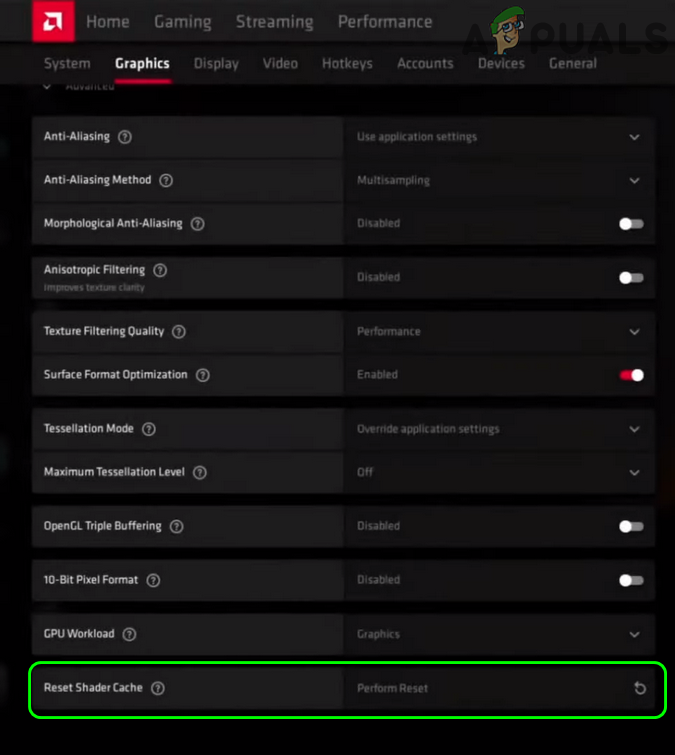
Reset the AMD Shader Cache - If you’re still having problems, switch your game profile to Standard and see if that helps.
10. Disable FreeSync and Virtual Super Resolution in AMD Settings
While FreeSync can create smoother gameplay, sometimes it interferes with AMD drivers.
- Open AMD Radeon Settings and go to the Display tab.
- If you have more than one display, select the affected one, then switch off AMD FreeSync.
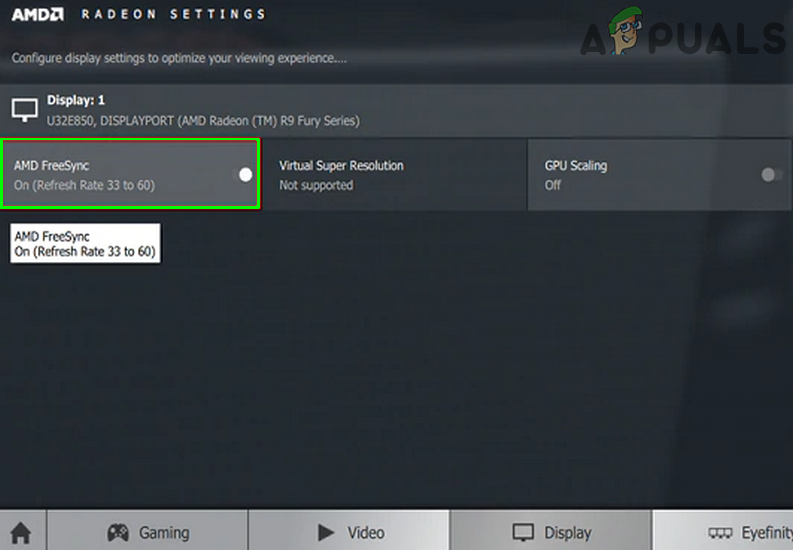
Disable AMD FreeSync - See if the error goes away. If not, try turning off Virtual Super Resolution too.
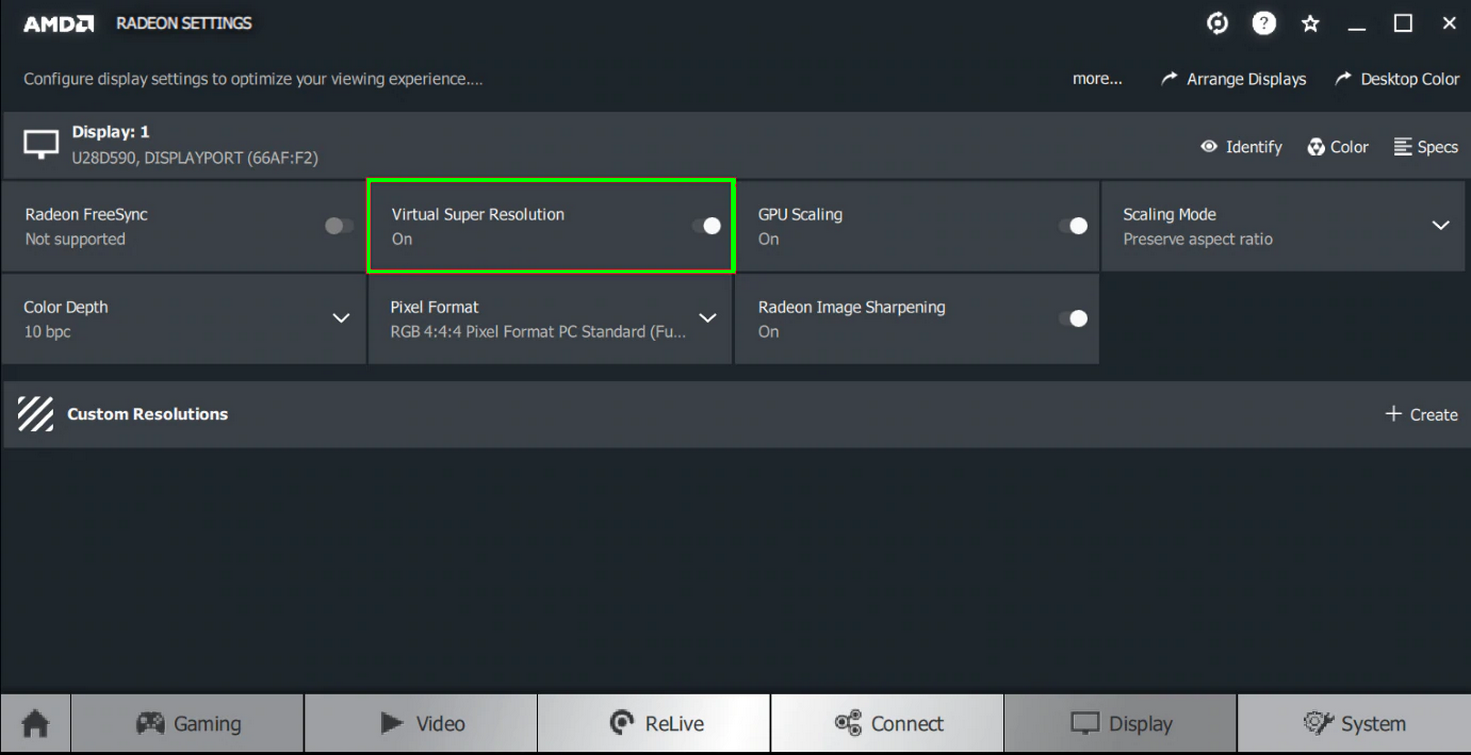
Disable AMD Virtual Super Resolution - If issues persist, try switching Graphics Settings to “Energy Safe” mode.
11. Edit Frequency and Voltage Settings
Sometimes tuning your graphics card’s frequency or voltage can help with timeout errors—but be careful: doing this incorrectly can cause instability or even hardware damage.
Warning: Please proceed only if you’re comfortable with this process, as it can impact system reliability.
- Open Radeon Software and go to the Performance tab.
- Switch to Manual control. Turn on GPU Tuning then Advanced Control.
- Try lowering the GPU frequency to about half the maximum value and apply the change. See if the error stops.
- If the error persists, try setting the Frequency at 1350MHz and Voltage at 850mV.
- Still not fixed? Set Frequency to 2000MHz and Voltage to 1100mV.
- If all that fails, enable Automatic → Undervolt GPU.
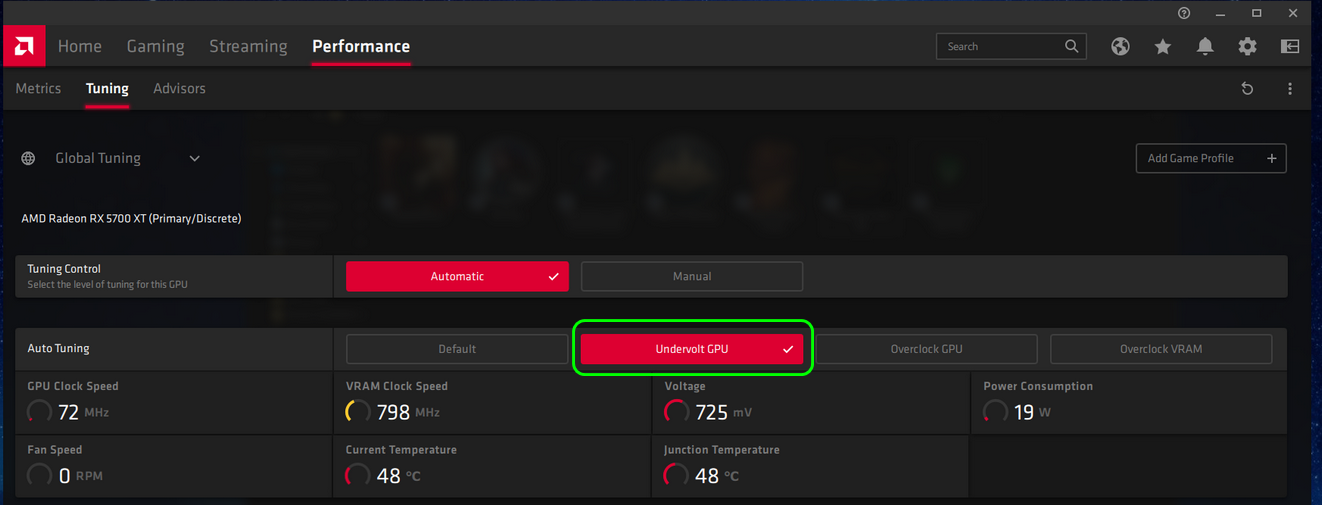
Auto Undervolt AMD GPU
Sometimes simply increasing the power limit of your AMD card can fix the problem.
- Open AMD Radeon Software, go to Performance.
- Open Tuning and select Manual mode.
- Turn on Power Tuning and raise the Power Limit by 50%. Be sure to apply changes, then reboot.
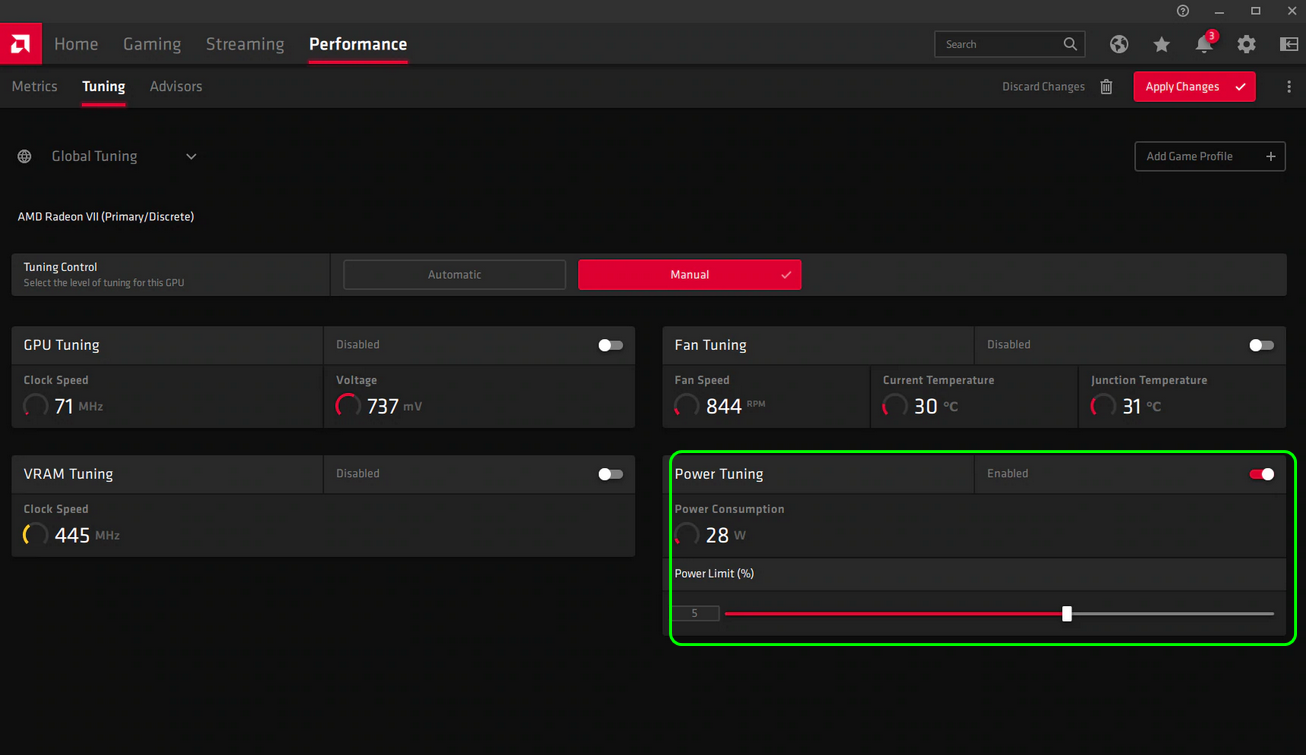
Increase Power Limit of AMD by 50% - After rebooting, check for the timeout error.
12. Fine Tune the System’s Fan
Overheating can cause driver timeouts. Adjusting how your system’s fan works can sometimes help.
- In AMD Radeon Software, open Performance and go to Tuning.
- Enable Fan Tuning. Try increasing the maximum fan temperature to 100°C and check for improvements.
13. Edit the System’s Registry
Sometimes Windows doesn’t wait long enough for the graphics card to respond, causing a timeout error. You can make Windows wait longer by increasing the TDR Delay in the registry. Be careful: Making mistakes here can cause other issues.
Warning: Back up your registry first: Learn how here.
- Press Windows key, type “Registry Editor,” right-click it, and choose Run as Administrator.
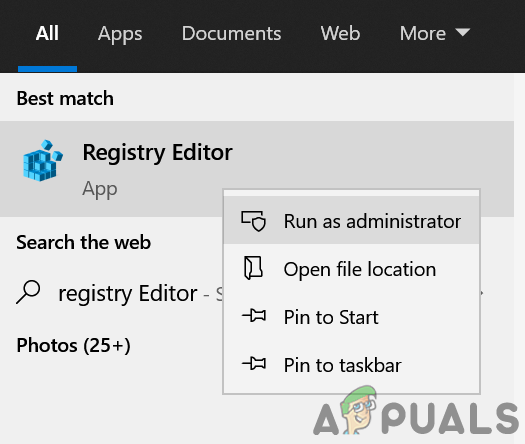
Open Registry Editor as Administrator - Go here in the left sidebar:
HKEY_LOCAL_MACHINE\SYSTEM\CurrentControlSet\Control\GraphicsDrivers
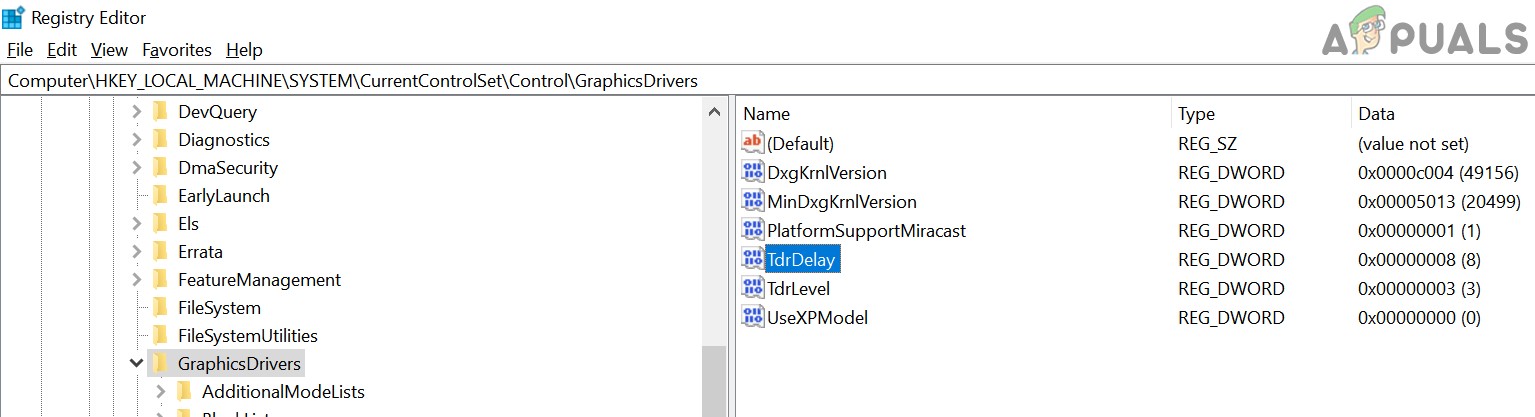
Create a TdrDelay Registry Key and Set its Value to 8 - Right-click in the right pane, choose New → DWORD (32-bit) Value.
- Name it TdrDelay and set its value to 8 or 30.
- Repeat, but now select New → QWORD (64-bit) Value. Call it TdrDelay and set the value to 8 or 30.
- Restart your computer and see if things improve.
- If needed, open Notepad and paste the following:
Windows Registry Editor Version 5.00

[HKEY_LOCAL_MACHINE\SYSTEM\CurrentControlSet\Control\GraphicsDrivers]

"TdrDelay"=dword:0000000a

"TdrDdiDelay"=dword:00000019
- Save as TDR.reg, double-click it to add to your registry, then restart your PC.
If this only happens in one game or program, reinstalling that application (like Adobe After Effects) can help. Make sure certain games are using the DirectX version they like best—many older games prefer DirectX 11. For browsers with this issue (like Chrome), try turning off hardware acceleration. Some users have also found that keeping AMD Radeon Software minimized in the background solves the issue.
If you’ve tried everything and still get the error, consider resetting your PC or reinstalling Windows. If the problem comes back, your graphics card might be failing—try another GPU if possible, or test your AMD card in a different computer to check.


Tuning power output fixed it here