Fix: Windows Repeatedly Installing Incorrect AMD Drivers
Windows continuously install incompatible AMD Drivers from its Update Archive as part of automatic Windows Updates, which results in degraded GPU performance and loss of frames and limits the functionality of your GPU with third-party apps and programs, including games.
This mainly occurs for laptop users as they have mobile GPU chipset(s), these GPU(s) have their own driver mostly provided by manufacturer on the product page. However, Windows treat these mobile GPU(s) as normal desktop GPU(s) sometimes and installs an incorrect, incompatible or outdated version of GPU driver.
This can be easily fixed by disallowing Windows to install the drivers through Windows Update Settings. In this guide, we will go through several tips and methods you can use to avoid such situations.
1. Use the Microsoft Show or Hide Updates to avoid GPU driver update
Microsoft Show or Hide Updates is a utility that allows users to view or hide problematic Windows updates, including driver updates. By using this utility, you will be able to prevent Windows from keep installing the wrong or outdated GPU driver.
First, you need to uninstall the GPU driver from the device manager, and then you will be able to hide the driver update that keeps installing on your Windows. To do this, follow the steps.
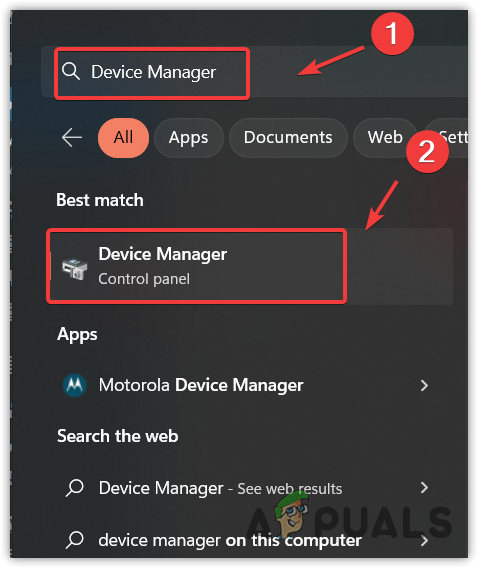
- Open the Device Manager by typing it from Start Menu.
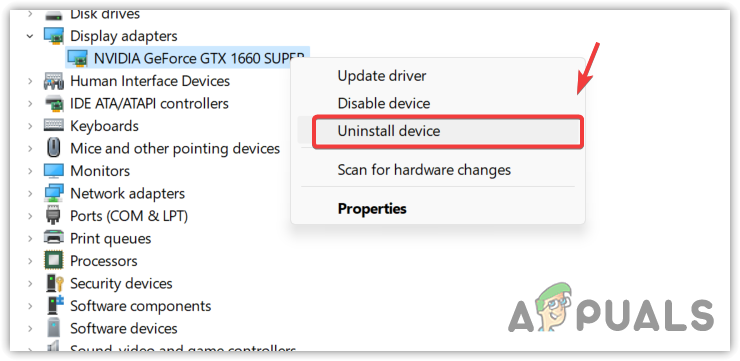
Opening Device Manager - Once the device manager is opened, expand the Display Adapters.
- Right-click the GPU driver and select Uninstall.
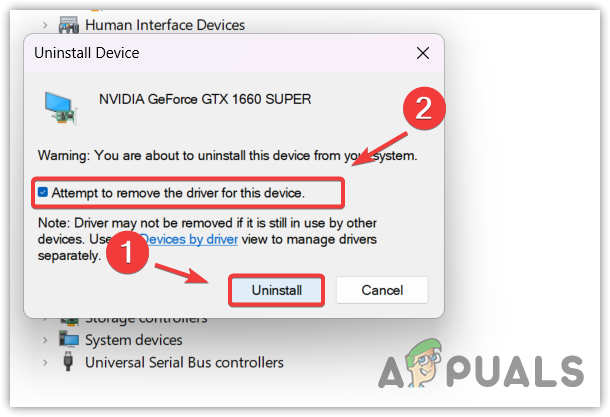
Uninstalling the GPU driver from the device manager - Tick Attempt to remove the driver for this device and click Uninstall.
Attempting to remove drivers - Wait for the driver to uninstall successfully, then Download the Microsoft Show or Hide Updates Troubleshooter.
- Once the downloading is finished, simply open it by double-clicking on it.
- Click Next and wait for it to detect the upcoming updates that will be installed via the Windows Update utility.
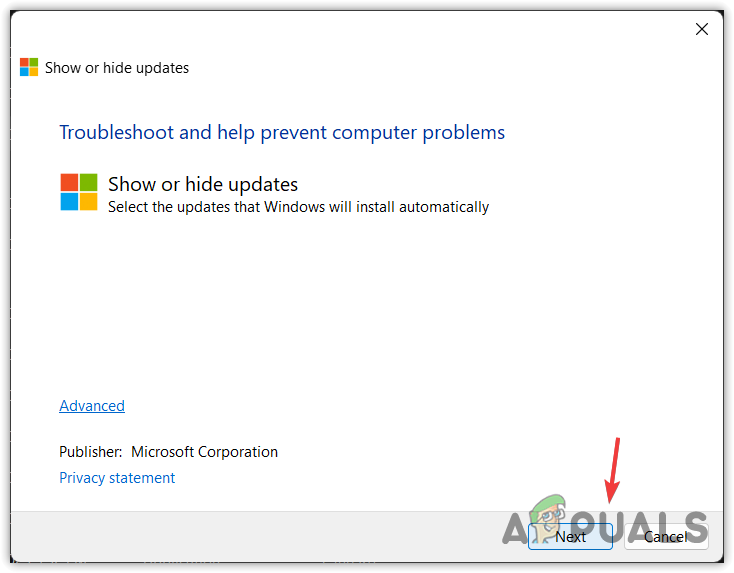
Starting Show or Hide Updates troubleshooter - Select Hide Updates from the options and tick the Driver Update to let Windows avoid the driver update.
- Once done, click Next and just wait for the loading to complete.
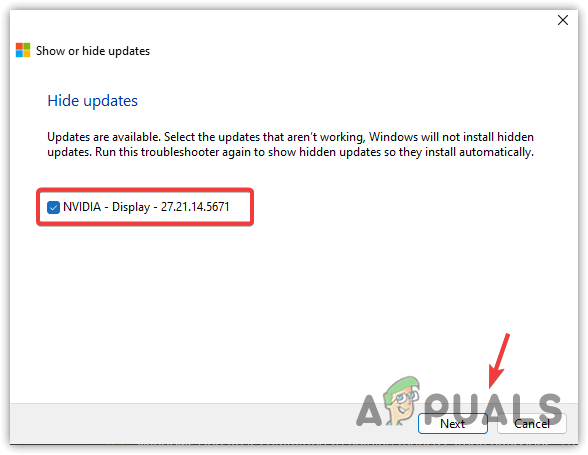
Avoiding GPU driver update from installing on Windows - Then, close the troubleshooter and go to the AMD website.
- Select your GPU and OS to download the latest driver.
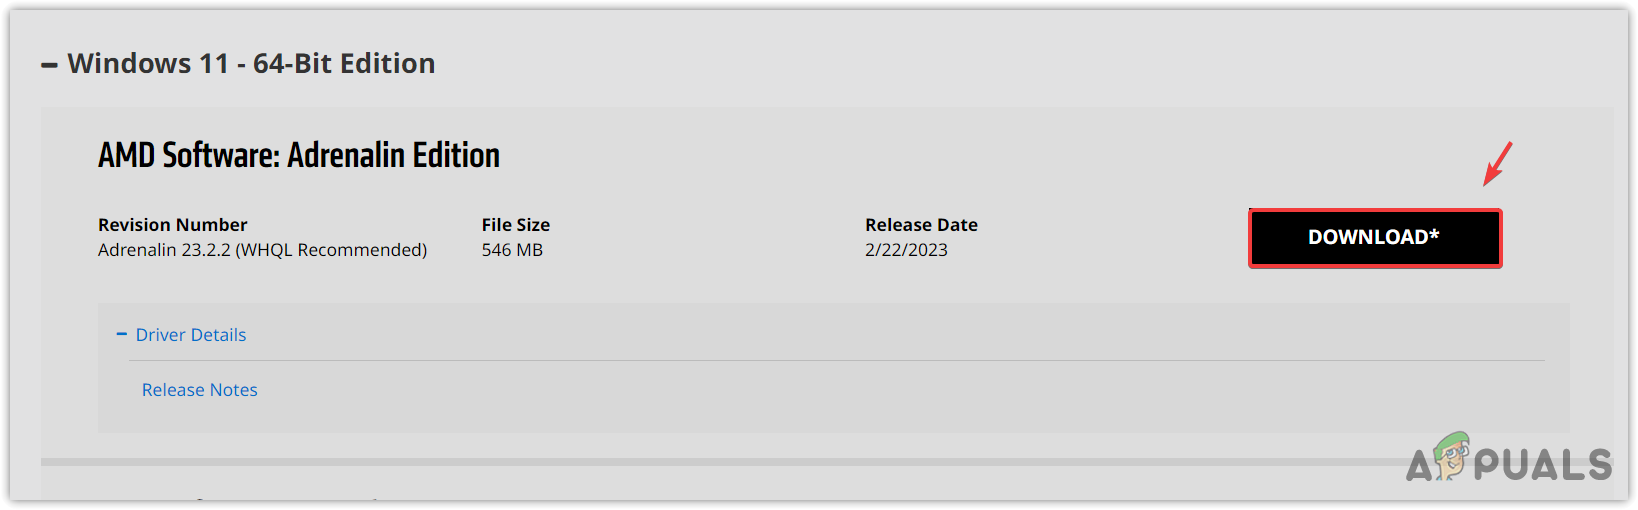
Downloading AMD driver - Once done, install the driver using on-screen instructions.
- Finally, restart your computer, and your problem will be fixed.
2. Change Device Installation Settings
Device Installation settings allow users to install the device drivers automatically by using the Windows Update utility. For instance, when you plug the device into your computer, the driver installs automatically without doing anything.
When Windows thinks that the current GPU driver is outdated, it installs and overwrites the wrong or old driver. This can happen when the Windows server does not have the latest driver for your device.
As a result, when you install an updated driver, it thinks that you have an outdated driver. To increase the GPU performance, it overwrites the latest GPU driver with the outdated or wrong one, which results in degraded GPU performance and loss of Frames Per Second (FPS).
To prevent this, you can change the device installation settings, which won’t install any device driver unless you revert the device installation settings.
- Hit the Windows + S key, and in the search box, type, View advanced system settings and hit Enter.
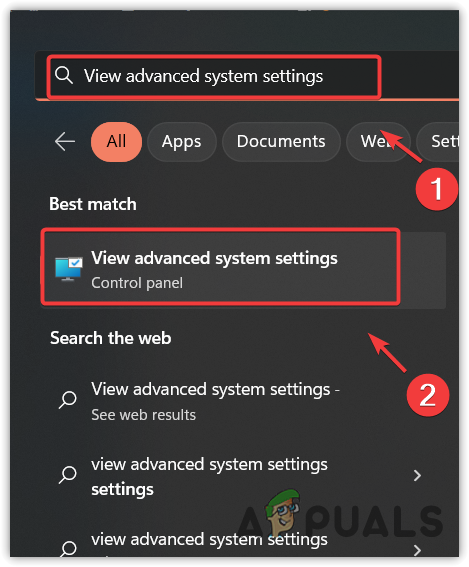
Opening Advanced System Setting - Go to the Hardware tab and then click on the Device Installation Settings tab.
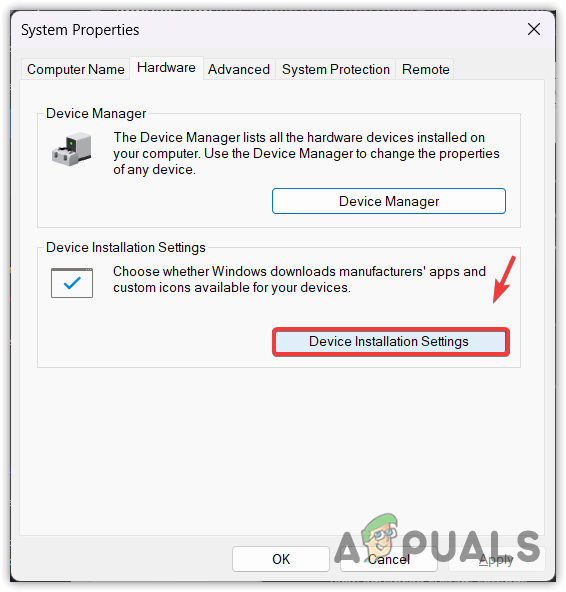
Opening device installation settings - Select ‘No‘ next to the (Your Device Might Not Work as Expected) option
- To save the modifications, click Save changes.
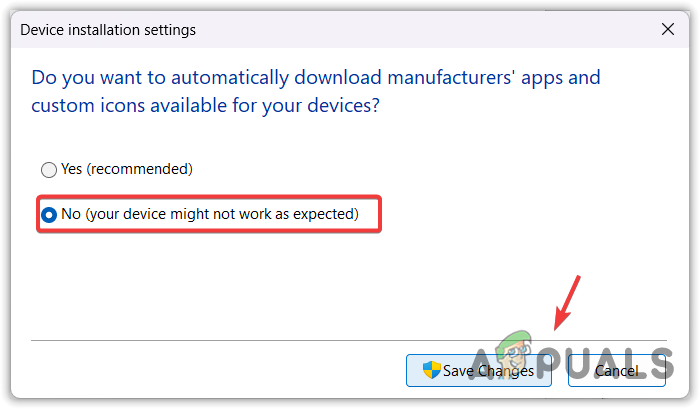
Configuring Device installation settings to not install drivers from manufacturers - Now restart your computer and check if the issue is resolved or not.
3. Disable Windows Update from the registry editor
Registry Editor is like a database on Windows. It has access to every component on Windows released so far, such as Windows Update and Windows Defender. You can customize your Windows to reduce memory usage by disabling many features using the registry editor. In this method, we will disable Windows Update, which will prevent the driver update from keep installing on your PC.
There are two methods to disable automatic Windows updates from the registry editor, Manually and Automatically. If you don’t want to mess around with commands, you can just download the batch file from the link and run it as administrator. However, if you don’t trust the script, you can manually do this by following the steps.
- Press the Windows key and type Registry Editor.
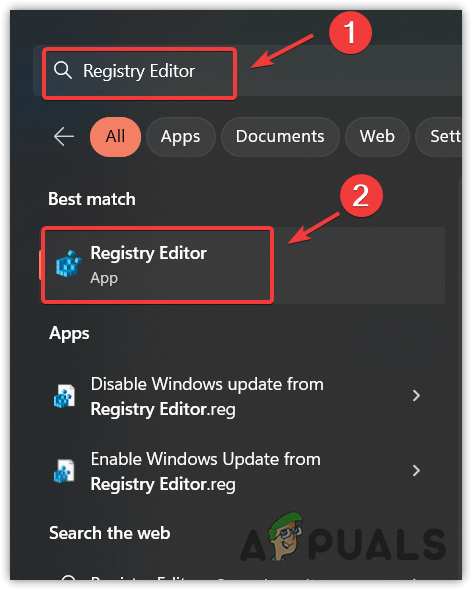
Navigating to Registry Editor - Open the registry editor and go to the following directory.
HKEY_LOCAL_MACHINE\SOFTWARE\Policies\Microsoft\Windows\WindowsUpdate\AU
- Double-click the NoAutoUpdate entry from the right pane and change its value data to 1, which will dsiable the automatic Windows update. If you cannot find it, right-click the empty space, and hover New, select DWORD (32-bit) Value to create an entry.
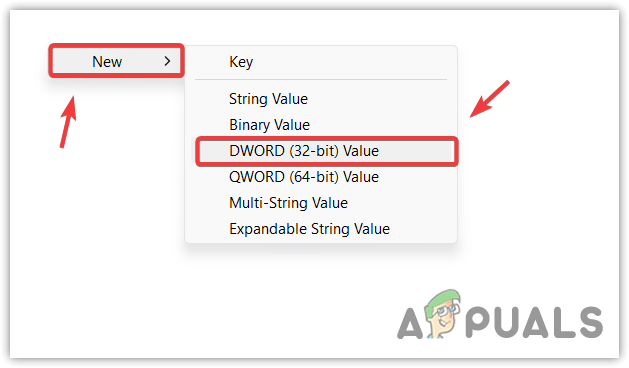
Creating a Registry Entry - Name it as NoAutoUpdate and change its value data to 1.
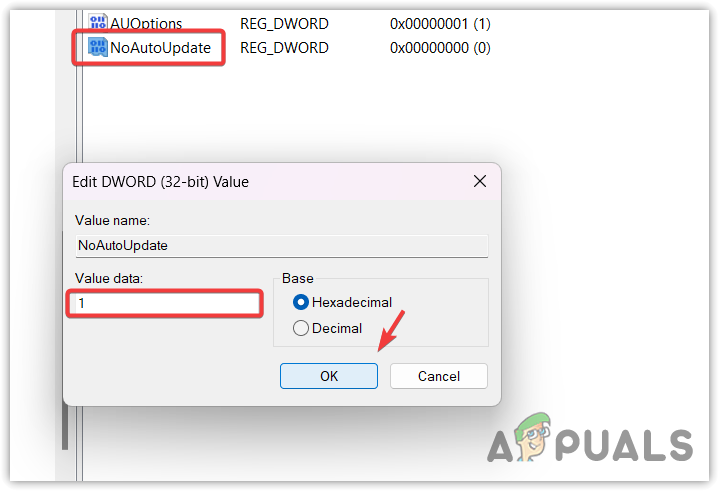
Disabling Automatic Windows updates - Once done, double-click the AUOptions and change its value data to 1.
- If you cannot find AUOptions, create it by following step 3 and name it AUOptions and change its value to data to 1.
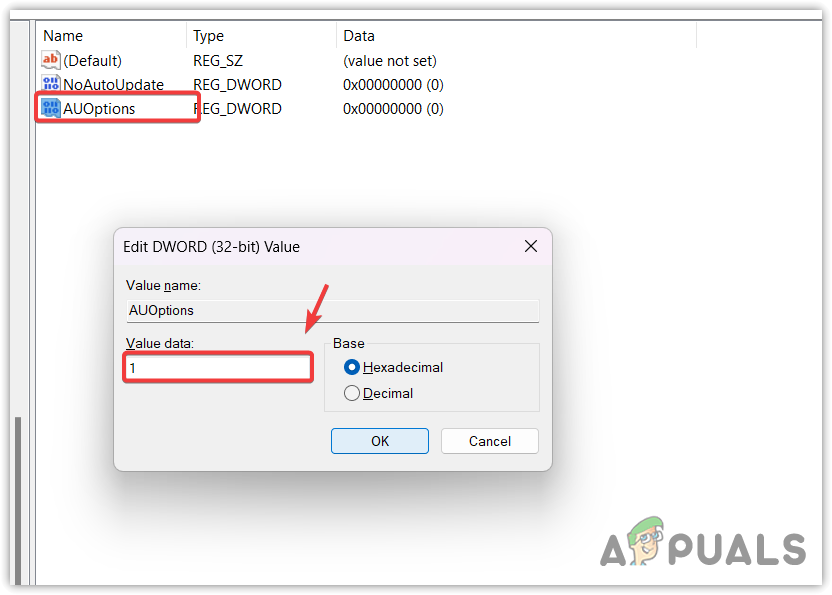
Disabling Automatic Download and Notifying of Windows Update installation. - Once done, close the registry editor.
- Open the task manager and restart Windows Explorer for the registry changes to take effect.
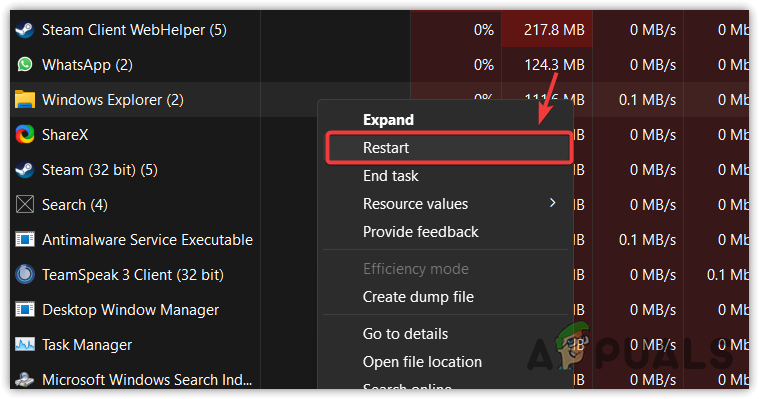
Restarting Windows Explorer from the task manager
4. Disable Windows Update from Group Policy Editor
Group Policy Editor is an administrator tool that is used to configure various Windows and network settings. You can use this tool to prevent the driver updates from including in the Windows update utility.
To disable Windows update from Group Policy Editor, follow the steps:
- Press the Windows + R keys together to open the Run Window.
- Enter gpedit.msc in the input box and click OK to open the Group Policy Editor.
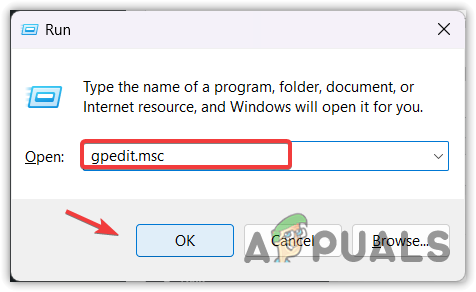
Opening Group Policy Editor using command on Windows - Navigate to the following destination.
Computer Configuration/Administrative Templates/Windows Components/Windows Update/Manage updates offered from Windows Update
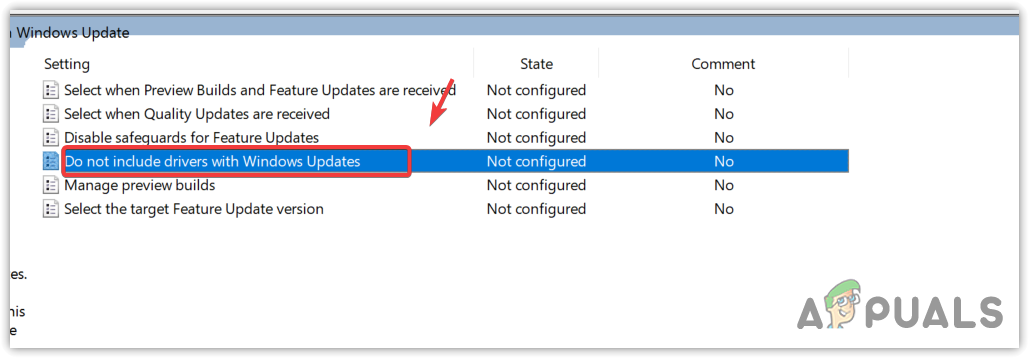
Opening Windows Update Group Policy Editor - Double-click Do not include drivers with Windows Updates and select Disabled from the left pane.
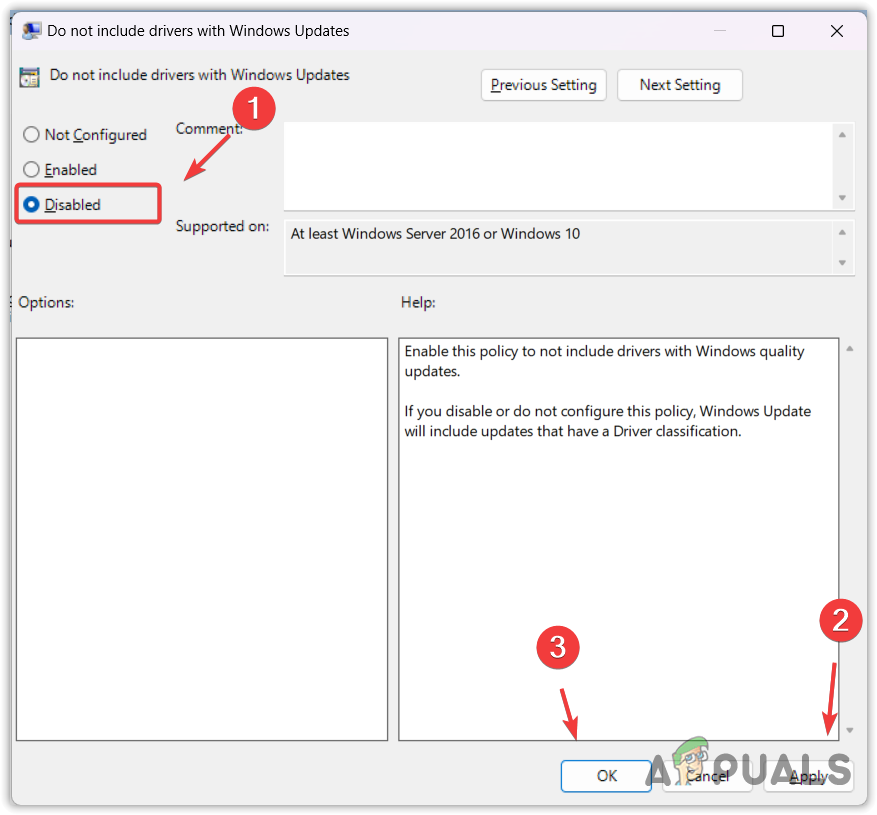
Preventing drivers from installing through the Windows Update component - Click Apply and click OK. Once done, check if Windows is still installing old AMD drivers.
5. Disable the Windows Update service
Windows Update service is responsible for delivering, detecting, and installing upcoming updates. You can disable the service to prevent the Windows update from keep installing the wrong AMD drivers.
To disable the Windows update service:
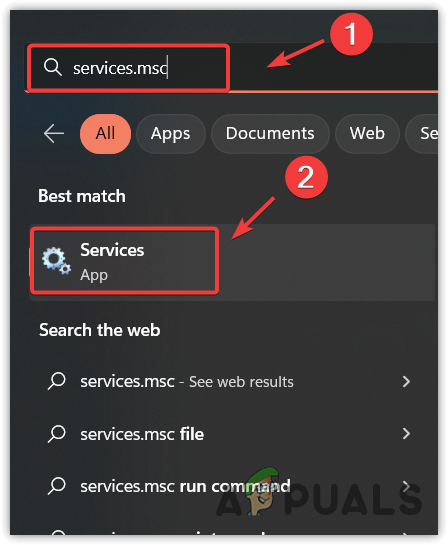
- Press the Windows key and type services.msc in the search box.
- Click OK to open the services Window.
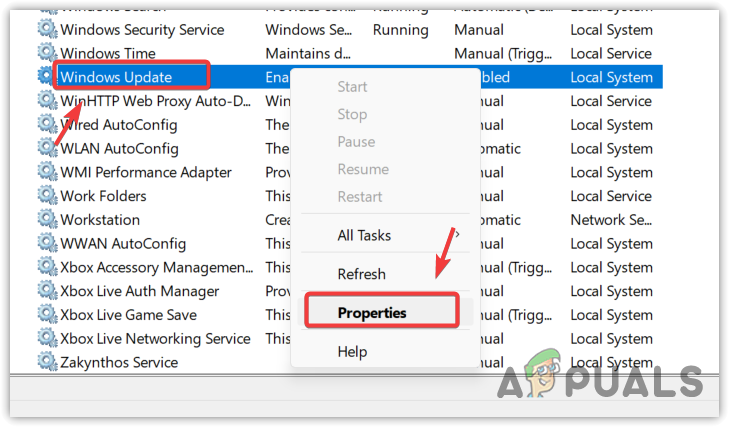
Opening services Window - Find the Windows update service and right-click on it to open its properties.
Opening Windows Update properties - First, stop the service by clicking the Stop button.
- Change the startup type from Automatic to Disabled.
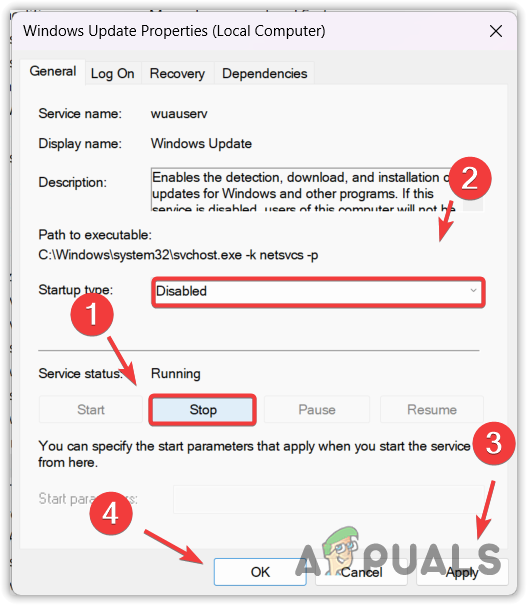
Disabling the Windows Update service - Then, click Apply and click OK. This will disable your Windows update utility. In the future, if you want to update your Windows, just come back here and change the startup type to Automatic, then try updating your Windows.
6. Revert Your GPU driver using Device Manager
If the problem still persists, you can try reverting the AMD driver to the latest one. In some cases, Windows updates the driver after 2-3 days. Therefore, you can try reverting the GPU driver to the latest by using the device manager.
- To do so, press the Windows key and search for Device Manager.
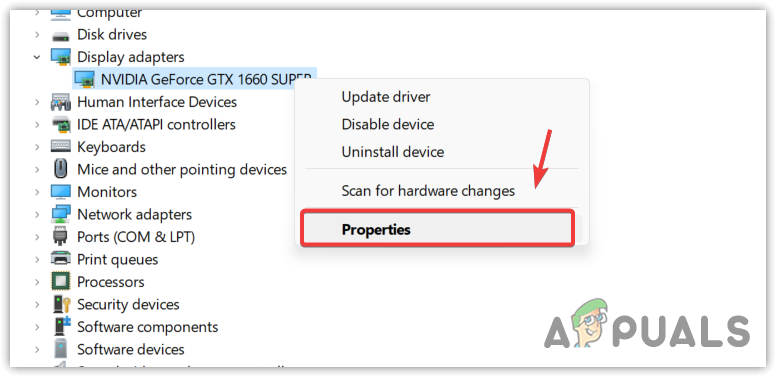
Opening Device Manage - Open the device manager and expand the Display Adapters.
- Right-click the graphics driver and select Properties.
Opening GPU Properties - Go to Driver from the top and click the Roll Back Driver option.
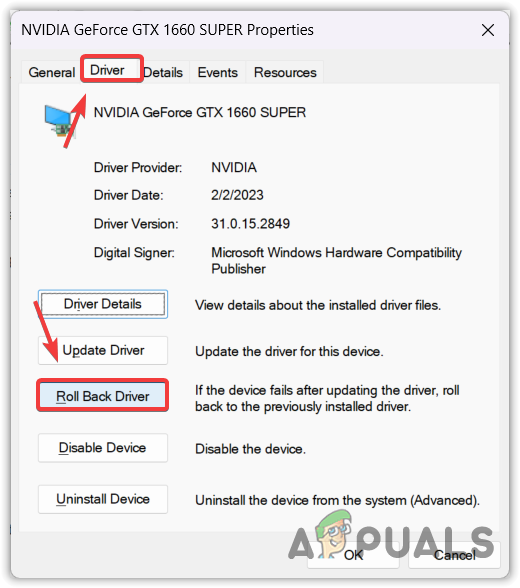
Proceeding to Roll Back the GPU driver - Select any reason and click Yes to roll back the driver.
Next time if Windows installs an outdated or wrong AMD driver, just revert the GPU driver by following these steps.
Windows 11 Repeatedly Installs Incorrect AMD Drivers- FAQs
To stop Windows 11 from installing the wrong AMD drivers, click Start Menu and type Advanced System Settings to open. Go to Hardware from the top and click Device Installation Settings. Select No and click Save Changes. Now your Windows 11 won’t install drivers via the Windows Update utility.
Because Windows thinks you have outdated AMD drivers. As a result, it installs the outdated AMD driver version because it does not have the latest version on its server. To prevent this, configure device installation settings to not install drivers via the Windows update or configure Windows to not install drivers from Windows updates.