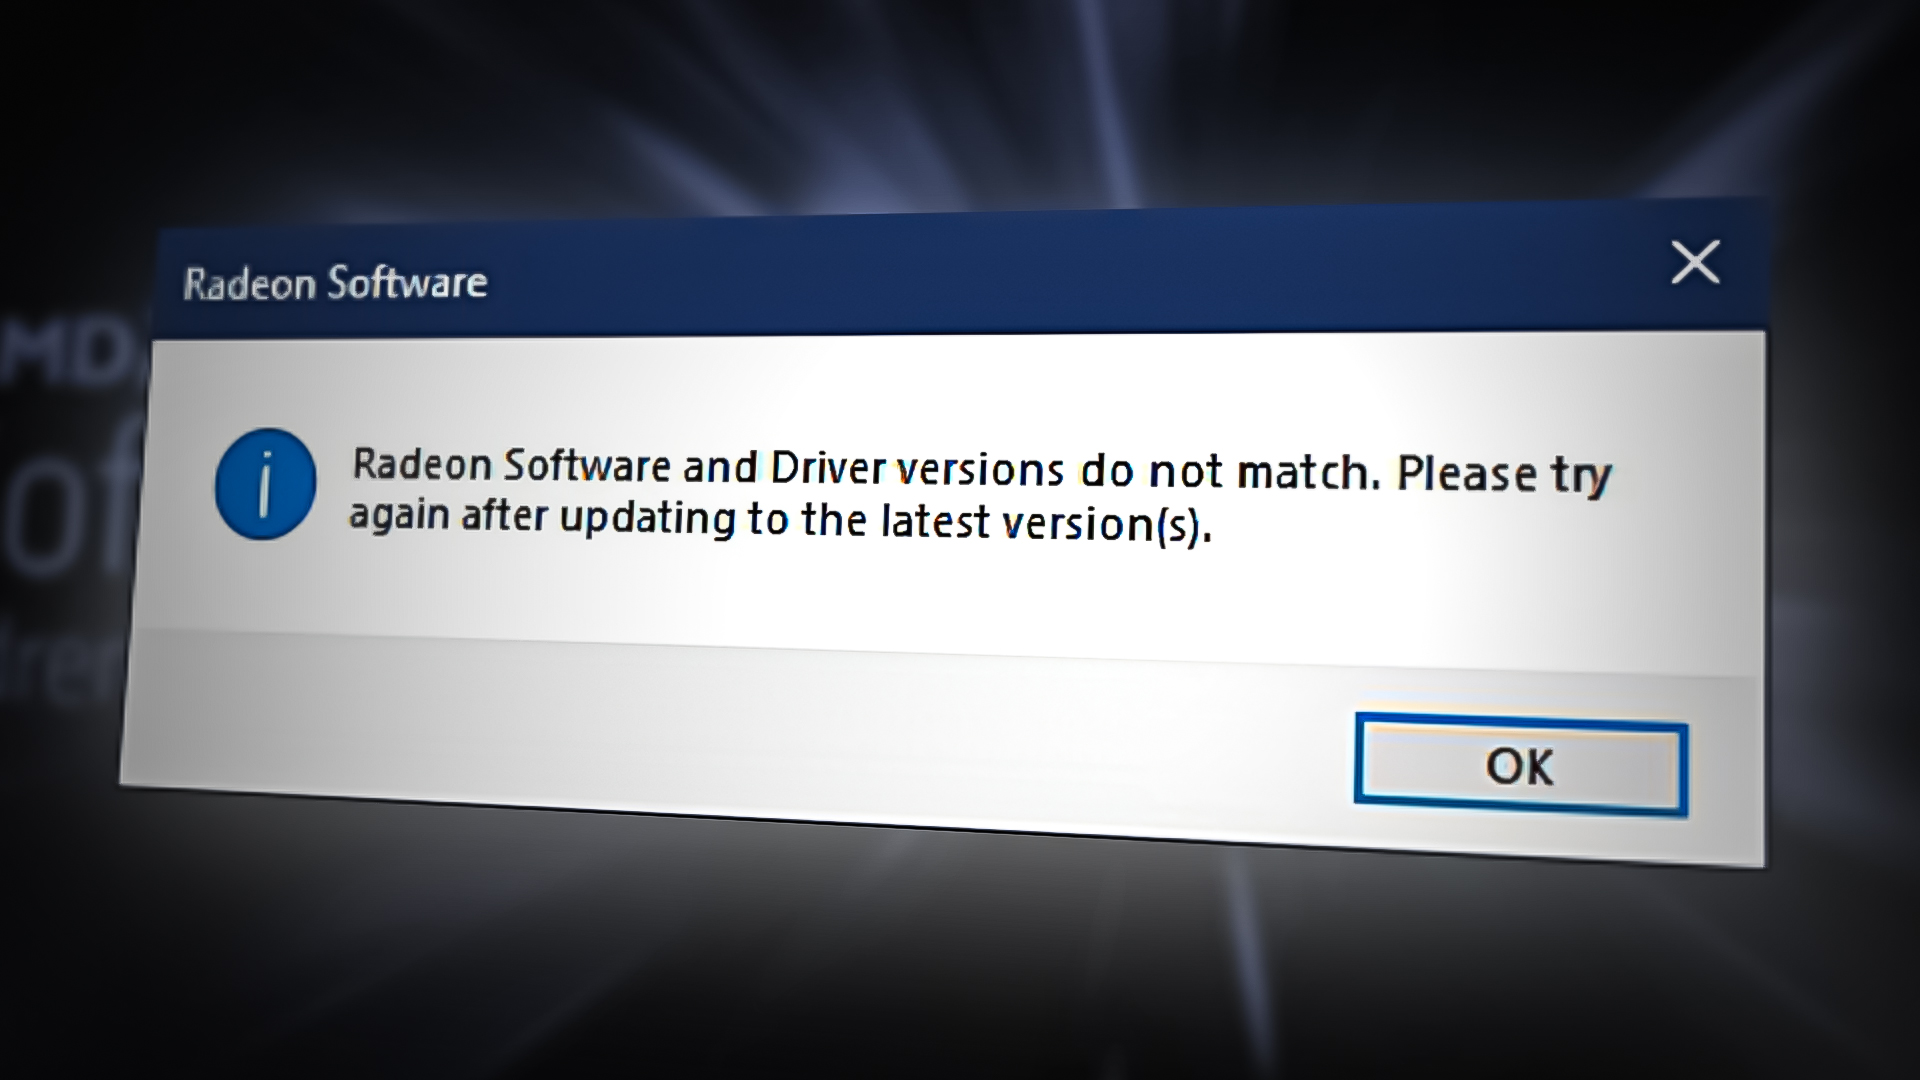
Fix: Radeon Software and Driver Versions Do Not Match
The error arises on the screen when you install the latest driver from the website, then your Windows reinstalled the older version, which Windows seems to be the newest. In simple words, it is a conflict between the drivers which you and Windows installed. It popups with an error message “Radeon Software and Driver versions do not match. Please try again after updating to the latest version“.
Some more reasons can trigger Error: Radeon software and drivers don’t match. One of the main is when your Windows got updated with the latest driver, but Radeon software did not update, and you have the latest driver with the old Radeon software.
let’s have a look into the potential solutions
1. Match Driver Version Using Registry Editor
The installed Graphics Driver Version may not be the same as in the AMD Radeon Registry. Therefore you have to change the driver version to the current driver version.
Note: Be careful when using Registry Editor because if you do the wrong thing, you could lose your essential data and also, serious problems might arrive that could require a reinstallation of the Windows operating system. Just follow the instruction mentioned below.
Below are the steps to match the graphics driver version:-
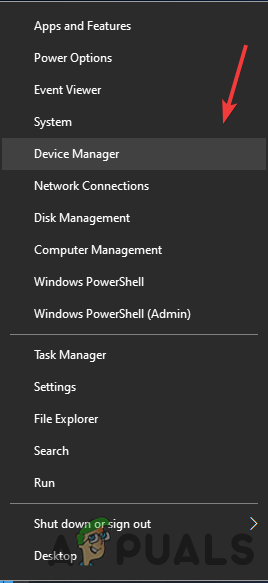
- Right-click on the Start Menu button and select Device Manager
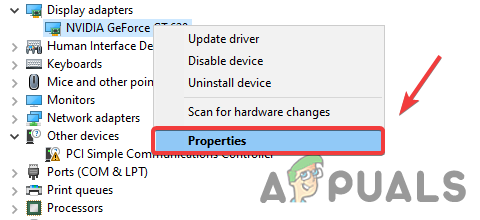
Select Device Manager - Once the device manager opened, right-click on your graphics driver and select Properties
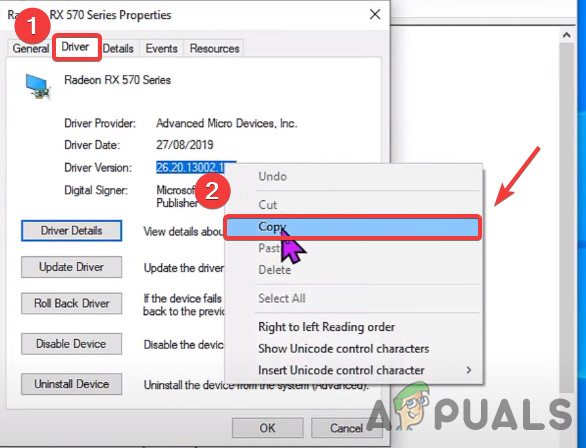
Opening Graphics Driver Properties - Go to the Driver tab, and copy the Graphics Driver Version
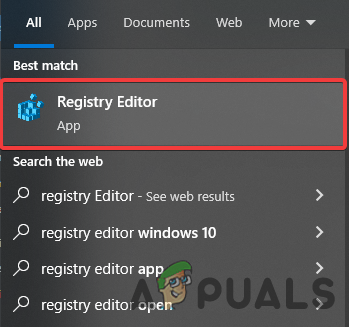
Copy Driver Version - Once done, type Registry Editor in the search bar
Open Registry Editor - Open the registry editor, and navigate to the following location
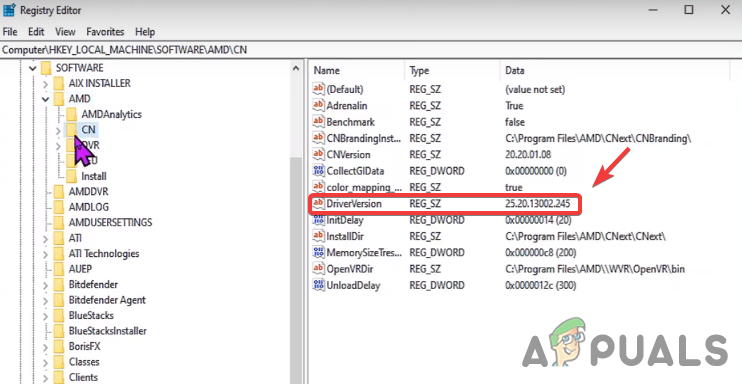
HKEY_LOCAL_MACHINE\SOFTWARE\AMD\CN
- Once you are at the location, double click on DriverVersion
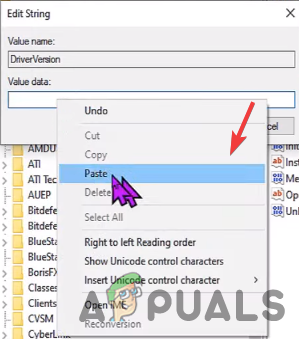
Edit Driver Version - Paste the copied driver version and press Ok
Paste the Driver Version - Close the registry editor and restart your computer for changes to take effect then check for Error: Radeon software and drivers don’t match.
2. Disable Driver Update from Group Policy Editor
As we mentioned above, Windows update graphics driver automatically and they could conflict with the drivers that you installed on your system and it might become the cause for this error. So the best approach is to disable driver update from the Group Policy Editor so your graphics driver will never update unless you change the group policy. Here is how you can do this.
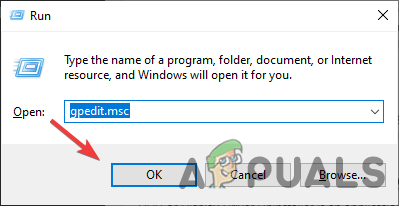
- Open Local Group Policy Editor. For that press the Windows + R keys on the keyboard to open the Run Program
- Once the Run Program is opened, type gpedit.msc in the box and press Enter to open Local Group Policy Editor
Launching Group Policy Editor - Navigate to the following location
Computer Configuration/Administrative Templates/Windows Components/Windows Update
- On the right pane, double click on the setting named Do not include drivers with Windows Updates to open it
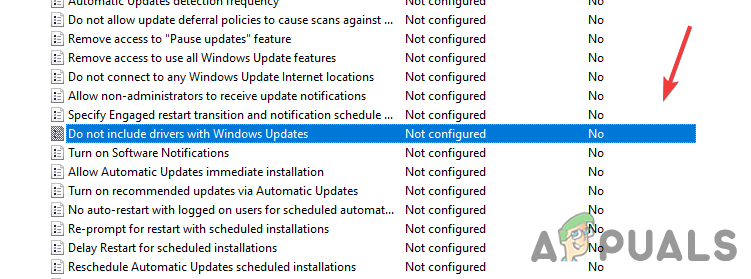
Open Windows Update Setting - Now select Enable button from the left and press OK to apply the changes
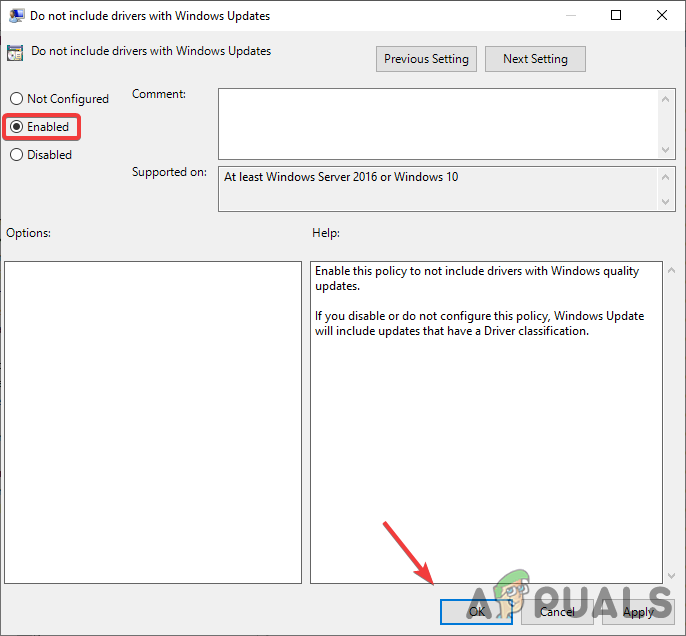
Enable this Policy to not Include Drivers with Windows Quality Updates - Once done, restart your computer for the settings to take effect
- Reinstall your graphics driver by following the below steps.
3. Reinstall Graphics Driver
The main culprit for this error is to mismatch the graphics driver version with the Radeon software. Reinstalling the graphics driver completely from the computer will fix the error.
3.1 Uninstall Graphics Driver Using DDU (Optional)
DDU or Display Driver Uninstaller is an application which is used to uninstall computer drivers completely from the system without any leftover behind. You can use device manager instead of DDU but for the accurate result, we recommend DDU over device manager.
- Go to the following link to download Display Driver Uninstaller
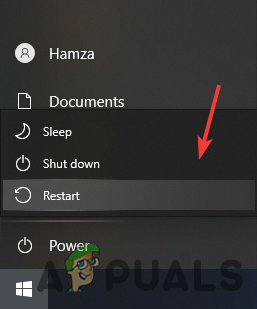
- Once the download is finished, click the Start Menu then click the Power button
- Hold the Shift key and select Restart from the listed option
Restart PC to Open Windows in Safe Mode - You will be redirected to the options screen, navigate to Troubleshoot>Advanced option>Startup Settings
- Click Restart from the bottom right and wait for the Windows to load up in Safe Mode

Click Restart - Once the safe mode is opened, go to the Downloads, Extract the DDU folder then navigate into it
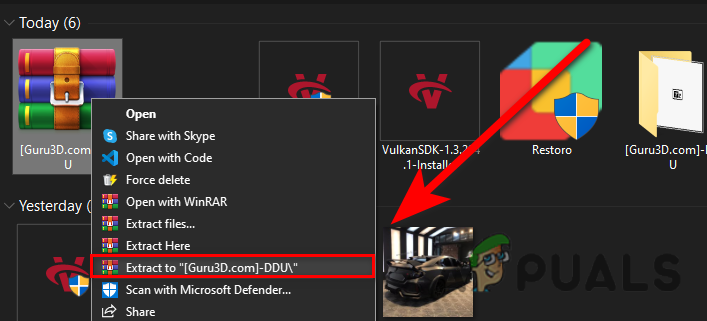
Extract DDU Folder - Double click on the application and click Extract

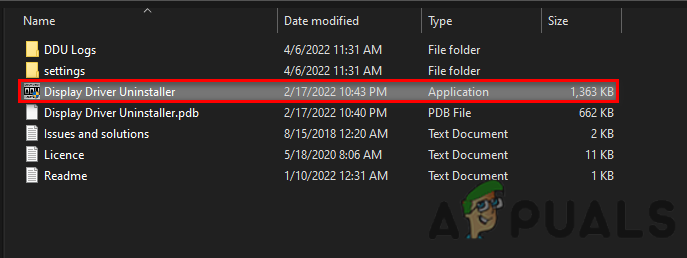
Extracting DDU - Navigate to the extracted folder, and run the DDU Application
Open DDU Application to Extract - Select Device type from the top right then click on Clean & restart
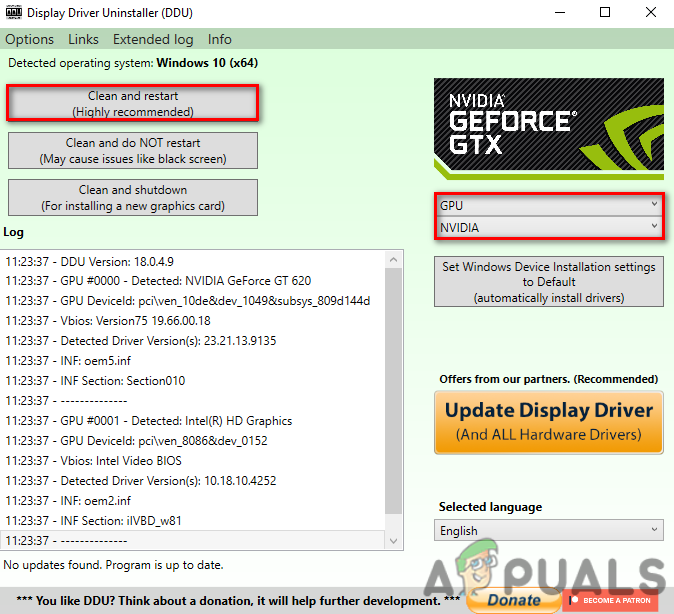
Click Clean and Restart
3.2 Install Graphics Driver with Radeon Software
Now its time to install the AMD Radeon Software follow further instructions:-
- Go to the following link and download AMD Radeon software
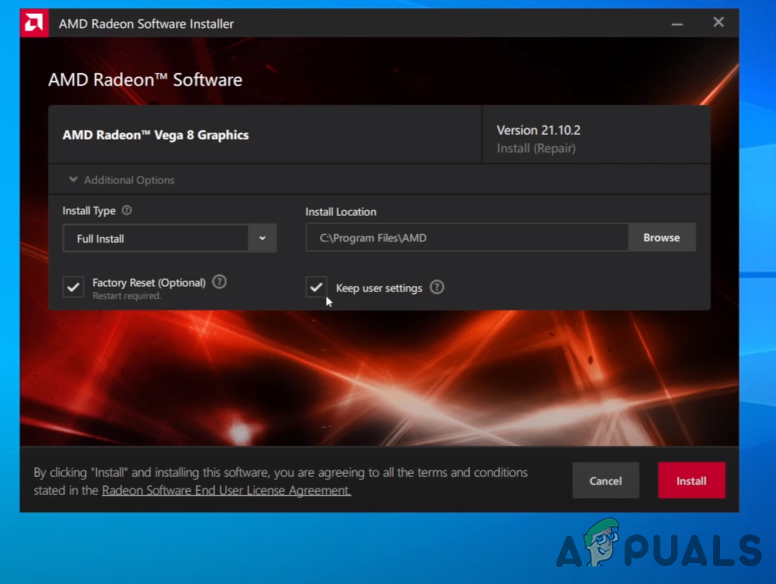
- Once the download is finished, open the AMD Radeon Installer
- It will start detecting your graphics card, once it is finished click the Install button and check if the error persists.
Installing Graphics Driver
4. Roll Back Graphics Driver
Instead of updating and reinstalling the graphics driver, you can Roll Back the graphics driver to an older version which might help you to get rid of the Error: Radeon software and drivers don’t match.
Below are the instruction to Roll back the graphics driver:-
- Right-click Start Menu and select Device Manager
Select Device Manager - Once the page load up, right-click on your graphics driver under Display adapters
- Select Properties from the list of options
Opening Graphics Driver Properties - Go to the Driver tab, and click on Roll Back Driver

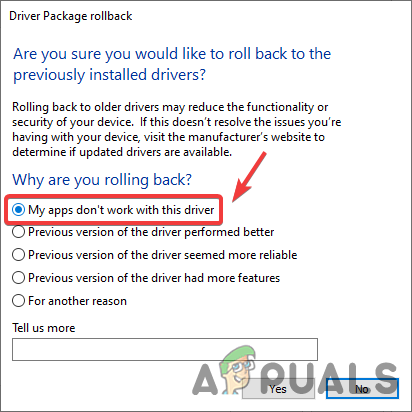
Roll Back Graphics Driver - Select the radio button named My apps don’t work with this driver and click Yes
Select My App Don’t Work with this Driver - Once done, check if the error is fixed.
5. Use System Restore
We can also use System Restore to return a computer in a previous state without installing Windows operating system. If you have created a Restore Point then this will help you otherwise you can skip to the last solution. Here is how you can do this.
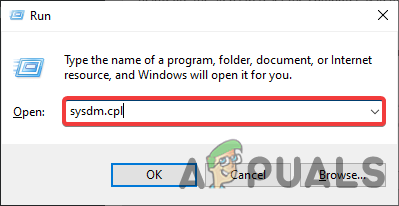
- Open Run Program by pressing the Windows + R keys at the same time
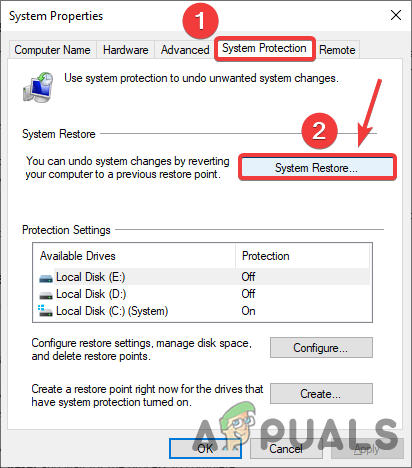
- Once the program is opened, type sysdm.cpl and press Enter
Open System Properties - Go to the System Protection from the top, and click System Restore
Click System Restore - Click Next and select the Restore Point that you have created recently
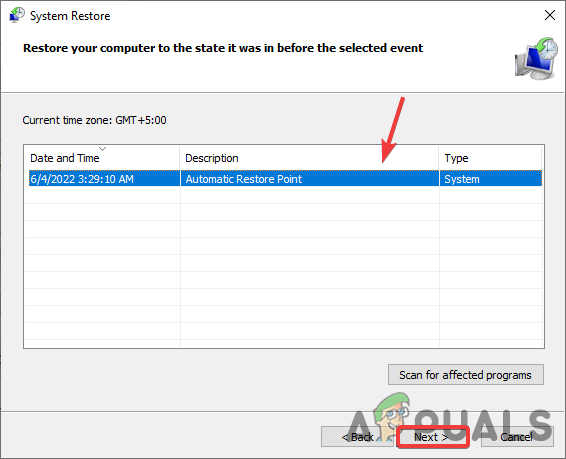
Select Restore Point - Again click Next and click Finish to confirm the restore action

Click Finish - Once it is finished, install the graphics driver by following the above method and check for Error: Radeon software and drivers don’t match.
6. Reset Windows without Losing Data
If the above methods didn’t work, you may need to reset your Windows to the default. This will uninstall all the drivers and corrupt files. Keep in mind you will not lose your Precious Data.
Below are the steps to reset the computer system:-
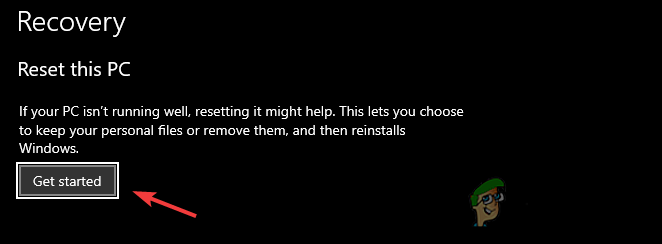
- Click Start Menu, and type Reset this PC
- Open the settings, and click on Get started button
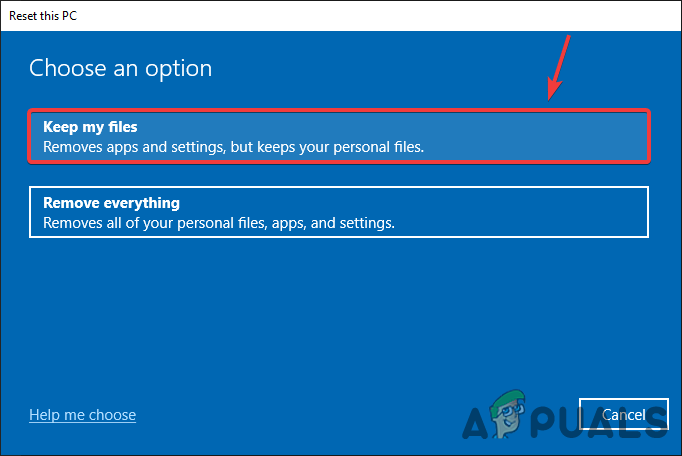
Click Get Started - Choose the option named keep my files
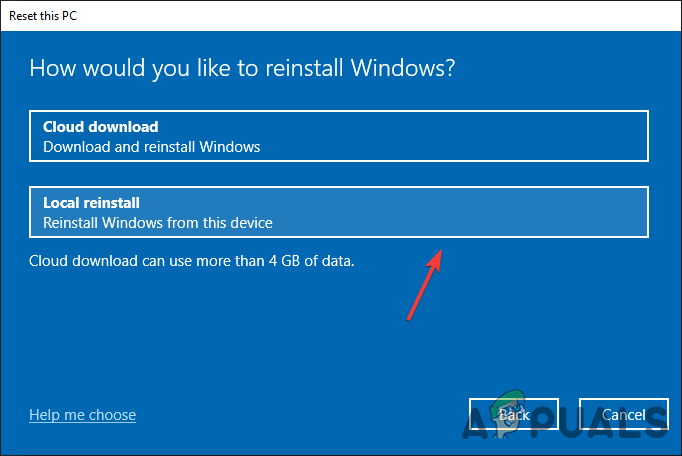
Click Keep My Files - Click Local reinstall and press Next
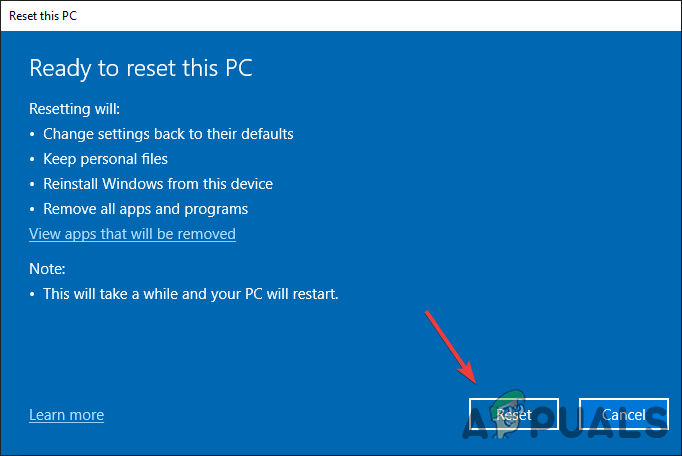
Click Local Reinstall - Click Reset and wait for the process to complete
Click Reset - Once done, install the graphics driver as mentioned in the above step.