How to Disable Automatic Updates on a Windows Computer
On all versions of the Windows Operating System, there exists Windows Update – a utility designed to help keep Windows up to date with the latest service packs, patches, fixes and updates available for it. Windows Update can operate in a number of different capacities, and the capacity the utility operates in determines just how easy it is for it to help keep Windows up to date. On older versions of Windows, users choose how Windows Update downloads and installs updates for their computers – they can choose to have Windows Update automatically download and install updates, notify them when updates are available or not even check for updates, let alone download and install any. On Windows 10, however, software updates are configured to be automatically downloaded and installed via Windows Update.
Windows Update automatically downloading and installing updates, while the safest and most convenient option for users, can sometimes lead to problems, especially for Windows users with metered internet connections. If you chose to have Windows Update automatically download and install updates when you were setting your Windows computer up (or if you’re using Windows 10 – the latest and greatest in a long line of Windows Operating Systems), you might want to disable automatic updates on your computer for any one of a multitude of different reasons.
Thankfully, though, disabling automatic software updates via Windows Update is possible on all versions of the Windows Operating System currently supported by Microsoft. What is worth noting, however, is that on Windows 7, 8 and 8.1, Windows Update itself offers users the option to have it not automatically download and install updates and even not check for them in the first place, whereas Windows 10 has no such option. That being the case, disabling automatic updates on Windows 10 is a bit more complicated as compared to disabling them on older versions of Windows, but the fact of the matter is that it is still possible.
To disable automatic updates on Windows 7, 8 and 8.1
On Windows 7, 8 and 8.1, automatic updates can be disabled from within Windows Update itself. To disable updates on Windows 7, 8 and 8.1, you need to:
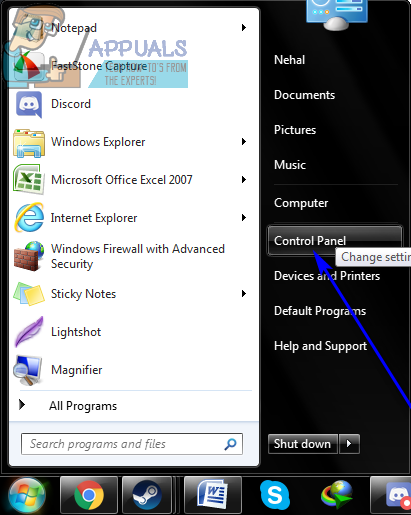
- Open the Control Panel. On Windows 7, you can do so by opening the Start Menu and clicking on Control Panel. On Windows 8 and 8.1, the easiest way to do so is by pressing the Windows Logo key + X to open the WinX Menu and clicking on Control Panel.
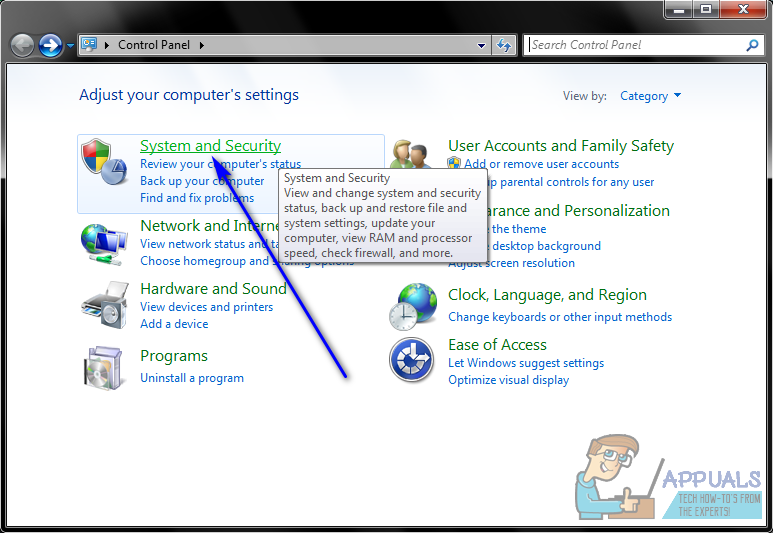
- With the Control Panel in Category view, click on System and Security.
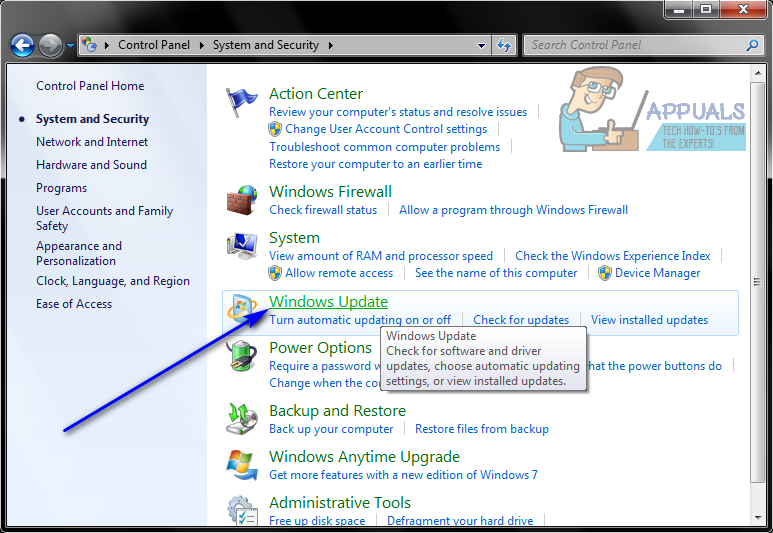
- Locate and click on Windows Update.
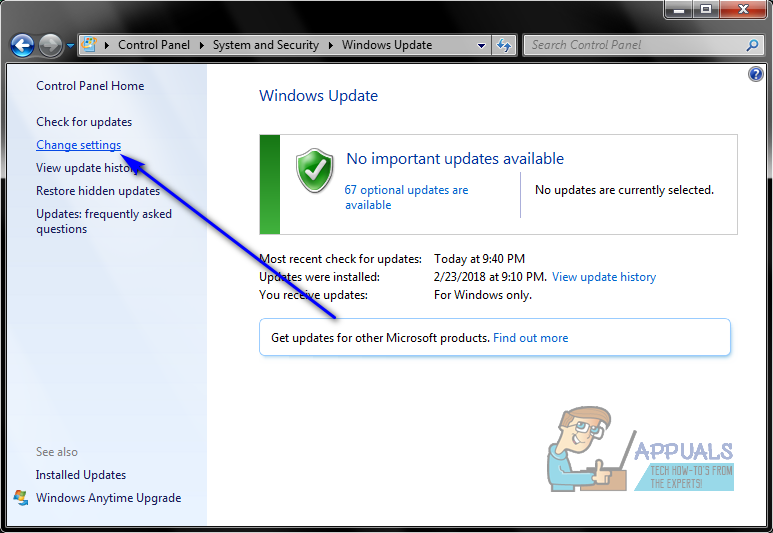
- In the left pane of the window, click on Change settings.
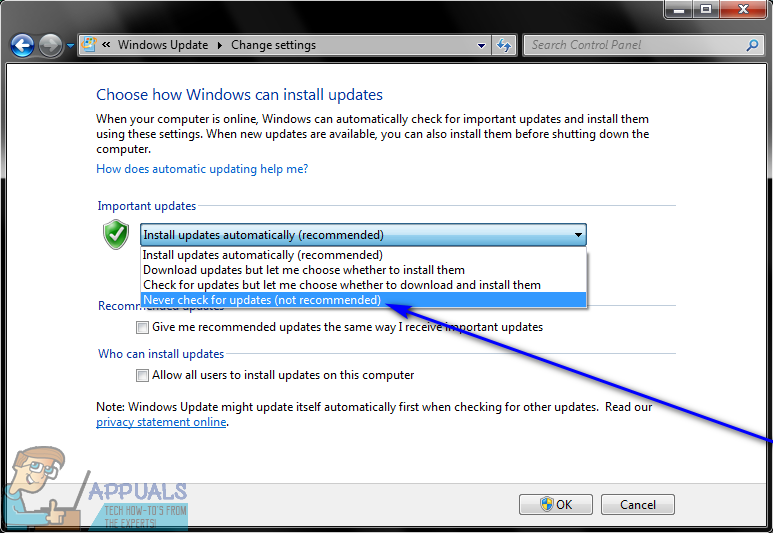
- Open the dropdown menu under the Important updates section and click on Never check for updates (not recommended) to select it. Selecting this option tells Windows Update to never even check for updates for your computer, so automatic downloads of updates are completely out of the question.
- Click on OK. Your changes will be saved as soon as you click on OK, there is no need for you to restart your computer to have them applied.
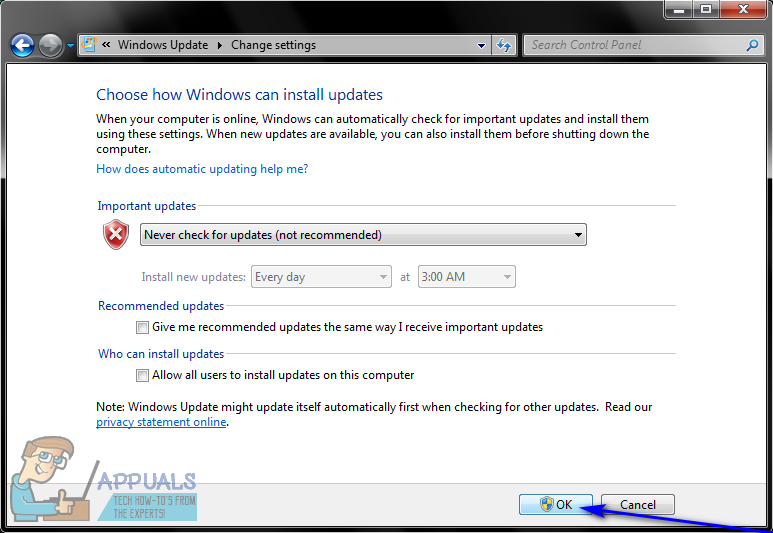
- You can close the Control Panel. From here on out, you don’t have to worry about Windows Update automatically downloading or installing any updates on your computer as it won’t even check for any.
To disable automatic updates on Windows 10
As stated before, disabling automatic updates on Windows 10 works a bit differently and is a bit more complicated than disabling automatic updates on older versions of Windows. You see, on Windows 10, Windows Update is configured to automatically download and install software updates, and there is no way for users to disable automatic updates from within Windows Update on Windows 10. That being the case, users have to make do with configuring Windows Update to notify them when updates are available for download and to also notify them when updates are ready to be installed instead of automatically downloading and installing updates. In addition, even that can’t be achieved from within Windows Update. Instead, users have to use one of the following two ways:
Method 1: Disabling automatic updates using the Local Group Policy Editor
- Press the Windows Logo key + R to open a Run dialog.
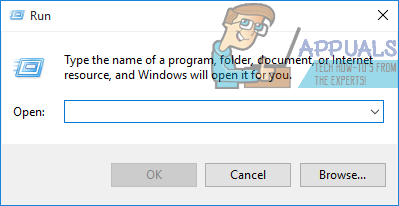
- Type gpedit.msc into the Run dialog and press Enter to launch the Local Group Policy Editor.
- In the left pane of the Local Group Policy Editor, navigate to the following directory:
Computer Configuration > Administrative Templates > Windows Components - In the left pane, click on the Windows Update sub-folder under Windows Components to have its contents displayed in the right pane.
- In the right pane of the Local Group Policy Editor, locate the Configure Automatic Updates policy and double-click on it to modify it.

- Select the Enabled option by clicking on the radio button located right next to it. Doing so will have the policy take effect.
- Open the dropdown menu located directly under the Configure automatic updating: option and click on 2 – Notify for download and notify for install to select it.
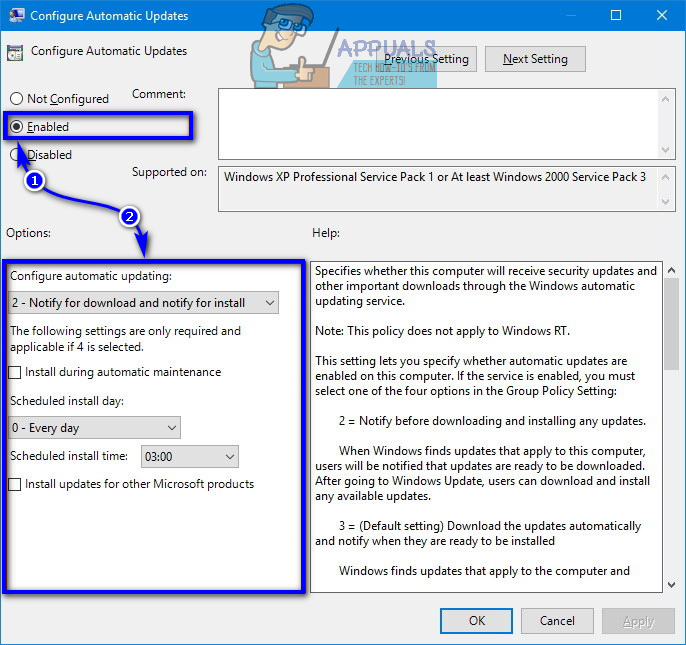
- Click on Apply and then on OK.
- Close the Local Group Policy Editor and restart your computer.
Method 2: Disabling automatic updates using the Registry Editor
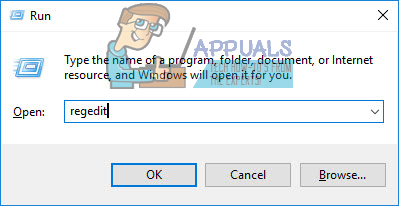
- Press the Windows Logo key + R to open a Run dialog.
- Type regedit into the Run dialog and press Enter to launch the Registry Editor.
- In the left pane of the Registry Editor, navigate to the following directory:
HKEY_LOCAL_MACHINE > SOFTWARE > Policies > Microsoft - In the left pane of the Registry Editor, right-click on the Windows sub-key under the Microsoft key, hover over New and click on Key.
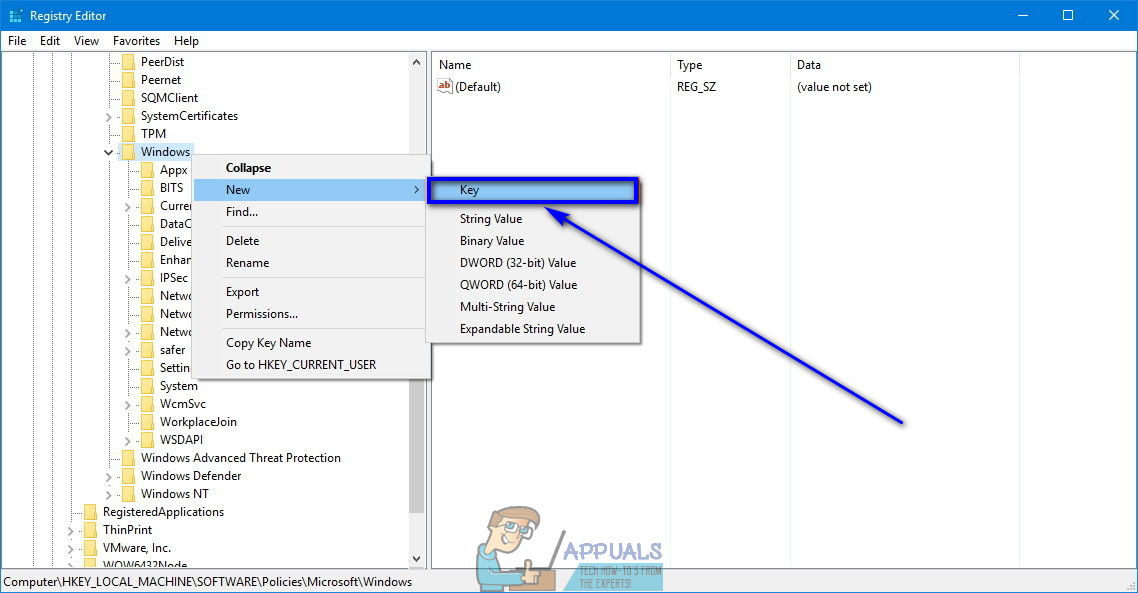
- Name the new key WindowsUpdate and press Enter.
- Right-click on the newly created WindowsUpdate key, hover over New and click on Key.
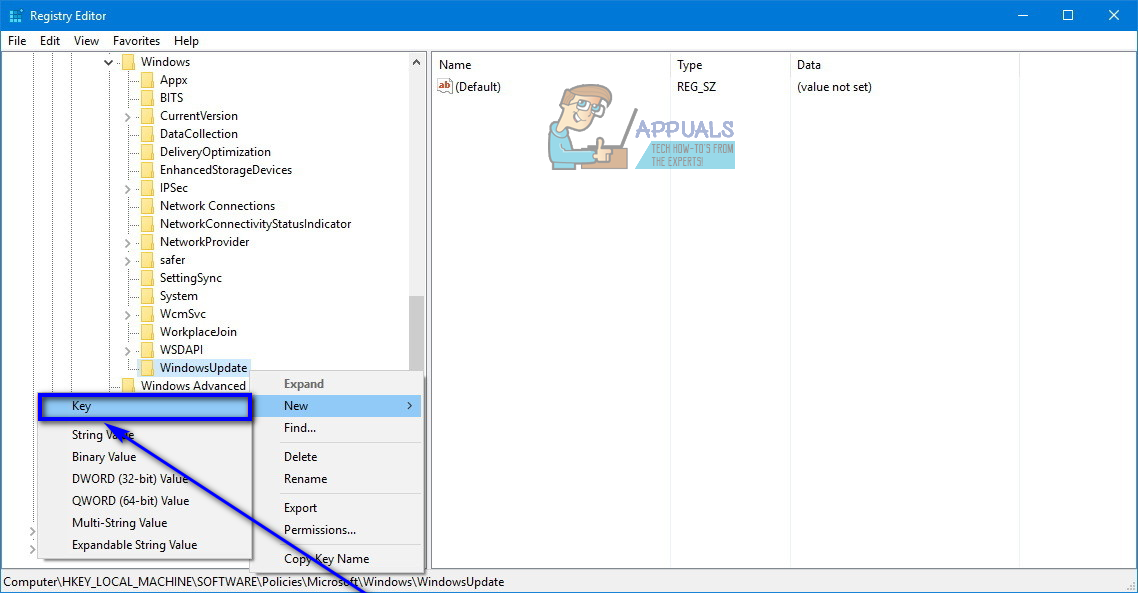
- Name the new key AU and press Enter.
- Click on the newly created AU key to have its contents displayed in the right pane.
- In the right pane of the Registry Editor, right-click on an empty space, hover over New and click on DWORD (32-bit) Value.

- Name the new value AUOptions and press Enter.
- Double-click on the newly created AUOptions registry value to modify it.
- Replace whatever is in the value’s Value data: field with 2.
- Click on OK and close the Registry Editor.
- Restart your computer.
In this method, the 2 you type into the Value data: field of the AUOptions registry value has the same effect as selecting the 2 – Notify for download and notify for install option does in Method 1. Regardless of what method you use to have Windows to achieve this result, from here on out, whenever updates for your computer are available, you will simply be notified by Windows Update instead of the updates being automatically downloaded, and they will not be downloaded until you manually have Windows Update start downloading them. In addition, even after you have Windows Update download the available updates, they will not be automatically installed – you will be notified that they are ready to be installed and you are going to have to manually have Windows Update install them.