How to Fix Error Code LC-208 on Overwatch 2?
The LC-208 error message appears when the user is trying to log into Overwatch 2, and it prevents them from being able to connect to the game servers. This error is usually related to the game servers themselves, but it can also be caused by other factors, such as a poor internet connection, corrupted/missing game files, Antivirus/Firewall blockage, and improper network configuration.
The list below contains all the possible causes of the “Disconnected from Game Server (LC-208)” error message in Overwatch 2. This list will help you determine the root cause of the issue, allowing you to find the appropriate solution for the error.
- Internet Issues: If the user’s internet is experiencing problems such as slow download/upload speed, high ping, or packet loss, it can lead to errors like the one you’re currently facing.
- Overwatch 2 Server Problem: If a huge number of players try to connect to Overwatch 2 at once, it may cause the servers to run into some problems, and they may even temporarily go offline, leading to login problems.
- Outdated Game Version: If you are not running the latest game update, it would explain why you cannot connect to the servers.
- Broken Game Files: If some of the Overwatch 2 game files have become broken/corrupted, or if some files failed to download on your system, it can result in all types of errors.
- Battle.net Account Not Linked to Console: If your Battle.net account is not linked to your console, you will fail to connect to the game servers of Overwatch 2 until the account is connected.
- Battle.net Account Synchronization Error: The Overwatch 2 login error could be caused by a synchronization problem between your Battle.net account and console profile.
- Inactive Online Subscription (on Console): An active online subscription service is needed on consoles to play Overwatch 2.
- Slow DNS Server: A slow DNS Server can lead to errors when connecting to online game servers.
- Antivirus/Firewall Blockage: Your Antivirus program and/or the Windows Firewall could be blocking Overwatch 2 from connecting to the internet.
- Too Many Active Background Programs: If you have many active programs in the background that are using your internet bandwidth, they can prevent you from connecting to the Overwatch 2 servers.
- Wrong NAT Type: If your network’s NAT type is set to Strict or Moderate (Type 1 or Type 2), it will be very difficult for your console to connect to the Overwatch 2 servers.
1. Check your Internet Connection
The LC-208 Login Error in Overwatch 2 indicates a connectivity issue with the game. So before you try any complicated troubleshooting steps, you should first check your internet connection to ensure that the problem isn’t being caused by it.
1.1 Detecting & Fixing Low Download/Upload Speeds
If your internet connection is currently suffering from very slow download/upload speeds, packet loss issues, high ping, or frequent disconnections, it can be the root cause of this error.
The first step in checking your internet connection is to simply launch your preferred web browser and try to load a webpage. If the webpage loads without issues, you have confirmed that your internet connection is working.
After confirming that your internet connection is working, you must check the download and upload speed next. You can check this easily by performing an online internet speed test.
Simply type “Internet speed test” on Google and click on the website that appears as the first result. The website will allow you to run a quick speed test, which will only take a minute or two to complete. Once completed, it will show you your exact ping, download, and upload speed.
If playing Overwatch 2 using a PlayStation, Xbox, or Nintendo Switch, you can perform the built-in internet connection test of the console to easily check your download/upload speed and other important information.
To perform an internet connection test on your console, head into its Settings menu and navigate to the Network Settings section. In this section, you will see an option called “Test Internet/Network Connection.”
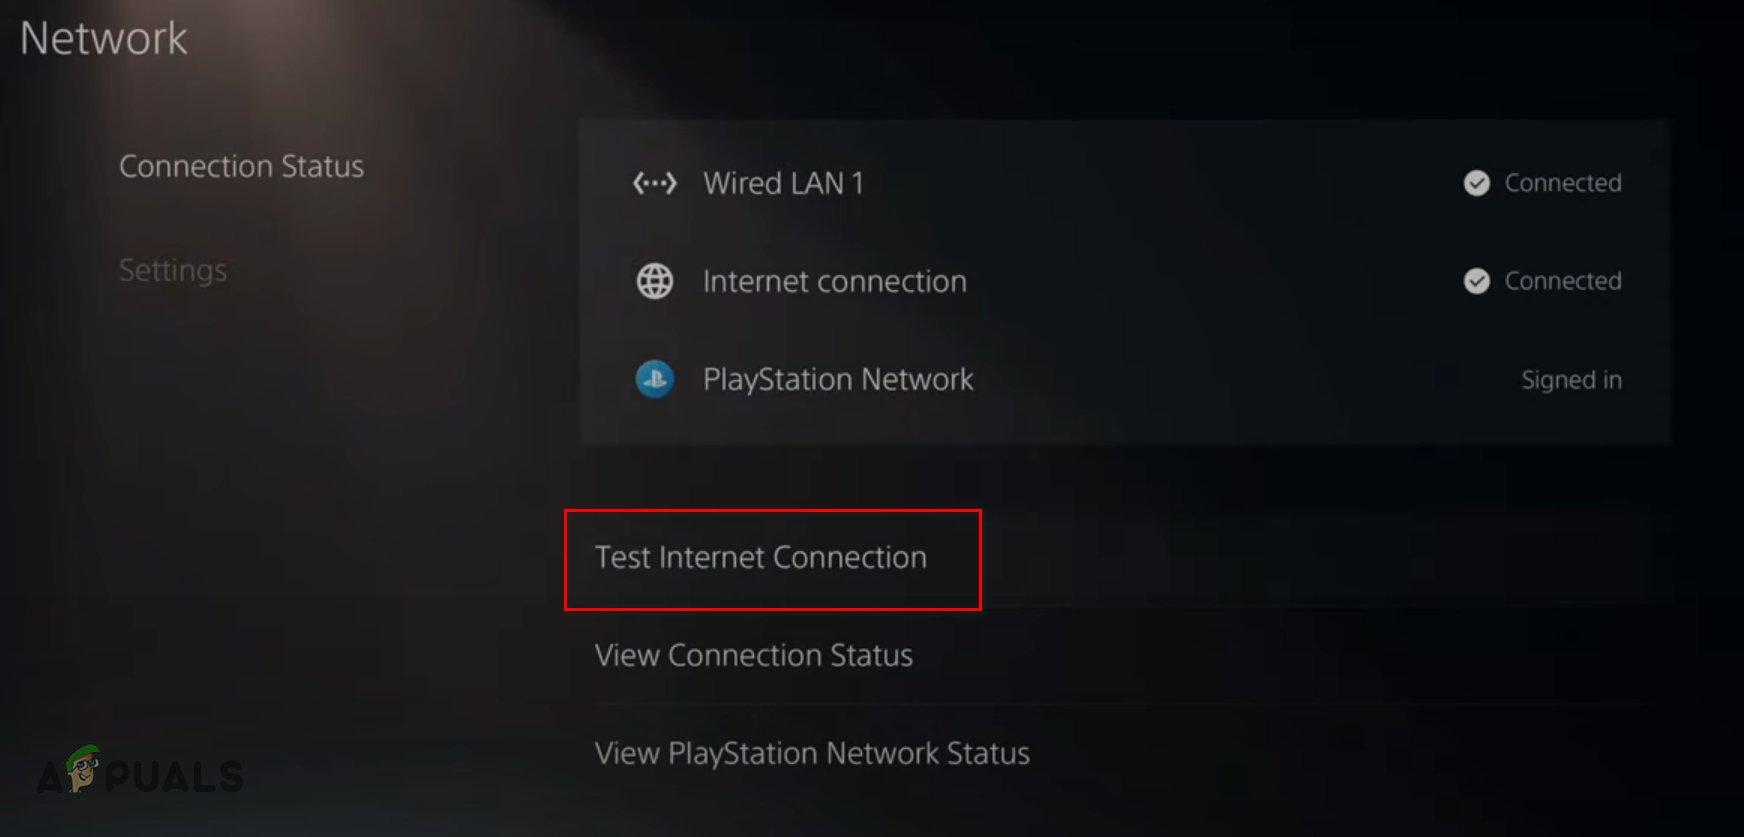
Select this option, and your console will run a quick network test, allowing you to check the speed of your connection easily.
If your internet’s download/upload speed is slower than usual, it is likely the cause of the error you’re facing. Luckily, there are many ways to fix a slow internet connection.
The first way to fix a slow internet connection is to switch from Wifi to Ethernet by plugging your console/PC directly into the router. For this, you will need to use an Ethernet Cable.
Plug one end of the cable into one of the Ethernet ports in your router, and then plug the other end of the cable into the Ethernet port of your console/PC, which is usually located at the back. After connecting the Ethernet Cable, remember to turn off the Wifi on the system.
The Ethernet Cable will provide a significantly more stable and (usually) faster internet connection than Wifi. After switching to Ethernet, perform the speed test again and see if the issue is fixed.
If your download/upload speed is still slow, check if any downloads and/or streams are running on your network. These downloads/streams use a lot of internet bandwidth, causing you to experience slow download speeds in other network tasks.
Keep in mind that if another device in the same network is performing the downloads/streams, it will still affect your system’s internet speeds since you are both using the same internet connection.
If you find any downloads/streams, pause or cancel them for the time being. This will likely fix the slow download/upload speed issue. If it doesn’t, you can check out our guide, where we’ve listed many more solutions for fixing slow internet speeds.
1.2 Packet Loss; How to Fix it?
Once you’ve fixed your internet connection’s download/upload speeds, relaunch Overwatch 2 and see if you can connect to the servers. The issue could be related to packet loss if you’re still experiencing the login error.
When we send and receive information/data in a network, it travels in the network in the form of packets. Packet loss occurs when these data packets fail to transmit during this process.
The higher the number of lost data packets, the more “packet loss” the user will experience. And when the user experiences a high amount of packet loss, it can lead to all types of errors in online games, and it can even prevent the user from connecting to the game’s online servers.
If you’re playing Overwatch 2 on PC, you can follow the steps we’ve listed below to check if you’re experiencing any packet loss:
- Press the Windows Key on your keyboard to open the Start menu.
- Type “cmd” in the Start menu and select the “Run as administrator” option on the right.
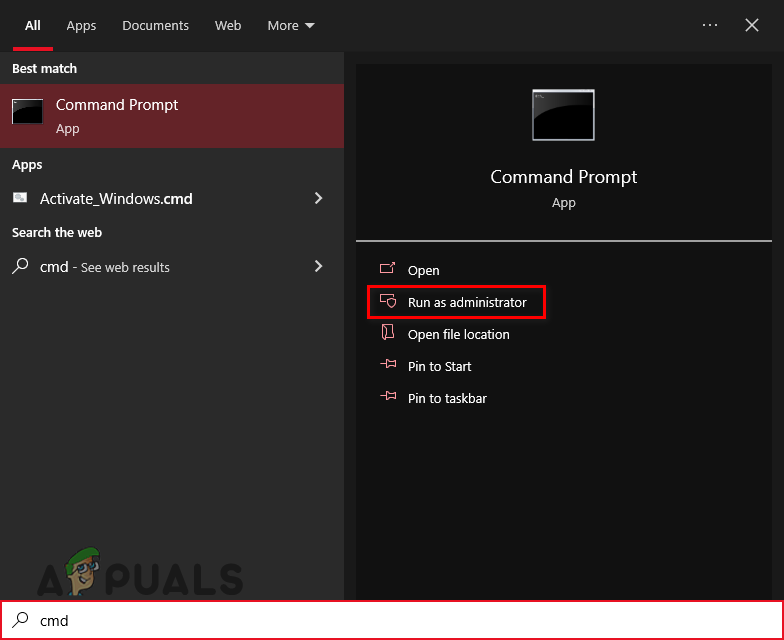
Opening Command Prompt as an administrator - Paste this command into Command Prompt and press enter.
ping -n 20 1.1.1.1
- Wait until the test is completed.
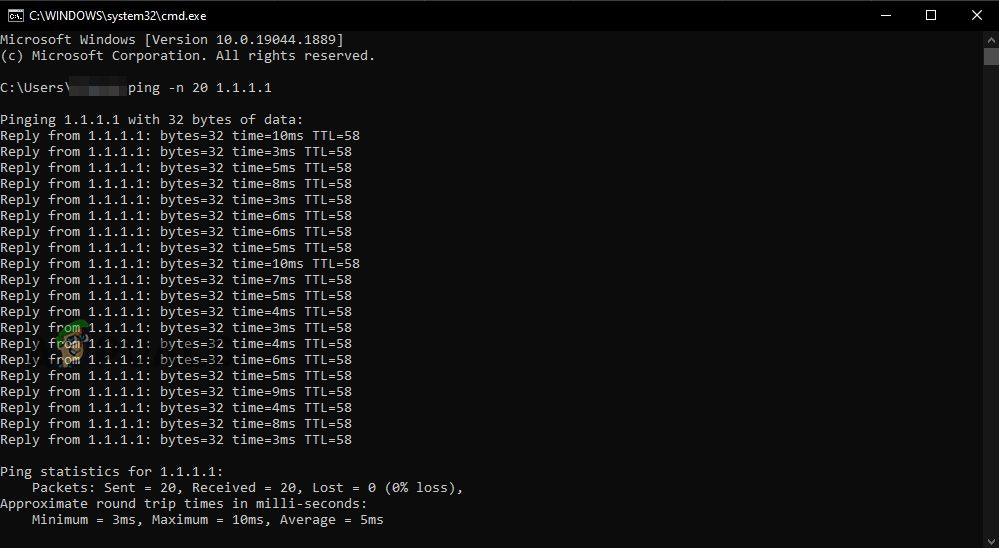
Performing a Packet Loss test using Command Prompt
If you’re playing Overwatch 2 on a PlayStation, Xbox, or Nintendo Switch, you can use the console’s native internet connection test feature again to check your packet loss status. It is located in the Network Settings menu of your console.
Once the packet loss test finishes, it will show you the amount of packet loss you’re experiencing in percentage form. Your internet connection is fine if you are only experiencing 5% or less packet loss.
But your internet connection is highly unstable if the packet loss exceeds 5%. To fix the packet loss, you should restart your router. After you turn off your router, remember to wait at least a minute before you turn it on again, as turning it back on too quickly can lead to issues.
Restarting your router has a high chance of fixing your packet loss issue. But if the packet loss persists even after you’ve restarted your router, you should call your Internet Service Provider (ISP) and speak to them about this issue.
If you’re experiencing 5% or less packet loss, the final step in confirming that your internet connection isn’t causing the Overwatch 2 disconnection error is to connect to a different internet connection.
1.3 Trying Another Network or Mobile Hotspot
If you use another internet connection and the problem still occurs, you will have ensured that your internet connection is not the real cause of the error. You will then be free to try the other solutions in this guide.
If you do not have another internet connection available in your house, you can connect your system to your Cellular Data. To do this, you can use the Portable Hotspot feature on your mobile phone and connect to it from your PC/console using Wifi.
You can follow the steps we’ve written below to connect your PC/console to your phone’s cellular data:
- Disable the Wifi on your phone and turn on Cellular Data.
- Open the Settings app on your phone and locate the Portable Hotspot feature.
- Enable Portable Hotspot.
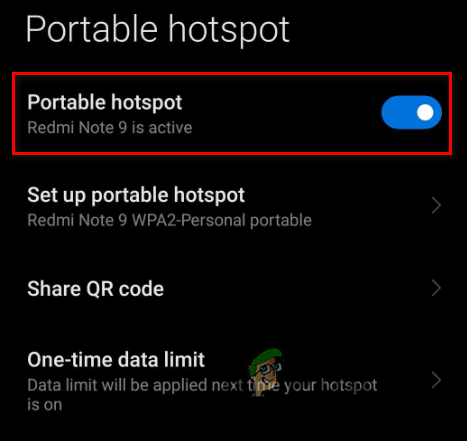
Enabling the Portable Hotspot feature on your phone - Head to the Wifi menu of your PC/console.
- Connect to your phone’s Cellular Data.
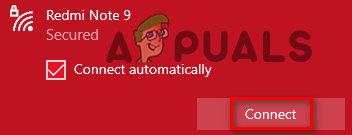
Connecting to Mobile Data - Disconnect the Ethernet Cable from your PC/console.
This method will allow you to use your phone’s cellular data on your PC/console. Once you’ve connected to it, launch Overwatch 2 and try to log in. If you experience the same error again, you have finally confirmed that your internet connection is not the cause of the issue. In this case, you can continue with our next fix.
2. Check the Overwatch 2 Server Status
After you’ve confirmed that your internet connection is fine, the next step is to look at the status of the Overwatch 2 servers.
Overwatch 2 has had a lot of hype surrounding its release, so hundreds of thousands of players have been trying to connect to the Overwatch 2 servers simultaneously.
This has caused immense strain on the servers, which has led to them experiencing issues. And on top of that, there was a DDoS attack on the game’s servers soon after the game’s official release, which caused the servers to go offline for a while.
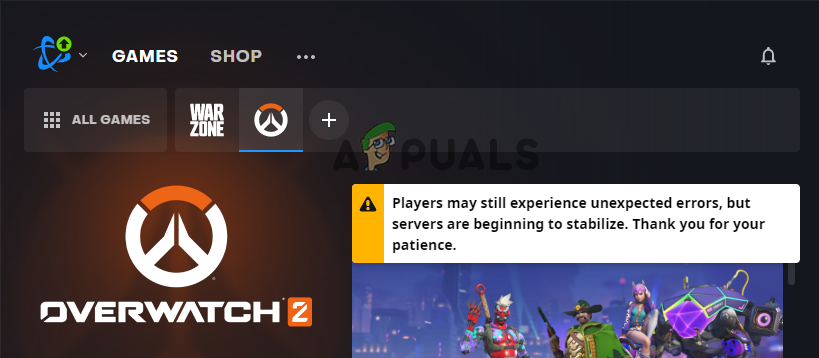
So before you try any more troubleshooting methods on your end, visit the official Overwatch 2 Twitter account and see if they have posted any tweets regarding the status of their servers.
If there’s a problem on the server side or the servers have gone offline, there will likely be a tweet mentioning it on the Overwatch 2 Twitter account. A message will also appear in the Battle.net Launcher, announcing the problem in the servers.
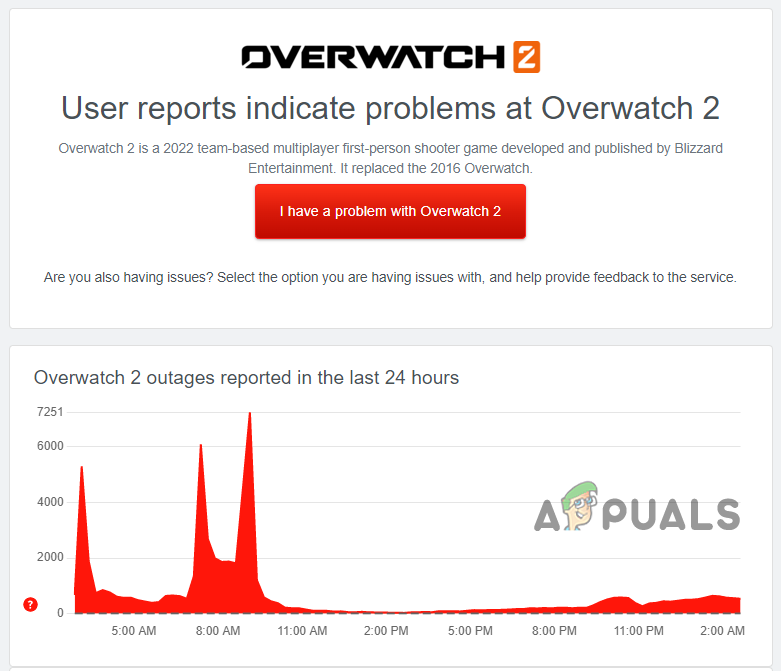
You can visit the Downdetector website to check the Overwatch 2 servers’ availability if you don’t see any tweets or messages in the launcher. Type “Overwatch 2” in the website’s search bar and press enter.
The website will use user reports to check the status of the servers. If it finds many user reports, it’ll notify you that there seems to be some sort of issue with the servers, so you will know that the problem is (likely) not on your end.
If there are some server errors in Overwatch 2 or the servers have gone offline, you will be unable to connect to them and experience different error codes, such as the one you are experiencing right now.
And since the problem is related to the servers themselves, there’s not much you can do to fix it yourself. The only viable solution for this problem is to wait until the servers come back online.
Check the official Overwatch Twitter account and Downdetector to see if the servers have been fixed. Once the servers are back online, you should be able to connect to them without an issue.
If you’ve checked online and it turns out that the Overwatch 2 servers are fully operational, the cause of the login error is on your end, and you’ll need to troubleshoot to fix it. Try the solutions we’ve listed below to fix the error.
3. Restart the Battle.net Launcher and Overwatch 2
Sometimes, these errors in Blizzard games can be fixed by simply restarting the Battle.net launcher. So before you try any other fixes, you should quickly restart your Battle.net launcher.
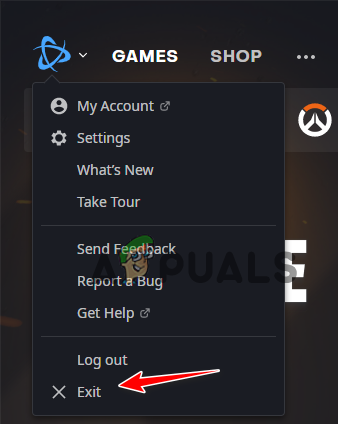
This may fix your problem and save you time and effort. Remember that to close the Battle.net launcher, you can’t just click the “X” button in the top-right.
If you close the launcher in this way, it will just minimize to your taskbar instead of properly closing.
To close the Battle.net launcher, click on the Blizzard icon in the top-left and select the Exit option. After closing the launcher, reopen it and then launch Overwatch 2.
If you’re playing Overwatch 2 on a console, simply restart the game itself. Restarting the launcher/game has a high chance of fixing your problem, but if you continue to experience the error, try the next solution below.
4. Play On a Different Region
A quick way to fix the Overwatch 2 login error is to play the game in a different region. The login error could be related to a fault in the game’s servers, so switching over to another region has the potential to fix the error, as you’ll be connecting to new servers.
Note that this solution only works for PC players, as the console version of Overwatch 2 does not allow players to choose a different region. So if you’re a console player, skip this solution and move on to the next one.
When you launch Overwatch 2 on PC, it automatically chooses the most suitable region for you. This allows you to play with the lowest ping possible. But you also have the option to switch over to another region if you desire.
Note that this will lead to higher ping (and maybe even packet loss) during the game, so you should only try this method if the other solutions haven’t worked for you, as it will at least allow you to connect to the game’s servers.
To play Overwatch 2 in a different region, follow the steps listed below:
- Launch the Battle.net launcher.
- Click on “Games.”
- Click on the Overwatch 2 icon.
- Click on the globe icon next to the big “Play” button.
- Select a different region.

Changing the Overwatch 2 region
If you’re in Asia, you should select Europe as it is closer to you than the Americas – this will give you a smaller increase in ping. If you’re in the Americas, select Europe as it is closer to you than Asia. And if you’re in Europe, select Asia.
Once you’ve changed the region, click Play to launch Overwatch 2. If the game launches without problems and you don’t experience any login errors, the servers are causing the issue. All you can do now is wait until the servers get fixed.
5. Update Overwatch 2
Since Overwatch 2 is a new game, you must ensure that you’re using its latest patch (update). When games first launch, they usually have different bugs and errors at the start, such as this login error. The developers quickly fix these bugs by releasing small updates known as hotfixes.
Therefore, it’s very important to keep the game updated to the latest version as it’ll ensure that these bugs/errors are not present in your game.
If you’re not using the latest version of Overwatch 2, you can likely fix the login error by simply updating the game to the latest version.
To update Overwatch 2 to the latest version, follow the steps listed below:
- Open the Battle.net Launcher.
- Navigate to the “Games” section.
- Click on the Overwatch 2 icon.
- Press the Update button.
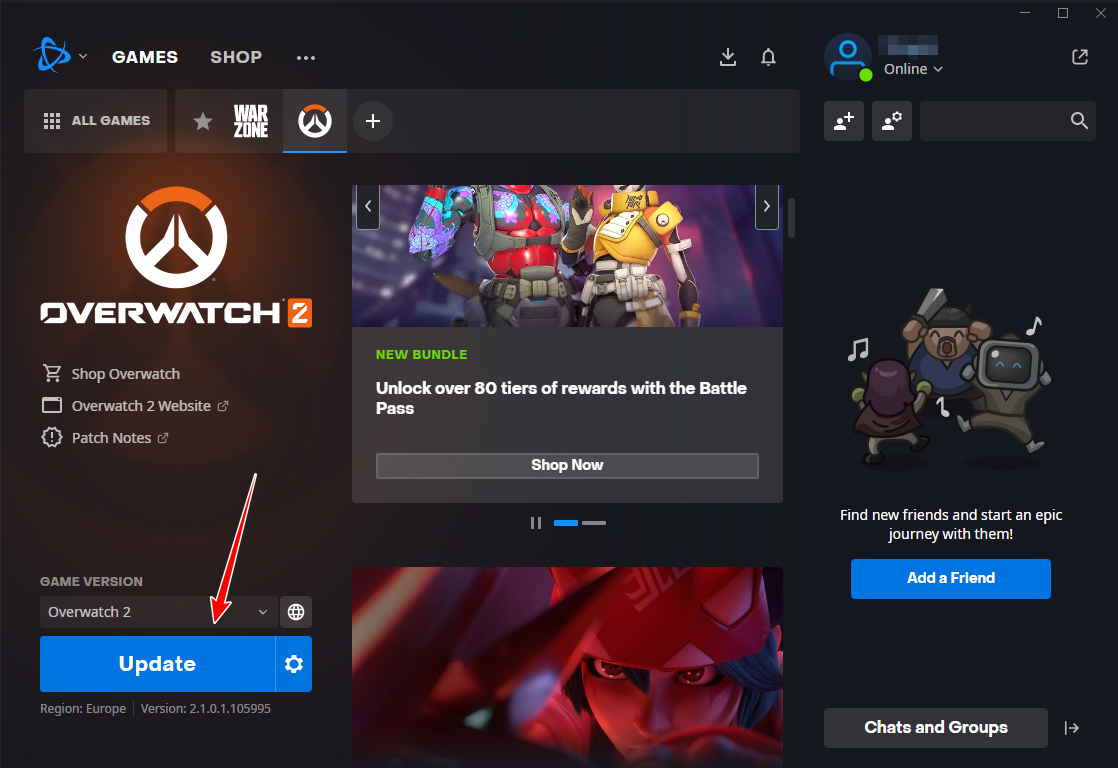
Updating Overwatch 2
If you open the Battle.net launcher and don’t see an update button, the game is running on the newest patch. So if there is no update button visible, move on to the next solution listed below.
6. Repair the Overwatch 2 Game Files
A very common cause of errors in games is missing or corrupted game files. When downloading and installing games on our system, we must ensure that your internet connection is as stable as possible throughout the entire process.
Because if there’s too much variation in our internet connection’s download speed, or if there’s a packet loss issue, the game files will fail to download properly, resulting in corrupted/missing files.
These broken game files then cause many kinds of errors in the game and also often prevent the user from being able to connect to the multiplayer servers.
To solve this game file problem, you must perform a file scan and repair using the game’s launcher. Most game launchers, such as Steam, Origin, Battle.net, and Epic Launcher, have a built-in file repair feature that allows you to scan the game’s files and repair any errors quickly.
To fix the Overwatch 2 game files, follow the steps written below:
- Launch the Battle.net launcher.
- Click on “Games.”
- Click on the Overwatch 2 icon.
- Press the small gear icon next to the big “Play” button.
- Click on the “Scan and Repair” option.

Repairing the Overwatch 2 game files
The scan and repair process can take up to five minutes to complete. Once it has finished, relaunch Overwatch 2 and see if you can log into the game. If the LC-208 error persists after you’ve repaired the game files, continue with the next solution.
7. Link Console Profile and Battle.net Account (If Applicable)
If you’re playing Overwatch 2 on a PlayStation, Xbox, or Nintendo Switch console, you must link your console’s a profile/account to your Battle.net account. If you haven’t done this, you will not be able to log in to Overwatch 2.
Linking your console’s profile to a Battle.net account is necessary as it allows you to retain your in-game progress no matter what platform you’re playing Overwatch 2 on. So if you play Overwatch 2 on Playstation and then log in to the same account on Xbox shortly after, your progress, settings, skins, characters, etc., will all be preserved.
If you don’t have a Battle.net account, don’t be alarmed, as you can easily make one and link it to your console’s profile. This will not delete your in-game progress.
To link your console’s profile to your Battle.net account, follow the steps we’ve written below:
- Visit the Battle.net website and log into your existing account or create a new one.
- Click on the “Connections” tab on the left.
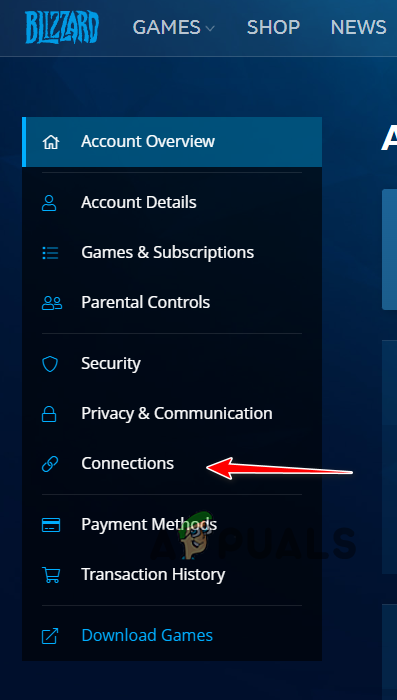
Navigating to the Connections tab - Connect your Xbox Live, Nintendo, or PlayStation Network profile to the Battle.net account by clicking the Connect button next to the appropriate option in the list.
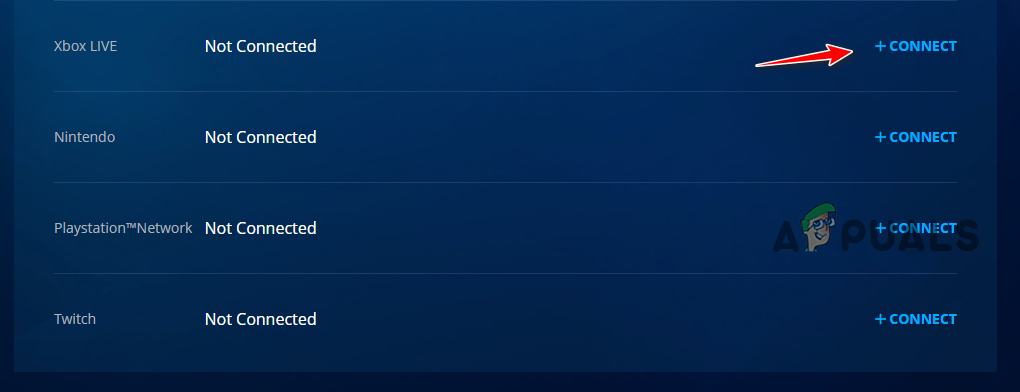
Connecting your Console profile to your Battle.net account - Log in to your console profile/account.
- Launch Overwatch 2.
An important thing to note is that your Battle.net profile can only be linked to one console profile at a time. And similarly, a console profile can only be linked to one Battle.net account at a time.
If you play Overwatch 2 on a PlayStation and Nintendo Switch, you can only link one of these two console profiles with your Battle.net account. Therefore, you should choose your connection wisely.
And if you have linked your console profile with a different Battle.net account before, you must remove the connection from that account to connect to the new one.
And lastly, if you connect your Battle.net account to a console profile but then wish to connect it to a different profile on the same console, you will need to wait an entire year before you are allowed to do so.
8. Reconnect Console Profile to Battle.net Account (If Applicable)
According to user reports, many people have fixed this error by simply reconnecting/relinking their console (PlayStation, Xbox, Nintendo Switch) profiles to their Battle.net accounts.
There could be some sort of synchronization issue between your console profile and Battle.net account, which would explain why you cannot connect to the game’s servers. Disconnecting your console profile and Battle.net account and reconnecting them would refresh the synchronization and fix this problem.
To reconnect your console profile to your Battle.net account, follow the steps listed below:
- Visit the Battle.net website and log into your existing account or create a new one.
- Click on the “Connections” tab on the left.
Navigating to the connections tab - Disconnect your Xbox Live, Nintendo, or PlayStation Network profile from the Battle.net account by clicking the “Disconnect” button next to its name in the list.

Disconnecting your Console Profile - Click the Disconnect button again.
- After disconnecting the account, click on the Connect button next to the appropriate option on the list.
Connecting your Console profile to your Battle.net account - Log in to the same profile/account again.
- Launch Overwatch 2.
A warning message will appear when you click the first Disconnect button: “There will be a 365-day cooldown before you can connect a new account.”
Don’t be alarmed by this warning, as it clearly states that this cooldown will only apply if you connect a new account/profile to your Battle.net account.
Since you’re reconnecting the same console account, this cooldown will not be applied to you, so you can simply ignore it and press the Disconnect button.
Once you’ve relinked your console account with your Battle.net account, the login error will likely be fixed.
9. Check the Status of the Console’s Online Subscription (If Applicable)
If you’re playing Overwatch 2 on a PlayStation, Xbox, or Nintendo Switch console, you need an active online subscription to be able to connect to the game’s online servers.
If your online subscription is expired or you’ve never activated it, you will get connection and login errors every time you launch Overwatch 2.
- For PlayStation users, this subscription is called “PlayStation Plus.”
- For Xbox users, this subscription is called “Xbox Live Gold.”
- For Nintendo Switch users, this subscription is called “Nintendo Switch Online.”
So a quick way to fix the login error in Overwatch 2 is to check the status of your console’s online subscription. If your subscription is disabled or expired, it is the reason why you cannot connect to the Overwatch 2 servers. And to fix this problem, you will need to reactivate the subscription.
If you’re playing Overwatch 2 on a Playstation, you can check the status of your PlayStation Plus subscription by following these steps:
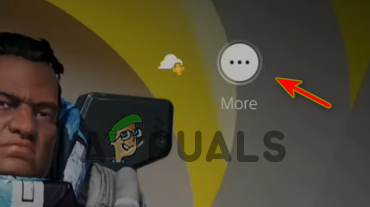
- On your PlayStation’s home screen, select the “PlayStation Plus” icon.
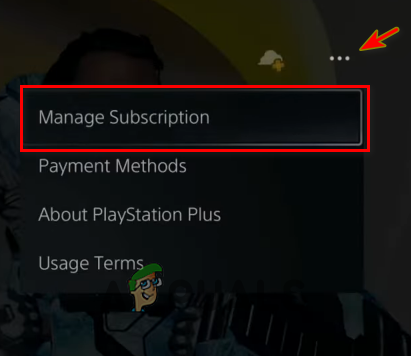
Opening the PlayStation Plus Menu - Click the three dots located in the top-right corner of the menu.
Opening PlayStation Plus Settings - Click on the “Manage Subscription” option.
This will open the PlayStation Plus menu, presenting all the important information related to your PlayStation Plus subscription. Take a look at the Expiration Date to see if your subscription is still active.

If it’s expired, there will be an option in the menu to extend the Expiration Date, allowing you to reactivate your PS Plus subscription.
There will also be a “Tun on Auto-Renew” option. When enabled, this option will automatically reactivate your online subscription, so you won’t need to do it manually each time it expires.
If you’re playing Overwatch 2 on an Xbox, you can check the status of your Xbox Live Gold subscription by following these steps:
- On your Xbox home screen, click on the “Settings” option.
- Navigate to the “Account” section.
- Click on the “Subscription” option.
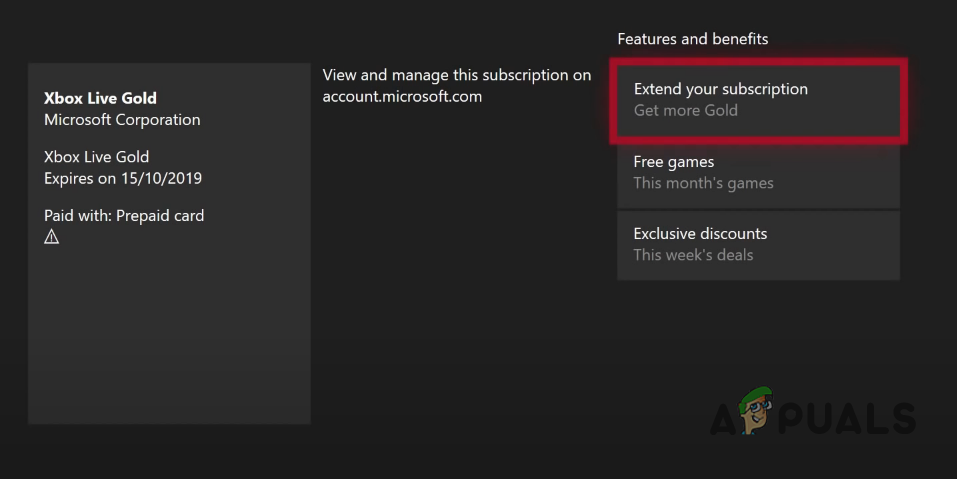
This will open the Xbox subscriptions menu, showing all your subscriptions and their respective Expiration Dates. Click on the “Xbox Live Gold” subscription to see more related information.
If you have passed the Expiration Date, click on the “Extend your subscription” option to reactivate your online subscription.
If you’re playing Overwatch 2 on a Nintendo Switch, you can check the status of your Nintendo Switch Online subscription by following these steps:
- On your Nintendo Switch’s home screen, click on the Nintendo Switch Online icon in the icon bar at the bottom.
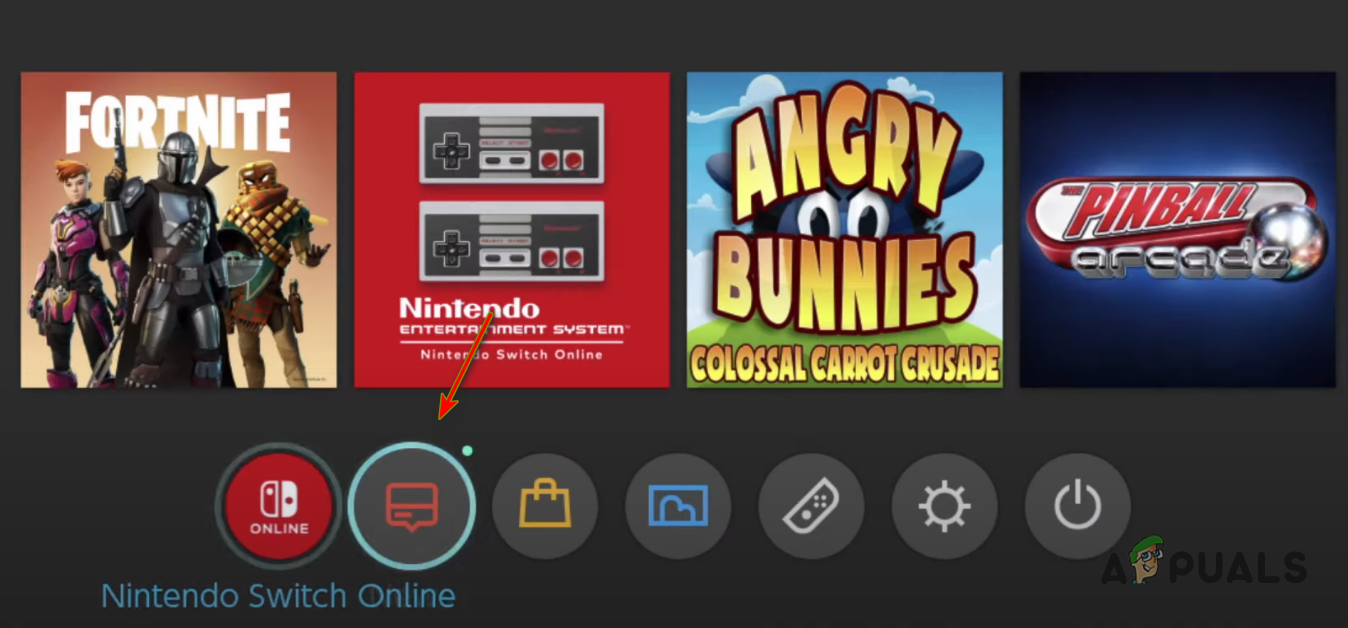
Opening the Nintendo Switch Online menu - Log in to your Nintendo Switch Online profile.
- Click on the “Membership Options & Support” option at the bottom-left corner of the menu.
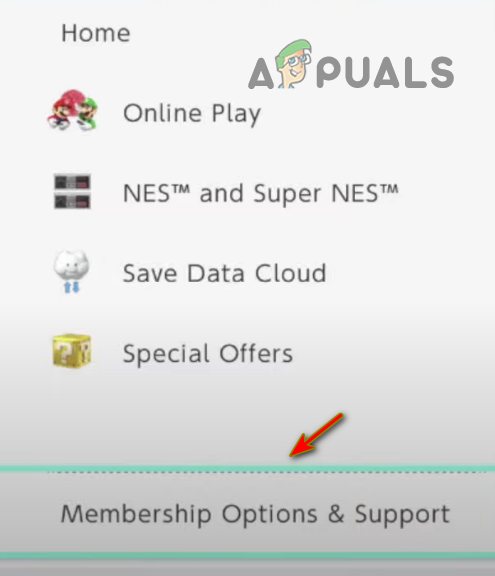
Opening the Membership Options - Select the “Change Membership” option.
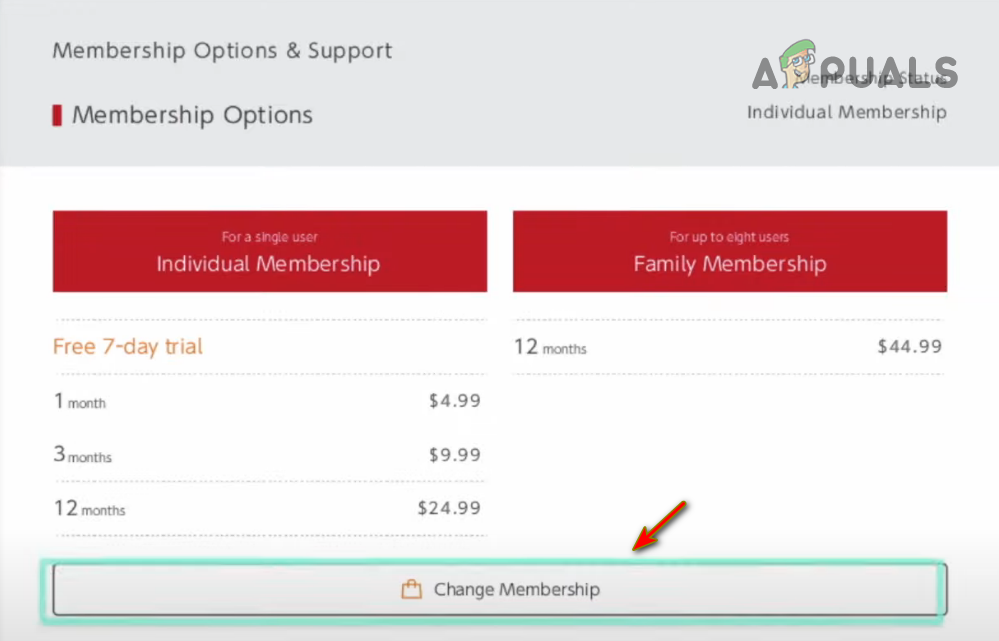
Press the Change Membership Button - Select your profile icon (in the top-right corner).
- Navigate to the Nintendo Switch Online category.
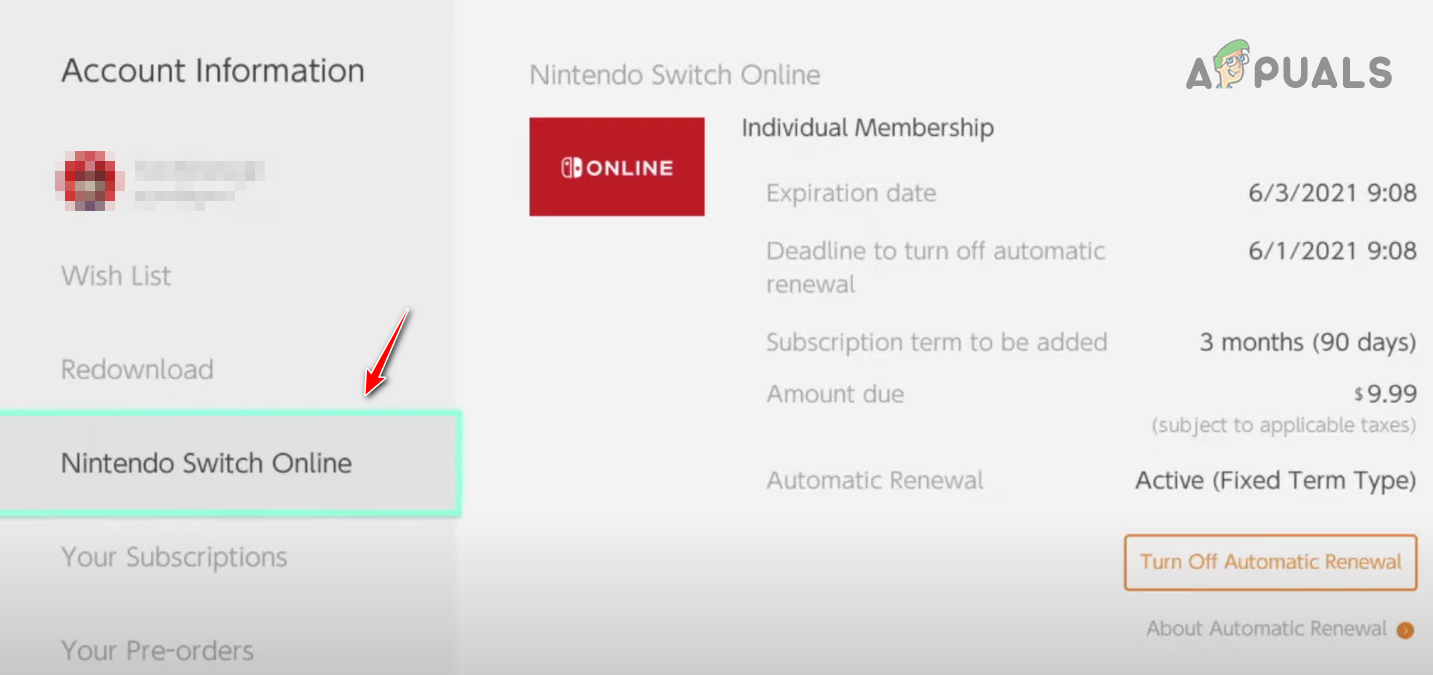
Checking the expiration date of your Nintendo Switch Online subscription
This menu will show your Nintendo Switch Online subscription’s Expiration Date and whether the Auto-Renewal option is turned on or off. If your subscription has expired, you can renew the subscription from this menu.
Ensure that the Auto-Renewal option is turned on, as it’ll automatically reactivate your online subscription each time it expires. This will save you time as you won’t need to renew it each time manually.
If your online subscription was disabled/expired before and you just reactivated it, you should no longer experience this login error in Overwatch 2.
10. Temporarily Disable Antivirus Software
The Antivirus programs we use on our PCs help safeguard them from potential threats, but they also tend to interfere with our trusted applications and prevent them from working properly.
This happens most commonly with games such as Overwatch 2. Our Antivirus programs flag these games as potential threats to our PC, despite the games being safe and trusted. And when this happens, they cause all kinds of problems with the game.
This includes performance problems, crashing, black screen issues, and connectivity errors. The connectivity error can occur if the Antivirus program restricts the game from accessing internet features.
So if you’re still experiencing the login error in Overwatch 2, the next solution is to disable your Antivirus program temporarily.
Remember that we are only disabling the Antivirus temporarily, as the program is still needed to protect our PCs. If we disable the Antivirus permanently, our PCs will be left unprotected.
To temporarily disable your Antivirus, follow the steps we’ve listed below:
- Open the Windows Start menu by pressing the Windows Key on your keyboard.
- Type “Windows Security” before pressing the enter key.
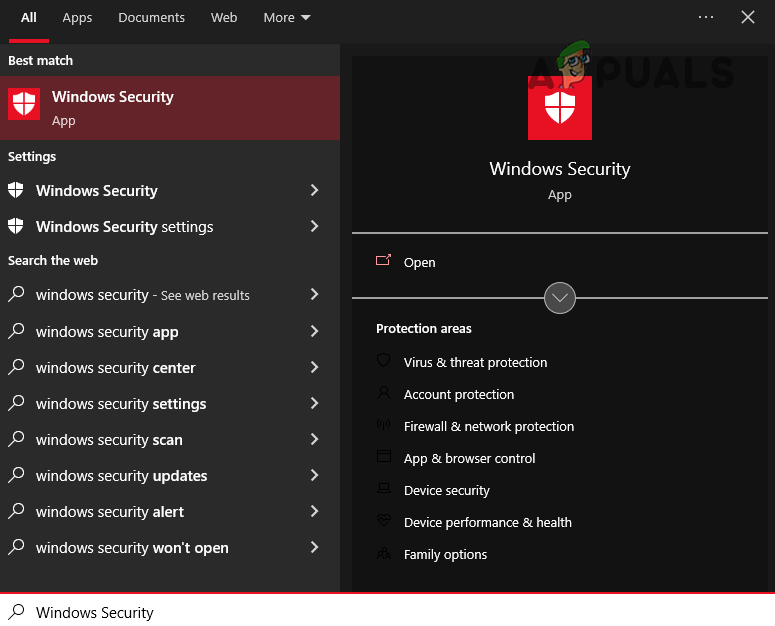
Opening Windows Security - On the list of options on the left side, click “Virus & threat protection.“
- Select the blue “Open app” option in the menu’s center.
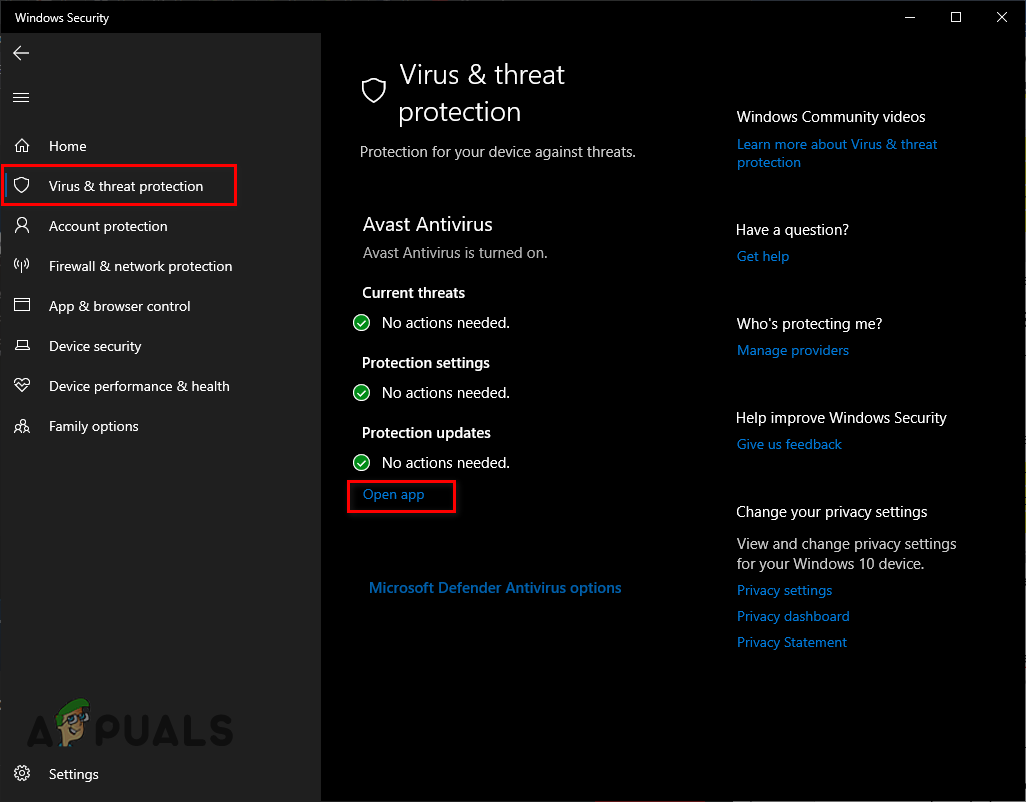
Temporarily disabling your Antivirus program
When you click the “Open app” button, your Antivirus program’s interface will appear on your screen. There will be a Settings option within the interface, where you’ll have the option to disable your Antivirus for a limited amount of time.
There might also be a “Game Mode” option in the menu. If there is, click on that instead, as it will optimize your Antivirus for gaming. This will ensure that the Antivirus does not conflict with your games and will also make the Antivirus use fewer system resources, so you get a performance boost in the game.
If you don’t see a Game Mode option, simply use the regular temporary disable option. If there’s no option that allows you to disable your Antivirus program for a limited time, simply disable it permanently.
After that, play Overwatch 2 and see if the login error is fixed. If it is, continue playing Overwatch 2 for as long as you want. Once you’re done with your Overwatch 2 session, you can reopen the Antivirus menu and re-enable it using the same option so it can continue protecting your system.
11. Create a Firewall Exception for Overwatch 2
If the login error is still not fixed even after you’ve disabled your Antivirus program, the Windows Firewall could be the real cause of the problem.
The Windows Firewall monitors the network activity of the applications installed on your system. It scans each app and determines whether it is safe enough to have internet privileges. If it thinks an app is unsafe, it blocks it from being able to use internet features on your system.
This helps protect your PC from viruses and malware, but unfortunately, the Windows Firewall is infamous for unnecessarily blocking safe and trusted programs, such as Overwatch 2.
And when it blocks these programs, the user experiences connectivity errors in them, like the one you’re experiencing currently.
So our next solution for the Overwatch 2 login error is to create an exception for the game in Windows Firewall. To add this exception, follow the steps listed below:
- Open the Windows Start menu by pressing the Windows Key on your keyboard.
- Type “Windows Security” before pressing the enter key.
Opening Windows Security - On the list of options on the left side, click “Firewall & Network Protection.“
- Select the blue “Allow an app through firewall” option in the menu’s center.
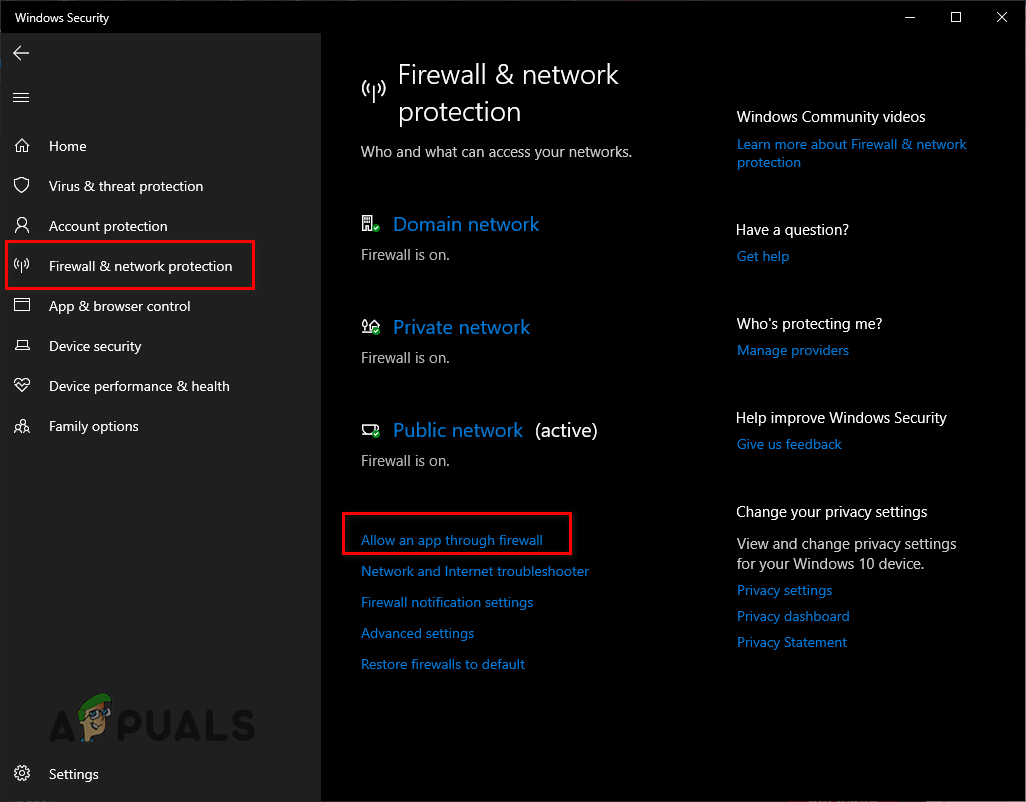
Opening Firewall Settings - Click on the “Change Settings” button at the top-right corner.
- Add checkmarks next to Overwatch Launcher and Battle.net.
- Press OK.
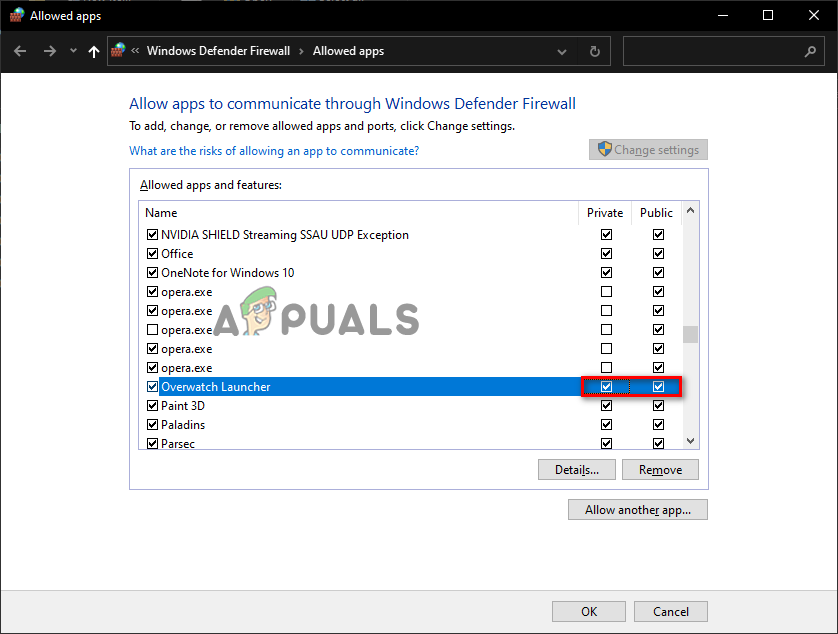
Adding a Firewall Exception for Overwatch
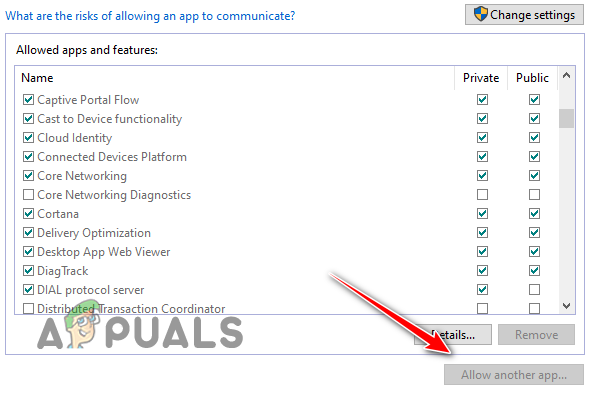
If you’ve scrolled through the whole list of programs in the menu and you don’t see Overwatch Launcher and/or Battle.net, you’ll need to add it to the list manually.
To do so, press the “Allow another app…” option at the bottom and use the File Explorer window to locate the .exe file of the game. Once you’ve found it, press the Add button to add it to the list, then put the checkmarks next to it before pressing the OK button at the bottom.
If you don’t know where the .exe file is located, you can use the Battle.net launcher to find this out. Follow the steps below to find the .exe file of Overwatch 2:
- Launch the Battle.net launcher.
- Click on “Games.”
- Click on the Overwatch 2 icon.
- Press the small gear icon next to the big “Play” button.
- Select the “Show in Explorer” option.
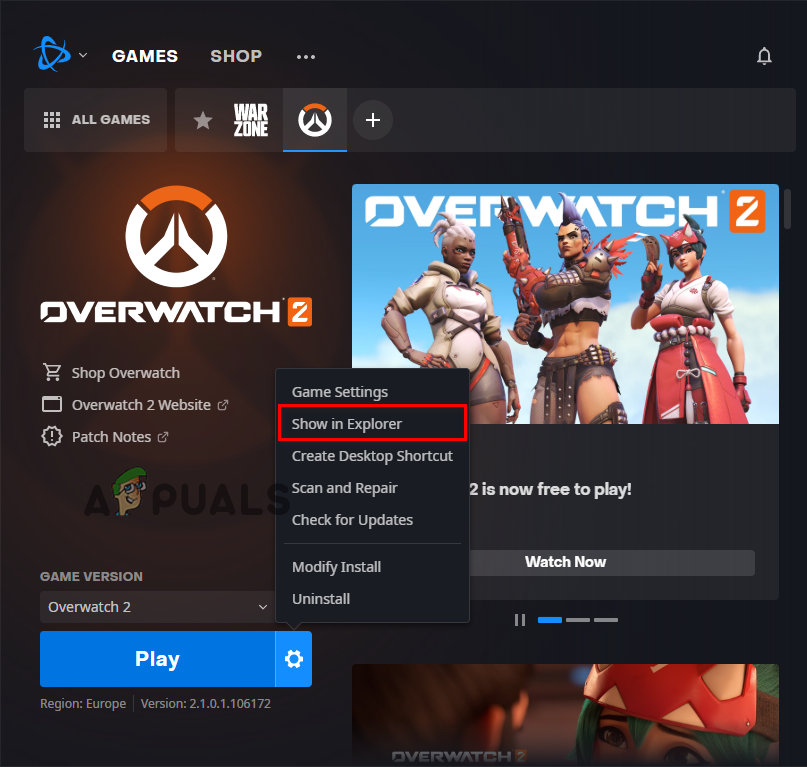
Opening the Overwatch 2 install location
When you select this option, File Explorer will open, showing you the exact location of the Overwatch 2 game files. You can now return to the Windows Firewall menu and add the game to the list.
Remember that this method of creating an exception is for the Windows Firewall program. If you have a third-party Firewall program installed on your system, you will have to go into its own menu and add the exception for the game there as well as create an exception in Windows Firewall.
12. Close Background Programs
Since the login error you’re experiencing is a connectivity issue, a simple fix could be closing all unnecessary background programs while playing the game.
If you have too many unneeded programs running in the background while playing Overwatch 2, that could be why you’re unable to connect to the game’s online servers.
These background programs not only use precious system resources, such as CPU power and RAM, but most also use network bandwidth. So if you have many programs running, they can cause connectivity errors in Overwatch 2 as they’ll take away too much network bandwidth from the game.
To solve this problem, you must determine what resource-hungry programs are running in the background and close the non-essential ones. This will give Overwatch 2 more network bandwidth, and you will also see a boost in performance as the game will acquire more system resources to work it.
To do this, follow the steps written below:
- Press Windows Key + X simultaneously.
- Select the “Task Manager” option.
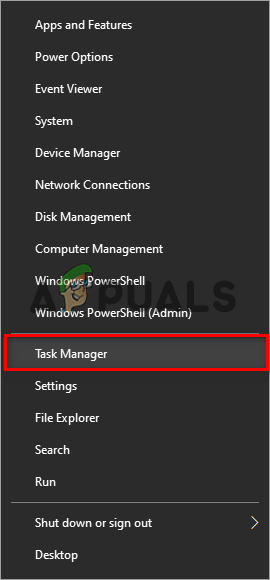
Opening Task Manager - In the “Processes” tab, check which programs are consuming the most network bandwidth and system resources.
- Left-click on the non-essential programs and press the “End Task” button at the bottom-right end of the window.
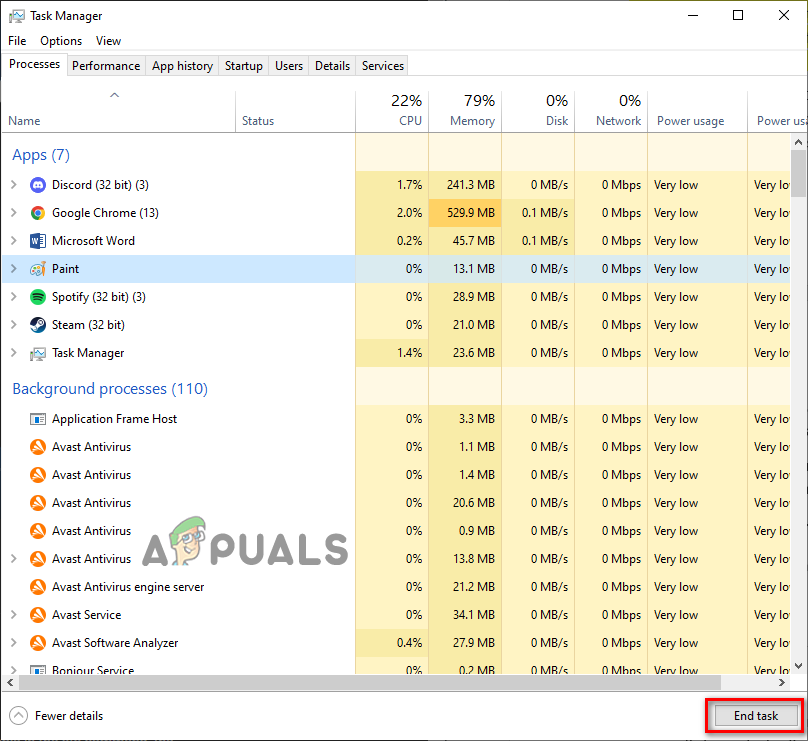
Closing unneeded Background Processes
Remember that we’re only closing the non-essential programs when following this method. So you should not close programs like the Battle.net launcher, the anti-cheat service, the driver applications, etc.
After following this method, you should immediately see a performance boost in Overwatch 2, and the login error will also potentially be fixed.
13. Flush DNS
Whenever we load a webpage or connect to an online server, our systems use a DNS (Domain Name System) Server to translate the server/webpage’s domain name into an actual IP Address. Once it has been translated into an IP Address, the webpage/server is finally loaded.
There are many different DNS Servers available. Each DNS Server is unique from the others in its ability to translate these domain names quickly.
This means that the DNS Server you use significantly impacts the speed at which you load a webpage or connect to a server. When you use an unoptimized DNS Server, it will take a lot of time to translate the domain names, resulting in the webpage/server loading very slowly.
An unoptimized DNS Server can also result in higher ping and other game connectivity issues, such as the error you’re facing in Overwatch 2.
So the next solution for this error is configuring our DNS Server setting. But before we do that, it’s a good idea to delete the DNS cache currently stored on your system.
When you connect to a server or load a webpage for the first time, the translated domain name of the server/webpage is stored in your system’s DNS cache. This cache allows you to load the webpage/server very quickly when you try to connect to it in the future, as the DNS Server will not have to translate its domain name all over again.
This helps improve loading times but can also have a big downside. This cache folder can become outdated over time as the configuration of these servers/webpages often changes. And on top of that, the DNS cache folder can also become corrupted.
When this happens, you will face all connectivity errors when you try to load back into the server/webpage. Therefore, you should delete the DNS cache folder whenever you face such errors.
The processing of wiping the DNS cache folder is called “flushing the DNS,” and it can be performed by following the steps we’ve listed below:
- Press the Windows Key on your keyboard to open the Start menu.
- Type “cmd” in the Start menu and select the “Run as administrator” option on the right.
Opening Command Prompt as administrator - Paste this command into Command Prompt and press enter.
ipconfig /flushdns
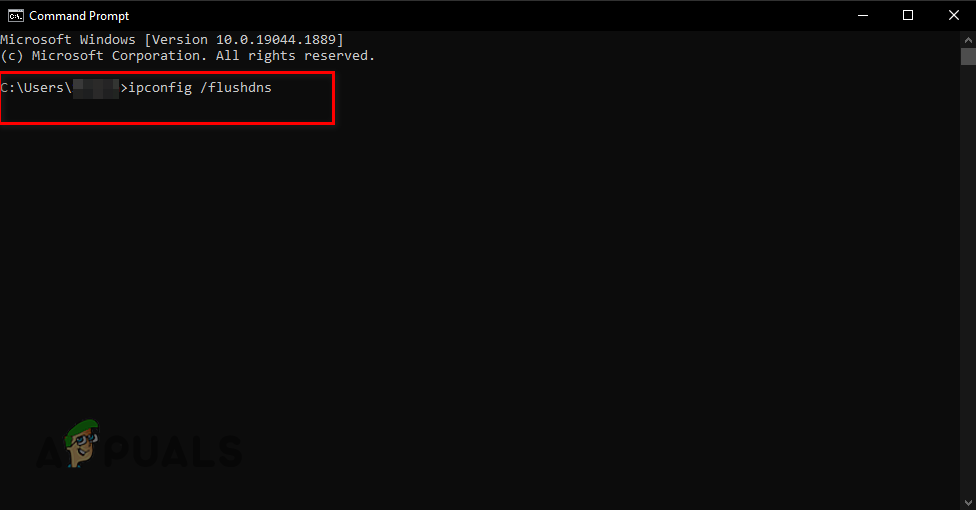
When you input this command into Command Prompt, the DNS will be flushed instantly, and you’ll see a message saying, “Successfully flushed the DNS Resolver Cache.”
If you’re worried that flushing your DNS will damage your internet connection, there’s no need to worry. Flushing your DNS is a completely safe process with no real downsides.
But remember that since the DNS cache is now gone, your DNS Server will have to translate the domain names of these servers/webpages from scratch when you load into them. So it will take a bit more time to load than usual when you connect to a server or load a webpage for the first time after flushing your DNS.
But once it’s loaded, the DNS cache will be renewed, and your connection speed will return to normal. In fact, there’s a chance that your connection speed may even increase.
14. Use a Different DNS Server
After flushing your DNS, the next step in properly configuring your DNS settings is changing your system’s DNS Server Setting.
If you’ve never changed the DNS Server Setting on your system, it is likely to set to Automatic, which means that your operating system is deciding the best DNS Server for you.
This may sound convenient, but having the DNS Server Setting set to Automatic can significantly slow down your connection speeds as your system will likely use an unoptimized DNS Server.
To connect to the online servers of games like Overwatch 2 quickly, you must use a DNS Server that is specifically optimized for gaming. The two best DNS servers for this purpose are Google and Cloudflare.
So for this solution, you must first check what DNS Server your system is currently using. If your system’s DNS Server Setting is set to Automatic, you must change it to Manual and use either Google or Cloudflare DNS.
If you’re playing Overwatch 2 on PC, follow the steps written below to change your PC’s DNS Server to Google or Cloudflare:
- Open the Start menu by pressing the Windows Key.
- Type “Settings” and press enter.
Opening Settings - Select the “Network & Internet” option in the Settings menu.
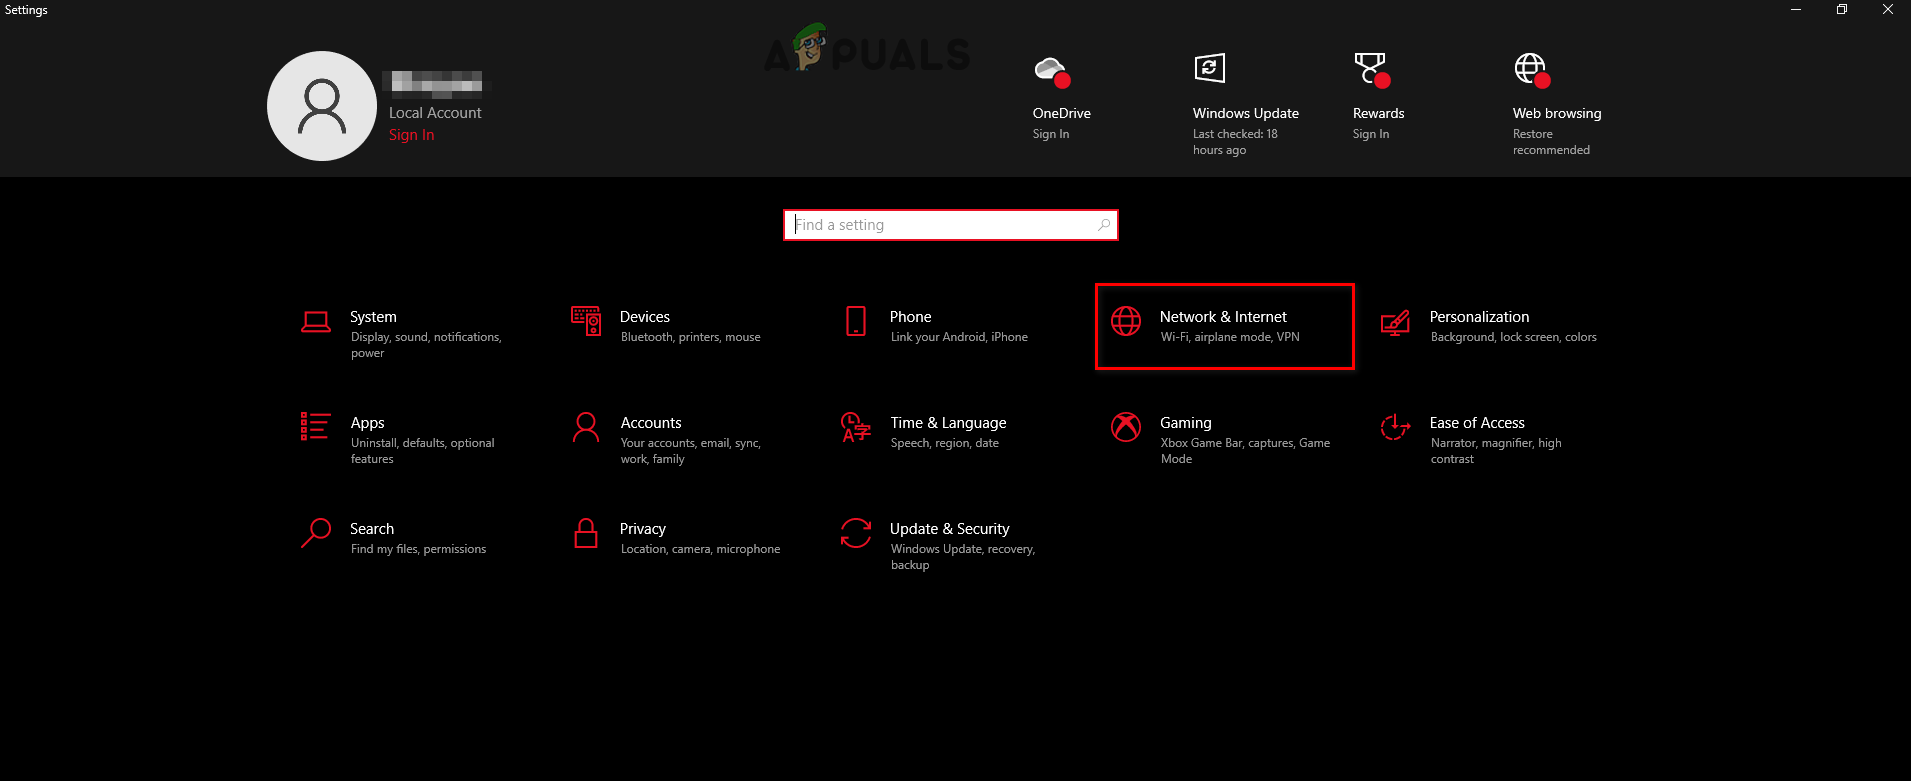
Opening Network and Internet Settings - Click on “Change adapter options.”
- Right-click on your network connection (the one your system is currently connected to).
- Select “Properties.”

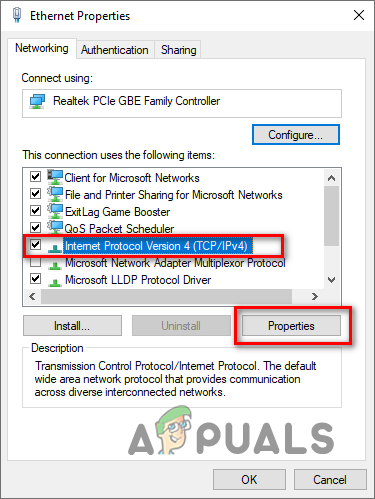
Opening Network properties - In the Ethernet Properties window, navigate to the Networking tab.
- Left-click “Internet Protocol Version 4 (TCP/IPv4).
- Click on the “Properties” button.
Opening Internet Protocol options - Left-click on “Use the following DNS server addresses.”
To change your DNS Server to Google DNS, type 8.8.8.8 in the Preferred DNS section and 8.8.4.4 in the Alternate DNS section.
To change your DNS Server to Cloudflare DNS, type 1.1.1.1 in the Preferred DNS section and 1.0.0.1 in the Alternate DNS section.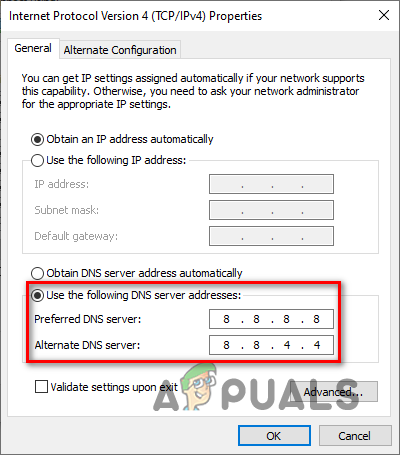
Changing DNS Server - Click on OK.
If you’re playing Overwatch 2 on PS4, follow the steps written below to change your PS4’s DNS Server to Google or Cloudflare:
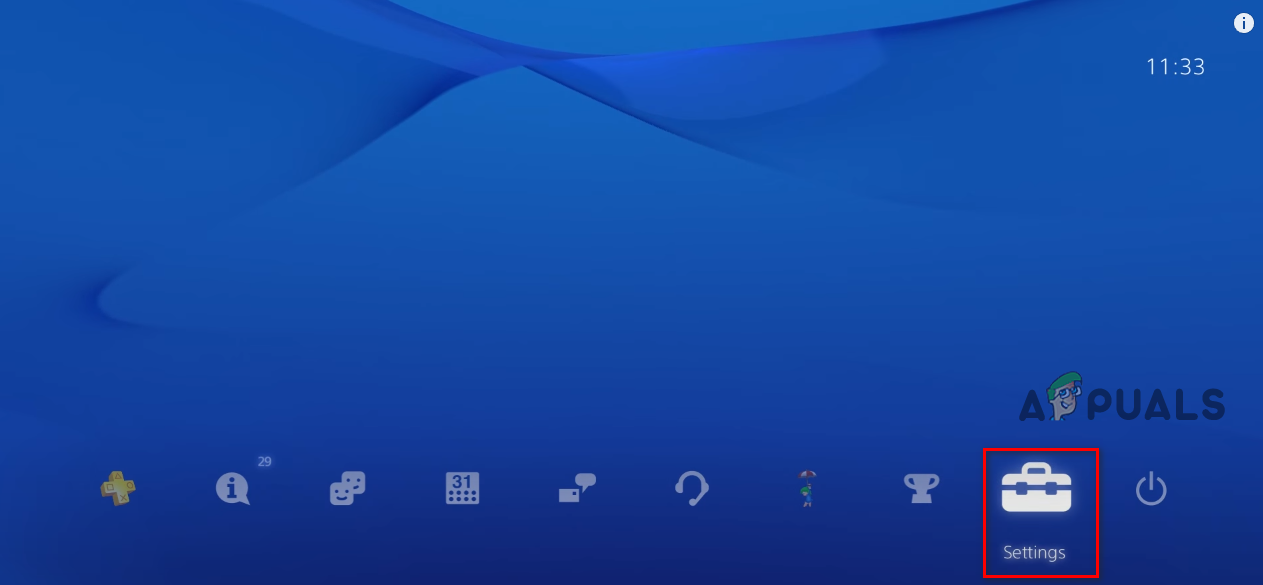
- Open your PS4’s home screen and click on the Settings icon in the hotbar at the bottom.
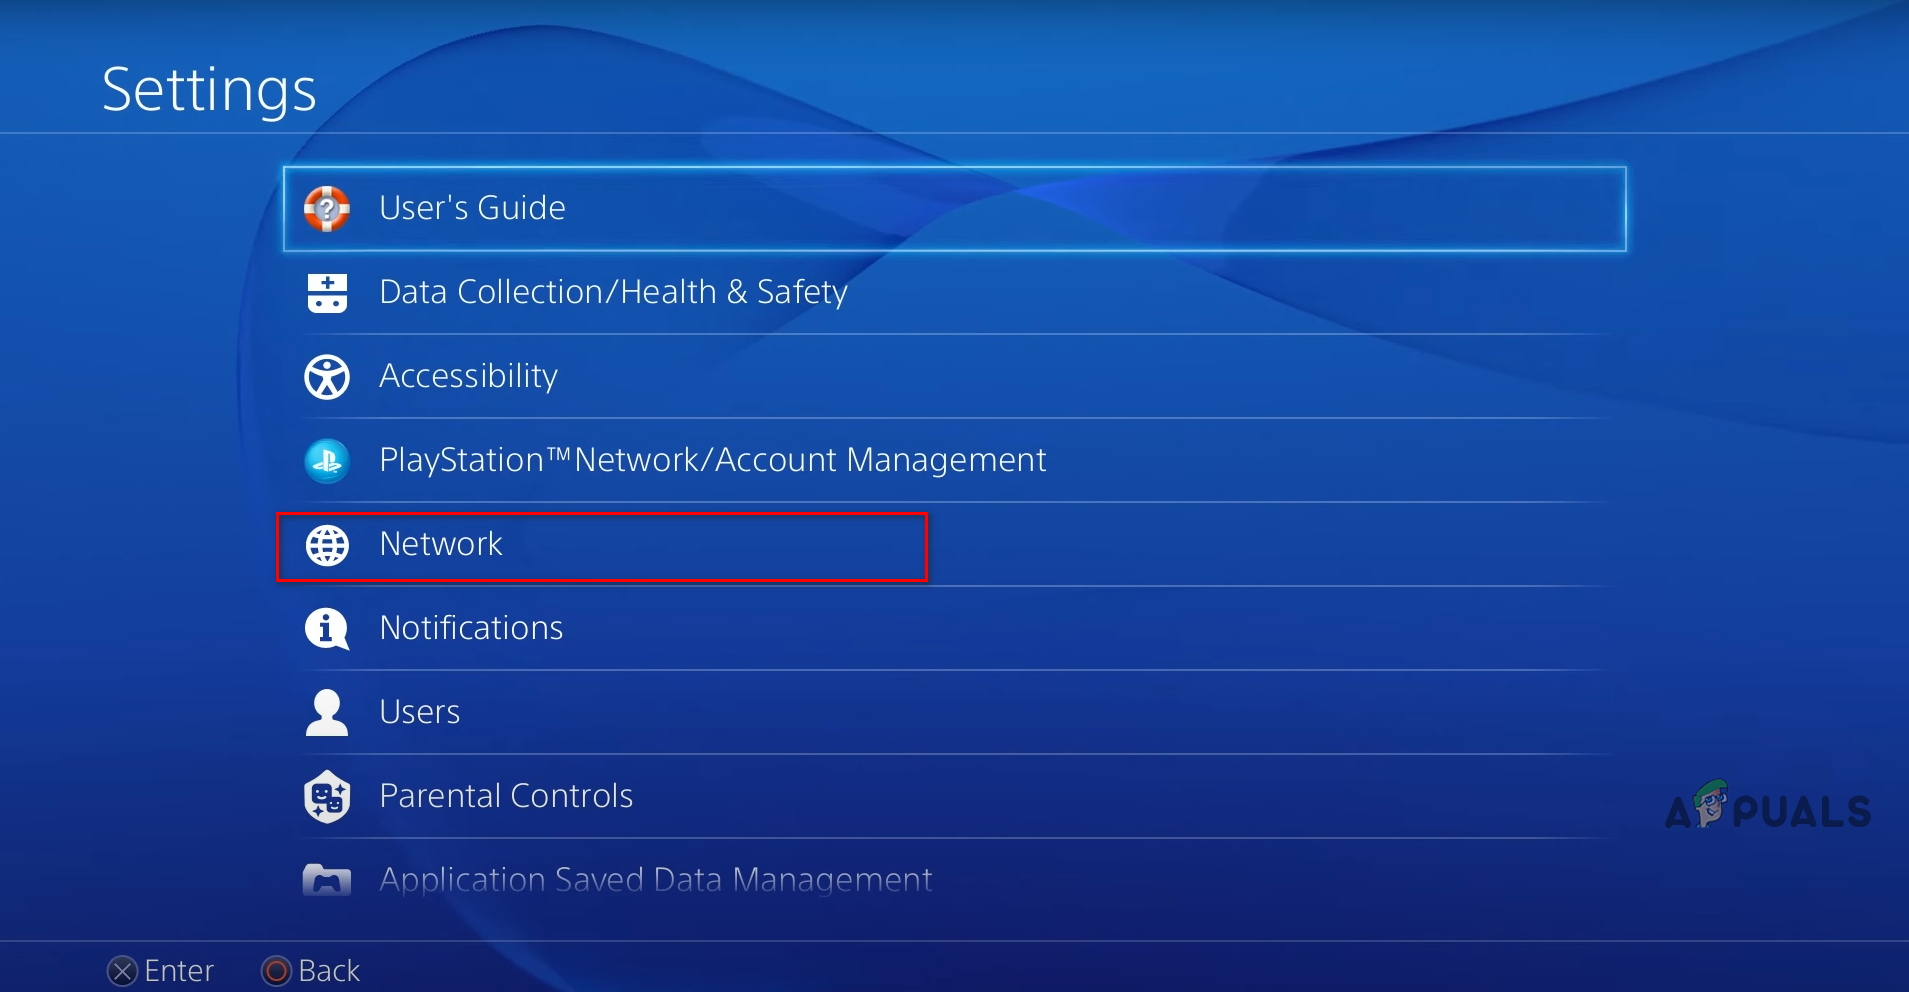
Opening PS4 Settings - Select the “Network” option in the Settings list.
Opening PS4 Network Settings - Select the “Set Up Internet Connection” option in the Network Settings list.
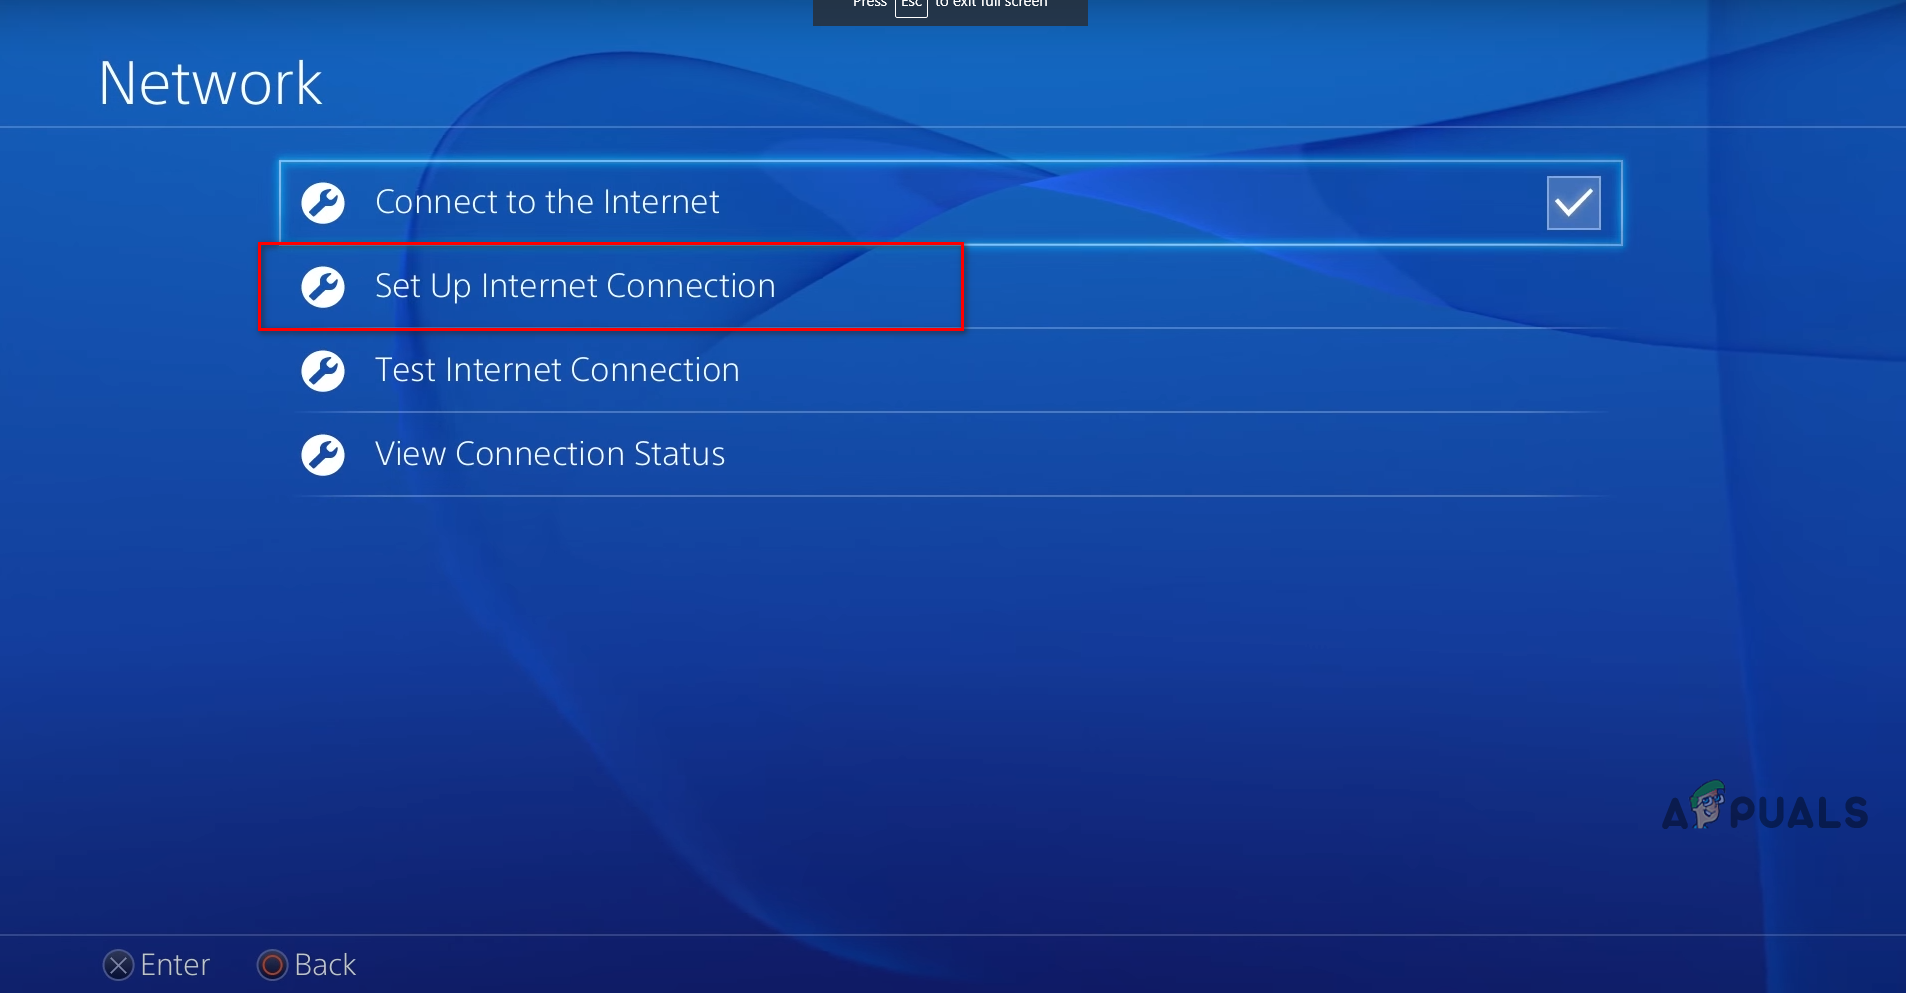
Select Set Up Internet Connection Select “Use a LAN (Ethernet Cable) if you are using an Ethernet Cable to connect to your router.
Select “Use Wifi” if you are using Wifi to connect to your router. - Select “Custom” when the following message appears: “How do you want to set up your Internet connection?”
- Select “Automatic” for the IP Address Settings.
- Select “Do Not Specify” for the DHCP Host Name.
- Select “Manual” for the DNS Settings.
- To change your DNS Server to Google DNS, type 8.8.8.8 in the Preferred DNS section and 8.8.4.4 in the Secondary DNS section.
To change your DNS Server to Cloudflare DNS, type 1.1.1.1 in the Preferred DNS section and 1.0.0.1 in the Secondary DNS section.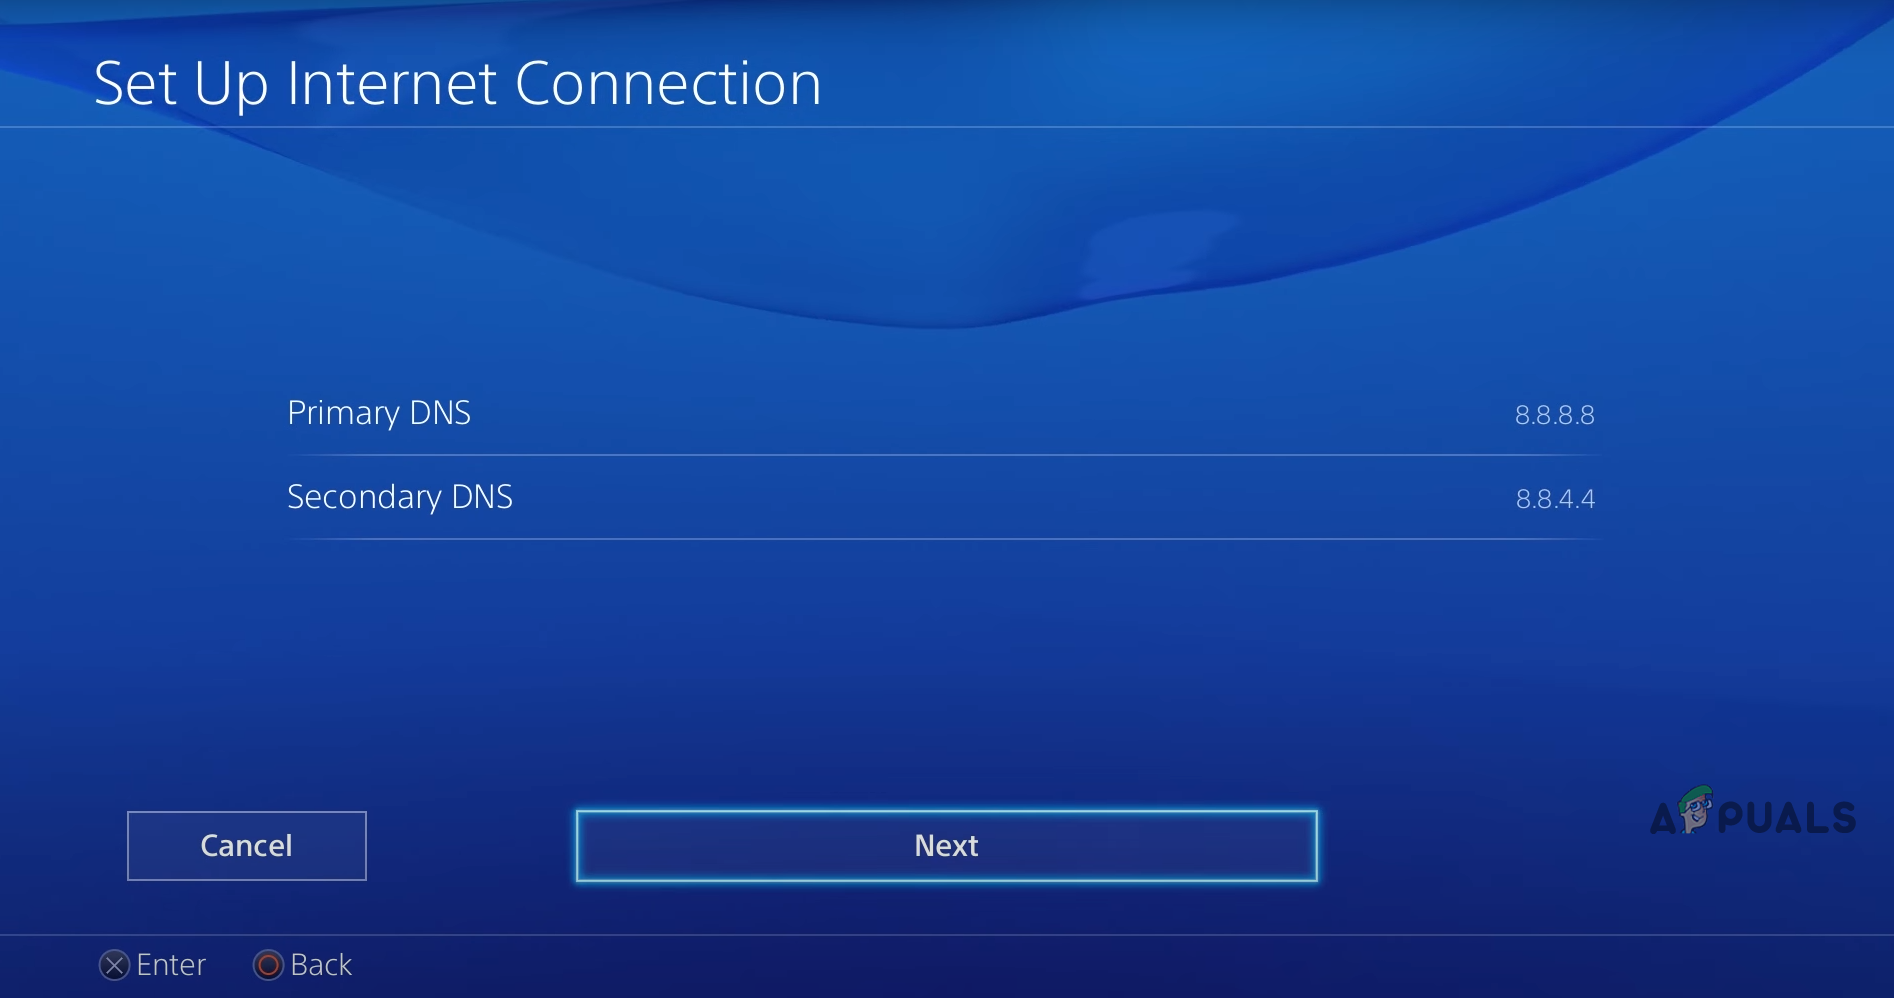
Changing DNS Server on PS4 - Select “Next.”
- Select “Automatic” for the MTU Settings.
- Slect “Do Not Use” for the Proxy Server.
- Restart your PlayStation 4.
If you’re playing Overwatch 2 on PS5, follow the steps written below to change your PS5’s DNS Server to Google or Cloudflare:
- Head to your PS5’s home screen and click on the gear icon near the top-right corner to open the Settings menu.
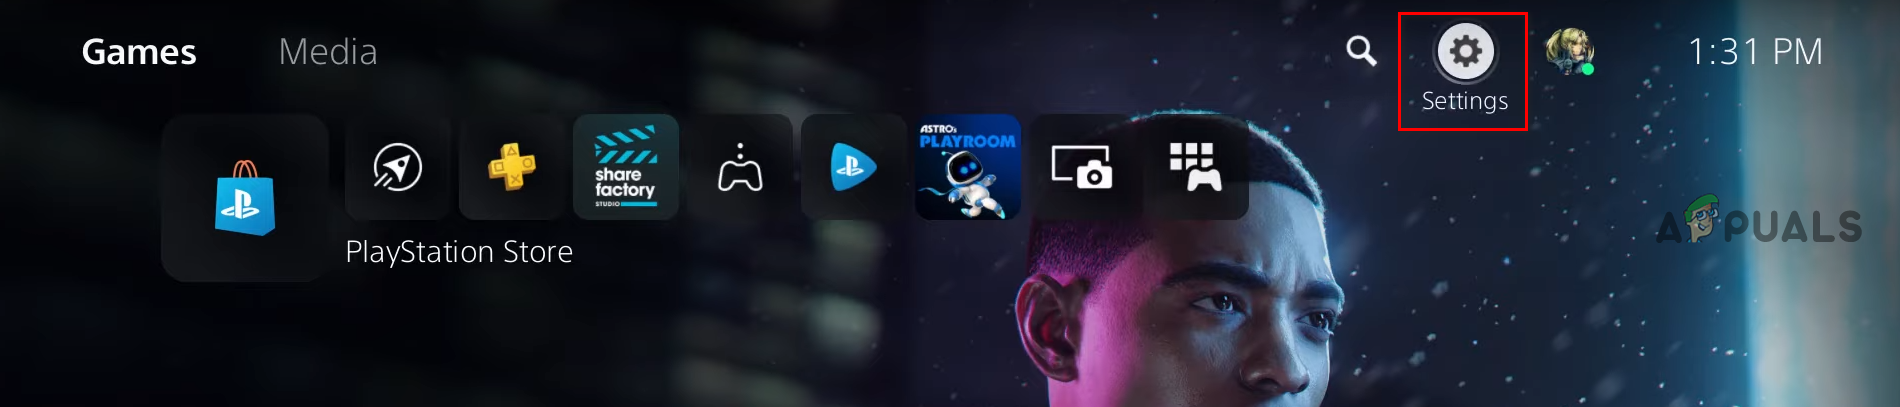
Opening PS5 Settings - Select the “Network” option in the Settings list.
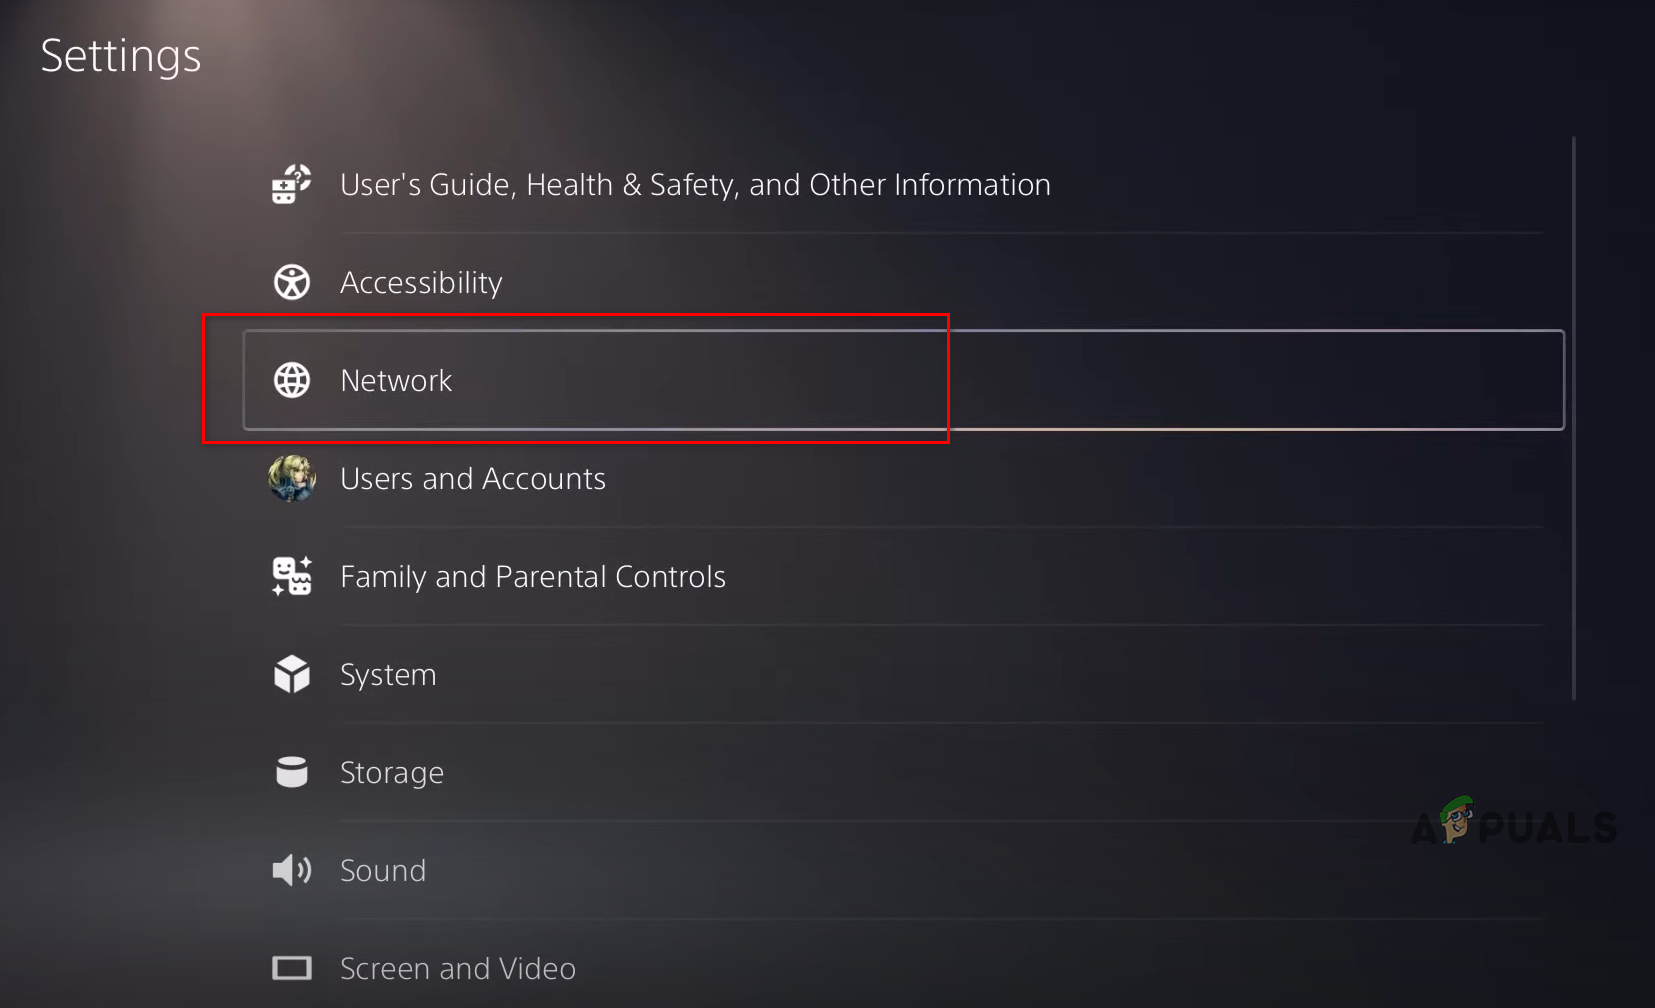
Opening PS5 Network Settings - Scroll down to “Settings.”
- Click on “Set up Internet Connection.”
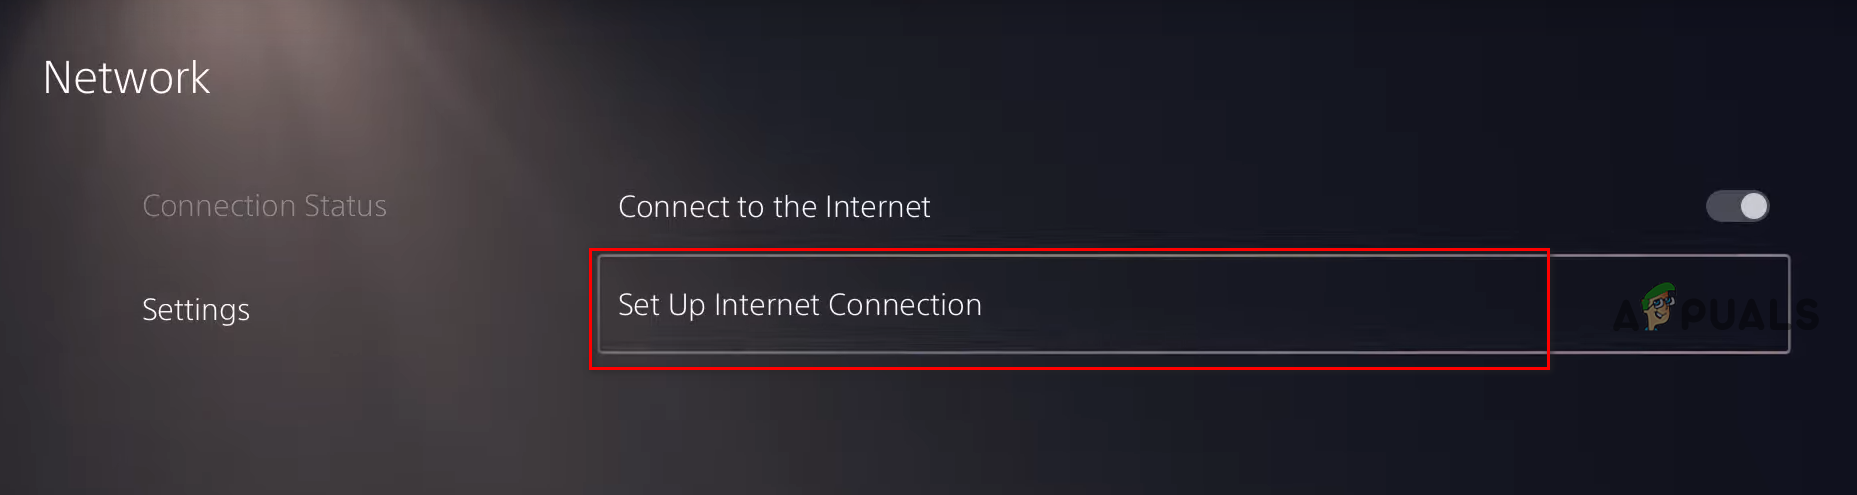
Selecting Set Up Internet Connection - Select the appropriate network (the one your PS5 is currently connected to).
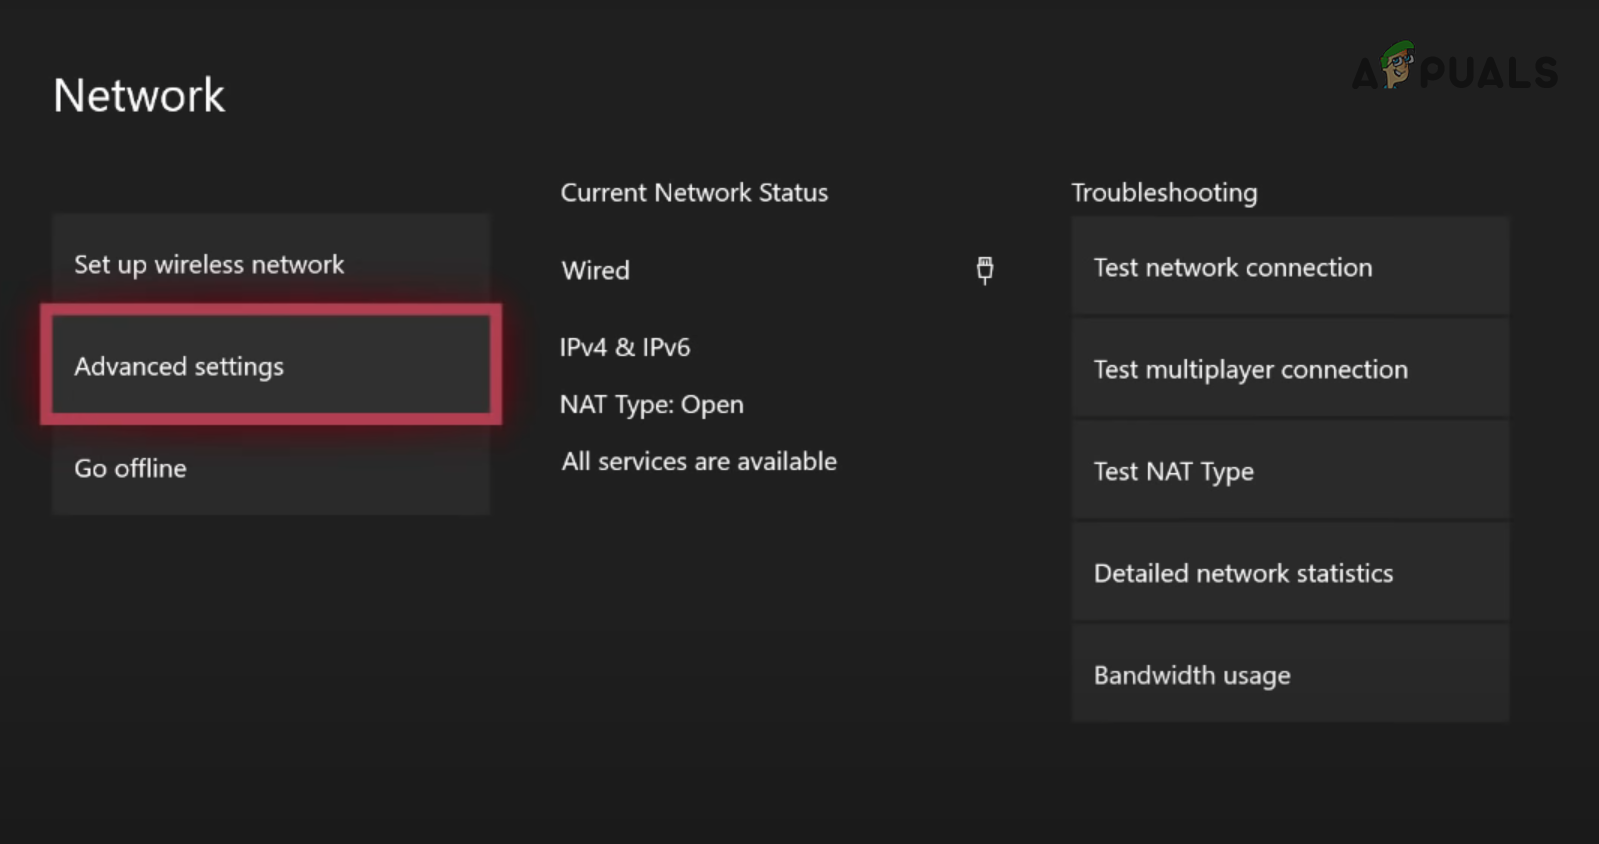
- Click on “Advanced Settings.”
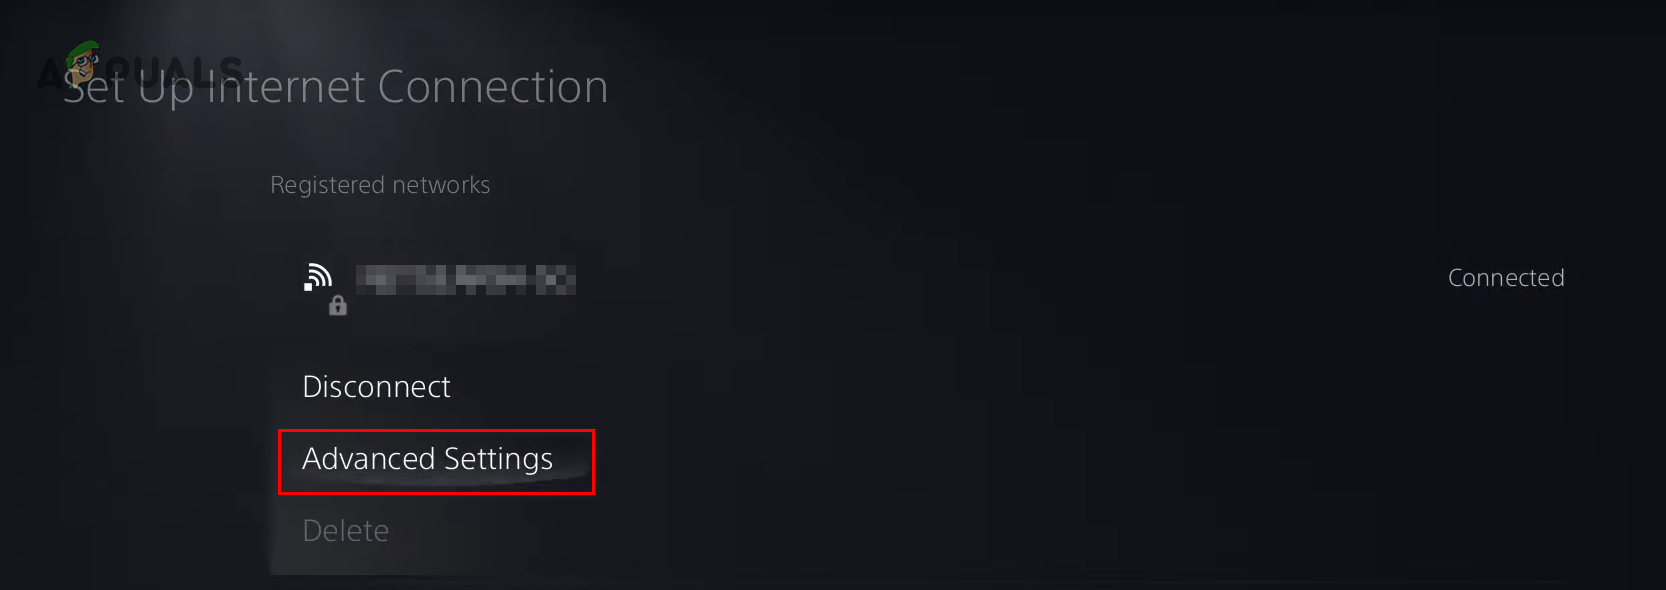
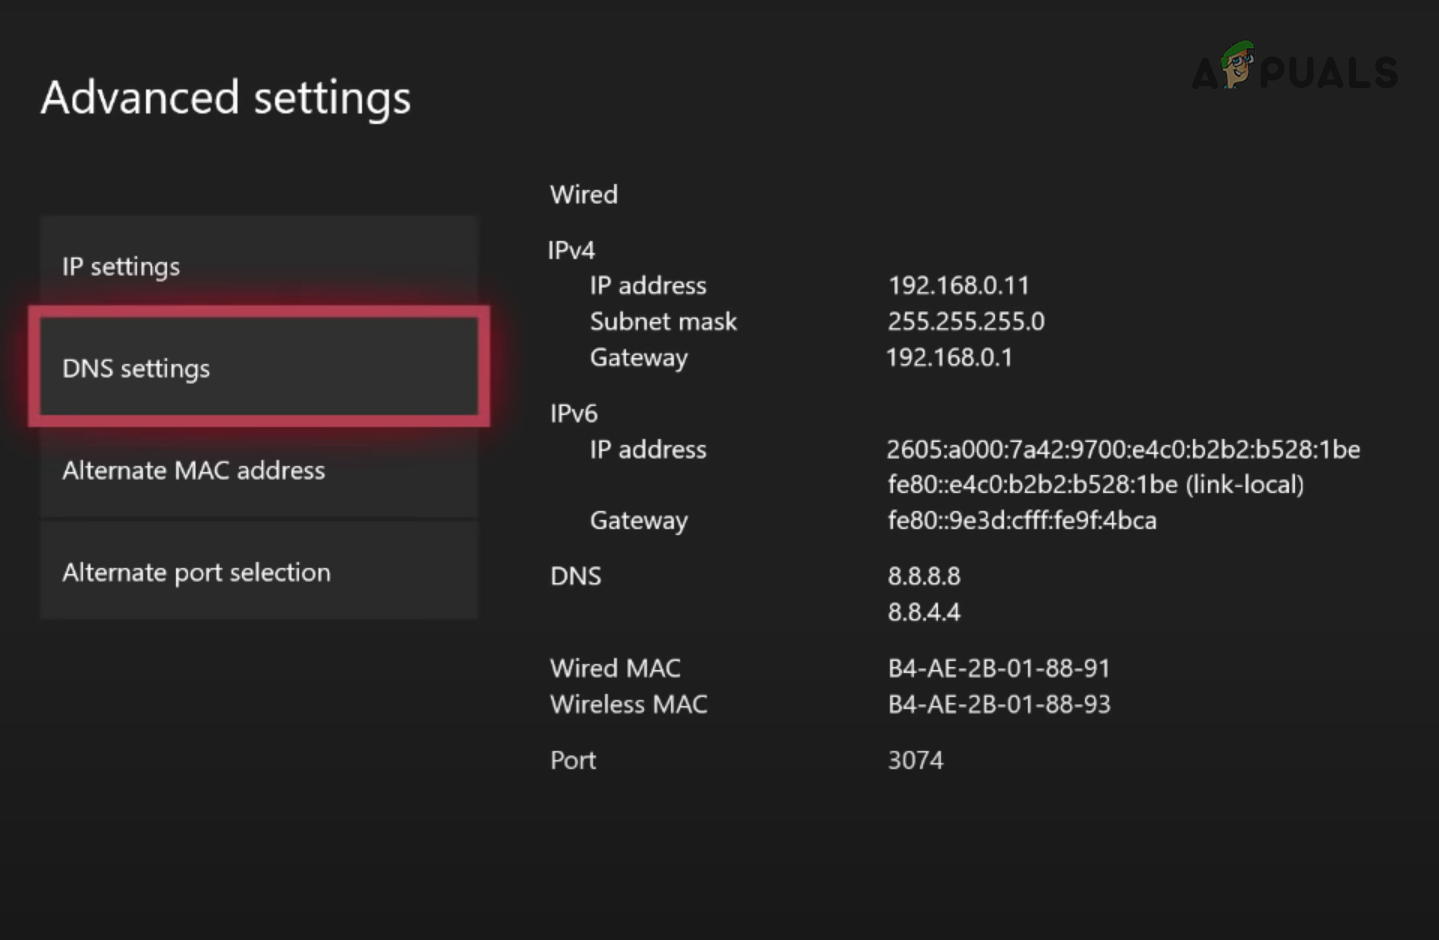
Selecting Advanced Network Settings - Click on “DNS Settings.”
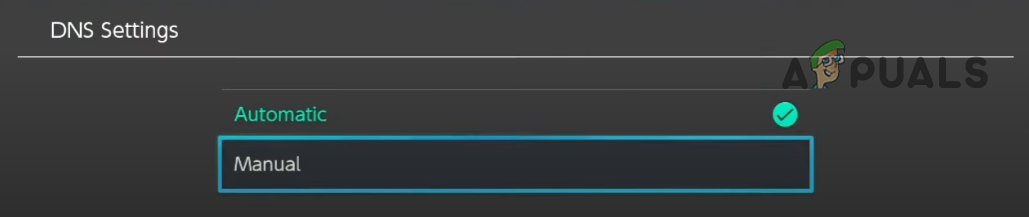
- Select the “Manual” option.
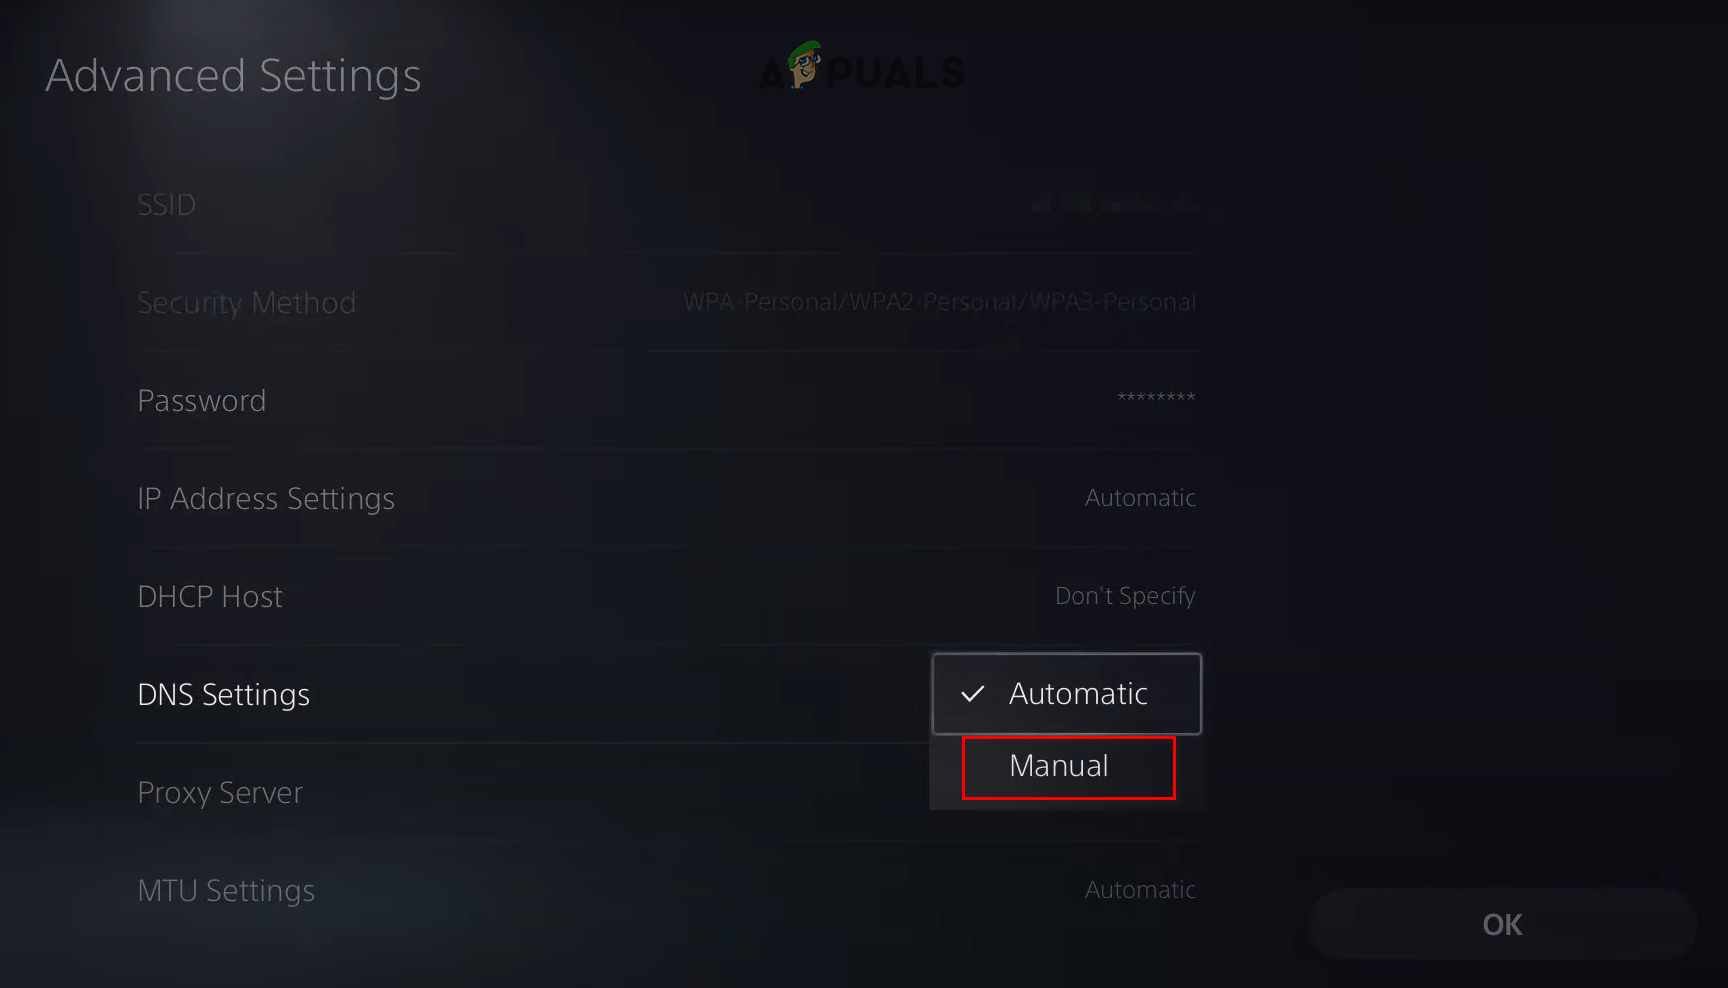
Changing DNS Settings to Manual - To change your DNS Server to Google DNS, type 8.8.8.8 in the Preferred DNS section and 8.8.4.4 in the Secondary DNS section.
To change your DNS Server to Cloudflare DNS, type 1.1.1.1 in the Preferred DNS section and 1.0.0.1 in the Secondary DNS section.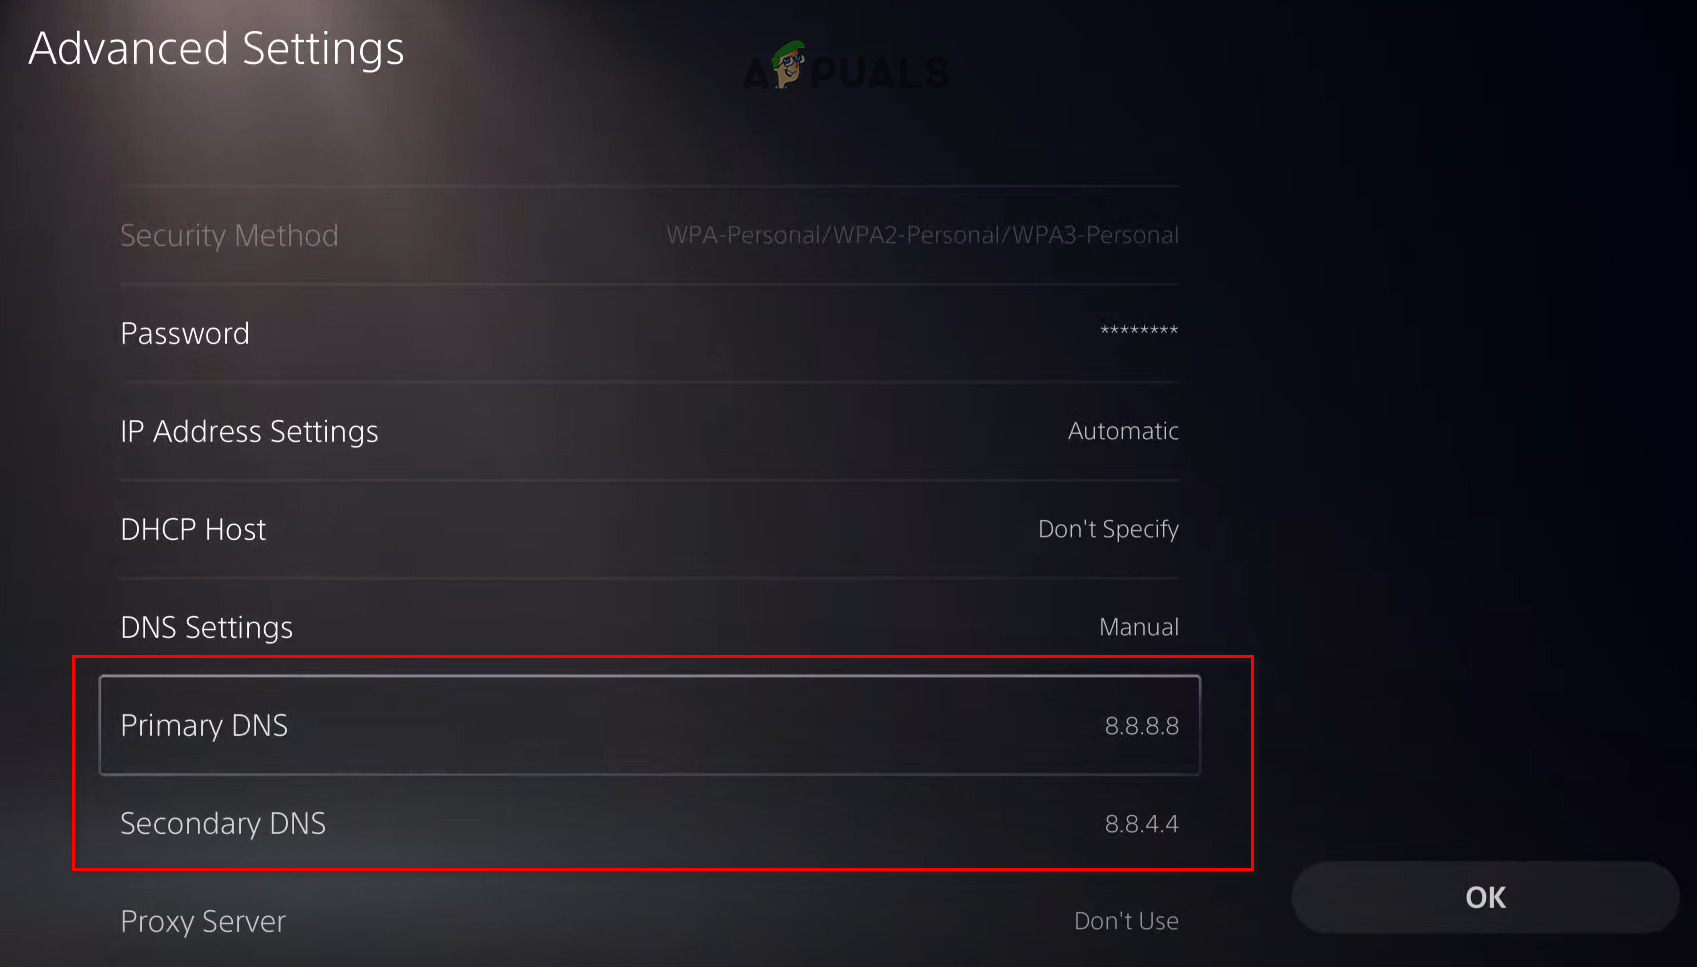
Changing Primary and Secondary DNS Settings - Select “OK.”
If you’re playing Overwatch 2 on Xbox One, follow the steps written below to change your Xbox One’s DNS Server to Google or Cloudflare:
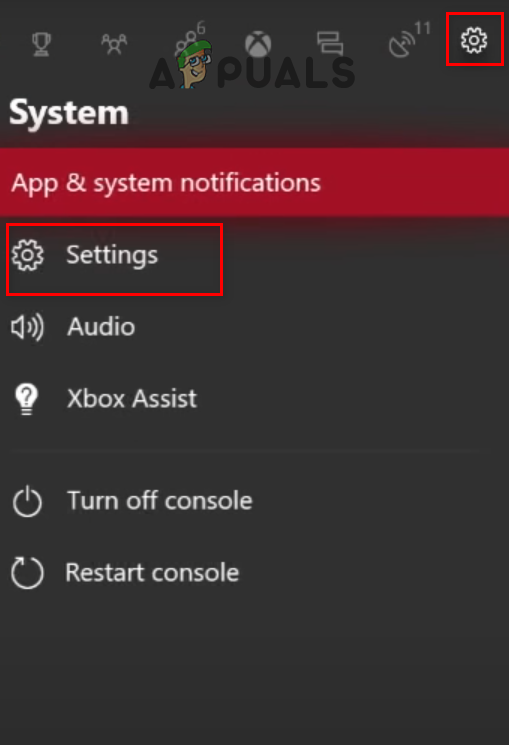
- Head to your Xbox One’s home screen and press the Xbox button on your Xbox controller to launch the Guide menu.
- Navigate to the System menu (gear icon on the very right).
- Select the “Settings” option.
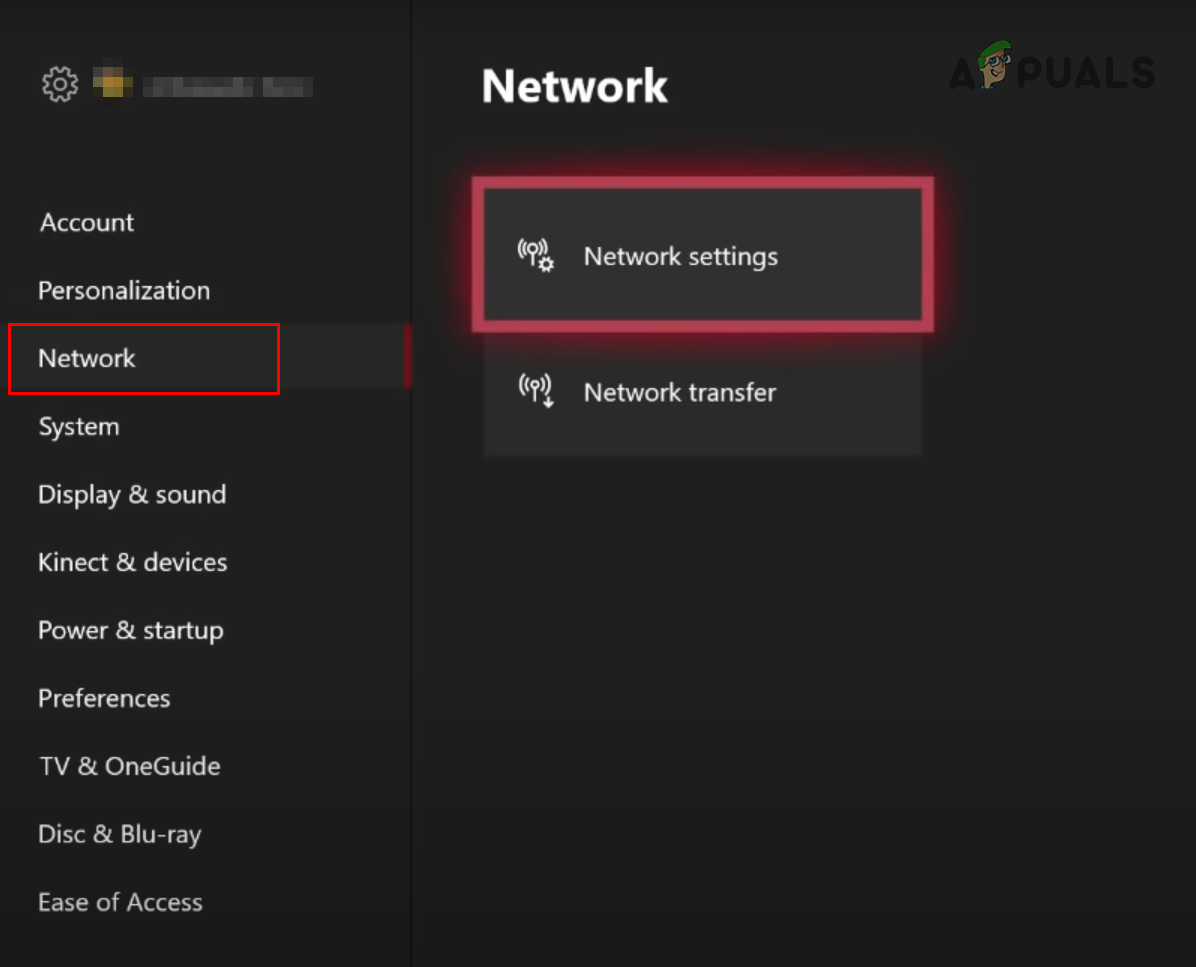
Opening Xbox Settings - Navigate to Network.
- Select the “Network Settings” option.
Opening Xbox Network Settings - Select the “Advanced Settings” option.
Selecting Advanced Settings - Select the “DNS Settings” option.
Selecting DNS Settings - Click on “Manual”.
- To change your DNS Server to Google DNS, type 8.8.8.8 in the Preferred DNS section and 8.8.4.4 in the Secondary DNS section.
To change your DNS Server to Cloudflare DNS, type 1.1.1.1 in the Preferred DNS section and 1.0.0.1 in the Secondary DNS section.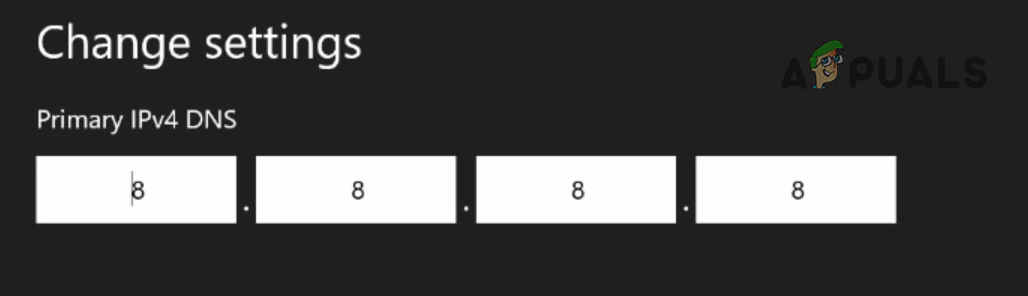
Changing Primary DNS 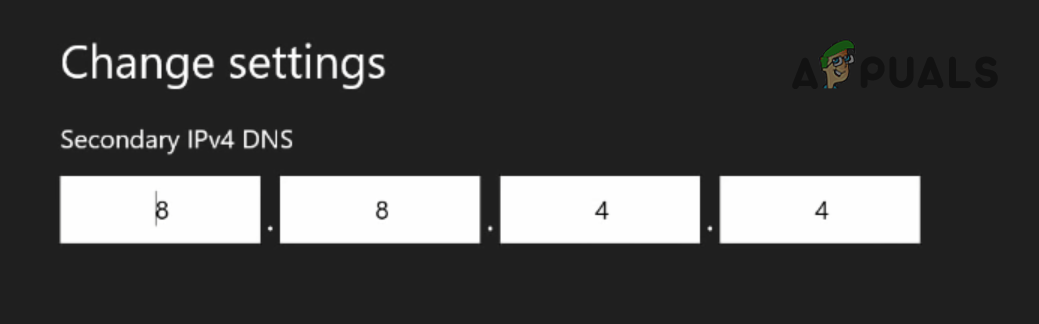
Changing Secondary DNS - Click the enter key on the digital keyboard.
If you’re playing Overwatch 2 on Xbox Series S/X, follow the steps written below to change your Xbox’s DNS Server to Google or Cloudflare:
- Head to your Xbox’s home screen.
- Click on the Settings icon.
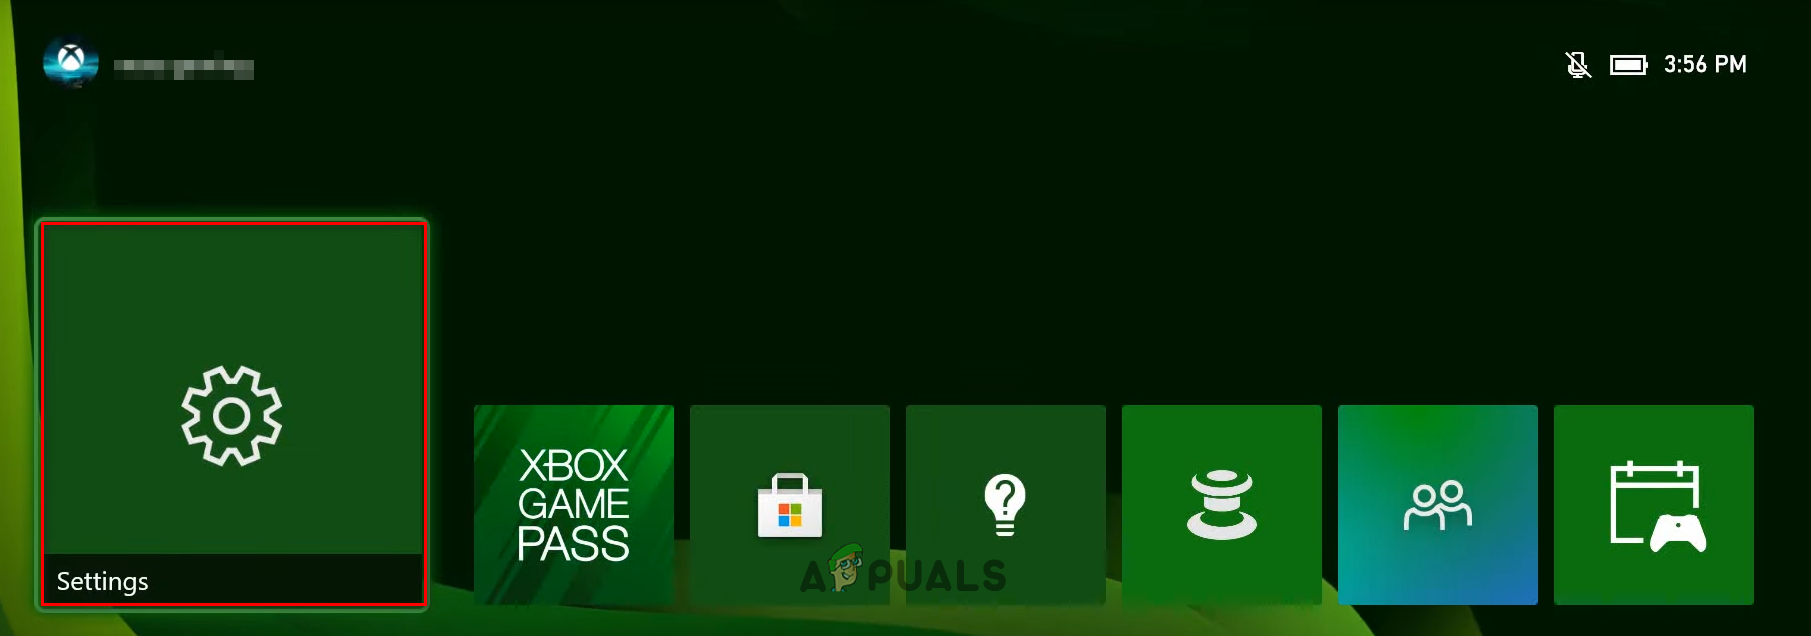
Opening Xbox Series X/S Settings - Click on the “Network Settings” option in the General category.
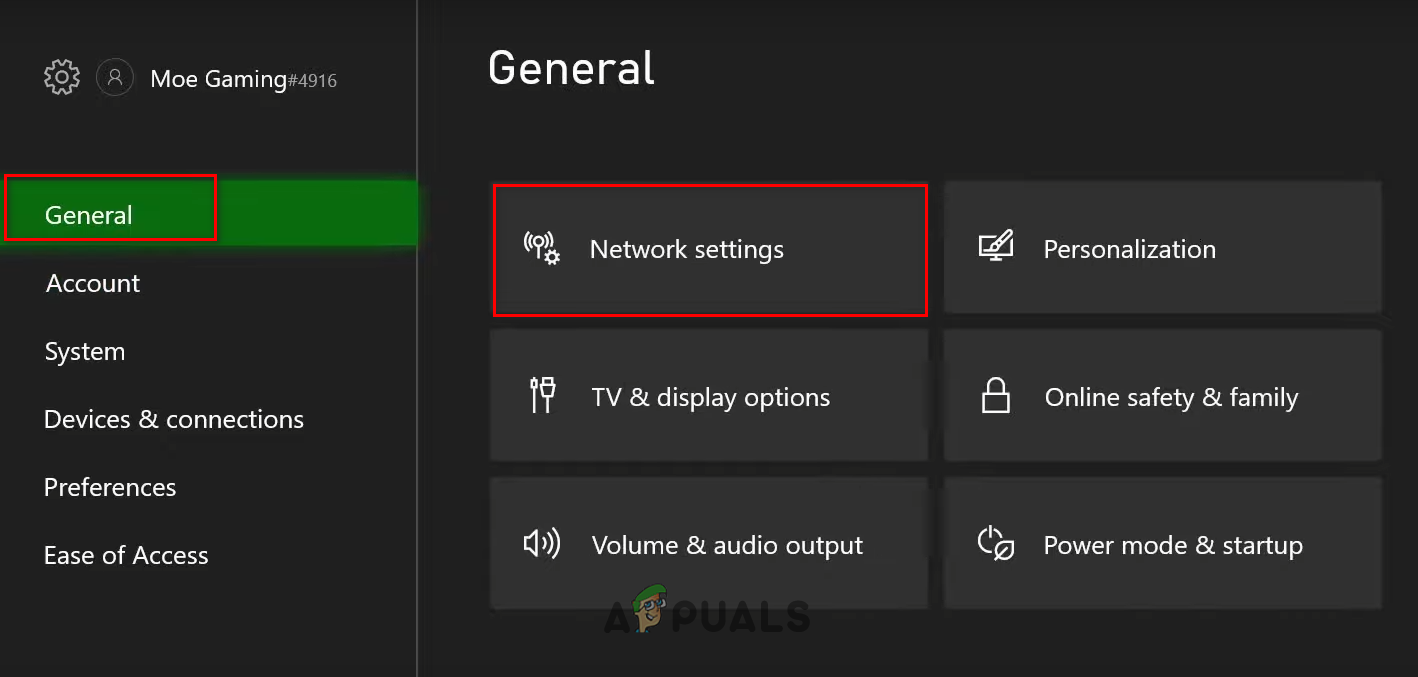
Opening Xbox Series X/S Network Settings - Click on the “Advanced Settings” option in the “Set up Wireless Network” category.
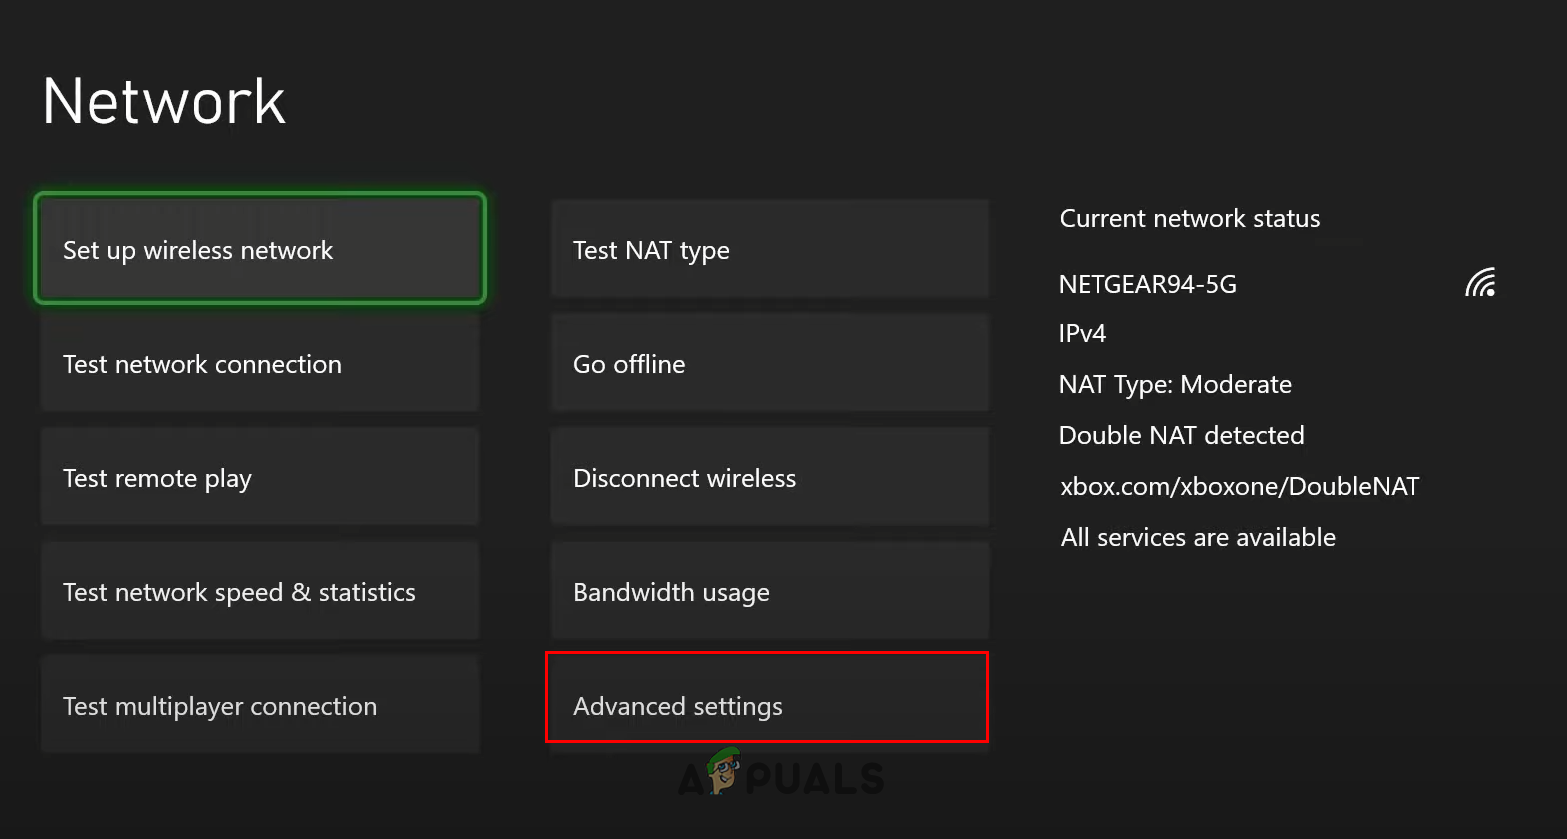
Opening Advanced Settings - Click on the “DNS Settings” option.
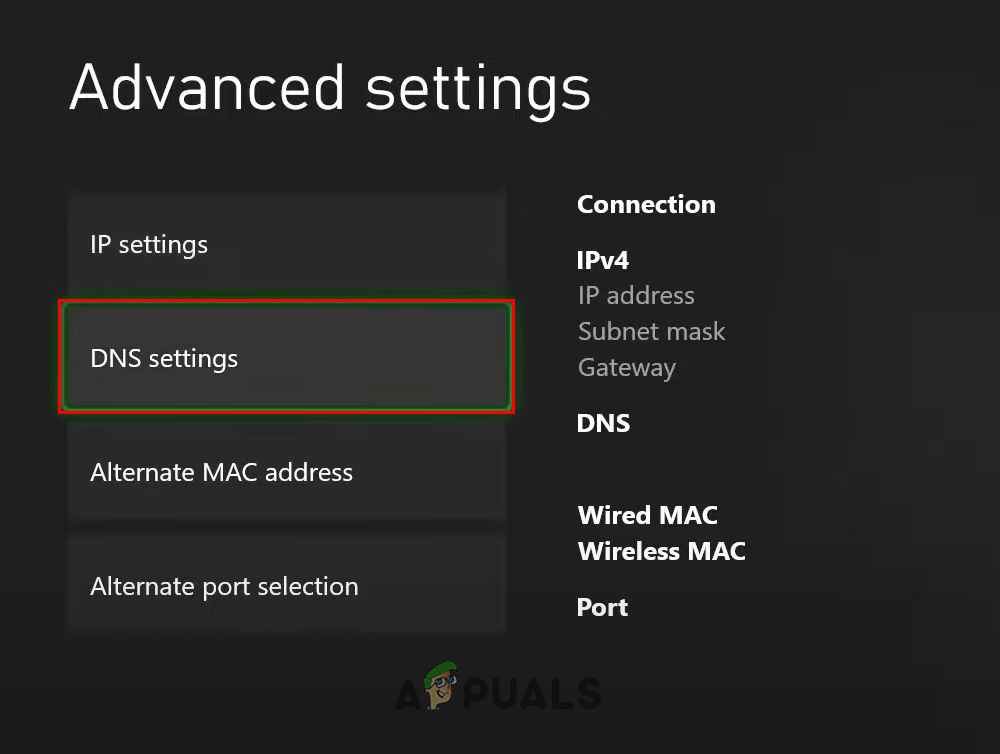
Opening DNS Settings - Click on the “Manual” option.
- To change your DNS Server to Google DNS, type 8.8.8.8 in the Preferred DNS section and 8.8.4.4 in the Secondary DNS section.
To change your DNS Server to Cloudflare DNS, type 1.1.1.1 in the Preferred DNS section and 1.0.0.1 in the Secondary DNS section.
Changing Xbox Primary DNS Server 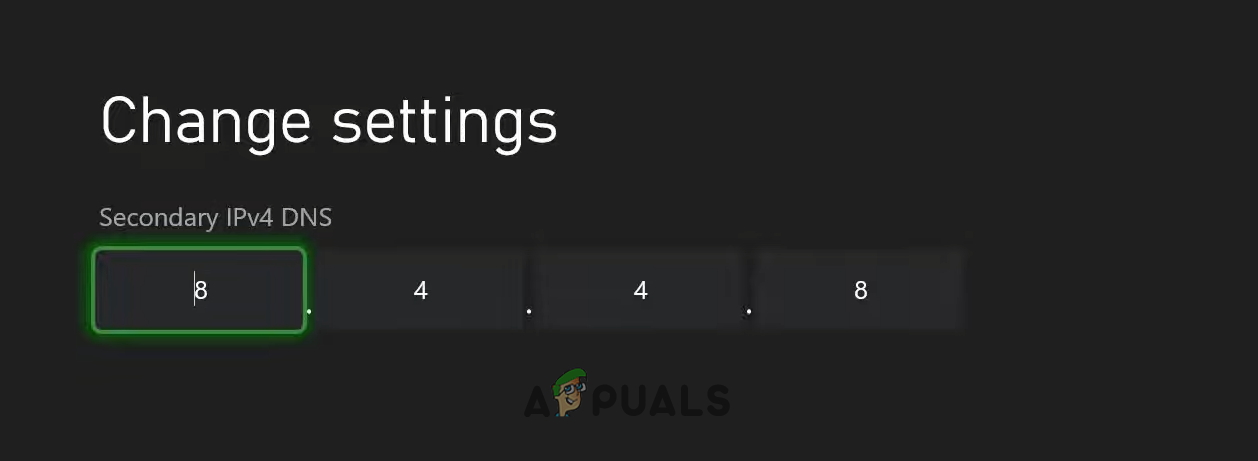
Changing Secondary DNS Server - Click the enter key on the digital keyboard.
If you’re playing Overwatch 2 on Nintendo Switch, follow the steps written below to change your Switch’s DNS Server to Google or Cloudflare:
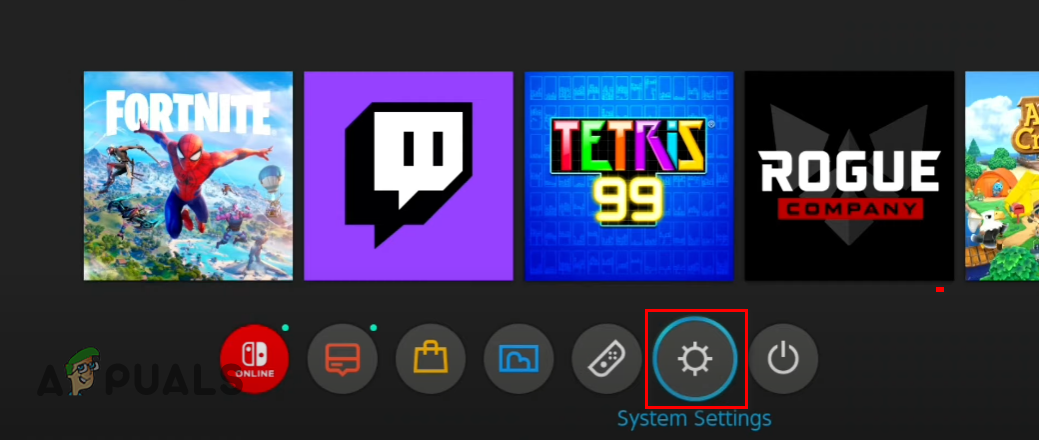
- Head to your Nintendo Switch’s home menu.
- Click on the gear icon in the hotbar to open the System Settings menu.
Opening Nintendo Switch System Settings - Scroll down to the Internet section.
- Select the “Internet Settings” option on the right.
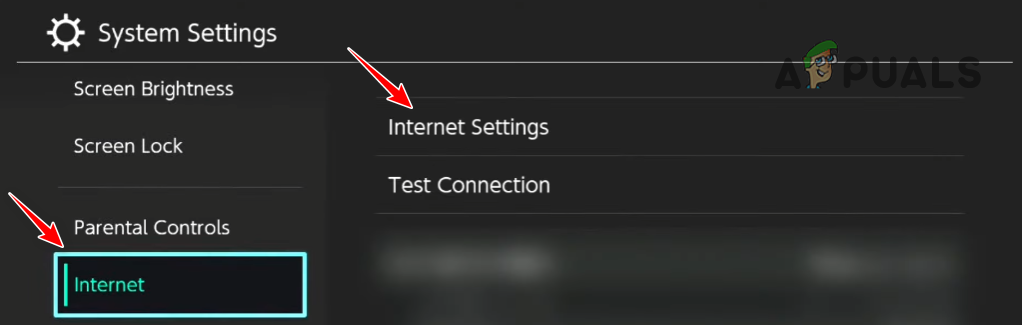
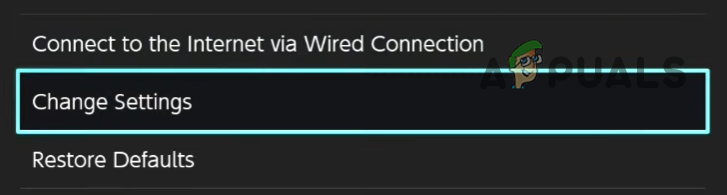
Opening the Internet Settings - Select the network your Nintendo Switch is currently connected to.
- Select the “Change Settings” option.
Changing Network Settings - Scroll down to “DNS Settings” and change it to “Manual.”
Changing DNS Setting to Manual - To change your DNS Server to Google DNS, type 8.8.8.8 in the Preferred DNS section and 8.8.4.4 in the Secondary DNS section.
To change your DNS Server to Cloudflare DNS, type 1.1.1.1 in the Preferred DNS section and 1.0.0.1 in the Secondary DNS section.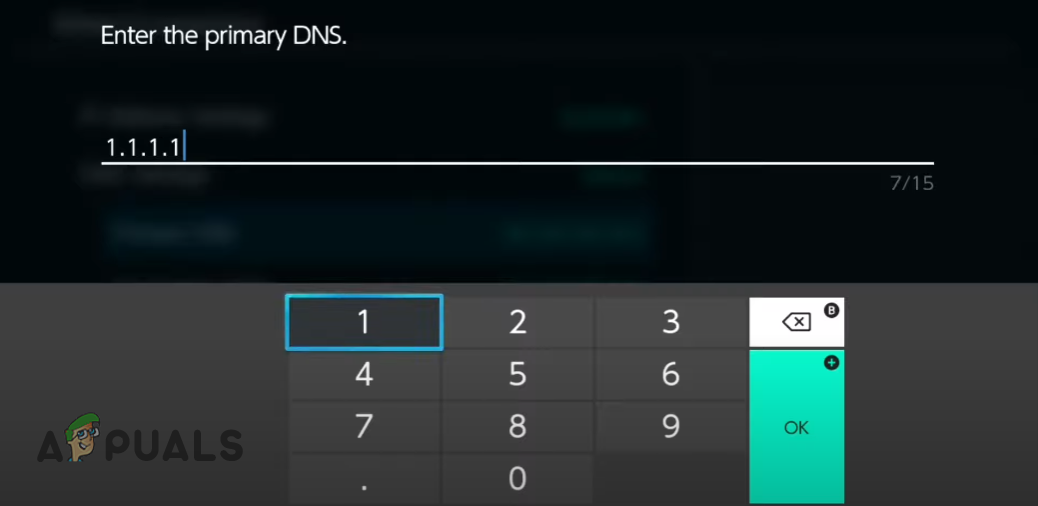
Changing Primary DNS on Nintendo Switch 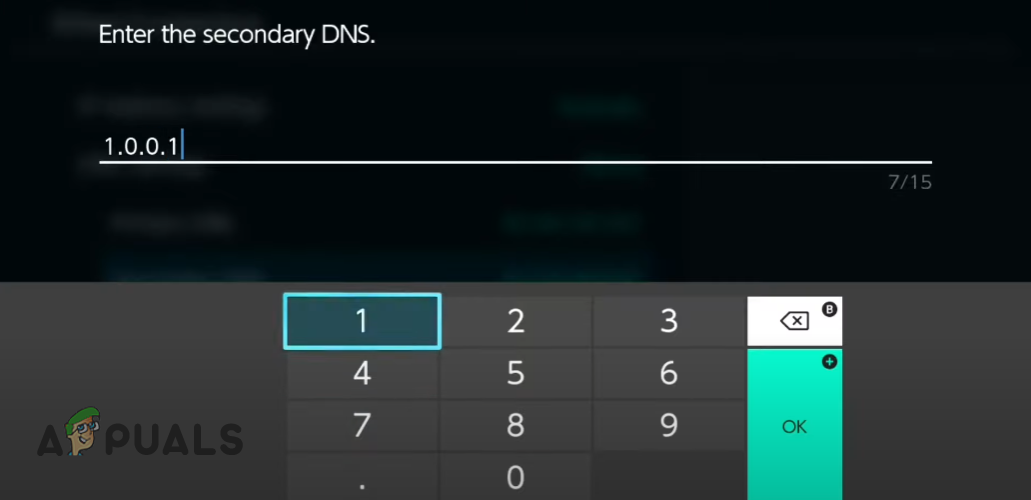
Changing Secondary DNS on Nintendo Switch - Press the Save button.
- Press OK.
15. Change NAT Type (If Applicable)
For console players, the NAT Type is an essential network setting. The Network Address Translation Setting has a significant impact on your console’s ability to establish a connection with different online game servers.
Your network’s NAT Type can be set to one of three types, which are written below:
- NAT Type 1 (Open): This NAT Type can connect to and host servers where the players have any of the three NAT Types.
- NAT Type 2 (Moderate): This NAT Type can only connect to and host servers where the players have Type 1 (Open) or Type 2 (Moderate) NAT Types.
- NAT Type 3 (Strict): This NAT Type can only connect to and host servers where the players have Type 3 (Strict) NAT Type.
As you can tell from this list, NAT Type 1 (Open) is the best type to use since it allows you to connect to any type of game server. If your NAT Type is set to Type 2 (Moderate) or Type 3 (Strict), you will have difficulty hosting and connecting servers.
Therefore, our next solution to fix this Overwatch 2 error is to ensure that our NAT Type is set to Type 1 (Open). To do this, we must first check what our NAT Type is currently set to by performing an Internet Connection Test on our console.
If you’re playing Overwatch 2 on a PS4, follow these steps to check your NAT Type:
- Open your PS4’s home screen and click on the Settings icon in the hotbar at the bottom.
Opening PS4 Settings - Select the “Network” option in the Settings list.
Opening PS4 Network Settings - Select the “Test Internet Connection” option in the Network Settings list.
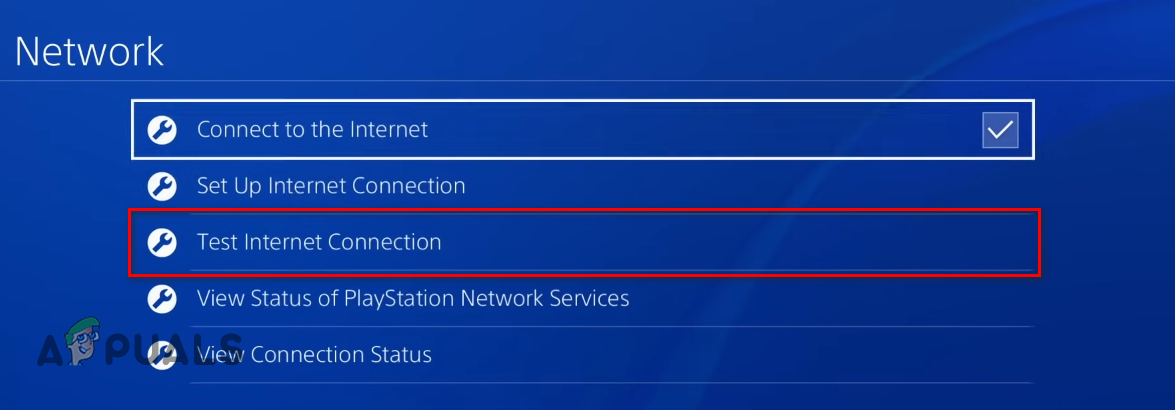
Performing an Internet Connection Test on PS4
If you’re playing Overwatch 2 on a PS5, follow these steps to check your NAT Type:
- Head to your PS5’s home screen and click on the gear icon near the top-right corner to open the Settings menu.
Opening PS5 Settings - Select the “Connection Status” option in the Settings list.
- Select the “Test Internet Connection” option.
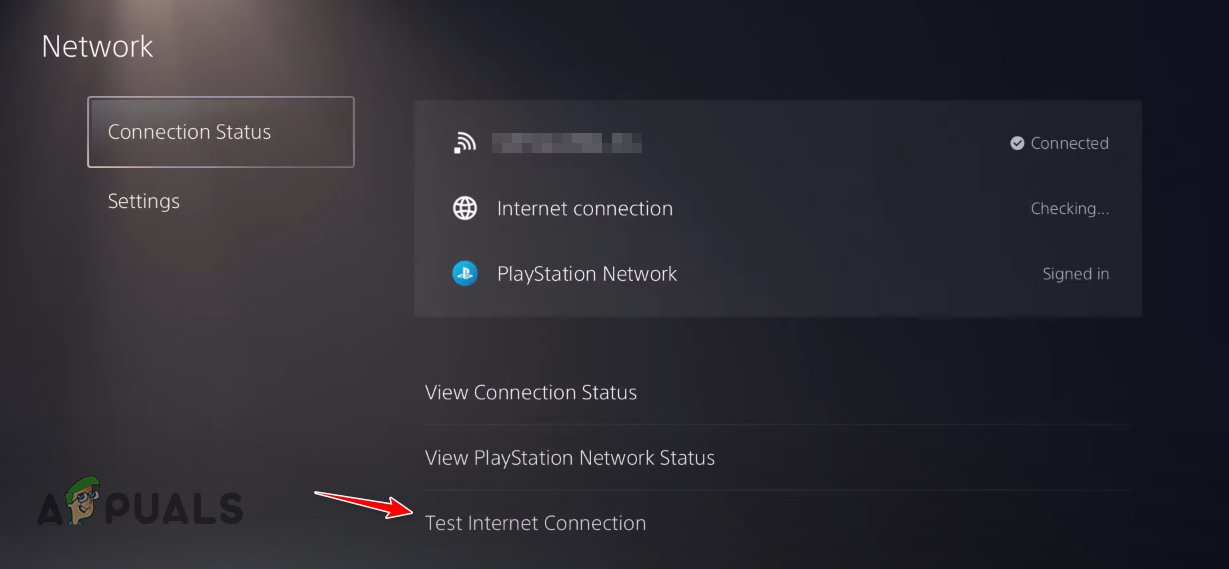
Performing an Internet Connection Test on PS5
If you’re playing Overwatch 2 on an Xbox One, follow these steps to check your NAT Type:
- Head to your Xbox One’s home screen and press the Xbox button on your Xbox controller to launch the Guide menu.
- Navigate to the System menu (gear icon on the very right).
- Select the “Settings” option.
Opening Xbox Settings - Navigate to Network.
- Select the “Network Settings” option.
Opening Xbox Network Settings - Select the “Advanced Settings” option.
- Select the “Test NAT Type” option.
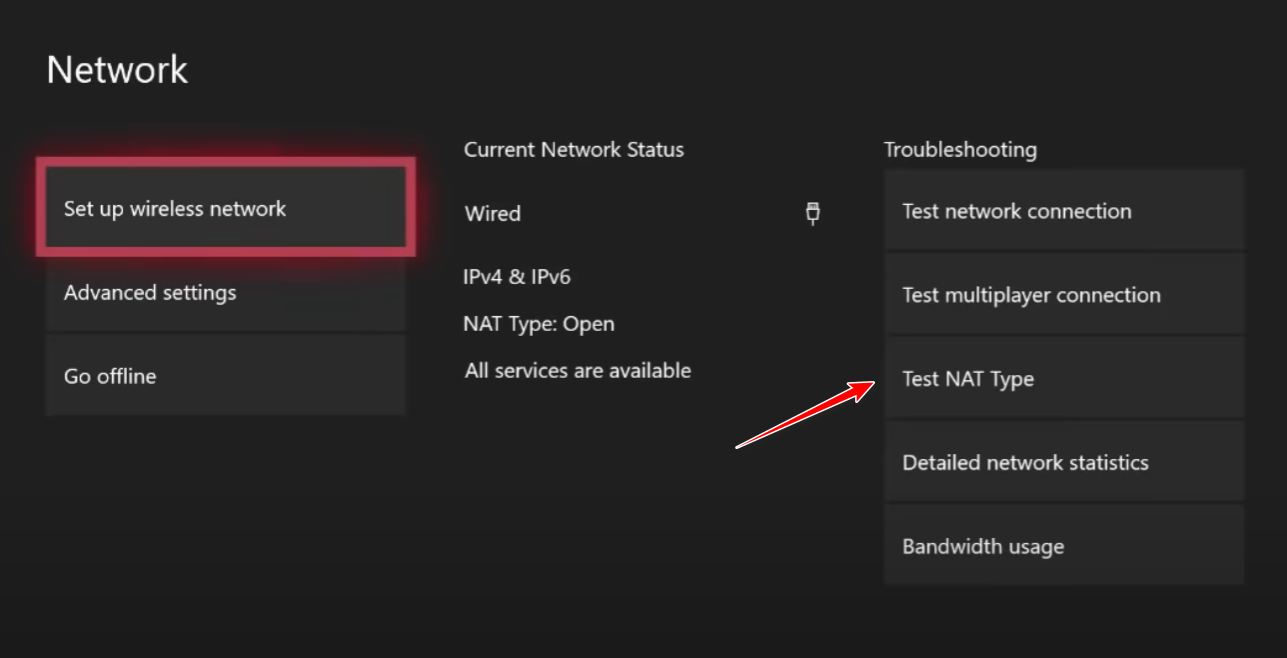
Performing a NAT Type Test on Xbox One
If you’re playing Overwatch 2 on an Xbox Series S/X, follow these steps to check your NAT Type:
- Head to your Xbox’s home screen.
- Click on the Settings icon.
Opening Xbox Series X/S Settings - Click on the “Network Settings” option in the General category.
Opening Xbox Series X/S Network Settings - Select the “Test NAT Type” option on the left list.
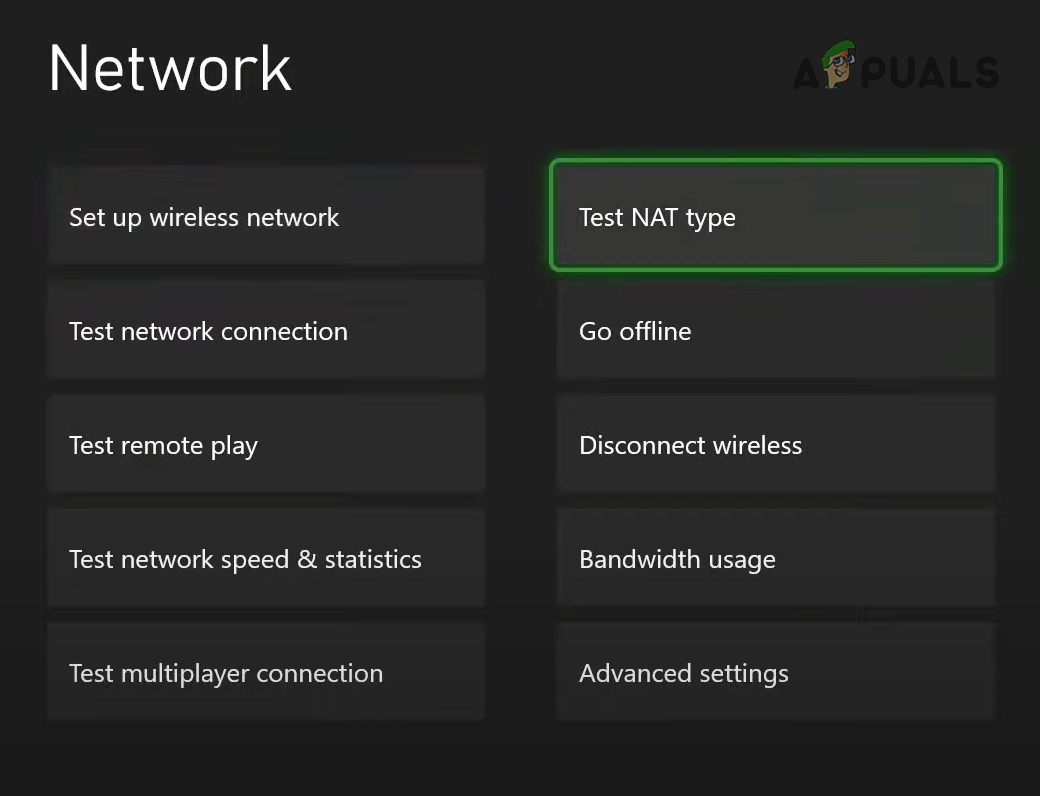
Performing a NAT Type Test on Xbox One
If you’re playing Overwatch 2 on a Nintendo Switch, follow these steps to check your NAT Type:
- Head to your Nintendo Switch’s home menu.
- Click on the gear icon in the hotbar to open the System Settings menu.
Opening Nintendo Switch System Settings - Scroll down to the Internet section.
- Select the “Test Connection” option.
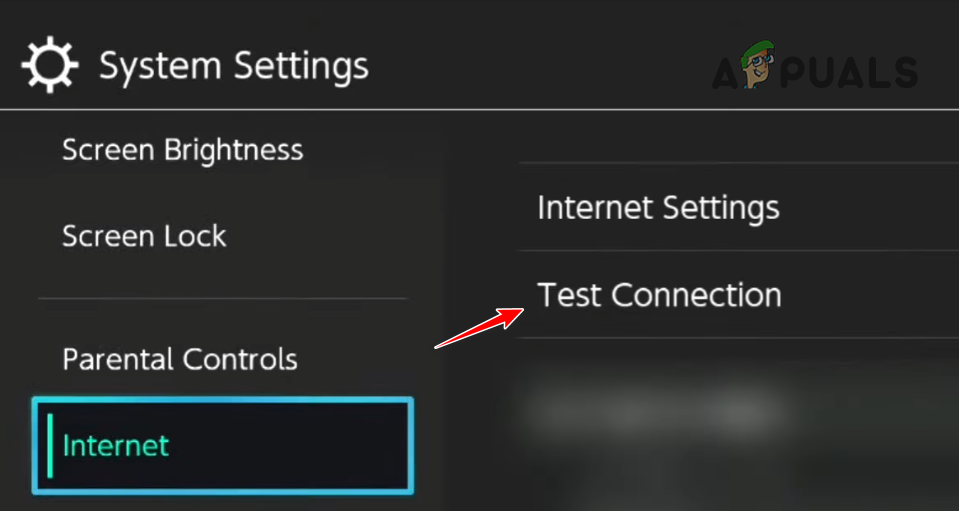
Performing an Internet Connection Test on Nintendo Switch
The internet connection test feature of your console will examine your network connection and then show you all the important information related to it, such as the IP Address, download/upload speed, packet loss, and NAT Type.
If your NAT Type is set to Type 1 (Open), it is not the cause of the issue, and you can skip to the next solution in this guide. However, if your NAT Type is set to Type 2 (Moderate) or Type 3 (Strict), you must manually switch it to Type 1.
To do this, you will need to open your router’s settings page and change the NAT Type from there. Your router’s setting page can be opened by entering its Default Gateway (IP Address) in a browser’s search bar and pressing enter.
If you don’t know your router’s Default Gateway, you can easily find it out by entering a simple command in Command Prompt.
Follow the steps written below to find your router’s IP Address:
- Press the Windows Key on your keyboard to open the Start menu.
- Type “cmd” in the Start menu and select the “Run as administrator” option on the right.
Opening Command Prompt as administrator - Paste this command into Command Prompt and press enter.
ipconfig
- Scroll down to the “Ethernet Adapter” heading.
- Select the set of numbers written next to “Default Gateway” and press enter.
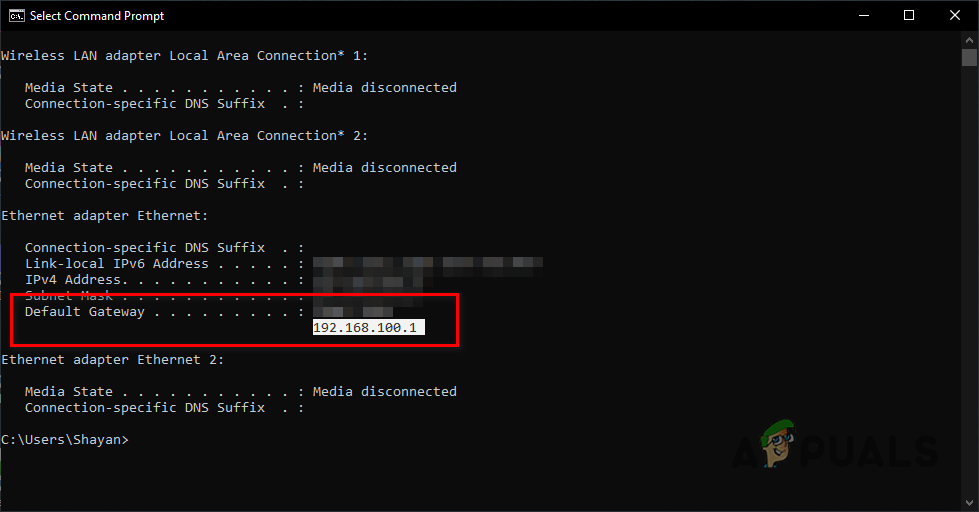
Finding router’s IP Address
This set of numbers is your IP Address. Once you have them copied, open a browser of your choice, paste them into the search bar, and press enter.
When you press enter, your browser will load your router’s settings. however, it will ask you for a username and password.
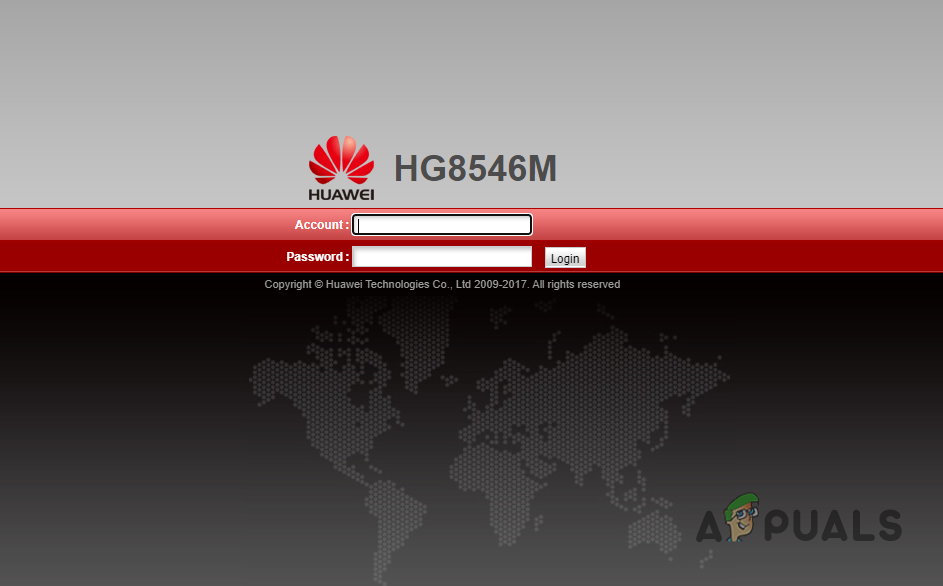
If you don’t know your router’s username and password, pick up your router and look at its back. Its login details should be written on its back.
But if you don’t see a username and password written on the back of your router, or if the login details on its back don’t allow you to log into the settings page, you will need to perform a Google search to find the actual login details of your router.
Open a new tab in your browser, type “(router brand name and model number) username and password) and hit enter. The search results will contain the router’s factory (default) login details. Keep trying the different login details until you can finally log in.
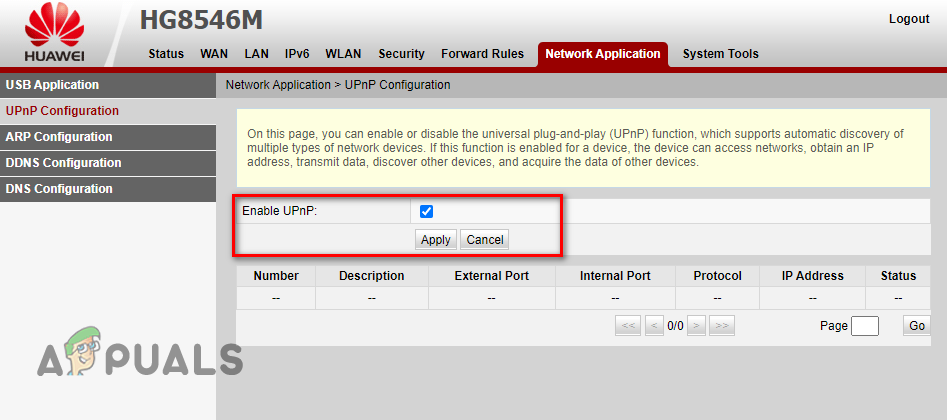
After logging into the router’s settings page, look for a section named “UPnP Configuration.” UPnP stands for Universal Plug and Play, and it’s a setting that allows your console or PC to forward ports automatically.
This means you won’t need to perform manual port forwarding on your network. Therefore, once you’ve enabled the UPnP Configuration, your NAT Type will be set to Type 1 (Open).
This section should be located under the “Network Application” category, but each router brand has its own distinct layout of its settings page, so the section may be located under another category.
If you scanned the entire settings page but still cannot find the UPnP Configuration section, open a new tab on your browser and search “How to enable UPnP on (router brand name and model number).” The search results will help you out.
Once you’ve found the UPnP Configuration section, click on it, then enable the UPnP setting. Once it’s enabled, press the Save button and restart your router. After you turn off your router, remember to wait around a minute or so before you turn it on again, as turning it back on too quickly can lead to network problems.
After your router is restarted, your NAT Type will be set to Type 1/Open. You can perform the internet connection test on your console to confirm the new NAT Type.
If the Strict/Moderate NAT Type was the cause of the login error you were facing in Overwatch 2, it should now be resolved.
16. Play Overwatch 2 On a Different Account
If you’ve tried all the solutions above and can still not connect to the Overwatch 2 servers, the problem is likely linked to your Battle.net account.
According to many online user reports, if the user has performed an account merge, it has a high chance of being the root cause of the error. Merging accounts is very important as it allows you to retain your in-game progress across different platforms, but there seems to be an issue with this feature as it increases your chances of experiencing these errors.
So if you’re using a merged account and none of the above solutions have fixed the error, the next solution is to try playing Overwatch 2 on a different account.
Since Overwatch 2 is free to play, you can create a new account for free. Log out of your current account and use the Battle.net launcher to create a new one.
Once you’ve created a new account and logged into it, launch Overwatch 2 and see if you can connect to the servers. If you can finally connect to the servers and play the game, your merged account is the cause of the issue.
And as of right now, you can’t do anything to fix this problem since Overwatch 2’s netcode is causing the problem. All you can do right now is wait until the developers release a new patch for the game, which should hopefully fix the problem.
If you continue to face the error even after you’ve logged in with a different account, move on to our final solution below.
17. Reinstall Overwatch 2
The final solution to this error in Overwatch 2 is to reinstall the game fully. If no other solution has worked, it could mean that there are some heavily corrupted game files that the “Scan and Repair” feature in the Battle.net launcher is overlooking.
You will need to uninstall the game from your system and do a fresh install to fix these files. Follow the steps listed below to uninstall Overwatch 2.
-
- Open the Battle.net launcher.
- Click on “Games.”
- Click on the Overwatch 2 icon.
- Press the small gear icon next to the big “Play” button.
- Click on the “Scan and Repair” option.
- Select “Uninstall.”
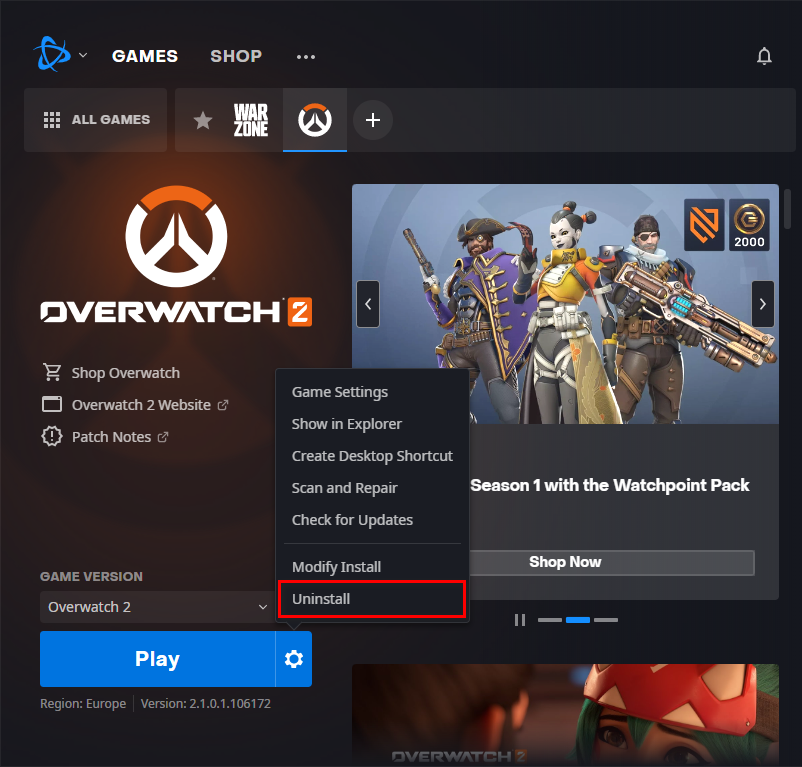
Uninstalling Overwatch 2
After Overwatch 2 has finished uninstalling, click on the “Install” button in the Battle.net launcher to perform a fresh install. Once it is reinstalled, the login error should finally be resolved.


