10 Guaranteed Fixes For When Your Laptop is Not Turning On
 Reviewed by Huzaifa Haroon
Pressing the power button on your laptop and seeing a blank screen is one of the most frustrating things that can happen. The inability to power on their laptop for no apparent reason is something that many laptop owners have reported experiencing.
Laptop is Not Turning On: Major Causes and Fixes
Many of you have been wondering what to do if your laptop will not switch on, so we have compiled a few solutions that have been effective in the past. If you need assistance starting your laptop, try one of the following.
Table of Fixes:
1. Check the Power Supply/Adapter
A faulty power supply can often result in a laptop not turning on. There can be several reasons for it.
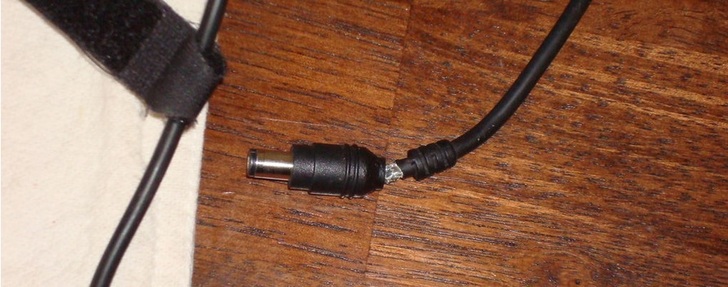
Sometimes, the charger’s cable or connector might be damaged or have loose connections (see examples). This can cause intermittent power supply where the power input to the laptop gets disconnected and reconnected frequently. This inconsistent power flow can prevent the laptop from powering on or lead to unexpected shutdowns while using it.
Another case is when you plug the charger into the laptop, it should provide a stable power input to charge the battery and run the laptop simultaneously. If the charger is faulty, it may not deliver the required power, or it may not provide any power at all. As a result, the laptop’s battery can drain completely, leading to a situation where there’s not enough power to boot the system.
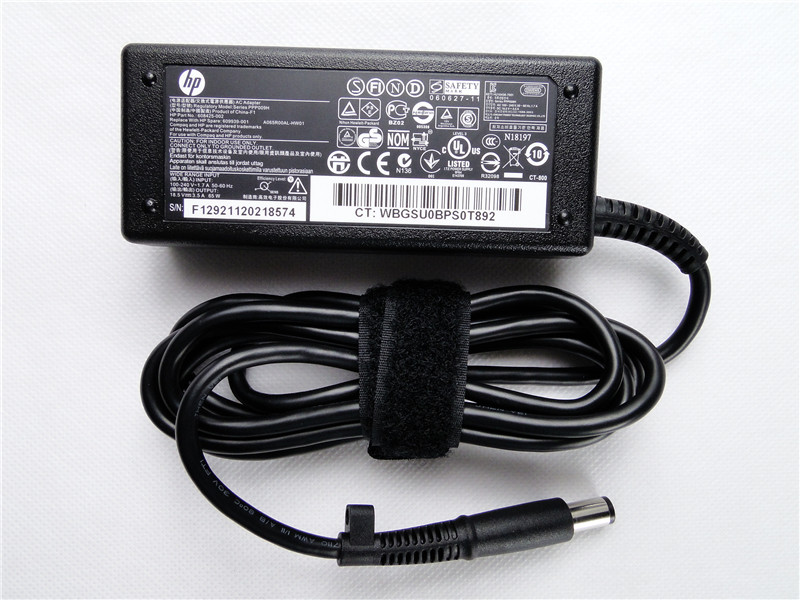
It is worth noting that different systems would require different charging capabilities as well. Laptop chargers have specific power ratings (measured in watts or volts and amps) that must match the laptop’s power requirements. If the charger’s power output is too low for the laptop, it might not be sufficient to power the device. For example:
Laptop A:
- Charging Requirement: 19V, 3.42A
- Charger Type: Proprietary charger with a barrel-style connector
Laptop B:
- Charging Requirement: 20V, 2.25A
- Charger Type: USB Type-C Power Delivery (PD) charger
Note that both systems not only have different connectors but they also have different charging requirements.
For all these problems, the best solution is to replace the power supply after evaluating where the key issue lies.
Here are few ways
- Check the charging requirements of your laptop on its backside and buy a power supply or charger according to those.
- If you think that the power supply is fine, try changing the wire that connects between the laptop and the power supply.
- In case your power supply is totally damaged, or is overheating, it is best to replace the entire unit. One way to know this for sure is when you can see the colored wires within the black outer cover.
2. Check the Battery
Modern Li-ion and Li-poly batteries can handle around 300 to 500 charge cycles before their capacity starts to degrade significantly. On average, a well-maintained Li-ion battery can last anywhere from 2 to 4 years.
However, in certain cases, the battery health diminishes much faster, such as in the case of excessive usage, frequent deep discharges, using the laptop while charging, and other related reasons. In such a case, you can expect your laptop to have frequent shutdowns, problems with turning on, and sometimes not turning on at all!
If this happens, your system will automatically prompt you that you need to change the battery. We recommend purchasing battery from the manufacturer rather than going for after-market batteries.
3. Check the Display

There are chances that your laptop is turning on but the display is faulty which is why you might be thinking that the laptop is not switched on.
Try turning up the brightness for starters just in case. If increasing the brightness doesn’t work and you can barely see some content on the screen, it’s possible that the backlight behind the display is malfunctioning.
In this case, you may still see faint images on the screen or even a complete blackout. Backlight issues can be caused by a faulty inverter or a damaged backlight. Unless you have an OLED display in your laptop, every screen has a backlight that can die down over time, failing to provide any brightness to the screen.
Another issue related to malfunctioning display can be the display cable itself. The display cable connecting the screen to the laptop’s motherboard might have come loose or gotten damaged.
If you have expertise in handling hardware, you can try to open the laptop and check if the display cable is securely connected. Otherwise, have it checked with a professional.
4. Remove Memory Cards and External Devices

If the power and display seem OK, your machine may be getting stuck before Windows launches. The typical problem is a USB drive or memory card that was left in a computer’s port or reader. Seeing a notice like “Operating System Not Found” is a common issue and should not cause undue alarm. Your laptop can suddenly turn off if such happens.
In most cases, this implies that the BIOS (Basic Input/Output System) is configured to first attempt booting from external storage media, such as a card, rather than the primary hard drive.
After disconnecting all external devices, try powering on your laptop using the button on the side. If it boots properly, then you know the issue is not with the laptop itself but with an external disk or device.
To find out what occurs, you should restart the laptop while connecting just one device at a time. You can keep trying until you identify the faulty piece of equipment.
5. Hard Reset the Laptop (Applicable for Macbook too)

If your laptop’s keyboard lights up but there is no screen or sign of life from the CPU, a reset may be in order. If you want your laptop to start fresh and give you accurate readings, you can “Hard Reset” the machine by completely disabling its power supply. A hard reset only relates to hardware reset and there is no impact on software or data of the users.
You can perform Hard Reset via the following steps
- Press and hold the power button for 10 seconds (or until the hard disk makes a clunking noise). “This action completely disables the laptop’s power supply.
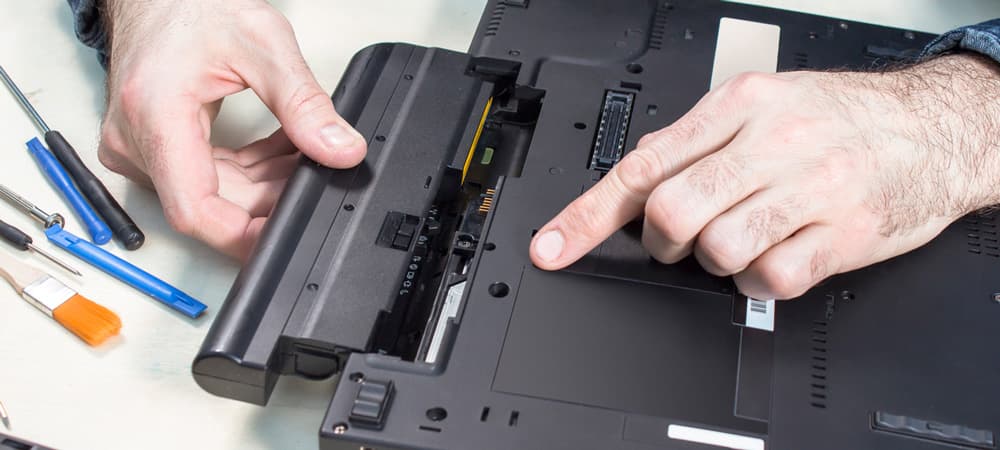
- If your laptop has a removable battery, carefully take it out from the bottom of the laptop. This step is to ensure there is no power left inside the laptop. If you cannot get to the battery, such as in the case of a Macbook, try pressing and holding the power button for 30 seconds; this will have the same effect.
- After removing the battery, press and hold the laptop’s power button once more for around 10-30 seconds. This step helps to drain any remaining power or electricity left in the laptop’s components.
- Connect the battery and power on your laptop once again.
In case your battery isn’t removable, just press the power button for 30 seconds and leave the laptop as it is for 5 minutes. Then, restart the system.
This issue occurred with me personally. My laptop was perfectly fine and everything was good with the display, battery, and power supply but it still wouldn’t start. Performing the hard reset solved the issue. Later, I came to know that it can occur due to a glitch that’s causing disturbances with the hardware as well as the software of the system causing the startup to malfunction.
6. Check Overheating Issue
Knowing how much your system can handle can simplify many situations. Knowing the limits of your equipment is important since exceeding them can cause overheating and other problems. Overheating can cause real issues inside your laptop and even lead to permanent damage if not taken seriously. Thankfully, modern devices thermal throttle before they ever burn themselves out.
So, in this case, the best course of action is to, do nothing. Just wait for your laptop to catch its breath, especially if it’s a dated model. However, if it still overheats continually without you forcing anything, it might be time for internal servicing.
In more serious situations, your CPU might need repasting in order to retain proper thermal contact with the cooling system. Only open up the laptop to check and do all this yourself if you’re aware of the technicalities, otherwise get it checked by a professional.
7. Clean the cooling vents
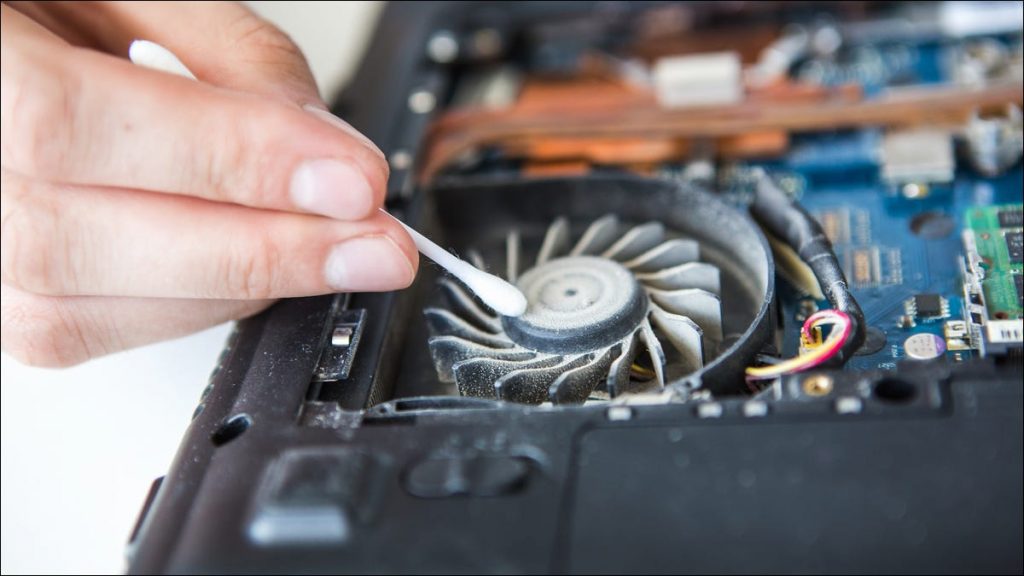
Having blocked cooling vents is the most likely cause of the problem on a gaming laptop. This can occur for a variety of causes, including dust. The inability to switch on your laptop is fixed by frequently cleaning and inspecting the cooling vents to ensure they are dissipating heat as they should.
Open vents for air intake are essential. Verify the efficiency of these air outlets. Check your laptop’s fans and vents for dust that might be clogging airflow. The best solution is to go for a complete service of the laptop but you can easily DIY with a YouTube tutorial as long as you have basic tech knowledge.
8. Boot in Safe Mode
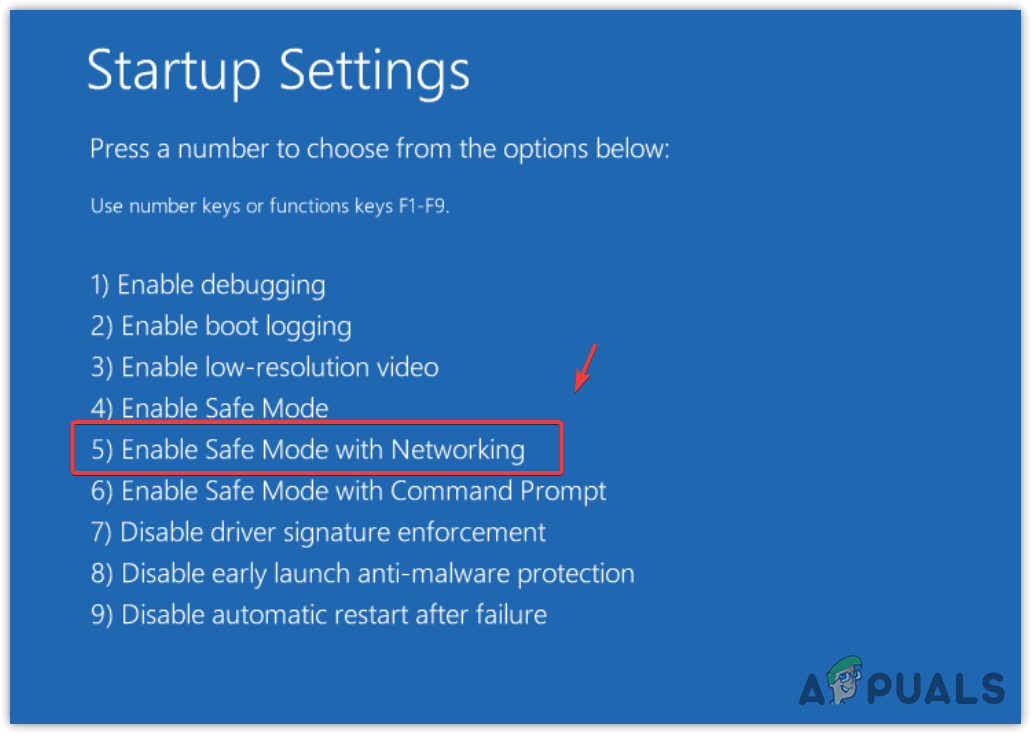
Sometimes a piece of software can interfere with Windows and breaks the booting process. If your laptop or computer will not boot normally, entering safe mode can allow you to roll back the modifications that created the problem.
Follow our comprehensive guide on how to boot into safe mode. If you get inside, ensure that all your drivers are up to date and you haven’t installed anything new recently which might be causing the issue. Run an antivirus check in the meantime as well just to be on the safe side (pun very much intended).
Keep in mind that sometimes, the software in the system might not be the issue. You should then resort to installing a new copy Windows in your system.
9. Booting Problems
Using a rescue disk or USB device can be helpful when other solutions have been unsuccessful in resolving a laptop’s booting issues. If your laptop gets till the point where it shows you a logo but fails to boot from that point onwards, try out this step.
A rescue disk or USB contains a separate operating system that allows you to boot into an environment independent of the laptop’s installed operating system.
This can be particularly useful when dealing with malware infections or critical system errors that prevent the laptop from starting up properly. Here’s how you can use a rescue disk:
Step 1: Obtain a Rescue Disk Image
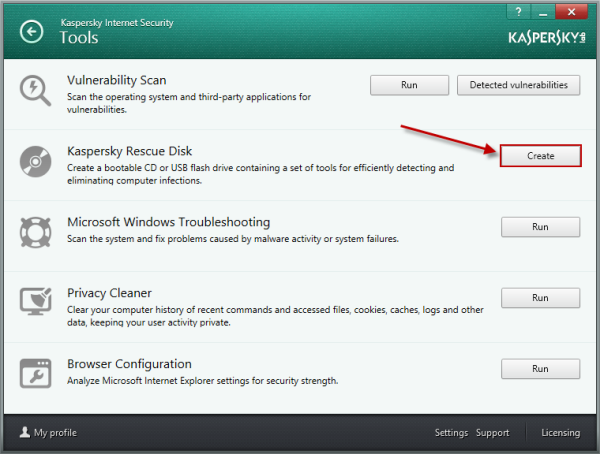
Download a rescue disc image from a reputable source, preferably from an antivirus company such as Kaspersky or another trusted software provider.
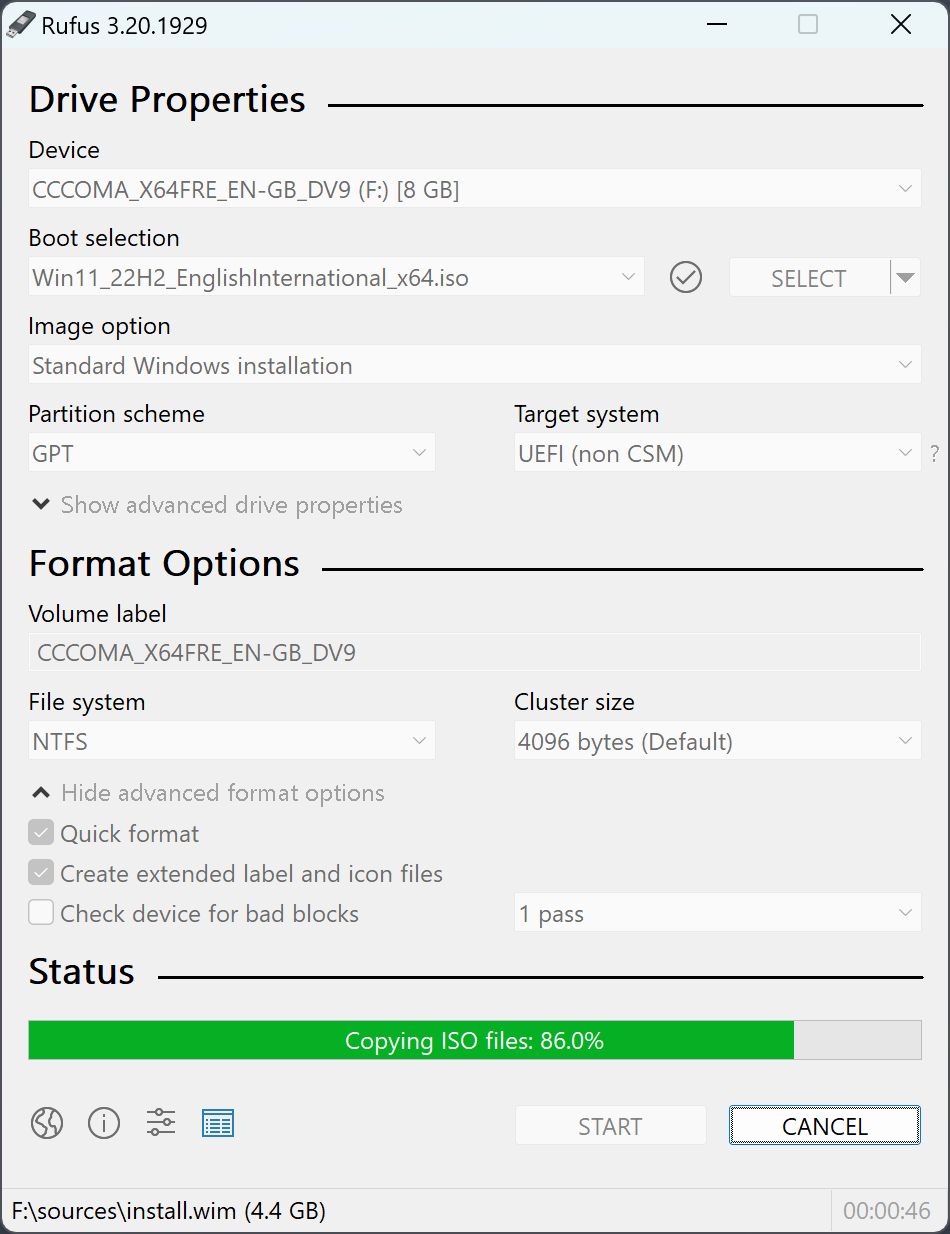
Step 2: Create a Rescue Disk or USB
Using another functional computer, burn the ISO file onto a blank CD or DVD to create a rescue disc. Alternatively, you can use a tool like Rufus to create a bootable USB flash drive from the rescue disc image.
Step 3: Boot from the Rescue Disk or USB
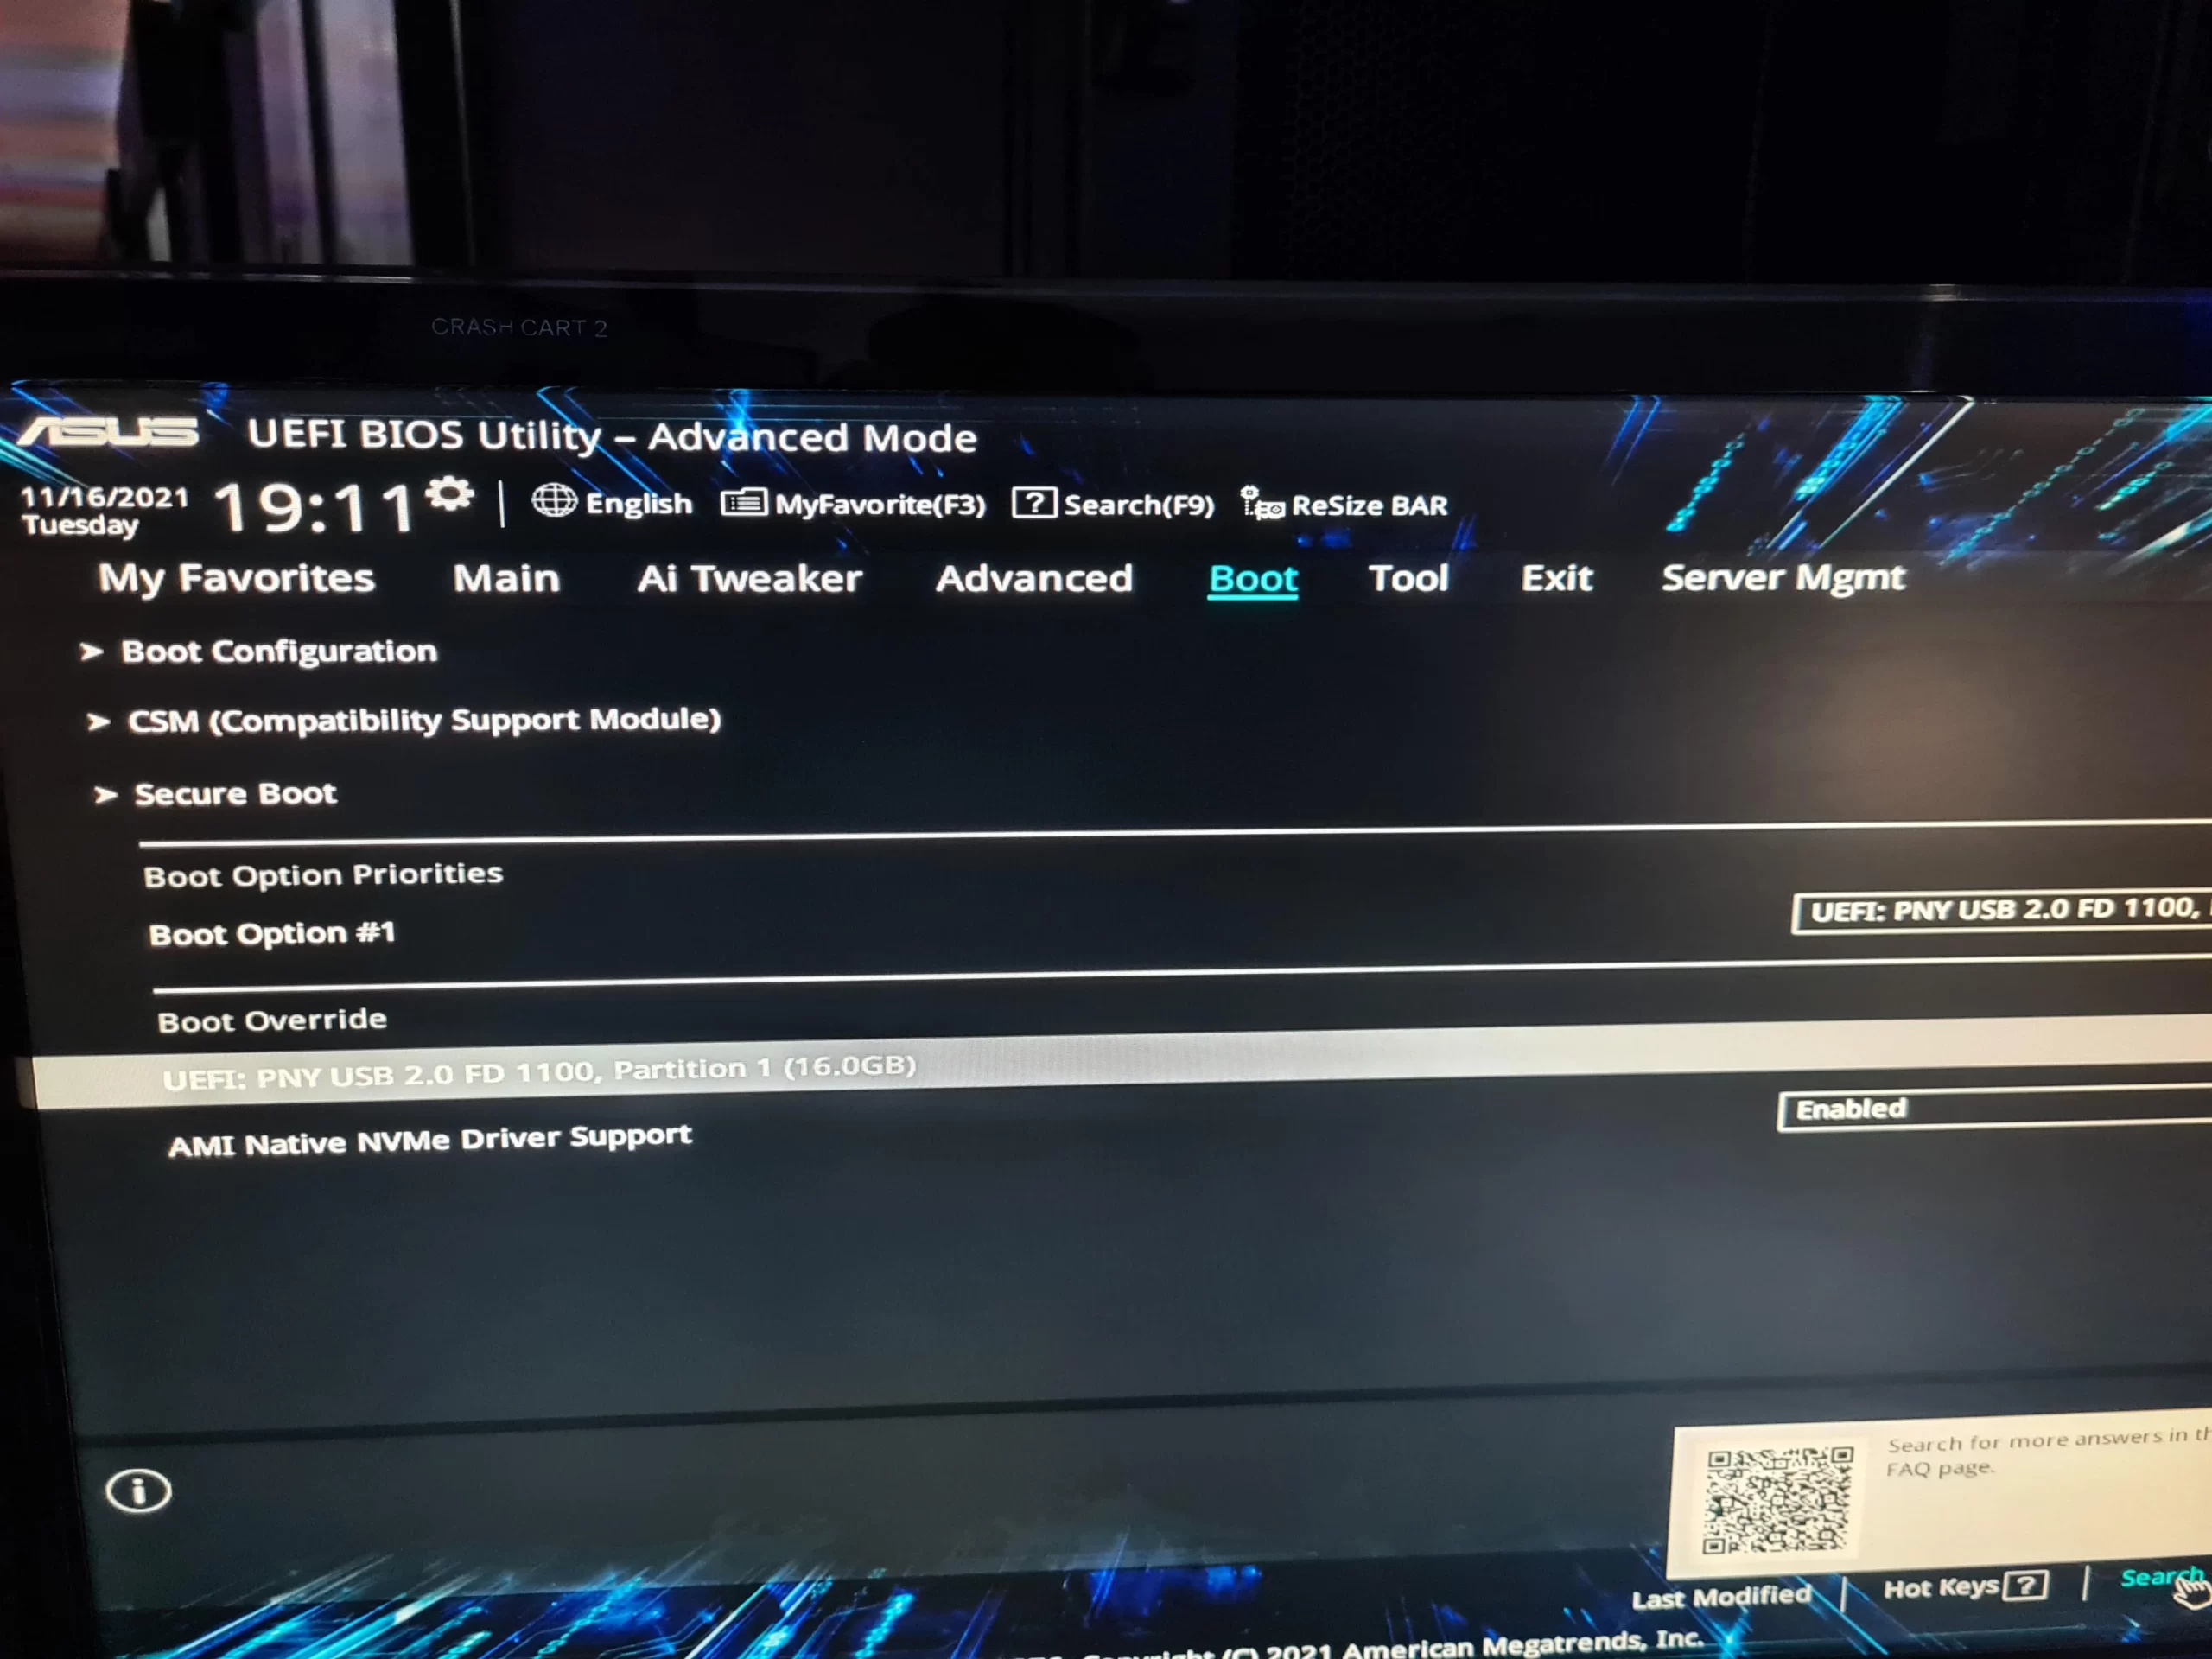
With the rescue disk or USB ready, insert it into the affected laptop’s CD/DVD drive or USB port. Then, Power on the laptop and access the boot menu or BIOS settings. This is usually done by pressing F12 during startup.
In the boot menu or BIOS settings, choose the rescue disk or USB as the primary boot device. This will enable the laptop to boot into the rescue environment instead of its installed operating system.
Step 4: Scan and Repair
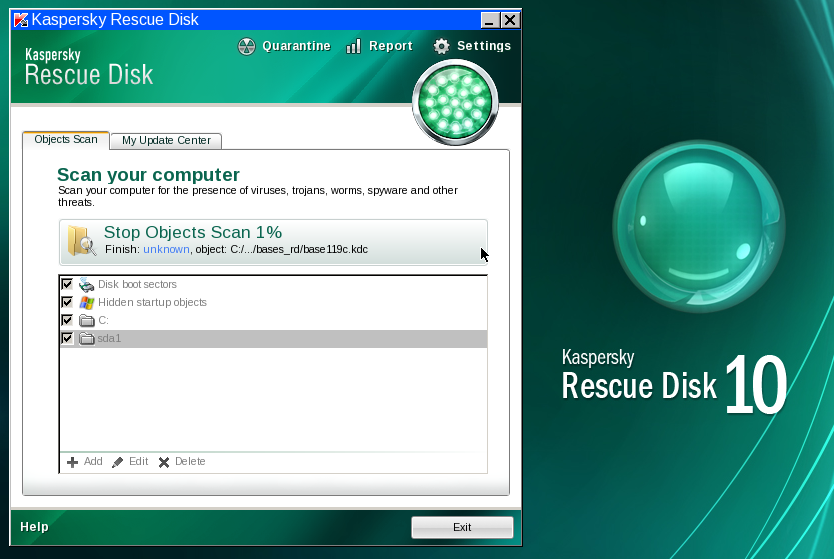
Once booted into the rescue environment, use the provided antivirus tools to scan the laptop’s hard drive for malware or viruses. If any infections are detected, the antivirus software can attempt to remove or quarantine them.
Besides malware scanning, rescue disks often come with various diagnostic and repair tools. Use these tools to fix system errors, recover data, or perform other troubleshooting steps to address the booting issues.
Step 5: Remove the Rescue Disk or USB and Reboot
After completing the necessary scans and repairs, remove the rescue disk or USB and restart the laptop. Ideally, the laptop should now boot into its normal operating system without any issues.
10. Problems with BIOS/UEFI Settings
BIOS and UEFI are essential firmware interfaces that manage your computer’s hardware during startup. If these settings are incorrect, it can lead to booting problems, which can be quite frustrating. But don’t worry, you have one last option to try before diving into more complicated solutions.
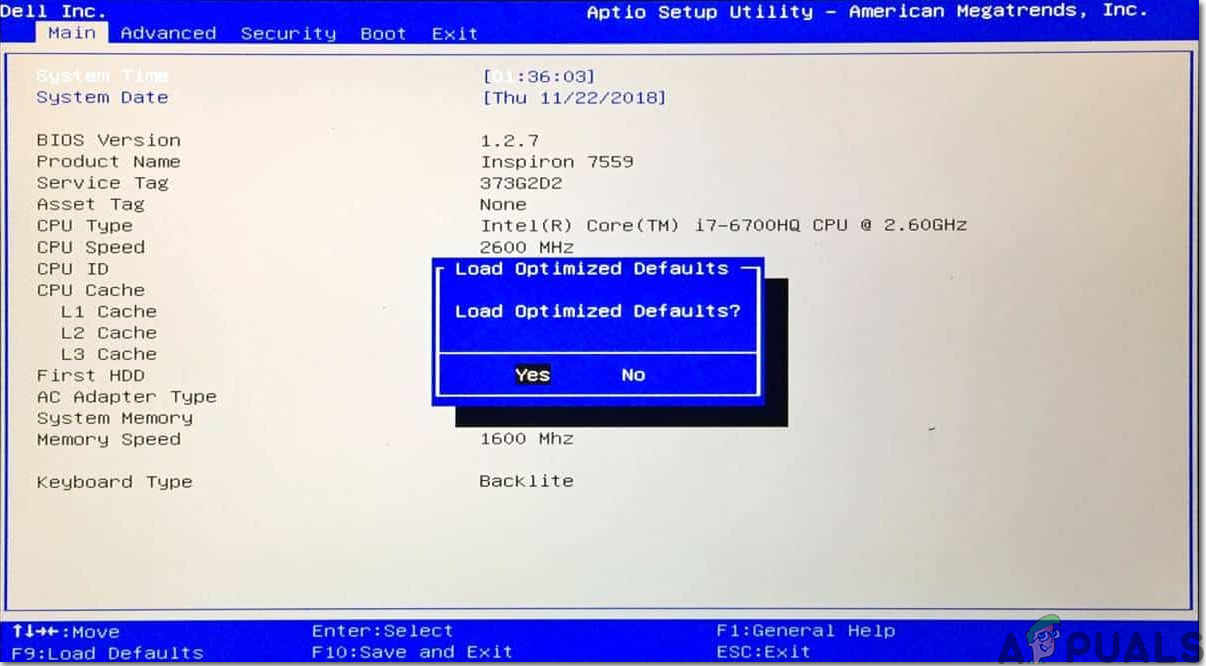
You can perform a BIOS/UEFI reset to restore all settings to their default values. Look for an option like “Load Optimized Defaults” or “Reset to Default Settings” in the BIOS/UEFI and simply follow the on-screen instructions. This often resolves most booting problems, so it’s worth a shot.
However, keep in mind that tinkering with BIOS settings can be quite tricky and is not recommended for those unfamiliar with technical aspects. So, proceed with caution. If you’re uncertain about making changes in the BIOS, it’s best to seek help from an experienced professional.
Also, remember to check the laptop manufacturer’s website for any available BIOS/UEFI firmware updates. These updates can address compatibility issues and enhance the overall stability of your system.
Conclusion
If your laptop still won’t turn on after following our troubleshooting guide, it could be due to a faulty hardware component or a more complex issue. Attempting to fix it on your own may not be the best option, as it could lead to further problems or void your warranty.
We recommend taking your laptop to a professional technician for proper diagnosis and repairs. They have the expertise and tools to identify and resolve the problem efficiently, getting your laptop back to working condition in no time.
Laptop Troubleshooting - FAQs
There could be various reasons for this issue, such as a drained battery, faulty charger or power adapter, loose power connection, hardware problems, overheating, or a defective power button.
If the laptop’s power light and fan are on, but the screen remains black, try adjusting the screen brightness, checking for backlight issues, testing with an external monitor, and performing a hard reset by removing the battery and draining residual power.
While some third-party chargers may work with your laptop, it’s essential to be cautious. Using cheap or uncertified chargers can lead to compatibility issues, overheating, and potential damage to your laptop or battery which is why it is not a recommended approach.
Reviewed by Huzaifa Haroon