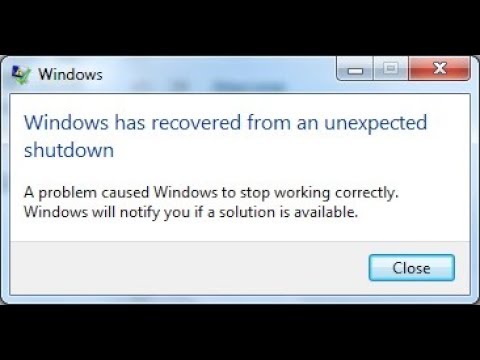
How to Fix ‘Windows has Recovered from an Unexpected Shutdown’ Error?
Windows is undoubtedly one of the most used operating systems out there. Due to its immersive and secure experience, it is used by more than 1 Billion people in the world. These figures speak for themselves when it comes to Windows’ popularity. However, quite recently, a lot of reports have been coming in where users are experiencing a sudden restart and are faced with the “Windows has Recovered from an Unexpected Shutdown” Error after the restart.
What Causes the “Windows has Recovered From an Unexpected Shutdown” Error?
After receiving numerous reports from multiple users, we decided to investigate the issue and devised a set of solutions that fixed the problem for most users. Also, we looked into the reasons due to which this error is triggered and listed some of the most common ones below.
- Broken Driver: It is possible that a particular driver is not working properly due to which the computer is experiencing this error. When a driver is corrupt it can end up sabotaging certain elements of the operating system due to which this error is triggered.
- Service/Application: In some cases, a certain service or application interferes with important elements of the operating system due to which this error is triggered.
Now that you have a basic understanding of the nature of the problem, we will move on towards the solutions. Make sure to implement these in the specific order in which they are provided to avoid any conflicts.
Solution 1: Initiating Safe Mode
In the safe mode, all the unnecessary drivers aren’t loaded and only the most important ones are. Therefore, in this step, we will be booting the computer in Safe Mode. To do that:
- Restart the computer and repeatedly press the “F8” key from startup.
- The computer might conduct a memory test or display some hardware information when it goes away “Advanced Boot Options” will be displayed.
- Select the “Safe Mode With Networking” option by highlighting it using the arrow keys and using “Enter” to select it.
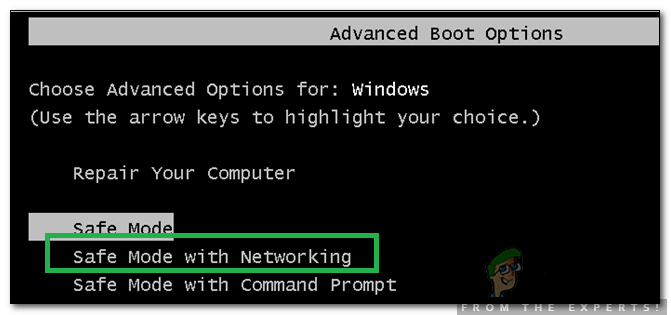
Selecting Safe Mode With Networking - Log-in to your account and the computer will now be booted in the safe mode.
- Press “Windows” + “X” keys simultaneously and select the “Device Manager” option from the list.
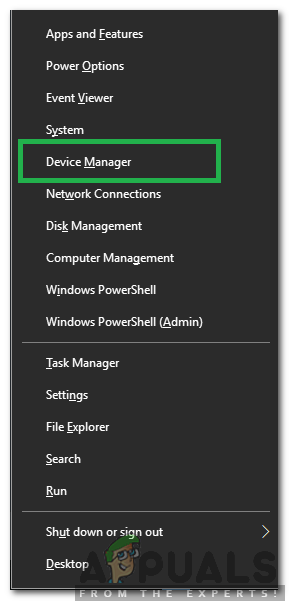
Selecting “Device Manager” from the list - Inside the device manager, double click on the “Sounds, video card, and game controllers” dropdown and right–click on a driver listed in it.
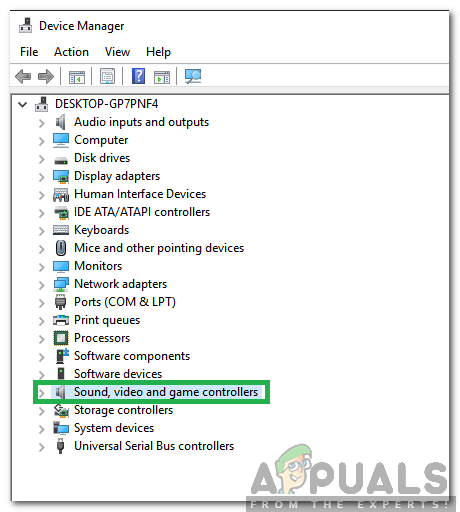
Double-clicking on the “Sound, Video and Game Controllers” dropdown - Select “Disable” to disable it completely and make sure to repeat this process for all the drivers listed in there.
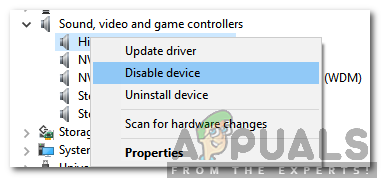
Right-clicking on the driver and selecting Disable - In the same manner, disable the drivers for “Network Adapters, CD & DVD, Modems, Ports, Sound Card, Video Card“.
- Once these drivers are disabled, click on the power button and restart your computer.
- Check to see if the issue persists.
- If it doesn’t, that means that one of the drivers was causing the issue.
- Start re–enabling each driver that you disabled one by one and identify the driver which causes the issue to recur.
- Keep the driver disabled or reinstall it and check to see if the issue persists.
Solution 2: Initiating Clean Boot
In the clean boot, all the unnecessary services are disabled and only the most important components of the computer are allowed to run. Therefore, in this step, we will be initiating a Clean Boot and then attempt a repair through an SFC scan. For that:
- Press “Windows” + “R” keys simultaneously to open the “RUN” prompt.
- Type in “msconfig” and press “Enter”.
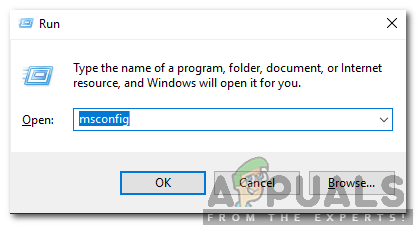
Typing in msconfig and pressing enter - Click on the “Services” tab and uncheck the “Hide all Microsoft Services” option.
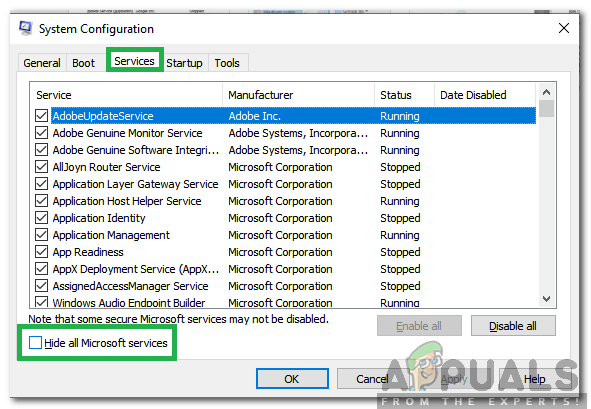
Clicking on the services tab and unchecking the Hide All Microsoft Services option - Click on the “Disable All” option.
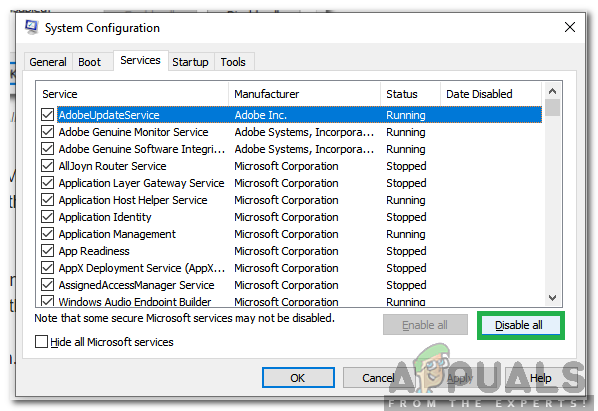
Clicking on the disable all option - Click on the “Startup” tab and select the “Open Task Manager” button.
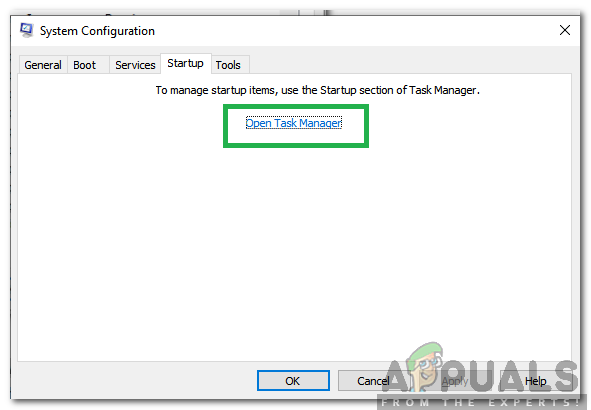
Clicking on “Startup” and selecting “Open Task Manager” - Select the “Startup” Tab and click on any application that is enabled.
- Select “Disable” to prevent it from loading at startup.
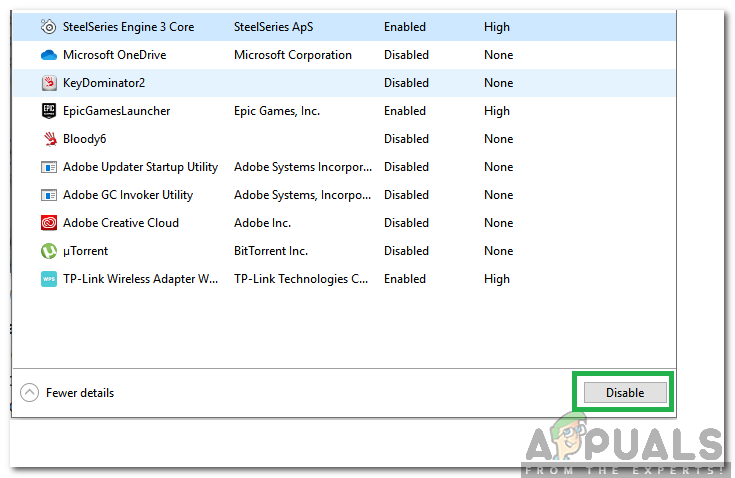
Selecting application and clicking on “Disabled” - Repeat this process for all enabled applications.
- Restart your computer for the changes to take effect and check to see if the issue persists.
- Start enabling the services/applications one by one in the same manner and identify the service/application that is causing the issue.
- Keep it disabled or try to reinstall it if its an application.
Note: If you have recently made changes to your computer make sure to check that all the cables are connected properly. Also, check if the RAMs are installed firmly. If the issue still persists take the device in for service.


