How to Fix Windows Laptop Battery Stuck at 100% Glitch
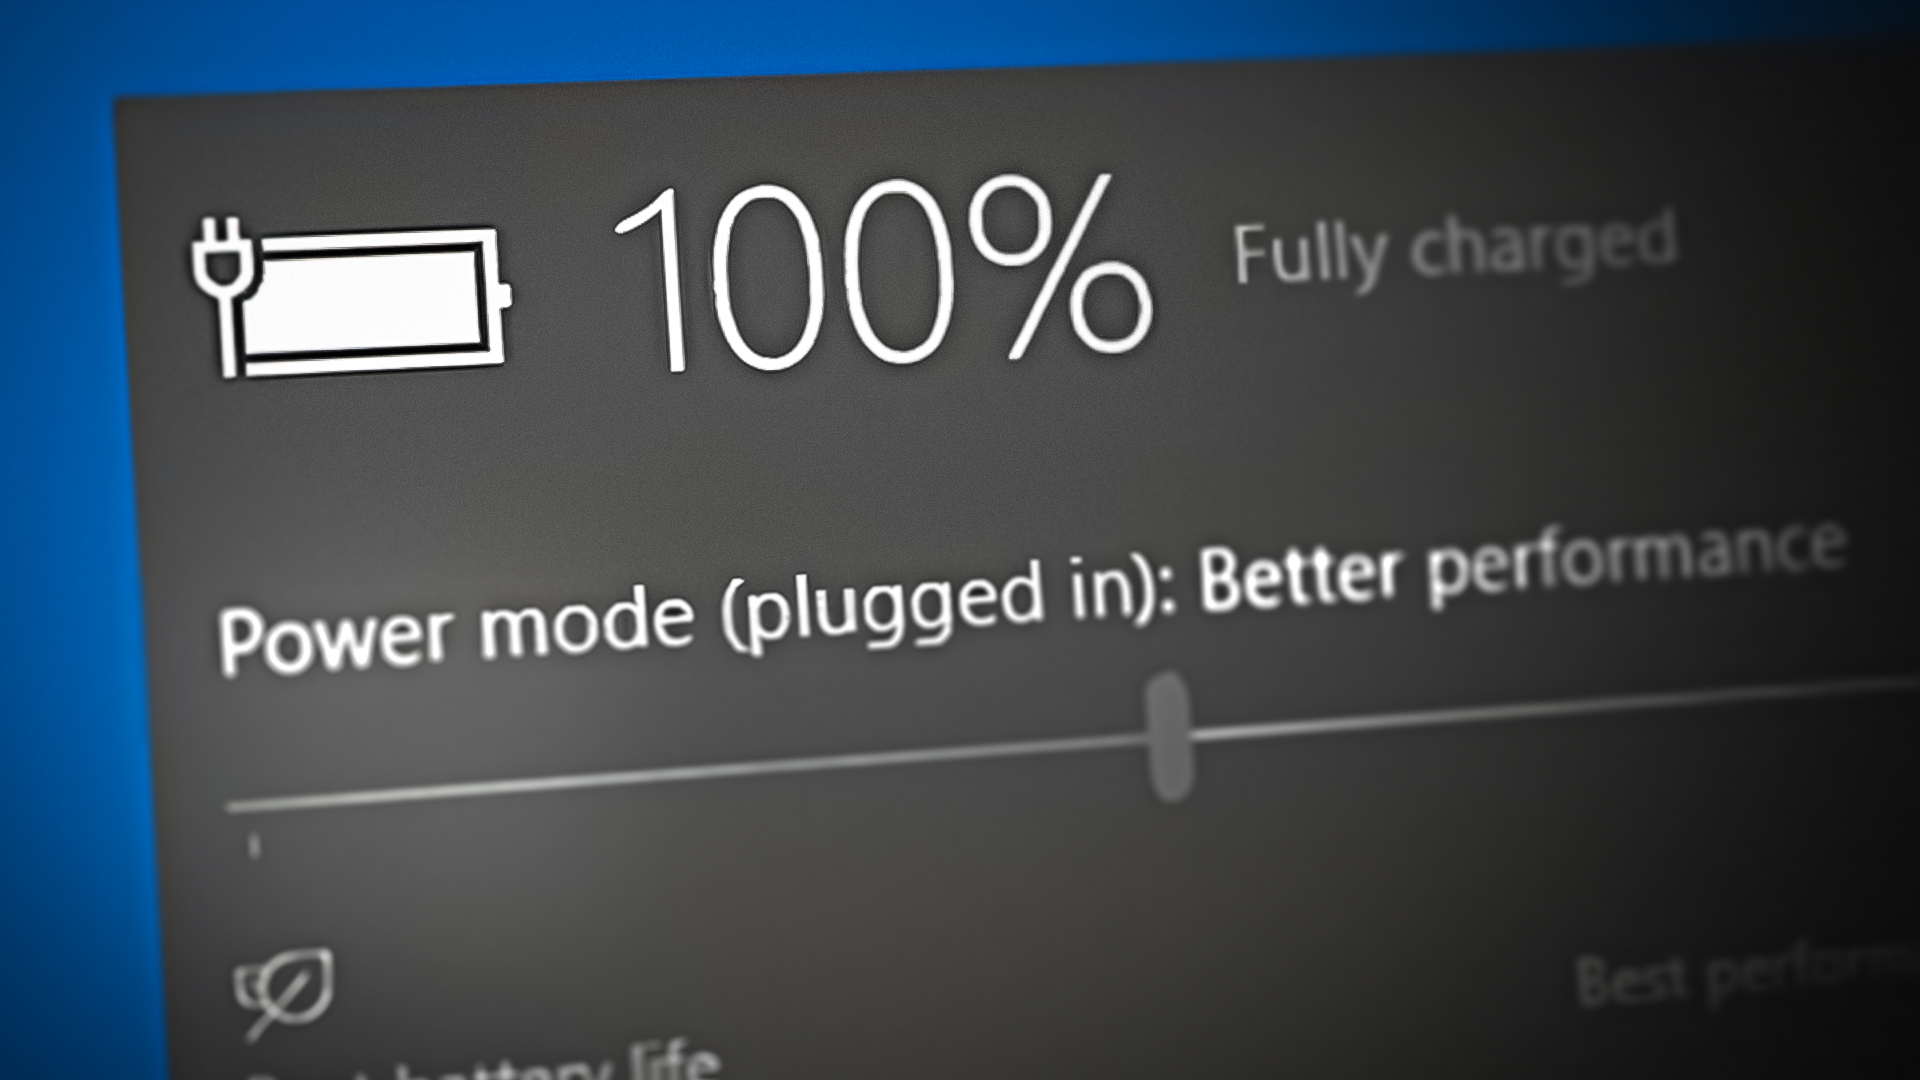
When the battery percentage of your device is stuck at 100%, it means that the system has failed to accurately track the battery level. It not just makes it difficult to gauge how much time you have left before needing to charge your device but can also lead to inconsistent performance leading to sudden shutdowns.
This typically happens when there is an issue with the relevant driver or the battery sensor itself is malfunctioning. It can also be caused due to incorrectly configured power settings and software conflict with a third-party program or service.
Fortunately, fixing the problem is quite simple and we will be using the built-in troubleshooting tools in Windows to resolve it. Below, we have listed different solutions you can try for this. However, before starting, we recommend restarting the system. If a software or firmware glitch is causing the battery percentage display to malfunction, restarting the laptop can fix the problem. It can also help if the battery sensor is not functioning correctly.
1. Run a Battery Report
We recommend starting out by running a battery report to check for any errors or issues.
The battery report contains detailed information about your battery’s capacity, wear level, and charging history, which can assist you in troubleshooting any issues. We will be using the Command Prompt to obtain this report.
To run a battery report in Windows, follow these steps:
- Press the Windows + R keys together to open a Run dialog.
- Type cmd in Run and click on Ctrl + Shift + Enter to open Command Prompt as an administrator.
- Click Yes in the User Account Control prompt.
- In the following window, type the command mentioned below and click Enter to execute it:
powercfg /batteryreport
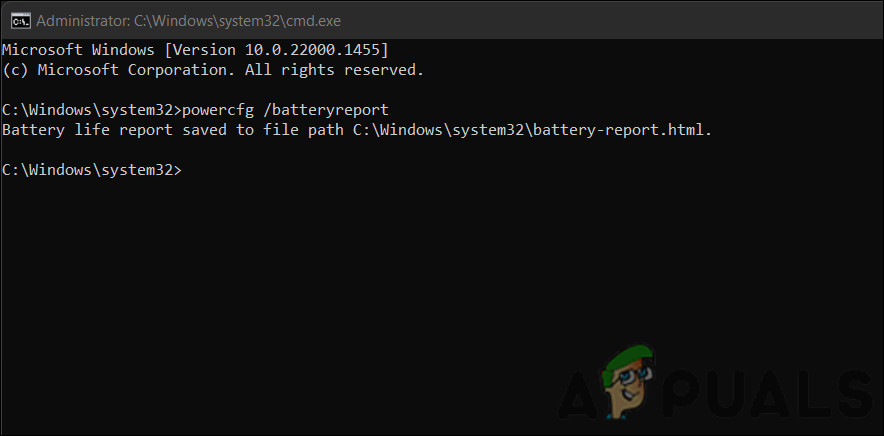
Get a battery report - Once the command is completed, Command Prompt with tell you where the report is stored in HTML format. Head over to that location in the File Explorer and open the file using your browser.
In the report, you can see the design capacity, full charge capacity, and wear level of your battery. Your battery’s wear level is expressed as a percentage and can be used to determine how much its capacity has declined over time. Visit the Battery life estimates section for information about how long your battery will last based on various usage scenarios, such as watching videos, browsing the web, or using an application.
In case there are any issues in the report, you may take the appropriate steps to resolve them. For example, if the report shows that your battery has reached its end of life, you may need to replace it.
2. Run the Power Troubleshooter
The next thing that we recommend doing is running the Power troubleshooter via Windows Settings. The troubleshooter works by detecting the common power problems that may be causing your battery status to become stuck by performing a scan.
It will then suggest fixes to resolve the issue which can be applied from within the troubleshooter as well. Here is how you can proceed:
- Press the Windows + I keys on your keyboard to open the Settings app.
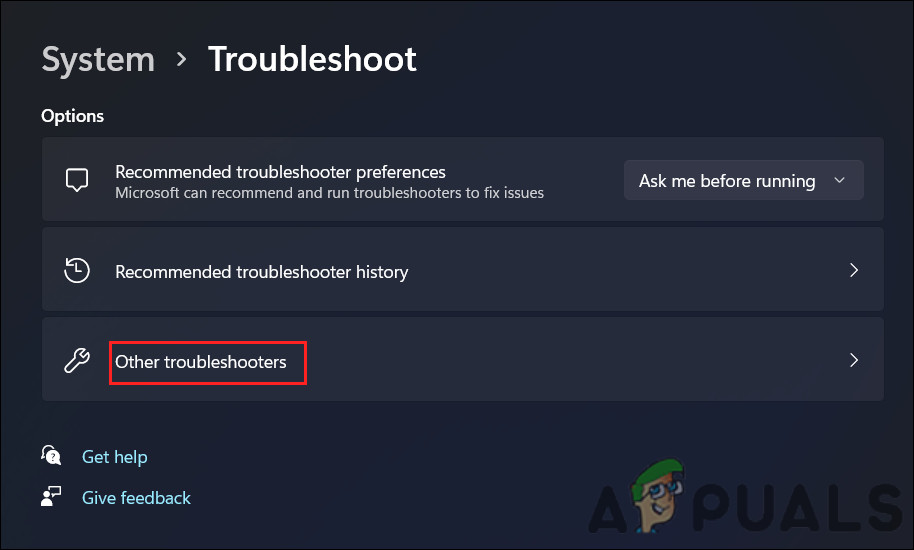
- Choose System > Troubleshoot in the following window.
- Click on Other troubleshooters.
Click on the Other troubleshooters option - Now, locate the Power troubleshooter in the list of options available and click on the Run button for it.
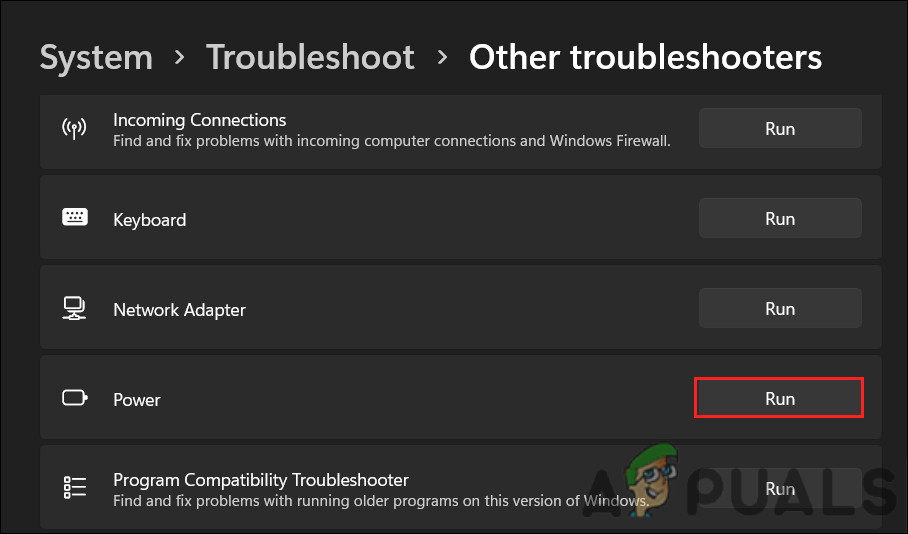
Run the Power troubleshooter - Wait for the troubleshooter to complete its scan. If it finds any issues and recommends fixes, click on Apply this fix. It might also suggest you to update your BIOS or reinstall drivers, which you should follow to resolve the problem.
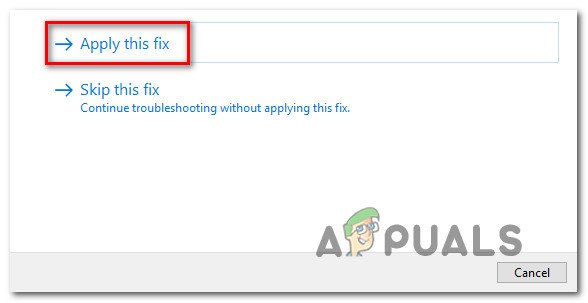
Apply this fix - If the utility does not find any issues, click on the Close the troubleshooter option and move to the next method below.
3. Adjust the Power Settings
Your computer’s power settings influence how it manages its power usage and how accurate its battery status is.
For example, if you have the power settings set to always run your computer on high performance, this may cause the battery status readings to become inaccurate. In some cases, this can lead to the battery status becoming stuck, leading to the problem under consideration.
To resolve this issue, you can try changing your power settings to a more balanced or power-saving mode. To do this, follow these steps:
- Press the Windows + R keys together to open Run.
- Type control in Run and hit Enter.
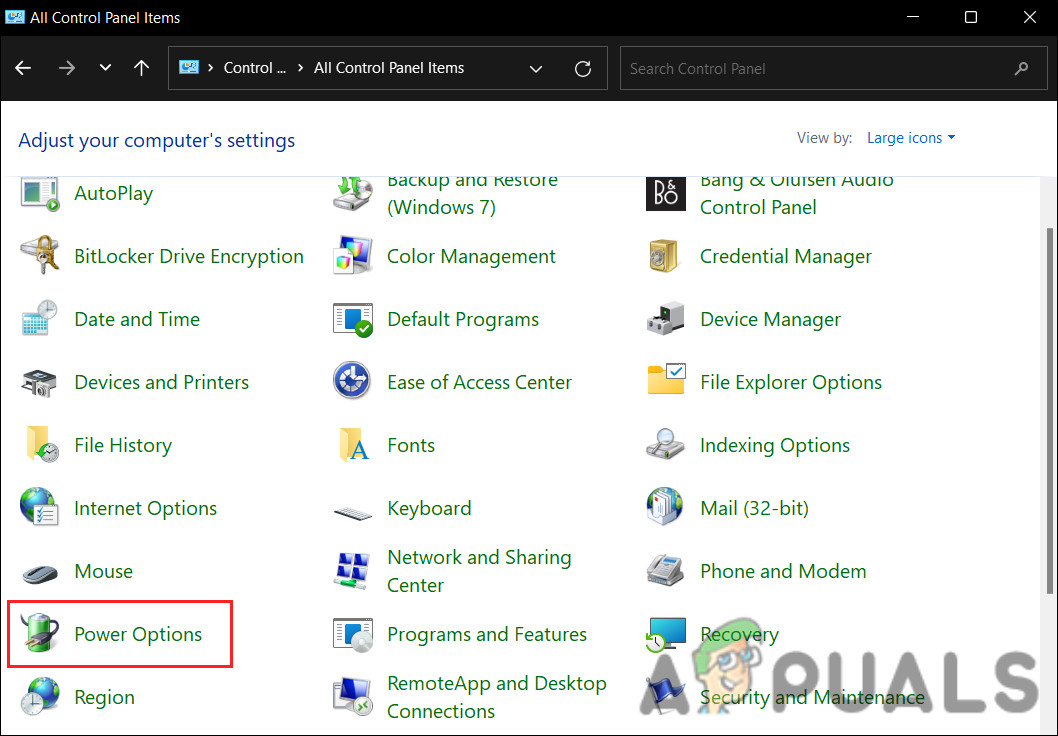
- In the following window, expand the View by category and choose Large icons.
- Click on Power options from the list of options available.
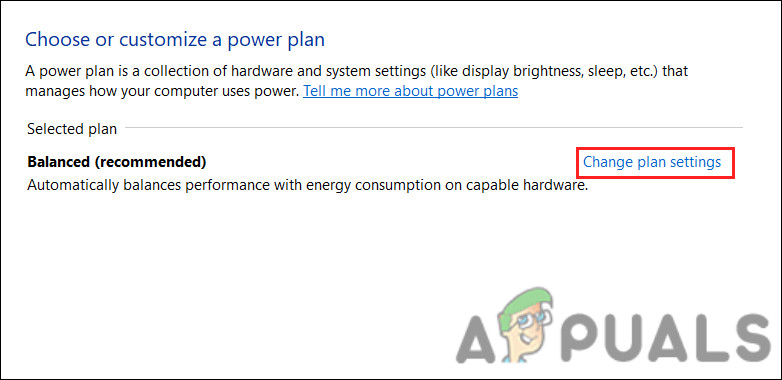
Click on Power options - Choose Change plan settings and select the balanced power plan.
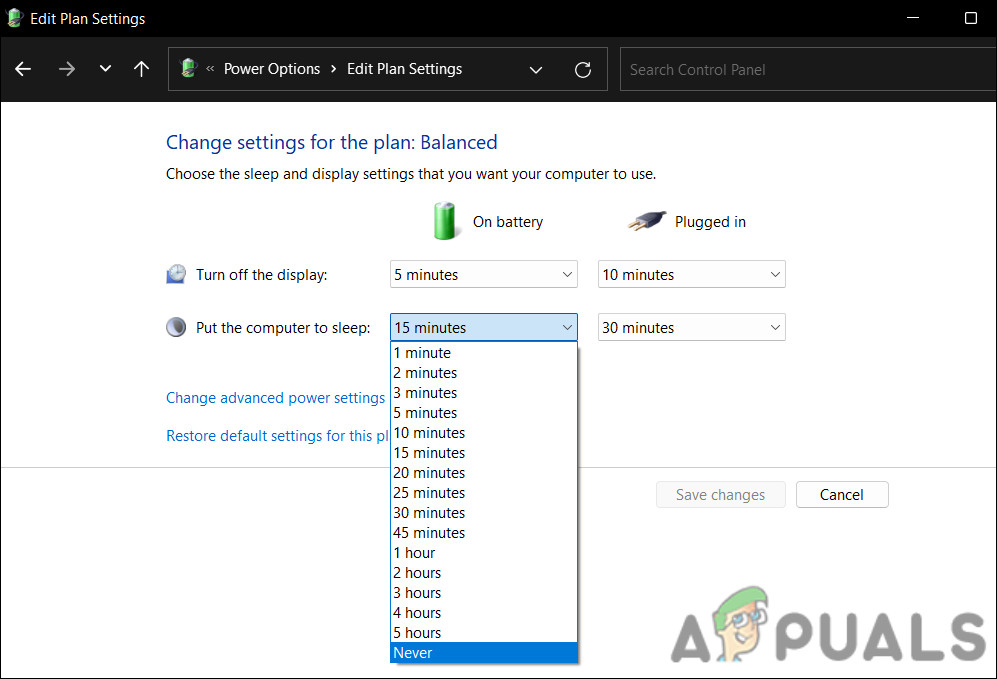
Change power plan - Now, click Change when the computer sleeps from the left menu.
- Expand all the dropdowns here and choose Never > Save changes.
Disable the sleep option - In the same window, click on Change advanced power settings.
- Next, locate and expand the Battery > Critical battery action option.
- Set the On battery option to Hibernate.
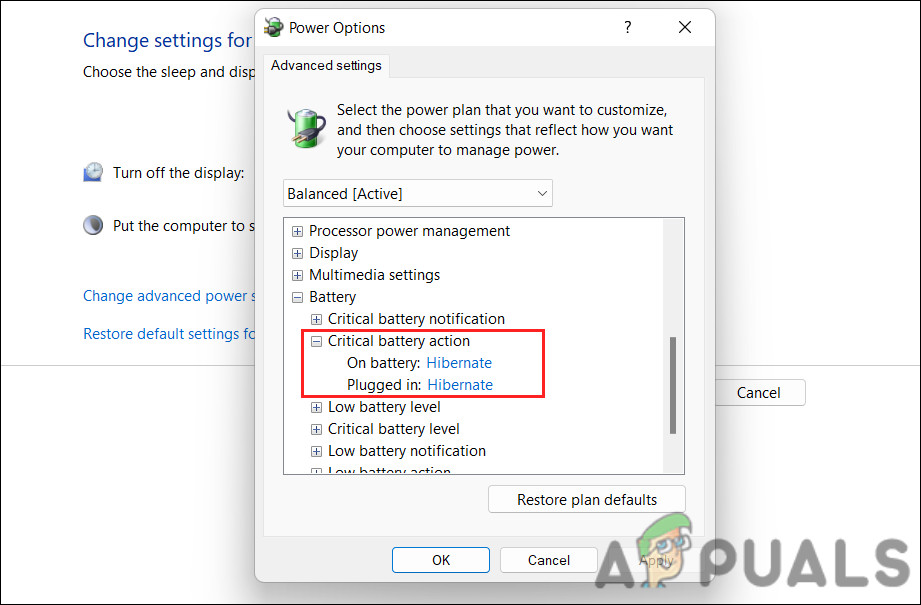
Set the option to Hibernate - Finally, click Apply > OK to save the changes, and try using your computer for a while to check if the battery status changes.
4. Update Battery Drivers
You might also be experiencing the issue because of outdated or corrupt battery drivers.
Outdated or corrupt battery drivers can cause the battery level to become stuck at 100% in Windows because they may not be able to communicate accurately with the battery management system in your computer, causing the battery status not to update accurately as the battery drains.
If this scenario is applicable, then you can resolve the problem by updating or reinstalling the battery drivers.
Here is how you can update the drivers:
- Press the Windows + S keys together to open the Windows Search utility.
- Type Device Manager in the search bar and click Open.
- In the following window, expand the Battery section and right-click on the Microsoft ACPI-Compliant Control Method Battery driver.
- Choose Update driver from the context menu.

Update the battery driver - Click on Search automatically for drivers and let the utility find an updated driver version.

Search the system for drivers - Follow the on-screen instructions to install it and then check if the issue is resolved.
If the system cannot find an updated version of the driver automatically, you can update it manually.
- Download the latest version of the Microsoft ACPI-Compliant Control Method Battery driver using your browser.
- Follow steps 1-4 mentioned above again.
- Choose Browse my computer for drivers > Let me pick an available driver version.
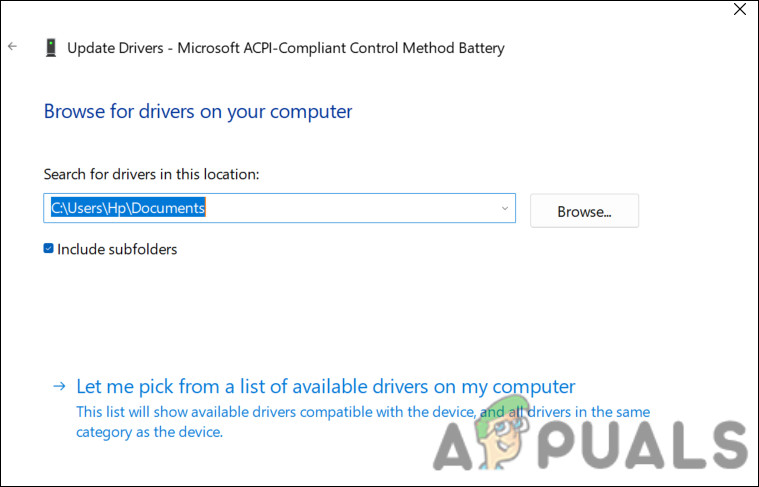
Pick an available driver - Choose the driver you just downloaded and follow the on-screen instructions to install it.
- Finally, restart your computer and check if this makes any changes.
5. Update BIOS
It is also possible for your battery percentage to get stuck in Windows if your BIOS is outdated since the BIOS controls your computer’s basic functions, including communication between the battery management system and the operating system. A malfunctioning BIOS can prevent the battery management system from communicating with the BIOS accurately, resulting in a stuck battery percentage.
To resolve this issue, you can try updating your BIOS to the latest version. The exact steps can vary depending on the model and make of your computer, so check the manufacturer’s website for instructions.
To update the BIOS, you need to download the most recent version from the manufacturer’s website, create a bootable USB drive, and boot your computer from the USB drive to finish the update. We have covered the steps of updating BIOS in HP and DELL devices in our previous posts.
However, it is important to note that BIOS updates can be complex, and if done incorrectly, can cause serious computer problems. The best thing you can do if you aren’t confident in updating the BIOS on your own is to contact the manufacturer of your computer for guidance.


