9 Solutions for the Discord Not Loading Images Issue
 Reviewed by Muhammad Zubyan
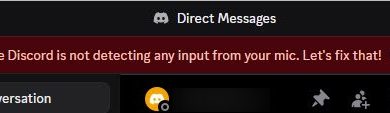
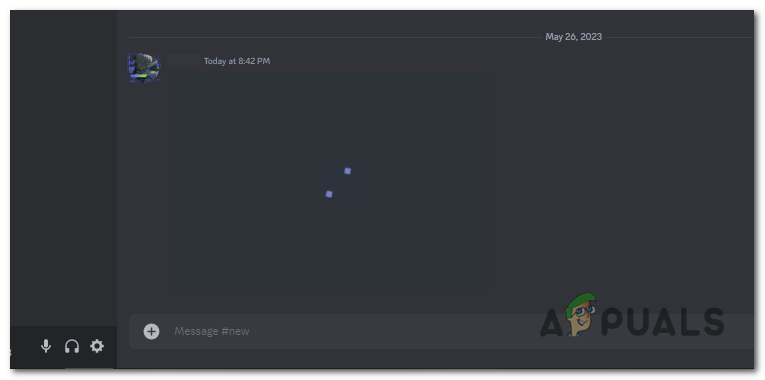
Discord has been experiencing a problem where when you send an image it does not load, and this is caused by a number of issues, the most common of which include wrong network settings, corrupted cache, Discord server unavailability, lack of image loading privileges in Discord client settings, or image loading being blocked by a firewall, etc. Here’s an image of the error:
But don’t worry, in this article, every issue is explained in detail, as well as how to fix it and get Discord images working again
Fix 1: Use a Stable Internet connection
VoIP-based social communication platforms like Discord rely on a stable network connection with high bandwidth. Therefore, it is important to ensure that your internet connection is free from disruptions such as fluctuations in internet speed or high ping issues. Otherwise, these issues can cause interruptions in Discord’s ability to send and receive images smoothly.
Using an unstable connection or one with poor service can result in various problems in Discord, such as the inability to load pictures, non-loading widgets, or issues with Discord streams.
To address these issues, it is recommended to check your router and local network settings for any potential problems with your connection.
If you encounter any difficulties with your network connection, it is advisable to contact your internet service provider and seek assistance in resolving them. Once the issue has been addressed, it is important to verify your internet connection to ensure that the problem has been resolved.
Fix 2: Check the Status of Discord’s Servers
When encountering this issue, it is important to check the status of the Discord server as it could be a potential cause. Verifying the server’s status is a simple process that can be done using the following steps:
- Click on the following link: Discord Status
- This link will direct you to the official Discord status page.
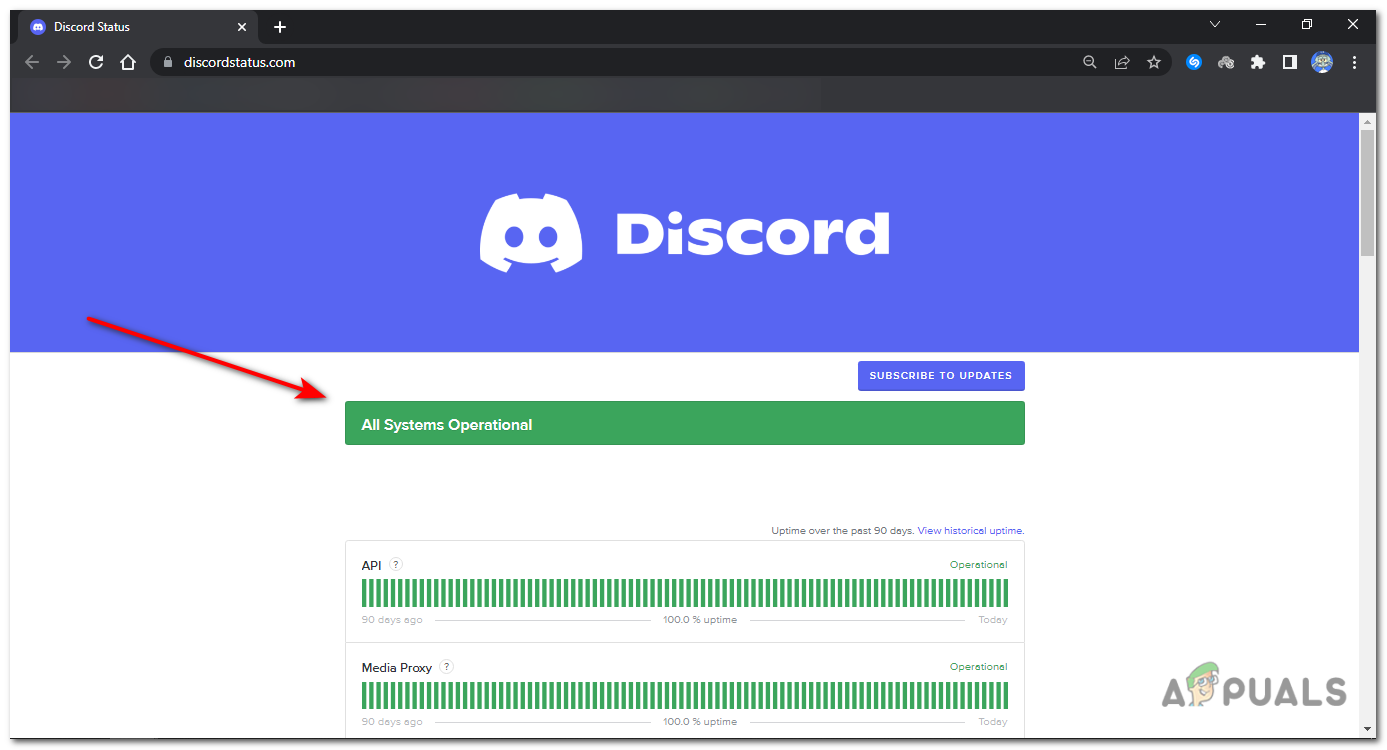
The official Discord status page, showing server status. - On the status page, you can see if Discord is experiencing any ongoing issues or disruptions.
- If the status page indicates that Discord is functioning properly, proceed with other solutions to address the error.
By checking the status of the Discord server using the provided link, you can determine if any server-related issues are contributing to the problem. This information will help you decide on the next steps to resolve the error.
Fix 3: Turn ON Embeds and Link Previews
If you are experiencing issues with gifs, images, or videos not loading when they are sent to you through links, the likely reason is that the “Embeds and Link Previews” or “When posted as links to chat” setting is disabled.
To resolve this issue, you need to ensure that the “Embeds and Link Previews” setting is turned on. By enabling this setting, you will be able to view and load gifs, images, and videos that are shared with you via links. To turn this setting on, follow these steps:
- Open the Discord app.
- Go to Settings > Text & Images.
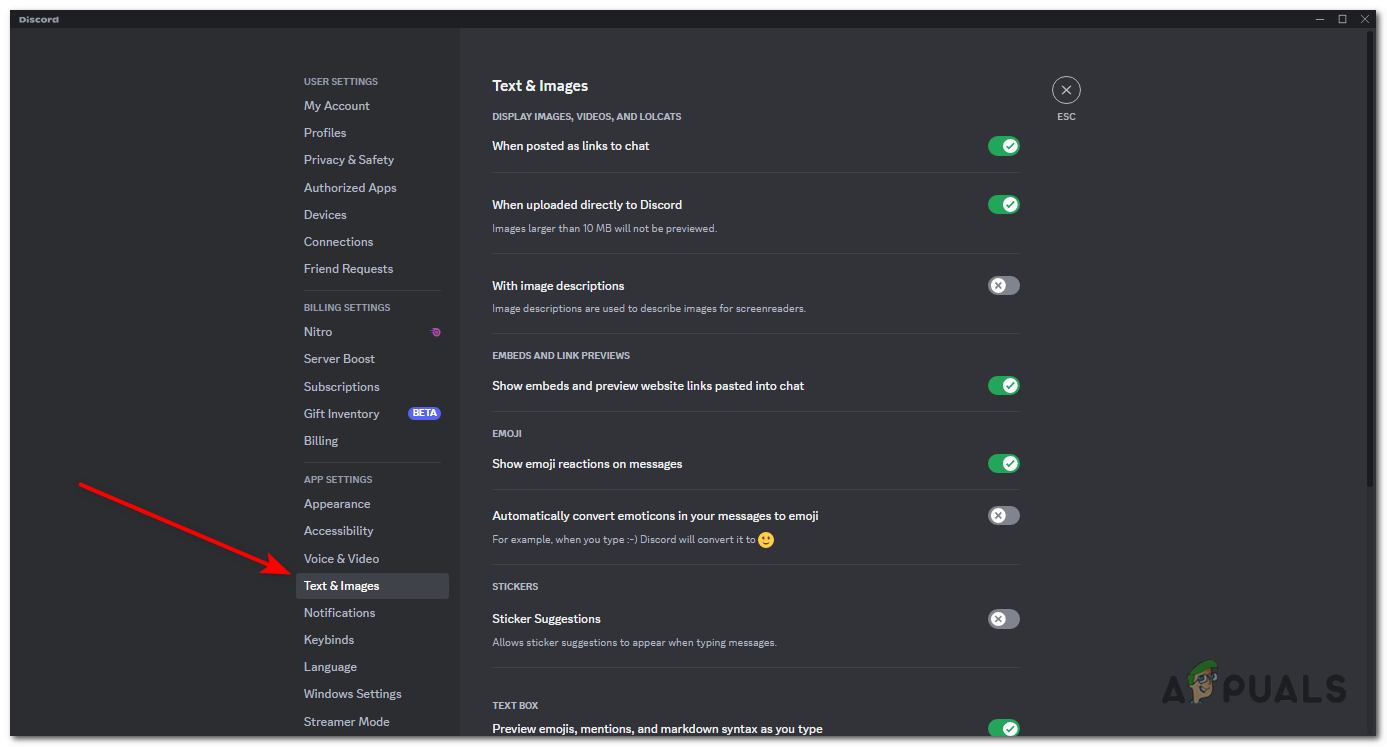
- Under Text & Images, turn ON “When posted as links to chat”.
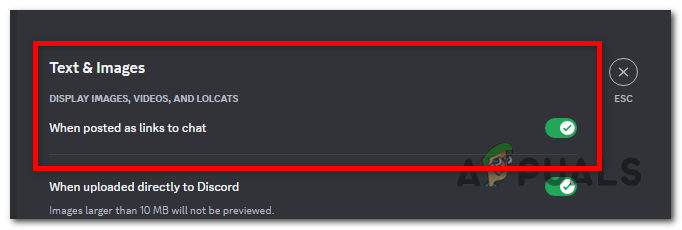
Under Text & Images, turn ON “When posted as links to chat”.
Fix 4: Modify your DNS Servers
DNS servers, short for Domain Name System servers, play a essential role in the functioning of the internet. They serve as a directory that translates domain names (e.g., example.com) into the corresponding IP addresses (e.g., 192.0.2.1) of the servers hosting the respective websites or services.
In the context of Discord and the image not loading issue, DNS servers can indirectly impact the problem. When you use Discord, the application requests the image file from the server hosting that image. If there is an issue with the DNS servers you are using, such as misconfiguration, network problems, or temporary outages, your device will struggle to accurately resolve the IP addresses. As a result, Discord fails to load the image because it cannot locate its location. To address this, you can switch to more reliable DNS servers like Google’s public DNS server or Cloudflare’s DNS server. Follow the steps below to make this change:
- Press the Windows key on your keyboard, type “Control Panel,” and open it.
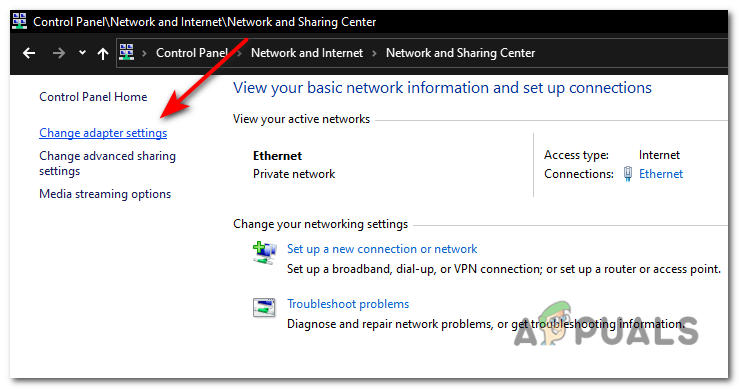
- In the Control Panel, click on “Network and Internet” and then “Network and Sharing Center.”

In the Control Panel, click on “Network and Internet” and then “Network and Sharing Center.” - Look for “Change adapter settings” and click on it.
Look for “Change adapter settings” and click on it. - You will see a list of network connections. Select the connection that you are currently using (e.g., Ethernet or Wi-Fi). Right-click on it and choose “Properties” from the context menu.
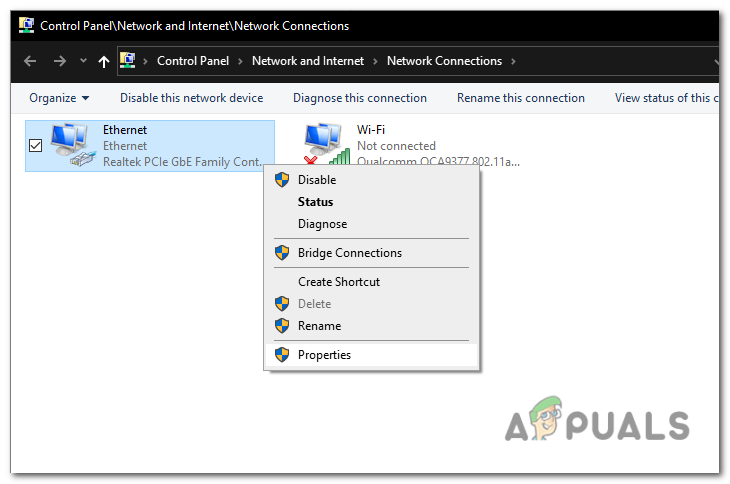
You will see a list of network connections. Select the connection that you are currently using (e.g., Ethernet or Wi-Fi). Right-click on it and choose “Properties” from the context menu. - In the connection properties window, you’ll see a list of items. Find and select “Internet Protocol Version 4 (TCP/IPv4)” and click on the “Properties” button.
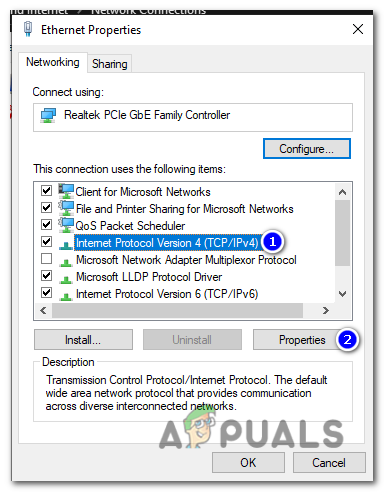
In the connection properties window, you’ll see a list of items. Find and select “Internet Protocol Version 4 (TCP/IPv4)” and click on the “Properties” button. - In the Internet Protocol Version 4 (TCP/IPv4) properties, you’ll find two options for DNS servers: “Obtain DNS server address automatically” and “Use the following DNS server addresses.” Select the latter option.
- If you want to use Google DNS, enter “8.8.8.8” in the “Preferred DNS server” field and “8.8.4.4” in the “Alternate DNS server” field. If you prefer to use Cloudflare DNS, enter “1.1.1.1” as the preferred DNS server and “1.0.0.1” as the alternate DNS server.
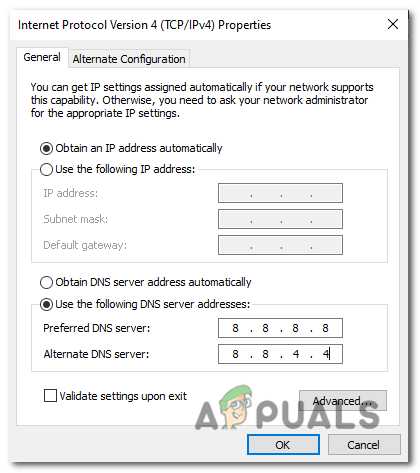
If you want to use Google DNS, enter “8.8.8.8” in the “Preferred DNS server” field and “8.8.4.4” in the “Alternate DNS server” field. - Click “OK” to save the DNS server settings.
- Close all the windows that you opened during this process. Restart your computer for the changes to take effect.
Fix 5: Enable Discord Through Windows Firewall
Enabling Discord’s access through the Windows Firewall can resolve issues related to its connection to the media server and the loading of images. To Enable Discord Through Windows Firewall, follow these steps:
- Press the Windows key on your keyboard, type “Windows Defender Firewall” and open it.
- Click on “Allow an app or feature through Windows Defender Firewall” in the left panel.
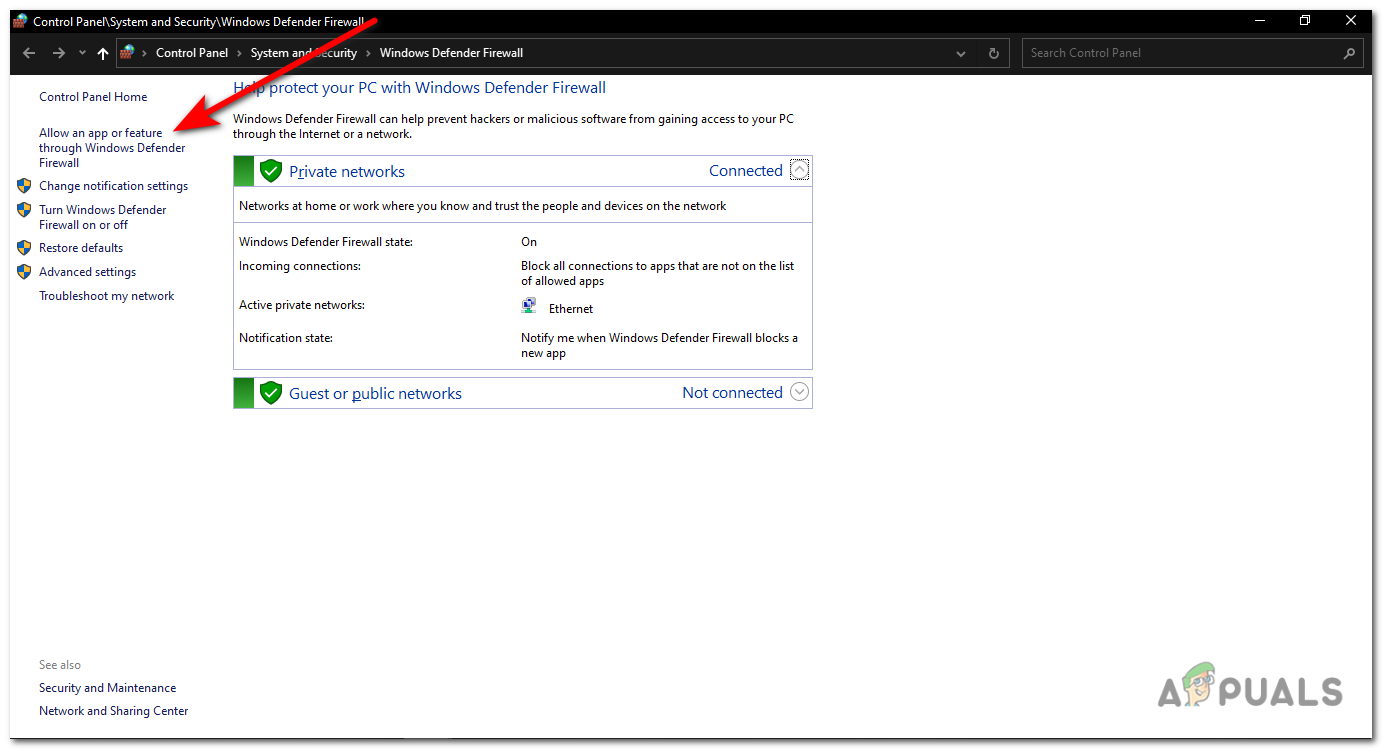
Click on “Allow an app or feature through Windows Defender Firewall” in the left panel. - Look for Discord in the list of applications.
- Check the boxes for both “Private” and “Public.”
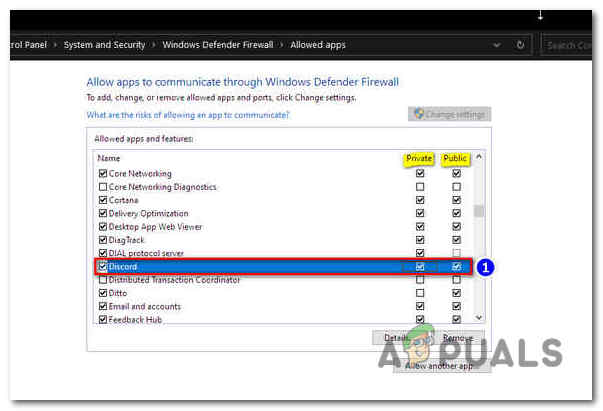
Check the boxes for both “Private” and “Public.”
With these settings, Discord can now establish a connection to the internet through the Windows Firewall. Launch the Discord app and check if it is functioning properly.
Fix 6: Turn OFF Windows Firewall
Disabling Windows Firewall will help discord establish a connection with its server and access the image files. To disable the Windows Defender Firewall and resolve the error, follow these step-by-step instructions:
- Right-click on the Start button or press the Windows key + “R” to open the Run command.
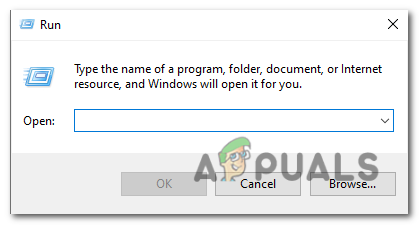
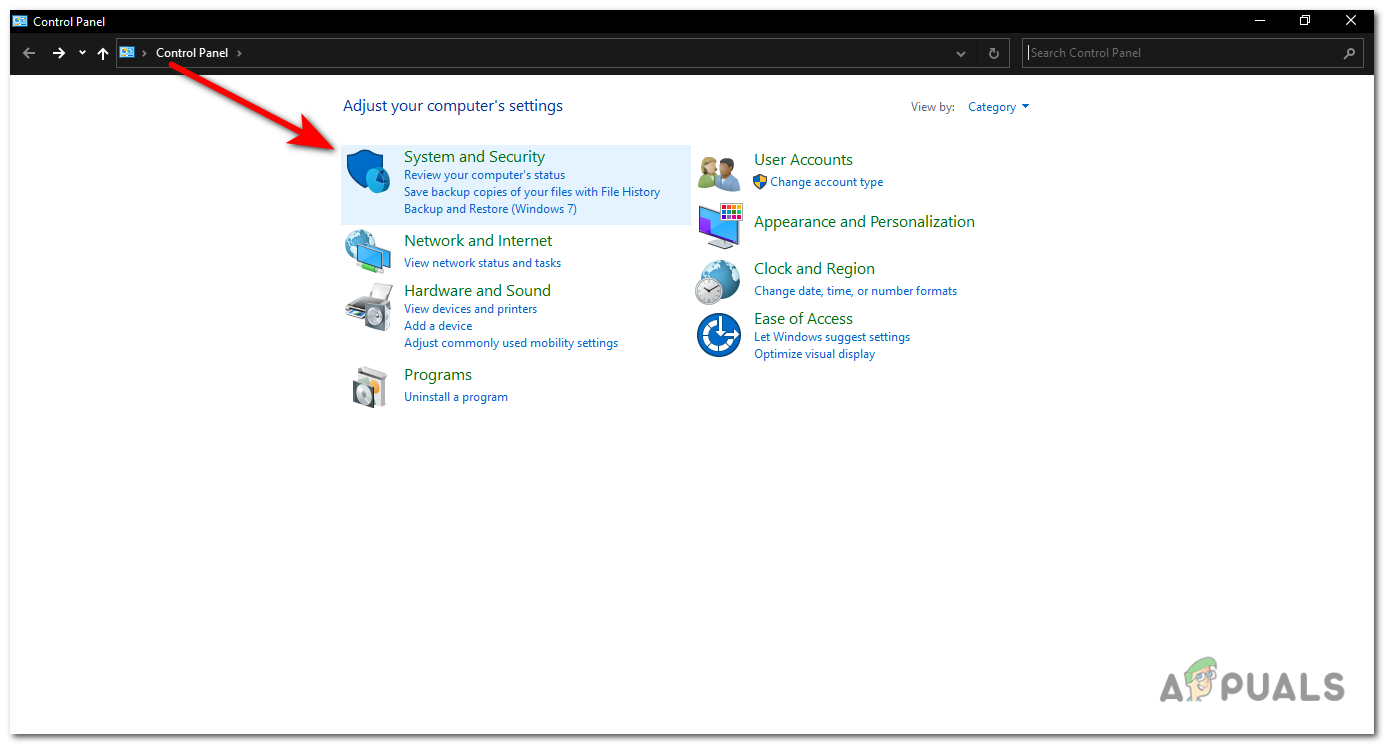
Press the Windows key + “R” to open the Run command. - In the Run window, type “control” and click “OK” to open the Control Panel.
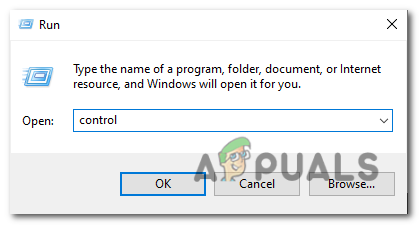
In the Run window, type “control” and click “OK” to open the Control Panel. - Within the Control Panel, locate “System and Security” and click it.
Within the Control Panel, locate “System and Security” and click it. - Now click on Windows Defender Firewall.
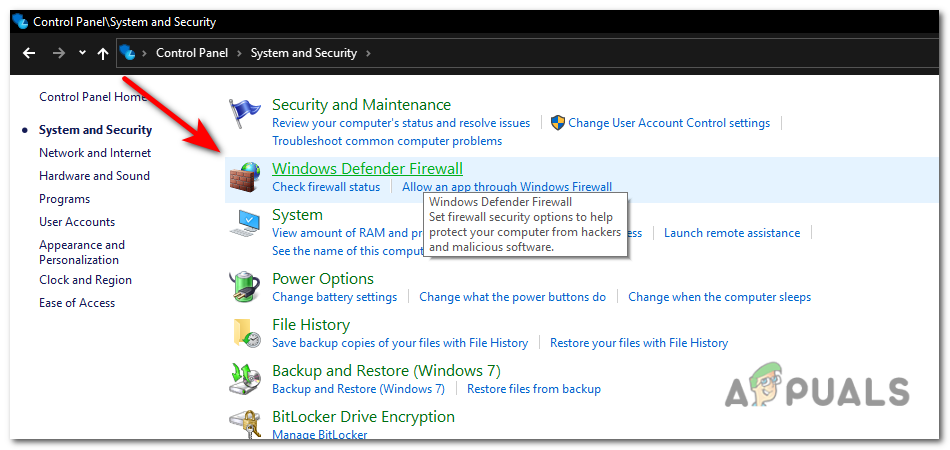
Now click on Windows Defender Firewall. - In the Windows Defender Firewall settings window, click on “Turn Windows Defender Firewall on or off.”
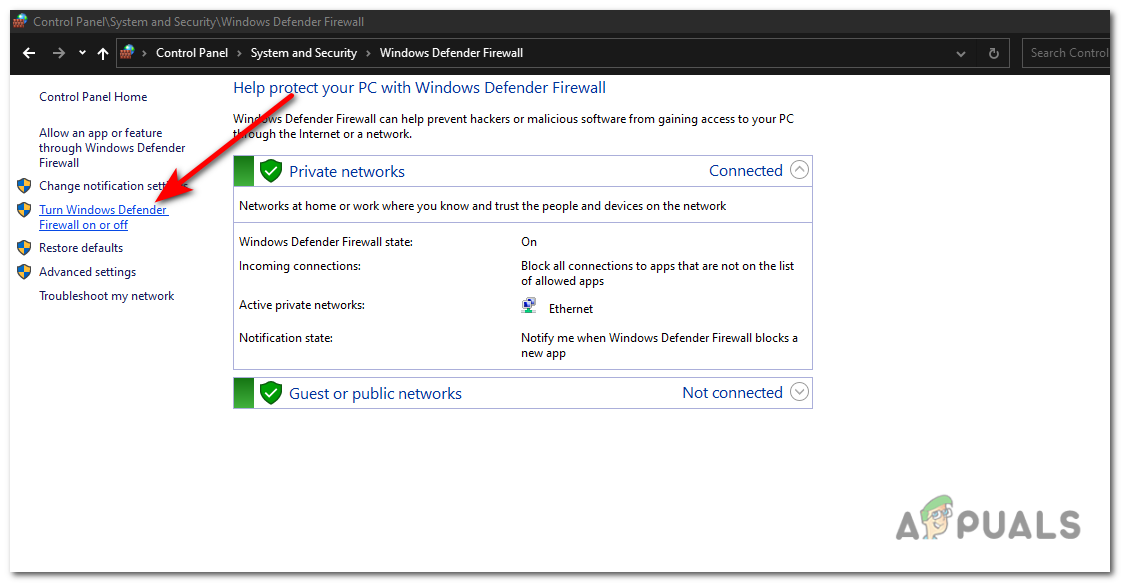
In the Windows Defender Firewall settings window, click on “Turn Windows Defender Firewall on or off.” - A new window will appear with the option to customize the settings.
- Under both the Public Network settings and Private Network settings tabs, select the option “Turn off Windows Defender Firewall.
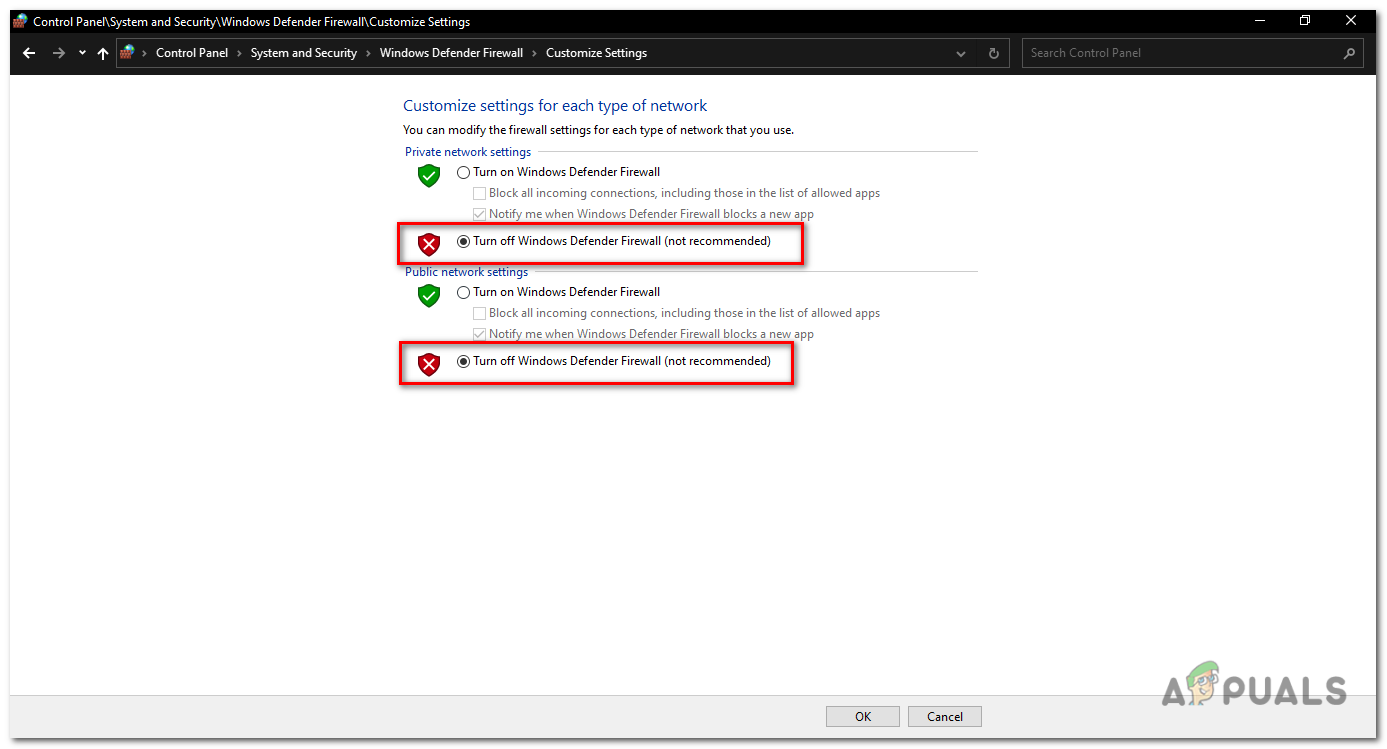
Under both the Public Network settings and Private Network settings tabs, select the option “Turn off Windows Defender Firewall. - Click “OK” to save the changes and exit the settings.
Fix 7: Clear Discord Cache files
Damaged cache files are fatal, causing programs to malfunction, such as this particular error. As a result, cleaning cache files on occasions causes the application to reset and improves your user experience.
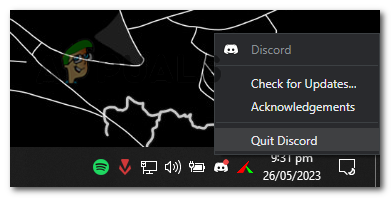
Please ensure that all Discord app processes are completely closed before proceeding with the cache clearance. Follow these steps to clear the cache files of Discord:
- Right-click on the Windows taskbar.
- Select “Task Manager” from the options displayed.
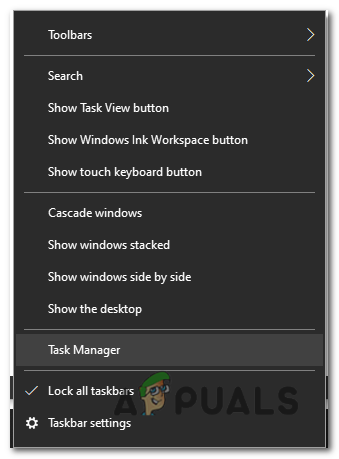
Select “Task Manager” from the options displayed. - Locate and click on “Discord” in the Task Manager.
- Right-click it and press “End Task”.
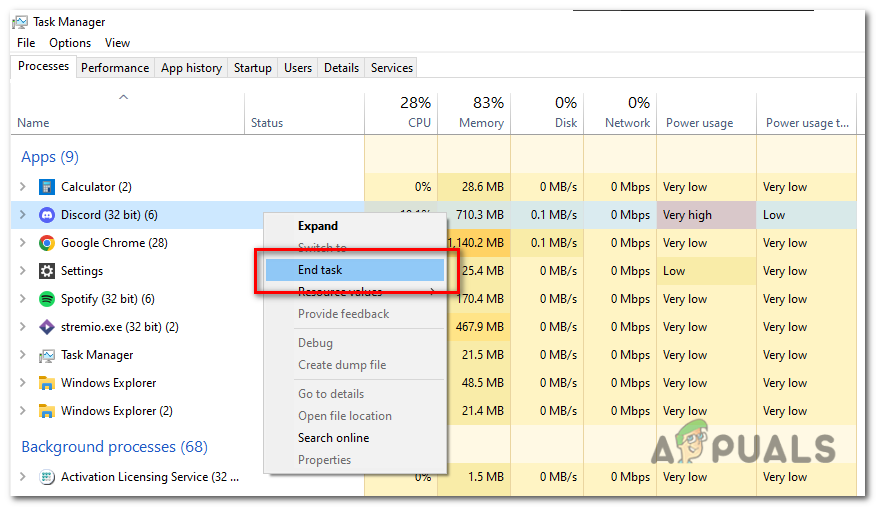
Right-click on Discord and press “End Task”. - Press the Win+R keys on your keyboard to open the Run command box.
- Type “%appdata%/discord/cache” inside the box and press Enter.
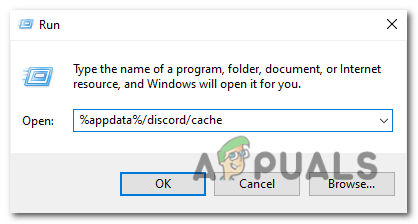
Type “%appdata%/discord/cache” inside the box and press Enter. %appdata%/discord/cache
- Press Ctrl+A to select all files within the folder.
- Right-click on the selected files and choose “Delete.”
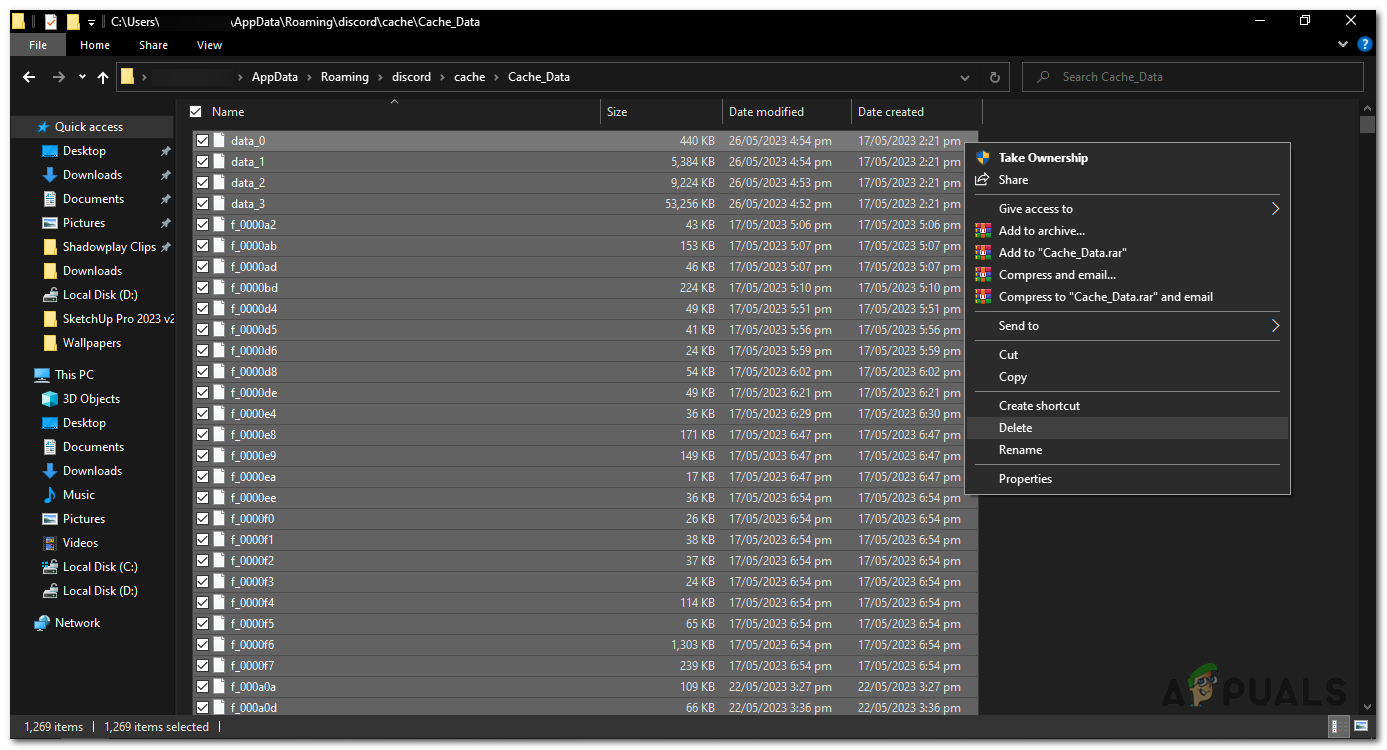
Right-click on the selected files and choose “Delete.” - Return to the Discord application and try opening an image to verify if it loads correctly. Once the issue is resolved, you can enjoy a smoother communication experience with your friends on Discord.
Fix 8: Flush DNS Settings
Flushing the DNS cache can help resolve certain network-related issues by clearing outdated or corrupted DNS records. By following these steps, you will flush the DNS settings on your Windows system.
- Press the Windows key + S to open the search option, then type “cmd” and select Command Prompt from the results.
- Right-click on the Command Prompt icon and choose “Run as administrator” from the drop-down menu. This will open an elevated Command Prompt window.
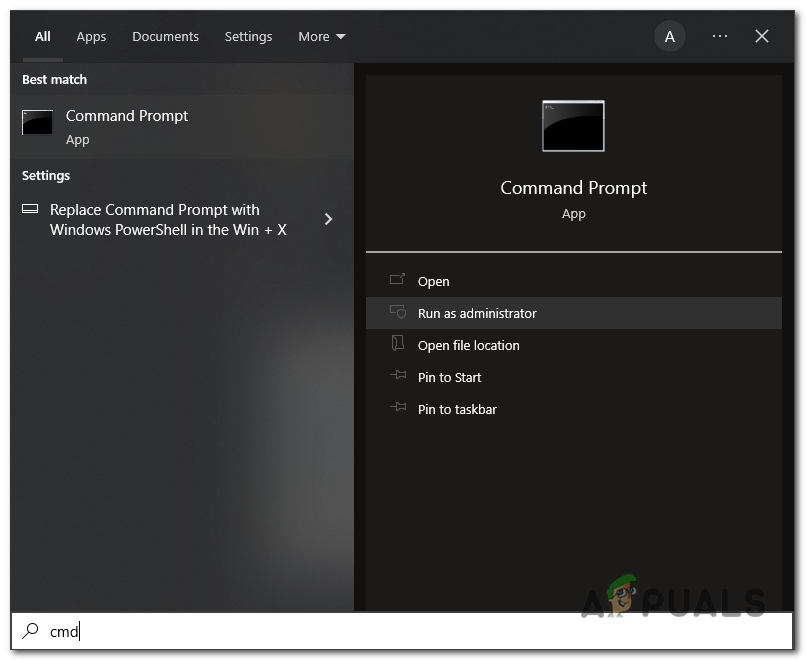
Right-click on the Command Prompt icon and choose “Run as administrator” - In the Command Prompt window, type the following command: “ipconfig /flushdns” (without the quotes).
Press Enter to execute the command.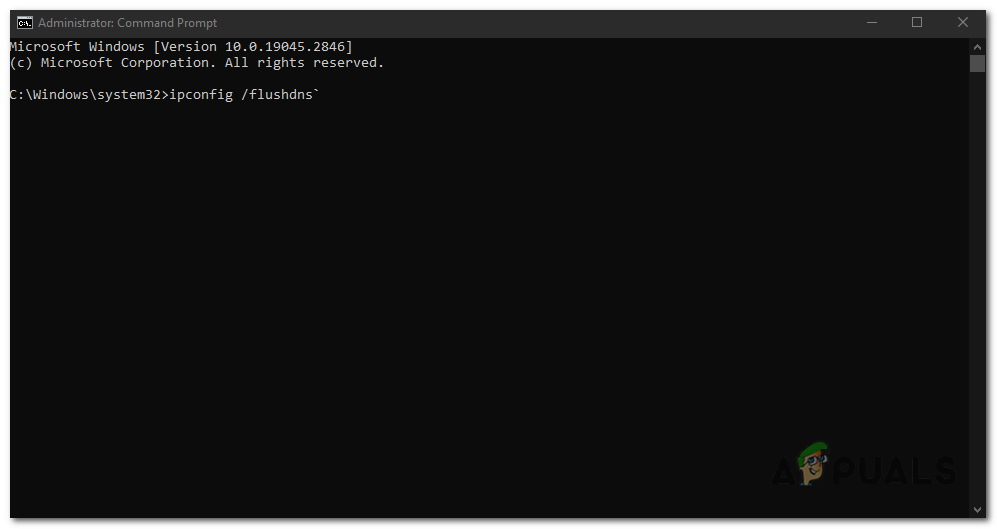
In the Command Prompt window, type the following command: “ipconfig /flushdns” (without the quotes). Press Enter to execute the command. ipconfig /flushdns
- Wait for the process to complete. You should see a message stating, “Successfully flushed the DNS Resolver Cache.”
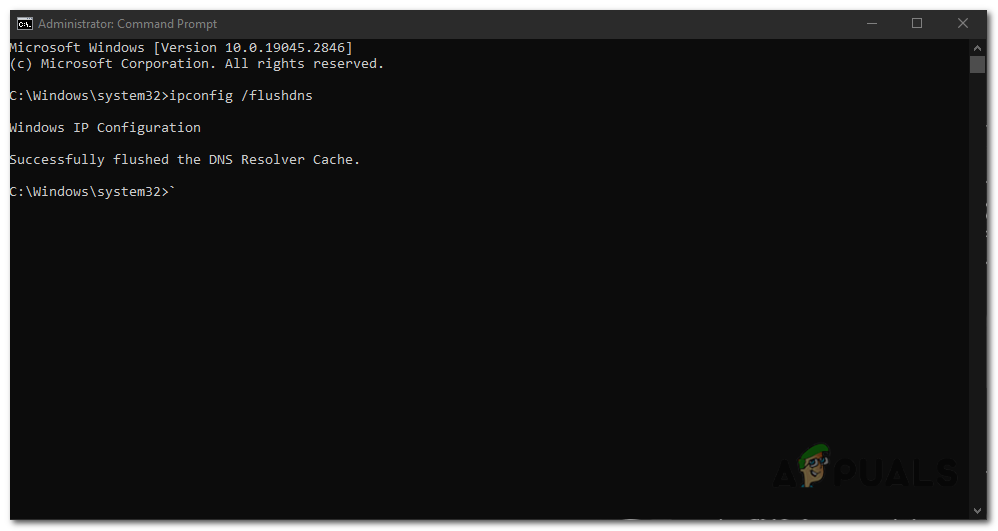
Wait for the process to complete. You should see a message stating, “Successfully flushed the DNS Resolver Cache.” - Close the Command Prompt window.
- Re-launch the Discord application and check if the issue is resolved.
Fix 9: Reinstall Discord
Reinstalling Discord will pretty much resolve the issue of images not loading if its related to: Firstly, it can address any problems that occurred during the initial installation or if some files became corrupted over time, providing a fresh set of files. Secondly, reinstalling ensures that you have the latest version of Discord installed, which may include bug fixes specifically related to image loading. Thirdly, it eliminates any misconfigurations or conflicting settings that might be causing the problem.
Lastly, it helps ensure compatibility with any recent updates or changes made to your operating system or device. However, it’s important to try other troubleshooting methods before resorting to reinstalling Discord.
Uninstalling Discord:
- Close the Discord application if it’s currently running.
Close the Discord application if it’s currently running. - Press the Windows key on your keyboard and type “Control Panel.”
- Open the Control Panel from the search results.
- In the Control Panel, select “Uninstall a program” (under the “Programs” category).
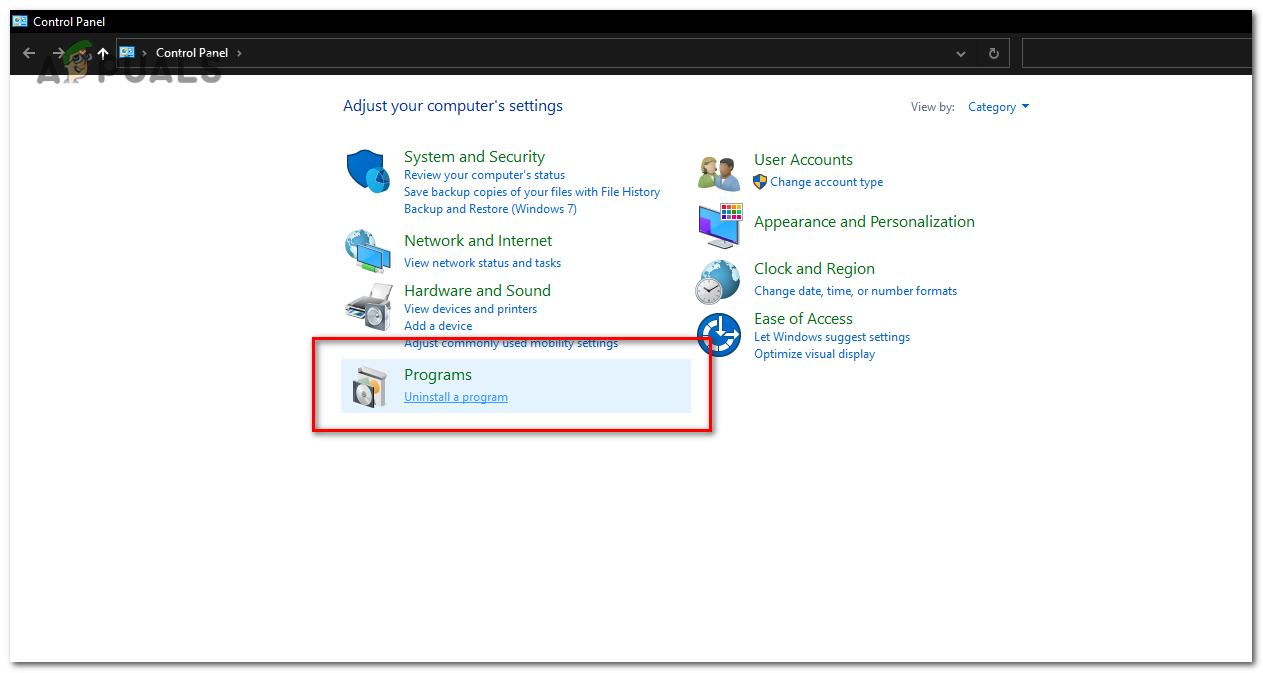
In the Control Panel, select “Uninstall a program” (under the “Programs” category). - Scroll through the list of installed programs, locate “Discord,” and click on it.
- Click on the “Uninstall” button at the top of the list or right-click on “Discord” and select “Uninstall.”
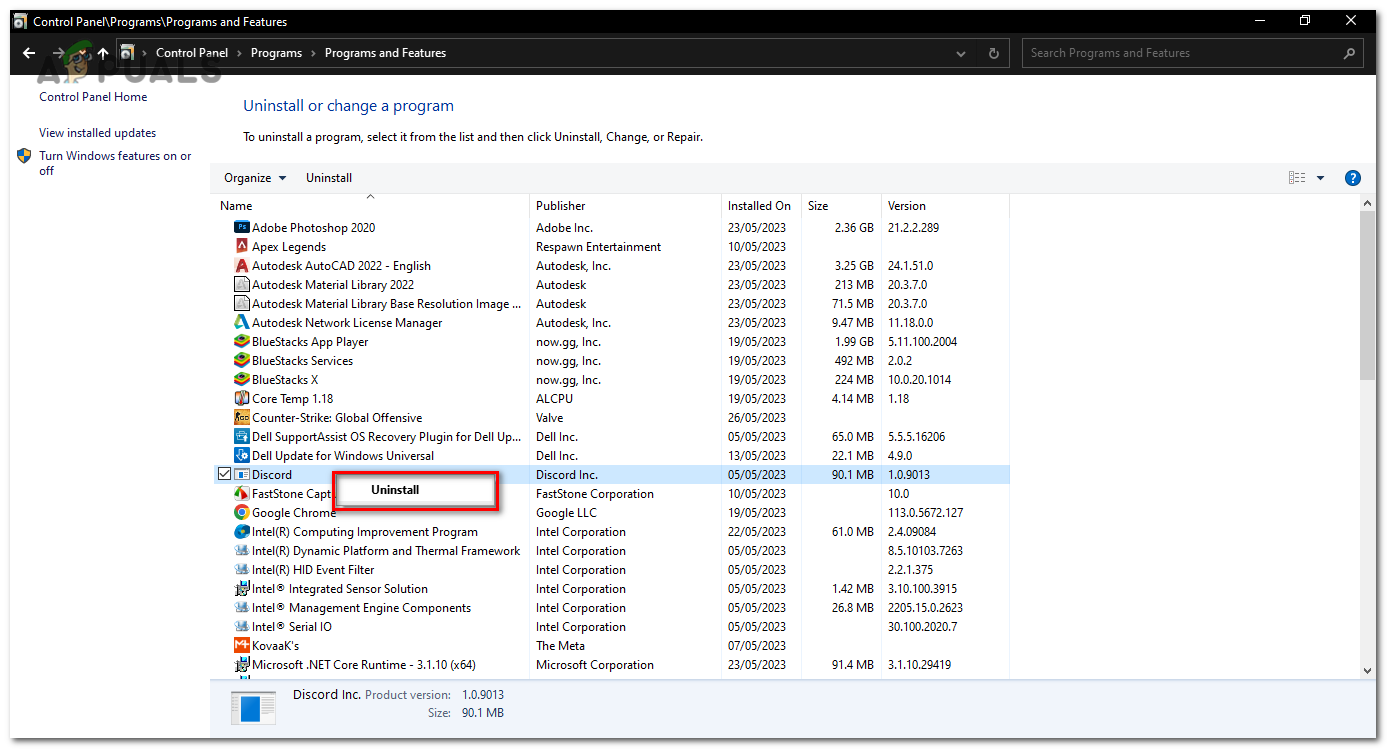
Click on the “Uninstall” button at the top of the list or right-click on “Discord” and select “Uninstall.” - Follow the on-screen prompts to complete the uninstallation process.
- Restart your computer to ensure any leftover files or processes are cleared.
Reinstalling Discord:
- Open a web browser (e.g., Google Chrome, Mozilla Firefox) and go to the official Discord website (https://discord.com/download).
- Click on the “Download for Windows” button.
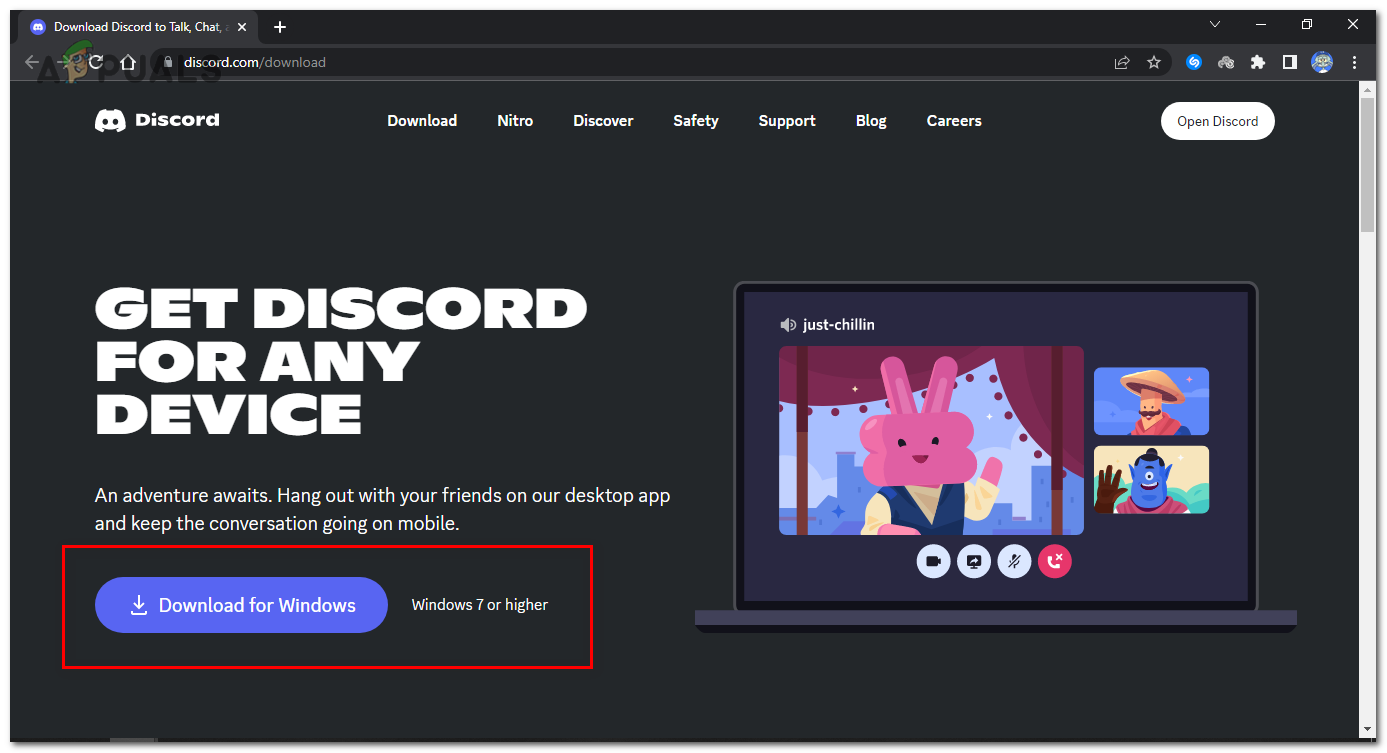
Click on the “Download for Windows” button. - After the download is complete, locate the installer file (usually saved in your Downloads folder) and double-click on it.
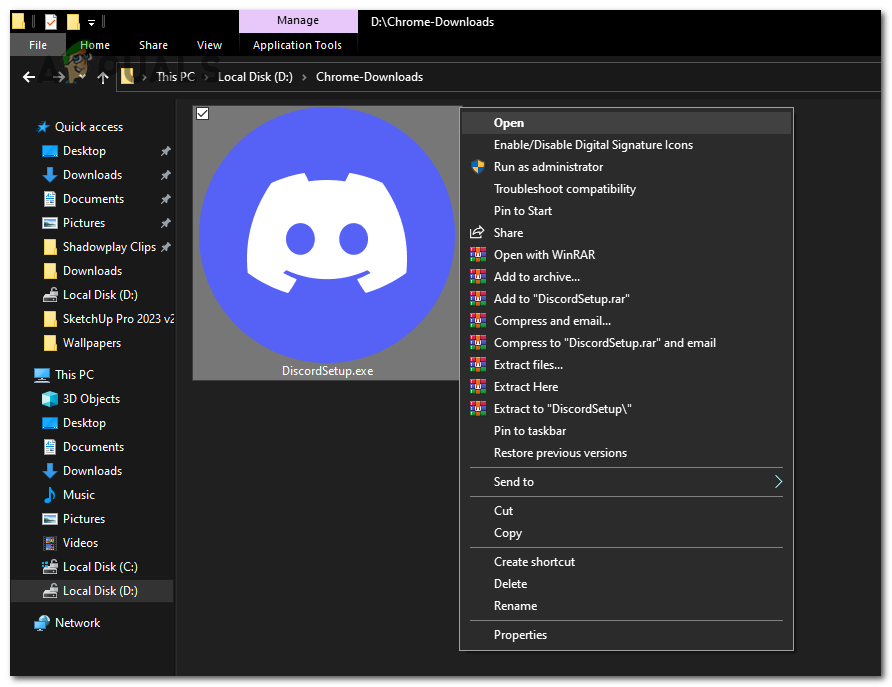
After the download is complete, locate the installer file (usually saved in your Downloads folder) and double-click on it. - The installer will run and start installing the application automatically.
- Once the installation is finished, launch Discord by either clicking on the desktop shortcut or searching for it in the Start menu.
- Log in to your Discord account or create a new account if you don’t have one.
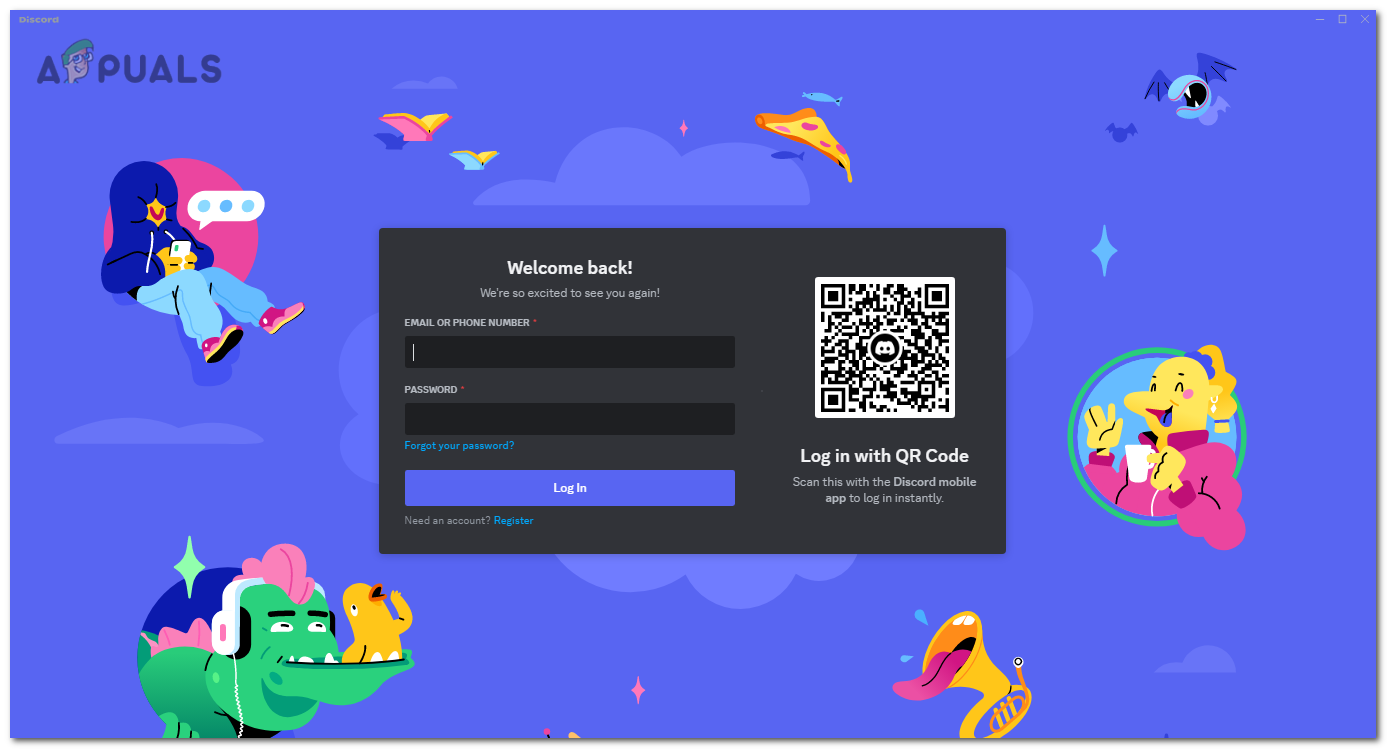
Log in to your Discord account or create a new account if you don’t have one.
Hopefully, this extensive guide on fixing the images on Discord not loading problem helped you fix the error and made it easier for you to send images to your Discord friends.
Reviewed by Muhammad Zubyan