Fix: Local Security Authority (LSA) Option Missing
The missing Local Security Authority (LSA) Protection option in the Windows Security settings can often be due to a corruption in the Windows Defender app. In some cases, the problem can also occur due to an outdated Windows version on your computer. This was due to a Windows Security bug which was later patched via a Windows update.
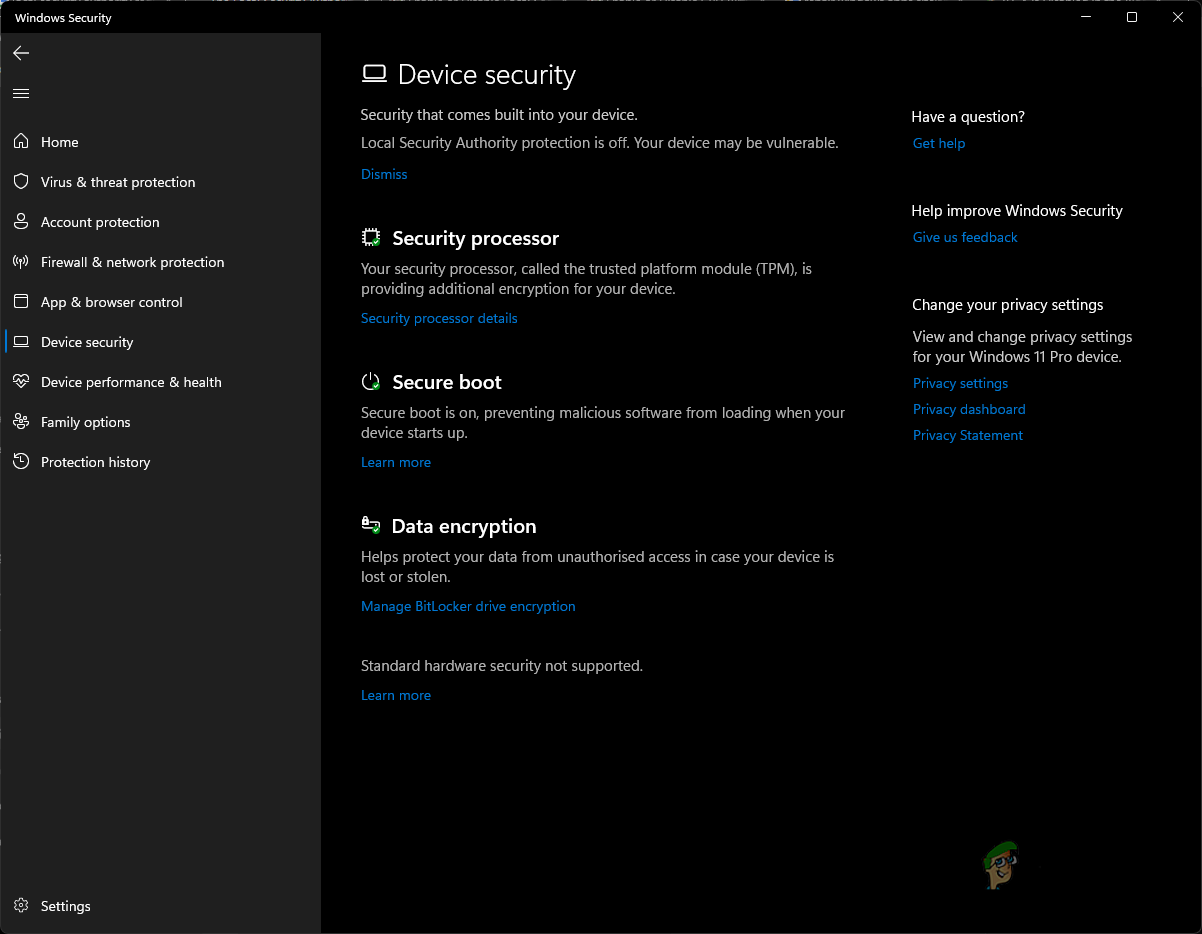
The LSA warning is usually not something to worry about, since it is often just a warning. In fact, the Local Security Authority Protection is turned on by default in the newer versions of Windows 11.
Local Security Authority Protection is a process within Windows that verifies a user’s identity, i.e., determining whether the user’s credentials are correct or not on platforms like Microsoft and Azure. LSA requires virtualization to work, and you should have virtualization enabled in the BIOS settings for it to function properly.
There are various methods of enabling LSA on your computer. In this article, we will guide you through the different alternatives to the Windows Settings app for enabling LSA, as well as show you how to resolve the issue.
1. Enable LSA through the Windows Registry.
The first way you can enable LSA is through the Windows Registry app. Using the Windows Registry can be slightly intimidating since it controls the overall behavior of the operating system. Therefore, any unwanted change in the Windows Registry can cause various issues. If you are not tech-savvy, we would recommend enabling LSA via the policy editor window, as shown in the next method below.
Before making any changes to the Windows Registry, we advise creating a backup of the Windows Registry to protect against any unfortunate events. Once you have done that, follow the instructions below to enable LSA:
- Press the Windows key + R to open the run menu. Type in regedit and press Enter to open the Registry editor.
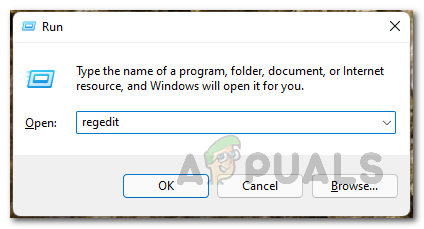
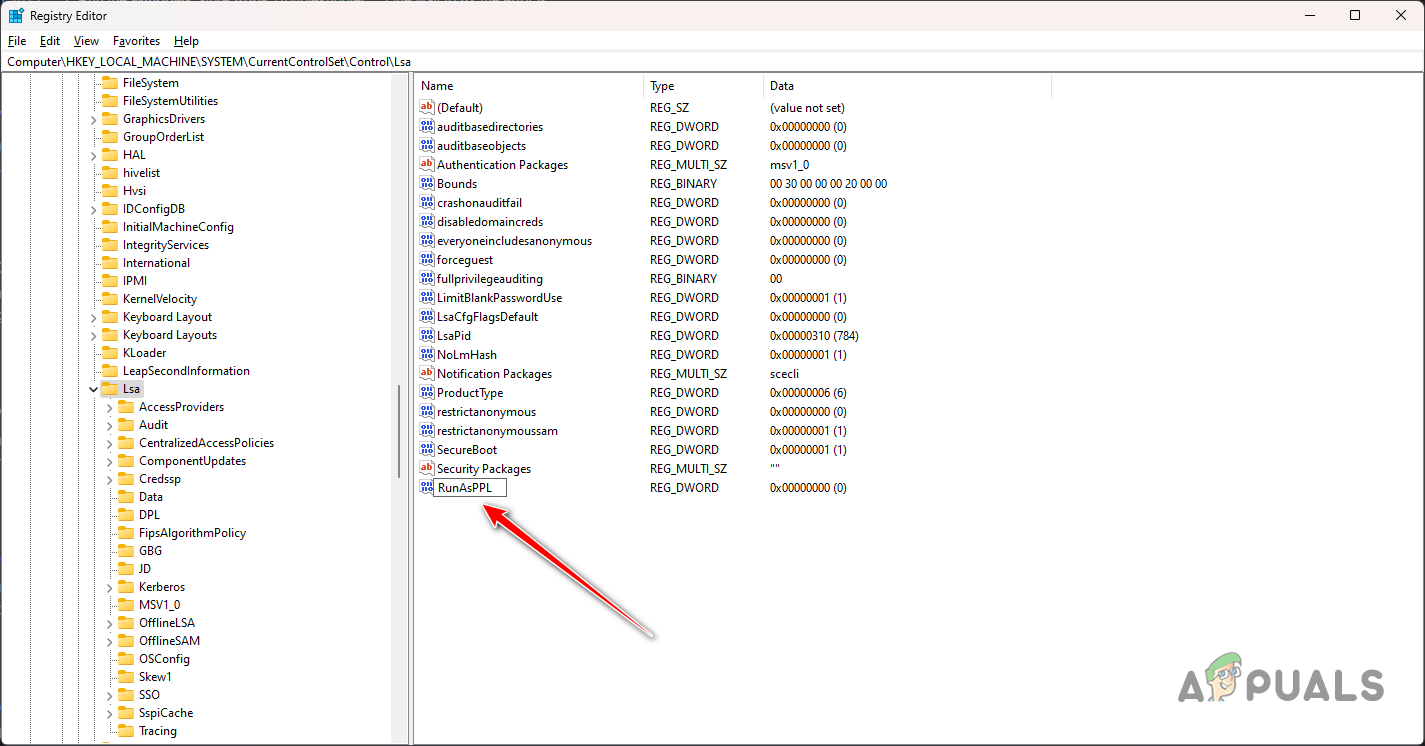
Opening Windows Registry - In the registry editor, navigate to the following key:
Computer\HKEY_LOCAL_MACHINE\SYSTEM\CurrentControlSet\Control\Lsa
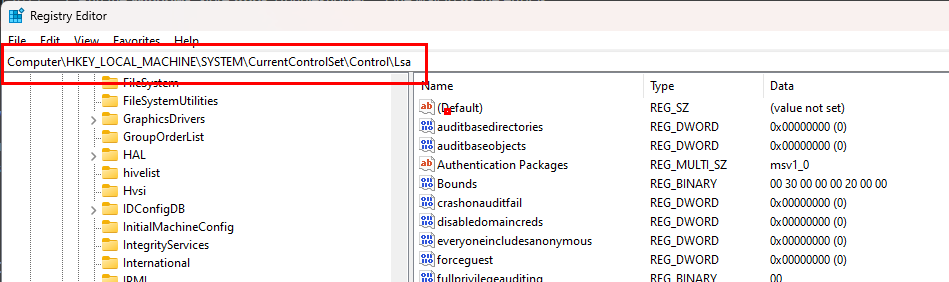
Navigating to LSA Registry Path - On the right-hand side, locate the RunAsPPL key.
- After that, double-click on it and set its value to 1.
- If RunAsPPL isn’t listed there, you will need to create the required key.
- To do that, right-click anywhere on the blank page on the right-hand side, and then click “New.
- After that, select DWORD (32-bit) Value from the drop-down menu.
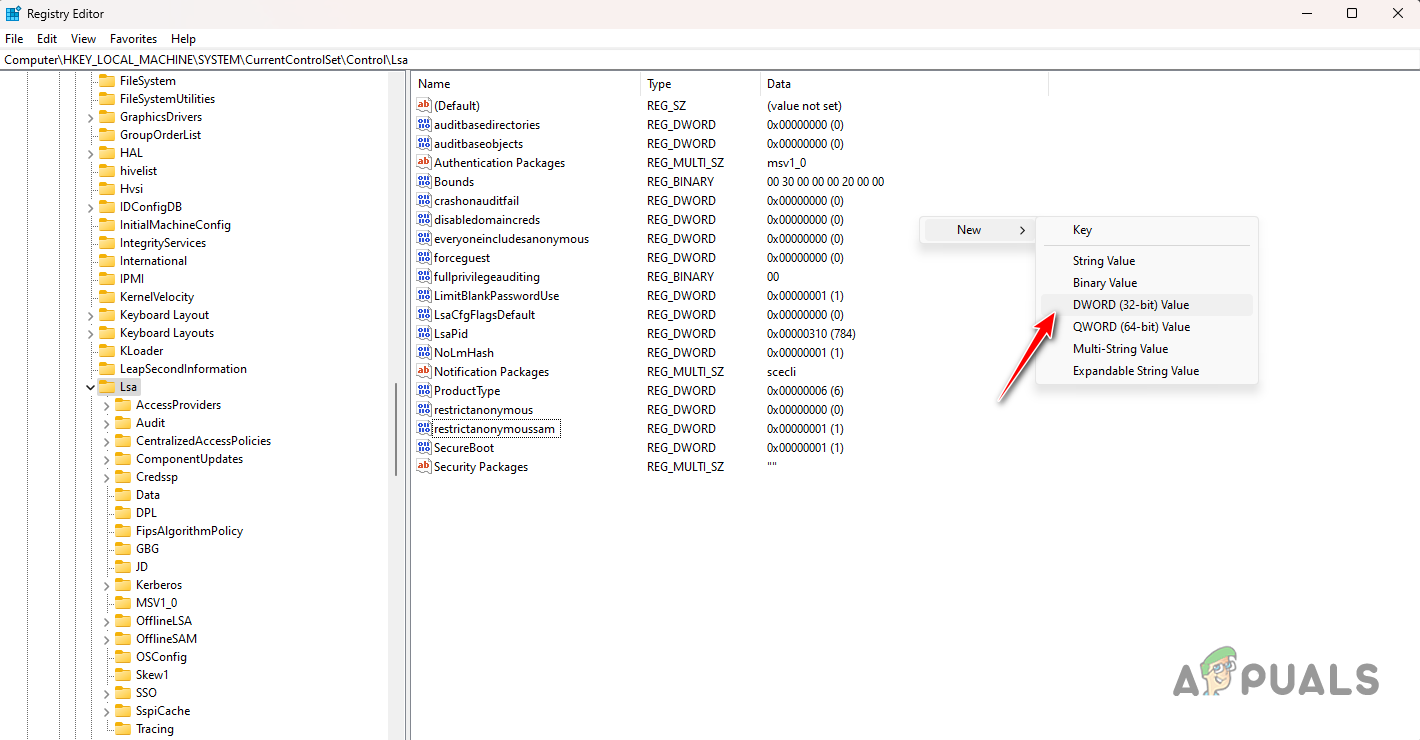
Creating New Key - Then, change the name of the key to RunAsPPL.
RunAsPPL Key - Finally, double-click on RunAsPPL and set its value to 1.
2. Enable LSA through the Local Group Policy Editor.
Another method you can use is to enable the LSA using the Local Group Policy Editor. The Local Group Policy Editor is a Windows application that can be used to edit and manage the various policies on your computer.
This is often used to configure advanced system settings that are not listed in the Settings app or the Control Panel. To enable LSA via the Local Group Policy Editor, follow the instructions below:
Note: The Local Group Policy Editor is not enabled by default in Windows 10/11 Home Editions. Therefore, you must enable the Group Policy Editor in the Home Edition to continue with this method. Otherwise, you may skip this method.
- First, press the Windows key + R to open the Run dialog box.
- Type in gpedit.msc and press the Enter key.
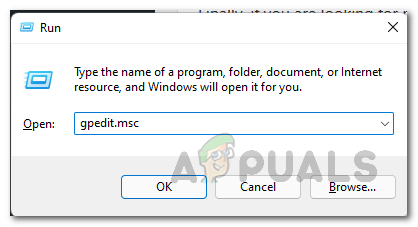
Opening Local Group Policy Editor - The Local Group Policy Editor window will open listing all the group policies of your Windows computer.
- There, navigate to the following location:
Computer Configuration > Administrative Templates > System > Local Security Authority
- After that, right-click on the policy named Configure LSASS to run as a protected process and click on Edit. Alternatively, you can simply double-click it to configure the policy.
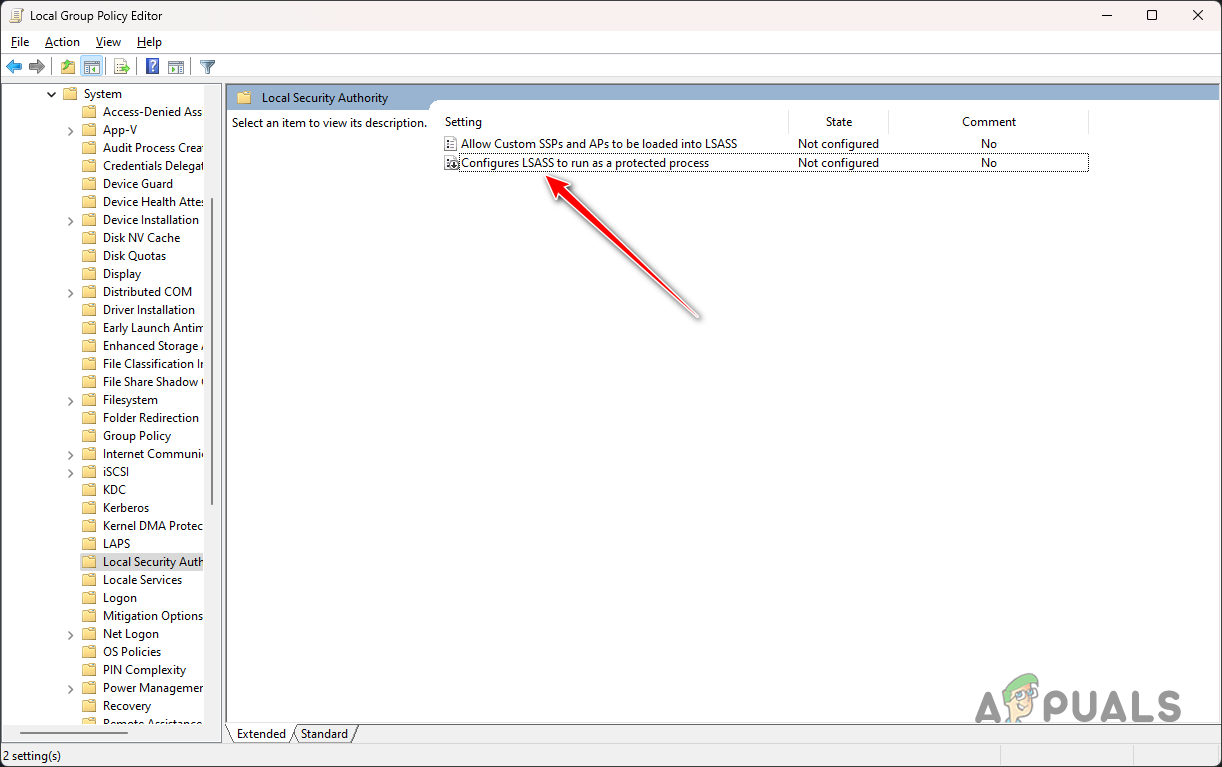
Opening LSA Policy - In the edit window that opens, select the Enabled option.
- After that, click on the drop-down icon under “Configure LSA to Run as a Protected Process” and select the “Enabled with UEFI Lock” option.
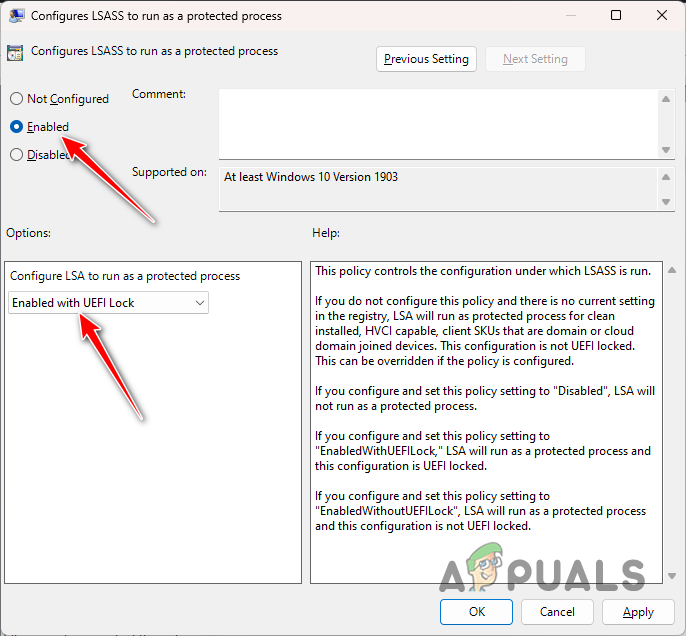
Configuring LSA Policy - Close the window now and restart your computer to implement the changes.
3. Repair Windows Apps and Windows Defender
In some scenarios, the problem in question may be associated with a problematic Windows Defender on your computer, which is one of the main components of Windows Security. This can occur due to an inconsistency within Windows Defender or damaged app files.
In such a scenario, you will need to repair Windows Defender and Windows apps to resolve the issue. To do this, follow the instructions below:
- Press the Windows key to open the Start Menu and type in PowerShell. Right-click on it and choose the “Run as Administrator” option to run PowerShell with administrative privileges.

Opening Powershell as Admin - After that, in the PowerShell window, paste the following command, and then press Enter:
Get-AppXPackage | Foreach {Add-AppxPackage -DisableDevelopmentMode -Register "$($_.InstallLocation)\AppXManifest.xml"} - This will repair the system apps on your computer. After doing that, you will have to reset Windows Defender by deleting its respective Windows Registry keys.
- To do that, press Windows Key + R to open the Run dialog box.
- Type in regedit and hit Enter. This will open the Windows Registry window.
Opening Windows Registry - In the Registry window, navigate to the following path by copying and pasting it into the address bar:
Computer\HKEY_LOCAL_MACHINE\SOFTWARE\Policies\Microsoft\Windows Defender
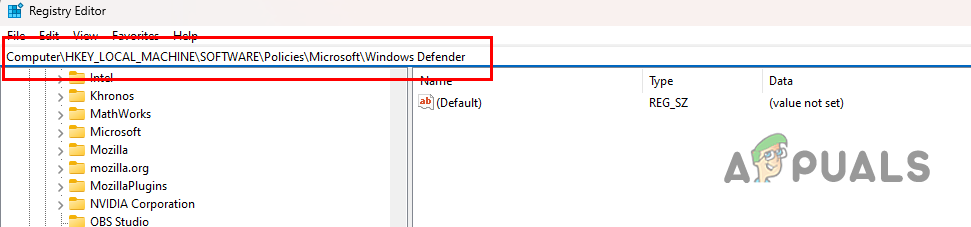
Navigating to Windows Defender Registry Path - After that, right-click on the Windows Defender folder on the left-hand side and select ‘Delete.’
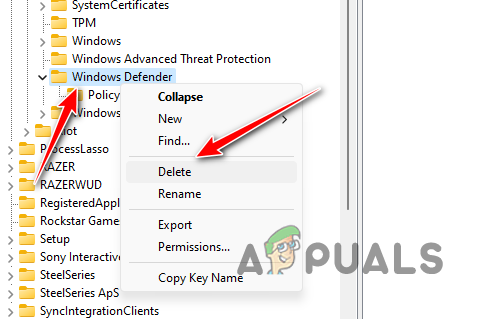
Deleting Windows Defender Keys - Once you do that, restart your PC. After your system boots up, open the Windows Security App and check whether the LSA option is now available to toggle.
4. Manually update the Windows Security app.
The LSA Protection option was not available to toggle in the older versions of the Windows Security app due to a security bug. Microsoft has released an update to the Windows Settings app, which you can download and install to resolve this issue.
In order to download and install the update, follow these steps:
- First, open the Start Menu and search for Powershell. Right-click on it and choose the Run as administrator option.
Opening Powershell as Admin - After that, type the following command in the PowerShell window:
Get-AppPackage Microsoft.SecHealthUI
- Wait for it to complete. This will update your Windows Security Application to the latest version and resolve the issue.
5. Enable virtualization in the BIOS.
Finally, if none of the above methods have resolved the issue for you, it is likely that the issue is caused by the BIOS configuration on your computer. This is because LSA is an advanced security feature that requires CPU virtualization to work. As such, if virtualization is disabled on your computer, you will not be able to enable the feature.
Thus, you will need to turn on virtualization from your BIOS settings to use the LSA feature on your system. CPU virtualization is essentially a feature of Intel and AMD processors that allows a single processor or core to function as multiple individual processors. This enables the operating system to utilize the power of your CPU more efficiently and can even result in your PC running faster.
Depending on the manufacturer of your motherboard, the exact steps for enabling CPU virtualization may vary. Boot into your BIOS settings and navigate to the Advanced tab. You can often find the Virtualization option under the CPU Configuration section.


