How to Fix Windows Key Not Working Issue?
The issue of a non-functioning Windows key is a common problem that usually comes from a locked Windows key. This lock feature is often included on keyboards by manufacturers to prevent accidental minimizing during gameplay.

In some cases, the issue may not be related to a lock feature on your keyboard. There could be other reasons such as filter keys, a corrupted driver, or an enabled game mode that can prevent the Windows key from functioning.
Before exploring other potential causes, let’s examine some common factors:
- Disabled Windows Key – A locked Windows key will be unusable until it is unlocked. Check your keyboard for the lock key to resolve this.
- Corrupted Keyboard Driver – A corruption in the keyboard driver could be causing the issue. You can address this by updating or reinstalling the driver.
- Hardware Issue – There could also be a hardware-related problem with the Windows key itself. Test this by connecting a different keyboard to your computer.
- Enabled Game Mode – Though Game Mode aims to enhance performance, it can sometimes disable the Windows key. Disabling Game Mode may resolve the issue.
- Interference from Filter Keys – Filter keys have been known to block the use of the Windows key. Disabling them in the settings may fix the problem.
1. Unlock Your Windows Key
Modern gaming keyboards often have a Game Mode that disables the Windows key. If you’ve accidentally pressed the relevant lock key, you’ll need to press it again to regain Windows key functionality. Common combinations for unlocking the Windows key include FN + F6, FN + F12, or FN + Win.
By doing so, you effectively restore its normal operation, making sure that it can once again bring up the Start menu and serve its other Windows-related shortcuts, thus potentially resolving the non-response issue you’ve encountered.
2. Use Registry Editor
Registry editor is a powerful tool that allows you to modify the underlying settings which control keyboard behaviors amongst many other functions. Specifically, the Scancode Map registry entry is what’s responsible for disabling the Windows key.
By removing this entry, you’re basically resetting the keyboard’s default settings, which can often restore the Windows key’s functionality if it was previously turned off through system or user configurations.
Note: Use the Registry Editor at your own risk; improper modifications can cause system instability. Always back up the registry beforehand.
- Press Win + R to open the Run window.
- Enter regedit and click OK.

Opening Registry Editor - Navigate to the directory
Computer\HKEY_LOCAL_MACHINE\SYSTEM\CurrentControlSet\Control\Keyboard Layout
- Find an entry named Scancode Map, right-click and select Delete.

Deleting Scancode Map - Open Windows PowerShell as an administrator from the Start Menu.
- Paste the following command to reset all apps:
Get-AppXPackage -AllUsers | Foreach {Add-AppxPackage -DisableDevelopmentMode -Register “$($_.InstallLocation)\AppXManifest.xml”}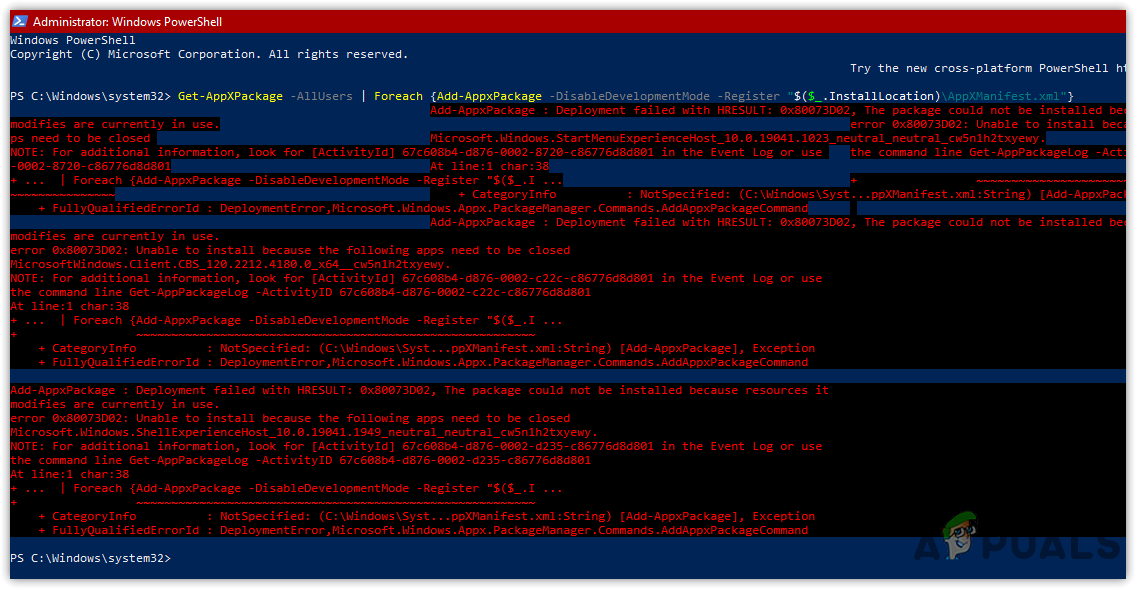
Resetting Apps - Ignore any errors, then close the terminal and restart your computer to check the key’s functionality.
3. Run Keyboard Troubleshooter
Keyboard troubleshooter is designed by Microsoft to automatically detect and fix common problems that may block the functionality of your keyboard, including any issues that might be affecting the operation of the Windows key. By following the guided prompts within the troubleshooter, you could effectively identify and resolve the issue without diving manually into system settings.
- Open Settings by pressing Win + I.
- Navigate to Update & Security.
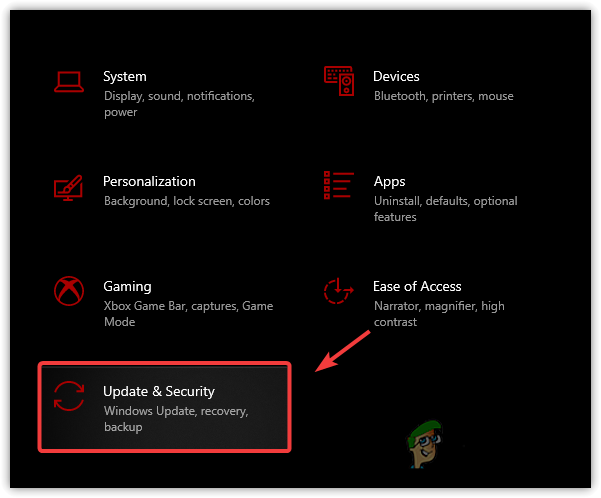
Go to Windows Update Security Settings - Select Troubleshoot from the left menu. For Windows 11, scroll down to Troubleshoot in the Settings menu.
- Click View Additional Troubleshooters.
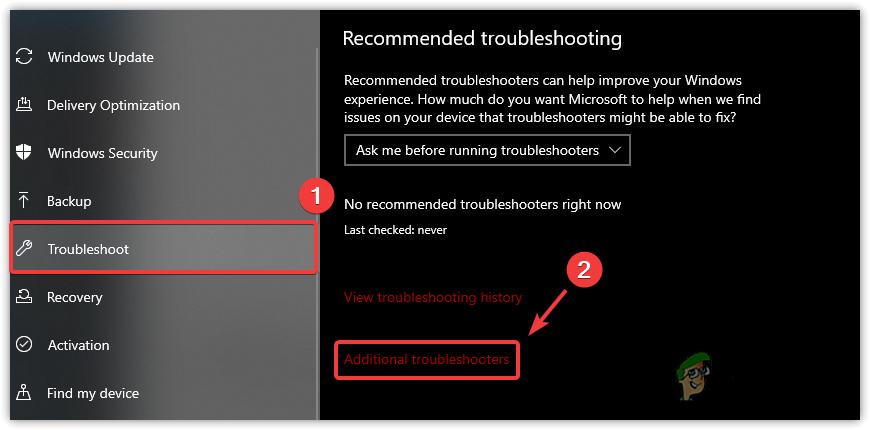
Navigating to Additional Troubleshooters - Under Find & Fix Other Problems, choose Keyboard.
- Then click on Run the Troubleshooter.
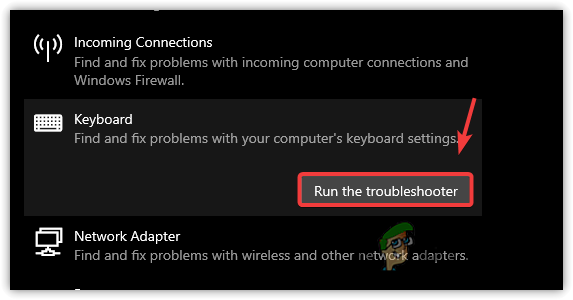
Running Keyboard Troubleshooter - After completion, verify if the Windows key is operational.
4. Turn Off Filter Keys
Filter keys help manage brief or repeated keystrokes, but they might be the reason behind your Windows key issue. By turning off Filter Keys, you remove this potential barrier to the key’s recognition, allowing for normal operation.
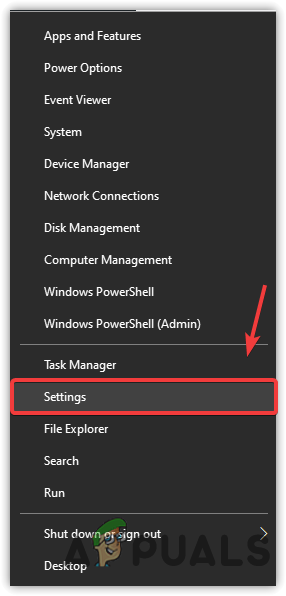
- Right-click the Start Menu icon and choose Settings.
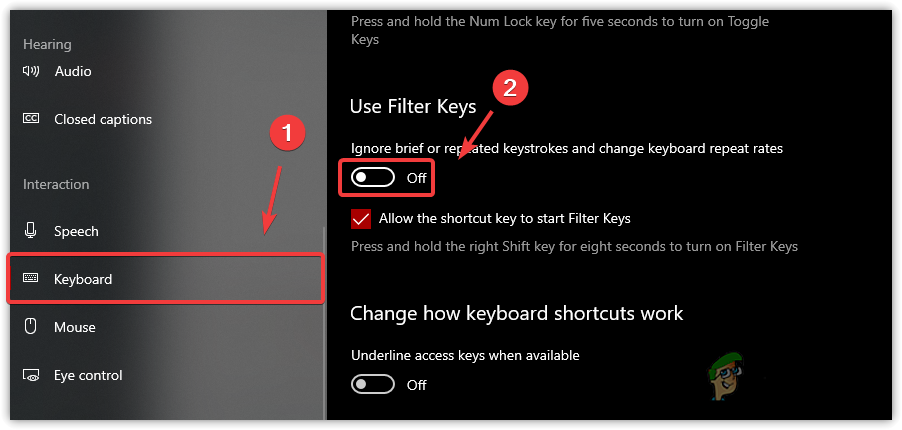
Opening Settings - Go to Ease of Access and select Keyboard from the left pane.
- Toggle off Use Filter Keys to disable this feature.
Disabling Filter Keys - Test to see if the Windows key is now active.
5. Update or Reinstall Keyboard Driver
Basically, drivers are the bridge that facilitate communication between your operating system and hardware. If this bridge is weakened by corruption or outdated software, the signals get lost, leading to non-responsive keys. Refreshing the driver can strengthen this link making sure that each press of the Windows key is recognized and accepted upon accurately by your system.
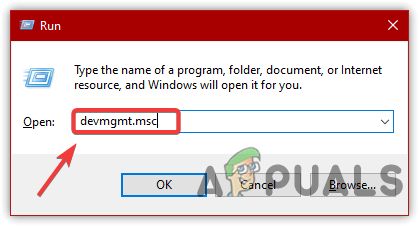
- Launch the Run window by pressing Windows + R
- Type devmgmt.msc and select OK.
Opening Device Manager - In the Device Manager, right-click the keyboard driver and select Update Driver.

Selecting Update Driver - Choose Search Automatically for Drivers.
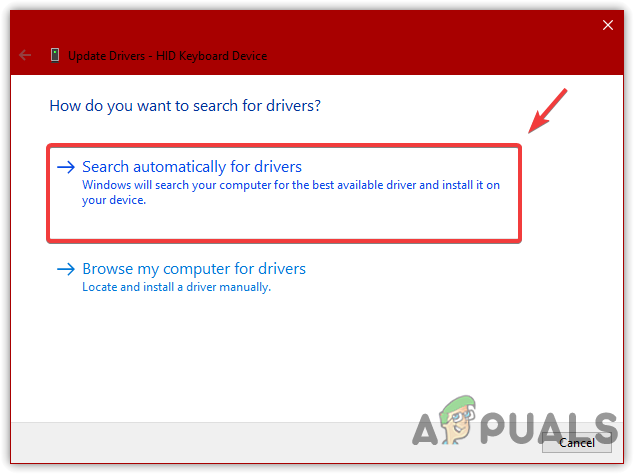
Selecting Search Automatically For Drivers - If no update is found, right-click the driver again and select Uninstall Device.
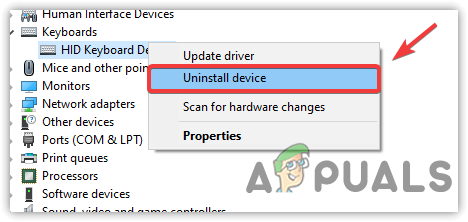
Uninstalling Keyboard Device - Restart your computer to allow the driver to reinstall automatically.
- Check for the functionality of the Windows key afterward, and if it still isn’t working, consider the next solution.
6. Switch to Generic Keyboard Driver
Switching to a generic keyboard driver often resolves various keyboard issues, including a malfunctioning Windows key. It does so by replacing any manufacturer-specific driver trait that might be causing the problem with a standard, stable set of instructions that Windows knows inside out. By installing this generic driver, we can rule out software conflicts and make sure the basic keyboard functions operate smoothly.
- Open Device Manager by right-clicking the Start Menu.
- Expand the Keyboards category.
- Right-click your keyboard driver and select Update Driver.
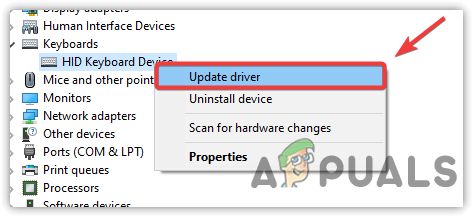
Selecting Update Driver - Click on Browse my computer for drivers.
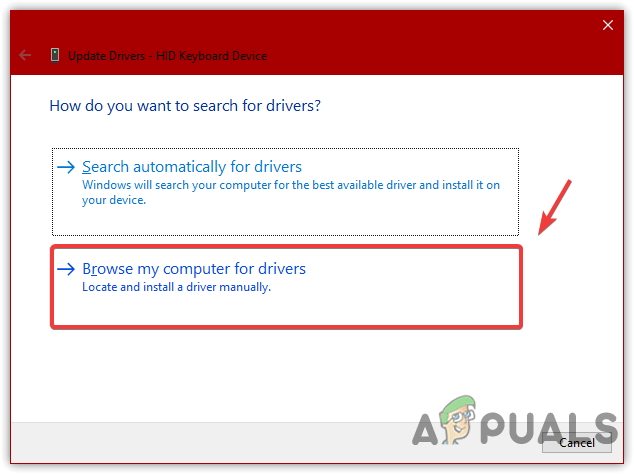
Choosing Browse My Computer For Drivers - Choose Let me pick from a list of available drivers, select HID Keyboard Device, and then click Next to install.
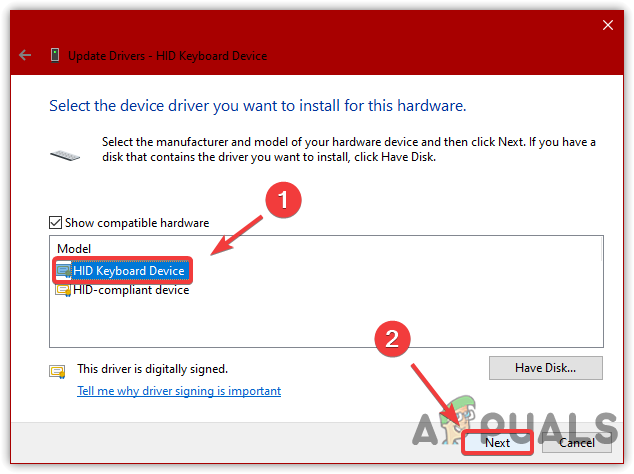
Selecting Keyboard Driver - Test the Windows key’s functionality upon completion of installation.
7. Use PowerToys to Remap Windows Key
In case of a physically damaged Windows key that cannot be repaired, PowerToys offers a clever workaround. By remapping, you assign the Windows key’s functions to another key of your choosing. This practical solution allows you to maintain all the shortcuts and features associated with the Windows key without needing any hardware fixes.
Basically, it’s a quick way to regain full use of the Windows features while avoiding the original issue.
- Search for and install PowerToys from the Microsoft Store.
- Launch the application and go to Keyboard Manager on the left panel.
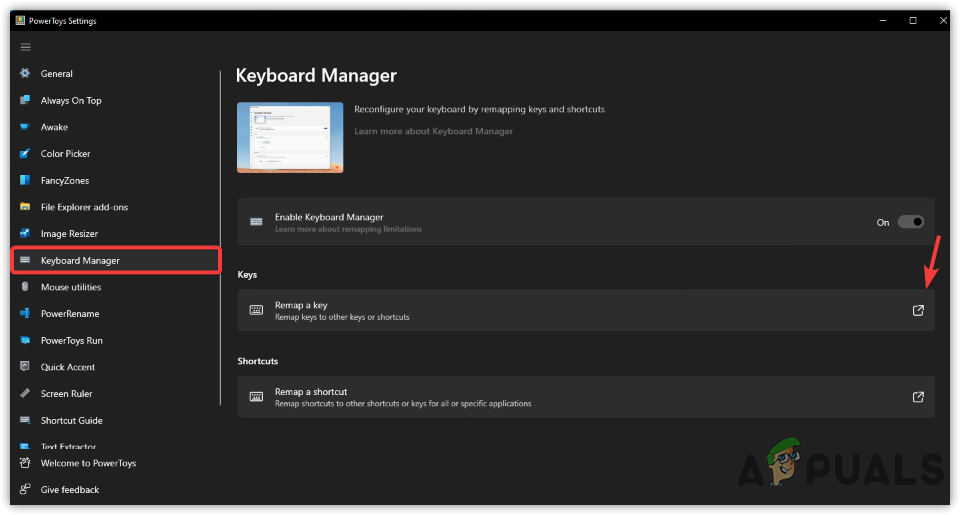
Opening Remap Keys Settings - Select Remap a Key and click the Plus Icon to add a new key mapping.

Adding Key Remap - Pick the alternate key as your Physical Key and then map it to the Windows Key function.

Remapping Key - Confirm your selections with OK, and then agree to the warning prompt by clicking Yes.
- Try using the remapped key to access Windows key functionality.
8. Enable Start Menu
There could be a situation where the Windows key itself is operational, but the Start Menu is unresponsive. To troubleshoot issues with the Start Menu, you can refer to this detailed guide on How to Fix Start Menu Not Working in Windows 10/11?
In some instances, the taskbar might be malfunctioning, which also affects the Windows key’s operation. To fix taskbar issues, please consult the guide on How to Fix Taskbar Not Working on Windows 10. Plus, if there’s a third-party Start Menu application in use, try uninstalling it to see if the problem gets resolved.
9. Replace Your Keyboard
Having explored all other possibilities, if the Windows key still does not work, it may be time to consider replacing your keyboard. If your Windows key is physically damaged, worn out, or otherwise unresponsive, no tweak or software solution will restore its function.
By obtaining a new keyboard, you make sure that all keys, including the Windows key, are in optimal working condition, thus providing a definitive resolution to the issue at hand.


Thanks very much. The first option worked for me. I never knew what that sign on the F12 did until now.