[FIX] Error Code 0x80070103 Installing Realtek Driver Update
The error code 0x80070103 appears when Windows users attempt to install a Realtek Driver updates via Windows Updates. This problem is confirmed to occur on both Windows 10 and Windows 11.

In most cases, this problem will appear when your OS will recommend the installation of a Realtek driver that is already installed on your PC. This is most commonly the reason why you’ll see the 0x80070103 error.
There are two major ways to force your OS to recognize that the update is already installed – you can either run the Windows Update Troubleshooter or you can temporarily pause & restart the updates to force the recognition of the overlap.
If the Realtek driver is indeed missing from your computer and Windows Update can’t install it, you can simply download & install it manually from your motherboard manufacturer’s website.
However, this problem can also occur due to a WU inconsistency. In this case, you should restart the main WU service, clear the WU temp folder and clear the Windows download folders before attempting to install the updates again.
System file corruption can also be an underlying cause of why you might experience this problem. To fix it, deploy SFC & DISM scans in quick succession or refresh every OS file with a clean install or repair install procedure.
There’s also a way to hide the error without finding the root cause of the issue – by using the Show or Hide Update Troubleshooter to hide the Realtek driver.
Below you’ll find a series of confirmed methods that other affected users have successfully used to fix or circumvent the 0x80070103 error.
1. Run the Windows Update Troubleshooter
If this problem is occurring because you already have the Realtek driver that Windows Updates tries to push installed on your PC, running the Windows Update Troubleshooter will allow you to fix the issue easily and painlessly.
Note: The Windows Update Troubleshooter includes a series of automated repair strategies that your OS will be capable of enforcing automatically depending on the discovered issue.
After an initial analysis, the utility will recommend a viable fix to fix the Windows Update issue at hand.
Other users that have leveraged this fix have confirmed that after deploying the recommended fix (most commonly the restart of all involved WU dependencies) the failing update disappeared from the queue as their OS realized that the update was already installed.
Update: This fix is mostly confirmed to be effective on Windows 11. Despite a reputation of ineffectiveness, the built-in Troubleshooter appears to be effective in this circumstance.
Here’s a quick tutorial on how to run the Windows Update troubleshooter and fix the error code 0x80070103 when installing Realtek drivers:
Note: The instructions below are universal and will work on both Windows 10 and Windows 11, but the screens and menu items will e slightly different than those below if you’re using Windows 10.
- Hit the Windows key + R on your keyboard to launch the Run dialog box.
- Next, type “ms-settings:troubleshoot” and click Enter to open up the Settings app’s Troubleshooting tab.

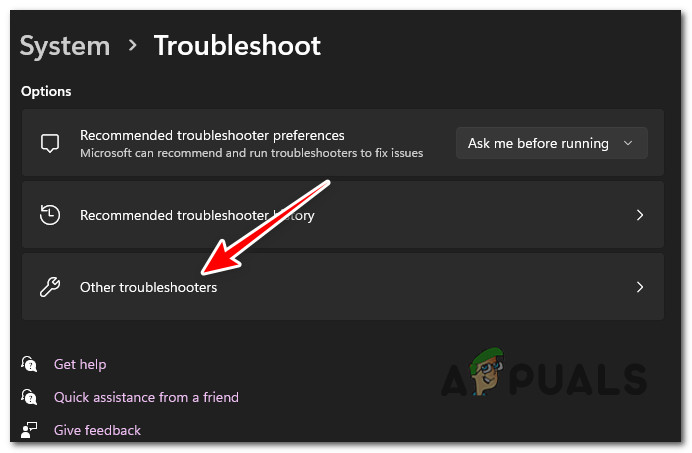
Access the Troubleshooting tab in the Settings menu - Inside the Troubleshooting page, scroll down and click on Other Troubleshooters.
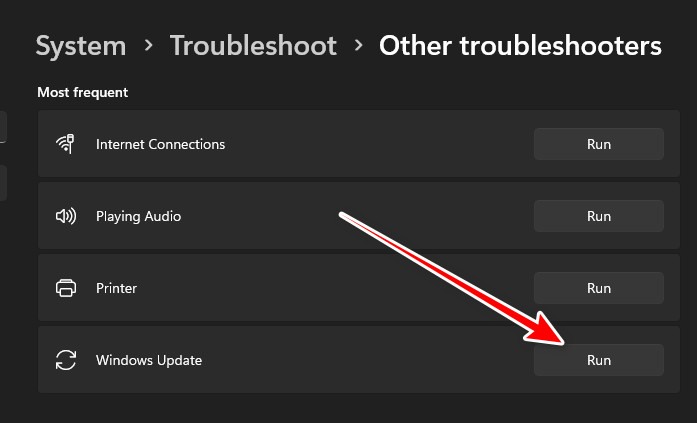
Access the Other Troubleshooters - Once you’re inside the Other troubleshooter menu, go under the Most Frequent category, click Windows Update, then click on the Run button.
Running the Windows Update Troubleshooter - Once you’ve started the utility, be patient and wait for the initial scan to finish.
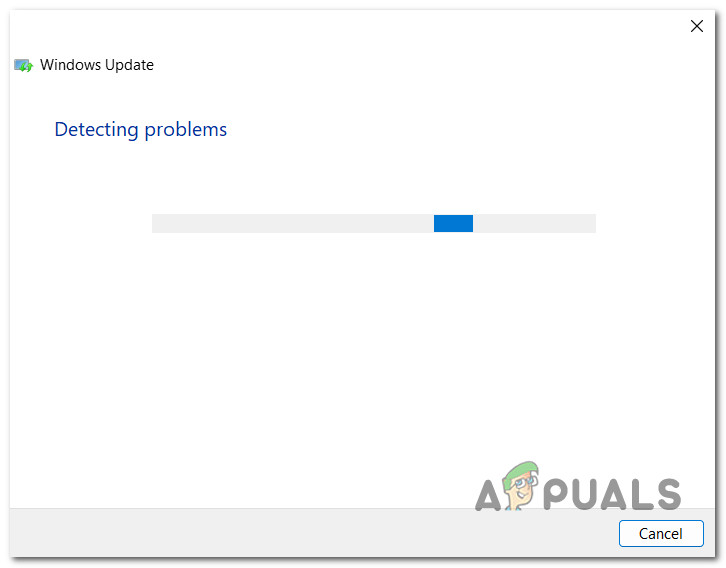
Scanning for underlying issues with Windows Update Note: This section will eventually determine whether or not any of the repair solutions offered with this tool apply to your current scenario.
- If a viable fix gets recommended, a popup will appear in which you can click on Apply this fix to impose the repair approach.
Opening the Programs and Features menu Note: Depending on the type of repair that is required, you may need to take a few extra steps to put the repair strategies into action.
- After applying the recommended repair, restart your computer and return to the Windows Update screen to see if the Realtek-related Windows Update has disappeared from the queue.
2. Pause & Restart updates
If the problem occurs because WU tries to install a Realtek driver that you already installed manually and the method above didn’t help, the easiest way to fix it is by accessing the Windows Update screen and pausing updates for a week.
Note: This method will work because Microsoft has already released a hotfix for this issue. If you originally got this error due to WU trying to install a pending update that was already installed for you, the problem won’t return after 1 week because your WU servers are updated to avoid this issue as of now. According to Microsoft’s employees, this hotfix was pushed on every WU channel (including Windows Insider).
Follow the instructions below to access the Windows Update screen (inside Windows Settings) and pause the updates for one week and fix the 0x80070103 error.:
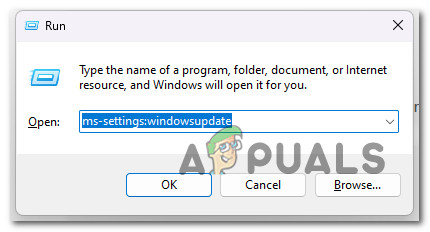
- Press Windows key + R to open up a Run dialog box.
- Next, type ‘ms-settings:windowsupdate’ inside the text box and press Ctrl + Shift + Enter to open up the Windows Update tab.
Access the Windows Update screen - At the User Account Control (UAC), click Yes to grant admin access.
- Once you’re finally inside the Windows Update tab, move over to the right-hand side section and click on the Pause for 1-week button under More options.
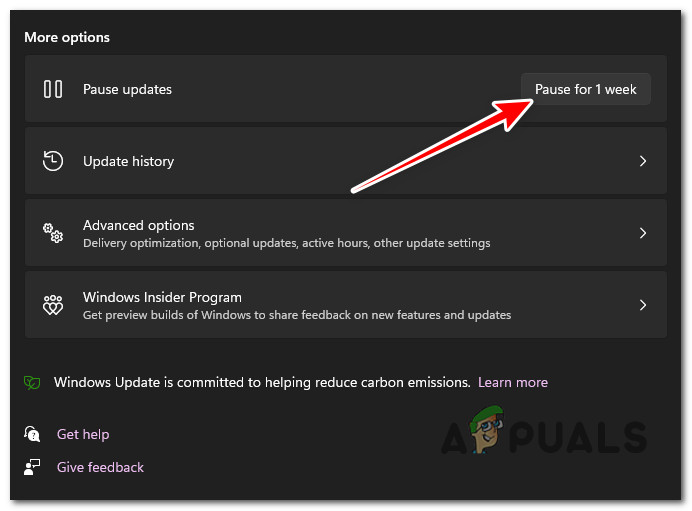
Pause the updates for 1 week - Once the Windows Updates are successfully paused for 1 week, reboot your PC and you should see the failed update prompt disappearing from WU’s history.
3. Download the Realtek driver from the manufacturer’s website
If you’ve already taken the steps to ensure that the 0x80070103 error is not occurring due to a Realtek driver that already exists on your system, there’s a big chance the reason you are experiencing this issue is due to driver mismatch.
Most commonly, the Realtek driver version that WU tries to install on your system is not compatible with your hardware.
If this scenario is applicable, you can get the issue fixed by accessing the download page of your system manufacturer and manually downloading & install the Realtek driver.
Follow the instructions below for specific steps on how to do this:
Note: The screens you’ll see below will be different depending on your system manufacturer’s website.
- If you’re on a laptop, open up your browser and search for ‘laptop model + manufacturer + driver download’, then click on the official download page from the top results.
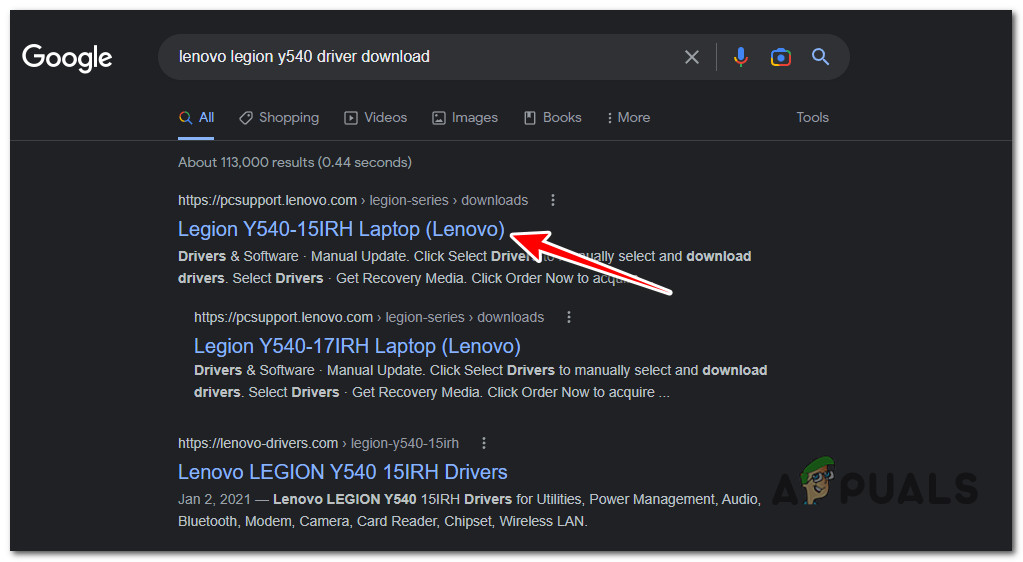
Accessing the Official Download page Note: If you’re on a PC, search for ‘motherboard model + driver download’.
- Once you’re inside the official page, scroll down to the Drivers Download section, access the Audio section, and look for the recommended Realtek Audio driver for your particular model.
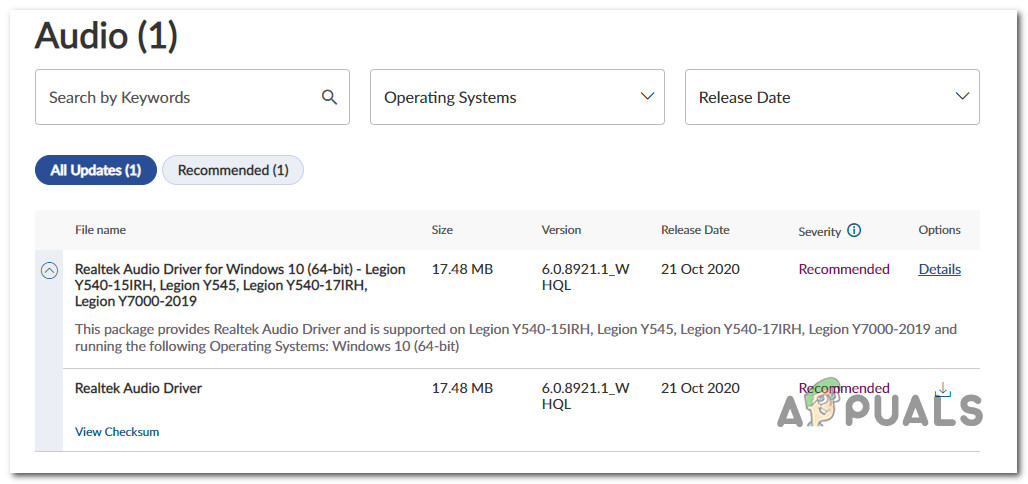
Download the recommended Realtek Audio driver - Download the recommended Realtek Audio driver, then open it with admin access and follow the on-screen prompts to install it on your PC.
- Once the new driver version is installed, reboot your PC and see if the problem is now fixed.
4. Restart the Windows Update Service
Another reason why you can expect to see the 0x80070103 error is when the primary Windows Update service is stuck in a limbo state (it’s neither open nor closed).
This is typically encountered on older Windows 10 builds when a cumulative or feature update is unexpectedly interrupted by a system shutdown.
If this scenario is applicable, you should be able to fix the error by using the Services screen to restart the main Windows Update service.
Note: This fix has been confirmed to work on both Windows 10 and Windows 11. There’s no need to restart any other service dependencies besides the main Windows Update service.
Here’s a quick guide on restarting the main Windows Update service:
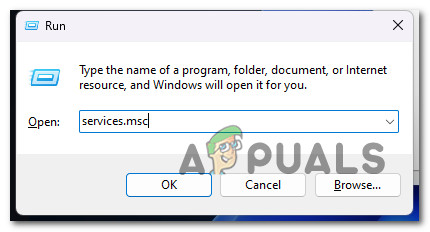
- Press Windows key + R to open a Run dialog box.
- Next, type ‘services.msc’ and press Ctrl + Shift + Enter to open up the Services screen with admin access.
Access the Services screen - When you’re prompted by the User Account Control (UAC), click Yes to grant admin access.
- Once you’re inside the Services screen, scroll down through the list of services and locate the main Windows Update service.
- After you locate it, right-click on it and click Stop from the context menu.

Restarting the Windows Update service - Wait until the service is stopped, then wait for a full minute before right-clicking it again and clicking on Start.
- Next, return to Windows Update and attempt to install the pending update once again to see if the problem is now resolved.
5. Hide the Failing update with the Show or Hide Update Troubleshooter
Microsoft has a history of pushing upgrades that interfere with previously installed security components. In this case, the situation is a bit different since you’re most likely seeing the 0x80070103 error because the update that’s failing is already installed on your system.
One way to take care of this issue in this particular scenario is to use the Microsoft Show or Hide Troubleshooter to prevent your system from trying to install the incompatible driver again.
To hide the KB5012643 update, use the Microsoft Show or Hide troubleshooter application as described below:
- To begin, go to the Microsoft Show or Hide troubleshooter’s official download website.
Note: It should be noted that the download should begin automatically as soon as you click the link. - Once the download is complete, open the .diagcab file, and at the first prompt, select Advanced. Then, before clicking Next, check the option next to Apply Repairs Automatically.
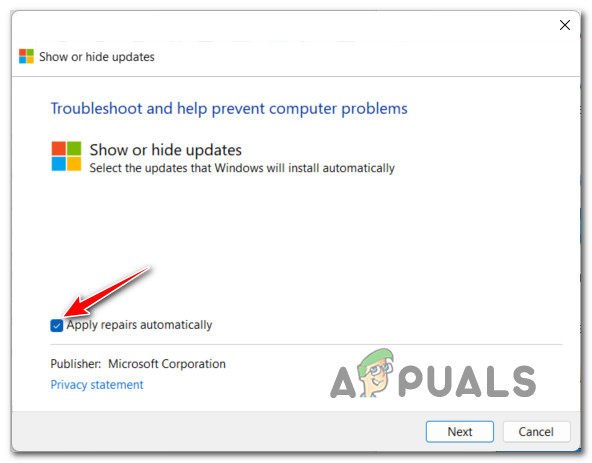
Applying the repairs automatically - Let the application to scan your system to determine which pending updates have not been applied. When the next screen appears, select Hide Updates from the drop-down men.
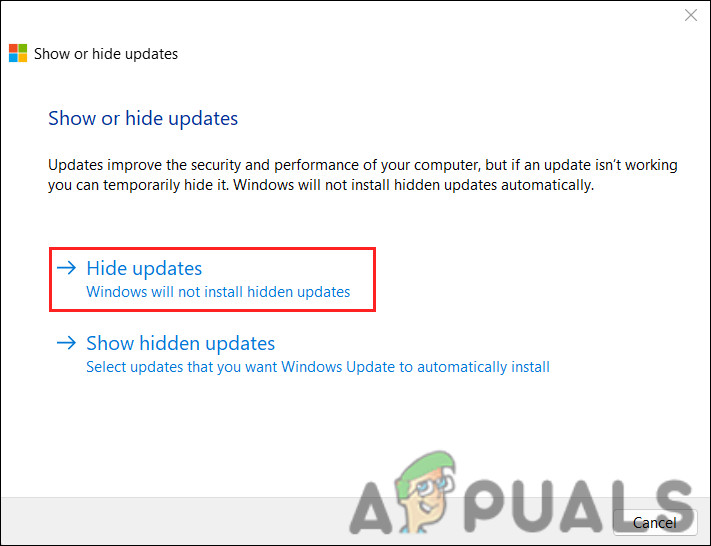
accessing the Hide Updates module - In the following screen, check the box next to the problematic update (the Realtek-related driver) and then click Next to hide it; this will prevent Windows Update from attempting to install it again.
- Restart your computer to effectively remove the failing Realtek driver from the queue.
6. Delete the Windows Temp Files (Windows 11)
You can also expect to see the 0x80070103 error when installing a pending Realtek sound driver due to corrupted data stored inside the temp or prefetch folder.
Some affected users that we’re also dealing with this issue have reported that the problem was fixed and they’ve been able to install the failing Realtek driver normally after they they deleted the temporary windows files.
On Windows 11, both of these directories are prone to hosting corrupted system data (especially if you use insider build versions).
Note: The Temp is a directory used by Windows to store temporary system files associated with your applications and system processes, Prefetch is dedicated to storing temporary launch data that is used to optimize boot and program launch times. Both of these directories can be deleted without impacting other components of the operating system.
Follow the procedures below to clear both the Temp and Prefetch files on Windows 11 and fix the 0x80070103 error:
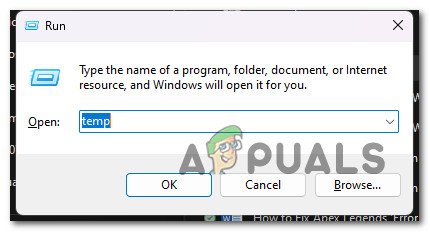
- Hit the Windows key + R to launch the Run dialog box.
- Next, in the text field, write ‘temp’ and hit Enter to open the Temp folder.
Accessing the temp folder - When the permission warning prompt appears, click Continue to allow admin access.
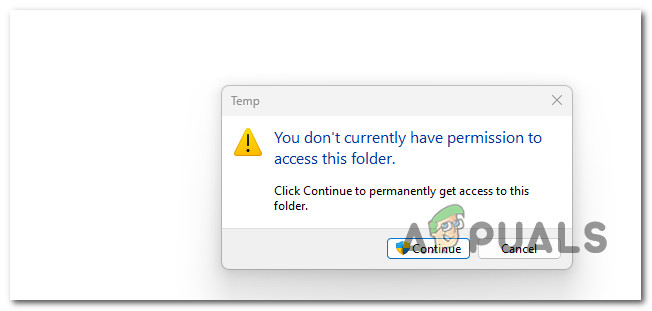
Granting the necessary permissions - Once inside the transient folder, click within it, then press Ctrl + A to select everything inside, then right-click on one of the selected items and pick Delete from the context menu that appears.
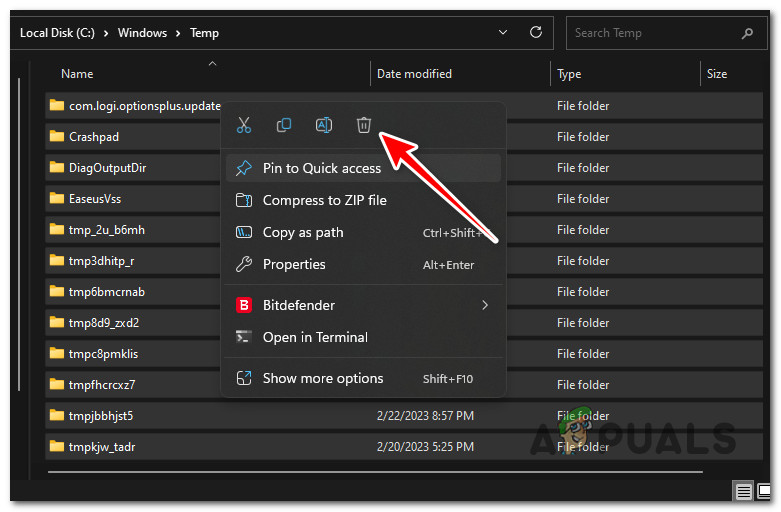
Delete from the context menu Once every entry in the Temp folder has been removed, close the File Explorer window.
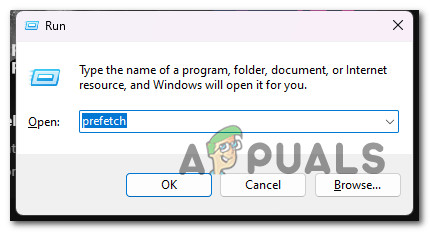
- Use the Windows key + R to bring up another Run prompt. Type ‘prefetch’ into the text box and press Enter to launch the Prefetch folder.
Access the Prefetch folder - Click Continue to grant admin access at the User Account Control screen.
- While inside the Prefetch folder, click on an item within it and then press Ctrl + A to select within the directory.
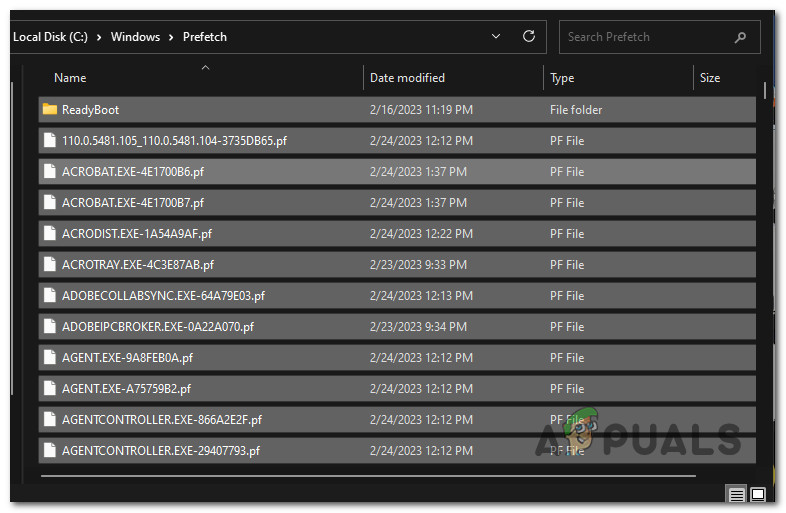
Select all files in the prefetch folder - Once all items have been selected, right-click on any selected item and select Delete to get rid of all transient files in the Prefetch folder.
- After deleting all temporary files, restart your computer and attempt to install the pending Windows Update once again.
7. Deploy SFC & DISM Scans
System file corruption is another potential reason why you might be unable to install the pending Realtek driver as well as any other update your OS tries to install via Windows Updates.
If you’ve reached this method without a viable fix, you should try to repair the damaged Windows files & associated dependencies that are causing this behavior on your Windows 11 laptop.
SFC, short for System File Checker, and DISM, short for Deployment Image Servicing and Management, are two built-in tools that you can use to automatically find and replace broken system files with their healthy counterparts.
Here’s a quick guide on how to deploy SFC and DISM scans in quick succession:
- Open the Run dialog box by pressing the Windows key + R.
- When the Run dialog box displays, open an administrator Command Prompt by typing “cmd” and pressing the Control key while holding down the Shift and Enter keys at the same time.
Open an elevated Command Prompt - When the User Account Control alerts you, select Yes to enable administrator access.
- To start an SFC scan, type ‘sfc /scannow’ at the elevated CMD prompt and press Enter.
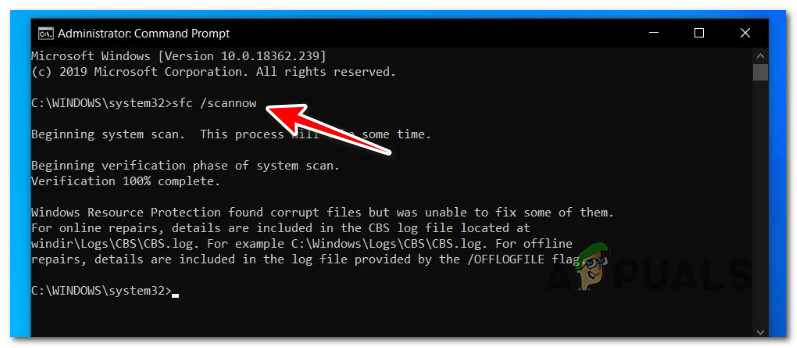
Deploy an SFC scan Note: The System File Checker only works locally and does not require an internet connection to function. To function successfully, it employs a locally cached archive of backup system files to replace any faulty files with their undamaged counterparts.
- Following the SFC scan, run a DISM scan from the same elevated CMD window (regardless of the results) using the following command:
DISM /Online /Cleanup-Image /RestoreHealth
Note: It is critical to remember that DISM requires a stable internet connection. It uses a sub-component of WU to locate healthy alternatives for the problematic files that must be replaced.
- Restart your computer one more time to ensure that the problem has been resolved.
8. Install the failing update via Microsoft Update Catalog
One quick workaround that will allow you to install the failing update without having to locate and repair the main cause of the problem is the Microsoft Update Catalog. This is the easiest and quickest approach to avoid the 0x80070103 error and ‘sideload’ the Realtek driver via the official Microsoft directory for updates.
Important: Going this route will not solve the underlying source of the problem. Even if you are successful in sideloading the ‘bad’ Realtek update, this will not resolve the root cause of the problem.
To ‘sideload’ the failing update via the MUC infrastructure, follow the steps below:
- Launch your web browser and navigate to the Microsoft Update Catalog root page.
- Locate the failed update using the search box in the upper-right corner of the Microsoft Update Catalog page.
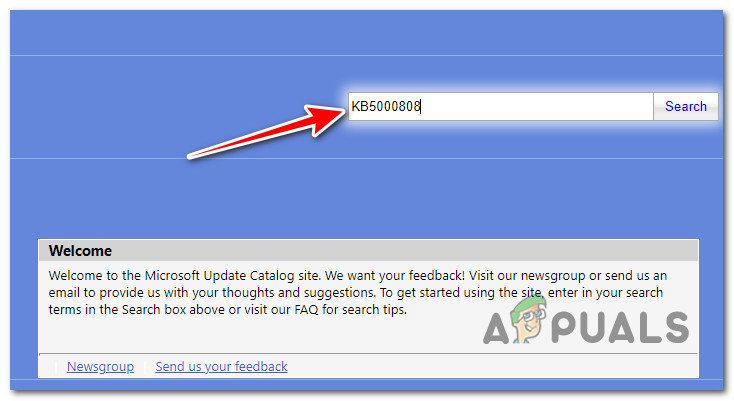
Looking for the failing update on MUC Note: The code can be found in the WU error notification.
- Choose the right update for your Windows version from the list of results.
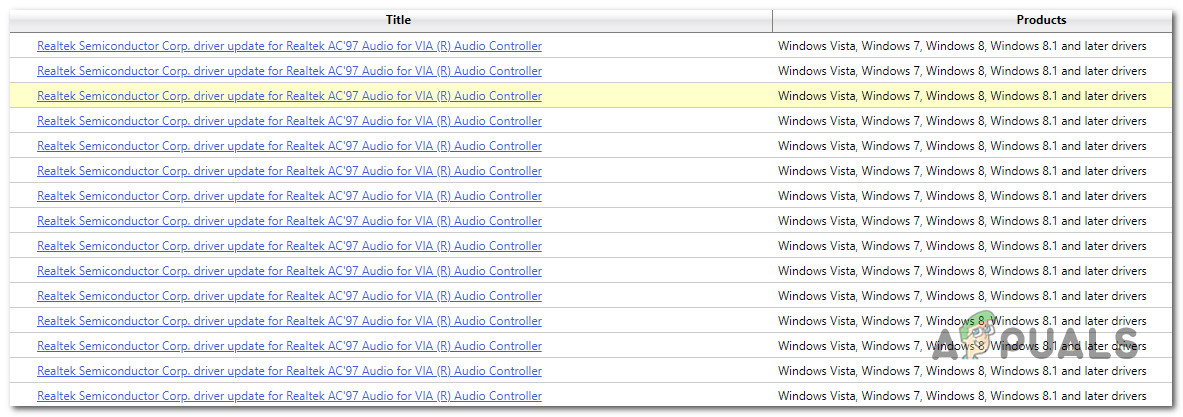
Download the failing driver from the MUC - After analyzing the data, consider the CPU architecture and Windows version when looking for a relevant update.
- Once you’ve determined which update is required, click the Download option and wait for it to finish downloading.
- When the download is complete, double-click the executable file located in the Downloads folder.
- Follow the on-screen directions to finish sideloading the next Windows update and see if the problem is now fixed.
9. Perform a repair install or clean install
If you’ve gotten this far in your troubleshooting quest and you’re still seeing the Realtek driver in the WU queue and it’s not installing, you’re most likely dealing with some sort of system file corruption that’s affecting Windows Update.
Because there are literally tens of thousands of potential culprits that could be to fault for this problem, the best course of action would be to ensure that you replace every Windows file with a healthy equivalent.
This ensures that any possibly corrupted Windows Update dependency is replaced with a healthy counterpart.
There are two approaches you can take in this case:
• Do a repair install (in-place repair) – This method will only affect your system files, leaving everything else unaffected. If you have sensitive personal information that you cannot afford to lose, this should be your first step. Keep in mind, however, that appropriate installation discs are necessary.
• Do a clean install – This is the simplest option. If you don’t have the necessary installation CDs, you can still perform this procedure, but you’ll lose any personal data, documents, and media stored on the operating system partition.


