How to Fix Windows 10/11 Won’t Install or Download Updates?
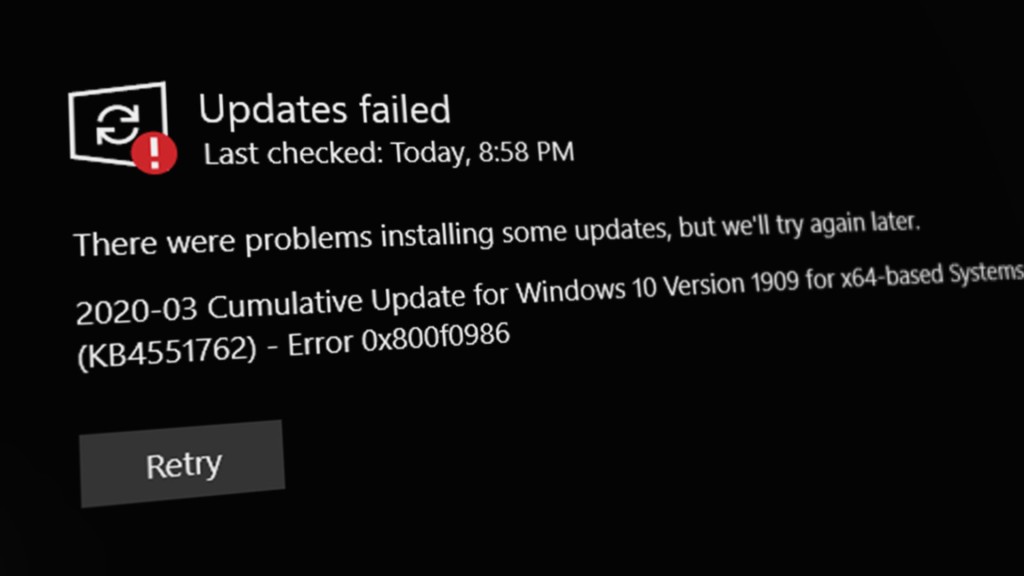
Microsoft releases a multitude of cumulative updates for Windows 10 and 11 each month. Usually, these updates are automatically downloaded and installed through Windows Update. However, users may sometimes encounter various errors during the update process. For each error, there are tried-and-true solutions suggested by users who have faced similar issues.
Understanding the reasons behind Windows Update errors is essential to resolving them. Your error could come from the following causes:
- Incorrect or Corrupted Registry: Improperly modified or corrupt registry entries, particularly the wuauserv key, can lead to update errors since this key is responsible for downloading, detecting, and installing Windows updates.
- Windows Update Service Not Running: If the Windows Update service is disabled or has been stopped, updates will be unable to install.
- Corrupted Software Distribution Folder: Errors are likely if the contents of the Software Distribution folder become corrupted, as this folder stores the temporary files necessary for installing Windows updates.
- Corrupt System Files: Corrupted system files are another frequent source of issues since they are integral to the update process. Follow the instructions below to repair any corrupted files.
Note that the causes of Windows Update errors can vary and may include other factors such as network issues, hardware and software incompatibility, specific bugs within an update, or additional system conflicts. Identifying the exact cause of a Windows Update error in your case may require a methodical troubleshooting approach.
1. Use the Windows Update Troubleshooter
The Windows Update Troubleshooter is your first line of defense against update-related issues. It scans for conflicts within the update process and automatically fixes common errors, such as configuration issues or network connectivity problems. This built-in utility can save you the trouble of manually diagnosing and resolving the root causes of update failures.
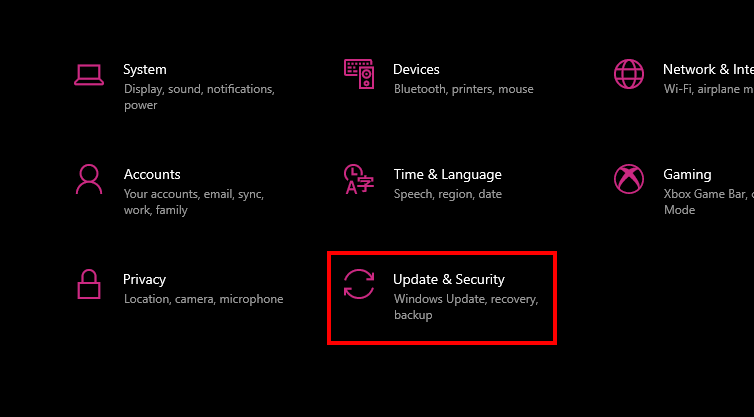
- Press Windows + I to open Settings, select Update & Security, and then click Troubleshoot.
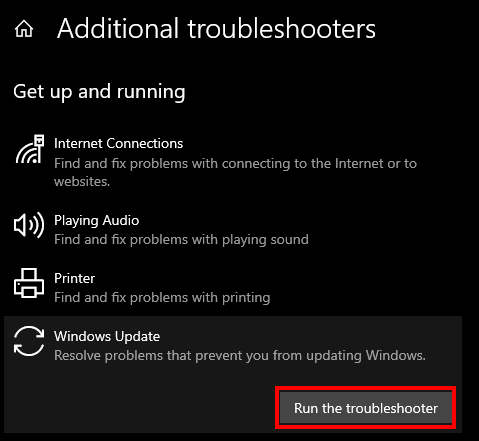
- Click on Additional troubleshooters, find Windows Update, and select Run the troubleshooter.
- The troubleshooter will begin detecting problems. Follow any on-screen instructions to allow the tool to attempt repairs.
- After completion, reboot your PC to apply any changes. Then, check if Windows updates can proceed.
2. Restart Windows Update Service
The Windows Update Service manages the checking, downloading, and installing of updates. Occasionally, this service might glitch or become unresponsive. Restarting it can resolve temporary malfunctions, making sure that updates are initiated and completed successfully.
Making sure that the service is active and set to start automatically maintains your system’s capability to stay up-to-date.
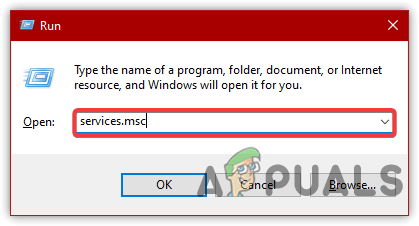
- Press Windows + R to open the Run dialog box.
- Type services.msc and hit OK.
Opening Services Window - Scroll down or press W to quickly navigate to the Windows Update service.
- Right-click Windows Update and select Properties.
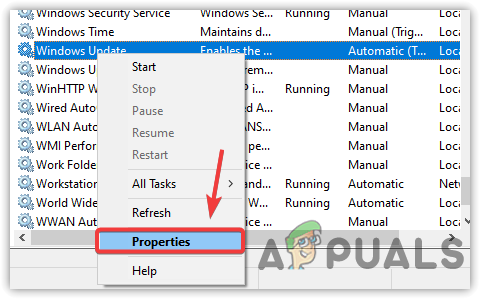
Navigating to Service Properties - In the drop-down menu, set the startup type to Automatic.
- Click Apply, then Start if the service is not running.
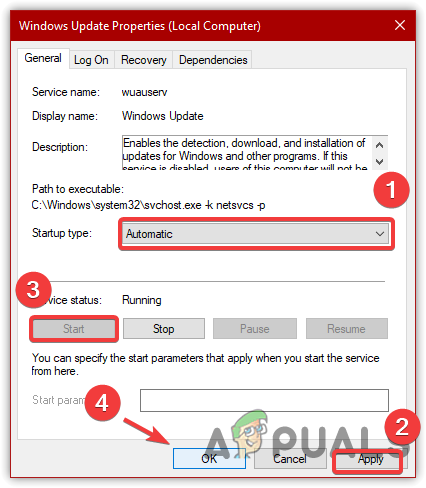
Restarting Windows Update Service - Confirm changes by clicking OK and check if the update error has been resolved.
3. Reset Windows Update Registry Keys
Misconfigured or damaged Windows Update registry keys can disrupt the update process. Resetting them to default settings can resolve errors and corruptions within these vital components, facilitating smooth and error-free updates.
This action can be crucial for restoring the Windows Update service’s ability to download and install updates properly.
- Download the registry file from here to reset Windows Update registry settings.
- Right-click the downloaded file and choose Run as administrator.

Running Windows Registry File - Confirm the changes by clicking Yes on the prompt.
- After the process completes, check if the issue is resolved.
4. Turn OFF Metered Connection
While the Metered Connection feature is useful for managing bandwidth, it can also block Windows from downloading updates to conserve data. Disabling this setting permits your system to download the necessary update files without restrictions, which could resolve update-related connectivity issues.
- Right-click the Start Menu and open Settings.
- Navigate to Network & Internet, and select either Ethernet or Wi-Fi from the sidebar.
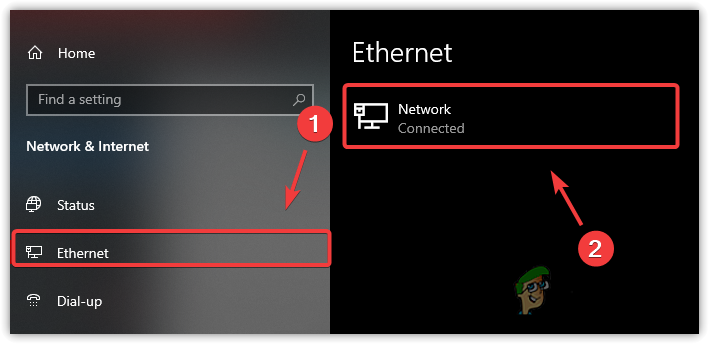
Navigating to Network Properties - Disable the Metered Connection switch if it is enabled.

Turning Off Metered Connection - Attempt to update Windows once more and verify if the problem persists.
5. Clear and Rename Software Distribution Folder
The Software Distribution folder is crucial for the Windows update process, serving as the temporary storage for update files before installation. If these files become corrupted, update processes may fail.
Deleting existing files and renaming the folder allows Windows to create a new folder during the next update attempt, which can resolve problems related to corrupted update files, allowing for a successful update.
- Open the Start Menu, search for Command Prompt, right-click it, and select Run as Administrator.
- Input the following commands into the command prompt and press Enter:
net stop wuauserv
net stop bits
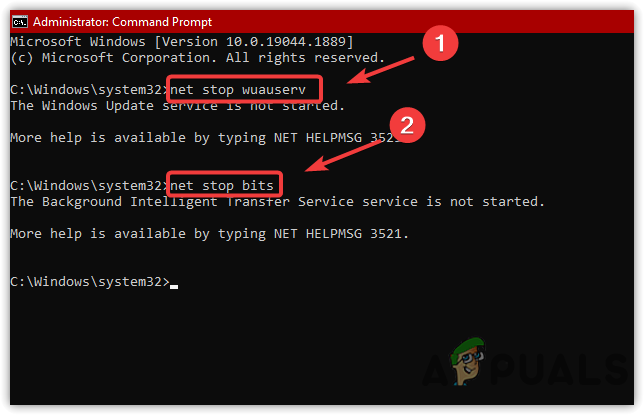
Stopping Windows Update Services - Press Windows + R, type
C:\Windows\SoftwareDistribution
, and hit Enter.
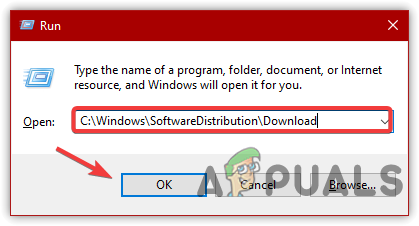
Navigating to the Software Distribution Folder - Delete all files and folders within this directory.
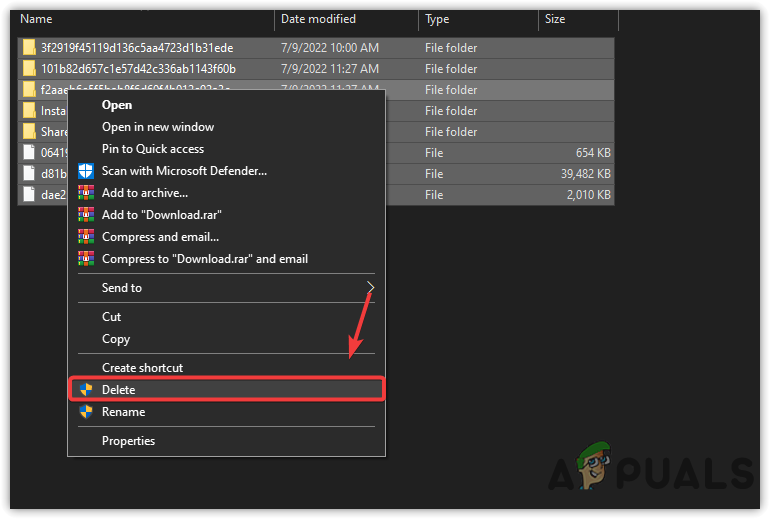
Deleting Software Distribution Files - Return to the command prompt and rename the folder with the following command:
rename C:\Windows\SoftwareDistribution SoftwareDistribution.bak
- Restart the previously stopped services with these commands:
net start wuauserv
net start bits
- Attempt to update Windows and check if the issue has been resolved.
6. Clear Temporary Files
Clearing out temporary files is an important troubleshooting step, as these can accumulate and occupy valuable disk space needed for Windows update processes. Performing a disk cleanup and removing these unnecessary files can potentially fix errors caused by lack of storage.
- Press Win + E to open File Explorer.
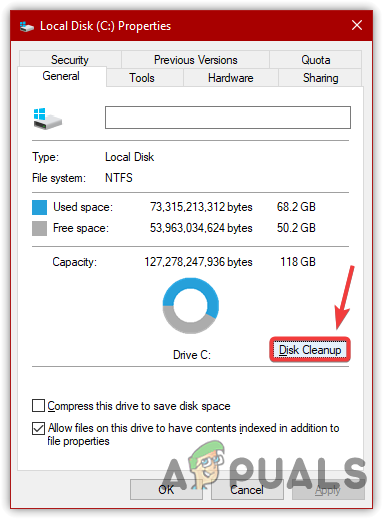
- Navigate to This PC, right-click on the Windows drive, and select Properties.
- Choose Disk Cleanup.
Disk Cleanup - Select all categories under Files to delete.
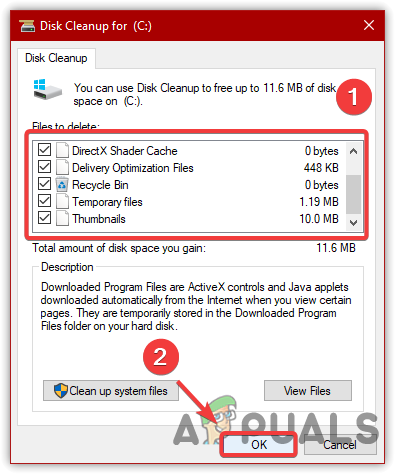
Removing Temporary Files - Press OK and then Delete Files.
- Once complete, recheck for the error.
7. Perform DISM and SFC Commands
DISM (Deployment Image Servicing and Management) and SFC (System File Checker) are powerful tools for addressing Windows update issues. DISM services your Windows image, including Windows Recovery Environment, Windows Setup, and Windows PE, repairing any corruption detected. This can indirectly address update issues related to system integrity.
After DISM, the SFC command scans for and replaces corrupted or missing protected system files, which could be causing your update problems. Running these commands can effectively help to restore proper update functionality.
- Search for Command Prompt from the Start Menu and run it as an administrator. Input the following commands:
DISM /Online /Cleanup-Image /RestoreHealth
sfc /scannow
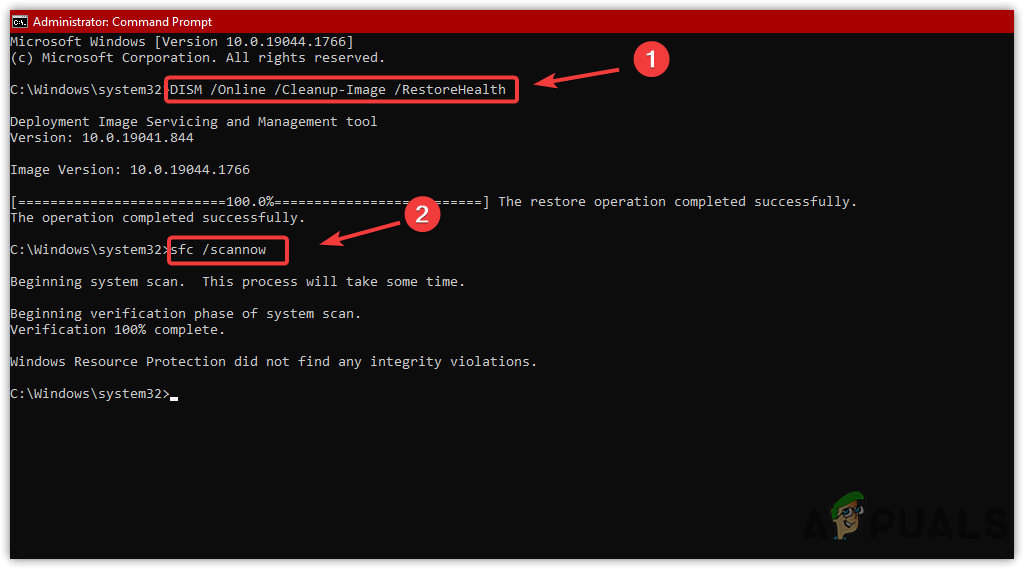
Repairing System Files - Reboot your PC after the scans complete and check if the error has been resolved.
8. Download Windows Updates via Update Assistant
The Windows Update Assistant offers a straightforward method for downloading and installing the latest updates, bypassing potential problems encountered during the standard update process. It simplifies the procedure, often avoiding errors and making sure you receive the latest version of Windows with minimal hassle.
- Download and run the Windows Update Assistant.
- Press Update Now and wait for the assistant to download the updates.
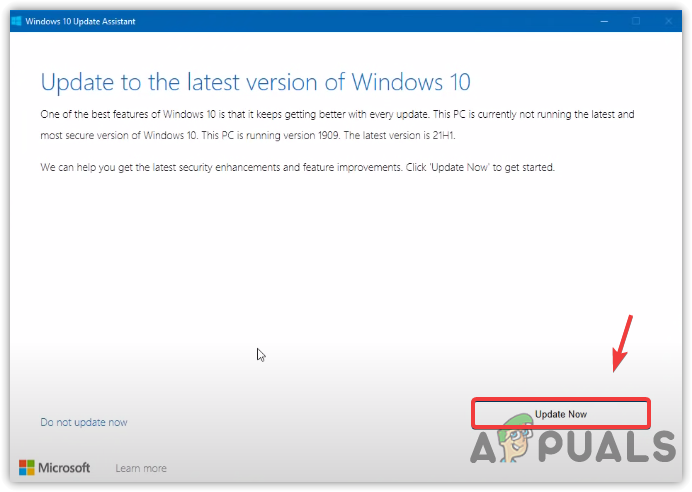
Upgrading Windows - Windows will automatically initiate the upgrade upon completion.
9. Download Windows Updates via Microsoft Catalog
When conventional methods fail, the Microsoft Update Catalog allows you to manually search for and install updates. This method avoids potential glitches in the Windows Update service, making sure you obtain necessary patches without any issues.
- Navigate to the Microsoft Update Catalog and search for the update by its name.
- Select the appropriate Download button for the update.
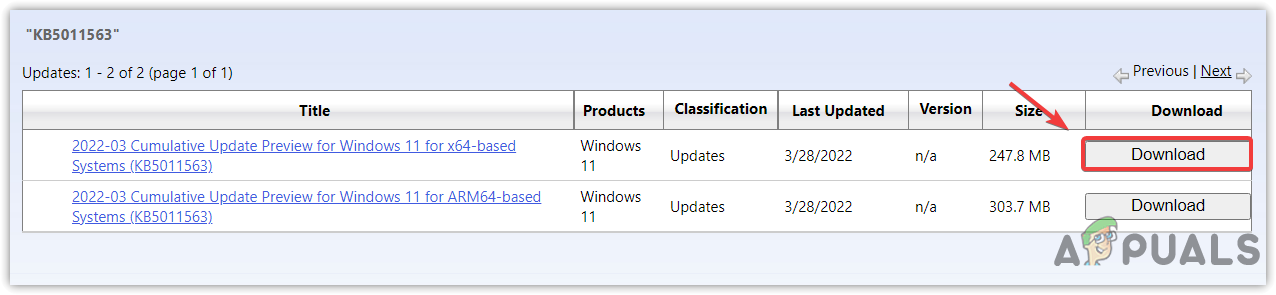
Downloading the Windows update - Follow the provided link to download the file.
- Once downloaded, execute the update file to begin the installation process.
And why would you want to do this?