How to Fix the Update Error 0x80070103 in Windows 10/11
Windows error code 0x80070103 is an installation error related to the drivers on the system. It typically appears when the driver that is being updated/installed is already present on the system or when the version being installed is incompatible with the current version of the driver. This error can also occur if the user has previously hidden the driver update or if the driver being installed is not digitally signed.

There are several reasons why this error can occur, including driver conflicts, incompatible hardware, and issues with Windows Update. In this troubleshooting guide, we will discuss several methods that you can use to fix error code 0x80070103 and successfully install the update in Windows.
1. Sign in with the administrator account
The first thing that we recommend you do is ensure that your user account has the administrative rights.
You can be encountering the error if you are trying to install a driver update on an account that has sufficient permissions to do so. By signing in with an administrator account, you can elevate your privileges and gain the necessary permissions to install the update. This is because administrator accounts have higher privileges and can perform actions that require elevated permissions.
Here is how you can do that:
- Press the Win + I keys together to open the Settings app.
- Choose Accounts from the left pane.
- Navigate to Family & other users.
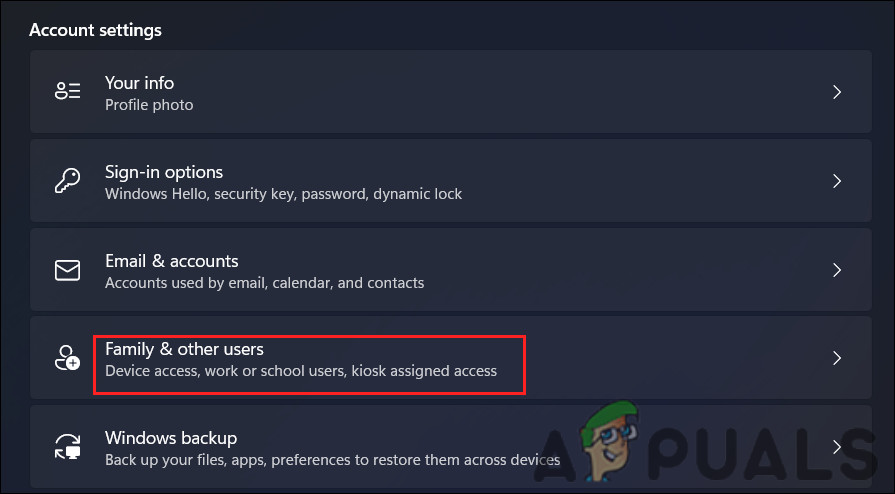
Navigate to Family & other users - Choose the administrator account and follow the on-screen instructions to log in with it successfully.
If you are already using an administrative account, the cause of the issue in your case might be different. In that case, move to the next method below.
2. Run the Windows Update Troubleshooter
Windows Update troubleshooter can also help identify and resolve problems with the Windows Update service and other components that may lead to 0x80070103 errors. The troubleshooter will automatically scan your system for common problems and attempt to resolve them, such as detecting missing or corrupt files, repairing Windows Update settings, and resolving conflicts with third-party software.
By running the troubleshooter, you can potentially resolve any underlying issues that are preventing the update from being installed and clear the error code. Once the issues have been resolved, you can attempt to download and install the update again.
Here is how you can proceed:
- Press the Win + I keys together to open the Settings app.
- Choose System > Troubleshoot in the following window.
- Click on Other troubleshooters.
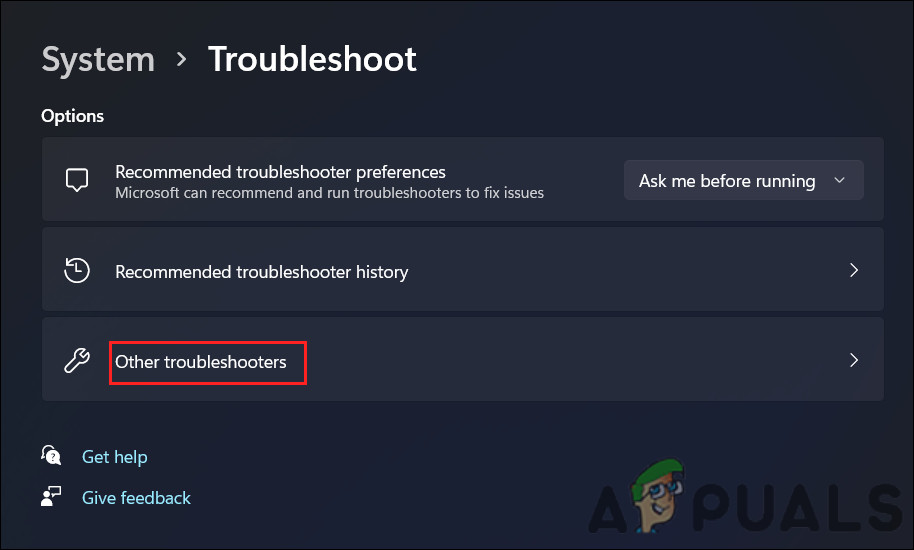
Click on the Other troubleshooters option - Now, locate the Windows Update troubleshooter and click on the Run button for it.
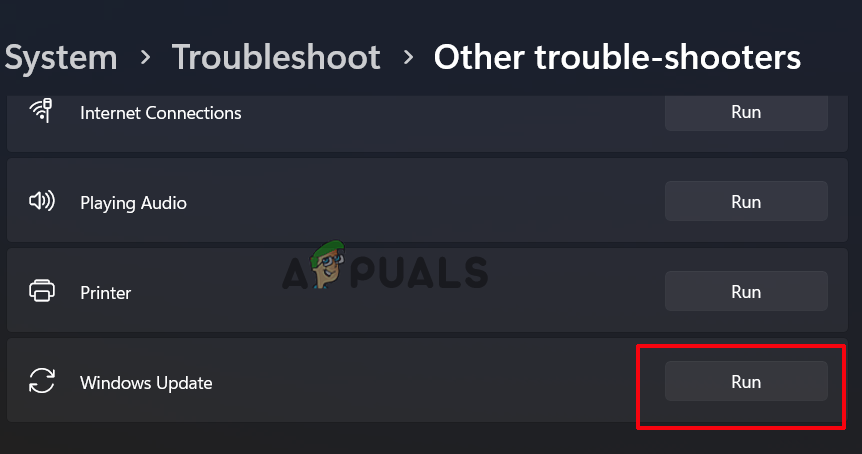
Click on Run next to Windows update troubleshooter - Let the troubleshooter scan the system for errors. This may take a while, so hang in there.
- Once the scan is completed, check if the troubleshooter has found any errors. If it has and is suggesting fixes, click on Apply this fix to proceed.
- Otherwise, click on Close the troubleshooter and move to the next method below.
3. Reset Windows Update Services and Cache
When Windows update services or cache files become corrupted, it can prevent you from successfully installing updates. To resolve this issue, it is recommended to restore the default values for all the required components and services. This can be achieved by resetting each service individually, although this can be a time-consuming process.
Alternatively, you can utilize a batch file that automates the process of stopping and restarting all necessary Windows services. It is important to note that the batch file may take some time to complete. By executing this solution, you can ensure that all required components and services are operating properly, and thereby enable successful installation of updates.
Here is all that you need to do:
- Click here to download the file.
- Click on Download anyways to proceed.
- Right-click on the downloaded file and choose Run as administrator from the context menu.
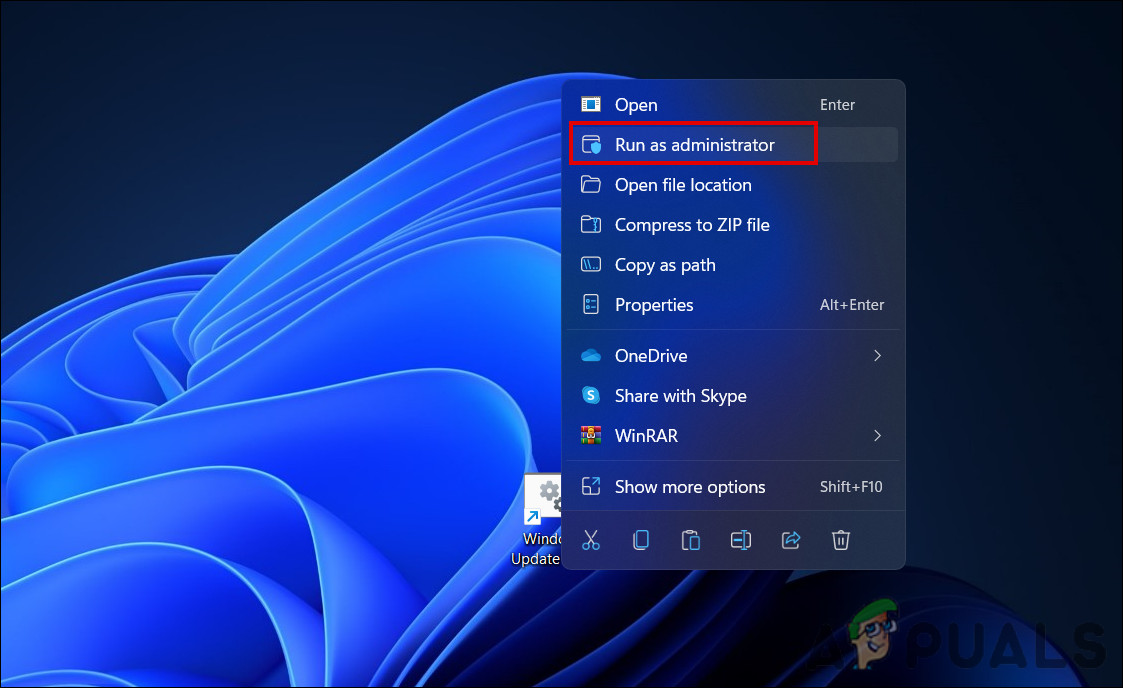
Run the bat file as administrator - In the following security dialog, choose More info.
- Now, click on Run anyways. Users typically receive this message when they attempt to run a program from an unrecognized source.
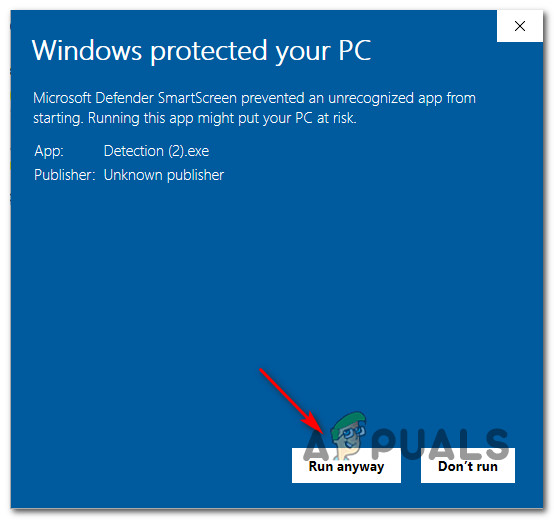
Bypassing the Microsoft Defender SmartScreen - Click Yes in the User Account Control prompt to proceed.
- When the process is finished, restart your computer. Check to see if the issue has been resolved after rebooting.
4. Uninstall the recent updates
Another fix that worked for users was uninstalling the recently installed updates on their computers and then attempting to install the one that was leading to the error.
Sometimes, updates can contain bugs or conflicts with other software on your computer, which can lead to issues like the error 0x80070103. By uninstalling the recent updates, you can roll back to the previous version of your operating system and potentially resolve any conflicts or issues that were introduced with the updates.
Here is how you can reinstall the updates:
- Press the Win + R keys together to open a Run dialog.
- Type control in the text field of Run and click Enter.
- In the following window, click on Programs and Features.

Click on the Programs and Features. - Click on View installed updates in the left pane.
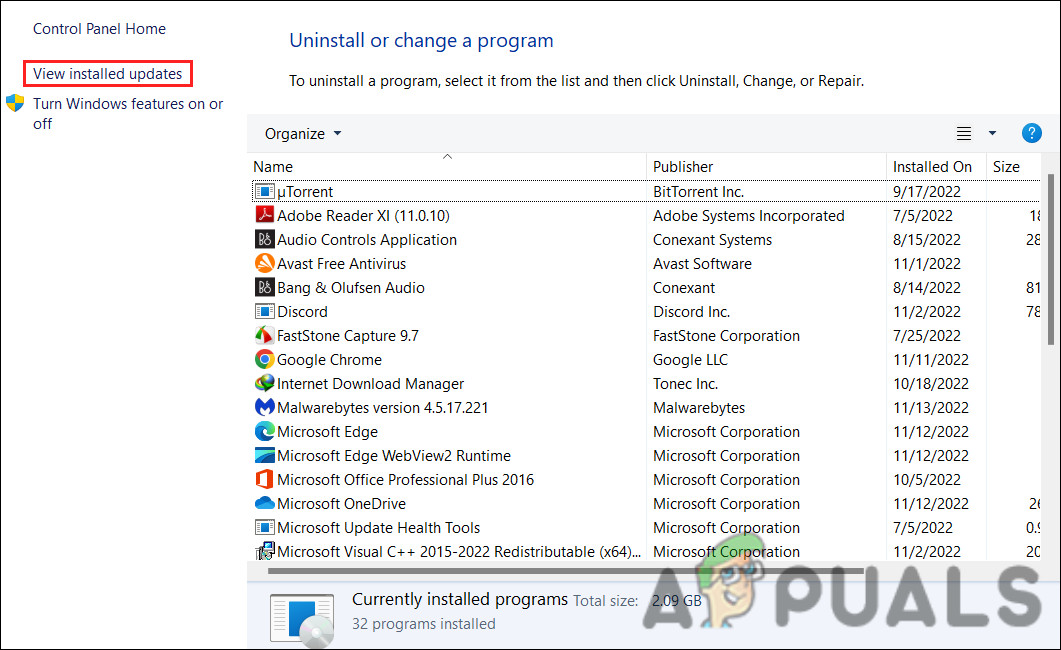
View the installed updates on the system - You should now be able to see a list of all recently installed updates on your computer.
- To uninstall an update, right-click on it and choose Uninstall.
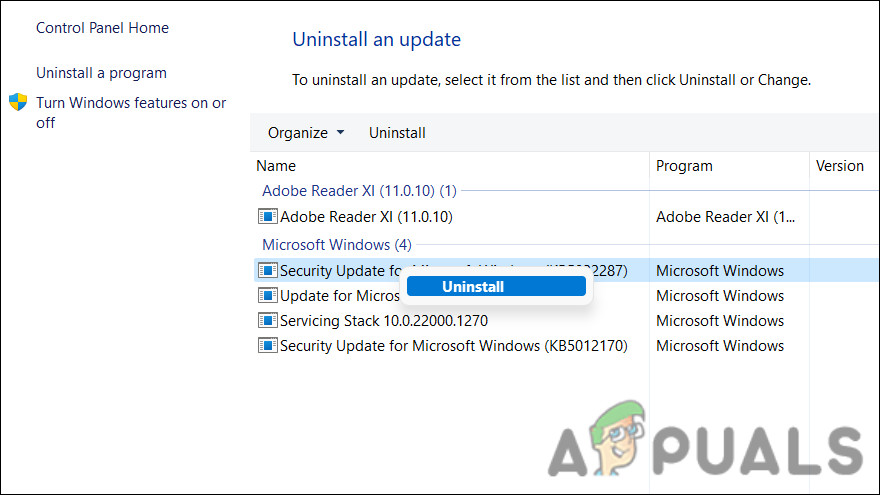
Uninstall the update - Follow the on-screen instructions to proceed.
- Once you have uninstalled the potentially faulty updates, restart your computer.
5. Pause the problematic update
You can also try pausing the Windows update for a short period and then checking for updates again. This method helps to clear any temporary conflicts that may occur during the Windows update process.
Here is how you can proceed:
- Press the Win + I keys together to open the Windows Settings app.
- Choose Windows Update from the left pane.
- Navigate to the More options section and expand the dropdown for Pause updates.
- Choose Pause for 1 week.
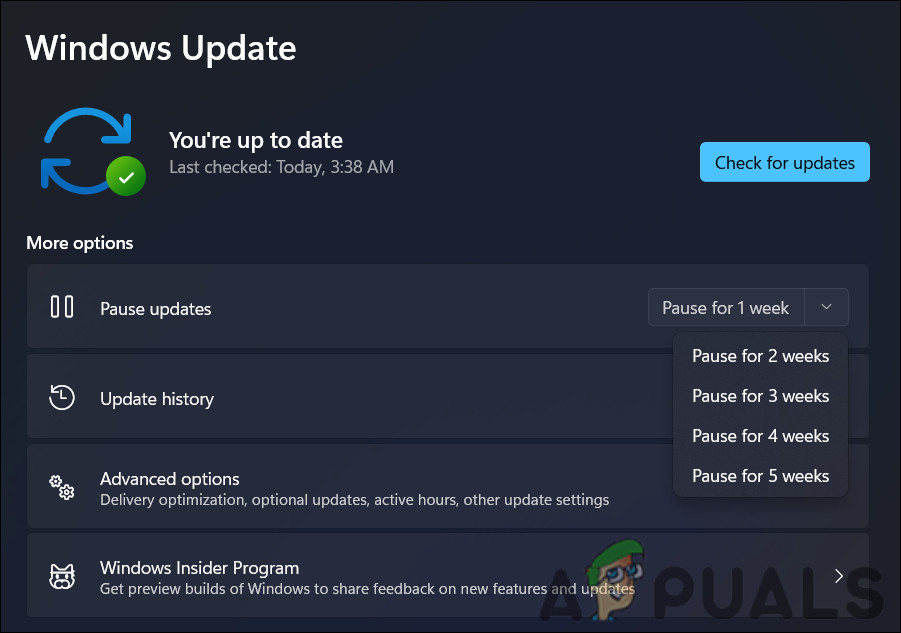
Choose Pause for 1 week - Restart your computer and resume the updates. Upon reboot, hopefully, the error will not be present.
6. Hide the problematic update
When a particular update causes problems, you can also hide it to prevent it from being installed again until a fix or a new update is available. By using the Update Troubleshooter provided by Microsoft to hide the problematic update, the system will not attempt to install the update again. This can prevent further issues and errors related to the problematic update.
To use the Update Troubleshooter to hide the problematic update, follow these steps:
- Download the Update Troubleshooter from the Microsoft website.
- Open the Update Troubleshooter and follow the prompts to diagnose and resolve any update-related issues.
- Once the troubleshooting process is complete, select Hide Updates and select the problematic update from the list of available updates.
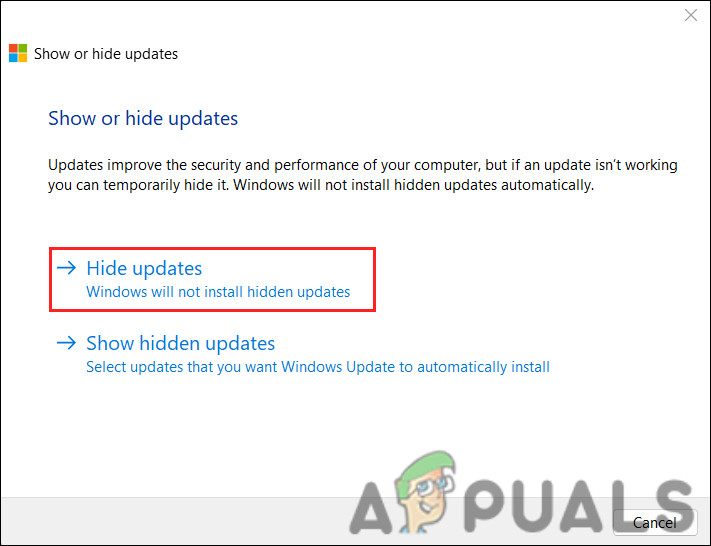
Hide the update - Click on the Next button and the tool will hide the update from the Windows Update list.
- After completing these steps, the problematic update will be hidden from the list of available updates, and the system will not attempt to install it again.
7. Repair Install
Repair Installs, also known as in-place upgrades, can resolve a variety of Windows errors, including those related to updates. Essentially, this process reinstalls Windows on your computer without affecting your personal files, folders, or installed programs. Using it, you can repair or replace damaged or missing system files, fix corrupted registry settings, and restore damaged or deleted Windows components.
To fix update-related errors, you can use a Repair Install, which replaces any corrupted or missing files. This can help ensure that future updates are installed correctly and without errors. Additionally, it can also update any outdated system files that may be causing conflicts with updates.
In contrast to a clean install, a Repair Install doesn’t erase all your files and installed programs. Instead of replacing the existing Windows installation, it repairs and fixes any issues it finds.


