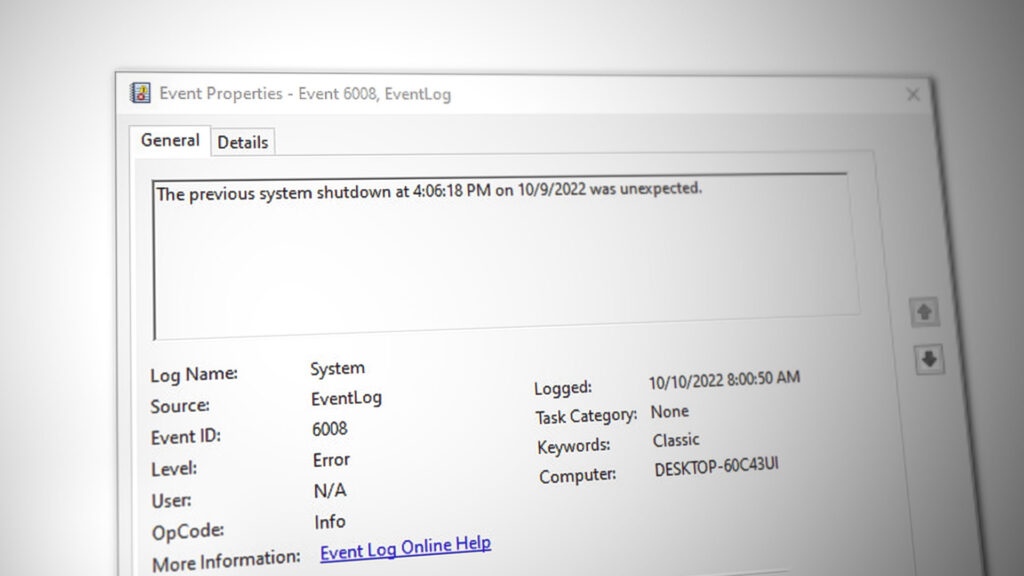
‘Event ID 6008’ After Unexpected Windows Shutdown [12 Fixes]
The Event Log Error 6008 typically appears after an application uses the InitiateSystemSHutdownEx function due to an unexpected scenario. If your machine has previously shut down unexpectedly and you just discovered the Event Log Error 6008 error inside Event Viewer, there are quite a few potential causes that you should investigate.
Although in most cases, the 6008 error is rooted in some hardware issue (failing HDD, SSD, or RAM), the problem can also be indirectly caused by a bad windows update, a missing GPU driver dependency, or a scenario where there’s an extra sound driver conflicting with the main driver.
This behavior can also occur if you’ve previously disabled the paging file, if you’re still using a grounded VGA monitor or if you’re dealing with system file corruption that makes your OS unstable enough.
Here’s a short list of methods that you can use to troubleshoot the 6008 error and prevent any further unexpected shutdowns:
1. Update Windows Version to the latest
If you noticed that the 6008 Event Viewer error started appearing after you installed a pending update (or Windows did so automatically),
In this case, start this troubleshooting journey by checking if Microsoft has already released a hotfix for this issue on the WU deployment channels that you’re part of:
Here’s a quick guide that will allow you to check for a hotfix and install it on your PC:
Note: The instructions below are applicable on both Windows 10 and Windows 11.
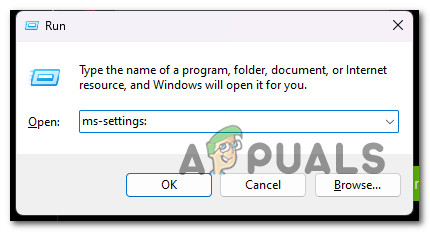
- Use the Windows key + R shortcut to open the Run dialog box.
- Enter “ms-settings:” in the search box and press Enter to open up the Settings menu on your Windows PC.
Access the Settings menu Note: If the User Account Control prompts you, click Yes to grant admin access.
- From the Settings screen, find Windows Update and select it from the menu on the left of the screen.
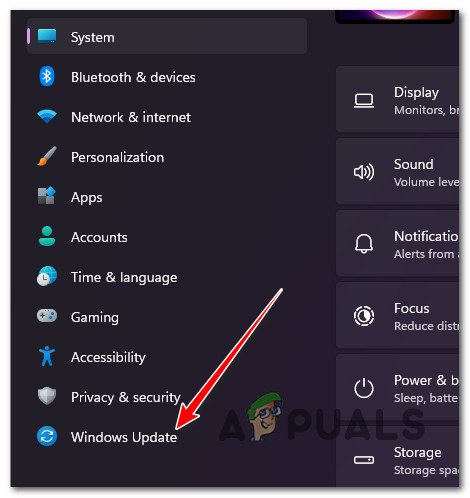
Access the Windows Update screen - Check the following screen to determine if there are any updates that need to be installed. Click the Download & Install all button if the driver is already available for installation.

Download and install all Note: If the update scan doesn’t happen automatically, you can trigger it manually. To do this, click the Check for Updates button and wait.
- Be patient and wait until all pending updates are installed. Your computer might need to restart for the updates to take effect.
- Utilize your PC normally and see if you’re still experiencing the same unexpected crash with the 6008 Event error.
If the problem is still not fixed, move to the next method below.
2. Revert the latest installed update
In case the issue is still fresh, and Microsoft didn’t get the chance to release a hotfix, you can fix the issue yourself by uninstalling the bad update that caused this issue in the first place.
Note: This method will only work if you start getting this error after installing a pending update.
You can enforce this fix by going to the Programs and Features screen and selecting the View installed updates tab to start the removal process.
We advise doing it straight from the recovery menu because this will let you roll back feature updates and cumulative updates and postpone their installation until Microsoft releases a hotfix.
To remove the most recent update from the Recovery menu, follow the instructions below:
Note: The steps in the following paragraphs will demonstrate how to enter the Recovery menu forcibly without utilizing appropriate installation discs.
- Stop your computer from booting up by turning it on and pressing and holding the power button as soon as it gets past the initial screen.

Interrupt the normal startup procedure Note: Most of the time, you’ll need to hold down the power button for 5 seconds to complete a force shutdown.
- Restart your PC and carry out steps 1 and 2 above two more times until the Recovery menu successfully appears.
Note: If you repeatedly force your Windows computer to interrupt the boot process, the system won’t complete the boot and will instead boot directly into the Recovery menu. - Select Troubleshoot from the list of choices when you arrive at the Advanced Options screen. The Troubleshoot tab can be selected.
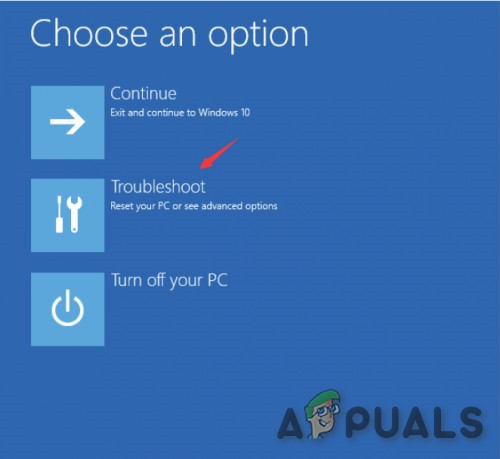
Access the Troubleshoot tab - Select Uninstall Updates under Troubleshoot.
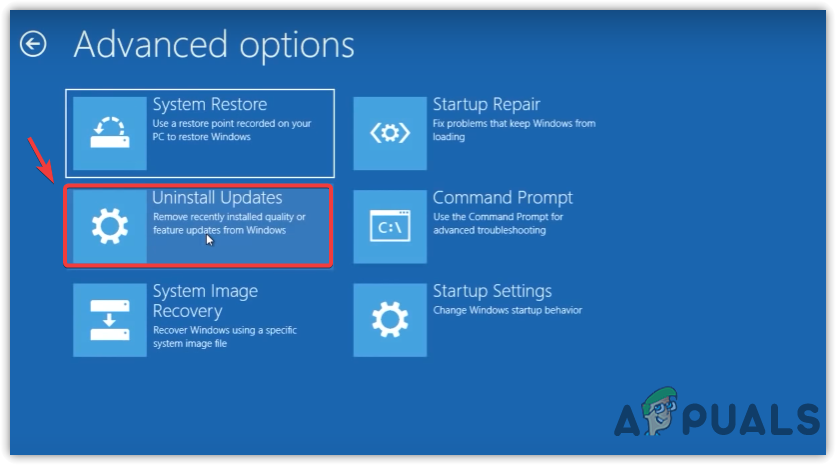
Uninstall updates - Select the most recent update, click Uninstall, and then click Confirm on the Uninstall Updates screen.
Note: Find out which kind of update—cumulative, feature, or optional—was applied most recently and uninstall it. - After removing the feature update, restart your Windows machine and let it boot normally.
- Utilize your PC normally and see if you still get the same unexpected system shutdowns causing the Event Log Error 6008.
If the problem is still unresolved, move to the next method below.
3. Update GPU drivers
It turns out that an outdated GPU driver or a missing physics module can also cause this type of behavior with Windows 10 and Windows 11.
This issue is even more likely if you only experience this problem while your PC or laptop performs a resource-demanding task. If this scenario is applicable, you should be able to fix the problem by updating your GPU drivers to the latest version.
If you haven’t updated your GPU drivers recently, perform the steps below to uninstall your outdated GPU drivers and install the most recent ones in an attempt to fix the 6008 error:
- To launch the Run dialog box, use the Windows key + R.
- To launch Device Manager, enter the command “devmgmt.msc” in the execute text box and press Enter.
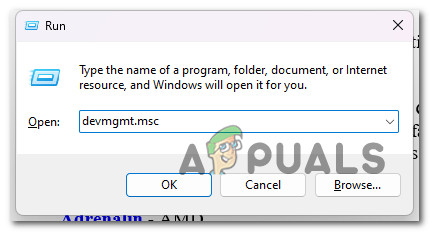
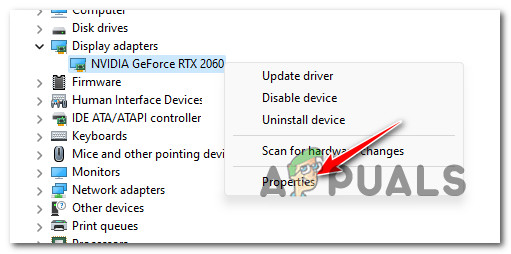
Open Device Manager - Expand the drop-down box for Display Adapters after launching Device Manager by scrolling down the page’s list of installed devices.
- To update the driver, right-click the GPU driver you wish to update in the following menu and select it from the context menu.
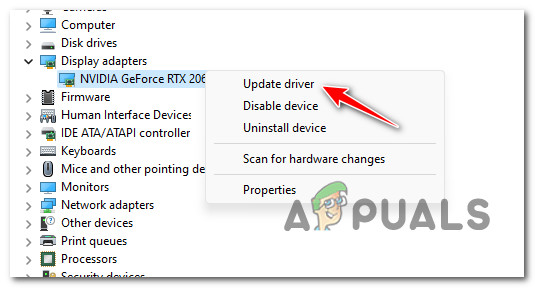
Update the GPU driver Note: You must upgrade your computer’s dedicated and integrated GPU drivers.
- Select Search Automatically for New Driver Software from the menu that appears.
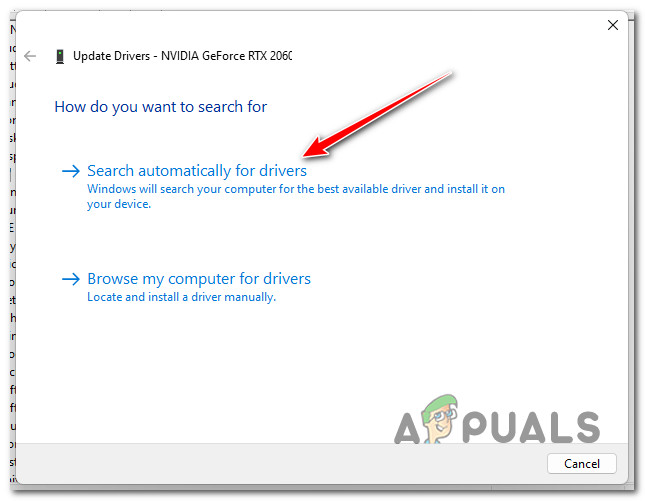
Search automatically for drivers - When the initial scan is finished, follow the steps to install the most recent GPU driver found.
- Once the procedure is complete, restart your computer to check if the problem is now fixed.Note: If Device Manager cannot update your current graphics drivers, you must use the proprietary software your graphics card manufacturer provided. Depending on the GPU maker, the following software might be required:Nvidia’s GeForce Experience
AMD: Adrenalin
Intel: Intel Driver
Continue to the next step in the procedure below if the same problem is still present or your GPU drivers are already up to date.
4. Roll-back display driver
Suppose the issue started immediately after you updated your GPU version. In that case, there’s a chance this problem is indirectly caused by a bad graphics card driver that’s somehow producing general system instability that triggers the unexpected system shutdown.
Many impacted users have claimed that after reverting their dedicated graphics driver to an earlier version, the problem was ultimately fixed. If you have an NVIDIA or AMD GPU, there’s a good chance you’ll be able to fix the problem after rolling back your GPU driver to a previous version.
Here is a simple tutorial on reverting your GPU drive to a previous version:
- To bring up the Run dialog box, press Windows key + R. After that, enter “devmgmt.msc” to launch Device Manager.
Open Device Manager - Select Yes if the UAC (User Account Control) asks you to provide administrative rights.
- Open up the drop-down selection for Display adapters in Device Manager.
- Next, select Properties by performing a right-click on your dedicated GPU driver.
Access the Properties screen - Click on Roll Back Driver under the Driver tab in the Properties screen.
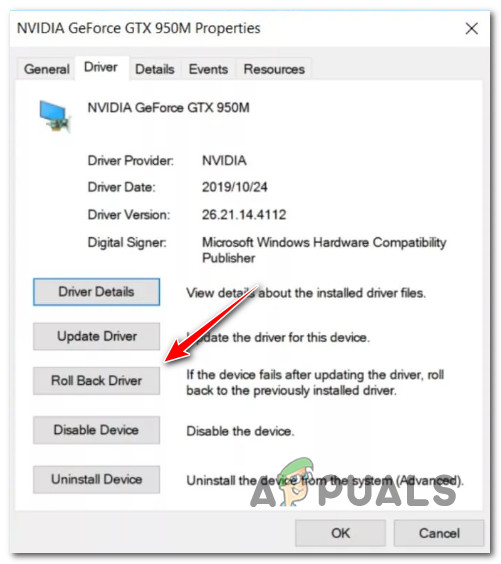
Rolling back the driver - To start the rolling back process, choose a reason (it doesn’t matter) in the confirmation box and click Yes.
- Restart your computer and check if the issue is fixed after reverting the GPU driver.
Continue to the next solution below if you still get the same error after your Windows computer crashes unexpectedly.
5. Replace the grounded VGA Monitor (if applicable)
Suppose you’re still using a grounded VGA monitor. In that case, this hardware may be causing unexpected system crashes as it produces little shocks due to bad insulation that ends up restarting your PC unexpectedly.
Note: This scenario is only possible with grounded legacy VGA monitors produced before 2010.
If you’re still using a grounded VGA monitor, connect a different display and normally utilize your PC to see if the same issue repeats.
If the same issue is still occurring or this method is not applicable, move down to the next method below.
6. Disable or Uninstall the extra sound driver (if applicable)
If you have two or more sound drivers installed on your PC, this is likely the conflict producing the 6008 error, as both drivers run simultaneously.
If this scenario is applicable, you can fix the issue by disabling or uninstalling the extra sound drivers that are not needed.
For example, if you have both the Nvidia High Definition Audio Driver and the Realtek HD Audio driver, disable or uninstall one or the other to fix the issue.
Start by disabling the secondary audio driver and resort to uninstalling only if the first method doesn’t work.
Follow the sub-guides below for complete instructions on how to do this:
6.1. Disable the Extra Sound Driver
To disable the extra sound driver, you need to access the Sound, video, and game controllers tab in Device Manager and disable one of the audio drivers that are currently installed.
Here’s how to do this:
- Press the Windows key + R to open up a Run dialog box.
- Next, type ‘devmgmt.msc’ and press Ctrl + Shift + Enter to open up Device Manager.
Open Device Manager - At the User Account Control (UAC), click Yes to grant admin access.
- Inside Device Manager, scroll down to Sound, video, and game controllers and expand the drop-down menu.
- Right-click on the unnecessary audio driver and click on Disable Device.

Uninstall the secondary audio driver - Confirm the operation at the next prompt.
- Reboot your PC and see if the issue is fixed once the next startup is complete.
6.2. Uninstall the Extra Sound Driver
If disabling the secondary driver didn’t make a difference, your only option is to uninstall one of the two sound drivers that can be potentially conflicting.
To do this, use Device Manager and eliminate the unnecessary driver.
Here’s a quick guide that will show you how to do this:
- Press the Windows key + R to open the Run dialog box.
- After that, open Device Manager by typing “devmgmt.msc” and press Ctrl + Shift + Enter.
Open Device Manager - When User Account Control asks you whether you want to grant admin access, choose Yes (UAC).
- Scroll down the list of installed drivers in Device Manager to expand the drop-down menu for Sound, video, and gaming controllers.
- Right-click the audio driver you wish to uninstall and choose Properties to open the context menu.

Access the Properties screen - From the Properties menu of your audio driver, click Driver and Uninstall Device.
- When prompted, select “Uninstall” after checking the box next to “Try to delete the driver for this device.”
- After removing the driver, restart your computer and see if the issue is fixed.
7. Disable the Paging file
The final thing you can do if you’ve tried the steps above and still get the same 6008 error as your system is experiencing unexpected shutdowns is to turn off the Windows Paging file.
Although this might make some native Windows apps malfunction, many Windows users experiencing this problem on low-end PC settings have reported that this workaround eventually allowed them to stabilize their PC.
If you decide to use this strategy, disable the Windows Paging file by following the steps listed below:
Note: The instructions will work on both Windows 10 and Windows 11.
- To bring up the Run dialog box, press the Windows key + R.
- To enter the System Properties page with admin access, put “sysdm.cpl” into the text box and click Ctrl + Shift + Enter.
Access the system Properties screen - When in the System Properties window, select the Advanced tab from the menu at the top, then click on the Performance Settings button.

Access the Settings menu of Performance - Select the Change button under Virtual Memory from the Performance Options menu’s Advanced tab at the top.
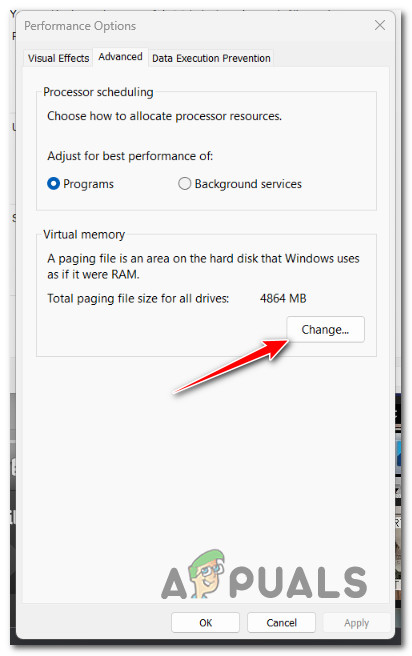
Accessing the paging file - After you’ve reached the Virtual Memory menu, deselect the box next to Automatically control paging file size for all drives.
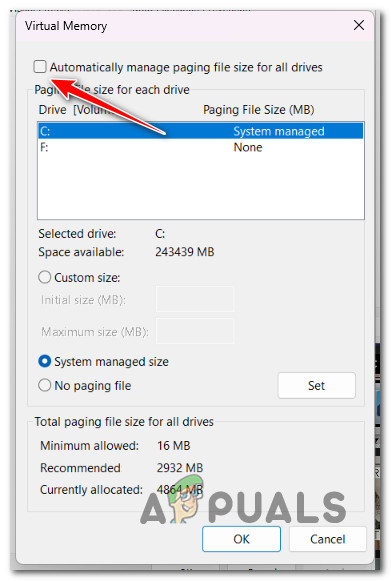
Disabling the paging file - Select the No paging file option to save the changes and click Ok.
- After the next startup is finished, restart your computer to determine if the issue has been resolved.
8. Use System Restore
If you’ve followed every method above and come up empty-handed, you should look into a potential 3rd party interference causing the unexpected system shutdowns with the 6008 error.
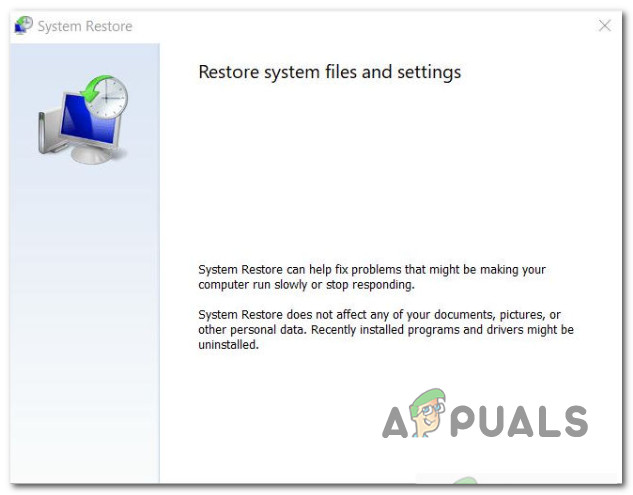
Since the list of potential culprits is virtually endless, a quick way to eliminate a conflicting 3rd party process, service, or startup item from your culprit list is to use System Restore.
This built-in tool will allow you to restore your machine to a timestamp when this conflict was not present (a new driver installation, a driver swap, the installation of new software, etc.).
IMPORTANT: System Restoration is configured to create and save new restore snapshots when a significant system event occurs. If you don’t alter this default behavior, you should have many restoration pictures to choose from.
Follow this article for specific instructions on deploying a System restore operation and reverting your PC to a healthy state where the issue was not present.
If the problem is still not resolved, switch to the method below.
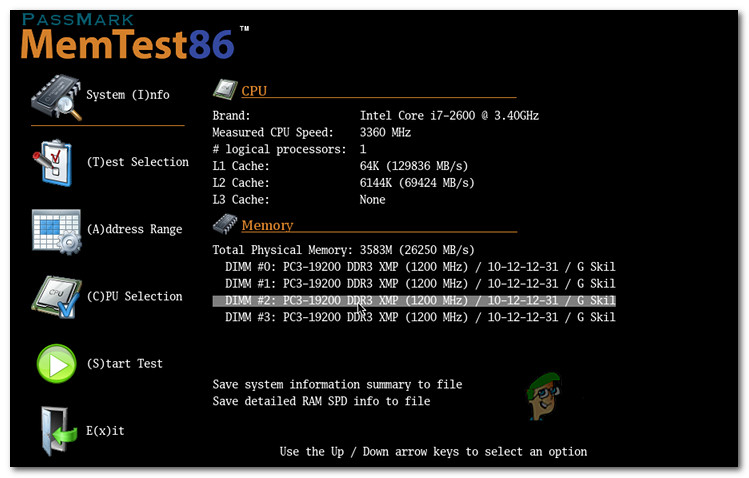
9. Perform Memtest and replace RAM (if applicable)
Defective RAM may also factor in this 6008 Event Id error, as it can cause memory leaks and serious system crashes. If you frequently experience severe system crashes, try to run a Memtest to check the integrity of your RAM stick(s).
Note: If you have dual-channel RAM installed, you can try removing just one stick at a time to see if the issue is still present.
In addition, you should test the integrity of your RAM stick using a program like Memtest.
Important: If your RAM has ever been overclocked, we advise reversing any voltage overclocked frequency and monitoring your temperatures while running a stress test using a program like HWMonitor.
Your only choice is to look for a replacement if the Memtest tool on your RAM has revealed a memory problem.
If this method fails to identify a simple RAM problem, move on to the next potential solution below and eliminate this potential offender from your list.
10. Deploy the CHKDSK scan
Some Windows 10 and Windows 11 users using conventional HDDs claim that this issue might also arise from defective sectors on your HDD, which may be causing general system instability.
Your system might generate 6008 event id errors each time the integrity of your drive is tested for faulty sector data.
The good news is that we discovered user reports indicating that performing a CHKDSK scan completely resolved their problem.
To run a CHKDSK scan on your Windows 11 PC, follow these steps:
- To enter the Run dialog box, first press Windows key + R.
- To open an elevated Command Prompt, type “cmd” in the box and hit Ctrl + Shift + Enter.

Open an elevated CMD window - To give someone administrative rights, select Yes when prompted by UAC (User Account Control).
- To start an offline scan, enter the following command at the elevated Command Prompt and click Enter.
chkdsk /f
- After the procedure is finished, restart your computer and check to see if the problem is fixed when the system starts up again.
- After running a CHKDSK scan, use your PC normally and see if the same issue is still occurring.
If it is, move down to the next method below.
11. Check HDD or SDD health
If you’ve come this far without a viable fix, it’s about time you consider a potentially failing drive (especially if you’re using a conventional HDD).
Your disk may start to fail if it occasionally maintains 100% utilization, and it tends to trigger a system crash during tasks involving data transfer.
Fortunately, there is this free third-party tool called Speccy that you can use to determine whether your HDD or SSD is failing.
Use this tool to receive a summary of roughly 30 SMART points that gauge the condition of your drive.
Note: Your drive is not malfunctioning if all the measurements are within the normal range.
The steps listed below will help you install and use Speccy to determine whether a failing drive is causing the 6008 error:
- Start by launching your preferred browser and going to the Speccy download page.
- Select the Download option for the Speccy free version when you are there.

Downloading the Speccy software Note: As of right now, you can check out the SMART parameters without purchasing the premium (Professional) edition, so avoid doing so unless you will utilize it.
- Double-click spsetup.exe after the download is finished, and then select Yes when User Account Control (UAC) is prompted to give the necessary admin access.
Download to install - After entering the installation prompt, follow the instructions to finish installing Speccy. When requested, restart your computer.
- After your computer has restarted, launch Speccy and wait until the preliminary scan is finished before selecting Storage from the menu on the left.
- Scroll down to the Smart Attributes area in the right-hand corner.
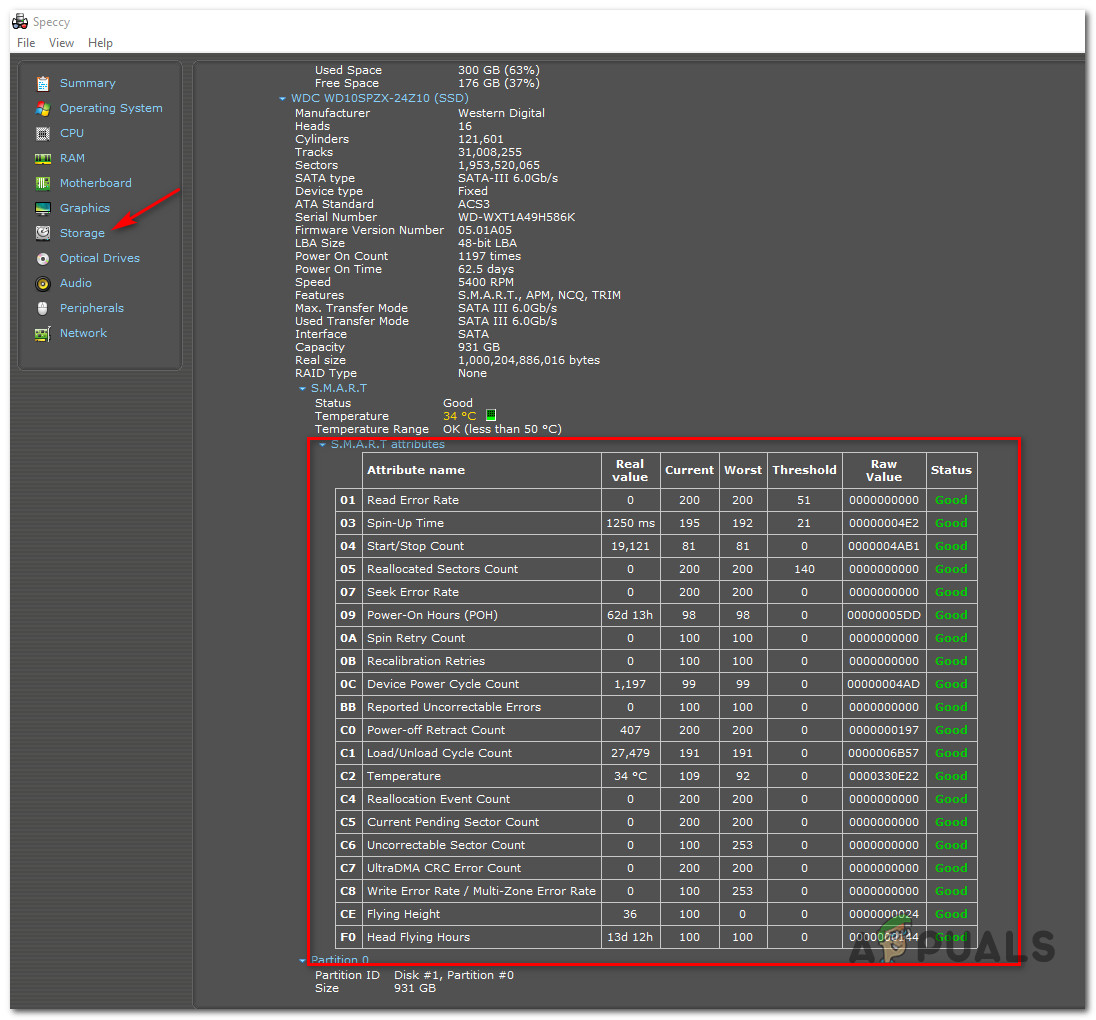 Note: Examine each attribute name’s status to determine if any values differ from what is anticipated. If you discover several characteristics that are not marked as Good and are above the threshold, you can infer that the drive in question is starting to malfunction.
The only option at this point, if your examination has revealed that you are dealing with a failing disk, is to look for a replacement and back up your current data while you can still boot normally.
If you’ve just determined that the issue is unrelated to a failing drive, continue to the next possible solution below.
12. Clean install or repair install
You might be dealing with a systemic issue if none of the above solutions have been able to help you fix the issue. The last resort is to reset every Windows component to fix the system file corruption causing the 6008 event ID error.
You have two choices when it comes to resetting every system component of your Windows installation:
- Repair install – The repair install option is the best for fixing any corruption on Windows 10 or 11. Although you’ll need appropriate installation CDs, the main advantage is that all of the games, apps and personal files currently on the OS disk can be kept.
- Clean install – Because you don’t need to use any installation CDs, this is the easiest procedure (you can initiate this procedure directly from the GUI menu). The main drawback is that unless you back up your C: disk beforehand, you will lose all of your media, games, apps, and user preferences.


