Memory Integrity Causing Windows to Crash? Try these fixes
Enabling Memory Integrity in Windows can sometimes result in a Blue Screen of Death (BSOD) error. This can lead to frequent and unexpected crashes, making it difficult to use your device.
The root cause of this issue is typically related to compatibility issues between the Memory Integrity feature and certain hardware components or drivers.

Below, we have discussed the troubleshooting methods you can try to fix the issue, in detail. Let’s get right into it!
1. Install the Latest Updates
The first thing that we recommend doing is installing the latest system updates. The update may contain fixes or patches for known issues related to memory integrity, so it can be a good first step in resolving the problem.
Here is how you can install the latest available updates:
- Press the Windows + I keys together to open the Windows Settings.
- Choose Windows Updates from the left pane.
- Now, click on the Check for updates button on the right side of the window. The system will scan for the available updates and list them.
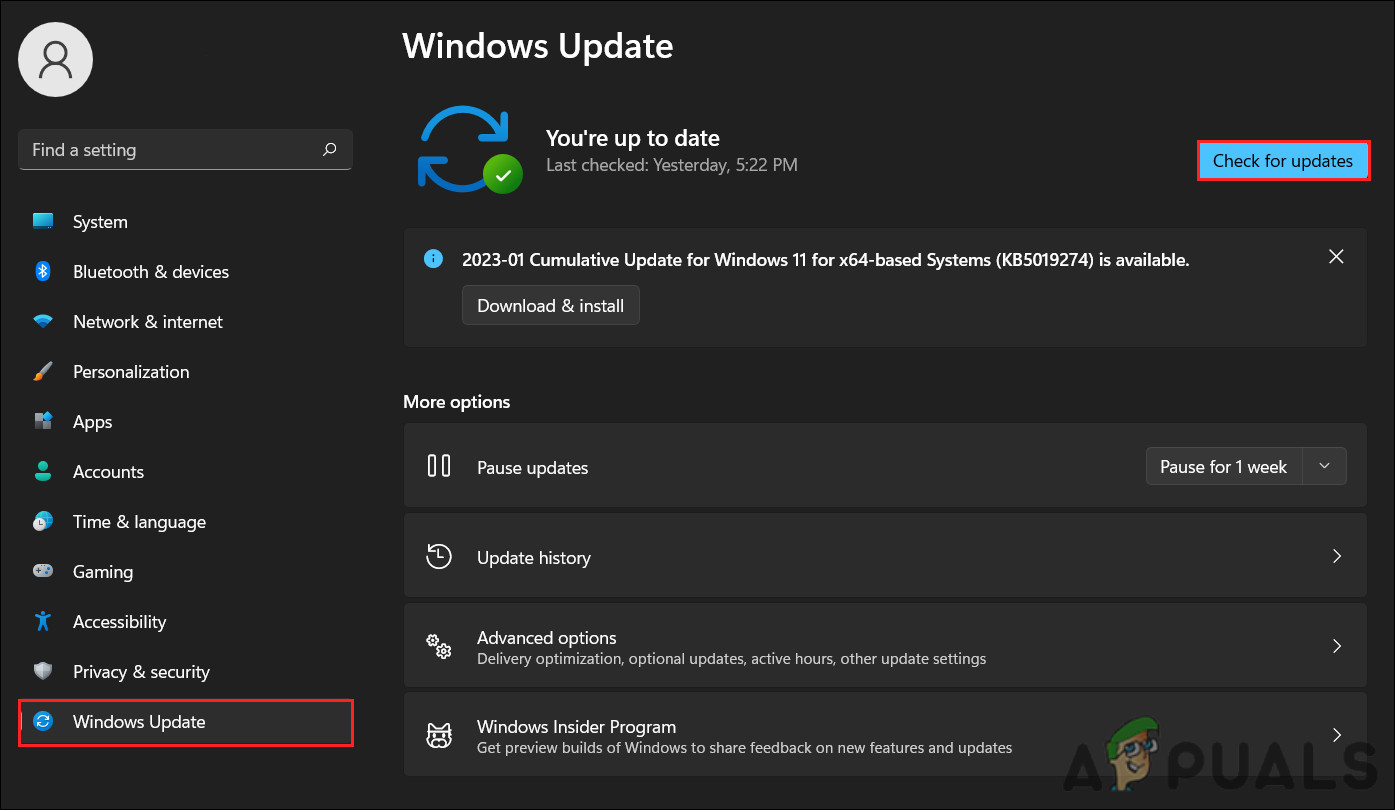
Click on the Check for updates button - Click on the Download & install button for each update and wait till all of them are installed.
- Restart your computer and then check if the issue is resolved.
2. Enable/Disable CPPC
CPPC (Connected Standby Performance Constraints) is a power management feature in Windows. It helps to conserve battery power and reduce the energy consumption of a device. When the Memory Integrity feature is enabled, the operating system implements stricter constraints on device power usage, which can cause system crashes.
Several users reported that they managed to resolve the crashing problem by disabling CPPC when the PSS (Performance Supported Services) support feature was enabled. If this feature is disabled on your computer, then enabling CPPC can fix the issue. In short, in several cases, if both of those options are enabled at the same time, you are likely to encounter the problem under consideration.
Below, we show you how you can enable or disable CPPC in Windows. If you want to change the configuration of PSS, you need to contact Microsoft Support and request assistance with a performance issue.
You’ll be asked to provide information about your Windows version and its hardware configuration. In order to gather information about your system, Microsoft may ask you to install specific software as well.
To enable CPPC, here is all that you need to do:
- Press the Windows + R keys together to open a Run dialog.
- Type control in the text field of Run and hit Enter.
- In the following window, expand the View by category and choose Large icons.
- Click on Power options from the list available.

Access the Power Options - Now, navigate to Change plan settings > Change advanced power settings.
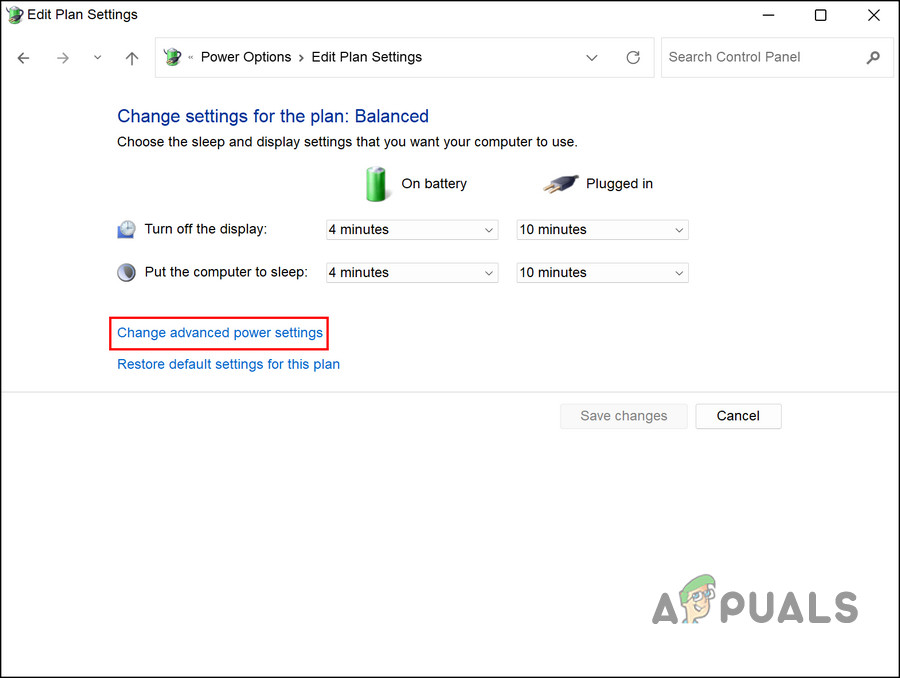
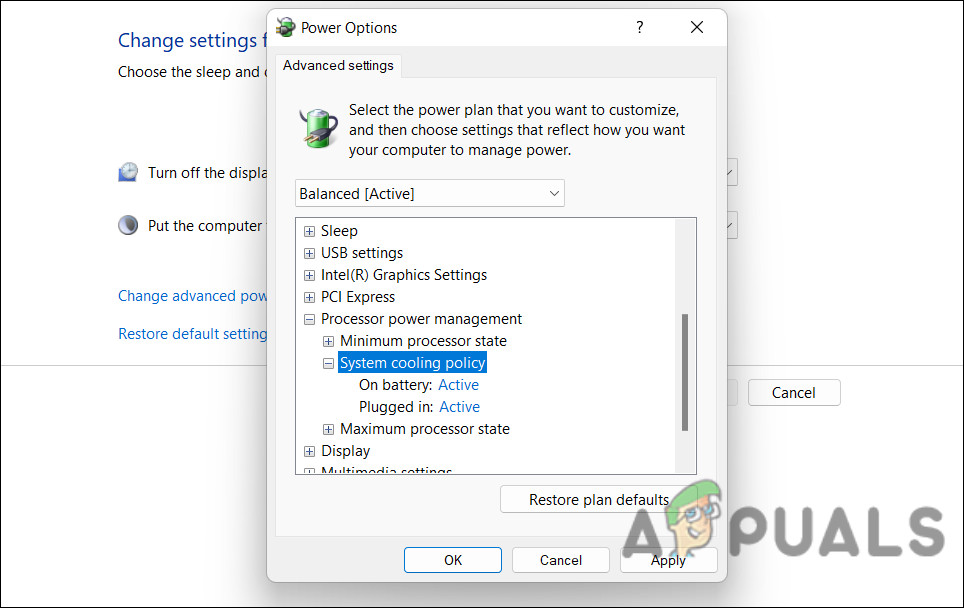
Change the advanced power settings - Expand the Processor Power Management category.
- Expand the Minimum processor state setting and change the value to a percentage recommended by your manufacturer. You can contact technical support for more specific information.
- Next, expand the System cooling policy section and choose Active.
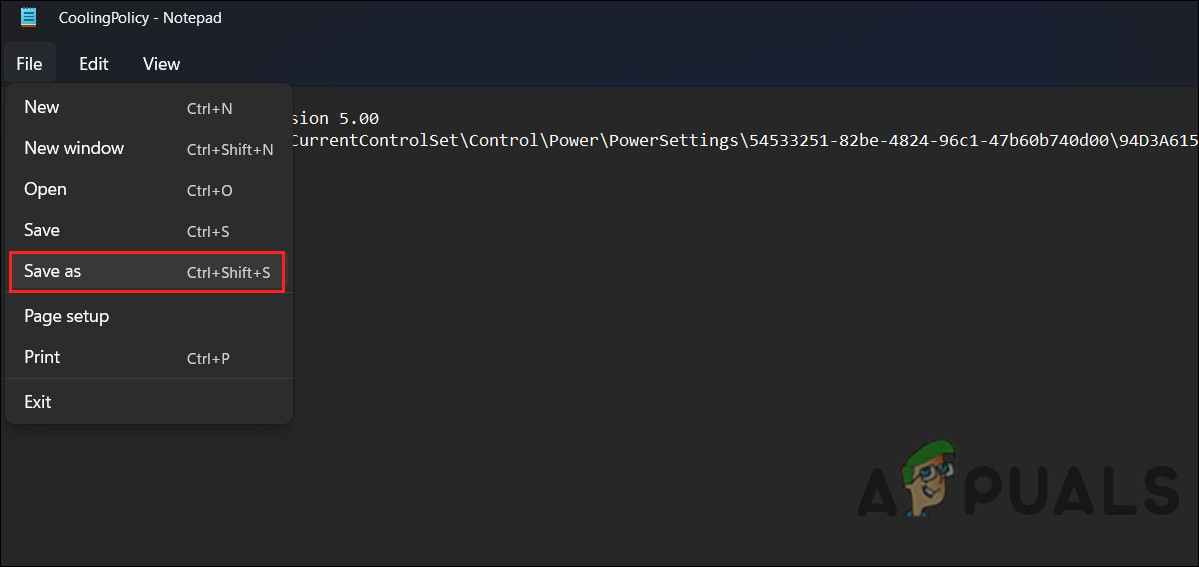
Enable the System Cooling Policy - In case you cannot view the System cooling policy section, open the Notepad app on your computer and copy/paste the following code in it:
Windows Registry Editor Version 5.00
[HKEY_LOCAL_MACHINE\SYSTEM\CurrentControlSet\Control\Power\PowerSettings\54533251-82be-4824-96c1-47b60b740d00\94D3A615-A899-4AC5-AE2B-E4D8F634367F]
"Attributes"=dword:00000002
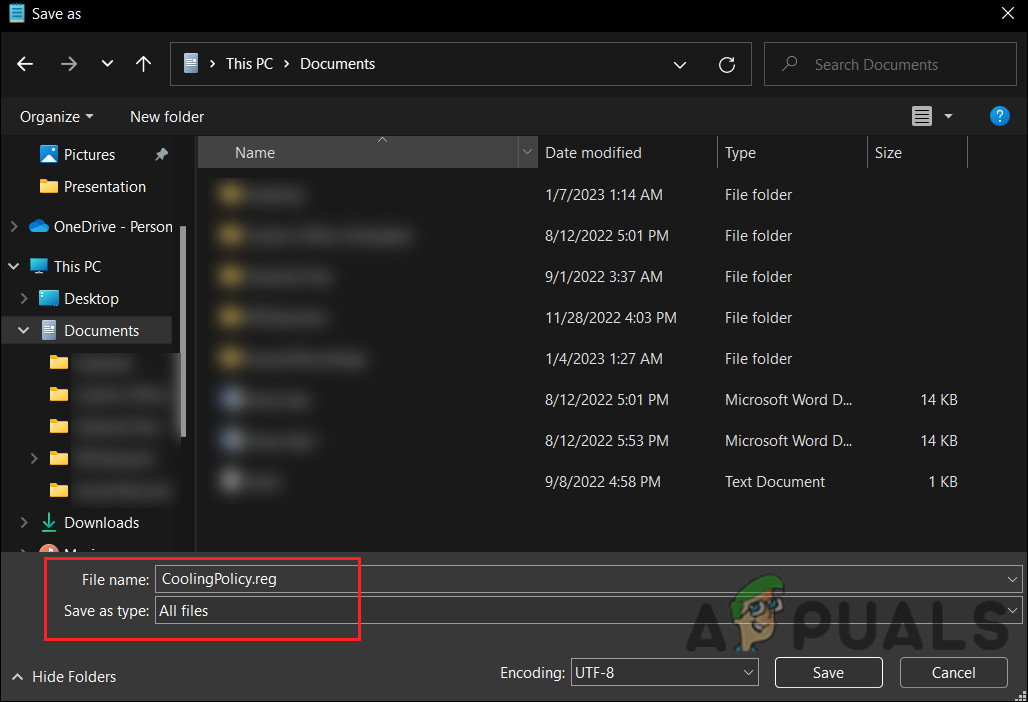
- Click File > Save As.
Save the file - Enter a name for the file and add .reg at the end. For instance, CoolingPolicy.reg.
- Expand the Save as type dropdown and choose All files.
Save the file as .reg - Now, double-click on the newly created file and click Yes in the User Account Control prompt. This will export these settings to the Registry Editor.
- In the next dialog, click OK.
- Open the Change advanced power settings dialog again and expand the Processor Power Management category.
- You should now see the System cooling policy section. Expand it and set it to Active.
- Click Apply > OK to save the changes.
If you want to proceed with disabling CPPC, we will be stopping the Microsoft Hyper-V Accelerated AMD Processor driver. The mentioned driver is used to enable this technology in Windows.
- Press the Win + S keys together to open the search utility.
- Type Device Manager in the search bar and open it.
- Expand the System Devices section.
- Look for the Microsoft Hyper-V Accelerated AMD Processor.
- Right-click on it and choose Properties from the context menu.

Access the properties of the driver - Head over to the Driver tab and click on the Disable Device button.
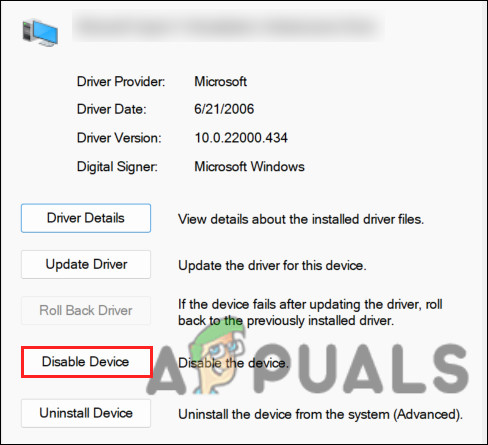
Disable the driver - Click Apply > OK to save the changes and then restart your computer.
Hopefully, this will fix the crashing issue on your computer.
3. Update BIOS
There could also be compatibility issues between the memory integrity feature and certain components in your system, such as your BIOS, drivers, or hardware which is causing the crashing. Updating the BIOS could potentially address these compatibility issues and resolve the crashes.
In general, updating a BIOS is similar across all computers, but there can be some differences based on the manufacturer, motherboard model, and method. It is possible to update the BIOS from a bootable USB drive, by using a BIOS update utility provided by the manufacturer, or by using the BIOS setup utility.
In either case, it’s important to follow the manufacturer’s instructions carefully when updating the BIOS, since a failed BIOS update can brick the motherboard, making the computer inoperable. It’s also recommended to back up important data before updating the BIOS.
We have discussed the method of updating BIOS of HP and Dell in detail, in our previous posts. Make sure you follow the steps carefully for successful execution.


