[FIX] Incompatible Drivers Blocking Memory Integrity and Core Isolation
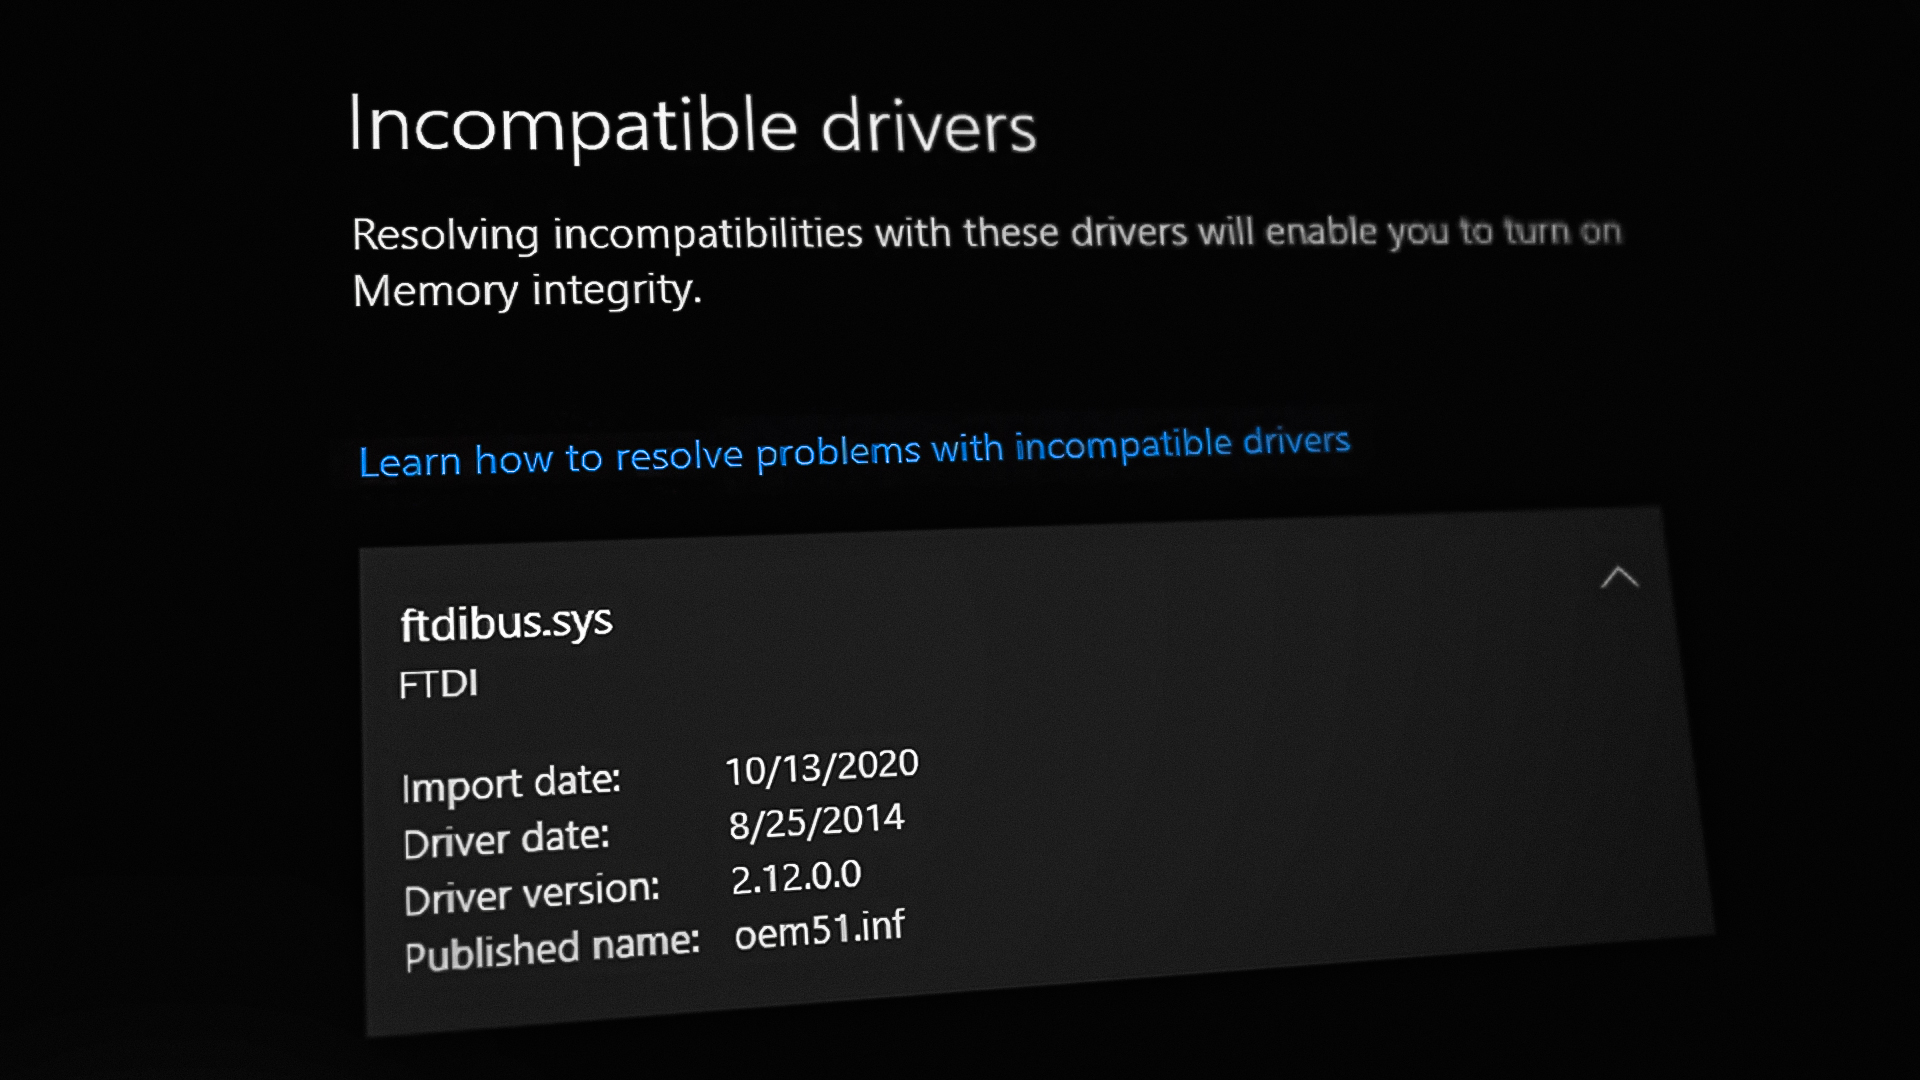
The Incompatible drivers window typically appears when users attempt to enable or restart the Core Isolation function inside Windows Defender. This issue also appears after Windows Security highlights that the Memory Integrity feature is suddenly turned off. This problem is confirmed to occur on both Windows 10 and Windows 11.
It’s confirmed that an outstanding infrastructure update might be responsible for this error, but in most cases, the problem is indeed related to an incompatible driver belonging to FTDI Bus Driver. You can take steps to update it, uninstall it via the CDM Uninstaller, repair the driver structure, remove all the remnants using Autoruns, or delete it manually.
Another way to fix this error is to disable CPU-based virtualization – if VTX or SVM is disabled, Windows Security won’t have a reason to enable core isolation or memory integrity.
In some circumstances, you can also experience this error due to a corrupted USB controller driver.
If you’re just starting to troubleshoot the Incompatible Drivers error, follow the confirmed fixed below.
1. Install the Latest Windows Updates
One of the most common causes of this issue is when there is at least one outstanding infrastructure update that has to be deployed. As it turns out, your OS might be unable to launch the Core Isolation function if the latest security update is not installed.
If you’re just beginning to troubleshoot the issue, the first step in resolving this issue should be to install all pending Windows updates.
Follow the instructions below to access the Windows Update component and ensure that you are using the most recent release of Windows 11.
Here’s what you need to do:
- Open the Run dialog box by pressing Windows + R.
- In the text box, type “ms-settings:windowsupdate” and click Enter to go to the Windows Update tab of the Settings application.
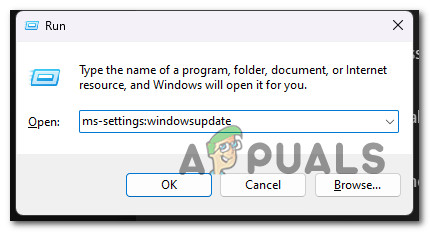
Access the Windows Update screen - Unless you tinkered with the default UAC settings, you may now receive an Account Control Prompt. In this case, select Yes to grant admin access.
- Next, on the right, click Check for Updates.
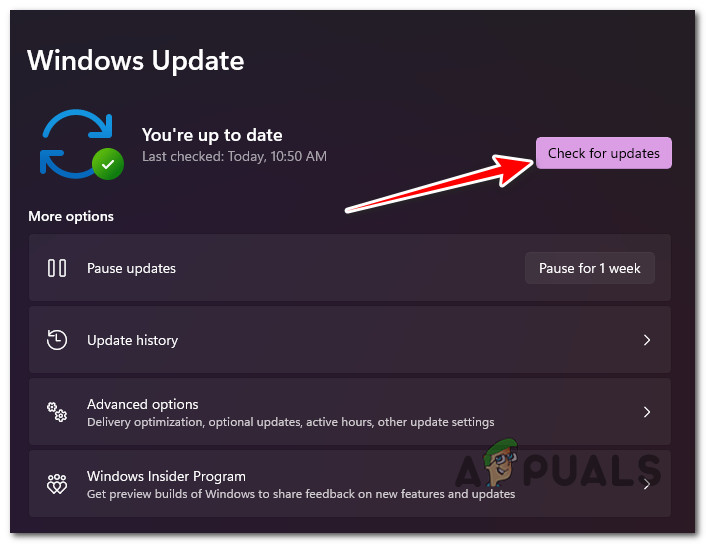
Checking for Updates - When the update has been downloaded locally, select Install Now to begin the installation process.
- Restart your computer to see if the problem has been resolved.
2. Update FTDI driver from the official website
The most frequent cause of this error is when the core isolation or the memory integrity feature of Windows Security is actually blocked by a severely outdated driver belonging to the FTDI BUS Driver service which is an integral part of the USB Serial Converter Driver.
Note: FTDI (the parent company of this driver) is specialized in USB devices that bridge the gap between legacy devices and modern computers.
If you’re on Windows 10 or Windows 11, The FTDI BUS Driver is likely a remnant driver from the Windows 7 era. If you always upgraded your OS instead of clean installing it since Windows 7, chances are this legacy kept being migrated by the Windows upgrade agent whenever you upgraded to a new operating system version.
This driver doesn’t have the ability to update itself, but the good news you can do it manually by accessing the official website and downloading the latest version for your Windows version.
In case you still use the FTDI BUS Driver service in some capacity, follow the instructions below to update it to the latest version available and avoid the ‘incompatibility’ flag:
- Open any browser and navigate to the official FTDI Chip website.
- Once you’re inside the home page, click on Drivers from the ribbon bar at the top.

Accessing the Drivers tab - Inside the dedicated drivers’ page, click on the ‘here‘ hyperlink associated with Click here to download the Windows 7 to Windows 11 and Windows Server driver installer.
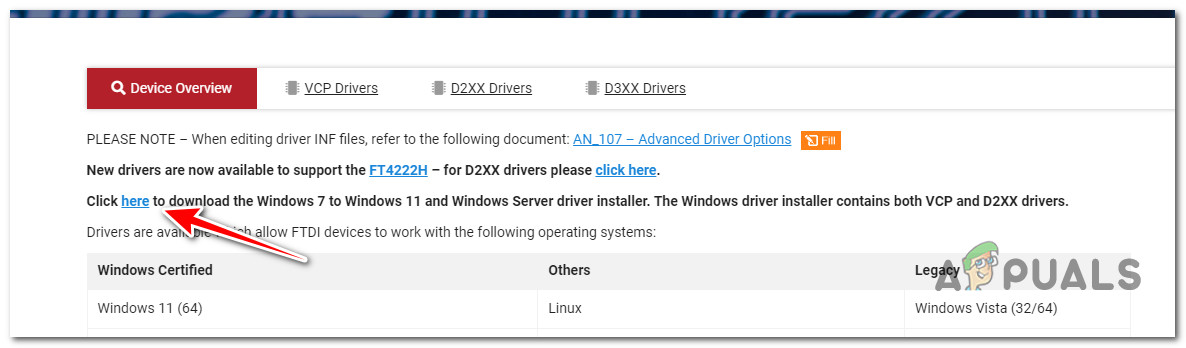
Download the latest driver version - Once the download is complete, extract the contents of the .zip files and run the setup screen.
- At the User Account Control, click Yes to grant admin access.
- Once you get to the first menu, click on the Extract button to extract the driver.
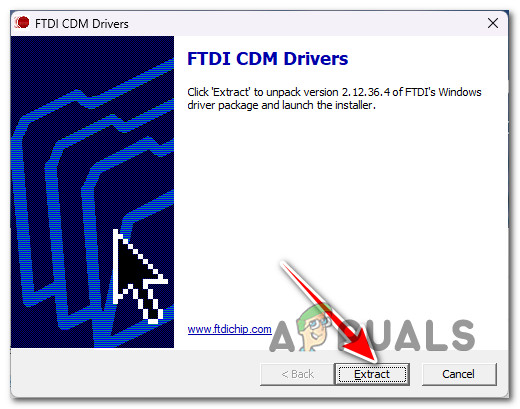
Extract the driver locally - Once the driver is extracted, you will see a new installation wizard popping up.
- Click next at the first prompt, then follow the instructions to accept the User Agreement by enabling the I accept this agreement toggle.
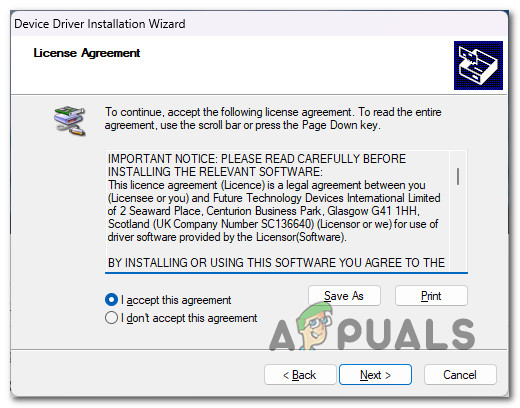
Access the license agreement - Wait until the operation is complete, then reboot your PC and see if the ftdibus.sys is fixed at the next startup by attempting to enable core isolation or more integrity from Windows Security.
3. Run the CDM Uninstaller (if applicable)
If you previously used software from FTDI, there’s a big chance you see the Incompatible drivers error due to a problem caused by legacy versions of the FTDI USB-Serial converters.
This problem is quite widespread on every Windows version from Windows 7 to Windows 11. To address this issue, you’ll need to run the DM uninstaller to uninstall all devices signed with Vendor ID 0403.
Note: This procedure will affect every USB-serial converter signed by FTDI and any other product currently installed on your PC that uses the FTDI chipset. Only follow the instructions below if you have FTDI software installed.
Running the CDM uninstaller will also help fix a conflict between two or more converters installed on one computer and conflicts caused by a driver version mismatch.
Follow the instructions below to run the CDM Uninstaller utility to fix the Incompatible drivers: ftdibus.sys error:
- First, make sure you disconnect the USB cable of your FTDI converter from your PC before proceeding to step two.
- Next, go to your desktop and create a new folder that will serve as the host for the driver uninstaller. Right-click on an empty space, then click on New > Folder.
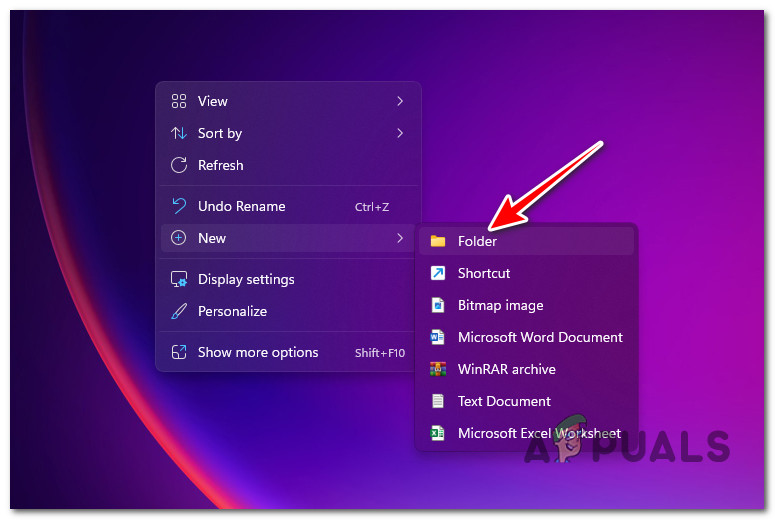
Creating a new folder - Name the newly created folder CDMuninstaller and press Enter to save the changes.
- Open your browser and visit the official download page of the CDM Uninstaller.
- Once you arrive at the correct location, scroll down to the CDM Uninstaller 1.4 section and click on the Download CDM Uninstaller hyperlink.
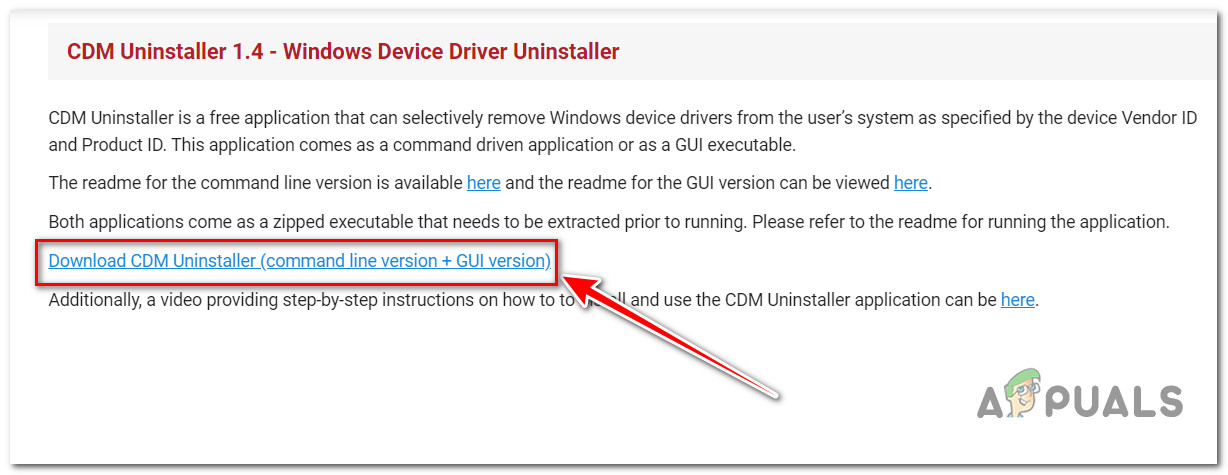
Download the CDM uninstaller - Once the .zip archive is downloaded locally, extract its contents into the CDMuninstaller folder that you created in step 6.
- Navigate to the CDMuninstaller folder and click on Run as administrator from the contexts menu that just appeared.
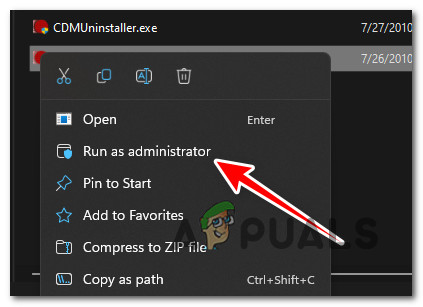
Running with admin access - Click Yes at the UAC (User Account Control) to confirm admin access.
- From the next screen, leave the vendor ID as 0403, and delete the entry 6001 in the Product ID box to leave it blank as shown below.
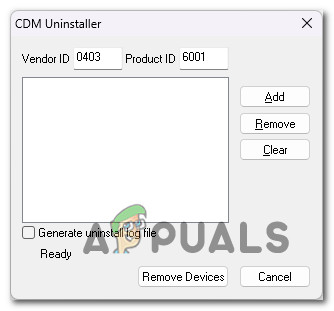
Remove all FTDI devices - Next, click on the Add button in the side menu on the right.
- Once the VID_0403 PID_ entry appears, click on Remove Devices from the bottom of the screen.
Note: Once you do this, all the drivers for all FTDI converters will be removed. After you do this, you should no longer see any FTDI-related errors. - Restart your PC and see if the problem is now fixed.
4. Disable Intel or AMD Virtualization (if applicable)
Keep in mind that memory integrity & core isolation are two security settings that your OS will not attempt to start if virtualization is disabled at a BIOS or UEFI level.
If you’re looking for a quick fix that will stop the incompatibility ftdibus.sys errors without treating the root cause of the issue, you can simply disable Virtualization inside the BIOS settings.
Note: This action will affect other 3rd party programs that need virtualization. Skip this method if you use VirtualBox, QEMU, Citric, BlueStacks, VMware Fusion, Parallels Desktop, Oracle VM Virtual Box and VMware Workstation, and any other virtualization software.
Depending if you’re using an AMD or Intel CPU, the virtualization technology that you are using will be different:
- If you have an Intel CPU, you must disable the Intel (Intel Virtualization Technology) (a.k.a. Intel VT-x)
- If you have an AMD CPU, you must disable AMD (AMD Secure Virtual Machine) (a.k.a. AMD SVM)
If you want to go for this fix and you understand that this action might affect other 3rd party apps and you’re fine with it, follow the instructions below to disable virtualization:
- Start the computer and, when the welcome screen shows, press the designated Setup key to enter the UEFI or BIOS settings. This should be indicated by a specific button somewhere on the screen.
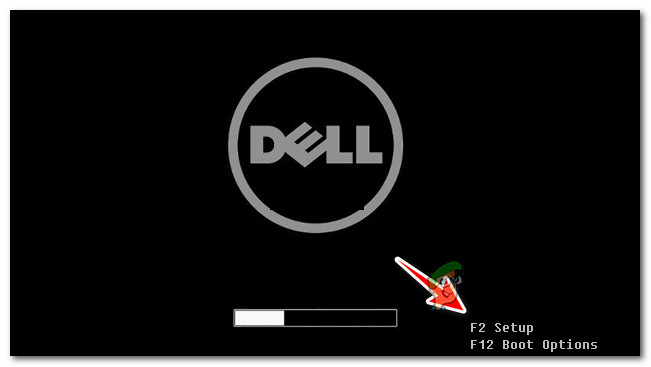
Access the Setup screen Note: If you don’t see a SETUP screen or if it scrolls too quickly for you to see, visit your manufacturer’s website for more information. In some cases, you may need to reference the official literature or visit their website for detailed instructions. Esc, Delete, F1, F2, F10, F11, and F12 are frequently used Setup keys. You can also refer to our article where we listed all the common keys required to access BIOS on different motherboards.
- Once you’re inside the UEFI or BIOS settings, navigate to the Advanced tab and choose CPU Configuration from the list of sub-options.
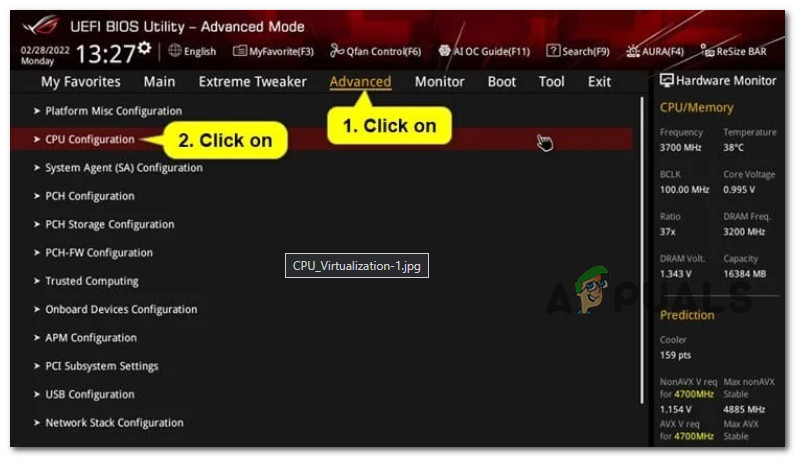
Access the CPU configuration screen - Depending on whether you have an Intel or AMD processor, perform one of the following steps:
For AMD CPUs – enable SVM Mode from the Advanced settings menu.
For Intel CPUs – enable Intel (VMX) Virtualization Technology.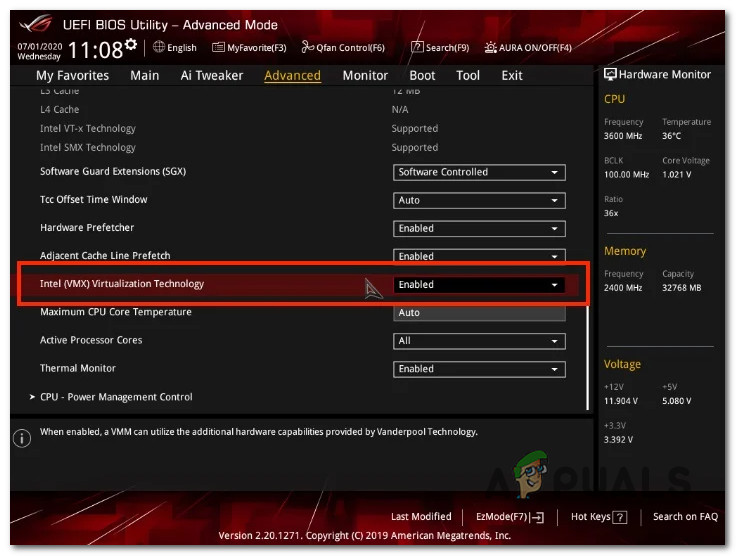
Disabling the VMX virtualization for an AMD CPU - After making this modification, hit or click the Quit tab to save your changes and restart your computer normally.
- After restarting your machine, repeat the action that was causing the incompatibility prompt and see if the problem is now fixed.
5. Reinstall all Universal Serial Bus Controllers
This problem can also be indirectly caused by an inconsistency rooted inside the Serial Bus Controllers drivers.
If you get the ftdibus.sys error when attempting to use a device connected via USB, reinstalling the FTDI BUS Driver will not help you fix the issue. In this case, you’ll need to reinstall the entire fleet of USB controllers.
The easiest way to do this is to use Device Manager to uninstall every USB controllers that may have contributed to this problem. By doing this, you will force Windows to reinstall the generic set of USB controller drivers at the next startup.
Here’s a simple tutorial on how to uninstall and reinstall USB controllers using Device Manager:
- Hit the Windows key + R to bring up the Run dialog box.
- Next, to open Device Manager, type ‘devmgmt.msc’ and press Enter.
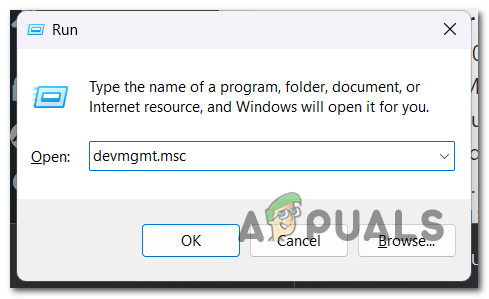
Open up Device Manager - At the UAC (User Account Control) prompt, click Yes to grant admin capabilities.
- In Device Manager, scroll down the list of available devices and expand the drop-down menu for Universal Serial Bus controllers.
- Next, right-click each Host controller listed under Universal Serial Bus controller and select Uninstall device from the context menu.
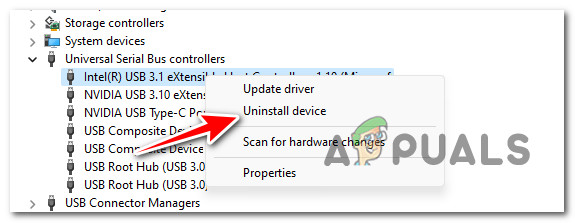
Uninstalling the USB Control driver - At the confirmation box, select Yes to delete the device.
- Repeat steps 5 and 6 until every USB host controller has been uninstalled, then close Device Manager and restart your computer.
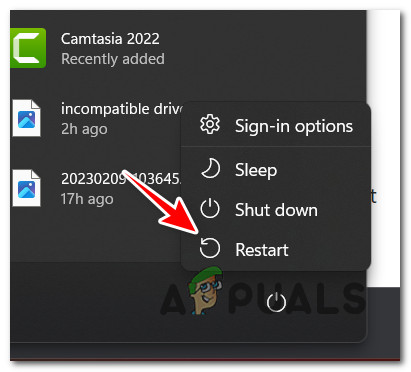
Restart your PC Note: During the next startup process, Windows should detect that you are lacking some USB drivers and install the missing host controllers.
- After uninstalling the USB host controller drivers, retry the action that previously caused the issue to check if it has been resolved.
6. Use Autoruns to delete the driver
If you get this incompatibility error exclusively the ftdibus.sys driver, one easy way to take care of the issue is to use Autoruns to remove every mention of the incompatible driver.
This is especially useful in situations where you already tried removing the driver and you still have some remnant files that are causing this problem.
Note: Autoruns can help you locate, group, and eliminate superfluous runonce, run, startup folders, and registry keys. In this case, we’ll use it to completely delete the driver and eliminate the conflict that is preventing you from enabling Core Isolation or Memory Integrity.
Here’s a quick guide to setting up and using Autoruns to fix and remove every mention of the ftdibus.sys driver:
- Begin by downloading the most recent version of the Autoruns utility.
- To begin the download, navigate to the Autoruns download page in any browser.
- Once on the relevant website, choose Download Autoruns and Autorunsc.

Downloading Autoruns - Once the download is complete, unzip the file and double-click the Autoruns program to start it.

Extracting autoruns - Once Autoruns has been begun, wait until the Everything list is complete. Then, browse down the list of accessible Autorun entries until you find the file stated at the end of the error.
Note: If the incompatible driver is ftdibus.sys search for it using the search functionality. You can either search for it manually or use the search function at the top of the program. - Remove every mention of the ftdibus.sys driver, then restart your PC and see if the incompatibility has been fixed.
7. Reformat driver structure with DISM
This problem can also occur due to an improper driver structure. As it turns out, there are documented scenarios where the ftdibus.sys driver is not actually incompatible – it’s just incorrectly formatted in the driver’s table. This will force Windows Security to label it as incompatible.
Update: Microsoft has recently changed and updated the driver list structure at the end of 2022 and FTDI (the company that developed the underlying ftdibus.sys) didn’t update to the new naming convention.
Fortunately, if this scenario si applicable, you can use a DISM command to get the list of drivers under your local computer and modify the naming convention using the pnputil command to delete the driver from the list.
Here’s a quick step-by-step guide that will allow you to do this:
- Press Windows key + R to open up a Run dialog box.
- Next, type ‘cmd’ and press Ctrl + Shift + Enter to open up an elevated Command Prompt.
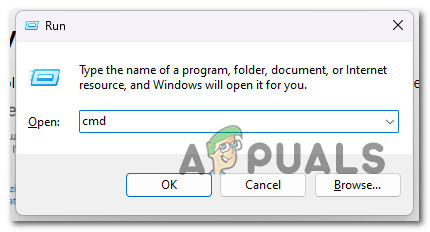
Open up an elevated Command Prompt - When you see the User Account Control (UAC), click Yes to grant admin access.
- Inside the elevated CMD, type the following command and press Enter to fetch the local list of drivers:
dism /online /get-drivers /format:table
Note: This command will not work if you didn’t open CMD with admin access.
- Once the results are in, take note of the Published Name of the driver that you are attempting to uninstall (ftdibus.sys)
- Next, use the pnputil command to delete the driver from your PC:
pnputil /delete-driver <Published Name> /uninstall /force
Note: Keep in mind that < Published Name > is simply a placeholder. Replace with the actual name of the driver.
- Once you successfully run the command, the device driver will completely be removed.
- Reboot your PC and see if the problem is now fixed.
8. Delete the ftdibus.sys driver manually
If you prefer the brute force method and you have no use for the incompatible driver (ftdibus.sys), one easy way to prevent Windows from showing the error is to go into your System32 directory and delete it manually.
Important: Don’t follow this method if you’re actively using a converter from FTDI. This will break the functionality of the FTDI Bus driver and prevent the device from being discovered.
But if the ftdibus.sys is a remnant from a driver that you no longer use, you can safely follow the instructions below to delete the driver file manually:
- Press Windows key + E to open up File Explorer.
- Use File Explorer to navigate to the following location:
C:\Windows.old\Windows\System32\drivers
Note: If you’re on Windows 10 or older, navigate here instead: C:\Windows\System32\drivers
- Inside the drivers’ folder, locate the ftdibus.sys driver. When you see it, right-click on it and click on Delete from the context menu.
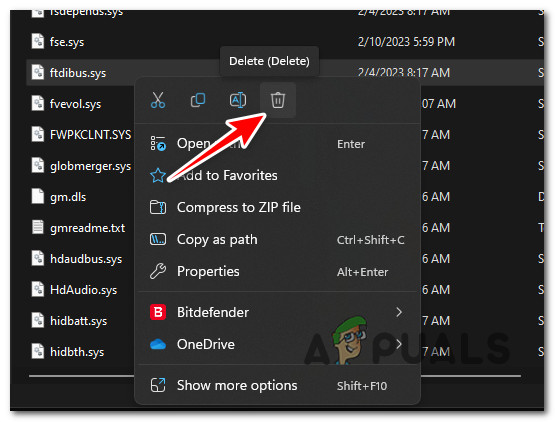
Delete the driver - Once the driver has been removed manually, restart your PC and see if the problem is fixed at the next startup.


Did you verify that newer FTDI drivers are compatible with core isolation or did you just use FTDI as a sample for steps usually required to solve core isolation issues?
I had, before seeing your post, performed all steps mentioned by you but even newer FTDI drivers still seem to be not compatible with core isolation.