PxHlpa64.sys Prevents the Enabling of Memory Integrity on Windows 11
Some Windows 11 users are reporting that they constantly get a warning that Memory Integrity is turned off. However, the weird thing is whenever they attempt to enable memory integrity, the action fails, and PxHlpa64.sys is listed as the main incompatible driver.
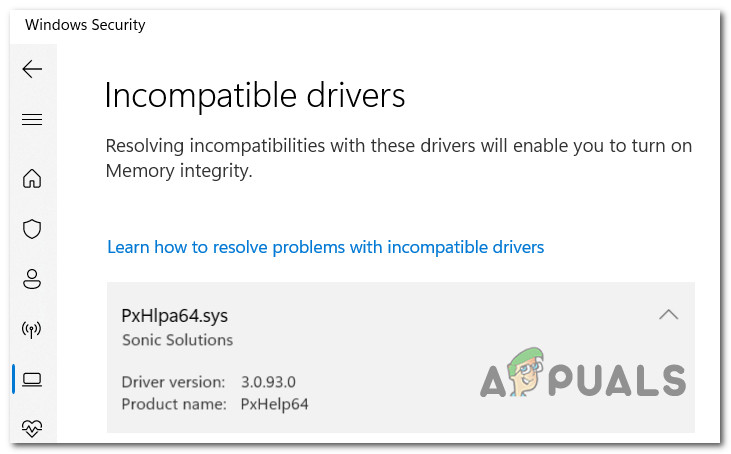
It turns out that there are several different underlying causes of why you can expect to deal with this particular issue. Here’s a shortlist of potential scenarios that might cause this problem:
- Memory integrity is disabled at a Registry level – You should first try to activate memory integrity using Registry Editor forcefully.
- PxHlpa64.sys still produces effects despite not being used – If the PxHlpa64.sys is not used by your PC, you can simply use Registry Editor to disable this file effectively. All you need to do is create a new Start DWORD that will keep this file disabled. Additionally, you can simply remove the PxHlpa64.sys file via an elevated Powershell.
- Interference caused by Roxio – Numerous impacted users claim that Roxio, a DVD burning program known to interfere with Windows 10 and Windows 11’s memory integrity feature, is also indirectly to blame for this issue. Other users experiencing a similar problem while installing Sonic (Roxio) on their computers stated that the problem was resolved once the program was uninstalled.
- System file corruption – System file corruption is yet another culprit if you have already attempted all the other potential fixes with little success. If the issue persists, you should try to deploy SFC and DISM scans quickly and work your way to a clean install or repair install procedure.
- Bad Windows update – Numerous individuals who have experienced this problem have confirmed that, in their particular circumstances, the issue was caused by a flawed Windows upgrade (KB5017026). Many impacted customers stated that the issue was resolved permanently and that they could use the memory integrity feature without any problems after uninstalling this problematic update.
- Missing Ownership of PxHlpa64.sys – If you don’t take the time to gain complete ownership of the file, you might not be able to activate memory integrity on your PC. You may safely remove a file and activate memory integrity only once you own it. Otherwise, you will continue to receive the same error.
- Hardware virtualization is disabled – When you try to activate memory integrity in Windows 11, you can get this issue if your BIOS settings for virtualization are off. You can quickly fix this by visiting your BIOS/UEFI settings and reactivating virtualization technology.
- Secure boot is disabled – Without Secure Boot functionality on your PC, Memory Integrity cannot be activated. If secure boot is indeed turned off on your computer, you may turn it back on via the BIOS or UEFI settings.
- TPM 2.0 is disabled – Support for TPM 2.0 is one less well-known need for turning on memory integrity in Windows 11. Given that TPM 2.0 is a crucial requirement, there are several procedures you must do to make sure that TPM support is activated.
Now that we have gone over every potential reason why you might deal with this PxHlpa64.sys incompatibility issue let’s go over a series of verified fixes that other affected have successfully used to get to the bottom of this issue.
1. Force Memory integrity to ON via Registry Editor
Keep in mind that on Windows 11, memory integrity is off by default. But there are a lot of scenarios where Windows Update will turn it on and trigger this incompatibility error.
If you are unable to enable the memory integrity feature conventionally since you always get the same error, the first thing you should attempt to do is to enable memory integrity via Registry Editor forcibly.
Note: Keep in mind that for Memory Integrity to be enabled successfully, Secure boot and TPM 2.0 need to both be enabled.
If you think you meet this requirement and you are willing to attempt to fix this issue via Registry Editor, follow the instructions below:
- Press the Windows key + R to open up a Run dialog box. Next, type ‘regedit’ inside the text box and press Ctrl + Shift + Enter to open up the Registry Editor with admin access.
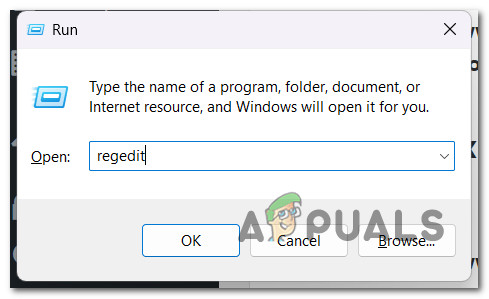
Open up a Regedit window. - Click Yes to grant admin access when the User Account Control (UAC) is prompted.
- Once you’re inside the Registry Editor, use the menu on the left to navigate to the following location:
HKEY_LOCAL_MACHINE\SYSTEM\CurrentControlSet\Control\DeviceGuard\Scenarios
Note: You can either navigate to this location manually or paste the full location inside the navigation bar at the top and press Enter to get there instantly.
- After you’re finally inside the correct location, right-click on the Scenarios key and click on New > Key from the following context menu.
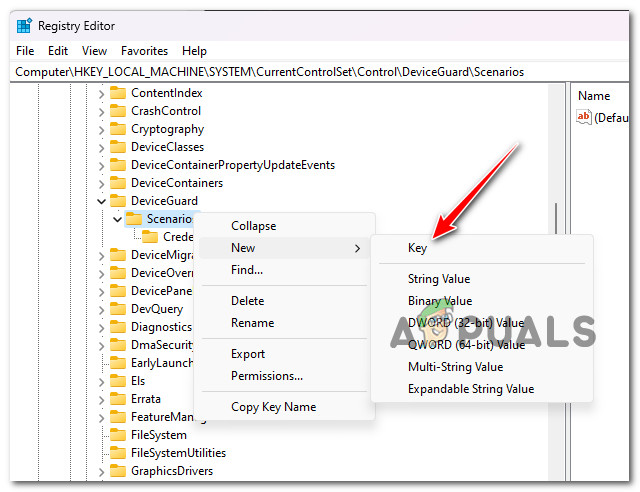
Create a new key - Assign HypervisorEnforcedCodeIntegrity as the name of the newly formed key, then save the modifications.
- After creating the HypervisorEnforcedCodeIntegrity key, build the DWORD that will activate this capability. To achieve this, select New > DWORD (32-bit) Value from the context menu when you right-click the newly generated HypervisorEnforcedCodeIntegrity key.
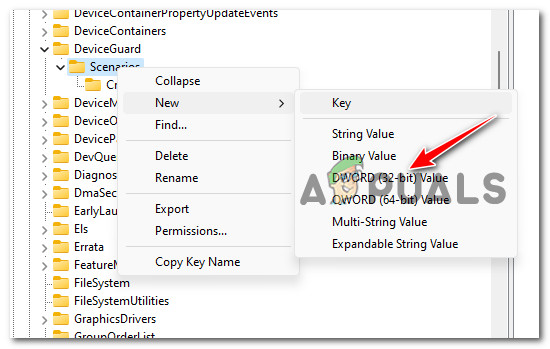
Create a new DWORD - Name the newly created DWORD as Enabled and save the modification by hitting Enter.
- Double-click the newly formed Enabled Dword and, before clicking Ok to finalize the modifications, set the Base to Hexadecimal and the Value data to 1.
- Close the Registry Editor and restart your computer to make the changes effective.
If the same problem is still occurring, move to the following sub-guide below.
2. Disable PxHlpa64.sys via Registry Editor
You should check whether the PxHlpa64.sys is just a leftover file that’s not being used by your PC.
In this case, you can use the Registry Editor to effectively disable the PxHlpa64.sys file and prevent it from taking into account when you attempt to enable the memory integrity feature.
Note: Our recommendation is to take the time to back up your registry before following the instructions below.
If your plan is to fix the issue by effectively disabling the PxHlpa64.sys file via Registry Editor, follow the instructions below:
- Press the Windows key + R to open up a Run dialog box. Next, type ‘regedit’ inside the text box and press Ctrl + Shift + Enter to open up the Registry Editor with admin access.
Open up a Regedit window - Click Yes to grant admin access when the User Account Control (UAC) is prompted.
- Next, use the side menu on the left to navigate to the following location:
HKLM\SYSTEM\CurrentControlSet\Services\PxHlpa64.sys
Note: You can either navigate to this location manually or paste the full path above directly into the nav bar, and press Enter to get there instantly.
- Once inside the correct location, move to the right-hand section and double-click on the Start REG_DWORD.
- Next, set the base of Start to Hexadecimal, then change the Value Data to 4 before clicking Ok to save the changes.
- Reboot your PC and see if the problem is now fixed.
If the same issue is still occurring, move down to the following method below.
3. Uninstall Sonic (Roxio) from PC (if applicable)
According to many affected users, this problem can also indirectly be caused by Roxio, a DVD Burning Software known to conflict with the memory integrity feature on Windows 10 and 11.
Other users dealing with the same issue while Sonic (Roxio) is installed on their PC have reported that the issue was finally fixed after the software was removed entirely.
Note: As things are right now, until Sonic (Roxio) releases an update that will prevent this incompatibility, there’s not way that will allow you to enable memory integrity while this software is installed on your PC.
Follow the instructions below for specific instructions on how to uninstall Sonic from your Windows 10 or Windows 11 PC:
- Press the Windows key + R to open up a Run dialog box.
- Next, type ‘appwiz.cpl’ and press Ctrl + Shift + Enter to open up the Programs and Features menu.
Open up the Programs and Features menu. - If you are prompted by the User Account Control (UAC), click Yes to grant admin access.
- Once inside the Programs and Features menu, scroll down through the installed programs and locate the entry associated with Sonic (Roxio).
- Right-click on the Sonic (Roxio) entry and choose Uninstall from the context menu.

Uninstalling the problematic update - Next, follow the on-screen prompts to complete the uninstallation, reboot your PC and attempt to enable memory integrity once again to see if the problem is now fixed.
If the same problem is still occurring, move to the following method.
4. Deploy DISM and SFC scans
You should at least assume that you are dealing with a problem connected to file corruption in the system if you have attempted every remedy listed above and are still experiencing the same problem when you attempt to enable memory integrity on Windows 11.
In this case, you should try to fix the damaged files causing this behavior on your Windows 11 machine.
To replace damaged system files with their healthy equivalents and failed storage sectors with their unused counterparts, SFC, short for System File Checker, and DISM, should be executed quickly after the other.
What you must do is as follows:
- Press the Windows key + R to bring up the Run dialog box.
- After the dialog box appears, open an administrator Command Prompt by entering “cmd” and pressing the Control key while simultaneously holding down the Shift key and the Enter key.
Open the CMD window - Select Yes to enable administrator access when the User Account Control prompts you.
- To launch an SFC scan, use the following command at the elevated CMD prompt and press Enter:
sfc /scannow
Note: Remember that System File Checker only works locally and doesn’t require an active internet connection. It uses a locally cached archive of backup system files to replace any corrupted files with their undamaged counterparts to function correctly.
- Perform a DISM scan from the same elevated CMD window following the SFC scan (regardless of the results):
The command you need to use is:DISM /Online /Cleanup-Image /RestoreHealth
Note: It’s crucial to remember that DISM is more current technology and requires a stable internet connection. This is important because identifying healthy substitutes for the faulty files that must be replaced will be done by DISM using a sub-component of WU, which must be done.
- Restart your computer once to determine whether the problem has been fixed successfully.
Continue to the following suggested solution below if the problem is still present.
5. Uninstall the KB5017026 update
Several users dealing with this issue have confirmed that, in their case, the problem occurred due to a bad Windows update (KB5017026).
Upon uninstalling this lousy update, many affected users reported that the problem went away for good, and they could enable the memory integrity feature without issues.
Note: Keep in mind that it’s very likely that Microsoft will release a hotfix for this issue pretty soon in an attempt to fix the problem. Until they do, this is the only solution that will allow you to take care of the issue if the problem is caused by the KB5017026.
Follow the instructions below to uninstall the KB5017026 from your Windows 11 PC:
- To bring up the Run dialog box, press Windows key + R. After that, enter “appwiz.cpl” to launch Programs and Features.
Open up the Programs and Features menu - Click Yes to grant admin access when the User Account Control (UAC) is prompted.
- From the vertical menu on the left side of the Programs and Features window, select View installed updates.
- When you arrive at the Installed update page, find the KB3203467 update and select Uninstall from the context menu.
- To finish the removal of the KB5017026 update, adhere to the on-screen instructions.
- Restart your computer and check to see if the problem has been fixed when the system starts up again.
Uninstall the Bad update
If this update is not installed on your PC or this method didn’t allow you to fix the problem, move down to the following method below.
6. Take ownership of PxHlpa64.sys & remove it
In the vast majority of cases, you can prevent the PxHlpa64.sys error from occurring if you just get rid of it.
However, depending on your PC configuration, you might not be able to do this unless you take the time to take full ownership of the file. Only after you fully own the file can you safely delete it and enable memory integrity without getting the same error.
Note: Keep in mind that PxHlpa64.sys is a windows driver at its core that you might or might not need. Delete it at your own risk.
If you want to take ownership of the PxHlpa64.sys file so you can move or remove it, follow the instructions below:
- First, press the Windows key + I to open Windows Explorer.
- Next, use the search functionality (top-right corner) to search for ‘PxHlpa64.sys’.
- From the results list, right-click on PxHlpa64.sys and click on Properties from the context menu.
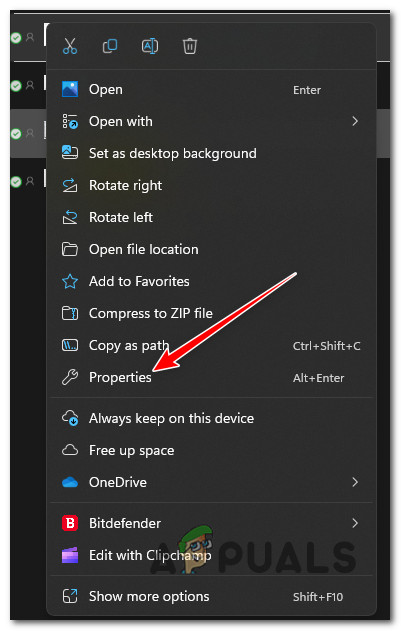
Access the Properties menu - Once inside the Properties screen, select Security from the horizontal menu on top, then click on Advanced (under permissions for System).
- Click on the Change hyperlink near the Owner details from the next window.

Change the owner’s details - In the Select User or Group box, type ‘everyone’ (under Enter the object name to select), then click on Check Names and hit Ok.
- Save the settings, reboot your PC, and move or delete the PxHlpa64.sys.
If you’re still experiencing the same issue, move to the following method below.
7. Remove PxHlpa64.sys via Powershell
If you followed the instructions below and you still can’t delete the PxHlpa64.sys to fix the incompatibility issue with memory integrity, one additional avenue that you can explore is to remove the problematic file via Powershell.
Note: It’s essential to understand that Powershell needs to be opened with admin access for the commands to be processed successfully.
Follow the instructions below for specific instructions on how to remove PxHlpa64.sys via an elevated Powershell window:
- Press the Windows key + R to open up a Run dialog box.
- Next, type ‘poweshell’ and press Ctrl + Shift + Enter to open up an elevated Powershell window.
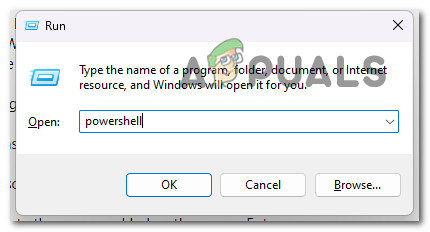
Access the Powershell window - Click Yes to grant admin access at the User Account Control (UAC).
- Once you’re inside the elevated Powershell window, type the following command to delete the problematic file effectively:
pnputil -f -d "PxHlpa64.sys"
- Once this command has been processed successfully, reboot your PC and see if the problem is now fixed.
If the same problem is still occurring, move to the following method below.
8. Enable Hardware Virtualization
Virtualization being off in your BIOS settings may also cause this problem when you try to enable memory integrity in Windows 11. Even though virtualization is typically enabled by default on computer systems, this is widespread. For many impacted customers, the virtualization feature in BIOS was ultimately disabled via a BIOS update.
Fortunately, you may simply change this by going to your BIOS/UEFI settings and turning on virtualization technology again.
Note: While most contemporary PC designs utilize UEFI, motherboards produced before the Windows 8 are likely to use BIOS.
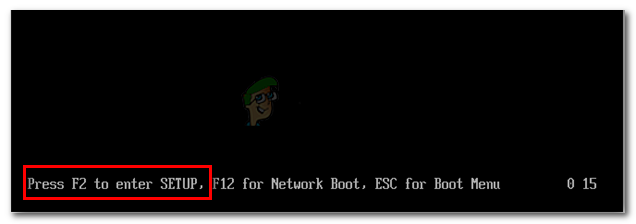
You must hit the Setup key at the initial starting screen of a computer with a BIOS. The Del key or one of the F keys (F2, F4, F6, F8) is typically used as the setup key. If you’re having trouble finding the motherboard-specific setup key, check online for the “motherboard model + setup key.”
You must adhere to the directions (here) to boot into the Advanced Startup settings menu on a machine with UEFI. You may access the UEFI firmware options from there.

Search for a setting with the names Intel VT-x, AMD-V, Intel Virtualization Technology, Vanderpool, etc. after you have gained access to your BIOS/UEFI settings. In most cases, the option may be found under Processor, Security, Chipset, Advanced, Advanced Chipset Control, Advanced CPU setup, etc.
Once you locate the option, be sure to turn it on.
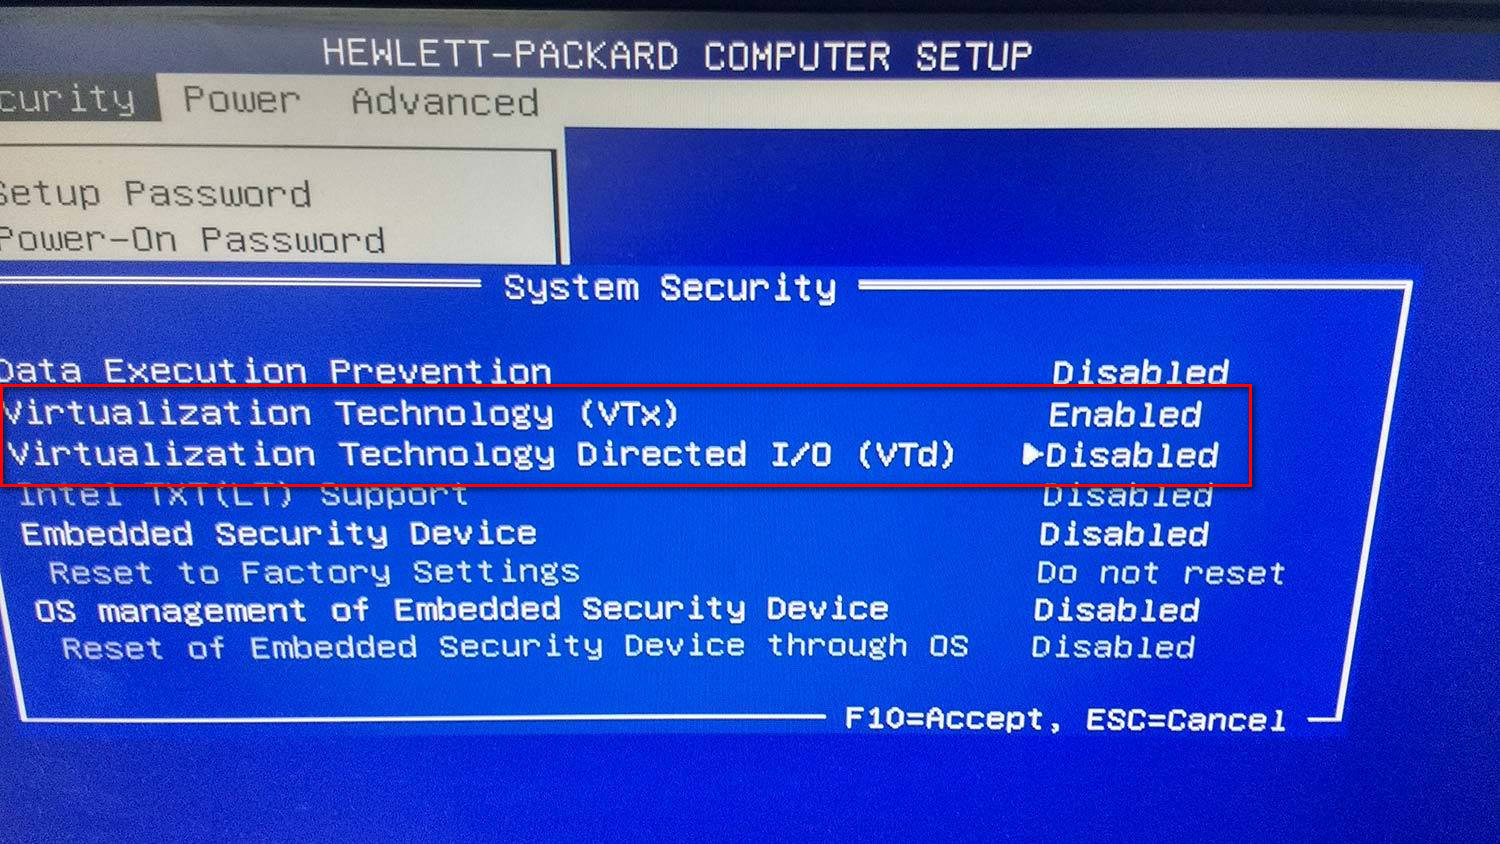
The manufacturer of your motherboard and CPU will affect the options you’ll discover in your BIOS/UEFI. If you cannot locate the option, look up the precise procedures for configuring hardware virtualization online.
Once virtualization has been enabled, save the modifications and restart your computer. Next, reboot your PC and see if you can now enable memory integrity without seeing the same annoying issue.
9. Enable Secure Boot
Memory Integrity cannot be activated without your PC having Secure Boot capability.
A feature could occasionally be supported but turned off by the BIOS or UEFI settings. Security features like memory integrity may be unable to distinguish between supported and disabled capabilities under certain conditions.
NOTE: The most prominent businesses in the PC industry have agreed to an industry standard called Secure Boot to ensure that PCs ONLY execute software that has been certified by Original Equipment Manufacturers (OEMs).
If your motherboard is relatively new, there is a solid chance that Secure Boot is already supported. In this case, all you have to do is access your BIOS settings.
To activate secure boot on your Windows 11 machine, follow these steps:
- Start your computer as usual, and repeatedly press the Setup (boot) key throughout the bootup process. Typically, you may find it anywhere around the bottom of the screen.
Access the BIOS settings Note: Depending on who made your motherboard, the specific steps for doing this may differ. Frequently, one of the following keys — F1, F2, F4, F8, F12, Esc, or Del—will serve as your setup key (BIOS Key).
Important: If your PC by default uses UEFI, you must hold down the SHIFT key when pressing the Restart button at the initial login screen to compel the machine to launch the Recovery Menu. Then, go to the UEFI Menu to Troubleshoot > Advanced Options > UEFI Firmware Settings.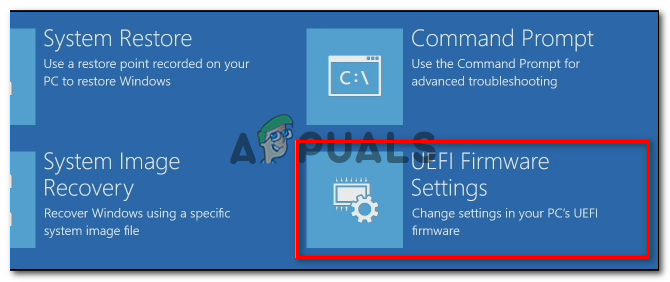
Access the UEFI firmware settings - Find the Secure Boot option in the BIOS or UEFI menu and enable it from the dedicated menu.
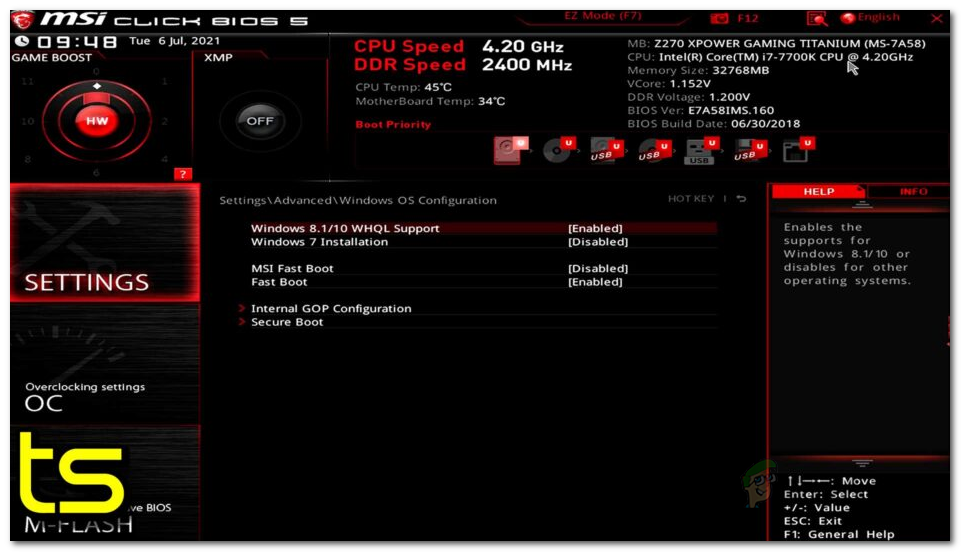
Enable secure boot Note: The exact name and location may vary depending on your motherboard manufacturer. Usually, it may be found under the Security tab.
- Once Secure Boot is enabled, save your changes, restart your computer as usual, and see if you are enabling memory integrity.
If the problem is still not fixed and you cannot enable memory integrity, continue to the following technique below to ensure TPM 2.0 is activated when your machine restarts.
10. Enable TPM Device Support
One less well-known prerequisite for enabling memory integrity in Windows 11 is support for TPM 2.0. If TPM 2.0 is turned off, one of the following circumstances applies to you:
• You can’t use TPM (Trusted Platform Module) 2.0 on your hardware.
• TPM 2.0 is deactivated in your computer’s BIOS or UEFI settings.
Given that TPM 2.0 is a crucial dependency, you need to take several steps to ensure that TPM support is enabled.
To check whether TPM is supported by your system and whether it is switched on or off, take the following actions:
- Press the Windows key + R to open the Run dialog box. Next, type “tpm.msc” into the text box and press Enter to open the Trusted Platform Module (TPM) Management pane in Windows 11.
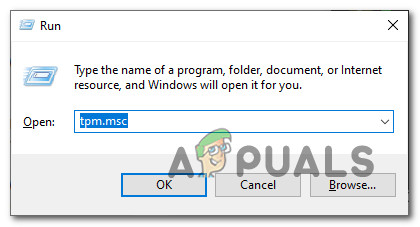
Access the TPM settings - After entering the TPM module, choose Status from the right-hand side of the TPM menu.
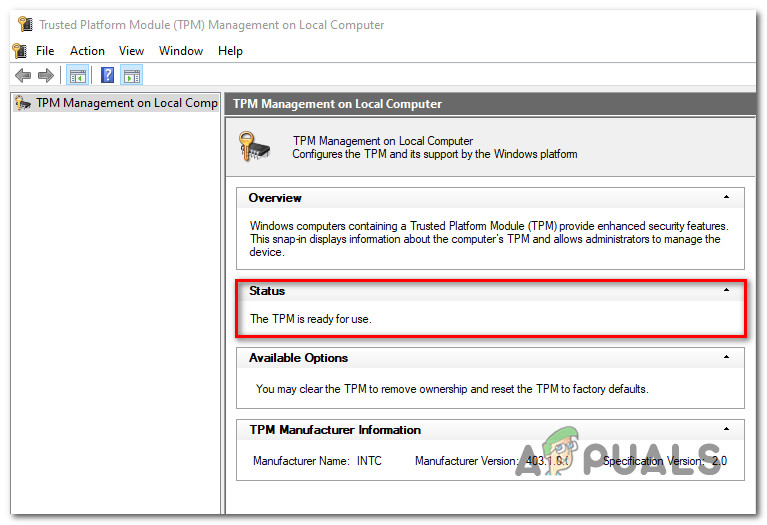
Access the TPM menu • TPM 2.0 is already active if the TPM status indicates that it is “TPM is ready for usage” No further action is required.
• If the TPM status for your motherboard says “TPM is not supported” this security feature is incompatible with it. Windows 11 won’t be able to be installed in this scenario.
• TPM is supported but not activated in your BIOS or UEFI settings if the statement “Compatible TPM cannot be found” displays next to the TPM status.
The steps listed below will enable TPM 2.0 in your BIOS or UEFI settings if the notification says “Compatible TPM cannot be found“:
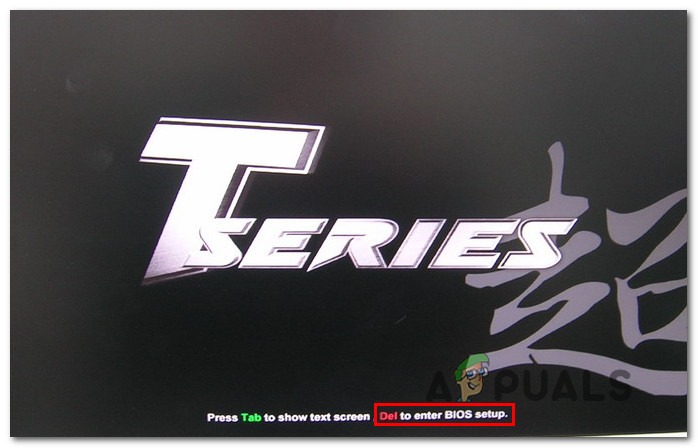
- Click the Setup key as soon as you see the first screen on your PC (or restart it if it’s already on) (BIOS key)

Access the Setup screen Note: The boot key may often be seen in the screen’s lower-left or right corner.
- Choose the Security tab in the BIOS main menu from the list of options on the top ribbon bar.
- After locating the Trusted Platform Module item, confirm it is set to Enabled.
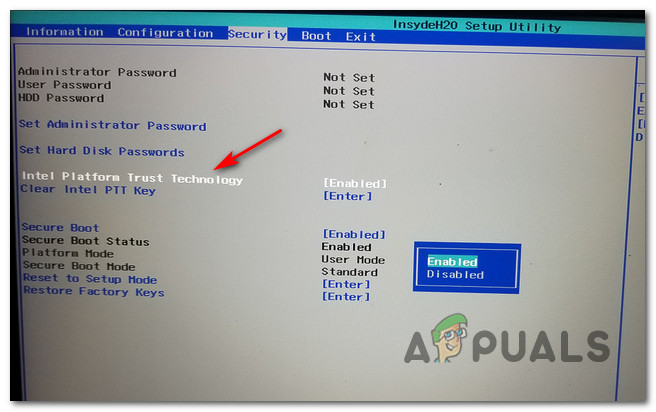
Enable the TPM component Note: The exact location of this security feature will be decided by the motherboard’s manufacturer. This option, for example, is available on Intel hardware as Intel Platform Trust Technology.
- Start your computer generally after ensuring sure TPM is enabled, and see if you can now enable memory integrity without getting the same error.
If the same problem is still occurring, move to the following method below.
11. Perform a clean install or repair install
The likelihood is that you are dealing with some sort of discrepancy that you won’t be able to resolve generally if you have made it this far without receiving a response.
The best course of action would be to ensure you refresh every Windows file because tens of thousands of potential culprits could be to blame for this problem. This will ensure that every potentially corrupted Windows Update dependency is replaced with a healthy equivalent.
There are two methods you may use to do this:
- Deploy a repair install (in-place repair) – This process will only affect your system files; everything else will be left untouched. This should be your first course of action if you have important personal information that you can’t afford to lose. However, bear in mind that suitable installation discs are required.
- Deploy a clean install – Of all the steps, this is the simplest. If you don’t have suitable installation discs, you may still do this process, but you’ll lose any personal data, documents, and media stored on the operating system partition.


