How to Fix TPM Device is not Detected?
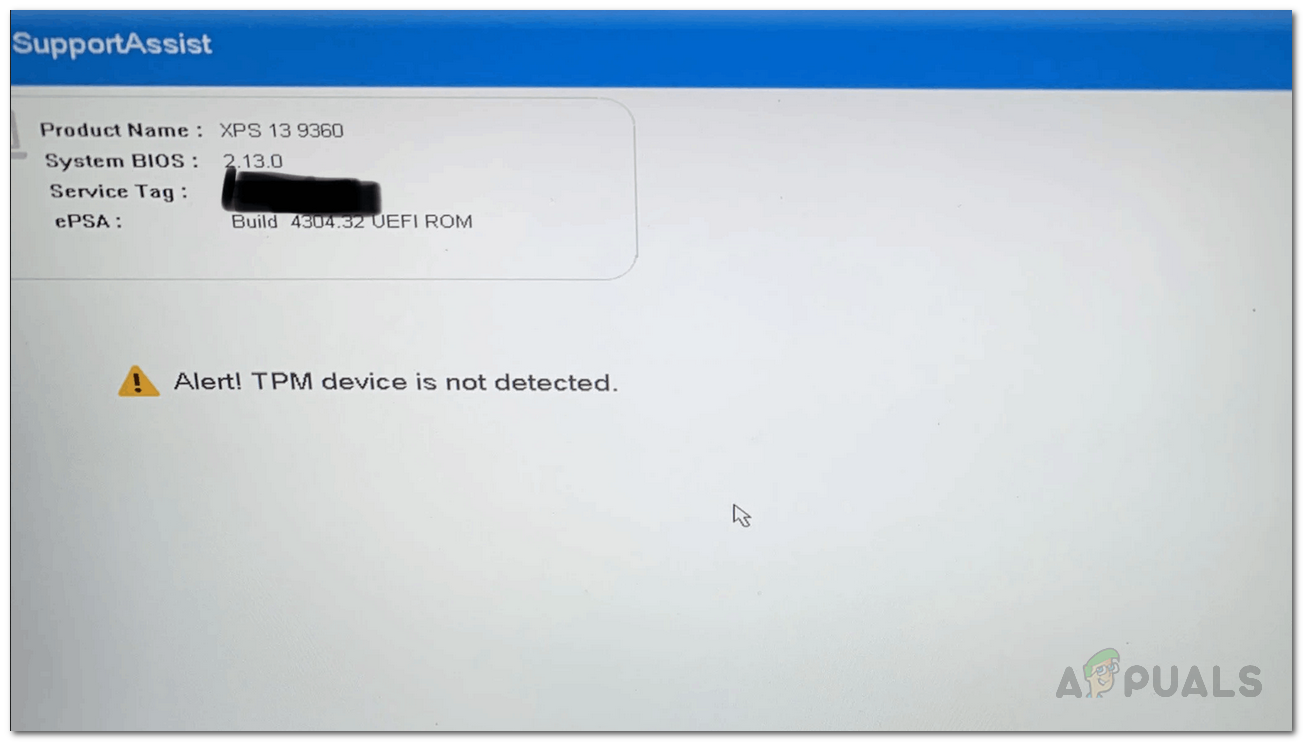
The error message “Alert! TPM device is not detected” appears when you are trying to boot up your Dell laptop. TPM or Trusted Platform Module is a chip that is essentially used for carrying out cryptographic operations in a system. The function of the TPM chip is to secure the hardware of your machine through integrated cryptographic keys. The error message may seem a bit weird especially if you have not used any TPM functionalities on your system. In some cases, you may even be able to boot into your system after seeing the error message on your screen, but regardless, it is concerning.
As it turns out, when you stumble upon the error in question, if you are using any BitLocker functionalities offered by Windows to encrypt a partition on your system, it won’t work. This is because of the fact that BitLocker makes use of the TPM chip on your board to encrypt and decrypt the data you want it to. A simple fix users usually think of when they face this issue is to simply disable TPM from their BIOS settings. However, that won’t work because the TPM option disappears from the BIOS menu and so you won’t be able to turn it off. Plus, if you are using BitLocker on your system, you wouldn’t want to disable it in the first place.
So what’s essentially causing this issue? The most apparent reason would be your BIOS firmware, of course. If you have recently updated your BIOS firmware, or even in some cases, if you haven’t updated it, it can cause the issue. It goes both ways and thus, you will have to look at both sides of the coin to get the issue resolved. With that said, let us get into the different workarounds that you can make use of to completely get rid of the error in question.
Disconnect Laptop’s Battery
The first thing that you should try out after facing the “TPM device is not detected” error message is to remove the battery from your laptop. This has been reported by several users who were facing the similar issue and disconnecting the laptop’s battery has reportedly solved the issue for them. When you remove the battery from your laptop, the board will reset and you will have a fresh start upon plugging it back in.
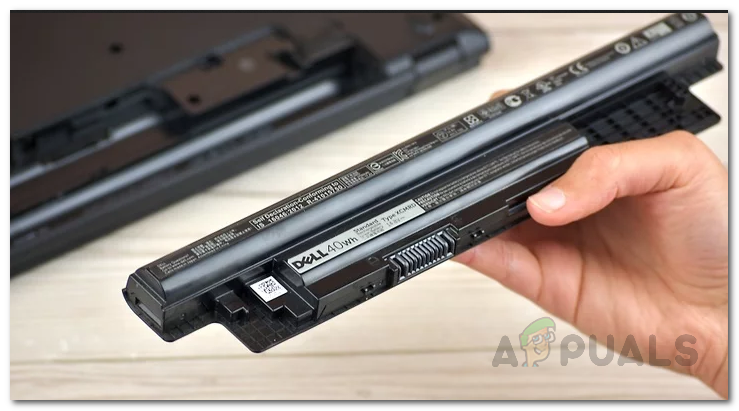
To do this, simply disconnect the battery from your laptop and then let it sit for a few seconds. After a couple of seconds, plug the battery back and boot up your laptop to see if the issue persists.
Update Firmware
If reconnecting your laptop’s battery does not fix the issue for you, there is a good chance that the issue is being caused by your laptop’s firmware. This can usually happen when you haven’t updated your BIOS firmware for quite a while. If you are already running the latest firmware version, you may skip this and jump to the next solution. In such a scenario, you will have to look up for any firmware updates for your model, download them and then get it installed. To do this, follow the instructions down below:
- First of all, head to the official website for Dell’s Drivers and Downloads by clicking here.
- Once there, you have one of two options. You can either use the Dell SupportAssist utility to auto-detect any outdated drivers on your system and have them installed. To do this, simply click on the Download & Install SupportAssist option and then follow the on-screen prompts.

Downloading Dell SupportAssist Utility - Alternatively, if you have your laptop’s model or product ID and just wish to update the firmware, you can manually search for it and then download the latest version available. To do this, enter your device’s model or product ID in the search field provided and hit Enter.
- On the next page, click on the Find drivers option in front of Manually find a specific driver text.
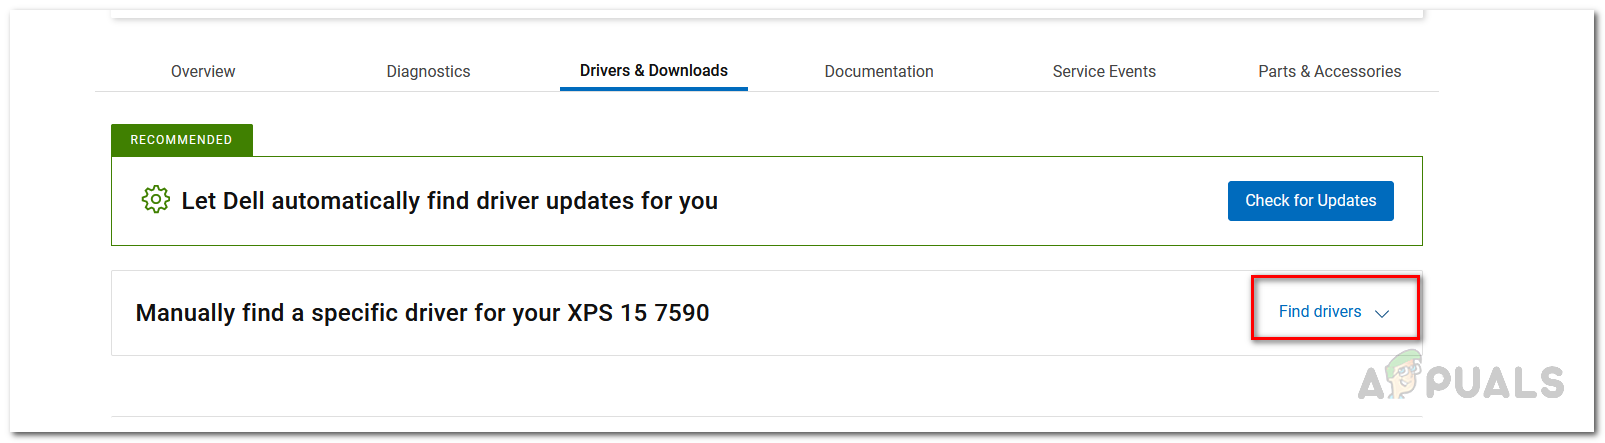
Manually Finding Dell Drivers - Choose your appropriate operating system and look for any firmware updates. Download the driver and then follow the on-screen prompts to finish installing the update.
- Once you are done, reboot your system to see if the issue has been patched.
Reset BIOS Defaults
As it turns out, for some users the issue was caused after they performed a firmware update on their respective system. If you stumbled upon the error message after getting a firmware update, then it could be that the update might not have been fully compatible for you. This can happen when you use the auto-detect utility from Dell that updates all of your drivers. In such a case, you will have to reset your BIOS to its original settings to get rid of the issue in question. To do this, follow the instructions down below:
- First of all, make sure that your laptop is powered off. Also, make sure that your laptop is plugged in. If it is, go ahead and unplug it.
- After that, hold down the ESC and CTRL keys. While holding both of these keys down, plug in the power cable and hit the power button on your laptop.
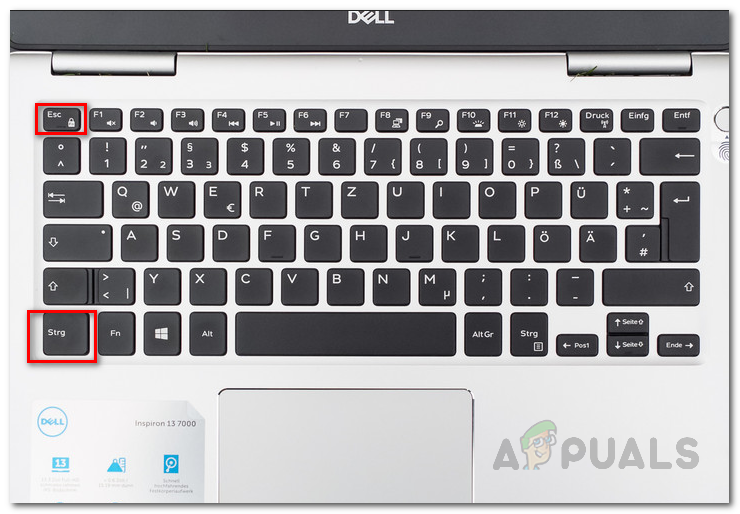
- Once the laptop starts to boot up, you can release the ESC and CTRL keys.
- You will be taken to a BIOS page. Here, choose the Roll Back BIOS option to go back to the defaults.
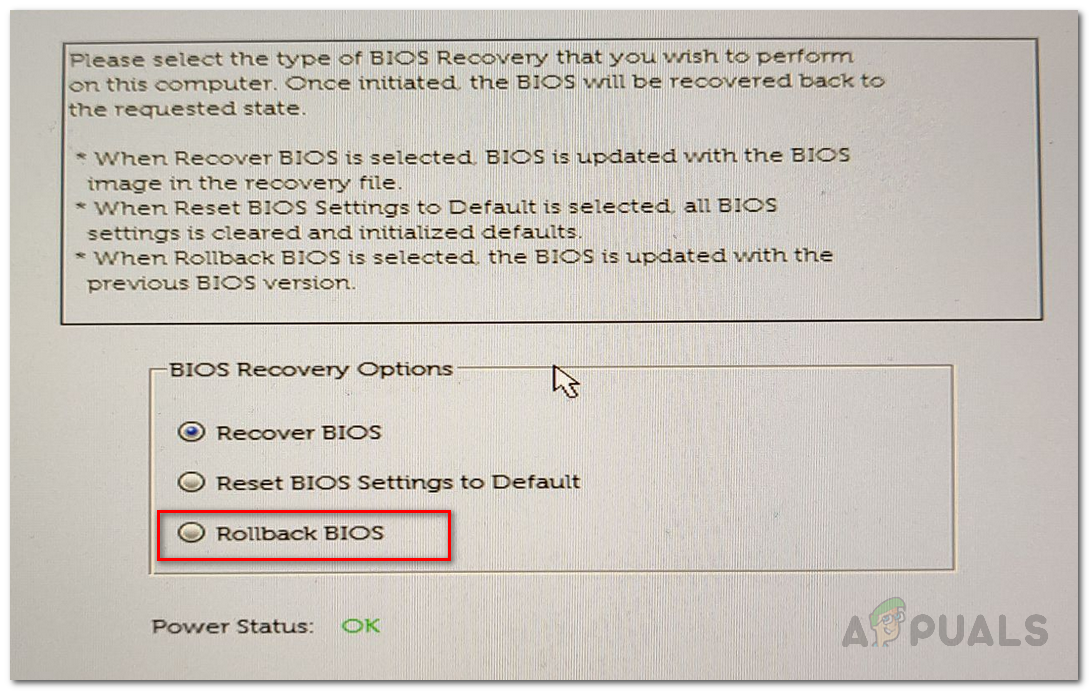
- Once you have done all that, wait for your system to reboot. At this point, Windows should be able to recognize your TPM chip and you should be good to go.


Are these 2 things really the same, (as the article says)?
1. Reset all the BIOS values
2. Rollback the BIOS