How to Install Windows 11 in Legacy (MBR) BIOS Mode
There’s a lot of buzz around the requirements that Microsoft has put in place for Windows 11. If you take a look at the requirement list for Windows 11, you’ll see that Secure Boot and TPM 2.0 are mandatory, and there’s a clear indication that this new OS version can only be installed on UEFI.

Fortunately for those of us with older PC configurations, there is a workaround that will allow you to install Windows 11 in Legacy (MBR) Mode even if Secure Boot and TPM 2.0 are not supported on your PC.
Even if your PC is UEFI-capable if you’re currently on Legacy Mode and you plan on making the switch to UEFI be prepared for a complete disk wipe.
Fortunately, the massive community around Windows OS managed to find a workaround for users finding themselves in this situation.
If you’re not using a UEFI-based system or making the switch is not worth the trade-off, you’ll need to make some adjustments in order to be able to install Windows 11 on a Legacy (MBR) BIOS. But first, let’s take a look at the requirements of this method:
- Windows 10 ISO
- Windows 11 ISO
- NTLite
- A computer running either Windows 10 or Windows 11
- A USB Flash disk with at least 8 GB of space
- Rufus (Only if you are installing via USB)
How to Install Windows 11 in Legacy Mode
The idea of this method is simple – You’ll end up taking a file from the Windows 11 installation ISO, then putting it among the Windows 10 installation file making it a hybrid ISO.
NOTE: This method is tested and proven to work for the latest Windows 11 builds available but this is subject to change as Microsoft releases new builds on the Insider Channel.
IMPORTANT: If you already have a Windows 11 and Windows 10 ISO, skip the first 2 steps altogether and start directly with Step 3.
Get the Windows 11 ISO
There are several different ways to fetch the Windows 11 ISO file, but our preferred approach is to use UUP Dump. This way, you’ll make sure you always use the latest version available directly from the Windows Insider program.
Follow the steps below to get the latest Windows 11 ISO file using the UUP Dump service:
- Open any browser on your PC and access the download page of UUP dump.
- Inside the download page of UUP dump, use the Quick Options menu to click the x64 button associated with Latest Dev Channel build.

Downloading the Windows 11 build Note: As of now, only the Dev Channel build is available for Windows 11. This will eventually transition to the Bet Channel and then to the Public Release build (once Windows 11 is officially out).
- Once you get to the next page, chose the latest available build from the list, then select your default language and hit Next.
- Once you get to the Choose edition stage, select the Windows 11 edition that you want to install and check the associated box, then click on Next to advance to the next screen.
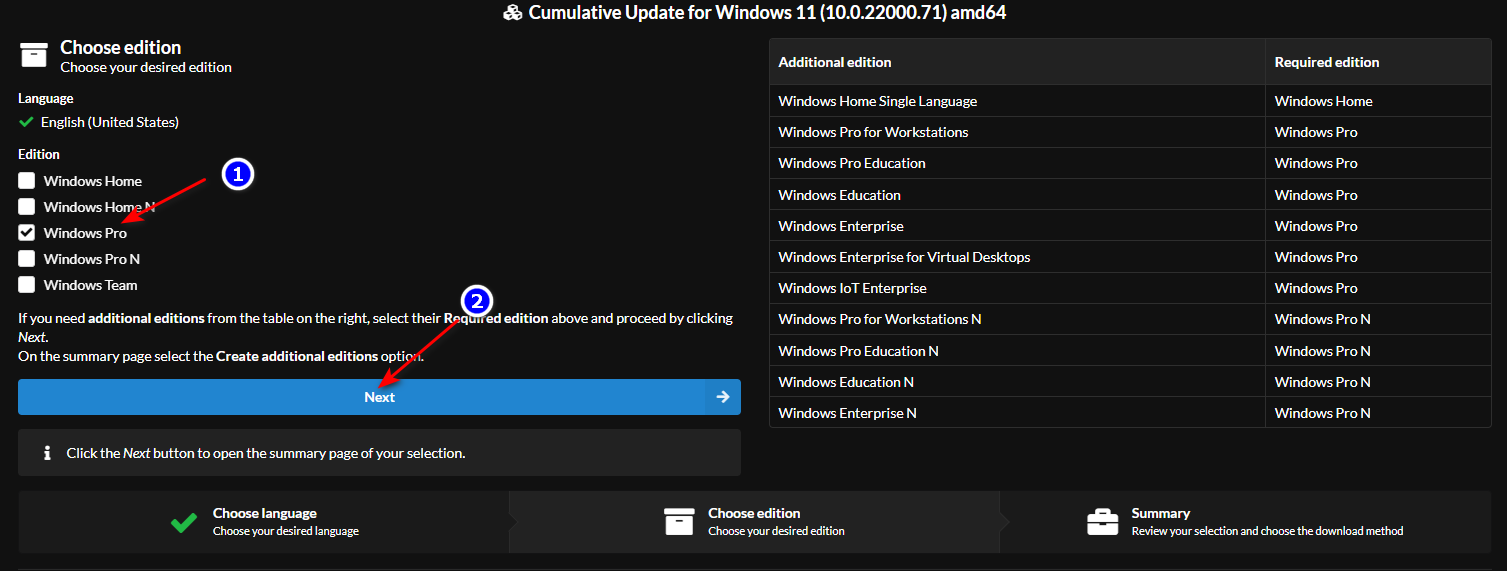
selecting the correct version Note: If you want to make use of tools like Gpedit, our recommendation is to download the PRO version. Also, stay away from N versions unless you don’t care about the Media Player components.
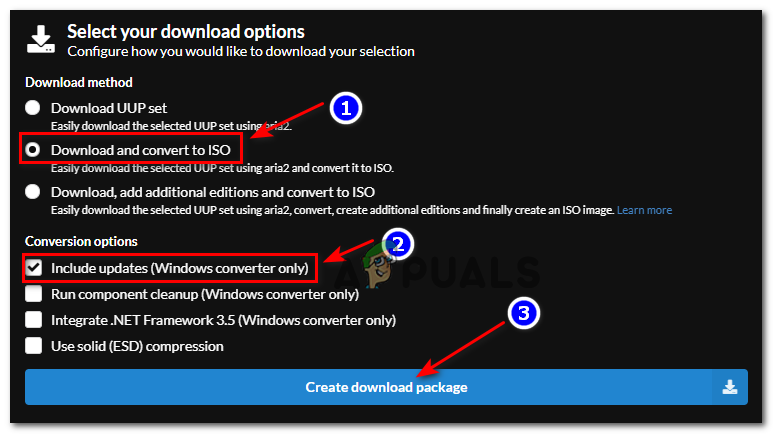
- At the next prompt, you’ll be asked about your preferred download method. When this happens, select Download and convert to ISO from the list of options.
- Next, check the Include Updates and click on Create download package boxes to ensure that that all ulterior updates come preinstalled.
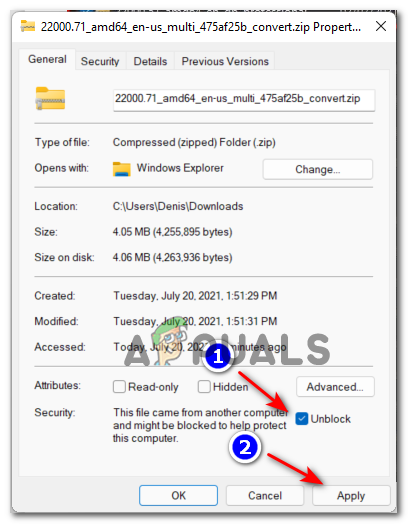
Downloading the Windows 11 package - After the download is complete, open the location where the files were downloaded, then right-click on the archive file from the list and choose Properties from the context menu that just appeared.
- In the Properties screen, access the General tab and unlock the file by clicking the Unblock button. Once the modification is done, enforce it by clicking on the Apply button.
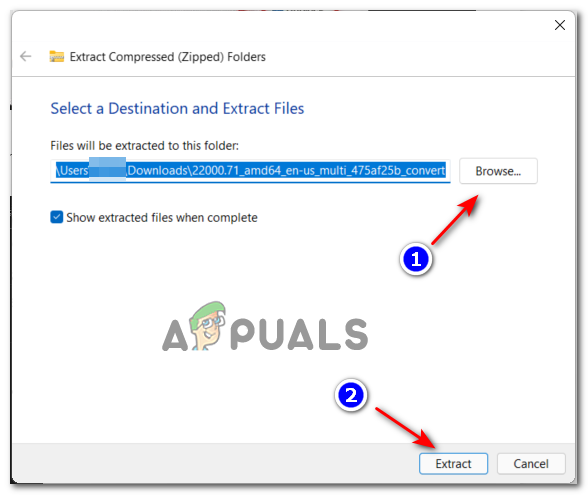
Unblocking the file for the Windows 11 installation - Now that the file has been unblocked, you can safely extract its contents by right-clicking and selecting Extract All from the context menu.
- Next, use the Extraction menu to click on Browse, then select a viable location where to extract the files. Once you are ready to start, click on Extract.
Extracting the Windows 11 build files Note: Our recommendation is to move the archive to a location with plenty of space before you do this.
- Once the process is complete, navigate to the location where you extracted all these files and double-click on uup_download_windows.cmd.
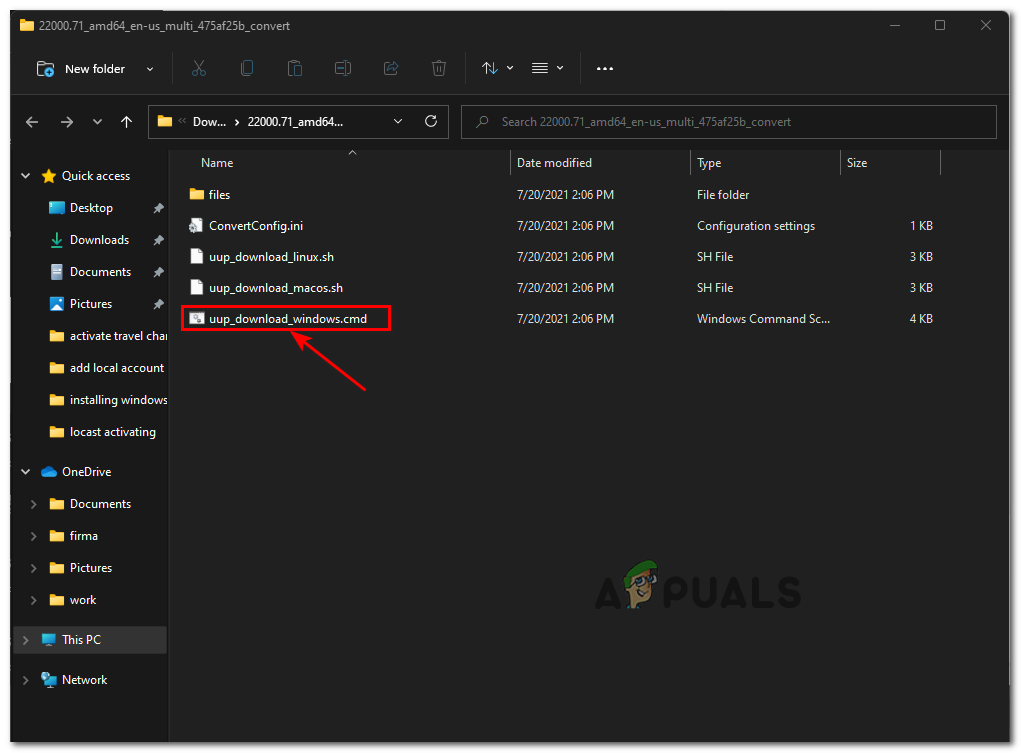
Downloading the Windows 11 file locally Note: This will ensure that the actual Windows 11 ISO will be downloaded locally via the official Windows Update servers.
- When you are prompted by the SmartScreen window, click on View More, then click on Run Anyway to get past the default publisher restrictions.
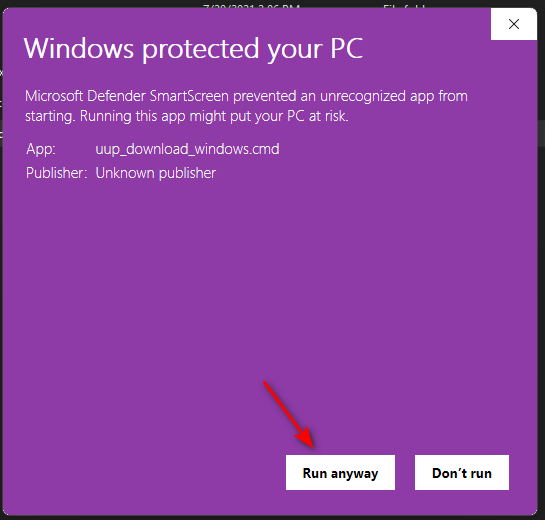
Running the UUP .bat file anyway Note: If you’re also interrupted by the UAC (User Account Control) grant admin administrative privileges by clicking on Yes.
- Once you see the CMD window, wait patiently until the Windows 11 ISO is completely downloaded.
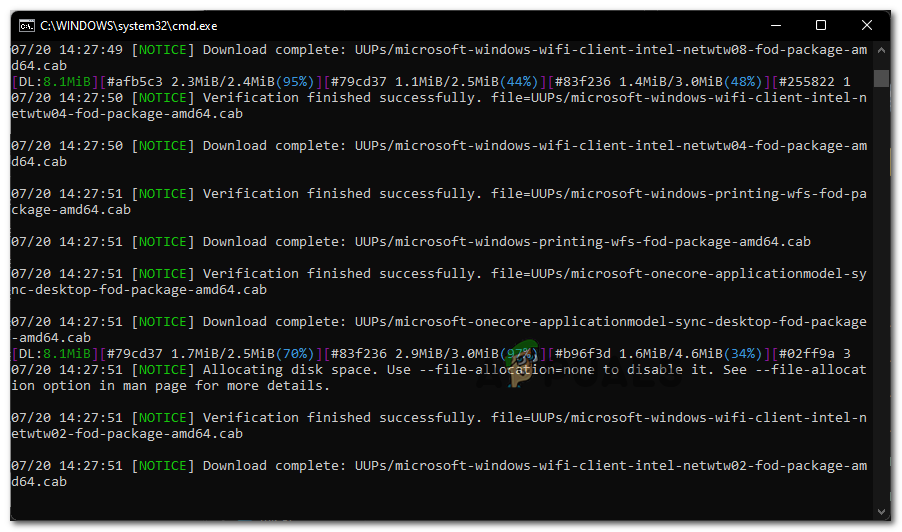
Downloading the Windows 11 files Note: If this process goes through instances where the utility looks like it is frozen, don’t close the window and wait patiently as it will eventually recover.
- At some point, you will notice that the background color of the CMD prompt will change from black to blue – This is evidence that the download phase is over and your PC is now busy building the ISO by piecing all those files that the .BAT files have previously downloaded.
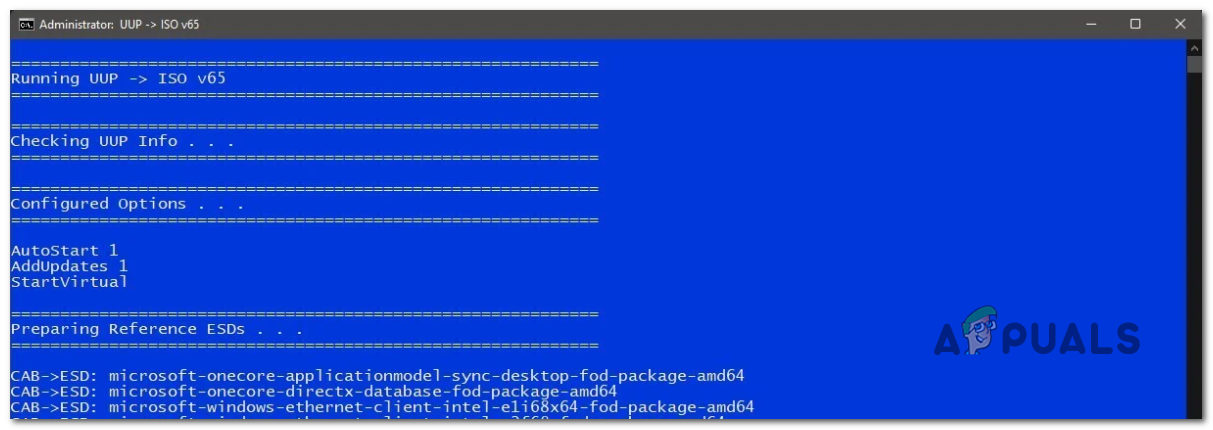
Windows 11 building stage - After the ISO is successfully created, you will find it inside the same folder where you originally opened the uup_download_windows.cmd from.
Once you go through every step above and you already have the Windows 11 at the ready, move down to the next step below.
Get a Windows 10 ISO
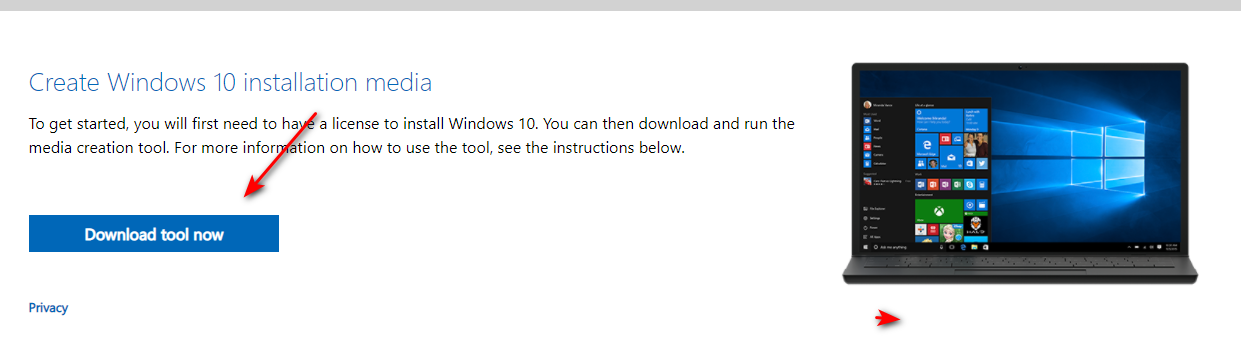
If you don’t have a Windows 10 ISO at the read, follow these instructions to download an ISO for the latest official Windows 10 build using the Microsoft Media Creation Tool + RUFUS – There’s no need to make the ISO bootable and put it on a USB stick for now.
Making Windows 11 Compatible with Legacy BIOS
- First things first, right-click on the Windows 10 ISO that you created at Step 2, choose Extract All from the context menu, then pick a viable location to unpack the Windows 10 ISO.
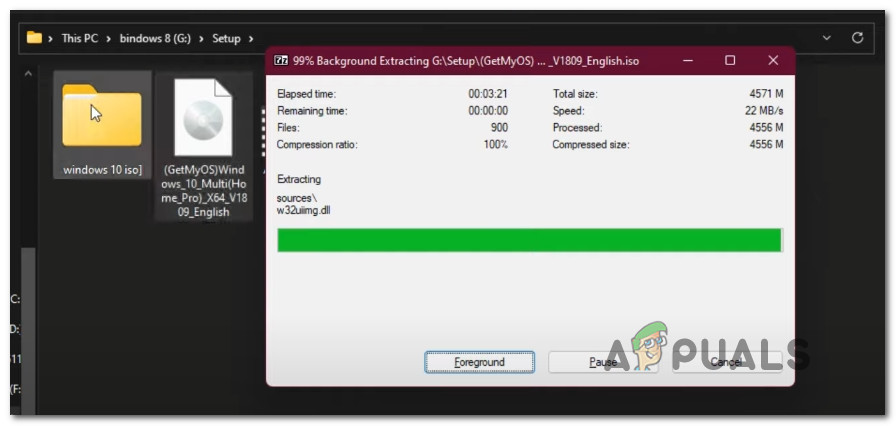
Extracting the Windows 10 ISO - Once the ISO is successfully unpacked, open File Explorer and navigate to the location of the extracted Windows 10 ISO files.
- Inside the Windows 10 ISO folder, navigate to Sources and look for the Install.wim file. Once you see it, right-click on it and choose Delete from the context menu to get rid of it.
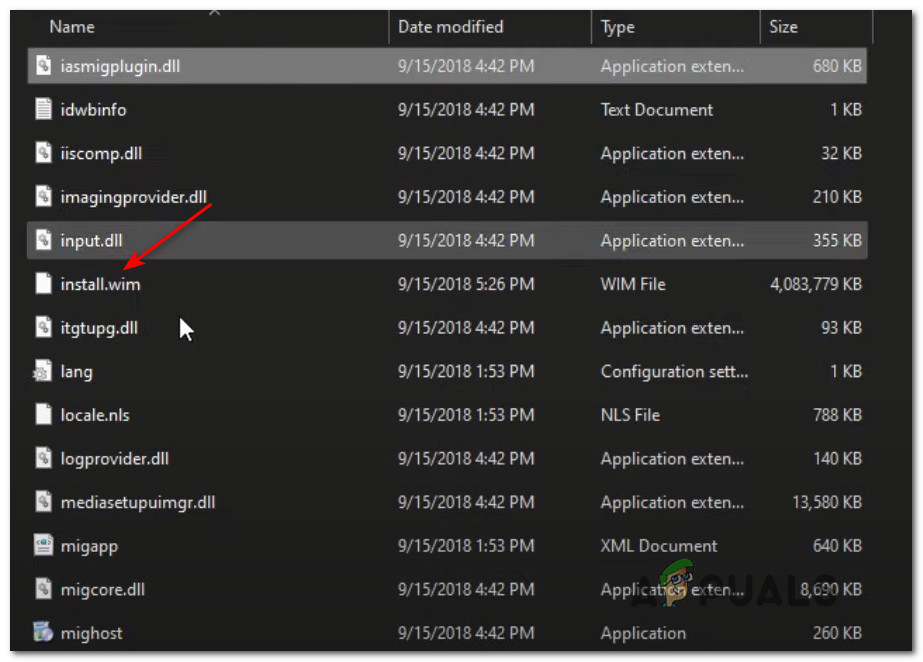
Deleting the Install.wim files - Now that the install.wim file is deleted from the Win 10 folder, extract the contents of the Windows 11 ISO (in the same way we did for Windows 10), navigate to the Sources folder and copy the install.wim file of Windows 11 to your clipboard.
- Next, return to the extracted Windows 10 files and paste the install.wim (from Windows 11) that you previously copied to your clipboard inside the Sources folder.
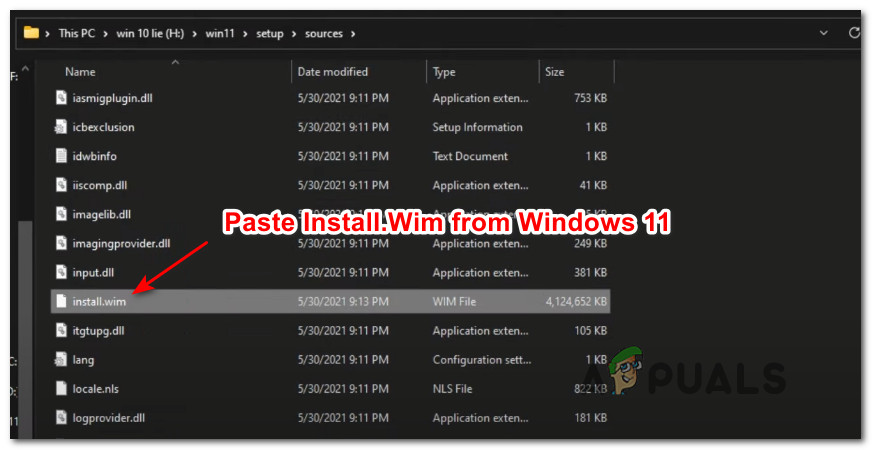
Paste the Install.wim file from Windows 11 - Once you’ve successfully swapped out the Install.wim file from Windows 10 ISO with the Windows 11 equivalent, go ahead and open NTLite. If you don’t have it already installed on your PC, you can get the latest version from this page.
Downloading the latest version of NTLite Note: Use the 64-bit version if your system supports it.
- Once you’re inside the home screen of NTLite, click on the Add icon (top-right corner) then choose Image Directory from the context menu that just appeared.
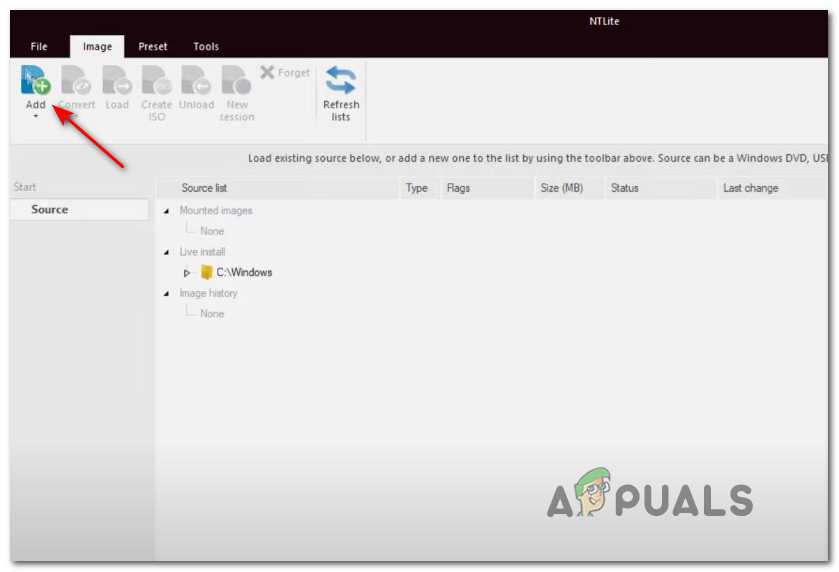
Adding a new directory to NTLite - Next, use the following prompt to navigate manually to the path where you extracted the Windows 10 ISO (the one that you modified with the Windows 11’s install.wim file)
- Wait until the files are all loaded inside NTLite, then click Ok when you’re prompted by the Detected unsupported Windows version. This error is triggered because the utility detects an improper install.wim file, but that’s not an issue.
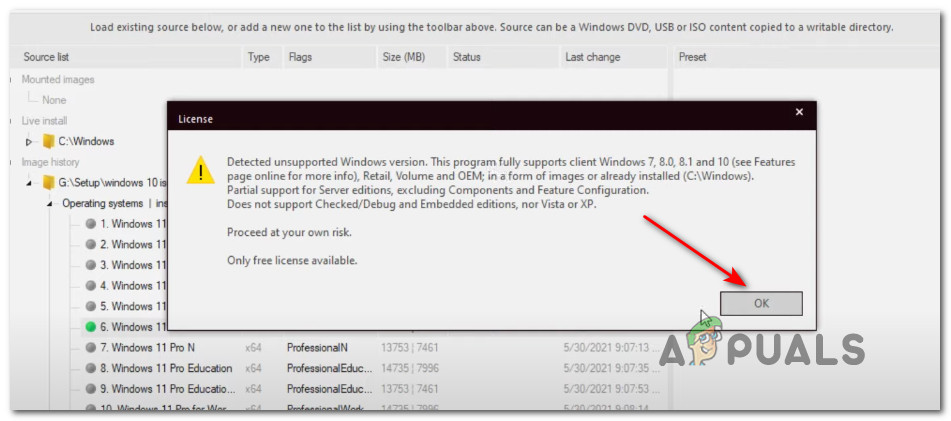
Mounting the Windows 10 ISO inside NTLite - Once the ISO is successfully loaded, select it from the central menu then name it however you want by clicking Save in the top-left screen.
- Next, access the Image tab from the ribbon menu at the top, and click on Create ISO from the list of available options.
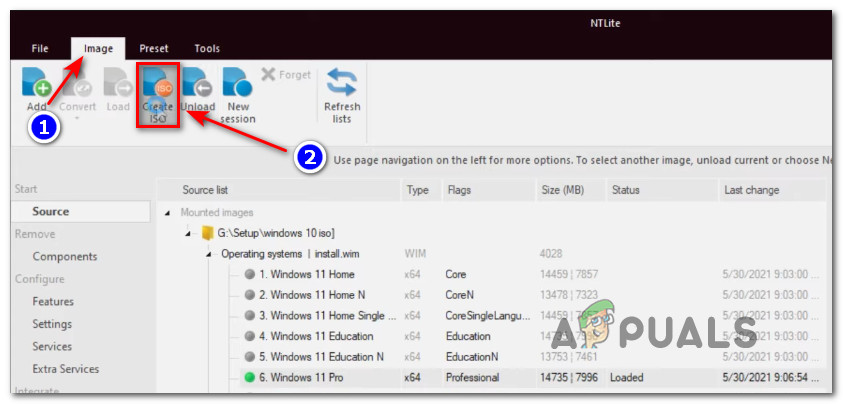
Creating the ISO file inside NTLite - At the next prompt, name the newly created ISO as you want if you haven’t done this already, then select a suitable location where you want to generate the ISO file before clicking on Save.
- At the confirmation prompt, click Yes to initiate the process of creating your modified ISO file.
- Once the operation is complete, you can flash it to any USB flash disk of at least 8 GB and use that USB stick to install Windows 11 on a computer with Legacy BIOS. If you don’t know how to make your USB flash drive bootable with Windows installation media, follow these step-by-step instructions and learn how to do it using RUFUS.Note: Just make sure to change the boot order to make the Legacy (MBR) computer boot first from your USB drive.


Hi,I have followed all the steps but when I boot my usb with the hybrid iso it takes me to a windows 10 installer.