Error 0x119: Video Scheduler Internal Error – Causes and Solutions
VIDEO_SCHEDULER is a component that is used for the communication between GPU and the computer. If there is a problem with the VIDEO_SCHEDULER, you will see the Blue Screen Of Death (BSOD) with the stop code VIDEO_SCHEDULER_INTERNAL_ERROR on your screen. This error is commonly caused by corrupted GPU driver, which interrupts the communication between GPU and the computer.
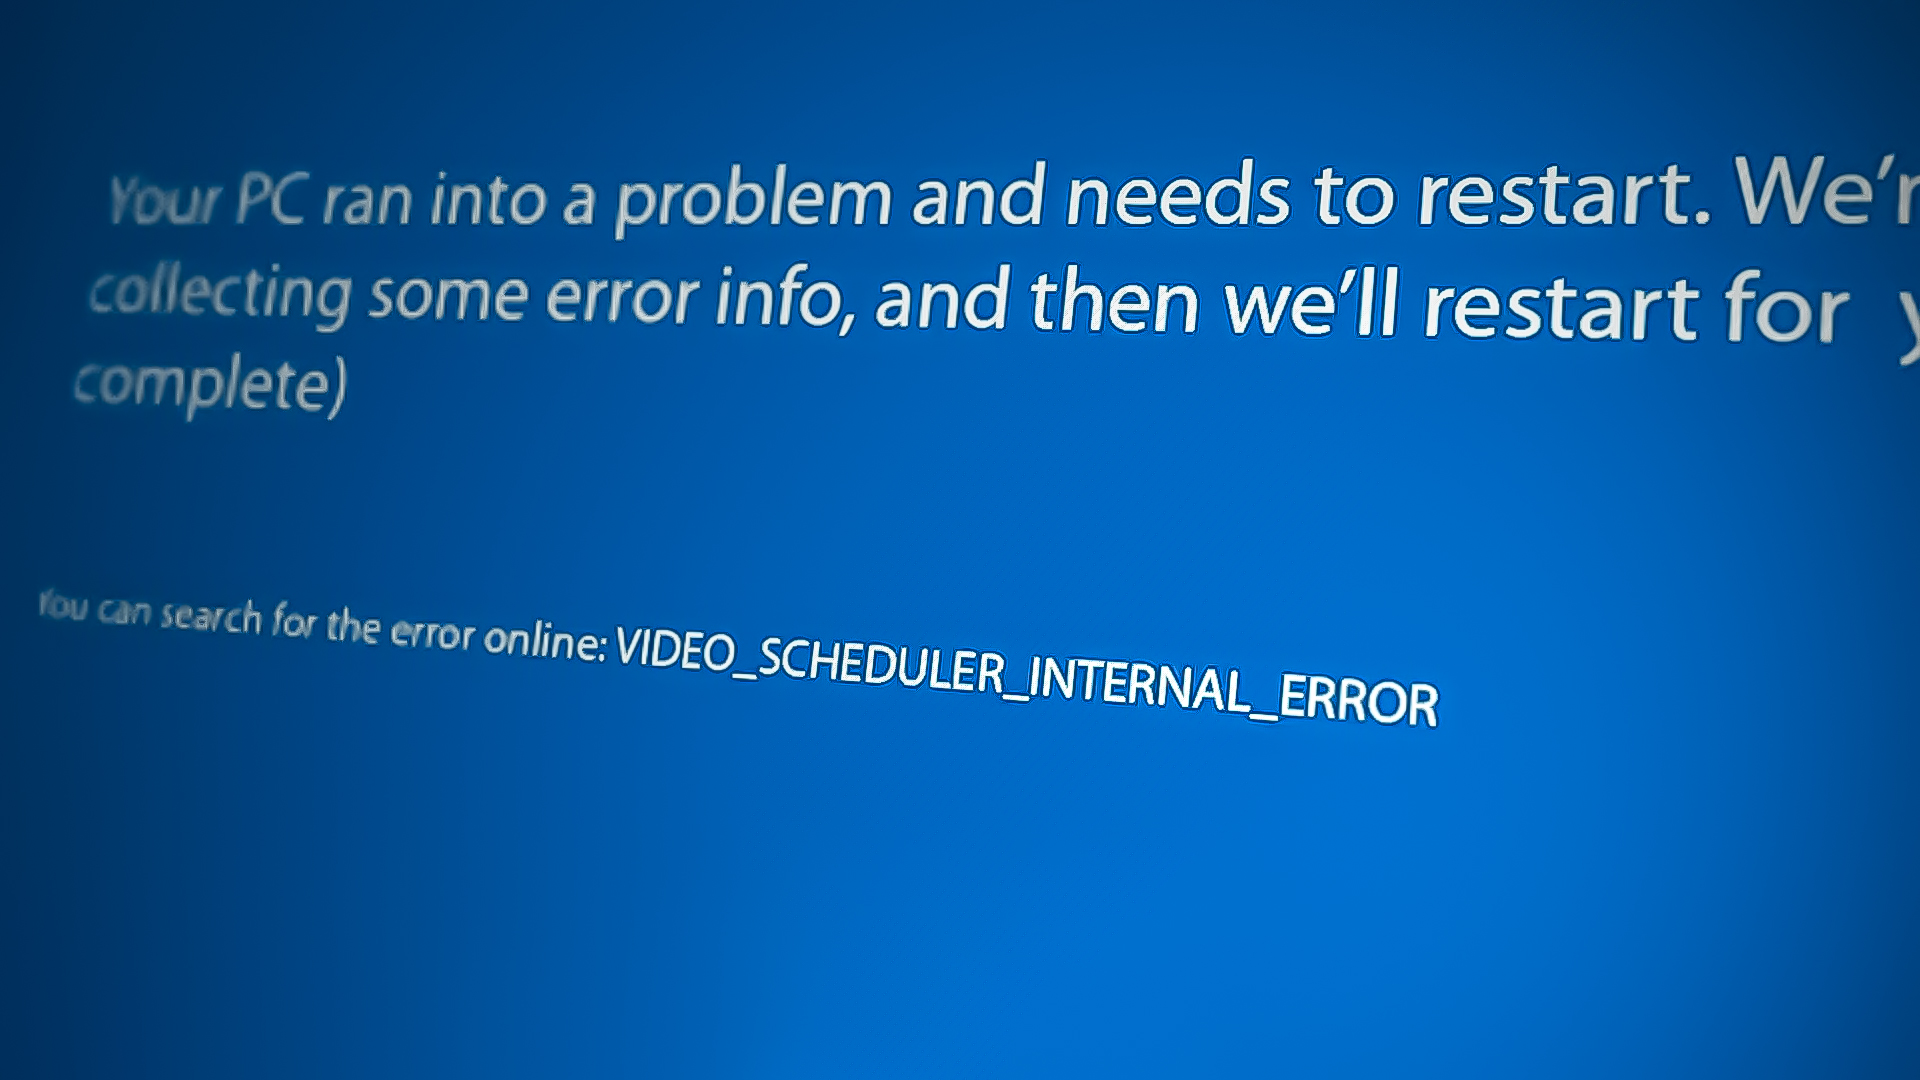
This BSOD error can also occur if there is a hardware problem on your system, such as faulty RAM or a Graphics card.
| Issue | Video Scheduler Internal Error |
| Type | Blue Screen Of Death |
| Faulty Software Component | VIDEO_SCHEDULER |
| Error Code | 0x119 |
| Event ID | 41 |
| Stop Code | VIDEO_SCHEDULAR_INTERNAL_ERROR |
| Accompanied with | Kernal Power |
| Common Causes | Corrupted GPU driver and system files |
| Hardware Components that can cause this issue | Graphics Card Power Supply RAM |
| Solutions | Reinstall GPU Driver Repair System Files Remove Overclocking to any Hardware component such as RAM and Graphics Card Restore Windows using a System Restore Utility |
1. Use a System Restore utility
If you have a restore point created before encountering this issue, restoring Windows to the previous state will be the best way to resolve this issue.
Restoring Windows will revert recent changes that have been applied to the computer. Hence, if there is a problem with your GPU driver and registry files causing this issue, using a system restore utility will fix it. However, If you don’t have a restore point, move on to the other methods.
To use a system restore utility:
- Turn off your system, then turn it back on and wait for the Windows logo to appear.
- As soon you see the Windows logo, press the Power button to turn off the computer.
- Repeat this process at least three times to use Automatic Repair utility.
- Once the automatic repair fails, click Advanced options.
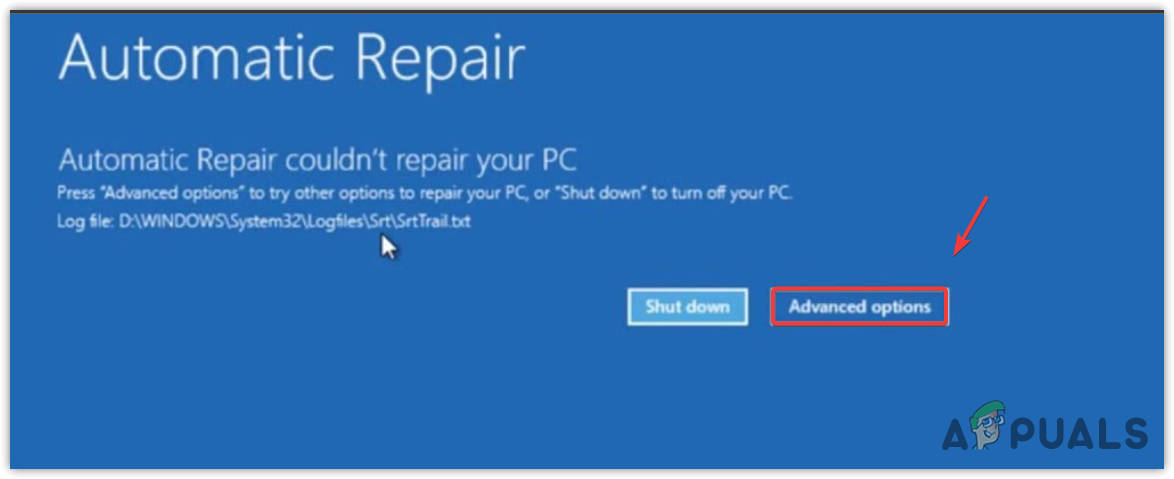
Navigating to Advanced options - Then, go to Troubleshoot > Advanced options.
- Select System Restore from the options.
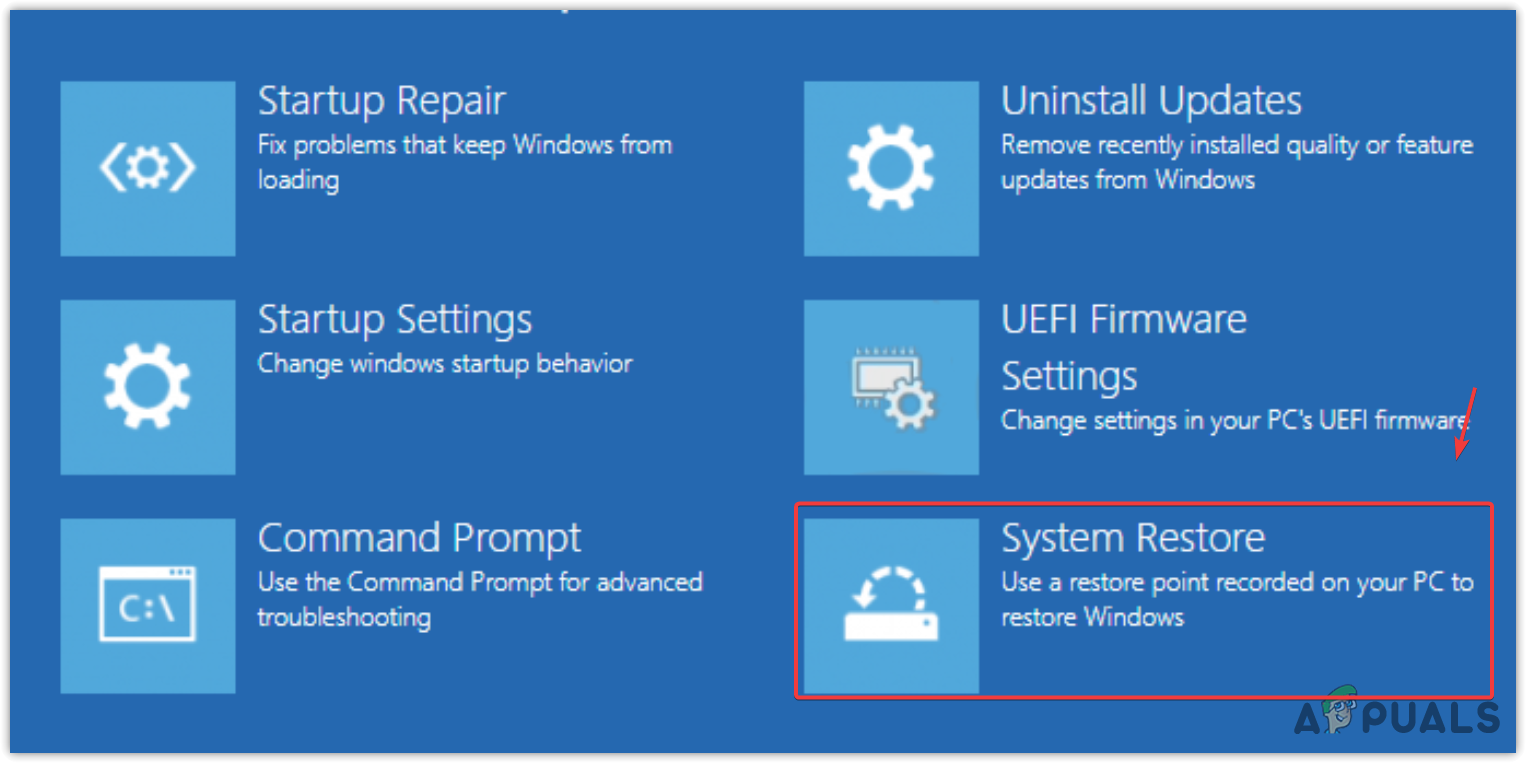
Opening System Restore utility from Windows recovery environment - Wait for the system to restart then you will see System Restore Window. Click Next.
- Select a restore point and click Next.
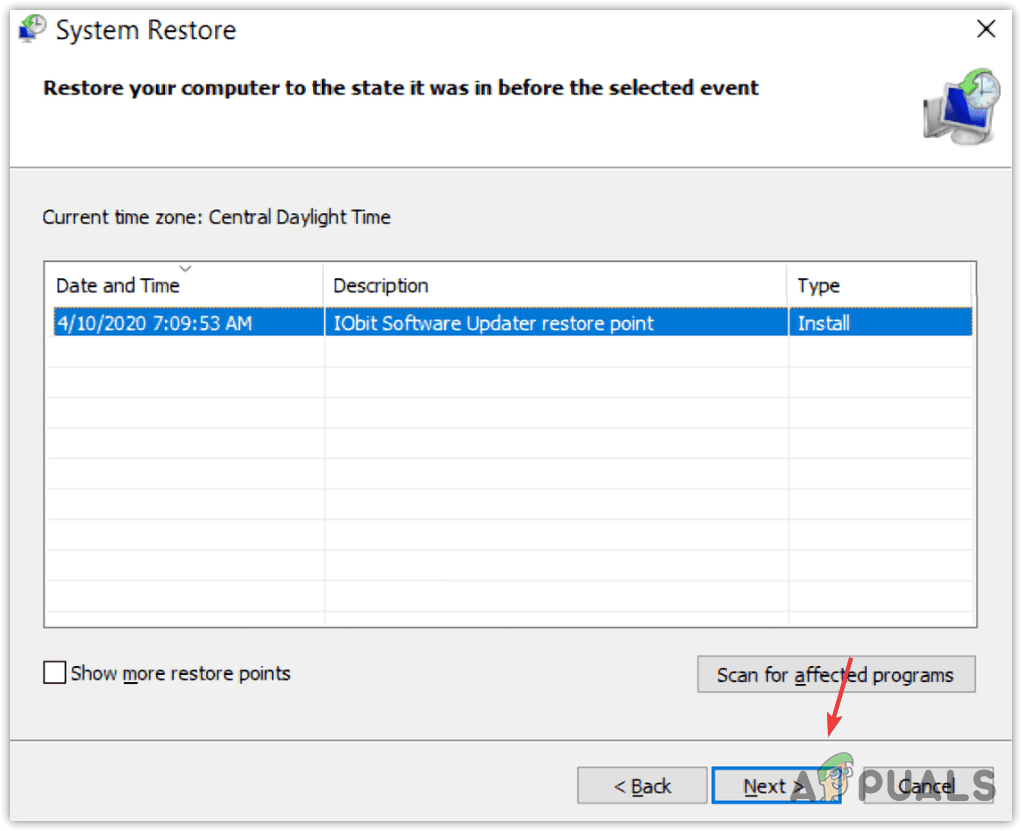
Selecting a system restore point - Click Finish and wait for Windows to restore.
- Once done, check if your issue is resolved. If you have created a restore point before installing the graphics driver, you will need to install the graphics driver again. We recommend you ensure that from the device manager.
2. Enable Safe Mode
While facing this BSOD error, it is normal if you cannot boot Windows normally. To apply the following methods, you will have to access the safe mode first.
To enable the safe mode:
- Turn off your system completely. Then, press the power button to turn it on.
- Wait for the Windows logo to appear on the screen.
- Once you see the Windows logo, press the power button to turn it off completely.
- Repeat this process until you see the Preparing Automatic Repair Window.
- Once Preparing Automatic Repair fails, click Advanced options.
- Then, click Troubleshoot > Advanced options > Startup Setting.
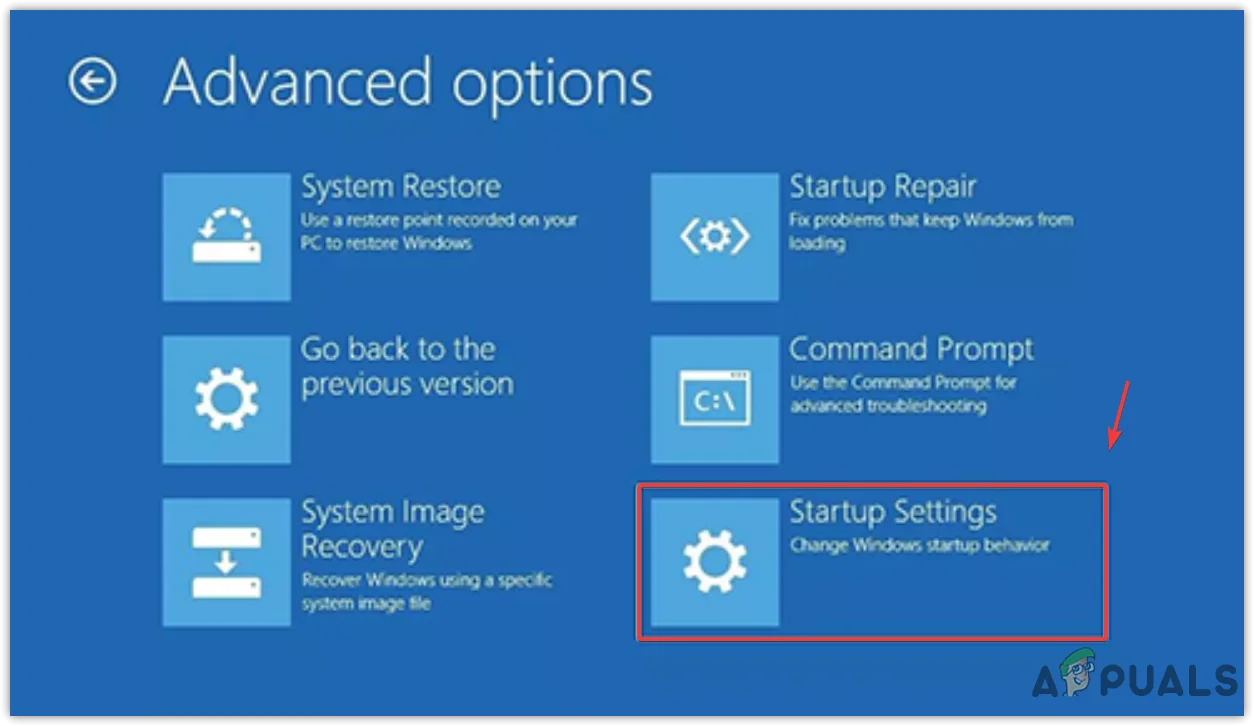
Using Startup options to enable Safe Mode.png - Click Restart from the bottom right.
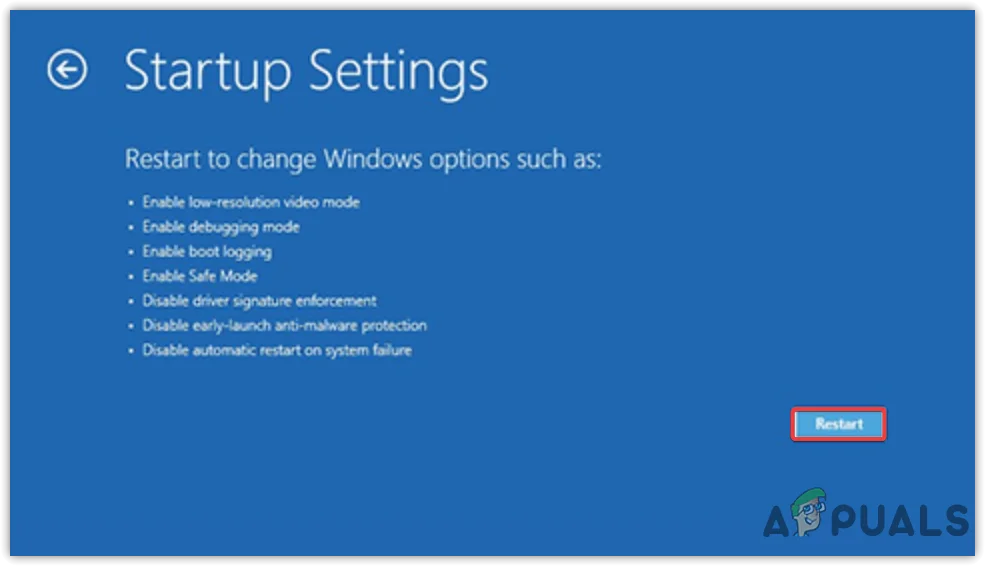
Restarting Windows to use the Startup options - Once your system restarts, press 5 or F5 to enable the Safe mode.

Enabling Safe Mode from Windows recovery environment
Once you have booted into safe mode, use your system for several minutes to check whether you encounter this BSOD error. If the error does not appear, that means the issue is due to the drivers, especially the graphics drivers.
3. Reinstall GPU drivers
Since this issue is often caused by a corrupted, outdated, and incompatible GPU driver, uninstalling it entirely from the system can fix your problem. Before uninstalling the GPU driver, you can try to disable it from the device manager to determine if the GPU driver is causing this issue.
To disable the GPU driver:
- Press the Windows key and type Device Manager.
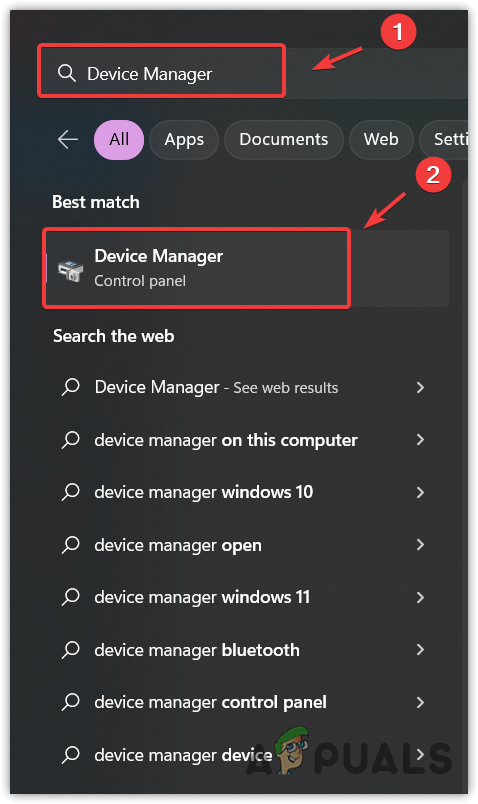
Opening Device Manager - Open the device manager, expand the Display adapters, right-click the GPU driver and select Disable device.
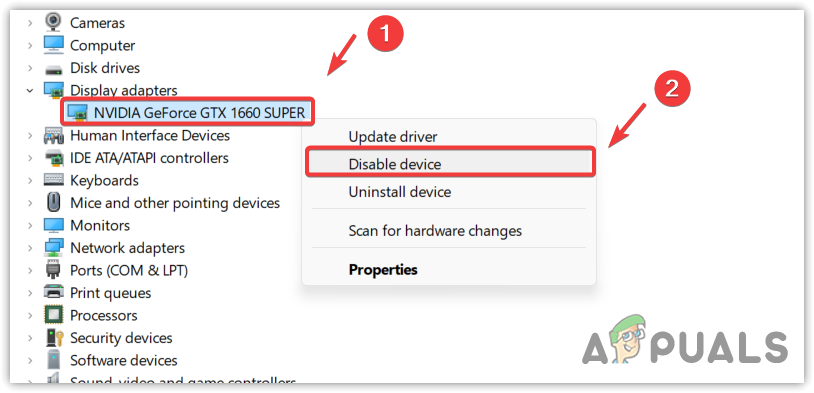
Disabling GPU driver - Click Yes to confirm the action.
- Once you have disabled the GPU driver, use your system for some time to see whether the BSOD error appears.
If you don’t see this BSOD error after disabling the GPU driver, that means either the GPU driver is corrupted, or the Graphics Card has a hardware problem causing this BSOD error. To ensure that, you will have to reinstall the driver from the computer.
To uninstall the drivers, we use an application Display driver uninstaller (DDU) for clean uninstallation of drivers along with the registry files.
To uninstall the driver with DDU:
- Download Display driver uninstaller.
- Once the downloading is finished, right-click the DDU zip folder and select Extract to [Guru3D.com]-DDU\”.
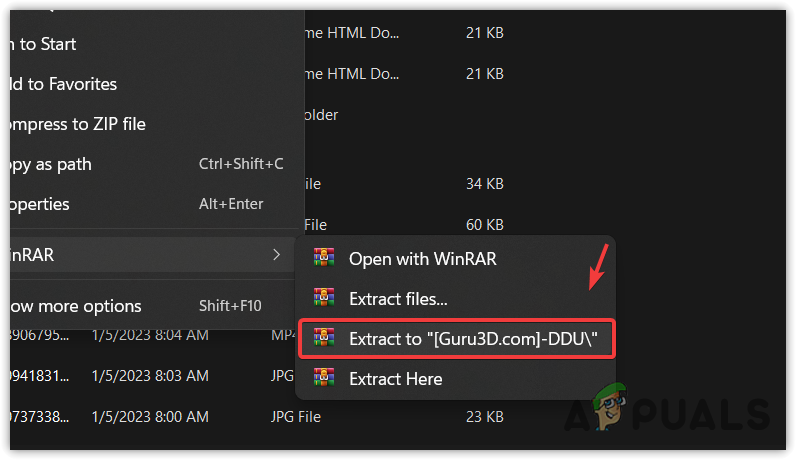
Extracting DDU zip folder using WinRar - Wait for the extraction process to be finished, and navigate to the folder.
- Run the DDU installer and click Extract.
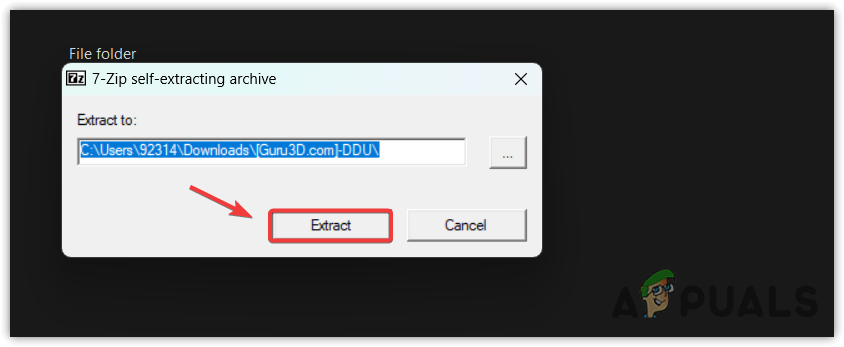
Extracting DDU installer - Once the extraction is finished, open the folder and run the Display driver uninstaller application.
Note: DDU recommends uninstalling drivers in safe mode. You can access the safe mode by following the 1st method steps. - Once the DDU application is opened, select the GPU from the top right.
- Then, select its vendor and then click Clean and restart.
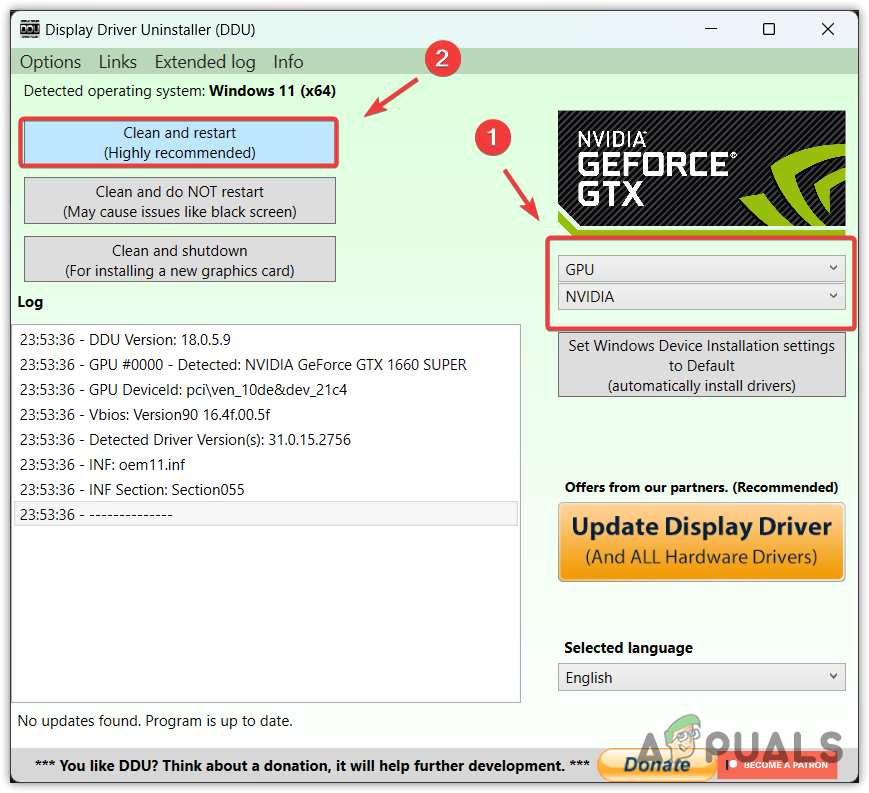
Uninstalling graphics driver using DDU - Once your system restarts, it’s time to install GPU drivers from the official website.
- To do so, go to your GPU manufacturer’s site and search for drivers with your Graphics card name.
- Download the latest GPU driver.
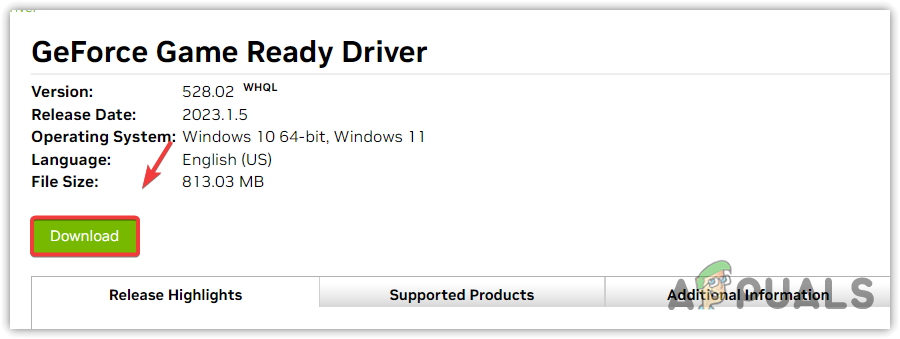
Downloading the latest graphics driver - Now run the driver installer, and follow the further instruction to install.
- Restart your computer and check if the VIDEO_SCHEDULER_INTERNAL_ERROR occurs or not.
4. Repair system files
Corrupt system files can also cause this BSOD error. To fix this issue, you will need to restore them by running the System File Checker (SFC) to replace the corrupted system files from the cached folder located in %WinDir%\System32\dllcache.
To run the sfc command:
- Press the Windows key and type Command Prompt.
- Right-click the command prompt and select Run as administrator.
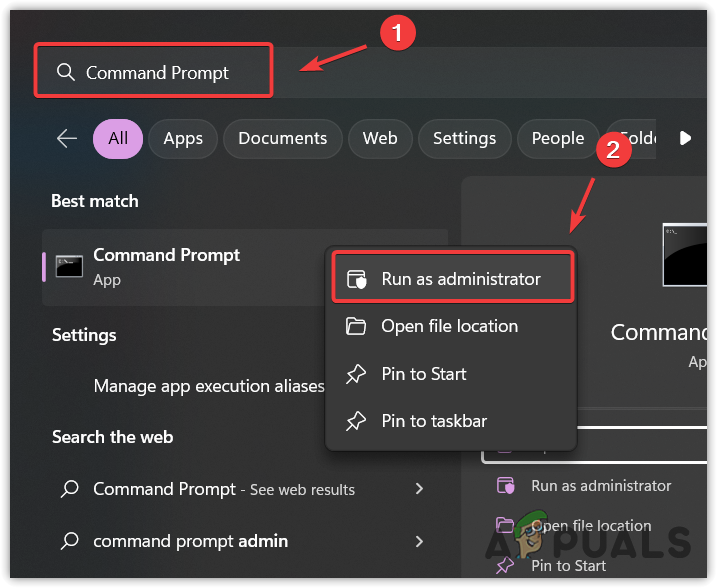
Opening command prompt as administrator - Once the command prompt is launched, enter the following command.
sfc /scannow
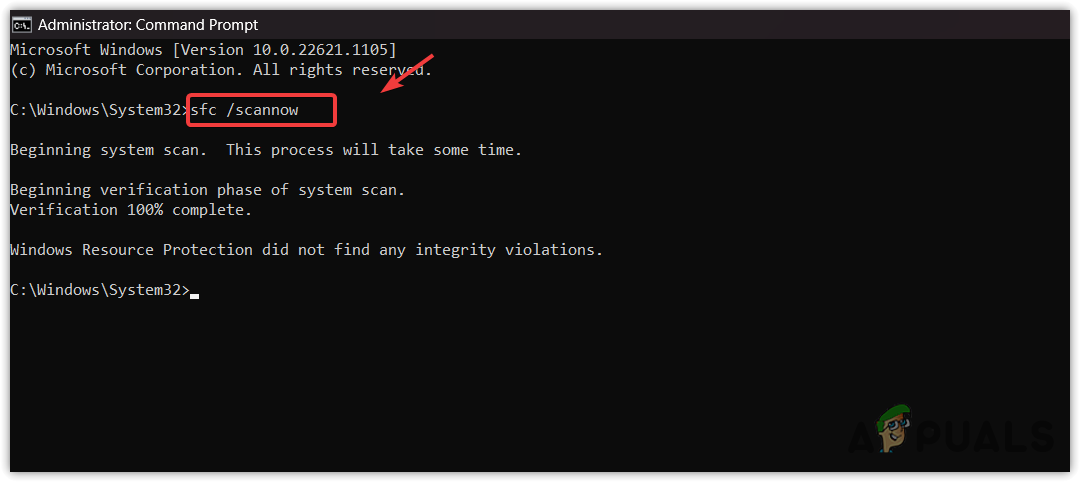
Running system file checker on command prompt - Wait for the verification process to be finished.
- Close the command prompt and check if this method helped fix this issue.
5. Reset GPU overclock settings
If you have overclocked your Graphics card, we recommend you reset the overclock settings as it increases the temperature and causes overheating of the hardware components, leading to this BSOD error. There are two ways to reset overclock settings either uninstall the overclocking application or reset the overclock settings.
- To reset the overclock settings, open the application.
- Click the reset icon to reset the overlock settings.
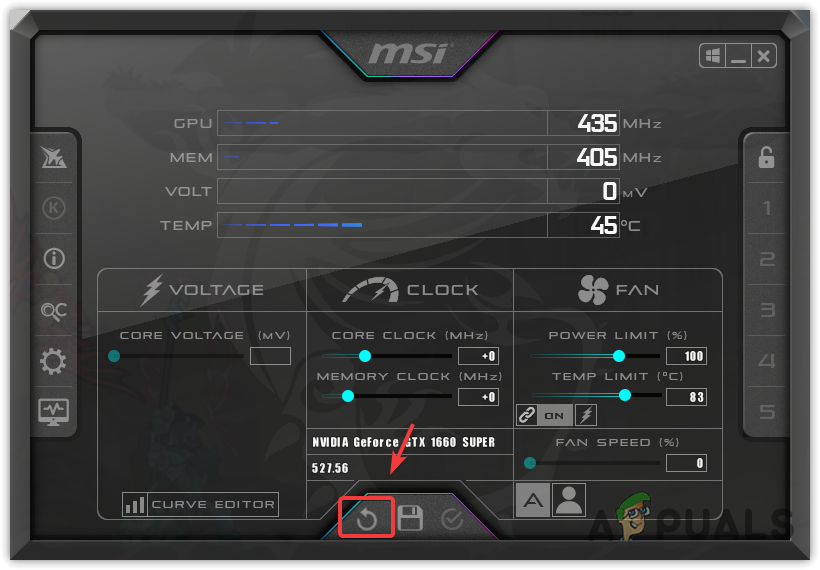
Resetting overclock settings - Once done, check if your BSOD issue is fixed or not.
6. Disable the XMP feature
It is possible that you are using RAM with the XMP feature enabled. XMP (Extreme Memory Profile) is a feature that allows users to use the rated potential overclock speed, which can cause this BSOD error to occur.
If you are not using any overclock settings on your RAM, skip this method, as it won’t make any difference. To disable the XMP, follow the steps:
- Turn off your system, then turn it back on.
- Once you see the manufacturer’s logo, press the Delete key or another key that takes you to the bios settings.
- Once you enter the bios settings, navigate to the overclock settings.
- Find the XMP option to disable it.
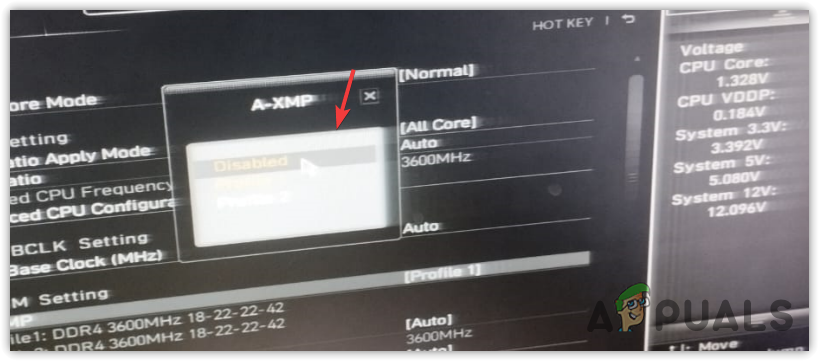
Disabling XMP from bios settings - Once done, save and exit from the bios settings.
- Then, check if your issue is resolved or not.
- In case you cannot find the XMP option, navigate to Save and Exit settings, then click Restore Defaults.
- Click Yes to confirm the action.
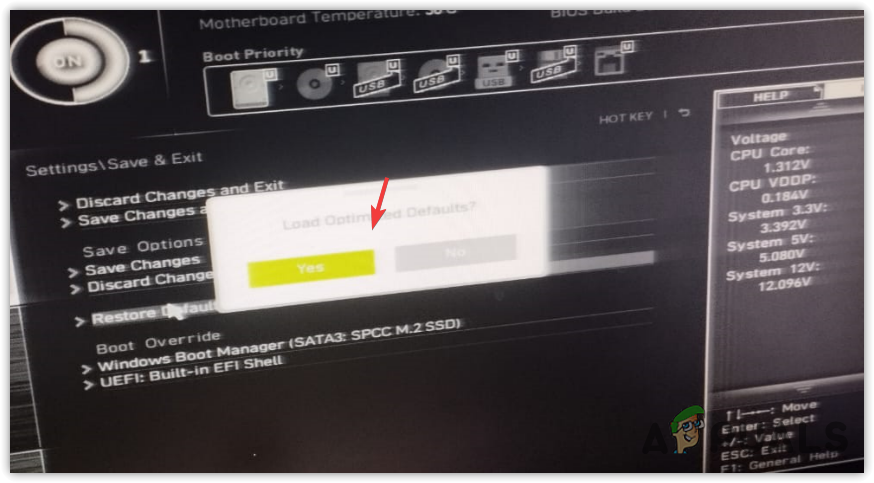
Factory resetting bios settings - Exit the bios settings and then check whether your issue is fixed.
7. Check RAM for a hardware problem
If the issue persists, it is possible that one of your RAMs is causing this BSOD error. To ensure that, you will need to remove all of your RAMs and insert them one by one to determine which RAM is causing this issue. If you need any help, take it to the repair shop.
8. Remove Your Graphics Card
A faulty graphics Card can also cause this issue. If you tested all of your RAM and applied all the solutions described in this article, try removing your Graphics card if your CPU has an integrated GPU. If not, then either scan your Windows for malware with the third-party antivirus or proceed to reinstall or reset Windows without losing the data.