How to Fix Snapchat ‘Could not send’ Snap Error
Snapchat will not send snaps either due to network problems or as a result of issues in the device’s OS. This issue mainly occurs when your device is unable to establish a connection with Snapchat servers. This can be due to server problems with Snapchat or simply you device being disconnected from the internet.

In this article, we will explain how to resolve this issue and start sending snaps to your friends again.
1. Relaunch Snapchat
A minor malfunction is the app’s modules will not let it send snaps and relaunching it will do the trick.
For iOS: Swipe up and close the background process of Snapchat by flicking it up.
For Android:
- Exit the Snapchat app and tap on the Recent Apps button.
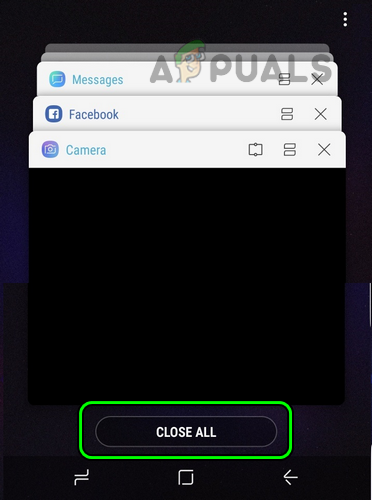
Close All Apps on the Android Phone - Press the Close All button and navigate to Settings > Application Manager > Snapchat.
- Force Stop the Snapchat app and open Storage.
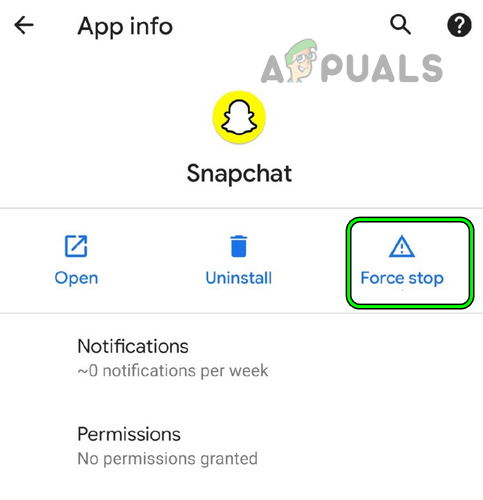
Force Stop the Snapchat App on the Android Phone - Clear the Cache of the app and launch Snapchat. Verify if it is sending snaps.
2. Enable & Disable the Airplane Mode of the Device
If you’re struggling to send snaps on Snapchat, it could be because the app is unable to correctly use your device’s network modules. These modules might be in an error state and need to be reset to their default settings. Activating airplane mode and then turning it off again can help, as this action will refresh your network modules.
Additionally, if you’re using a VPN app, this could potentially interfere with your network connection. It would be worth trying to disable the VPN to see if that fixes the problem.
- Navigate to Settings and enable Airplane Mode.
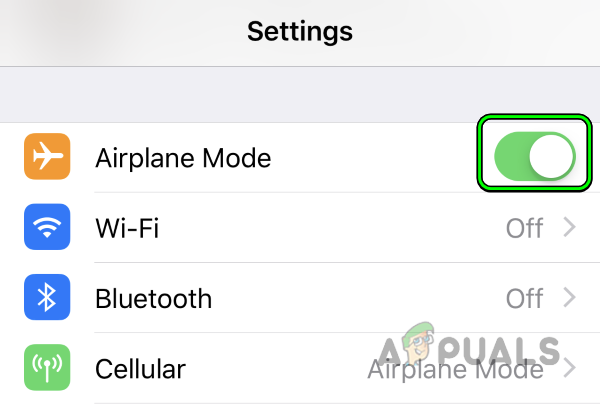
Enable Airplane Mode on the iPhone - Wait for a minute and then disable the Airplane mode.
- Launch Snapchat and check if it is sending snaps.
3. Update the Snapchat App to the Latest Build (if applicable)
An outdated Snapchat app will be incompatible with its servers and will fail to perform the required handshake operation. As a result, it will not be able to send snaps. In such a case, updating the Snapchat application to the latest build may resolve the issue.
For iOS, use Apple App Store to update the app.
To do so on an Android phone:
- Launch Google Play Store, search Snapchat, and tap on Update (if available).
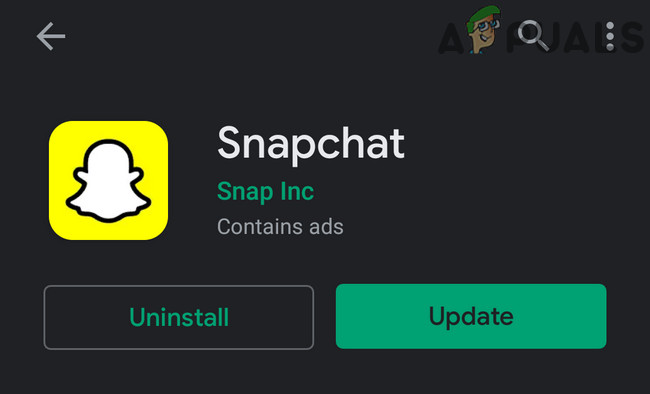
Update the Snapchat App to the Latest Version - Once updated, restart the phone and launch Snapchat. Check if the problem is solved.
- If this does not work, check if updating the Snapchat app to the beta version solves the problem.
4. Update your Operating System
Snapchat will fail to send snaps if the device’s OS is outdated. This can cause incompatibility between the device and the app, leading to the issue. Here, updating the OS of your device to the latest version will resolve the issue.
- Go to Settings > General > Software Update.
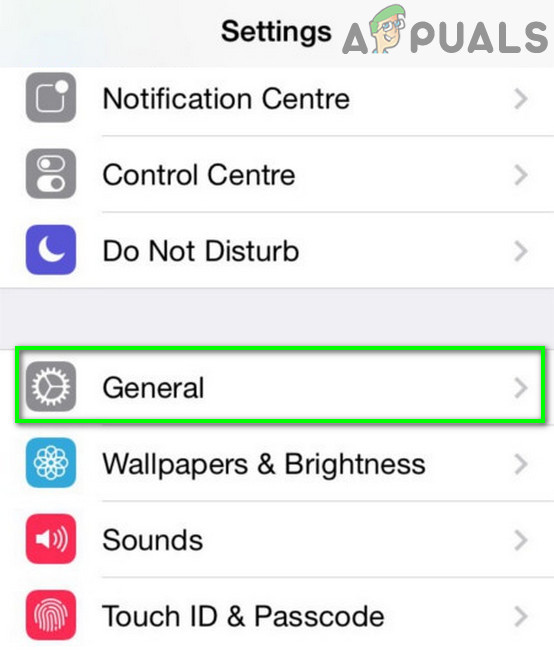
Open General Settings of iPhone - If an update is available, install it.
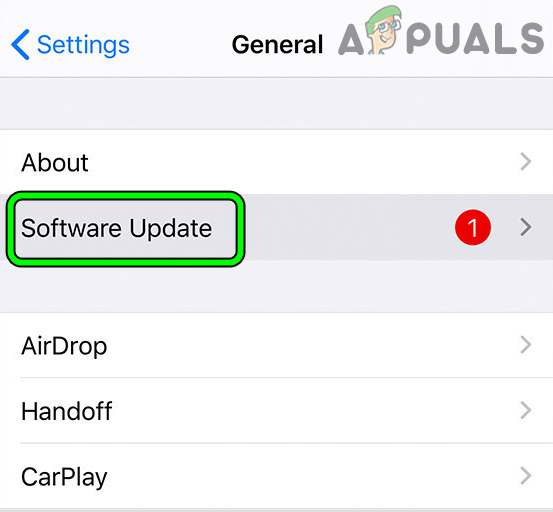
Open Software Update in the iPhone’s General Settings - Once done, restart the iPhone and check if Snapchat is sending snaps.
5. Relog into the Snapchat App
Snaps on Snapchat will not be sent if a server-side authorization error is not letting the app complete its operation. Here, re-logging into the application will re-establish the required authorization and thus solve the problem.
- Navigate to Snapchat Menu > Settings.

Open Settings in the Snapchat App - Near the bottom, tap on Log Out and confirm to log out.
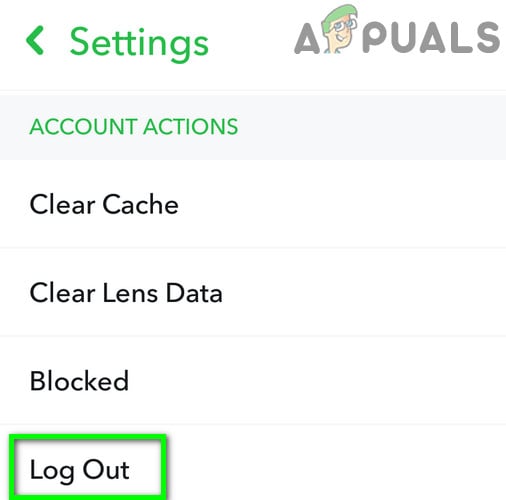
Logout of Snapchat - Restart your phone and launch the Snapchat app.
- Log in and check if the app is sending snaps.
If not and you have multiple keyboards installed on your phone, check if removing all other keyboards except the default one resolves the issue.
6. Disable Parental Control or Content Filters (if possible)
If Snapchat isn’t sending snaps, it might be due to parental controls or content filtering settings on your device that are blocking the app’s access to its servers. To solve this issue, you’ll need to disable the parental controls or content filters on your device.
As an example, we will look at how to disable T-Mobile’s Web Guard, which has been known to cause this issue. If you’re using an iPhone, you should also check and ensure there are no active parental restrictions.
- Launch the T-Mobile app and log in using your credentials. You can also use T-Mobile’s website to disable Web Guard.
- Navigate to Menu > Profile Settings.
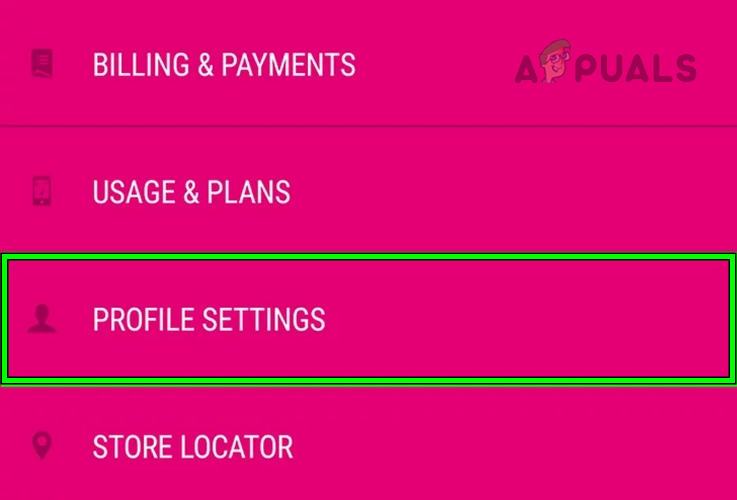
Open Profile Settings of the T-Mobile App - Open Family Controls and select No Restrictions.
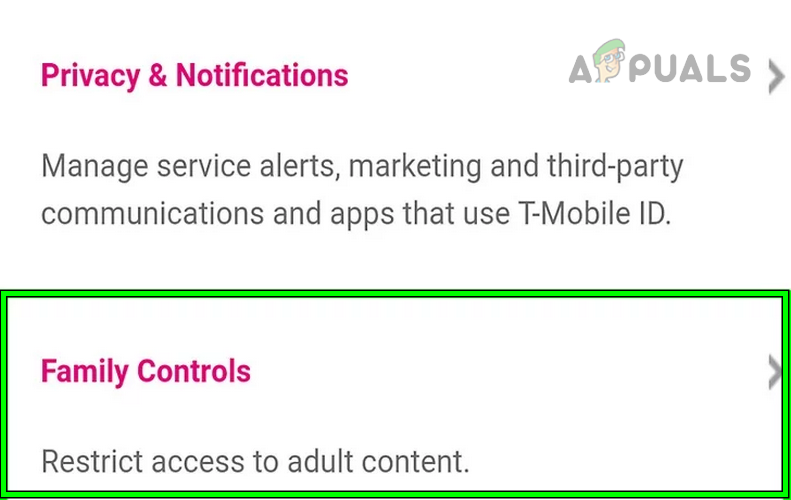
Open Family Controls of the T-Mobile App - Tap on Save and restart your phone.
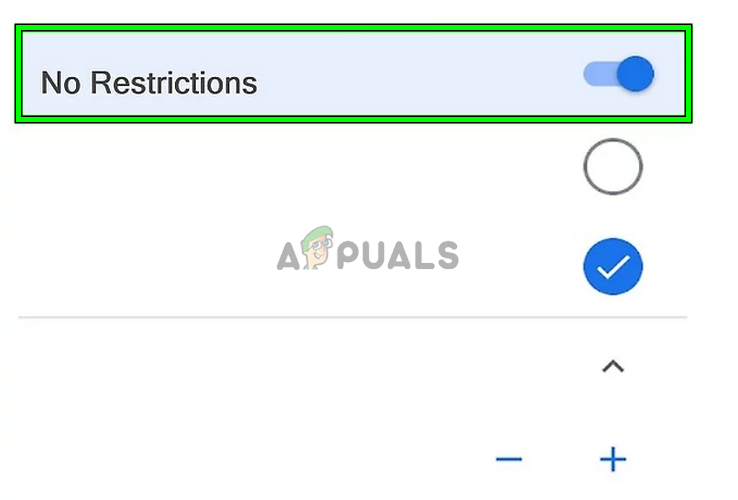
Set the T-Mobile’s Family Controls to No Restrictions - Upon restart, launch Snapchat and check if it is sending snaps.
If this does not work, you may contact your cellular service provider (If the issue is only occurring on the cellular data) to check if any of its filters or parental blocks is causing the issue.
7. Disable the VPN on the Problematic Device
Snapchat, along with several other social media platforms, often labels traffic from Virtual Private Networks (VPNs) as potentially unsafe and limits certain actions from IP addresses associated with VPNs. If you have a VPN enabled on your device, it’s possible that Snapchat’s servers are restricting access, which could cause issues with sending snaps. In this situation, disabling the VPN on your device should help resolve the issue.
If you are using a third-party VPN (like Hotspot Shield), you can disconnect it from within their apps. To disable VPN on an iPhone:
- Go to iPhone Settings > General > VPN.
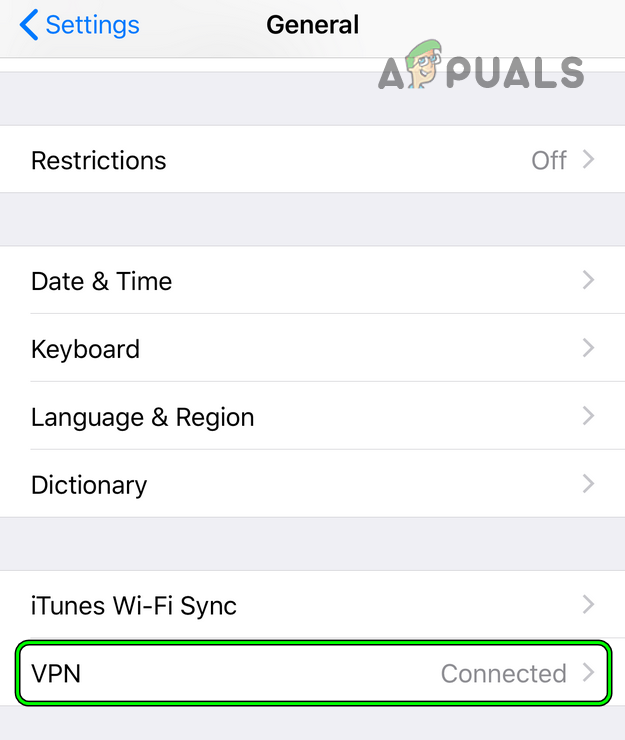
Open VPN in General Settings of iPhone - Disable VPN and restart the iPhone.
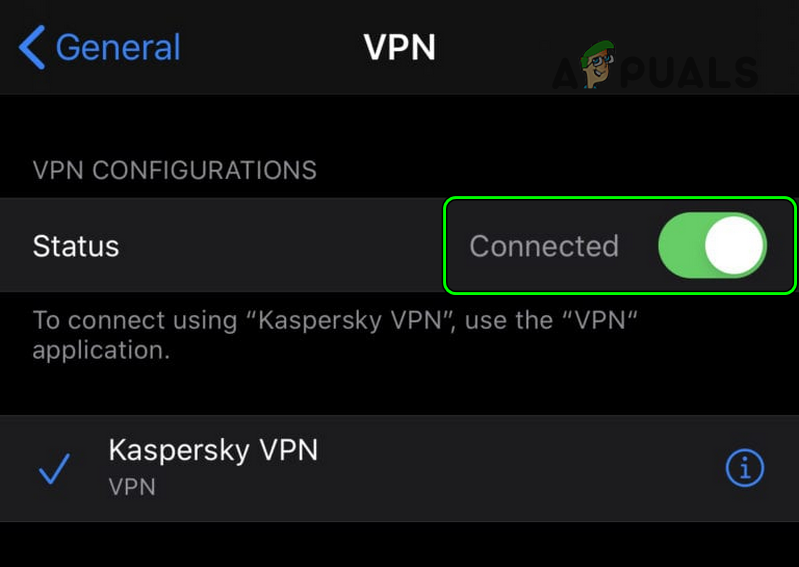
Disable VPN in iPhone Settings - Upon restart, launch Snapchat and check if snaps are being sent.
8. Try Another Network or Network Type
If your current network is blocking certain Snapchat features from connecting to its servers, you may experience issues sending snaps. A potential solution is to switch to a different network or use a different type of connection.
For instance, if you’re having trouble while connected to a Wi-Fi network, try switching to mobile data, or vice versa. This can often bypass network-specific restrictions and allow Snapchat to function normally.
- If the Snapchat issue is occurring on a particular network type such as Wi-Fi, disable it and enable the other type such as cellular data.
- Launch Snapchat and check if it is sending snaps.
- If not, connect the phone to another Wi-Fi network. You can also use a hotspot from another phone that is on another carrier.
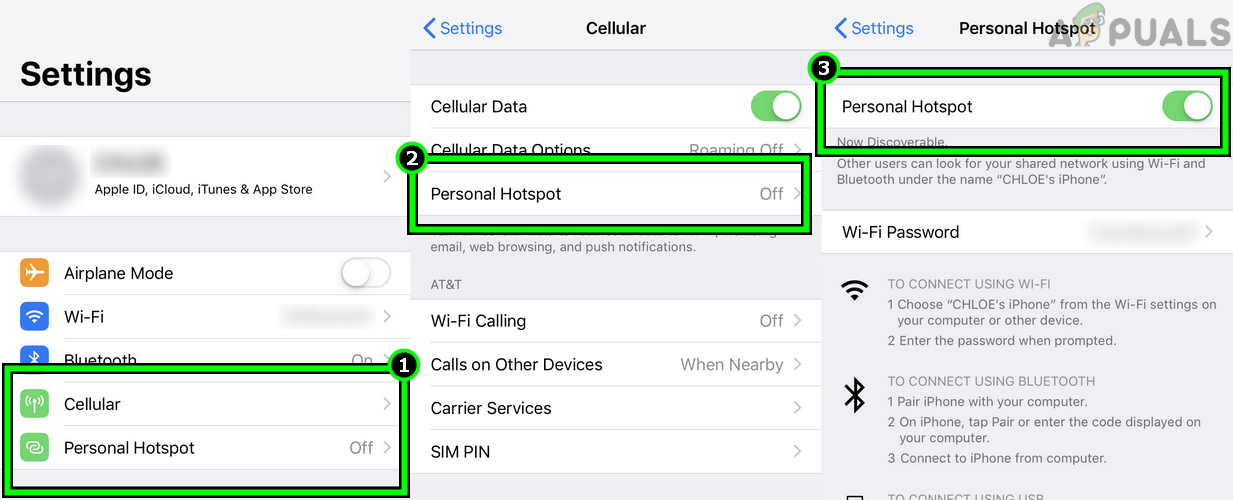
Enable Hotspot on the iPhone - Launch Snapchat and check if it is working.
9. Reinstall the Snapchat App
If you’re unable to send snaps on Snapchat, it might be due to an issue with the core functionality of the app. This could happen if a recent update didn’t properly modify the existing installation. A potential solution to this problem is to reinstall Snapchat on your device. Doing so should replace any corrupt or invalid app modules, allowing Snapchat to operate as expected once more.
To reinstall the Snapchat app on an Android phone:
- Go to Settings > Application Manager > Snapchat.
- Force Stop the app and open Storage.
- Clear the Cache and Data of the Snapchat app.
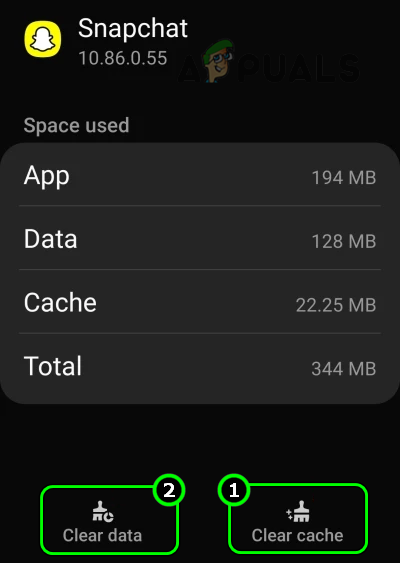
Clear Cache and Data of the Snapchat App - Press the back button and Uninstall the app.
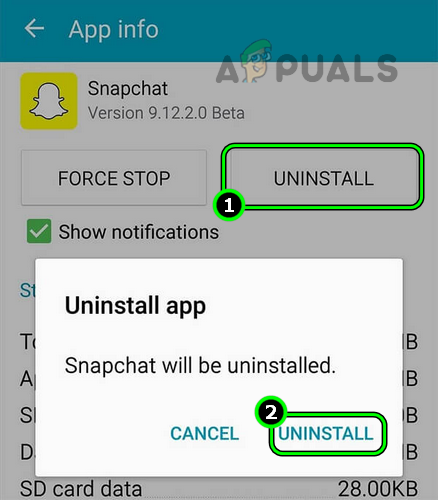
Uninstall the Snapchat App on the Android Phone - Restart your phone and install Snapchat.
- Launch Snapchat and grant all the required permissions.
- Log into the app and check if it is sending snaps.
10. Reset the Phone to the Factory Defaults
If the problem did not resolve after going through all the above, then the corrupt OS of the phone could be the root cause of the issue. In this scenario, resetting the phone to the factory defaults may make Snapchat work again. Before moving forward, do not forget to ensure that the problem is not a result of a Snapchat bug.
Before resetting the phone, create a backup of your phone and fully charge its battery. To reset an iPhone:
- Go to iPhone Settings > General> Reset.
- Tap on Erase All Content and Settings.
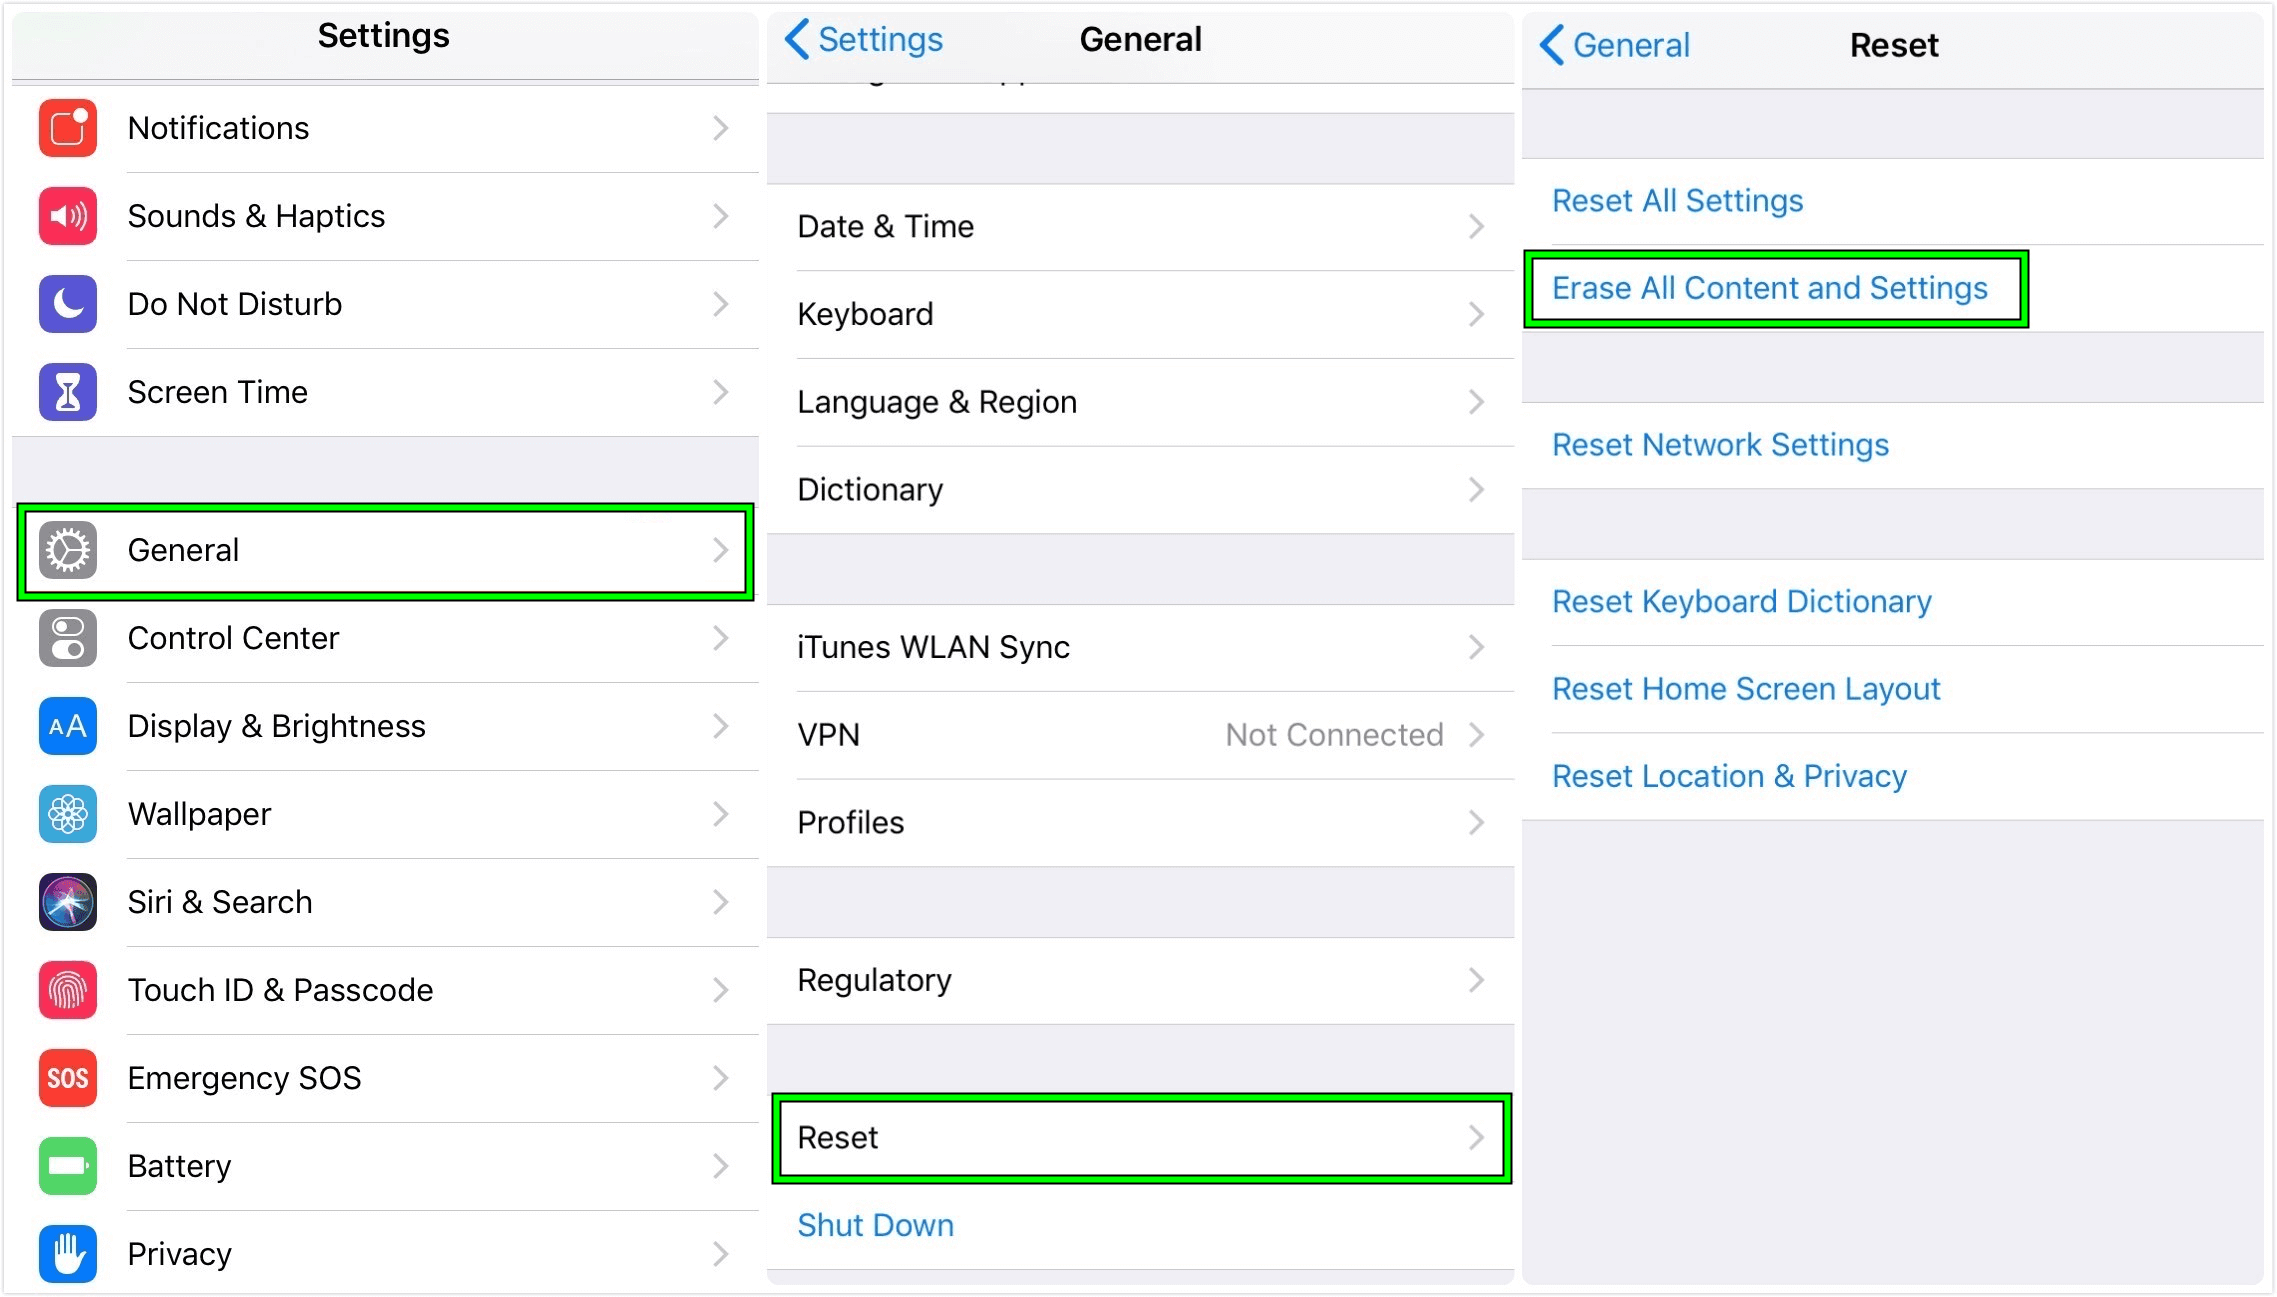
Erase All Content and Settings on the iPhone to Reset it to the Factory Defaults - Confirm to reset the iPhone and if asked to, enter the passcode.
- Once completed, set up the iPhone as per your requirements but as a new device.
- Install Snapchat and hopefully, it will be sending snaps correctly.
If that did not work, then you may contact Snapchat support to clear the problem. Till then, you may use Snapchat in a web browser.
 Reviewed by


