Setup Parental Controls in Windows 10 or Blocking Adult Content
To a parent, there is nothing more important than their child, and there is no desire stronger than the desire to protect their child from everything that can harm them and in every environment – including the environment of the internet. The internet can be a scary place, especially for naïve and unknowing children, which is why it is wise for all parents to try and protect their children from the shady parts of the internet as best they can. Microsoft knows and understands this fact, which is the reason why Microsoft introduced a variety of different parental controls with Windows 7 which were designed to help parents make the internet a safer place for their kids.
Over the course of time and new releases of the Windows Operating System, the parental controls that Microsoft introduced with Windows 7 have changed slightly and evolved to become better. A relatively more refined and effective array of parental controls have been introduced to the world with Windows 10, but while these parental controls may be better, they are a tad bit different, which can make it tougher for parents who are new to parental controls to understand and correctly setup Windows 10’s parental controls. Be that as it may, the following is a complete guide that anyone and everyone can use to setup parental controls on Windows 10 exactly the way they want to.
Setting up Parental Controls
1.1 Create a user account for your child
User accounts are also a bit different on Windows 10, and chief among the many changes that can be seen in this area is the ability to create separate user accounts for grownups and children within one family. First and foremost, in order to setup parental controls in Windows 10, you are going to have to create a user account for your child. To do so, simply:
On your Windows 10 computer, open the Start Menu and click on Settings.
Click on Accounts.
Click on Family & other users in the left pane.
In the right pane, under your family, click on Add a family member.
In the contextual dialogue box that appears, select Add a Child.
In the final box, type in the email address for your kid’s Microsoft account. If your child doesn’t have one, you can create a new Microsoft account for them by clicking on the link directly below the email address box.
Click on Next, and then on Confirm.
An invitation will be sent to the Microsoft account you signed your child up using. Sign into that Microsoft account, open up the email and accept the invitation. You won’t be able to configure any parental controls for your child’s account until the invitation is accepted.
Creating a child account on a Windows 10 computer requires a Microsoft account – you cannot create a local account for your child. The reason behind this wildly controversial change is the fact that with a Microsoft account being associated with a child account, setting up and fine-tuning parental controls is not only possible but also a piece of cake and the parental controls that a parent configures can be immediately applied to a different Windows 10 computer as soon as they set up an account for their child with the same Microsoft account on it.
1.2 Go to the Family Safety page
What to most people is a disadvantage of Windows 10’s parental controls is the fact that they can only be managed and configured online. In order to move towards setting up parental controls for your child’s account, you need to go to the Microsoft Family Safety page. To do so, you can either:
Visit https://login.live.com/login.srf?wa=wsignin1.0&rpsnv=13&checkda=1&ct=1625496842&rver=7.0.6738.0&wp=MBI_SSL&wreply=https:%2F%2Faccount.microsoft.com%2Fauth%2Fcomplete-silent-signin%3Fru%3Dhttps%253A%252F%252Faccount.microsoft.com%252F&lc=1033&id=292666family on an internet browser of your choosing.
Sign in with your own Microsoft account.
Or, on a Windows 10 computer that you are already logged into with your own Microsoft account:
Open the Start Menu.
Click on Settings.
Click on Accounts.
Click on Family & other users in the left pane.
Click on Manage family settings online under your family in the right pane. This will open the Microsoft Family Safety page in a new tab of your computer’s default internet browser.
1.3 Setup parental controls for your child’s account
As soon as you are on the Microsoft Family Safety page in an internet browser, you will be able to see all of the accounts that are a part of your family. Click on your child’s account to start setting up parental controls for it. There are going to be quite a few different sections in the Family Safety page for your child’s account, which is why it would be much better if all of these sections, and the implications of the settings and toggles found within them, are explained to you separately.
1.4 The Recent activity section
This section of the Microsoft Family Safety page displays all of your child’s web browsing, app and game usage and computer usage activity from all of the Windows 10 computers they have accounts on from the last 7 days. This section also has two toggles at the top which are enabled by default but can be disabled at any time by simply switching them off. These toggles are:
Activity reporting – The recording of all of your child’s activity across all of the Windows 10 devices they have accounts on and the displaying of it in the recent activity section of the Microsoft Family Safety page.
Email weekly reports to me – The weekly emailing of all of your child’s activity throughout the week to your Microsoft account.
Web sites your kid visits and the apps and games that they use are all individually listed under the Web browsing and Apps & games sectors of the recent activity page respectively. You can block your child’s access to any website, app or game you wish by simply clicking on the Block button directly in front of its listing.
1.5 The Web browsing section
The Web browsing section contains two toggles:
Block inappropriate websites – Enabling this toggle blocks your child’s access to inappropriate websites, such as those that contain adult content.
Only see websites on the allowed list – Enabling this toggle means that your child will only be able to access websites that you yourself have placed in the Always allow these list.
Also in the Web browsing section are the always allow these and always block these lists of websites. As suggested by their names, your child will always be allowed access to websites that you add to the Always allow these list and your child’s access to the websites you add to the Always block these list will always be blocked. To remove a website form either list, simply click on Remove in front of its listing.
1.6 The Apps & games section
In this section, you can make sure that your child only uses apps and games that are appropriate for their age. To do so, simply open the dropdown menu in the Limit apps and games that can be used on this device sector and select the age category that your child falls under. As you set the age category that your child falls under, the allowed ratings for apps and games will be chosen automatically.
Any apps and games that you block from the Apps & games section of the recent activity page are listed under the Blocked apps & games sector. You can remove any listings from this sector to allow your child access to the app or game that the listing was for. Also, when your child tries to access a blocked app or game, you will receive a permission request from your child. All the blocked apps that you accept permission requests for are listed under the Allowed apps & games sector of this page.
1.7 The Screen time section
Last is the Screen time section of the Microsoft Family Safety page. Through the settings found in this section, you can decide just how early and how late your child can use the computer, as well as the maximum amount of time in one day they can use it for. This means that even if you grant your child access to the computer throughout the entire day, you will still be able to limit the total amount of time they spend in front of the computer screen. In addition, the cherry on top of this sundae is the fact that you can set different values for different days of the week!
Note: Activity reporting and the blocking of inappropriate websites, along with a few other settings, only work on Internet Explorer and Microsoft Edge, so if you have opted to have these options enabled and your child uses any other internet browsing apps, be sure to promptly block them as soon as they show up in the Recent activity section of your child’s Microsoft Family Safety page.
Blocking Adult Content In Windows 10
Blocking adult websites on your computer can be a difficult task considering the sheer volume of websites that have adult content available. These websites can have a serious impact on your Child’s mental health and can create hurdles for them distracting them from their studies and alters their capacity for normal relationships.
Not to mention the viruses and malware that websites contain infect your computer and can cause serious damage to your system resources. Windows 10 allows the users to block websites on kids’ accounts which is why it is necessary for your kids to have their own account instead of using yours to sign in to the computer. Otherwise, there will be no way of knowing for the Computer whether the person signed in is an adult or a kid.
1. Use Microsoft’s Family Account
Windows 10 allows users to use Microsoft’s Family account to apply family features to the accounts that are added under the family account. The user just needs to take care of few steps to make sure that the Family settings are on. Members that are added to the family account can browse safely online and build an understanding of appropriate websites. If your child does not already have a Mircosoft Account, you will first need to create one for them in order to apply the Family feature.
Follow these steps if your child does not have a Microsoft account, if your child already has a Microsoft account then skip the below and continue with step 7
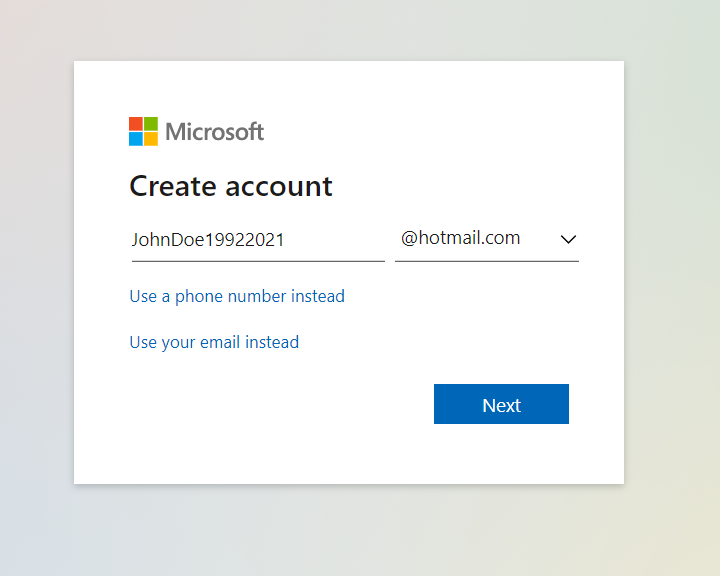
- Go to login.live.com and click on the option that says Create One.
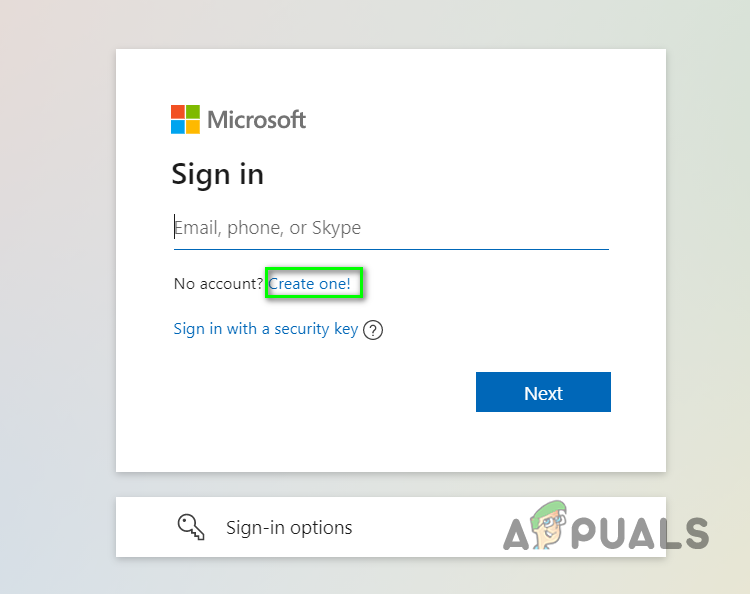
Login Live Create a new Microsoft account - Enter your child’s name date of birth and other necessary details.
Create a new Microsoft account - You will be asked to review Microsoft’s Service Agreement and Privacy Statement after that click Create an account.
- Your account will be created and you will be redirected to the Account Settings page.
- Make a note of the email address associated with the Microsoft Account.
- Sign in at the Microsoft Family portal.
- Scroll to your family members list and select the option that says Add a family member
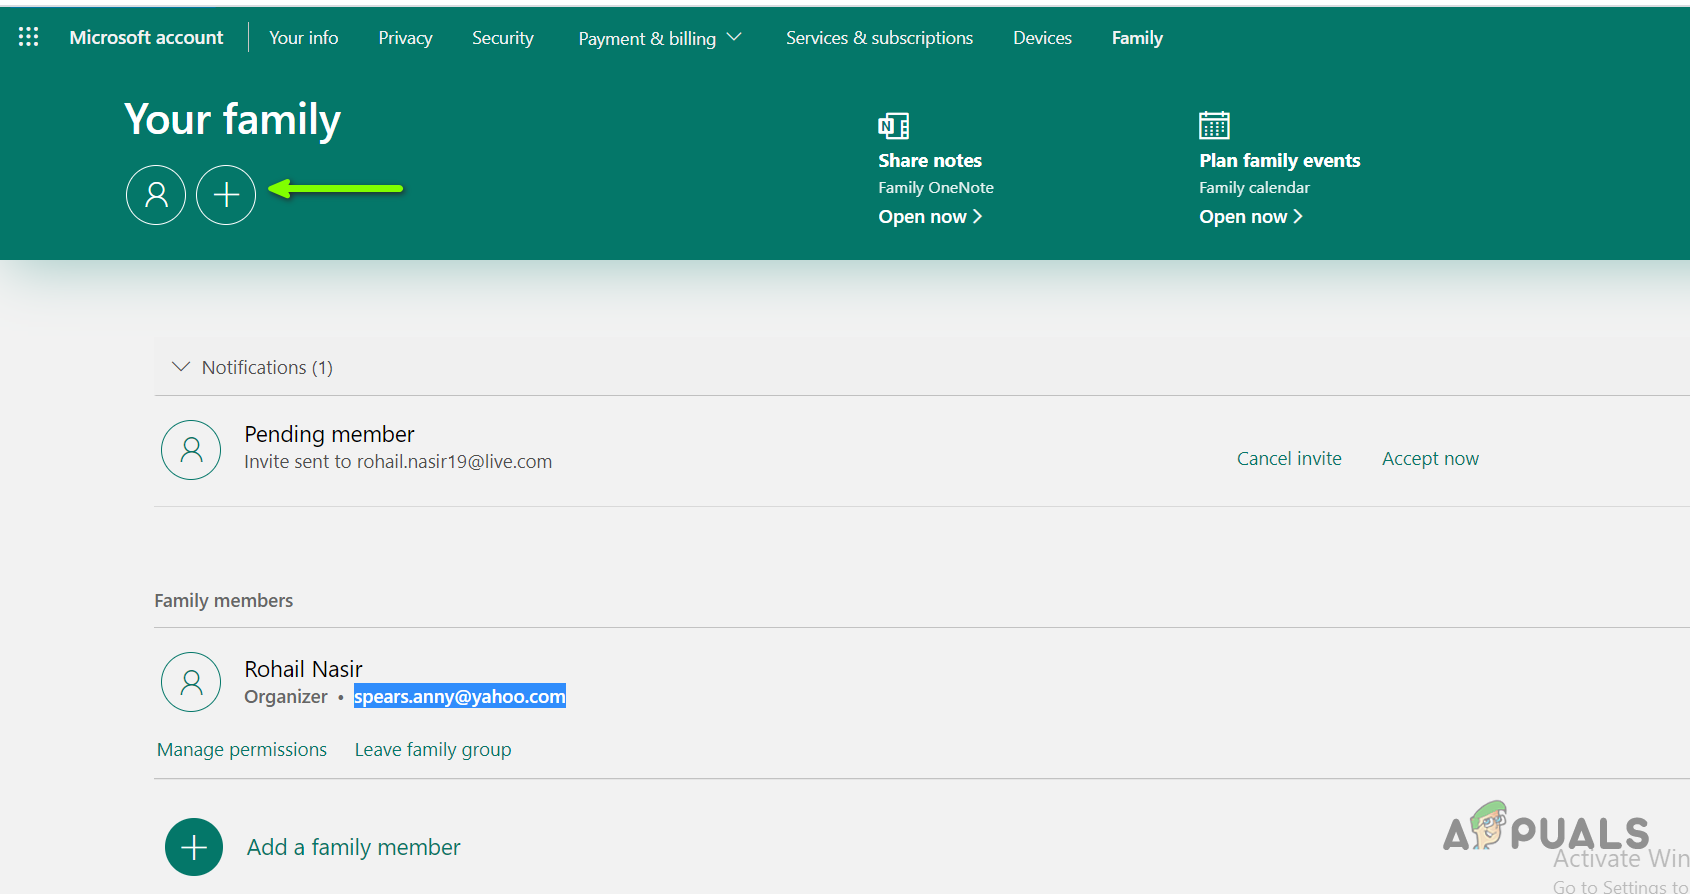
Add a new family member - Enter your Child’s Email address and select the option Send Invite
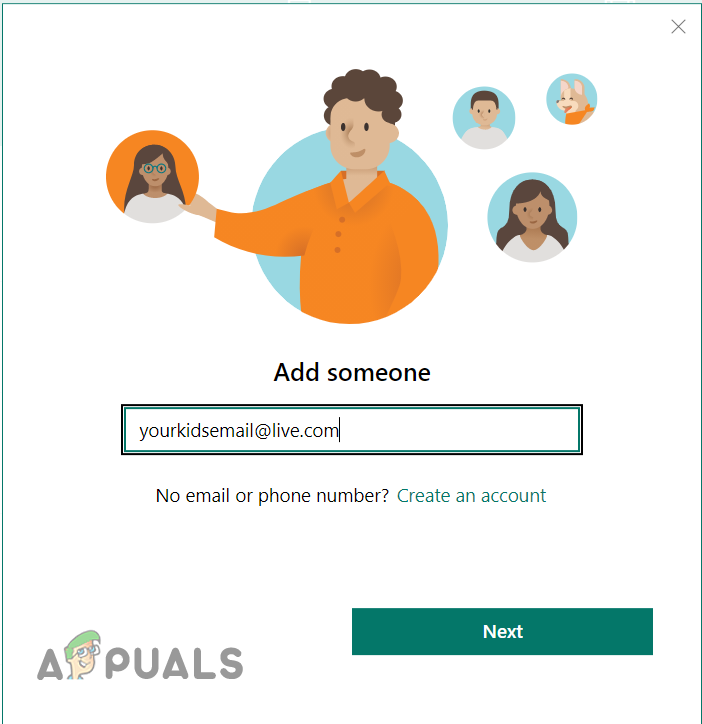
Add your family member to Microsoft Family - Your child will now have to Sign-in to their Microsoft account and accept the invite sent to them.
- Once they accept the invite you can then choose which types of websites they have access to and what apps and games are appropriate for their age. You can also set screen time limits and review their online activity including what web pages they visited and what applications they downloaded.
2. Use OpenDNS NameServers
In this method we will use the Open DNS Family Shield that provides Domain Name Servers to protect the restricts the users from accessing inappropriate content on the web. These websites are blocked by the Family Shield service by default. All you need to do is change your network adapter’s configurations to use OpenDNS NameServers instead of the default DNS provided by your ISP. Please follow the steps below:
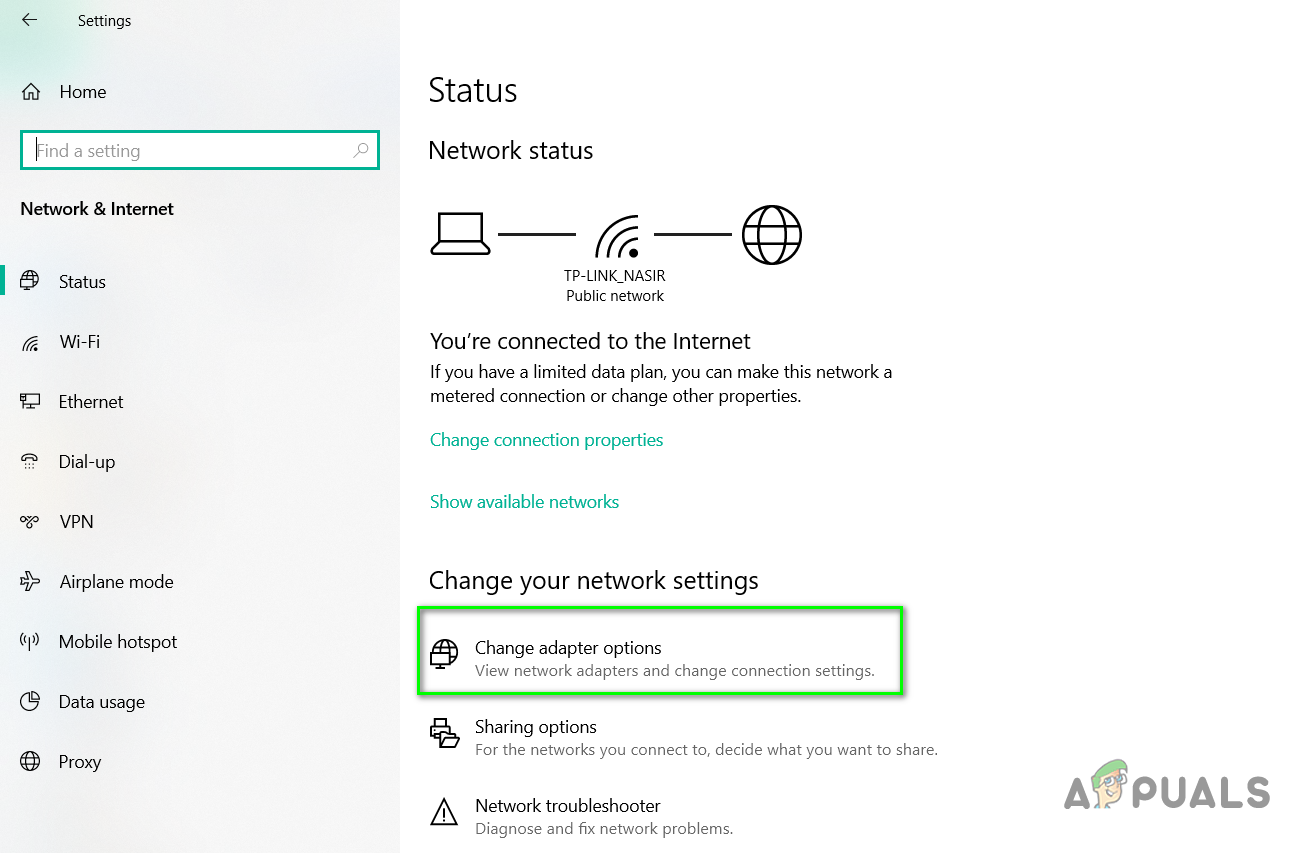
- Go to your computer Settings and click Network and Internet
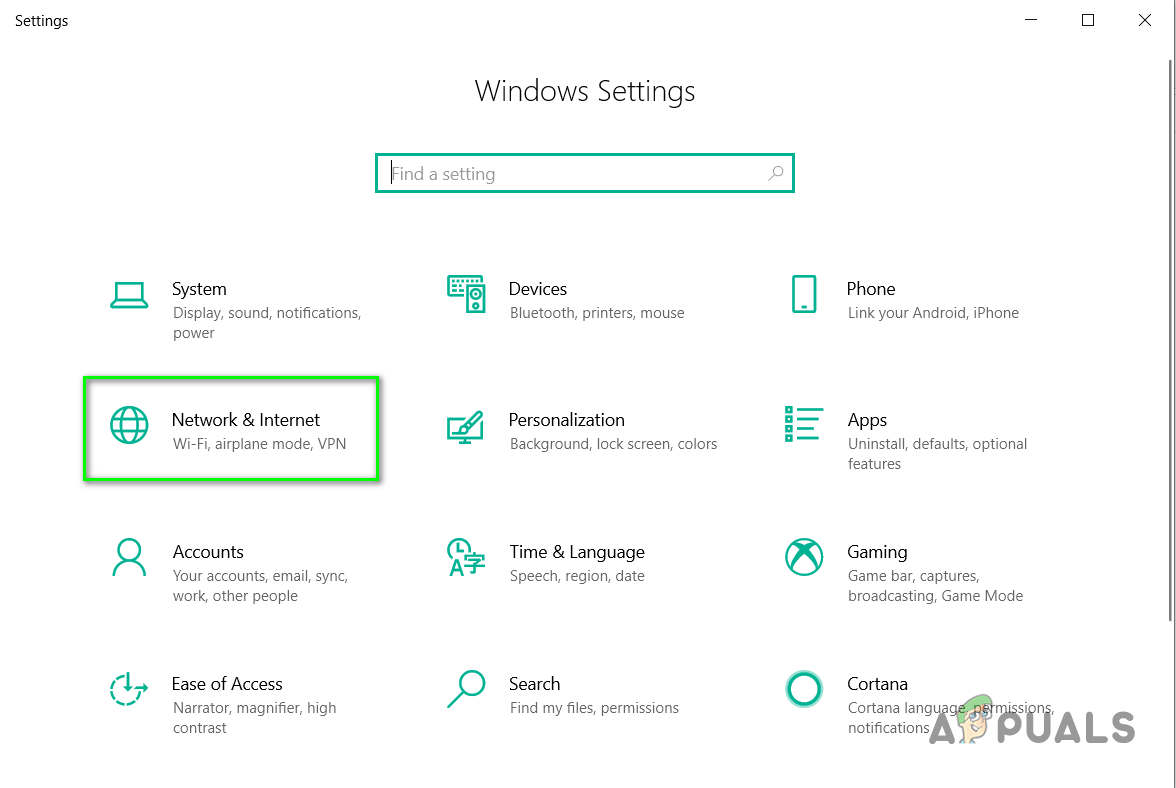 Go to your computer Settings and click Network and Internet
 - Click the option that says Change adapter options
Click Change adapter options - Right-click and go to your Network Adapters properties
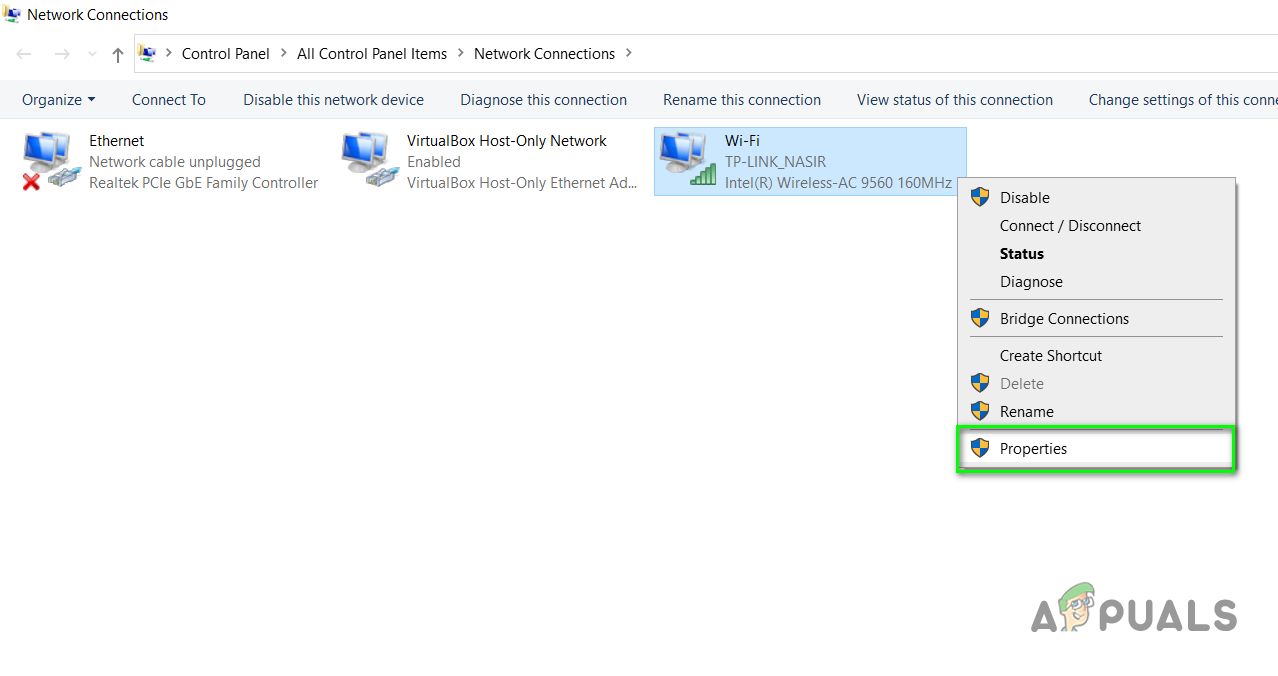
Go to your network adapters properties - Scroll in the list to find the option Internet Protocol Version 4 (TCP/Ipv4) and double click on it to open properties
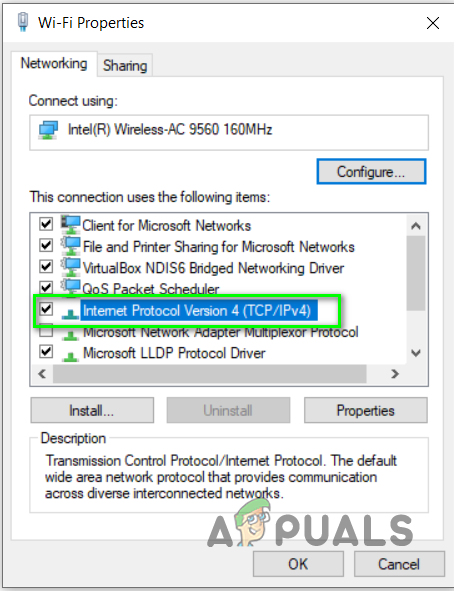
Double click on IPv4 to open properties - Choose the option Use the following DNS server addresses and enter these addresses 208.67.222.123 and 208.67.220.123 and click OK to apply changes.
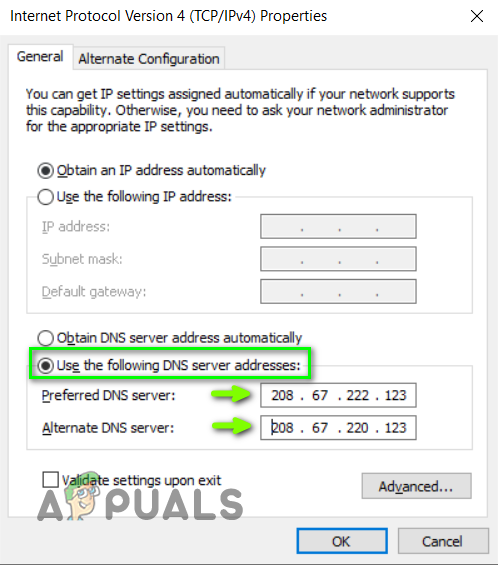
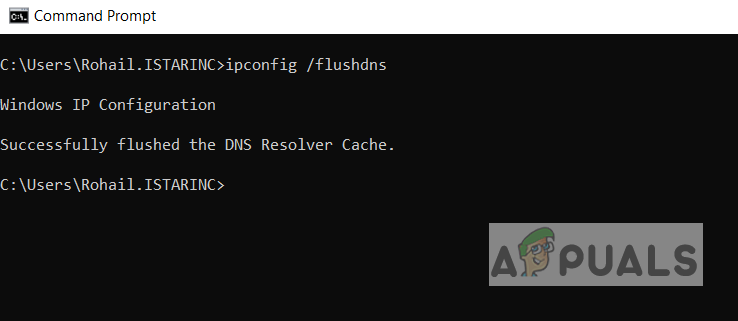
Change the option to Use following DNS server addresses - Now open the Command Prompt and enter the following command to clear the DNS cache
ipconfig /flushdns
Good post, thanks!
But if your child has local account in Windows 10 –
internal parental control does not work. Why? (on W7 all was Ok)
Should I use others parental controls, eg Time Boss, Net Nanny or others?