Guide: Create SolarWinds Orion Maps to Troubleshoot Network Issues
The SolarWinds Orion features a mapping tool known as “Orion Maps.” This tool enables administrators to visually display their network topology and identify potential problems. With Orion Maps, network issues can be monitored and resolved, leading to improved network performance and availability.

This feature allows administrators to easily visualize the relationships and connections within their network, enabling them to quickly identify and resolve issues. Whether you need to create a departmental view, a status view for your Network Operations Center (NOC), a view for management, or a view for executive leadership, Orion Maps offers a wide range of customization options.
You can build your map from scratch or take advantage of the dependencies and relationships already established by the Orion Platform. This allows you to quickly and easily gain insight into your network’s performance, and make the necessary changes to improve availability and reliability.
Features of Orion Maps
You can add Elements from the Entity library, and you can quickly see related entities and identify any issues that may arise. Customizing your map is made easy with the Properties panel. You can adjust the size, position, shape, aspect ratio, and more different elements to emphasize their priority.
You can also change the font or text position to suit your preference. Additionally, you can choose from a broad range of variables in the Insert Properties list to decide what information you want to see on your map. Customizing icons is also possible by selecting from a large list or by importing your own.
Orion Maps also offers a View History option, allowing you to see a timeline of how the map looked in the past. The Play Through option enables you to see the state of your environment before, during, and after an incident. By clicking on any connection on the map, you can take advantage of the PerfStack integration, which shows detailed performance data one hour before and after the incident.
Whether your environment is on-premises, in the cloud, or hybrid, Orion Maps offers the ability to create custom views that meet your specific needs. With its powerful and flexible features, Orion Maps allows you to proactively monitor, troubleshoot, and improve the performance and availability of your network. If you want to acquire the product, simply click on this link for further information and to make your purchase.
Creating a Map with Orion Maps
Follow the below steps to create a map using Orion Maps.
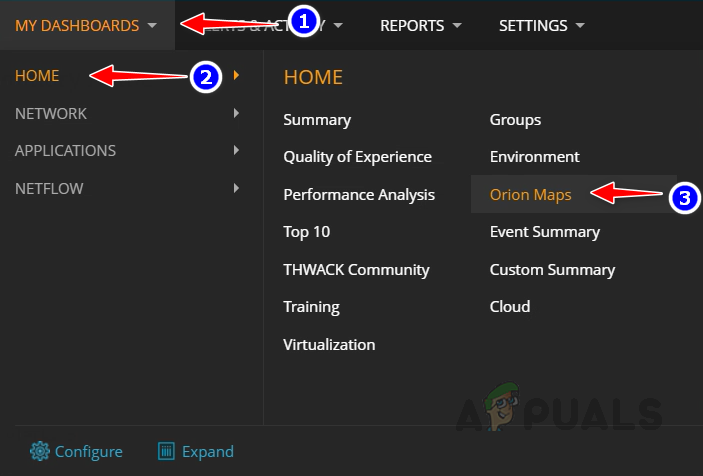
- Go to My Dashboards and click on Orion Maps from the Home sub-menu.
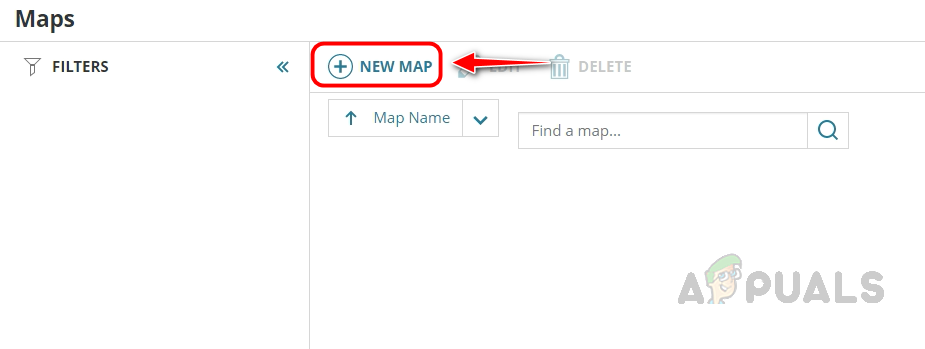
- Click on New Map to create a map.
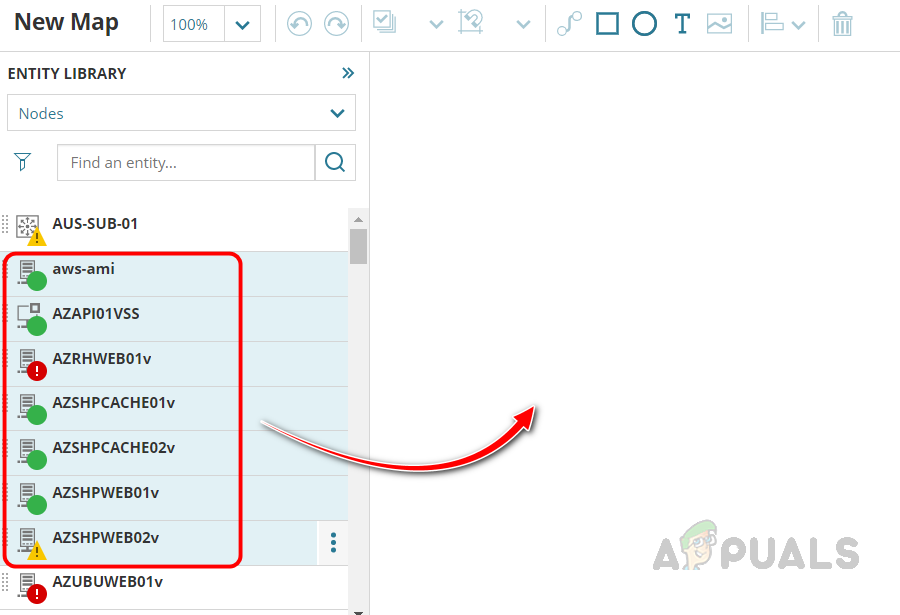
- You can see the device list in the Entity Library, you can drag and drop the desired devices inside the map editor field. Multiple devices can be selected using Ctrl and Shift keys.
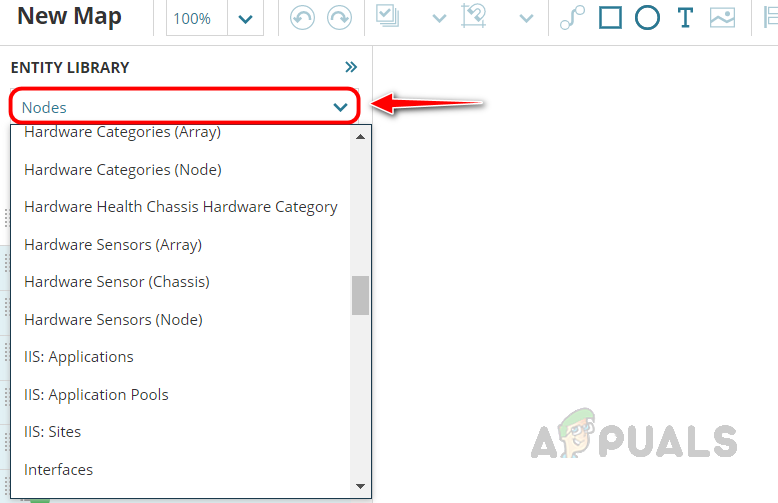
- If you would like to add other elements like interfaces or hardware sensors to map you can use the drop-down list under the Entity Library to choose the required element category.
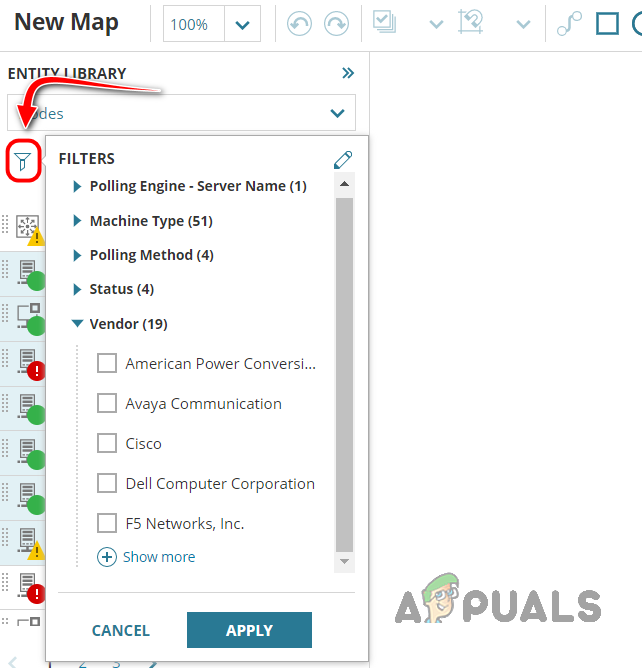
- You can also filter the devices or elements using the available filter option. You can choose the desired category to filter the entities.
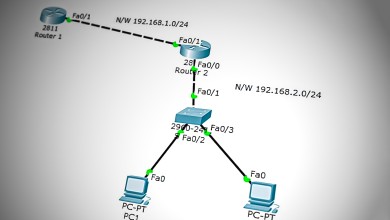
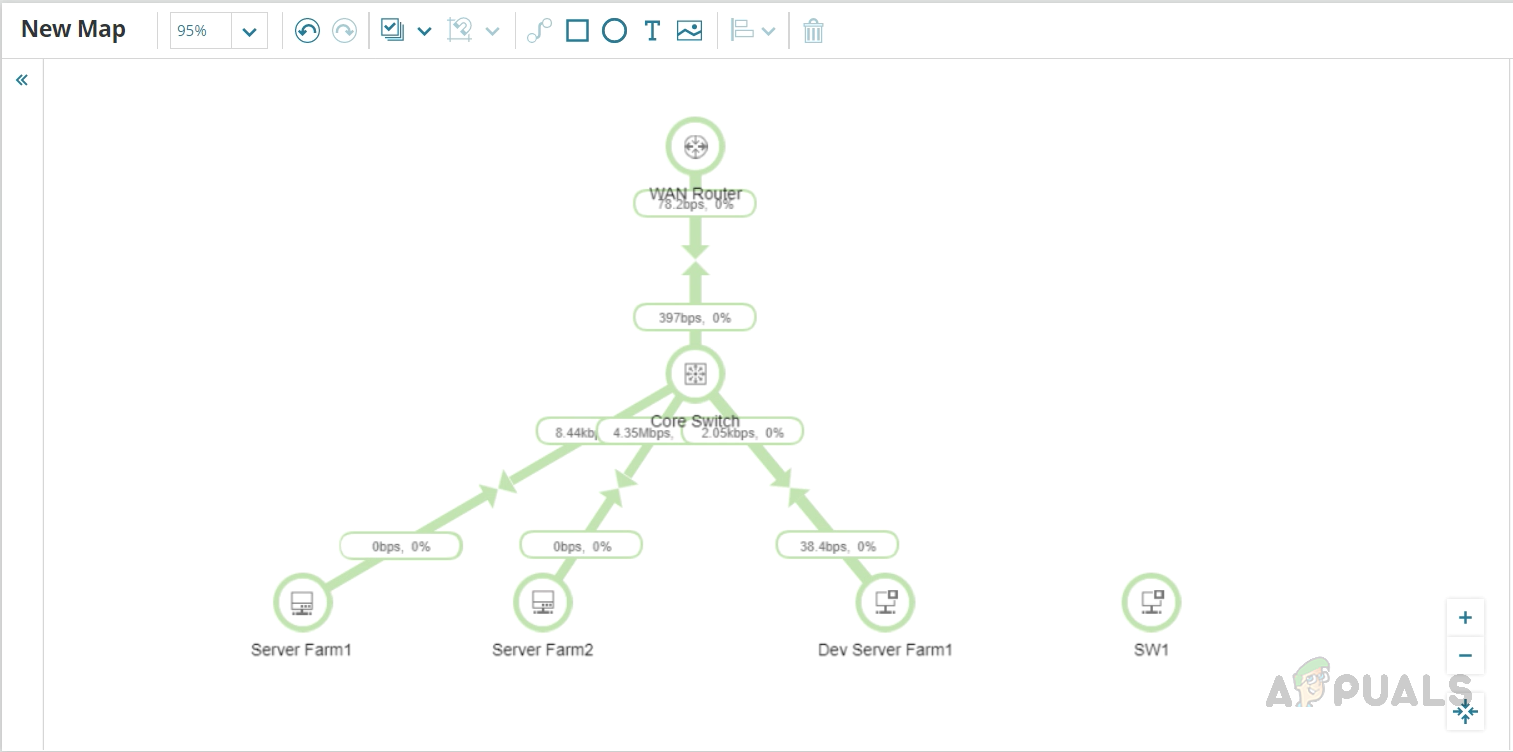
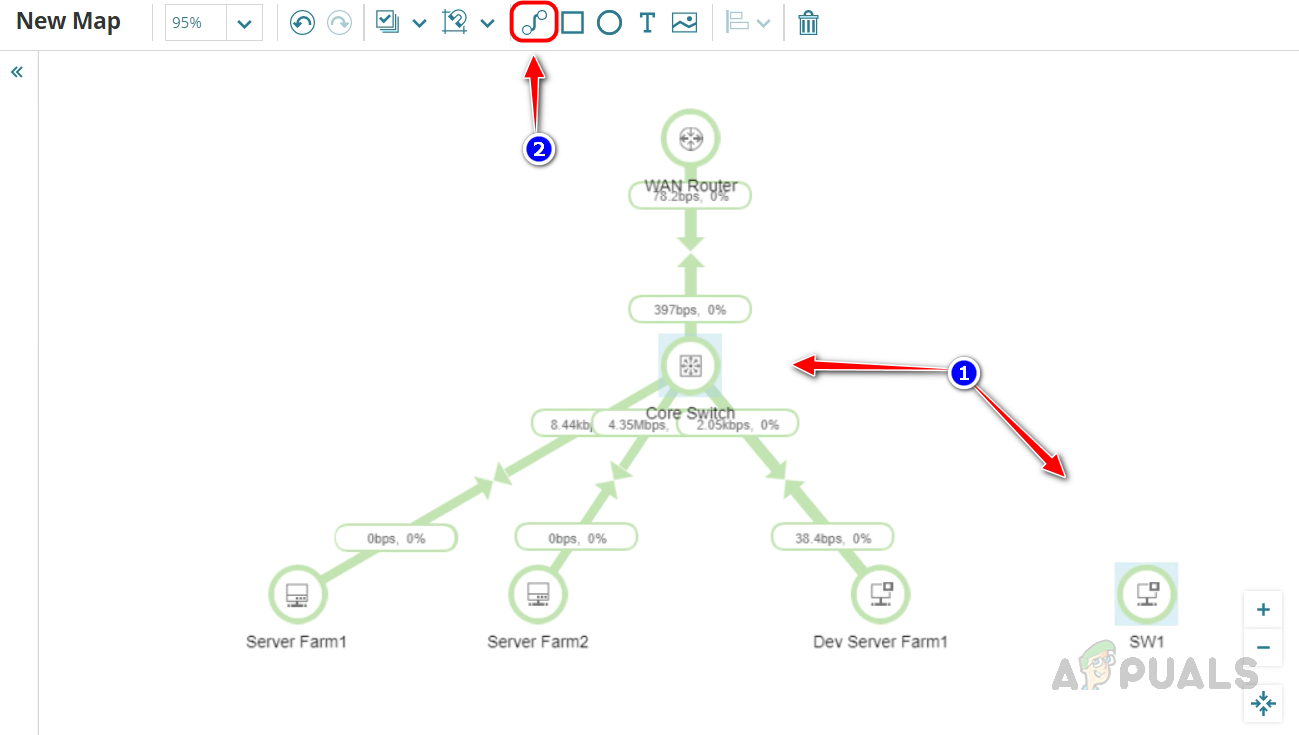
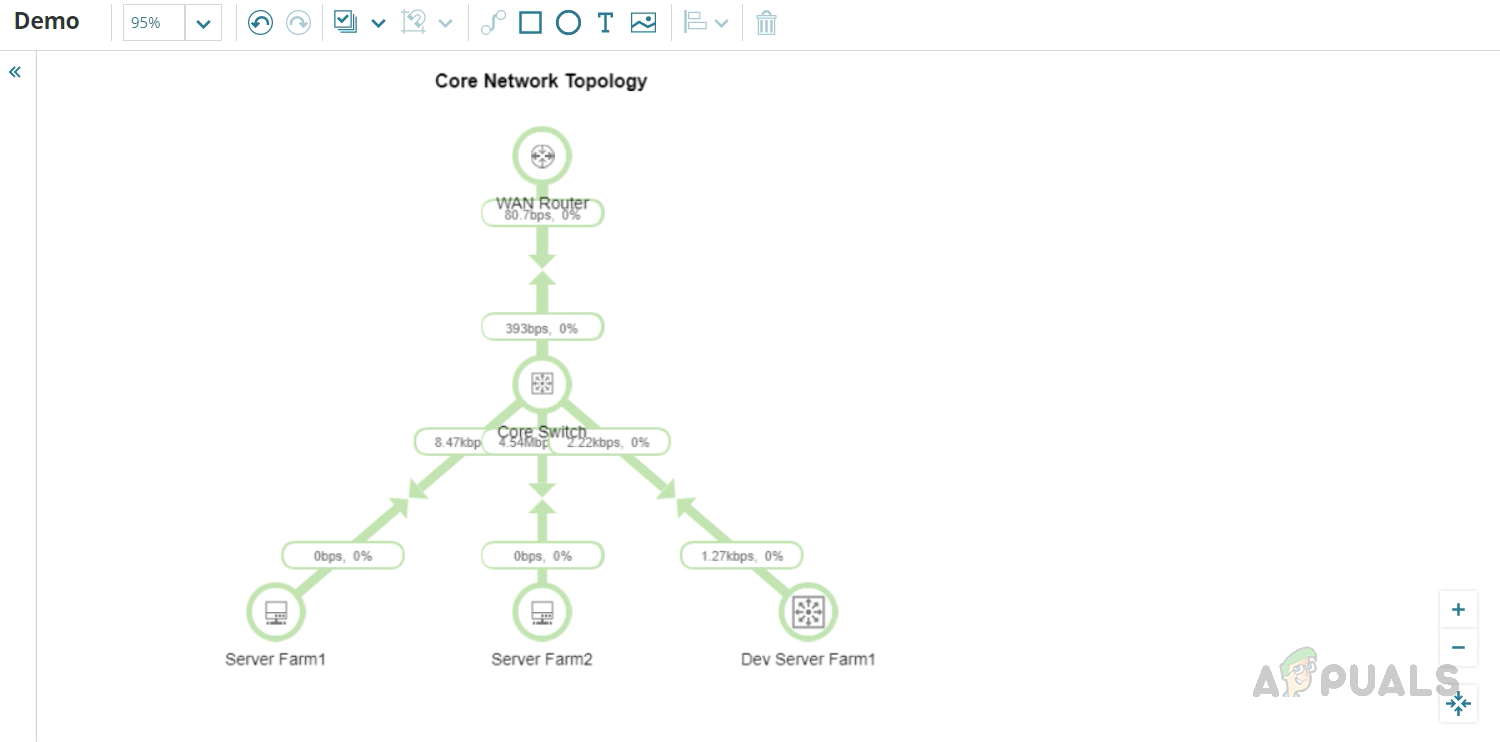
- Once you drag and dropped the devices in the map editor, Solarwinds automatically detects the relationship between the devices and establish the connection.
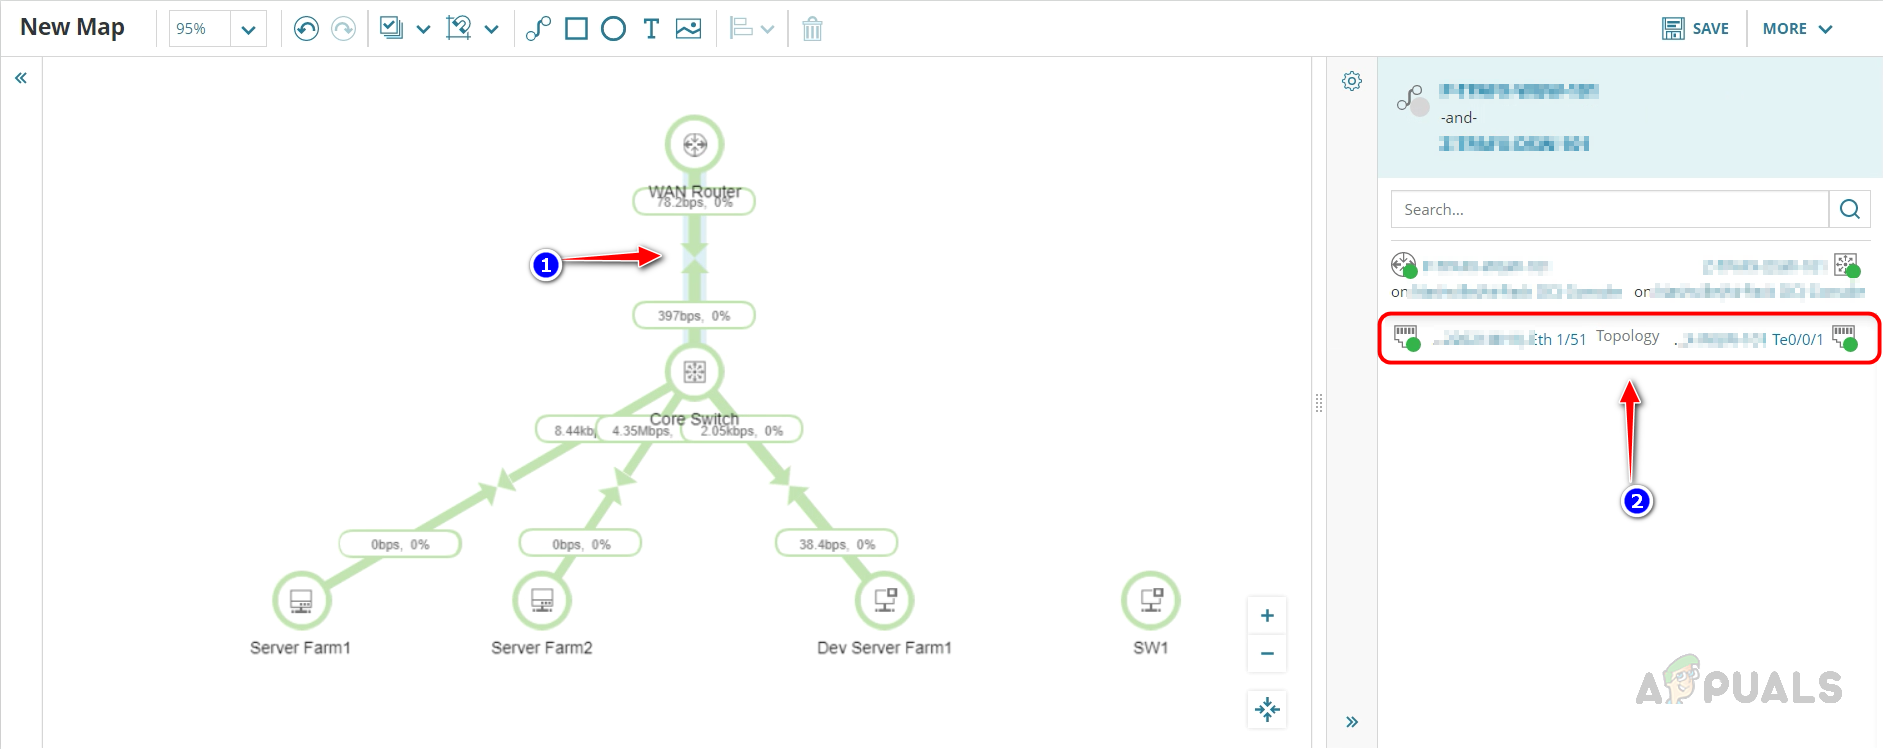
- By clicking on any of the automatically established links, the user can view the interface through which the devices are connected.
- If SolarWinds is unable to establish a connection between devices automatically, the user has the option to manually establish the connection. To do so, the user should select the devices they wish to connect using the Ctrl key, and then click on the “Connect Objects” icon. This will manually establish the connection between the chosen devices.
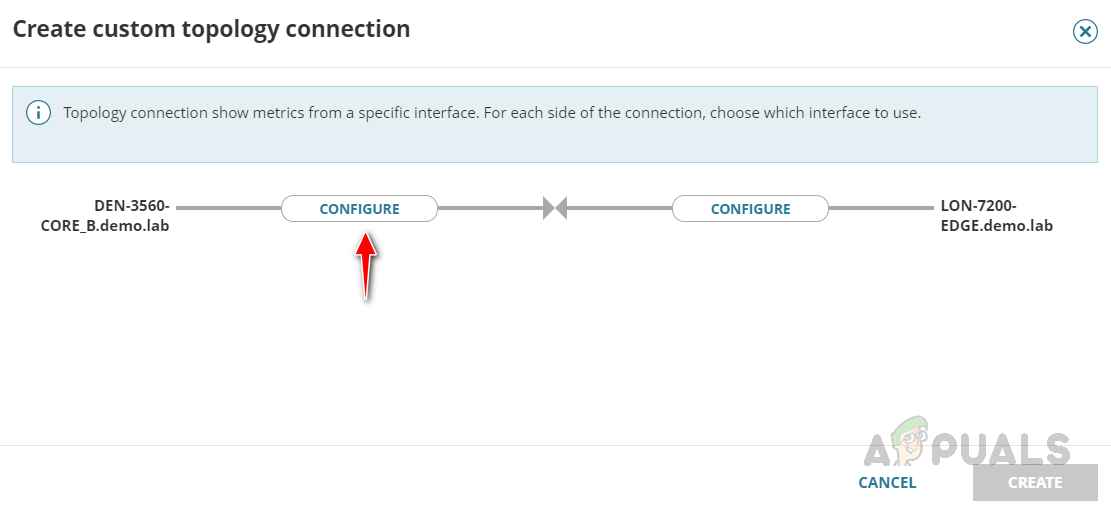
- Now click on configure button for the first device to choose the desired interface.
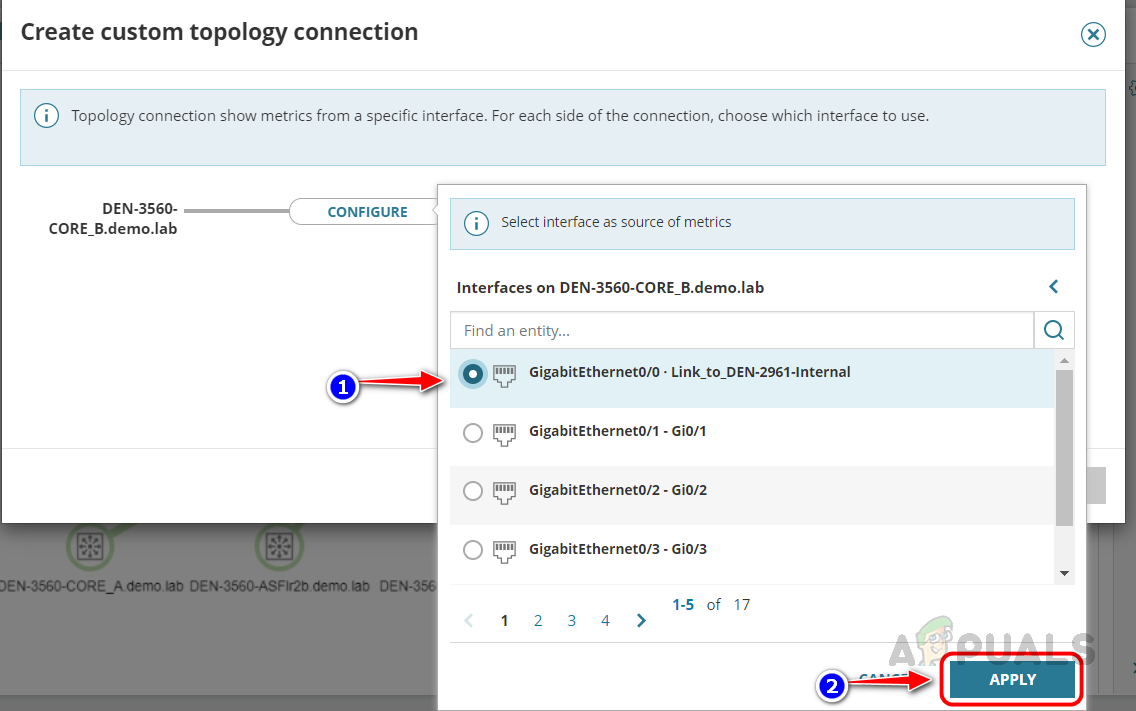
- This will open a new window where we can see the list of interfaces available on the device, select the interface and click on Apply.
- Now repeat the same steps for the other device as well.
- Once you select both interfaces click on Create, to establish the connection.
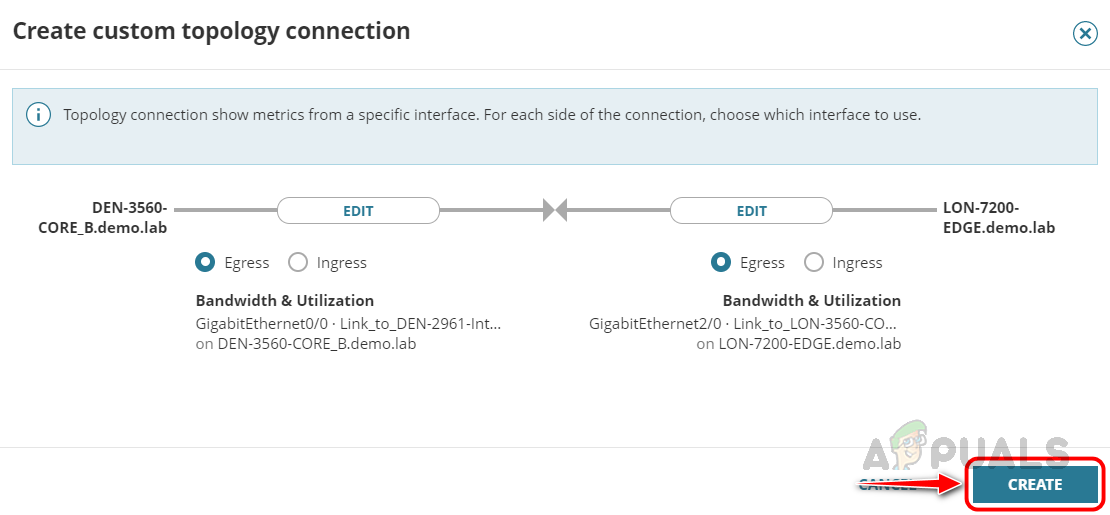
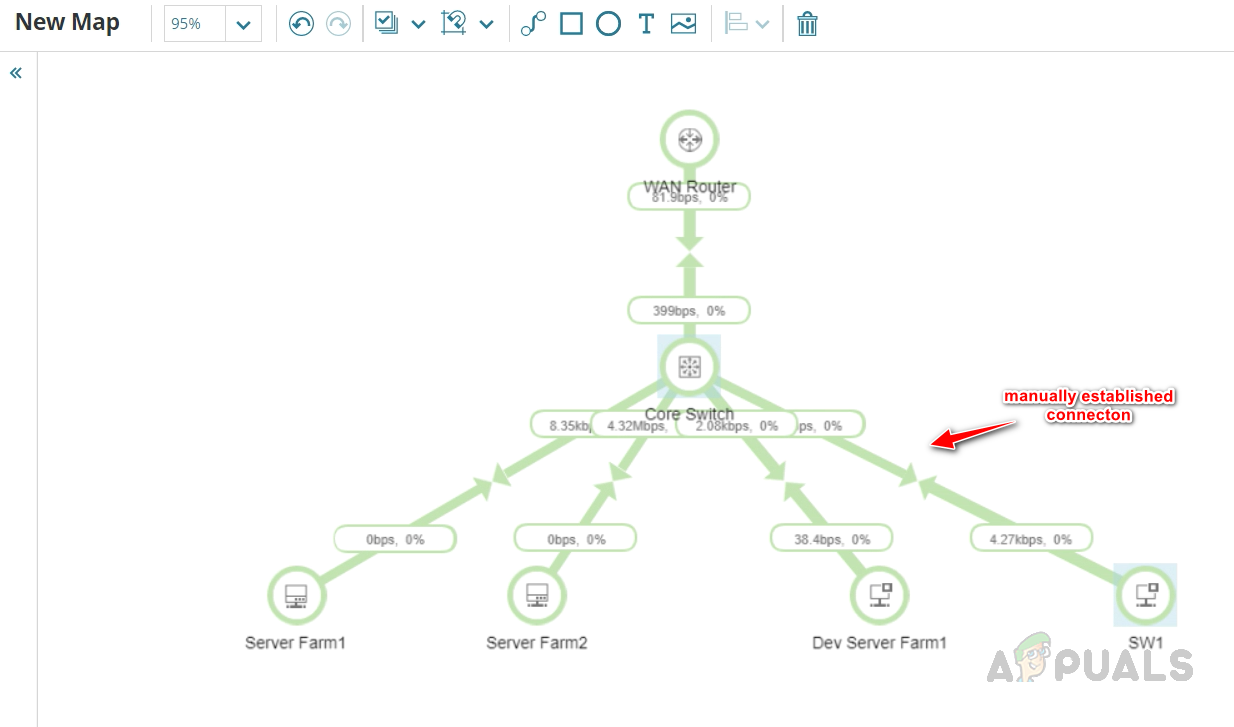
- Now the manually established connection is visible.
- If you would like to delete any unwanted entity from the map, select the entity and click on the delete icon, this will remove the entity from the map.

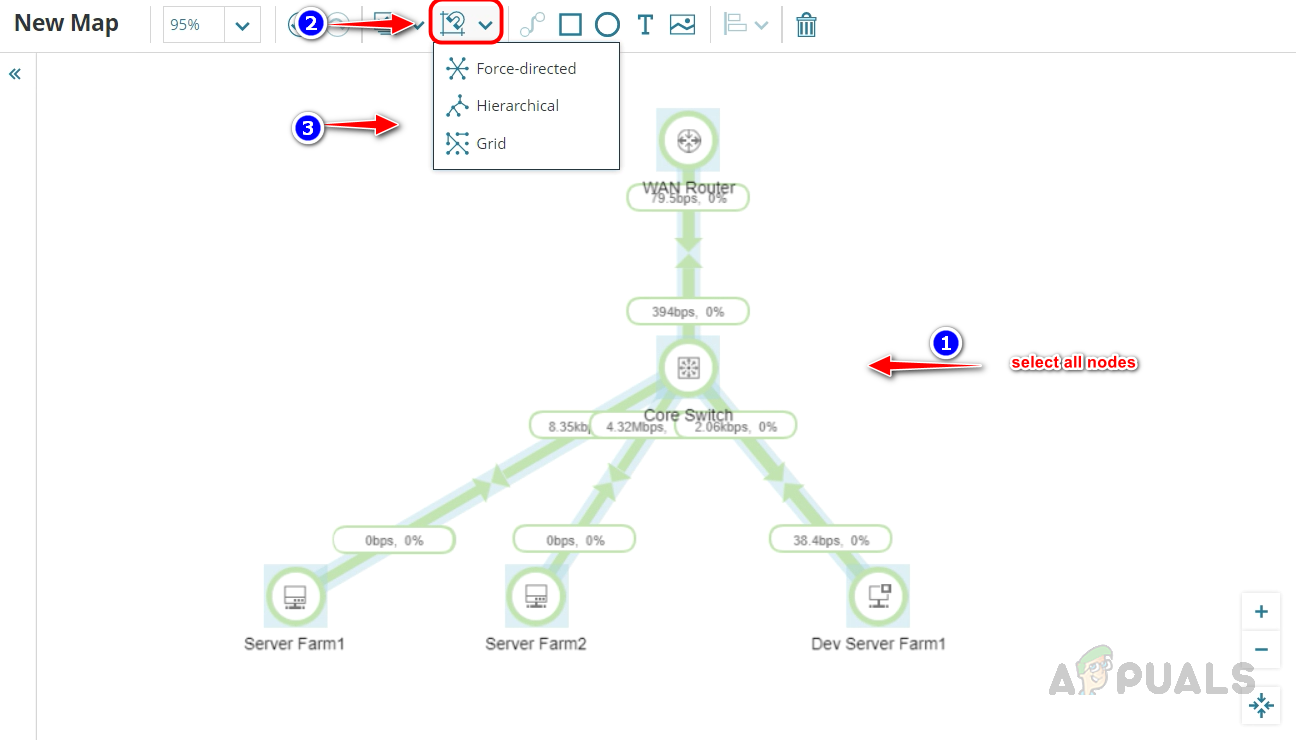
- You have the option to rearrange the nodes using the layout option or by manually selecting and dragging the node to the desired location.
- First, let’s explore the Layout option. To do this, select the nodes and click on the layout button. From there, select the desired layout. The nodes will then be arranged according to the chosen layout.
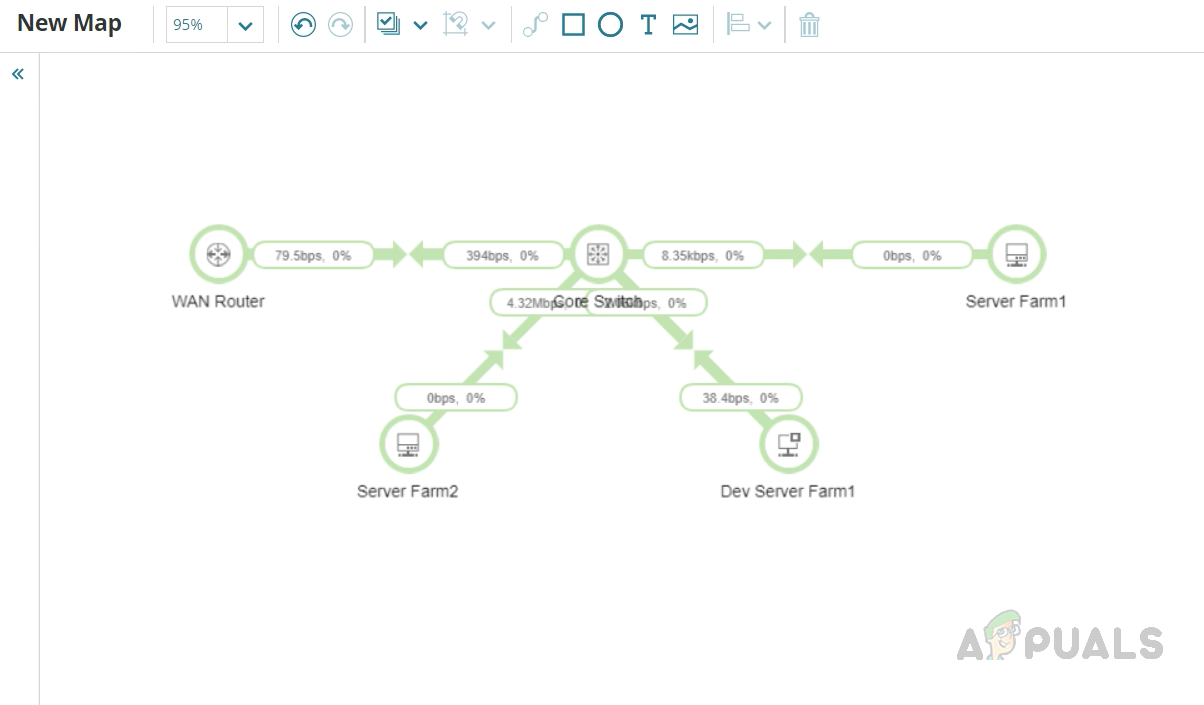
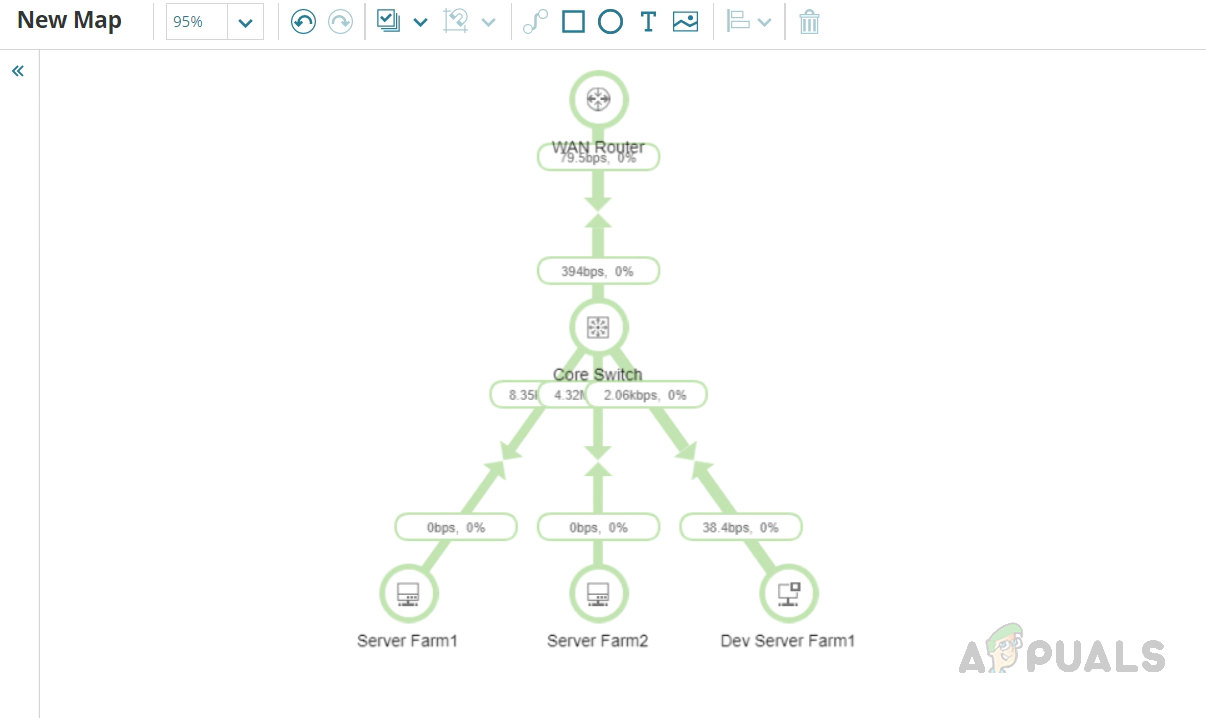
- You can now observe the rearranged nodes, as they have been organized based on the selected layout.
- If you prefer a manual arrangement of the nodes, simply select the desired nodes and drop them in the desired location.
- If you wish to add a title or any other text to the map, you can use the ‘Insert Text Box’ option.
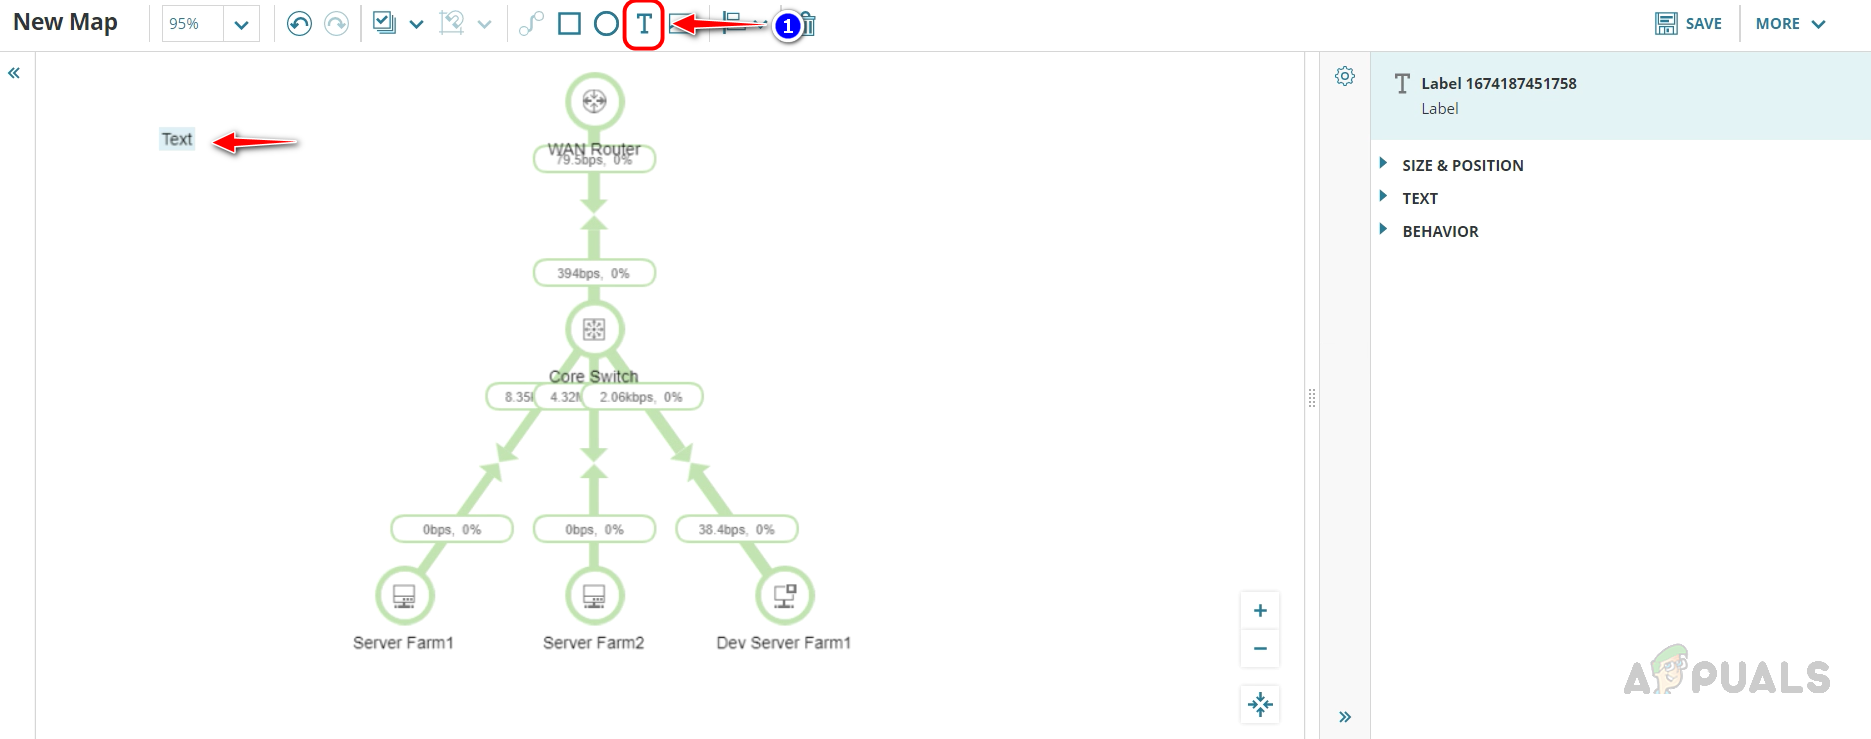
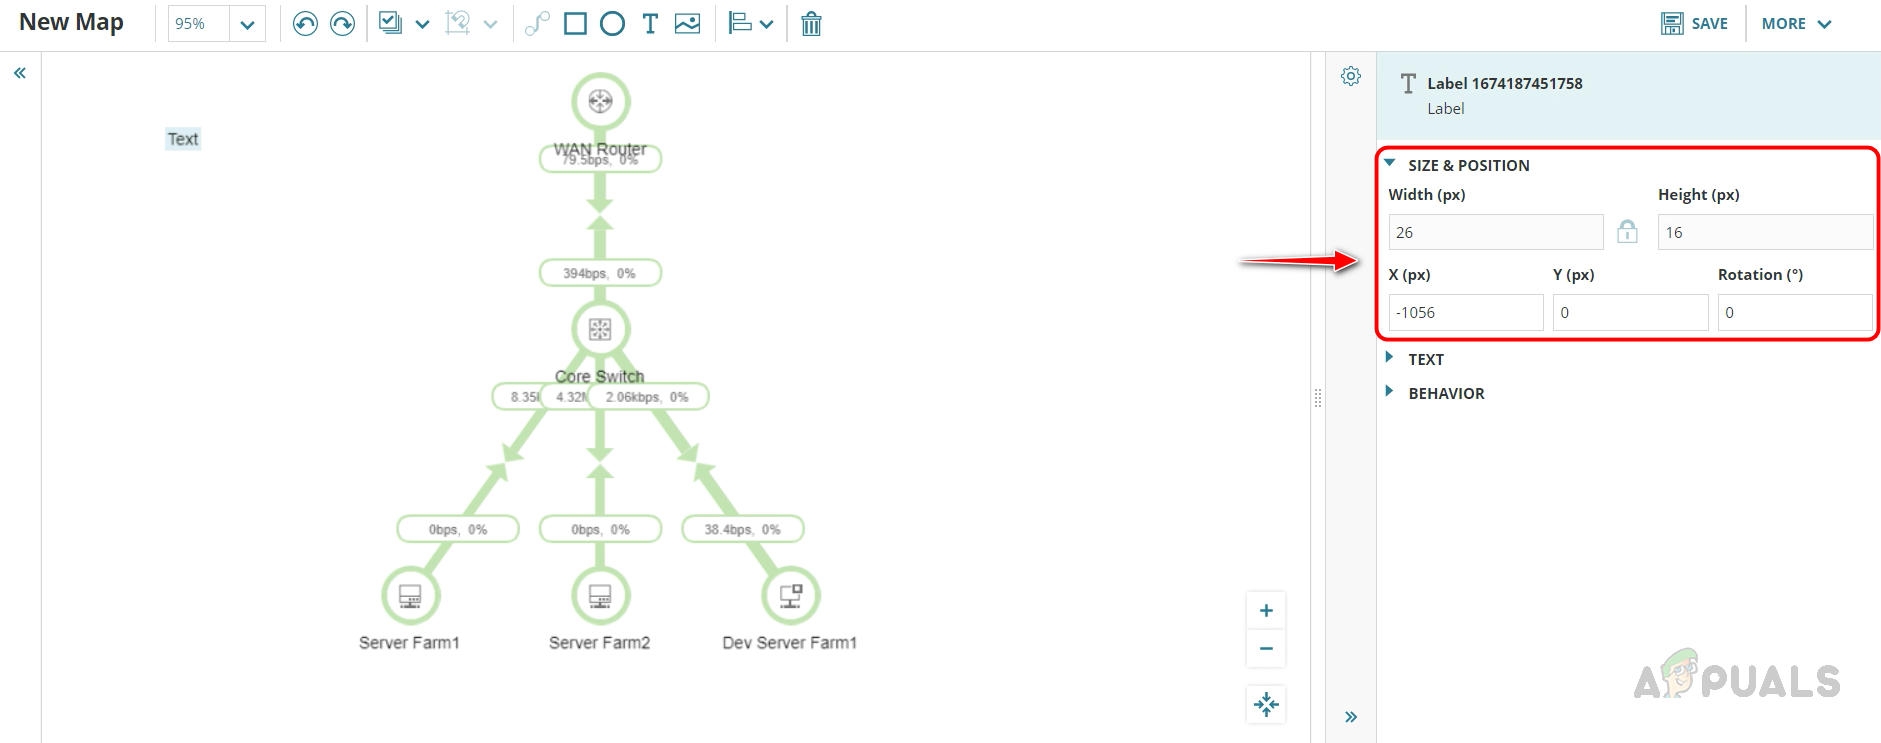
- Once the text box has been inserted, you can customize it by selecting it and using the options available on the right-hand side. You can adjust the size and position of the text using the ‘Size & Position‘ option.
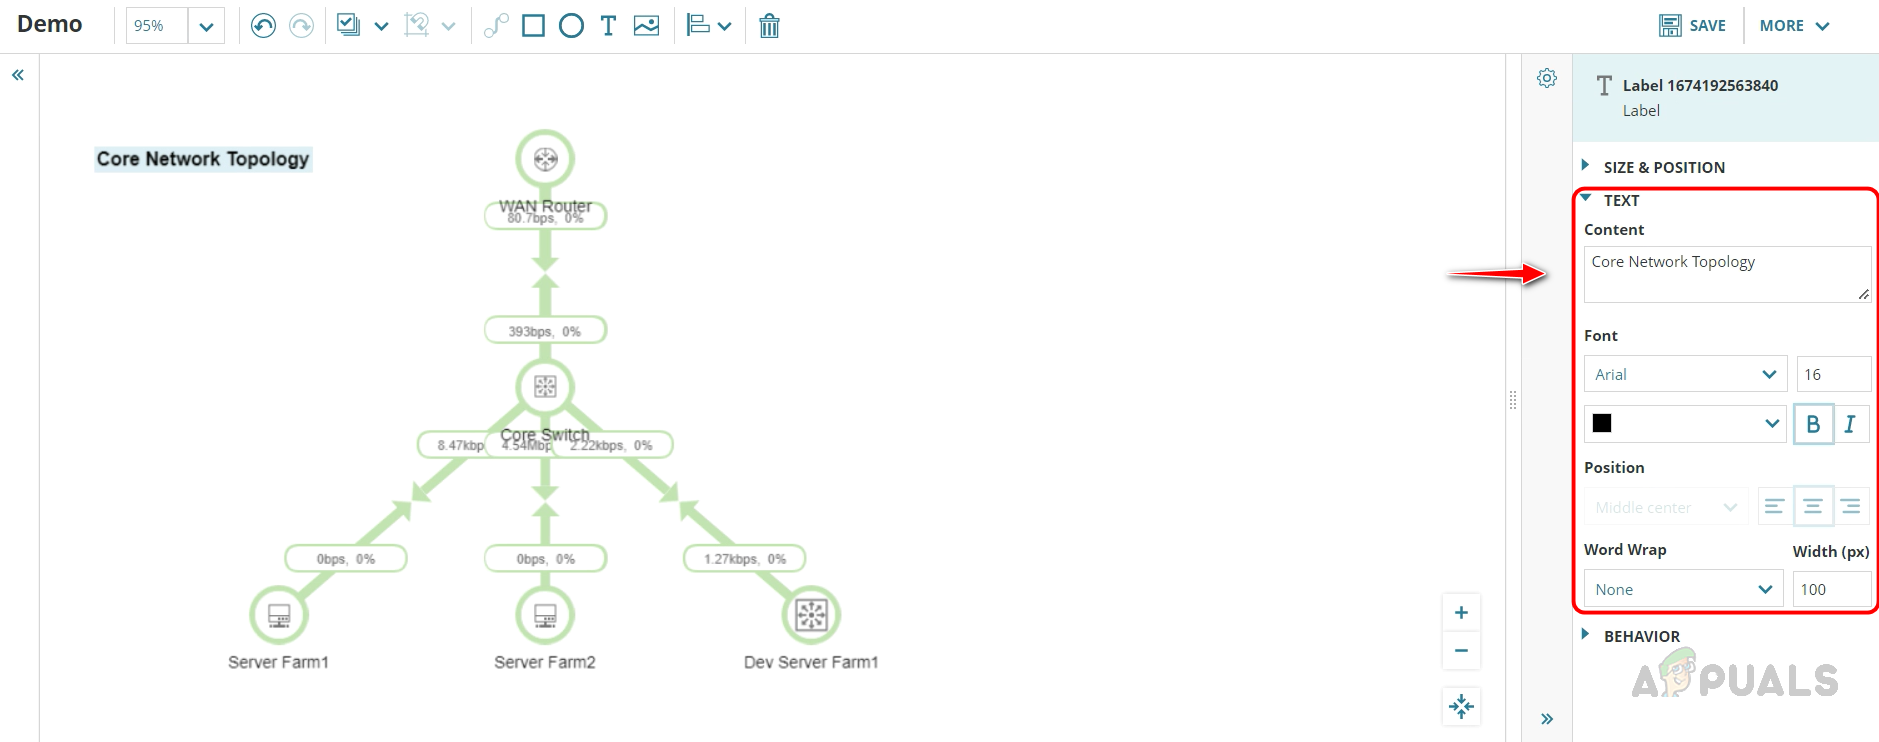
- The Text option allows for convenient editing of the text, including the ability to adjust the font size, color and etc.
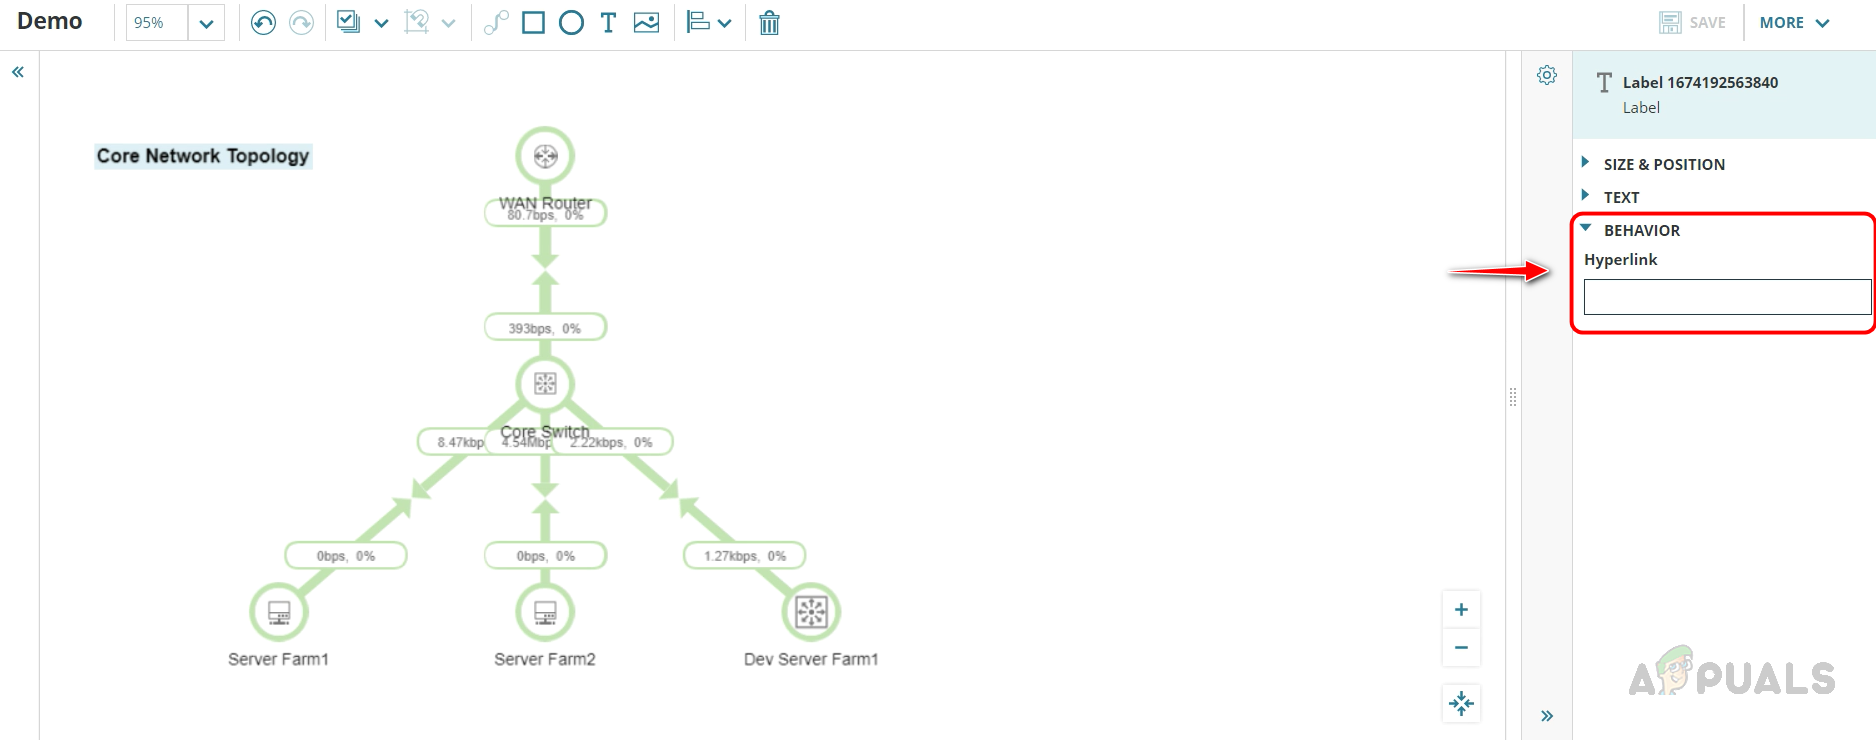
- The Behavior option enables the addition of hyperlinks to the text, providing an easy way to link to relevant information.
- You can drag and drop the text to any desired location.
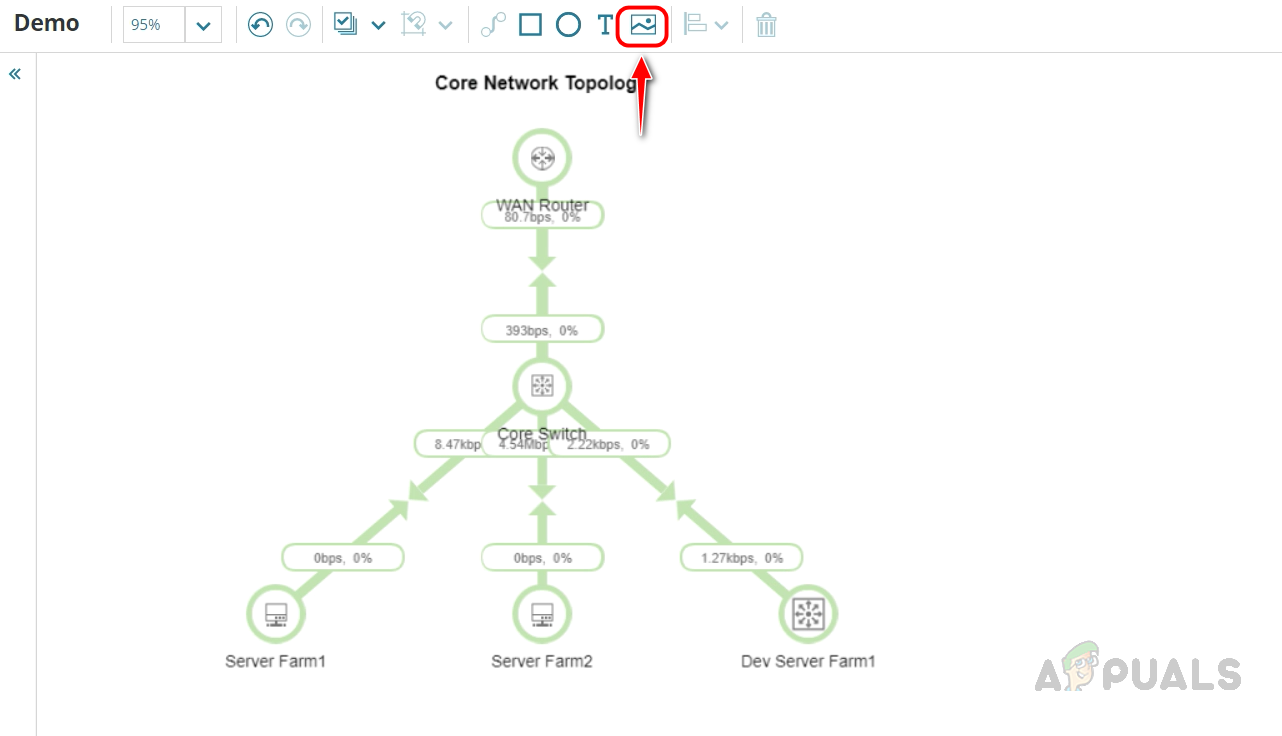
- The Insert Image option allows for the easy addition of a background image to enhance the visual appeal of your map. click on the Insert Image option and choose the desired image.
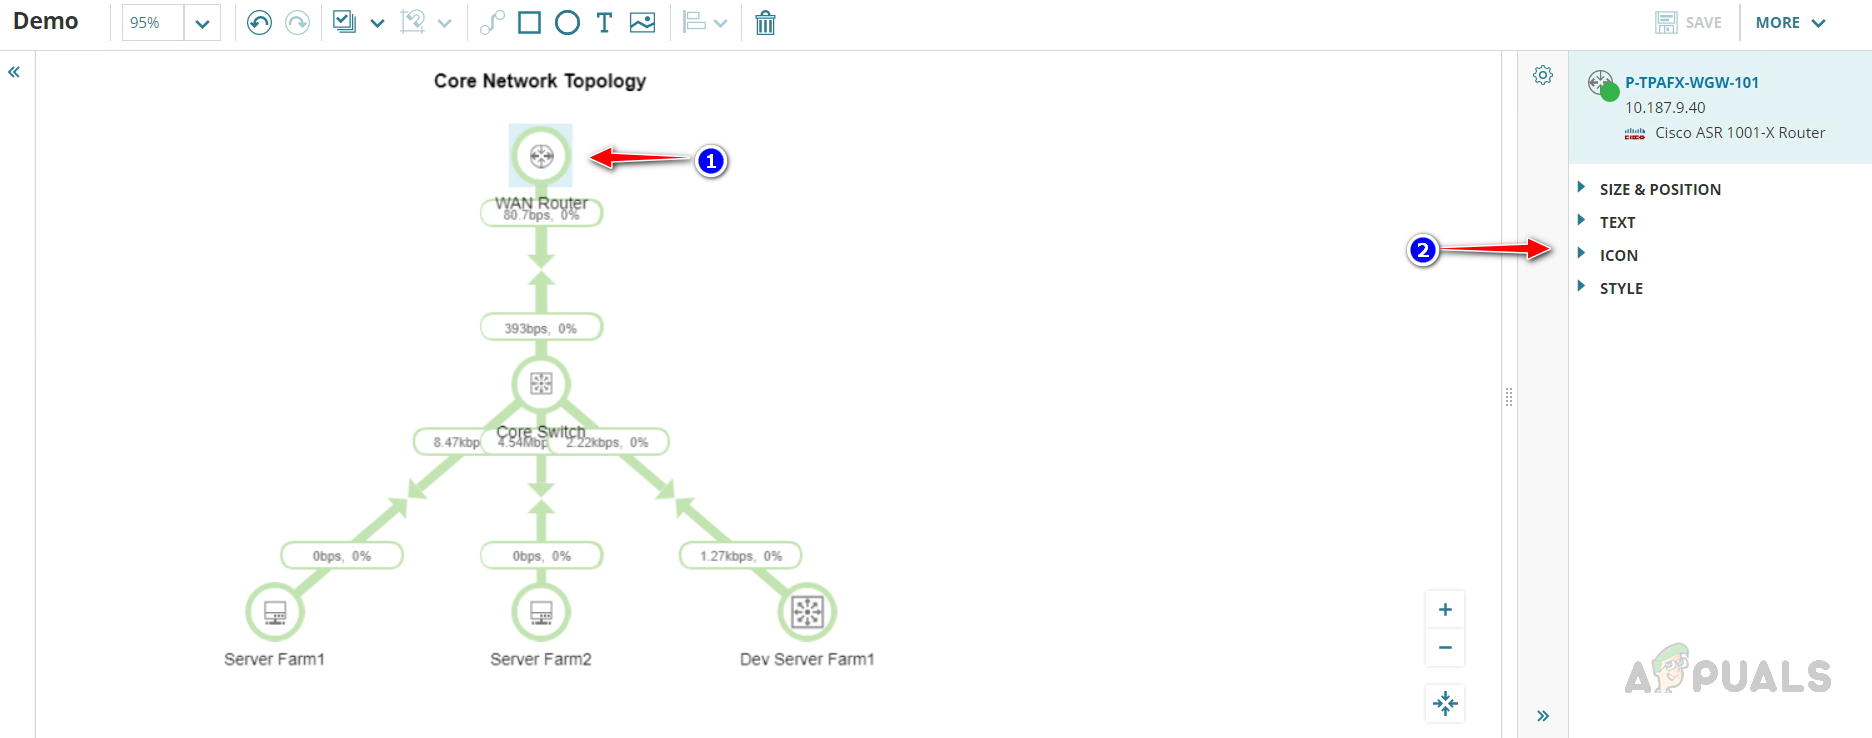
- To customize the device label, select the device and use the options available from the right-side menu.
- Using the Size & Position option you can customize the label’s size and position.
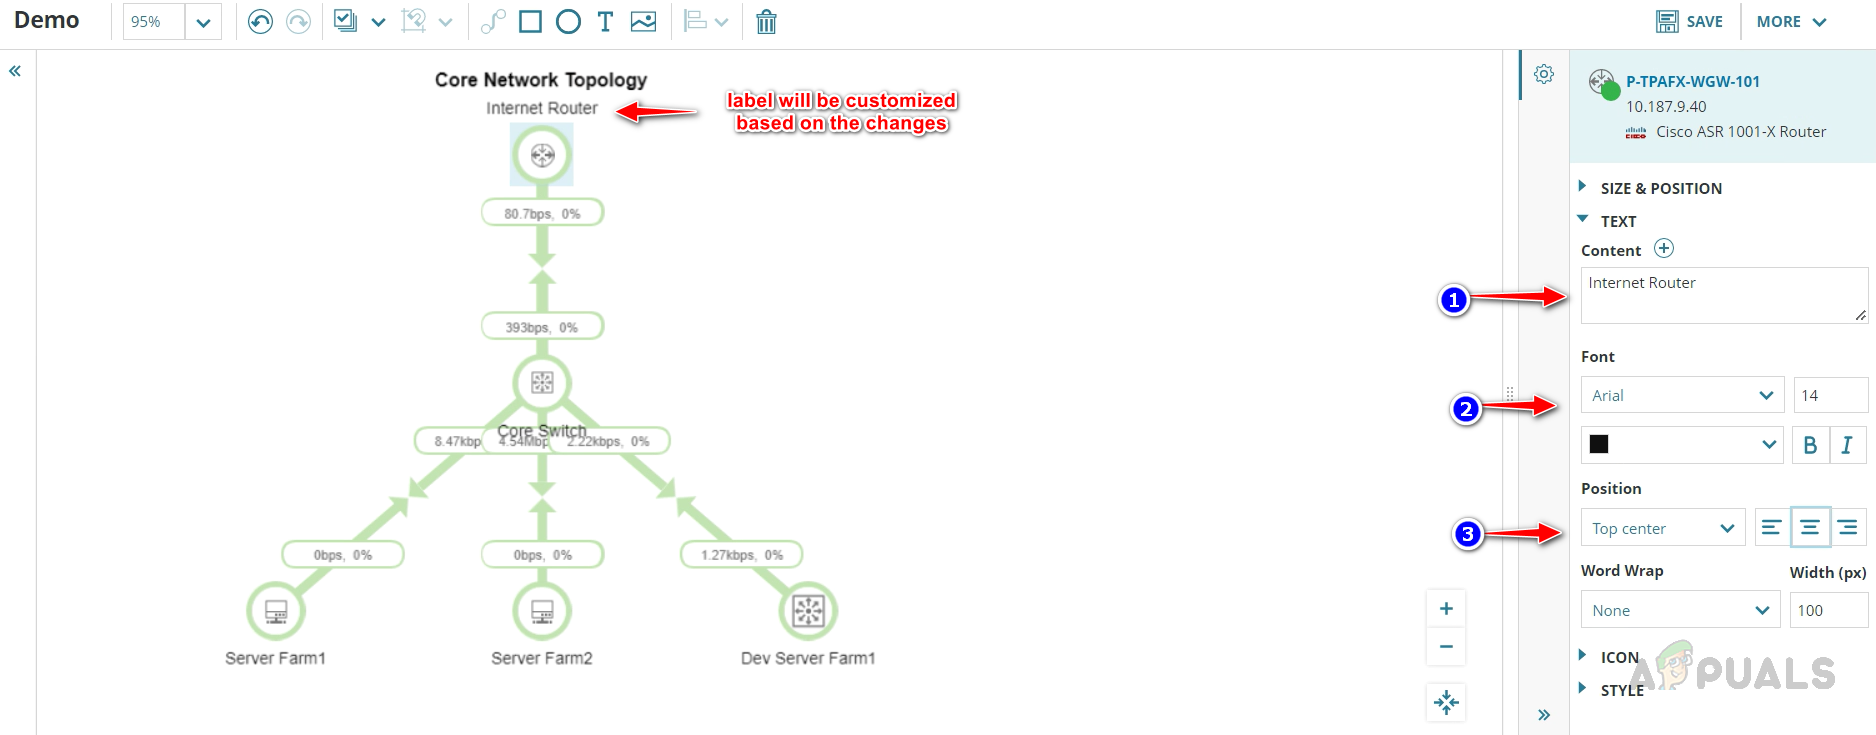
- To change the device label, you can use the Text option. Provide an appropriate label in the Content box and you can change the font properties using the Font section. You can change the label’s position using the Position option.
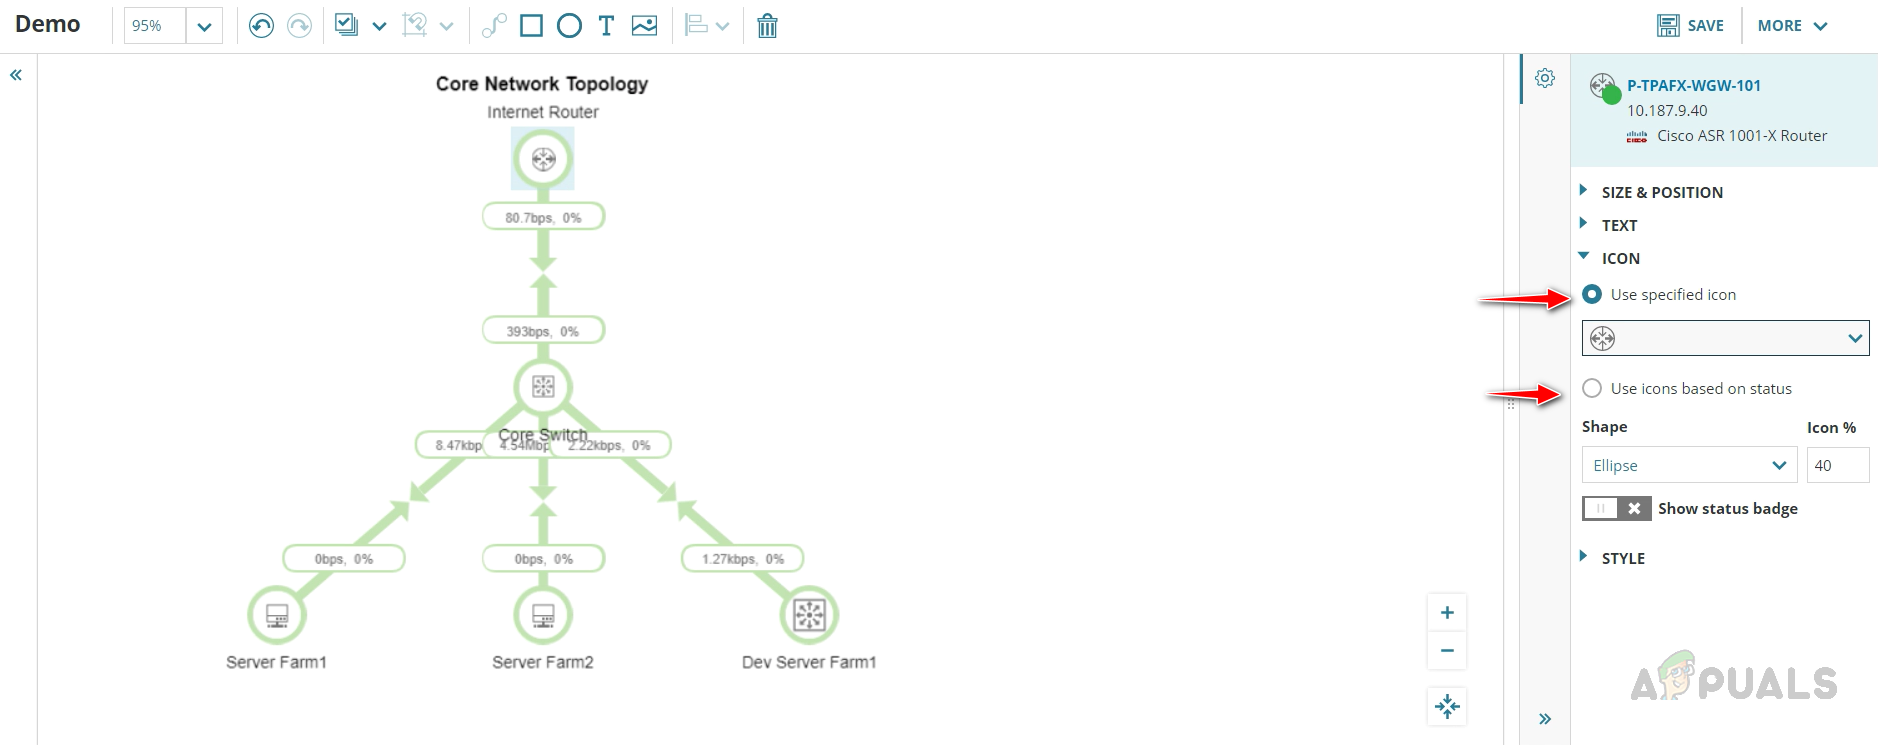
- To change the device icon you can use the Icon option. Select the desired icon from the ‘Use specified icon list’ or if you would like to show the status of the device instead of the icon choose ‘Use icons based on status’.
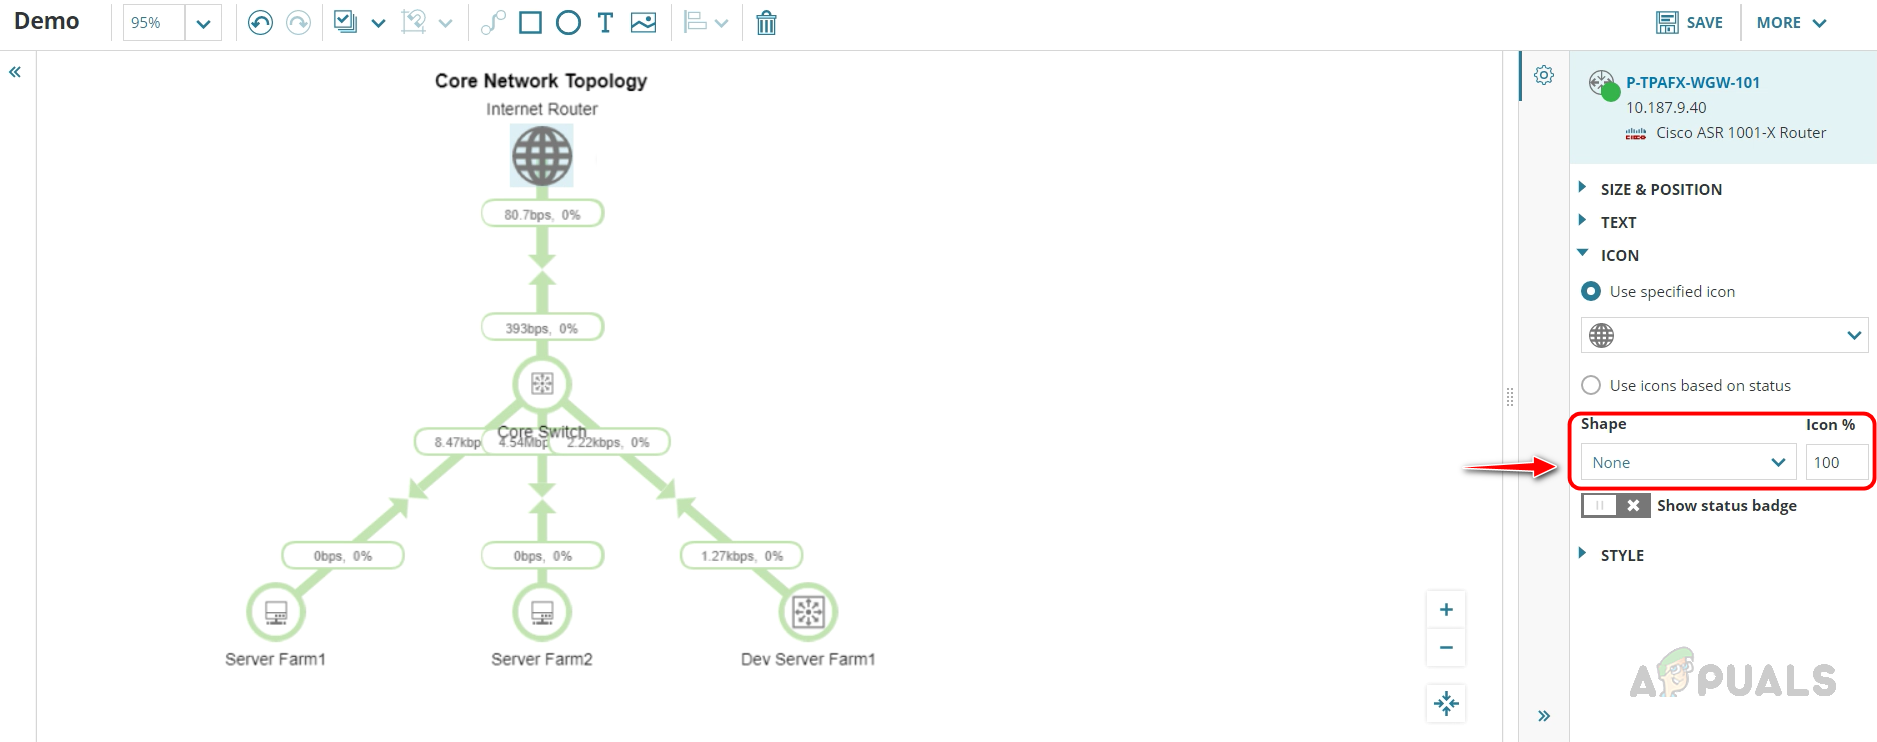
- You can use the Shape and Icon options to change the shape and increase the icon size.
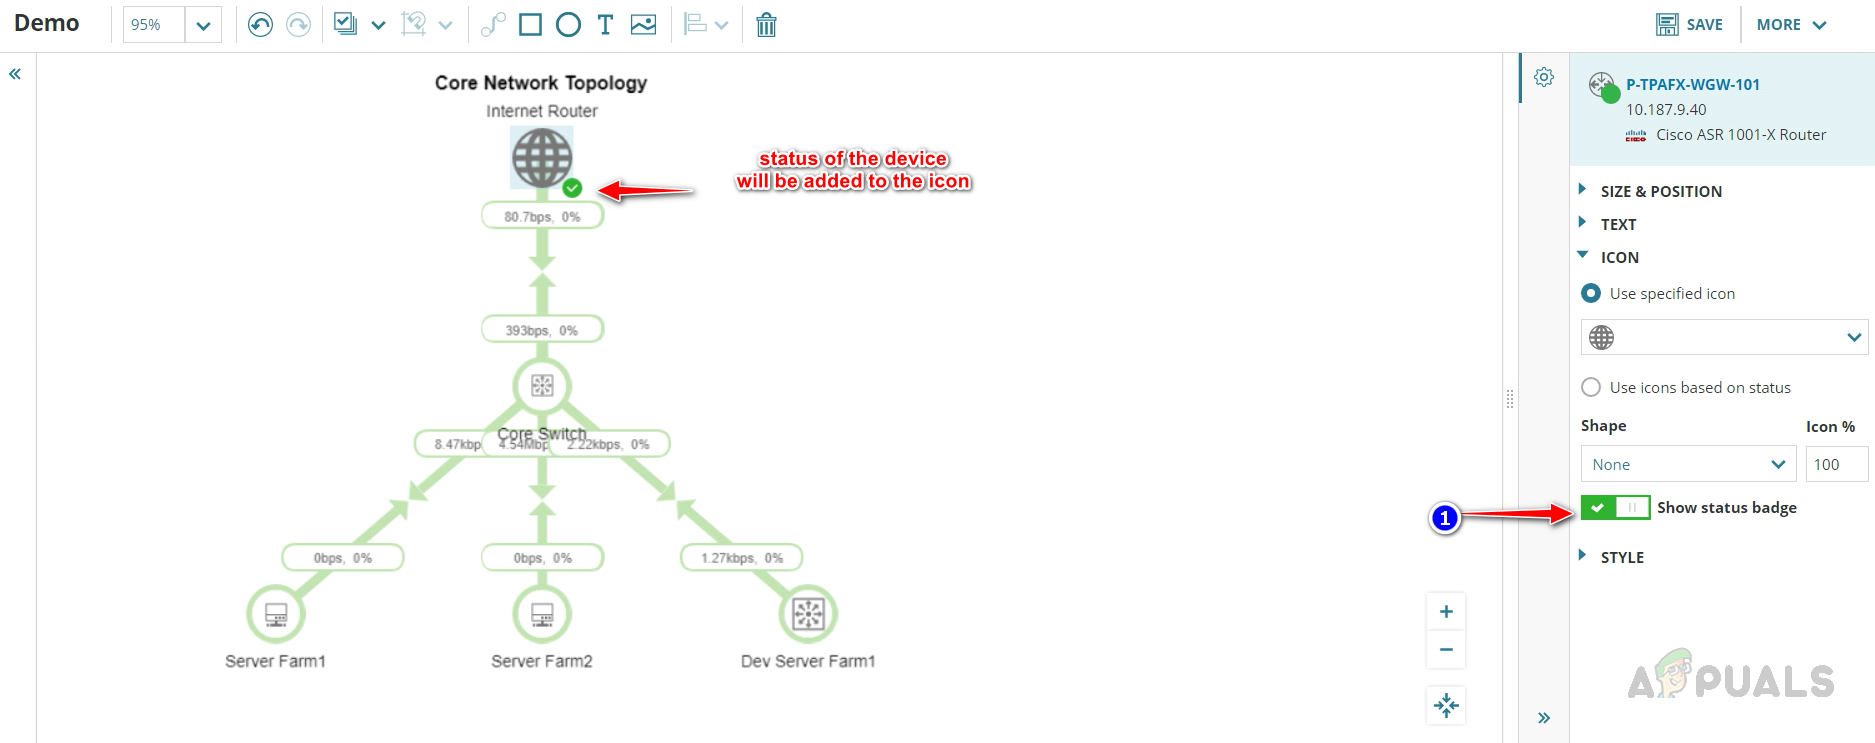
- If you would like to show the status of the device next to the custom icon, enable the ‘Show status badge‘.
- This is how you can customize the map as per your needs.
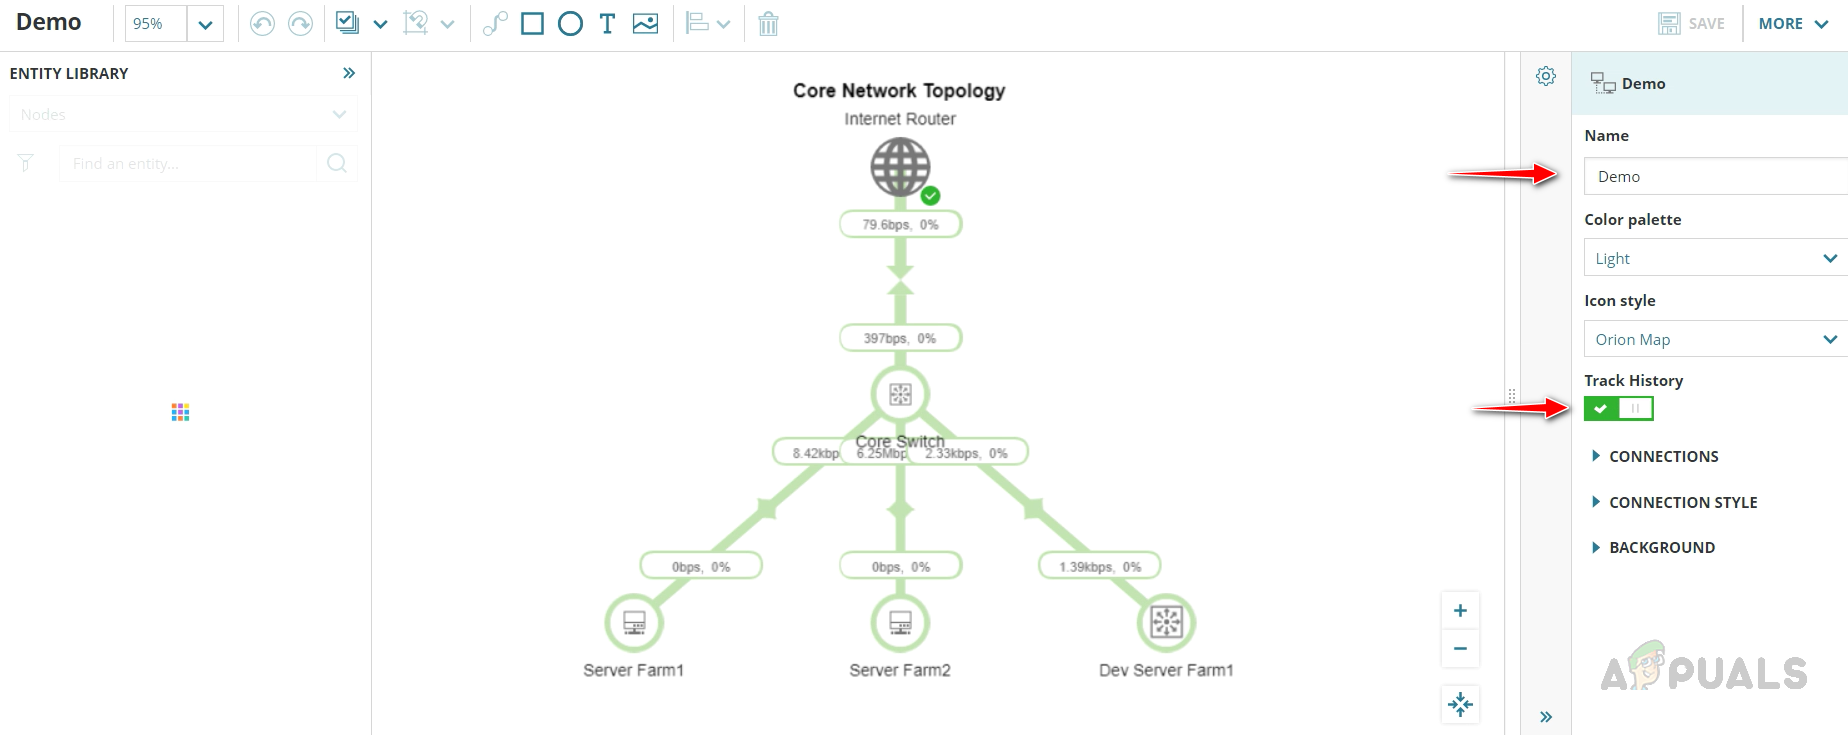
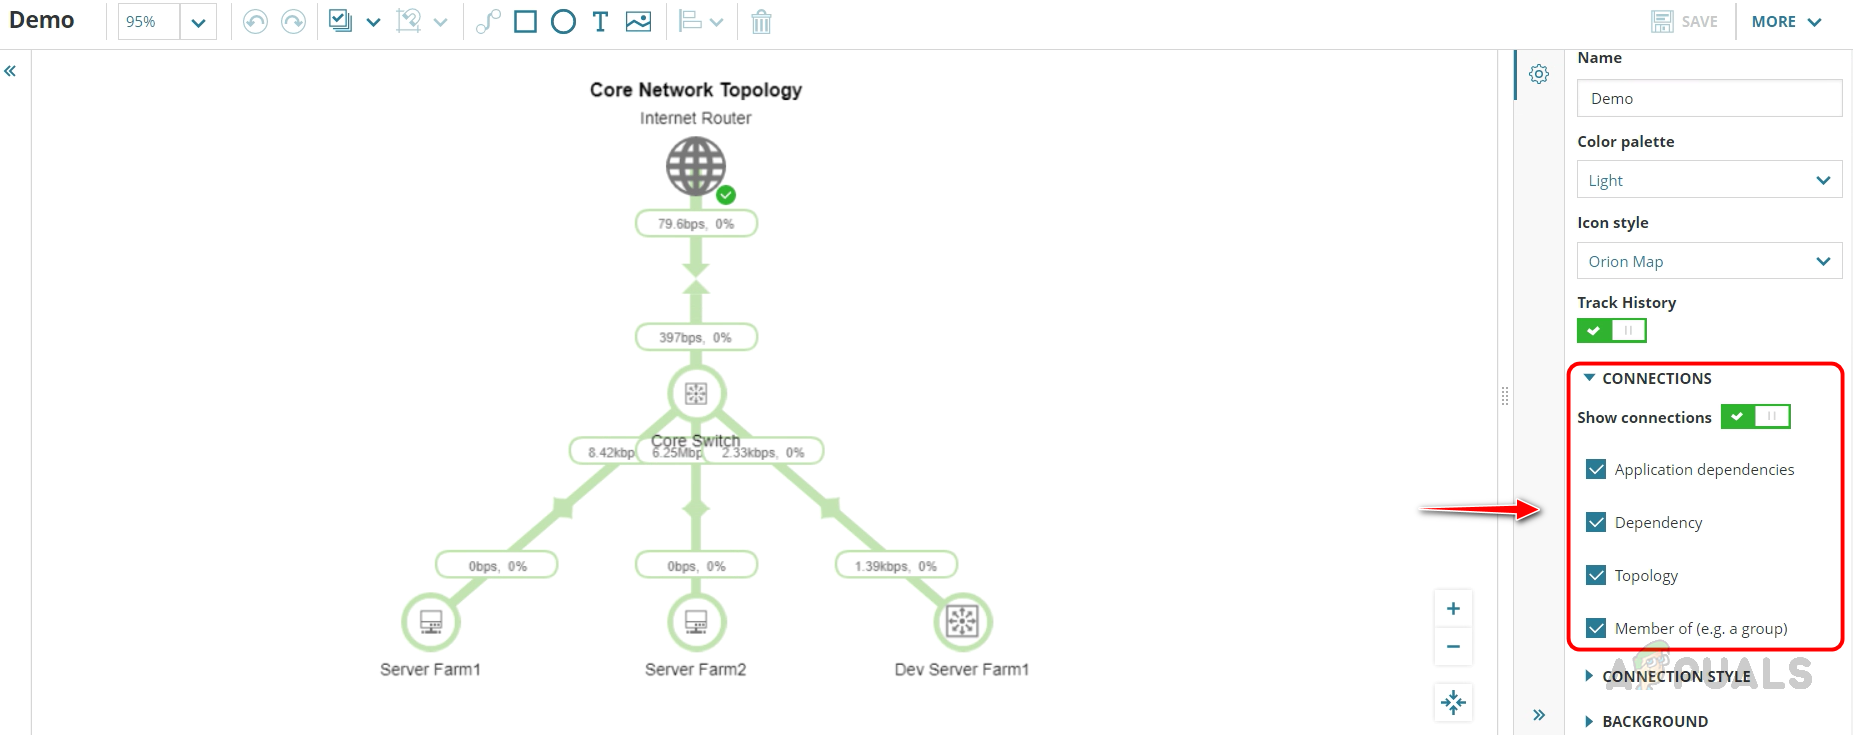
- To save the map click anywhere inside the map editor and provide an appropriate name for the map. You can use the options to modify the map layout. If you would like to track the historical status of the map enable the Track History option.
- Connections can be used to show or hide the connections between the entities. You can also choose which connection needs to be displayed on the map.
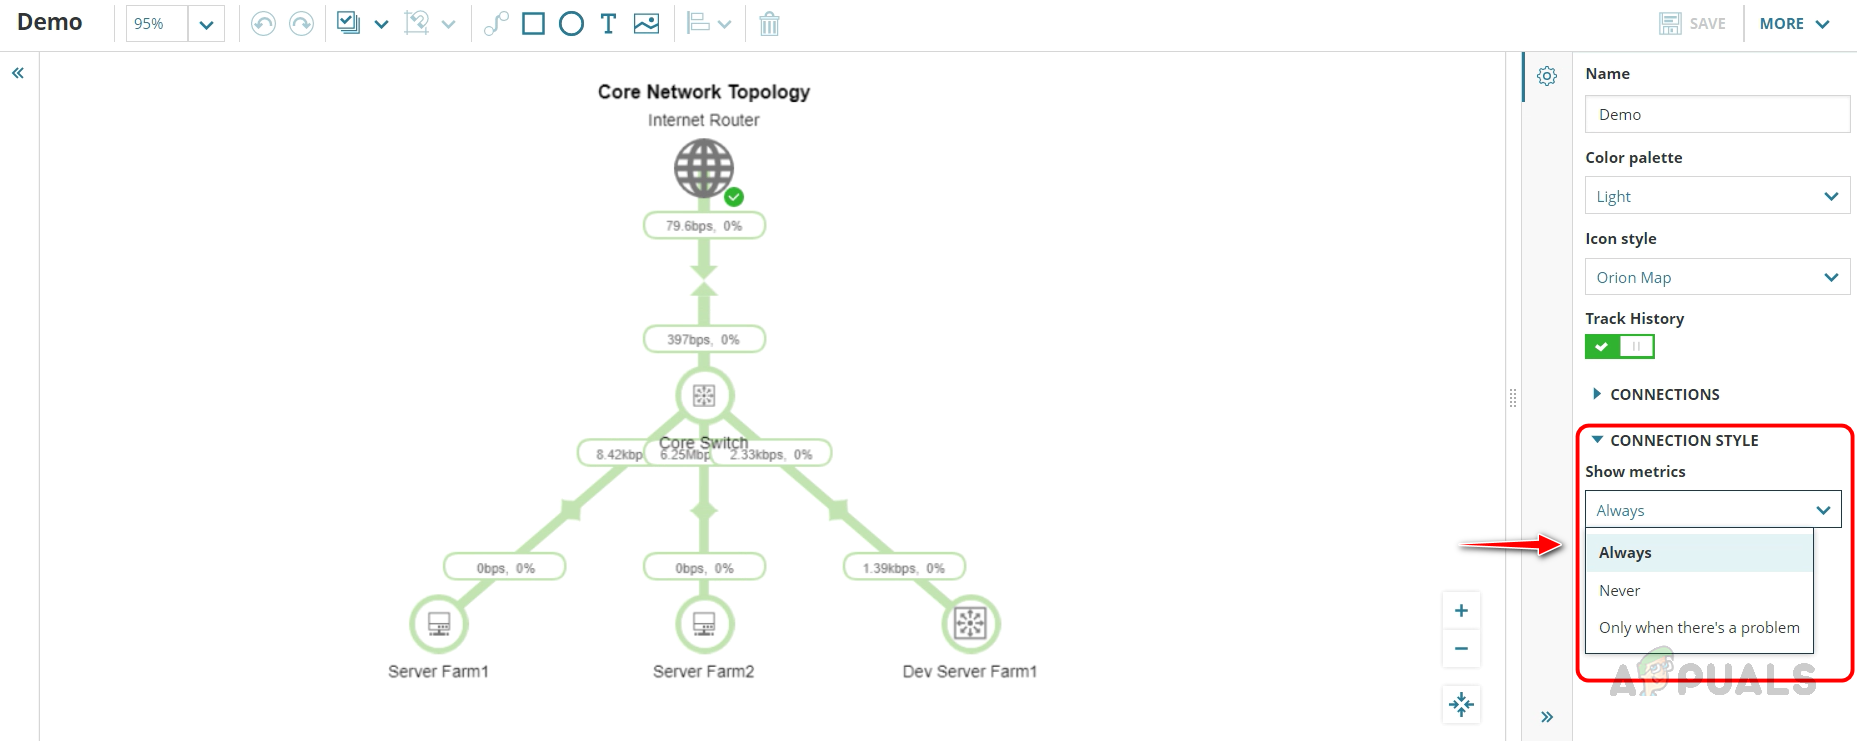
- The connection Style option is used to display or control when the metrics need to be displayed on the map.
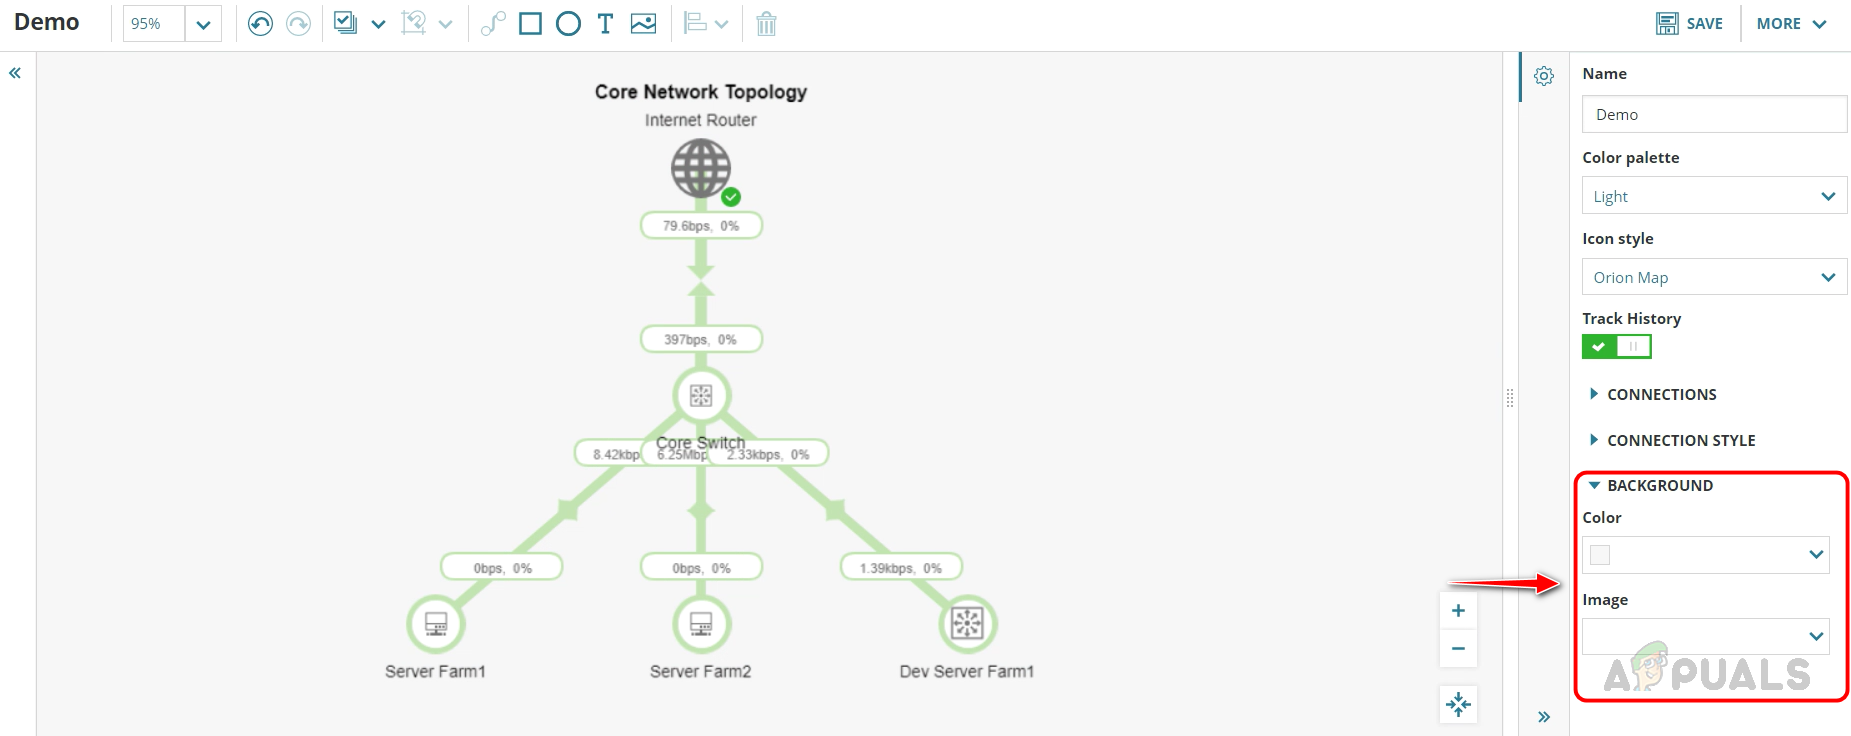
- You can use the Background option to change the background color of the map or to add an image in the background of the map.
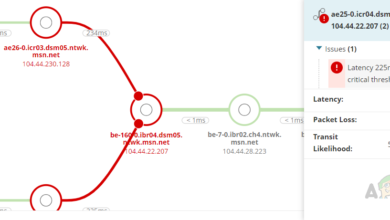
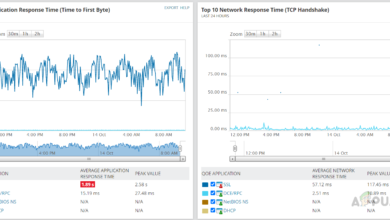
By utilizing the Orion Maps feature, a custom map can be created that allows for monitoring and troubleshooting of issues as they arise. The status of entities, such as devices and interfaces, can be easily viewed, along with metrics such as packets transferred and bandwidth utilization.
When high utilization or packet issues are detected, the interface link status on the map will be updated, providing real-time insight into the network performance.
This map can be easily integrated into your existing SolarWinds summary page or any other desired location, providing quick and convenient access to important network information. Follow the below steps to add your map to the Solarwinds summary page.
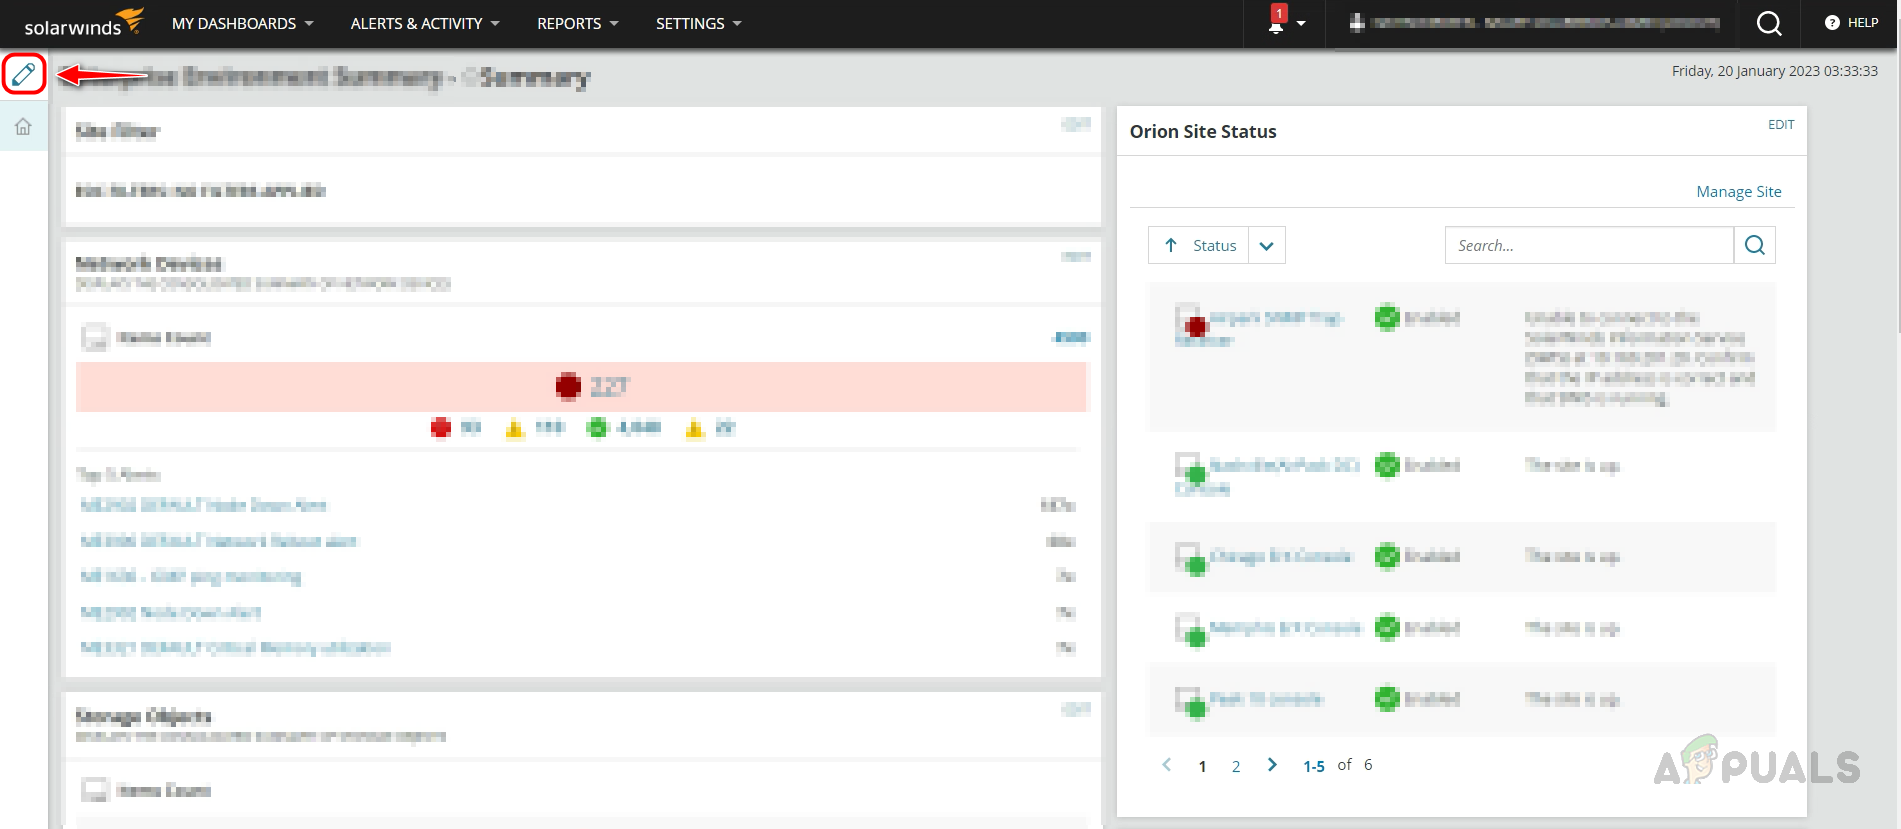
- Go to the Solarwinds home page or any desired page that you want to add this map.
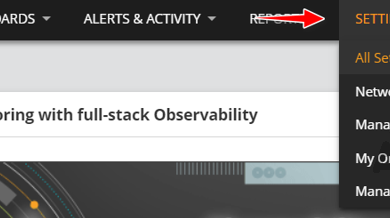
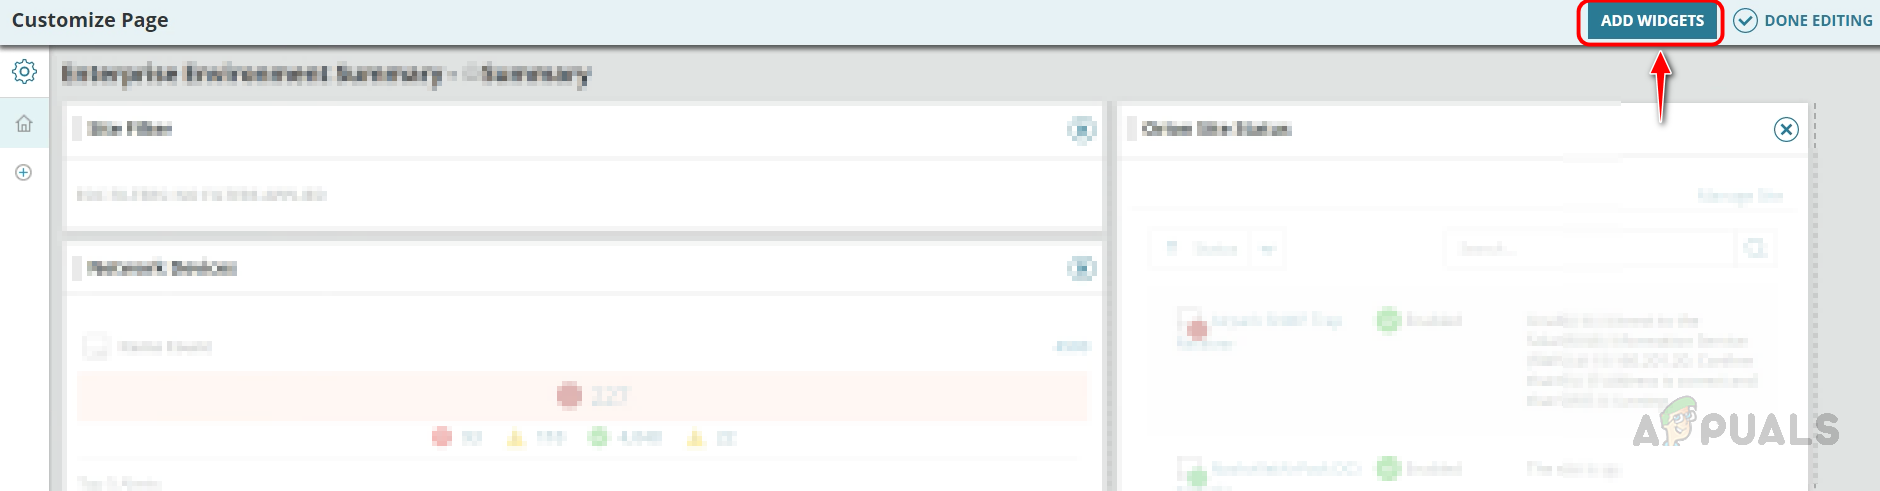
- Click on the Edit icon available on the left side pane.
- Click on Add Widgets.
- To add the Orion Map to your SolarWinds summary page, simply search for “Orion Maps” in the search box and then drag and drop the Orion Map widget to the desired location on the summary page.
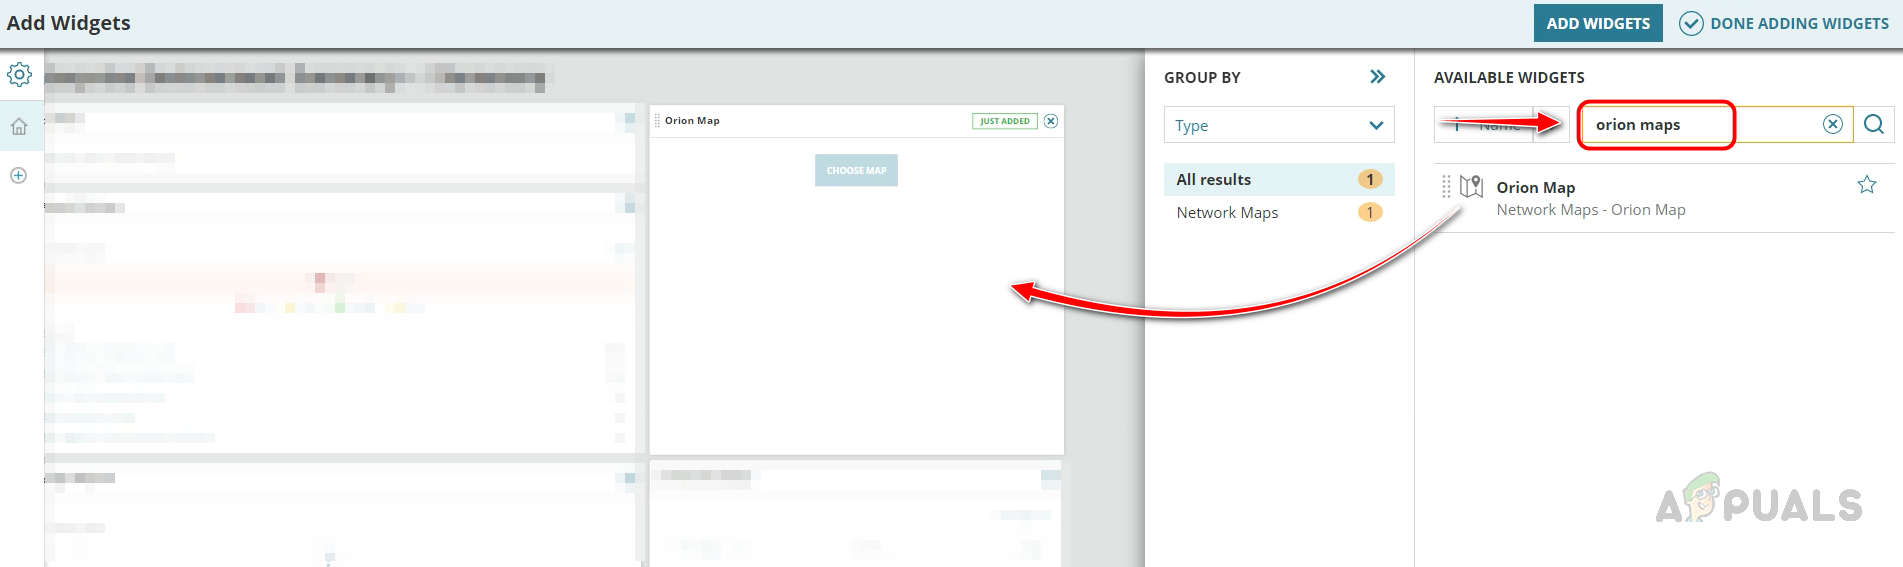
- Now click on Done Adding Widgets.

- Then click on Done Editing.

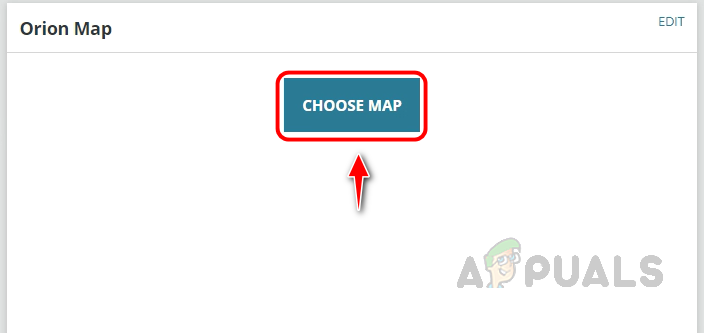
- Click on Choose Map on the newly added Orion Map widget.
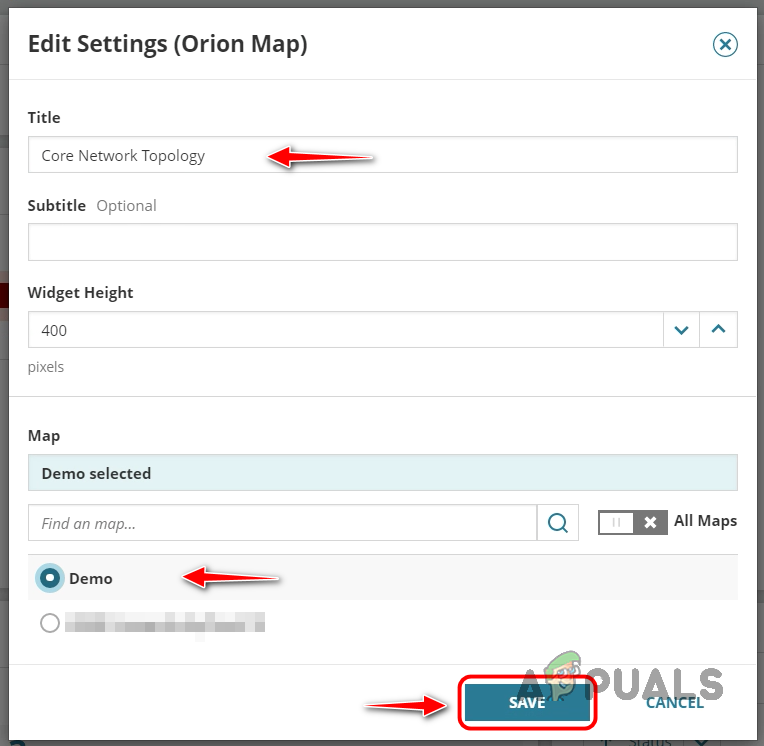
- You can change the title of the widget using the Title text box, now select the map you created from the list and click on Save. If required you can change the widget height.
- Now the map is visible on the summary page.
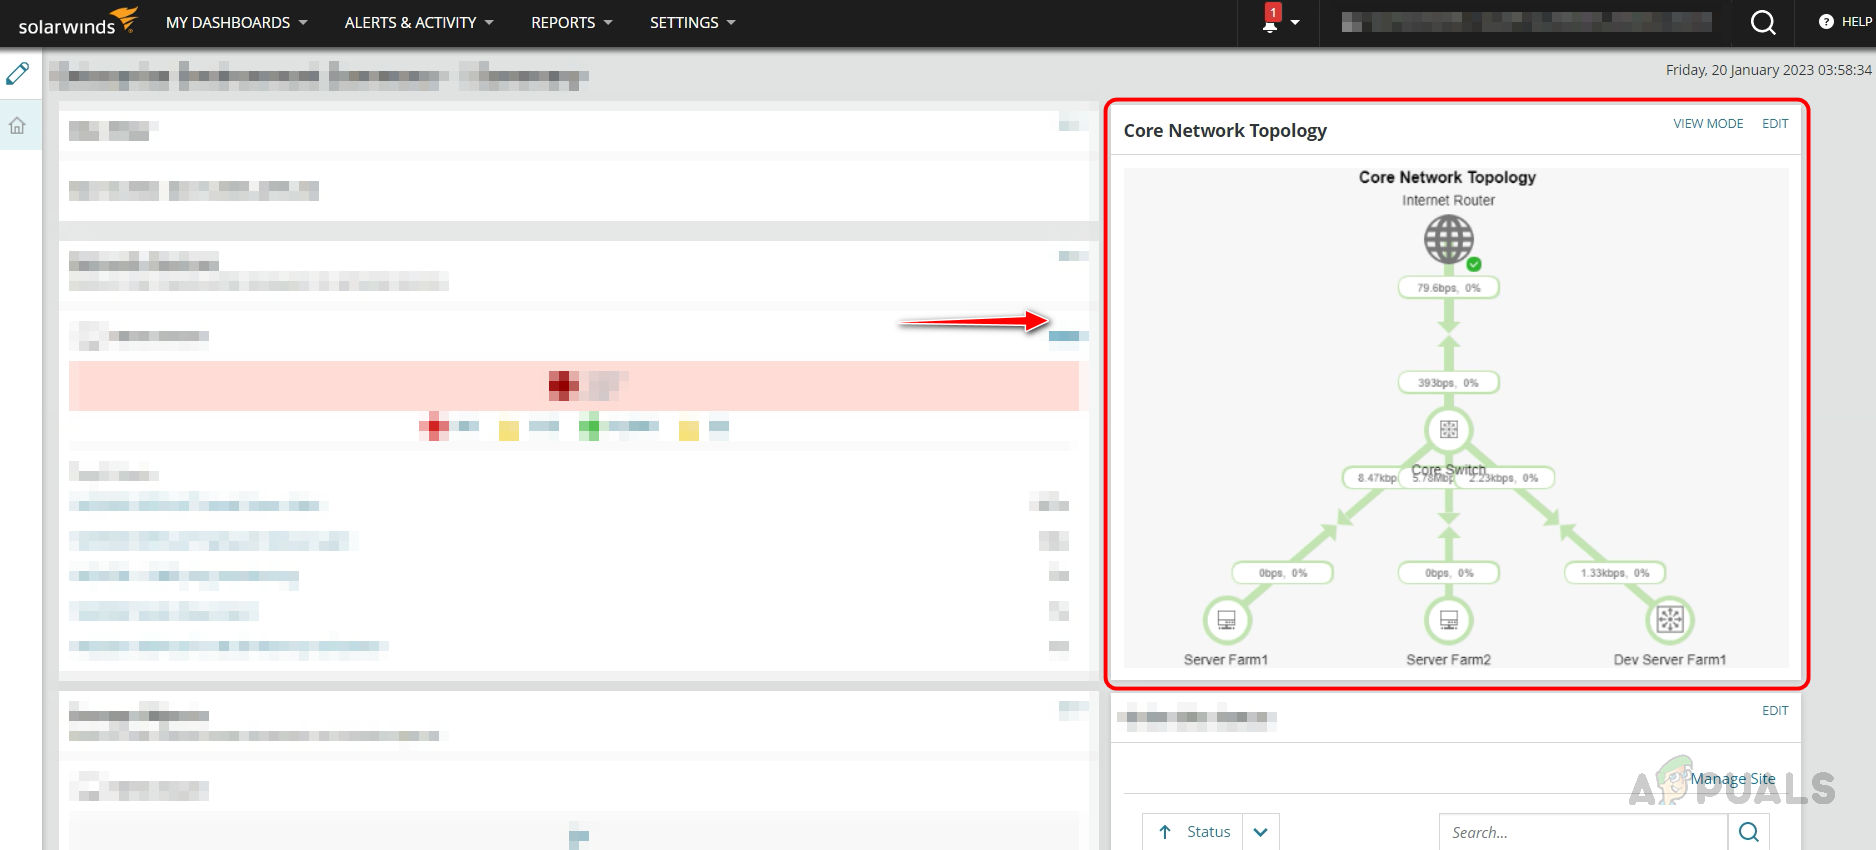
By placing the map on the summary page, it is possible to easily review the current status of the network topology, and quickly identify and address any issues that may arise. This facilitates efficient monitoring and troubleshooting, ensuring that network problems are resolved in a timely manner.