How to Fix Microsoft Office TPM Error 80090034
The error 80090034 is typically encountered when users attempt to sign in to their Office program. This issue is related to the TPM (Trusted Platform Module) component and typically appears when TPM fails as a dependency when called by an Office application.
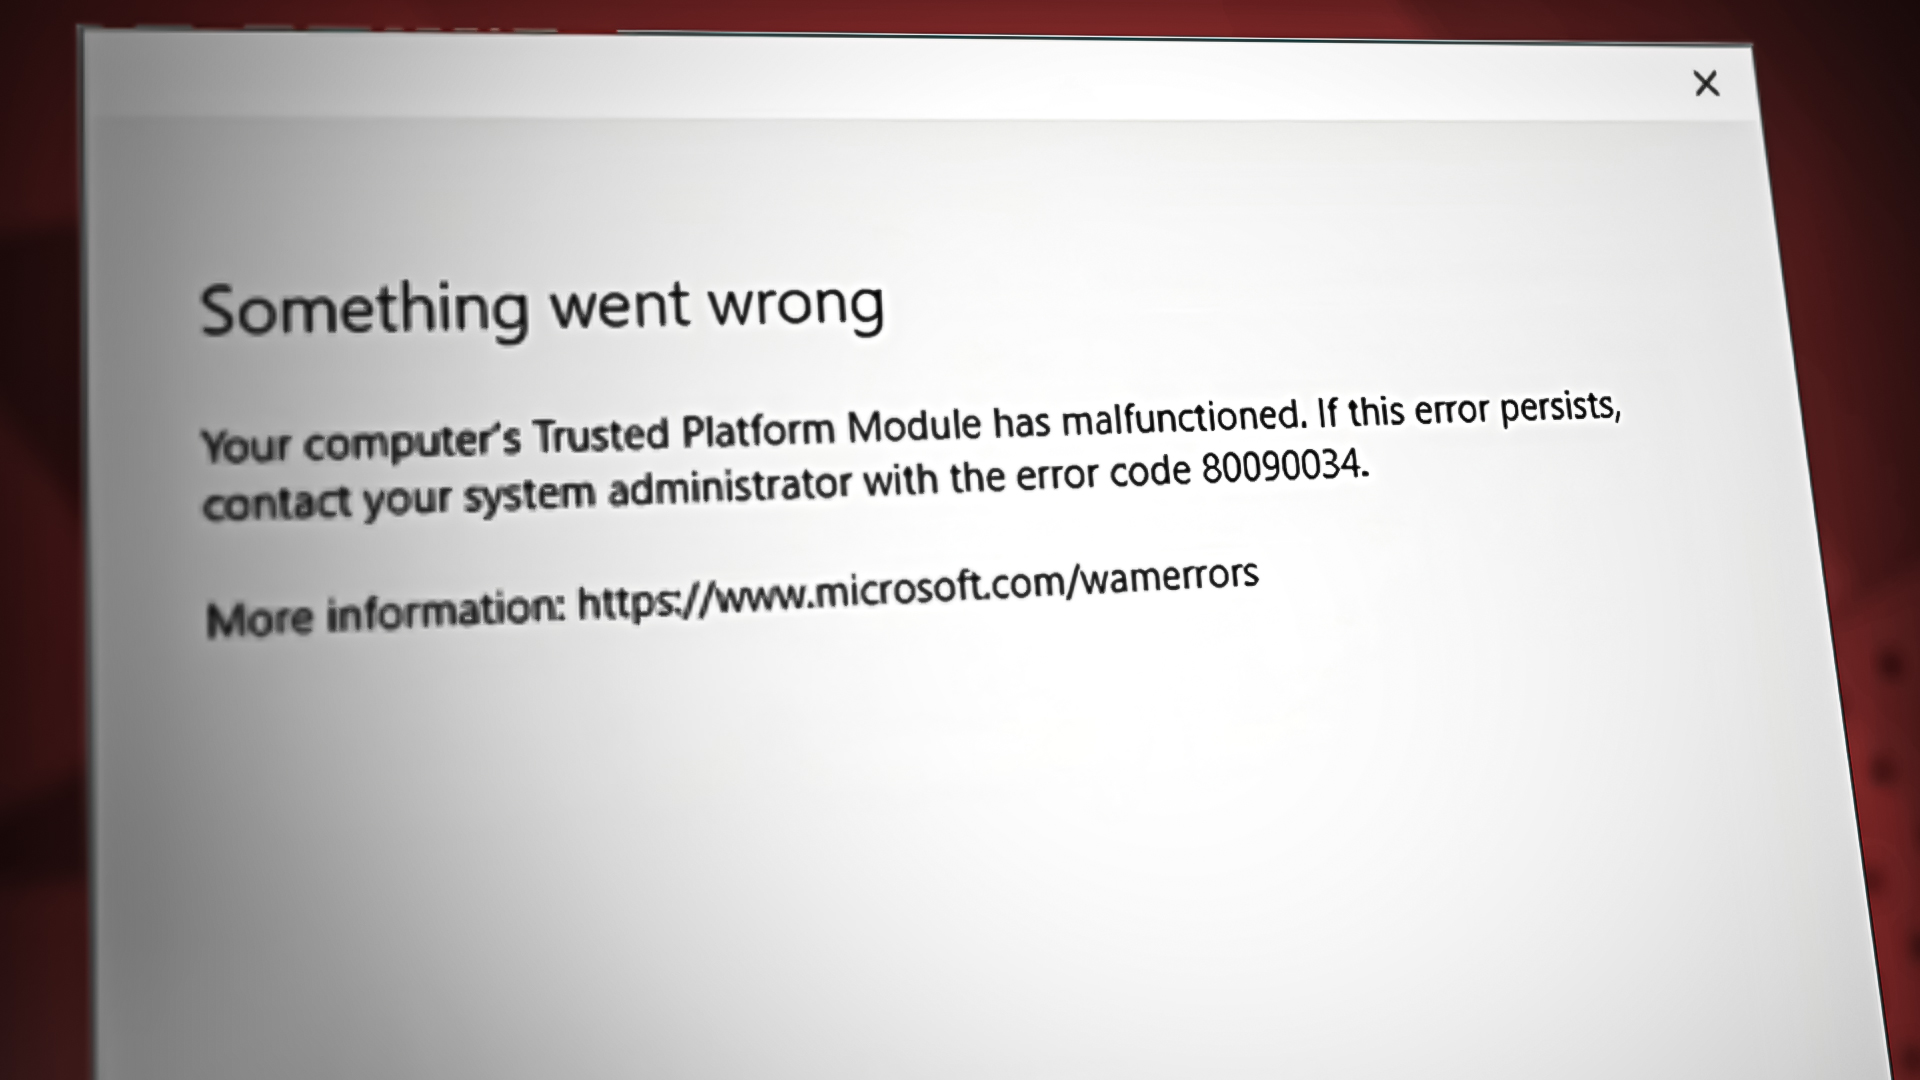
If you’re just starting to troubleshoot this issue, the first thing you need to do is try to re-enable the TPM component before launching Office again. However, this problem can also be caused by an overprotective AV, due to a legitimate malware infection due to system file corruption, or when you’re dealing with an inconsistent Office installation.
In certain circumstances, you can expect to get the 80090034 due to a missing ProtectionKey or when there are more than 5 work or school accounts that are all using the Office installation.
We’ve compiled a list of confirmed methods that other users affected by the same 80090034 error have used to fix the issue. Start following them below.
1. Re-enable TPM
If you previously messed around with the Trusted Platform Module, the first thing you need to do is ensure that the Trusted Platform Module is enabled on your PC.
Note: Keep in mind that the latest version of Office needs TPM 2.0. If your PC’s motherboard is more than 5 years old, this newer module might not be supported.
To ensure that TPM is enabled, you will need to do it directly from your BIOS or UEFI settings.
Here’s a quick guide on how to do this:
- Turn on your computer (or restart it if it’s already on) and hit the Setup key (BIOS key) as soon as the first screen appears.
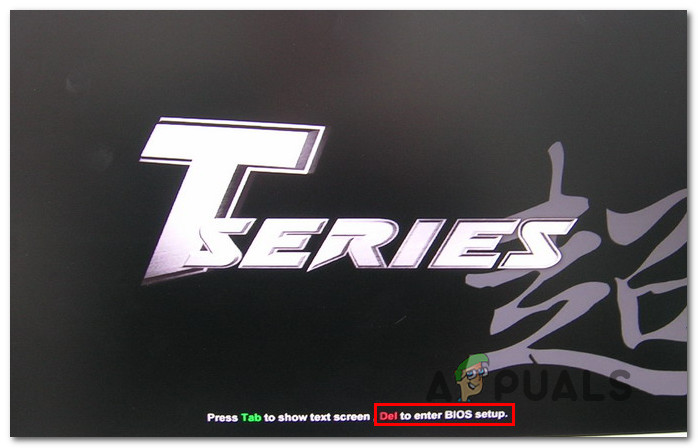
Accessing the BIOS or UEFI settings Note: The boot key is normally located in the bottom-right or bottom-left area of the display. If that’s not the case for you, please refer to our documentation on ‘How to access BIOS on different motherboards‘.
- Once inside the BIOS main menu, choose the Security tab from the list of available options on the top ribbon bar.
- Next, identify an item titled Trusted Platform Module and check that its value is set to Enabled.
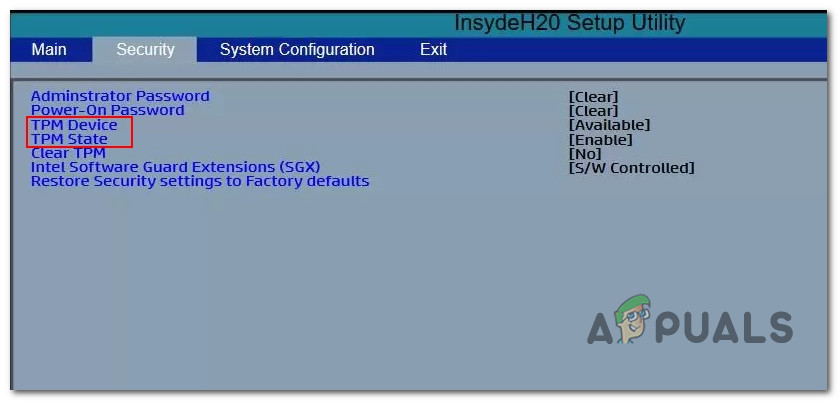
Enable the TPM component Note: This security feature’s precise location and placement will vary depending on the motherboard manufacturer. On Intel hardware, this option is referred to as Intel Platform Trust Technology.
- Once you’ve made sure that TPM is enabled, save the changes and exit the BIOS or UEFI menu and wait until your PC boots normally.
- Launch Office once again and see if the problem is now fixed.
2. Disable ESET (or another 3rd party antivirus)
If you are using the ESET antivirus package, you should not rule it out as a possible conflict between the active antivirus and the TPM component.
Update: There are also other 3rd party antivirus suites that are reportedly causing the same issue.
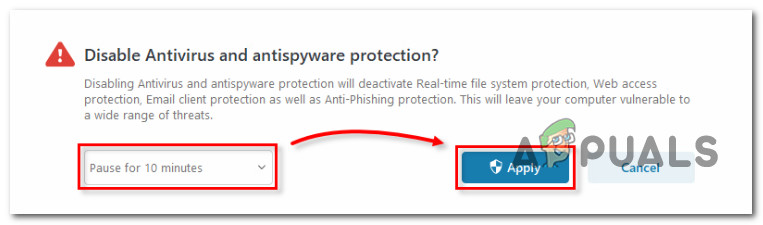
To determine if your antivirus is genuinely causing this issue, turn it off before opening Office once again and see if the error goes away.
Note: Naturally, the instructions for doing so will differ from antivirus program to antivirus program, but in most situations, you may do so by right-clicking the taskbar icon and disabling the active shield.
If you are able to open the Office suite without getting the 80090034 error while the active AV protection is disabled, follow the instructions below to uninstall it:
- Launch the Run dialog box by hitting the Windows key + R key.
- Next, type ‘appwiz.cpl’ followed by the Enter key to launch the Programs and Features menu.

Open up the Programs and Features menu - If asked by the User Account Control, click Yes to provide administrator privileges.
- Once within the Programs and Features menu, navigate through the list of installed programs until you find your third-party security suite.
- Right-click on the program and select Uninstall from the context menu.
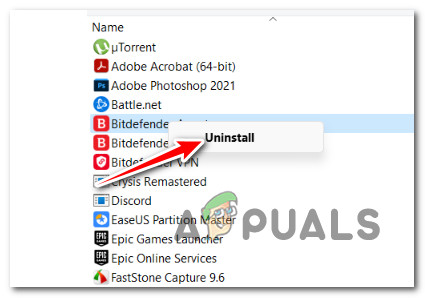
Uninstall the antivirus suite - Follow the on-screen instructions to remove the antivirus software, and then restart your computer.
Note: If you want to ensure that you do not leave behind any residual files, follow this article to remove any files left behind by your antivirus software. - Launch Office once again and see if the problem is now fixed.
3. Deploy SFC & DISM scans
A corrupted system file that interferes with the TPM dependency can also cause the 80090034 error. This applies to both Windows 10 and Windows 11.
If this is the case, System File Checker (SFC) and Deployment Image Servicing and Management (DISM) scans should be done in quick succession to make sure you’re not dealing with system file corruption.
Even though SFC and DISM are similar in some ways, you should run both checks simultaneously to improve the chance of fixing corrupt system files.
Start with a simple SFC scan from a CMD prompt with elevated privileges.
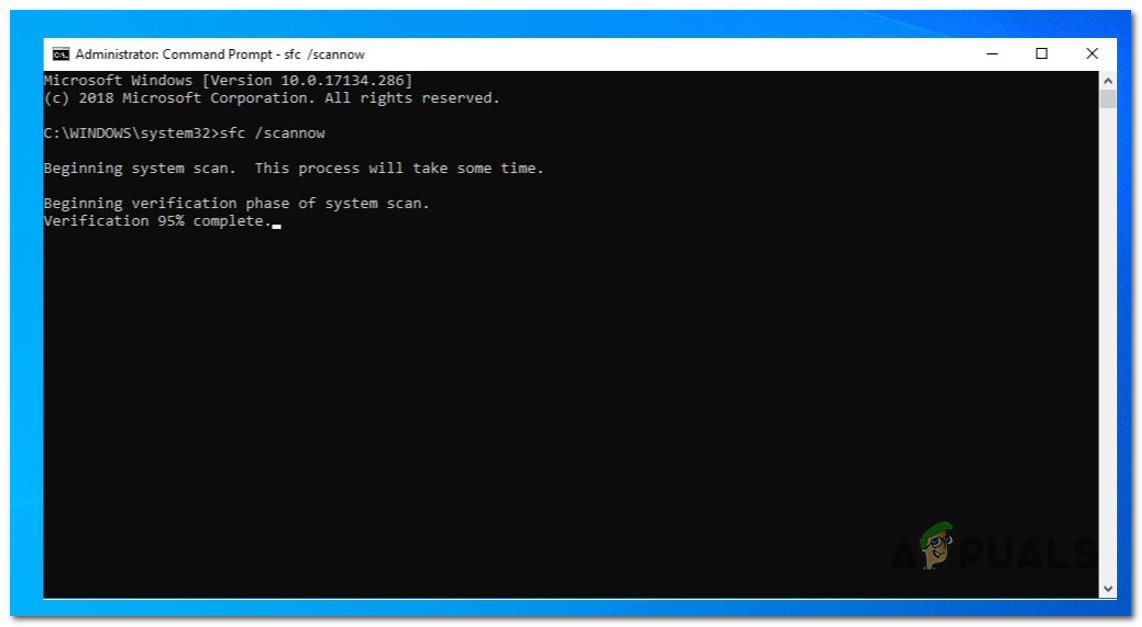
This utility is completely local and does not need a persistent online connection.
IMPORTANT: Do not shut the CMD window after executing this command, even if the tool appears to have stopped working. Await the procedure’s conclusion. Your HDD or SSD might sustain logical problems if the procedure is interrupted before completion.
After the SFC scan has been properly performed, restart your computer to determine if the problem remains.
Run a DISM scan and follow the on-screen instructions to complete the operation if the 80090034 problem continues after the upgrade.

IMPORTANT: SFC does not use Windows Update to replace damaged system files with healthy ones, but DISM does. Consequently, you must verify you have a steady Internet connection before deploying this scan.
4. Remove all Office credentials via Credentials Manager
The 80090034 error can also occur due to an inconsistency with the local Credential Manager cache.
According to Microsoft’s own engineers, one of the most common reasons why you can expect to deal with this issue when launching Office apps is a corrupted credential cache that Office is unable to retrieve.
If a saved credential is the cause of this issue, you will be able to fix the problem by removing any references to Microsoft Office and Microsoft 365 from your Credential Manager.
Here’s how to do this:
- Press the Windows key + R to launch the Run dialog box.
- Next, enter ‘control.exe /name Microsoft.CredentialManager‘ in the text box, then press Ctrl + Shift + Enter to launch Credential Manager with administrative rights.
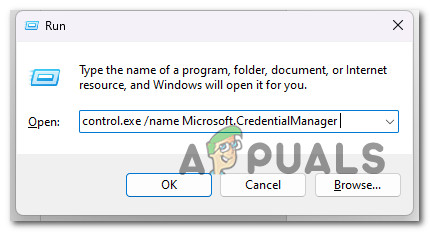
Opening up Credentials manager via Run box - Click Yes on the User Account Control (UAC) prompt to give administrative access.
- Click Windows Credentials from the main Credential Manager screen’s menu on the left.
- Next, go down through the list of Windows Credentials and identify any credentials belonging to Microsoft Office or Office 365.
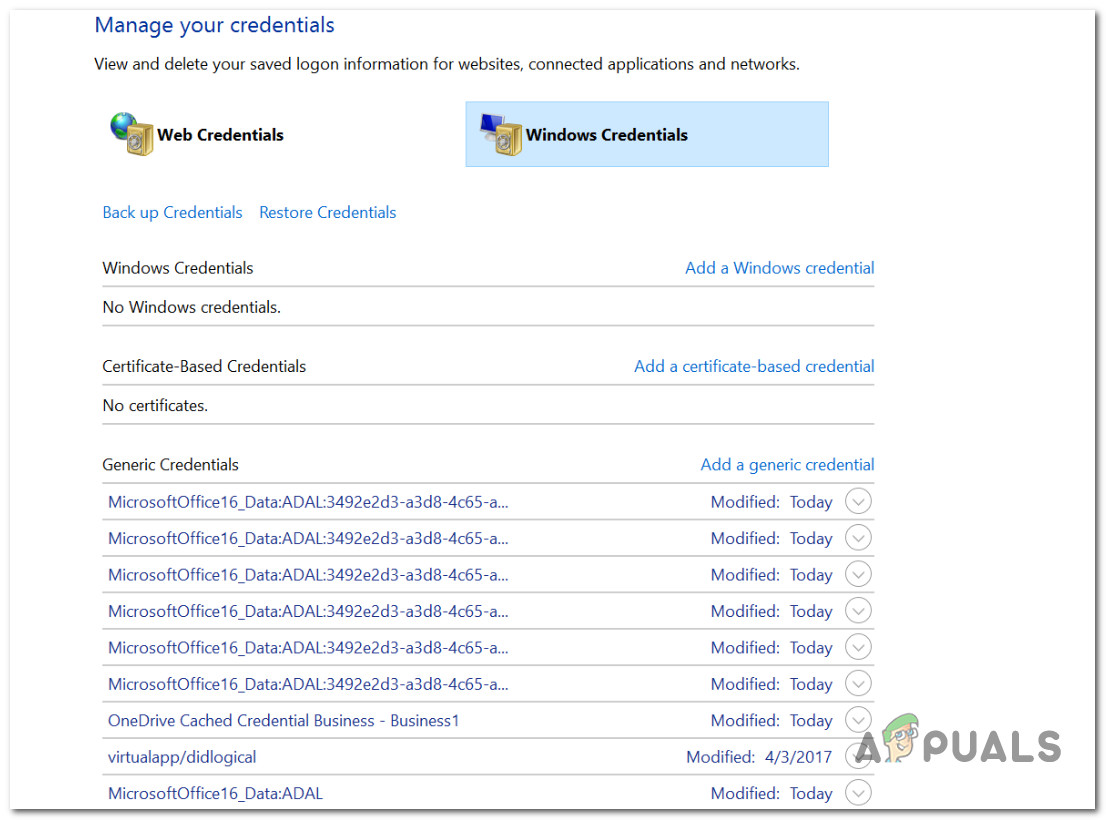
Removing every Office Credential - Once you’ve located them, right-click on them and select Remove from the context menu that appears.
- Click Yes when prompted to confirm the removal of the generic credential associated with Microsoft Office.
Note: Remember that it is possible to have several different Microsoft Office and Microsoft 365 credentials (especially if you log in with multiple accounts). Make sure you eliminate every Office credential at this point. - After removing any Office-related credentials, restart your computer and attempt to login into Office again to see if the 80090034 error is fixed.
5. Repair Office
If the 80090034 error began to appear after a system interruption or after an Antivirus scan quarantined Office installation files, you’re likely dealing with a corruption issue.
In this instance, you should be able to rectify the issue by repairing the Office installation.
Note: This operation will not harm any of your Office files. All this will do is replace every Office file with a healthy equivalent.
Here’s how to repair your Office installation:
- Press the Windows key + R to launch the Run dialog box.
- Next, enter ‘appwiz.cpl’ and press Enter to open the Programs and Features menu.
Open up the Programs and Features menu - Within the Programs and Features menu, navigate through the list of installed apps and identify the Office installation.
- Right-click the listing linked with Office and select Change from the context menu.
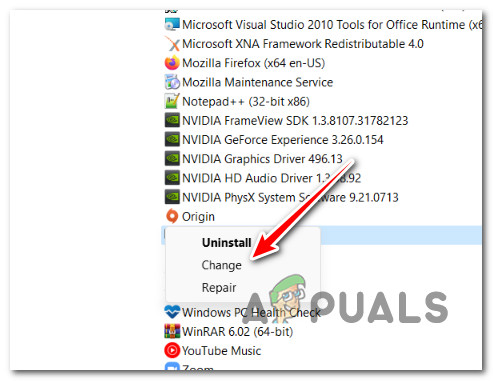
Changing the Office installation - Within the repair box, select Online Repair from the list of available choices, click Repair wait for the process to finish.
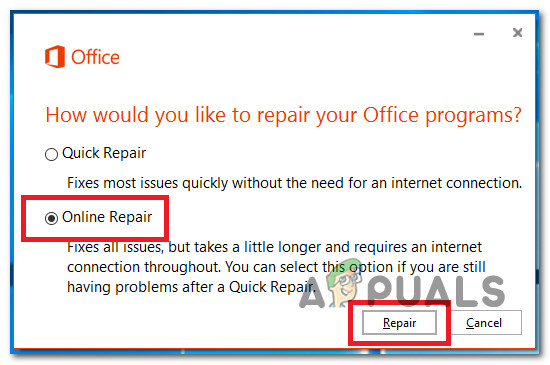
Initiate an Online Office repair Important: An Internet connection is required to implement this repair procedure.
- Reboot your PC and open Office again to see if the 80090034 is now fixed.
5. Create the ProtectionPolicy
If the issue is related to the Trusted Platform Module (TPM) and occurs because the TPM is trying to use a manufacturer driver that is not recognized as being from the Windows Built-in Trusted Platform Module driver, you will be able to fix this issue by using Registry Editor to Create a new DWORD named ProtectionPolicy.
This action will allow the Office app to bypass this dependency failure and work as if the TPM check was validated.
Here’s a quick guide on creating the ProtectionPolicy Dword using the Registry Editor:
- Press Windows key + R to open up a Run dialog box.
- Inside the Run box, type ‘regedit’ and press Ctrl + Shift + Enter to open up the Registry Editor with admin access.
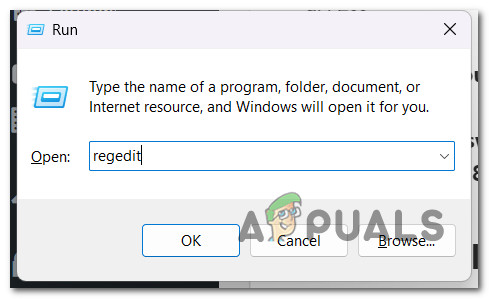
Open up the Registry Editor - At the User Account Control (UAC), click Yes to grant admin access.
- Inside the Registry Editor, use the side menu on the left to navigate to the following location:
HKEY_LOCAL_MACHINE\Software\Microsoft\Cryptography\Protect\Providers\df9d8cd0-1501-11d1-8c7a-00c04fc297eb
Note: You can either navigate to this location manually or you can paste it directly into the nav bar at the top and press Enter to get there instantly.
- Inside the correct location, move over to the right section, right-click on an empty space and click on New > DWORD (32-bit) Value.
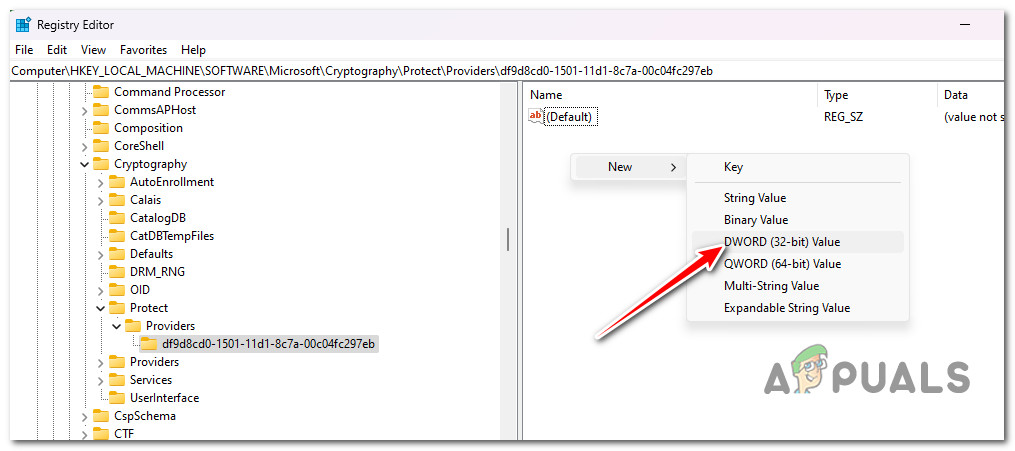 Create a new Dword
 - Name the newly created value ProtectionPolicy.
- Double-click on ProtectionPolicy and set the Base to Hexadecimal and leave the value at 1.
- Use the navigation bar at the top to navigate to the following path:
HKEY_CURRENT_USER\Software\Microsoft\Office\16.0\Common\Identity
- Select the Identity key, then move over to the right pane.
- Right-click on an empty space again and click on New > DWORD (32-bit) Value.
- Name the newly created value EnableADAL and set it’s Base to Hexadecimal and it’s value to 0.
- Close the Registry Editor, then reboot your PC and see if the problem is now fixed.
6. Run the OlicenseCLeanup tool (if applicable)
Another potential fix that you can try is to reset the Office activation status with the OLicenseCleanup.vbs tool. This fix will be effective in scenarios where the 80090034 error is caused by an account conflict.
Note: This tool will fully automate all the steps that you need to do in order to reset the Office installation. It’s available in two versions depending if you’re using an Enterprise or UI version.
Here’s a quick guide on using the OlicenseCLeanup tool:
- Open any browser and navigate to the official download page of the OlicenseCLeanup tool.
- On the download page, click on the Download Enterprise version or Download UI version depending on your Office version.
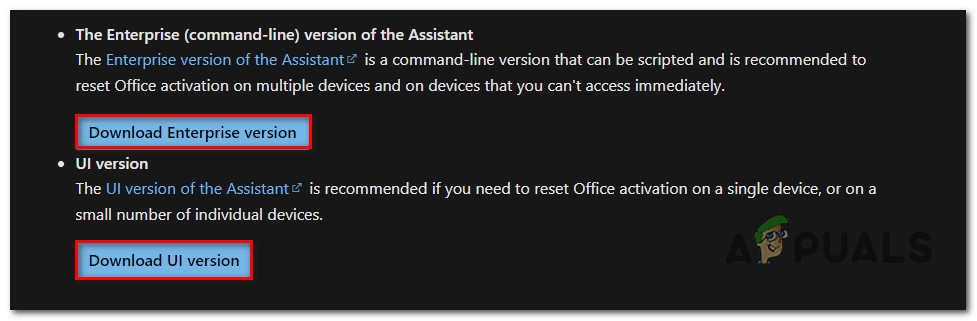
Downloading the correct version Note: The Enterprise version is a command-line version that can be automated and is suggested for resetting Office activation on numerous devices or on devices that are not immediately accessible. If you need to reset Office activation on one or a limited number of individual devices, the UI version of the Assistant is recommended.
- Run the executable with admin access (click Yes at the UAC prompt) and follow the on-screen prompts to complete the reset.
- Restart your PC, open Office once again, and see if the problem is fixed.
7. Disconnect all work & school accounts (if applicable)
If the affected PC triggering the 80090034 error is used by multiple students or multiple co-workers, you will likely be able to fix this problem by disconnecting all accounts part of the network.
As it turns out, Microsoft has started imposing some shadow limits on licenses that are ‘abusing’ their access. Other users experiencing this problem have confirmed that the 80090034 error has stopped occurring after they disconnected all work & school accounts under the Access work or school tab.
Here’s a quick guide on how to do this:
- Press Windows key + R to open up a Run dialog box.
- Next, type ‘ms-settings:workplace’ and press Ctrl + Shift + Enter to open up a Run dialog box.
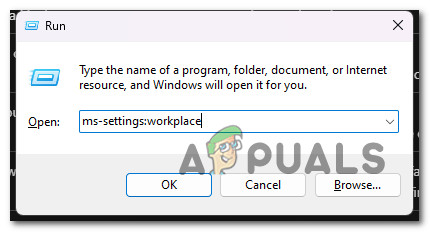
Open the Workspace menu - At the User Account Control, click Yes to grant admin access.
- Once you’re inside the Workspace page, remove every work or school account.
- Restart your PC, launch Office again, and see if the 80090034 error is fixed.
8. Run a Malwarebytes scan
According to other users that we’re also dealing with the 80090034 error, this issue can also be caused by malware that camouflages itself as “Winzip Driver Update” on the end user’s computer.
If this scenario is applicable, you can fix this problem by running Malwarebytes to eliminate all infections associated with this security threat. Once you do this, open Office once again and the Office installation will prompt you in case you need to reinstall it.
Our recommendation is to deploy a deep scan with Malwarebytes and follow through with all the suggestions that will appear after the scan is finished.
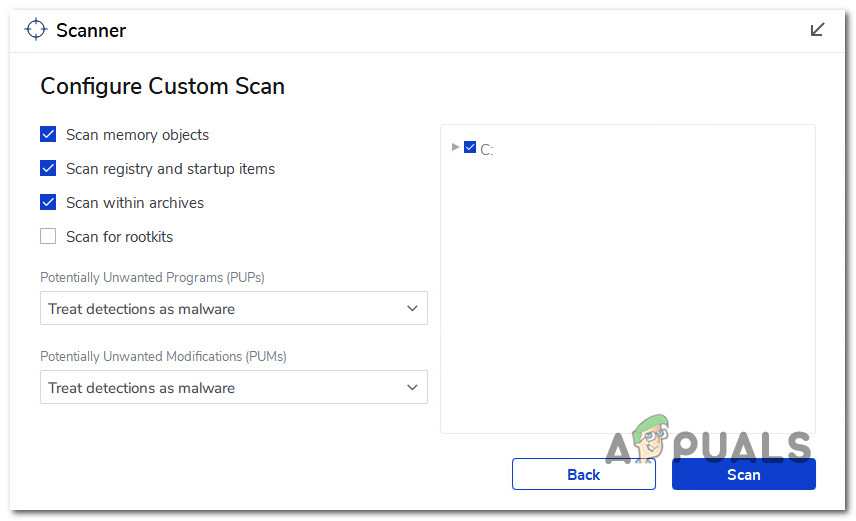
IMPORTANT: When you configure the scan, make sure the following boxes are all enabled:
- Scan for rootkits
- Scan within archives
- Scan registry and startup items
- Scan memory objects
Additionally, set both drop-down menus to the following:
- Potentially Unwanted Programs (PUPs) – Treat detections as malware
- Potentially Unwanted Modifications (PUMs) – Treat detections as malware
Note: Depending on the size of your drives, this operation might take a few hours to complete.
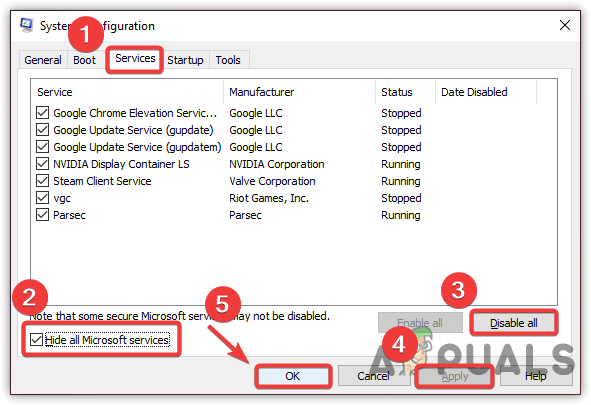
9. Perform a clean boot
Certain third-party apps that clash with the data interchange between the local Office installation and the server can also cause this problem.
Take the time to boot your computer in a mode where no third-party applications or processes are allowed to execute. This is called clean booting.
This will reveal whether an external service, process, or startup item is responsible for the 80090034 error.
Note: A clean boot forces your system to load just the required Windows apps and services. Once the clean boot state has been reached, no third-party services, processes, or starting items will be permitted to run.
Follow this article for step-by-step directions on how to get a clean boot state on Windows. These instructions are compatible with both Windows 10 and Windows 11.


