FIX: Windows Defender Advanced Threat Protection Service is Disabled
There are quite a few people encountering issues with Windows Defender on their newly installed Windows 11. This mainly happens after performing an upgrade from Windows 10, and surprisingly does not only affect people who have upgraded on unsupported hardware.
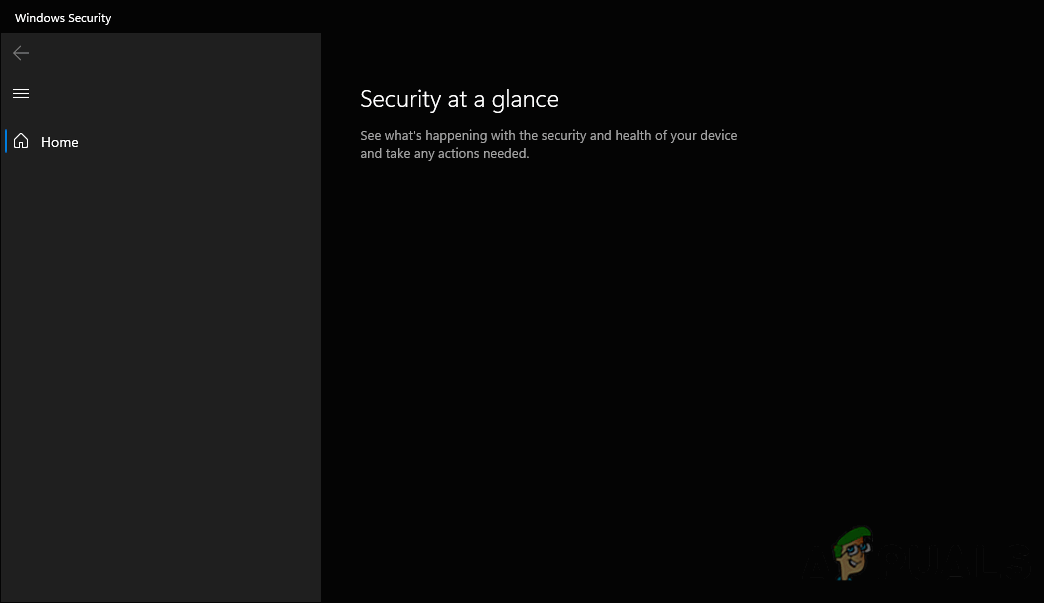
The users encountering this issue have reported that they see a blank screen whenever they launch Windows Security. Moreover, in some cases, the entire Privacy & Security menu in Windows Settings becomes unresponsive, leaving the users frustrated.
In this guide, we will walk you through several effective troubleshooting methods that helped users resolve the issues in no time. Let’s jump right in!
Reinstall Windows Security App
It turns out that the problem at hand occurs if a bug or corruption error is affecting the Windows Defender application and preventing it from functioning properly. The workaround that did the trick for several affected users was reinstalling the Windows Security application, which is why recommend you give it a shot.
This method is more likely to be effective for people who are still using Windows 11 Insider build.
Here is what you need to do:
- Type Powershell in the search area of the taskbar and click on Run as administrator.
- Click Yes in the User Account Control prompt to proceed.
- Once you are in the Powershell window, type the command mentioned below and hit Enter to execute it.
PS C:\WINDOWS\system32> Get-AppxPackage Microsoft.SecHealthUI -AllUsers | Reset-AppxPackage
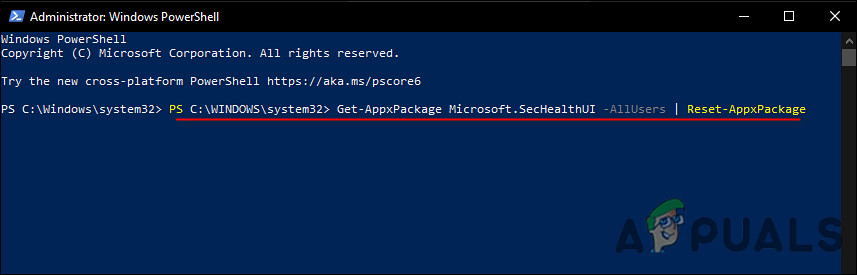
Reinstall the Windows Security App - Once the command is executed successfully, check if you can use the Windows Defender service without any issues.
- In the event that this does not work, you can re-deploy Windows applications. This involves installing an updated version of an application alongside an older version. To do so, launch elevated Powershell again.
- This time in the Powershell window, execute the following commands one by one.
PS C:\WINDOWS\system32> Set-ExecutionPolicy Unrestricted PS C:\WINDOWS\system32> Get-AppXPackage -AllUsers | Foreach {Add-AppxPackage -DisableDevelopmentMode -Register "$($_.InstallLocation)\AppXManifest.xml"} - Once done, close Powershell and check if doing so fixes the issue.
Reset or Repair Windows Security App
In case you do not want to reinstall the Windows Security application entirely, you can also reset or repair the application by following the steps mentioned below:
- Type Windows Security in the search area of your taskbar.
- Choose App settings from the context menu.
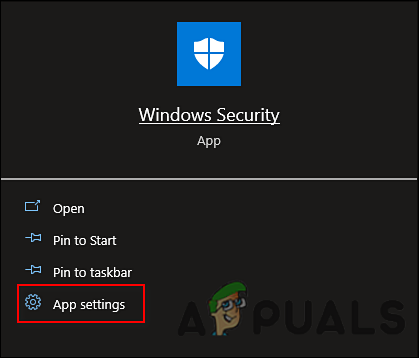
Launch Windows Security app settings - In the Apps menu, scroll a bit down to the Reset section and select Repair or Reset according to your preferences.
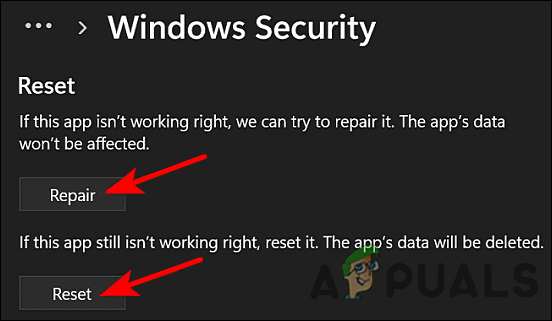
Click on either Repair or Reset button
Run System File Checker
In some cases, you might also not be able to use the Windows Defender and Windows Security service if a virus or a generic corruption error is infecting your operating system.
Fortunately, Windows comes with several built-in troubleshooting utilities that can help you scan for issues within the system and then resolve them without much user input. One such utility is the System File Checker, which allows you to repair corrupt system files in Windows. This program scans all of the protected system files and replaces the damaged ones with cached copies in the compressed folder C:\Windows\System32\dllcache.
Running SFC command via Command Prompt has proven to be useful for a lot of users, which is why we suggest you try it too. If this does not work, jump to the next method below.
Recheck Registry and Services Settings
Windows Registry is where low-level information about Windows programs and processes is stored, including that of Windows Security. This information is stored in the form of Registry keys. If due to any reason a key becomes corrupt, you are likely to encounter issues while using its corresponding services.
Likewise, in order to use a Windows feature or program, certain services need to be enabled in the Windows Services utility. If any of the relevant services are disabled completely or do not have the right to start automatically when you boot your system, you will encounter issues like the one at hand.
Regarding the Windows Security issue that is under discussion, we found several Registry keys that may be interfering with the service, preventing you from using it properly. If this scenario is applicable, deleting the Registry keys can fix the issue for you. In this method, we will also ensure that the relevant services are working properly in the Windows Defender utility.
However, before we proceed, we recommend you create a Registry backup, just in case.
Once you do that, follow the steps mentioned below.
- Type cmd in the search area of the taskbar and click on Run as administrator.
- Once you are inside the Command Prompt window, execute the commands mentioned below one by one:
reg delete "HKLM\Software\Microsoft\Windows\CurrentVersion\Policies" /f

reg delete "HKLM\Software\Microsoft\WindowsSelfHost" /f

reg delete "HKLM\Software\Policies" /f

reg delete "HKLM\Software\WOW6432Node\Microsoft\Policies" /f

reg delete

"HKLM\Software\WOW6432Node\Microsoft\Windows\CurrentVersion\Policies" /f

reg delete "HKLM\SOFTWARE\Policies\Microsoft\Windows Defender" /v DisableAntiSpyware

reg delete "HKCU\Software\Microsoft\Windows\CurrentVersion\Policies" /f

reg delete "HKCU\Software\Microsoft\WindowsSelfHost" /f

reg delete "HKCU\Software\Policies" /f

reg delete "HKLM\Software\Microsoft\Policies" /f
- Once done, type Windows Services in the search bar and click Open.
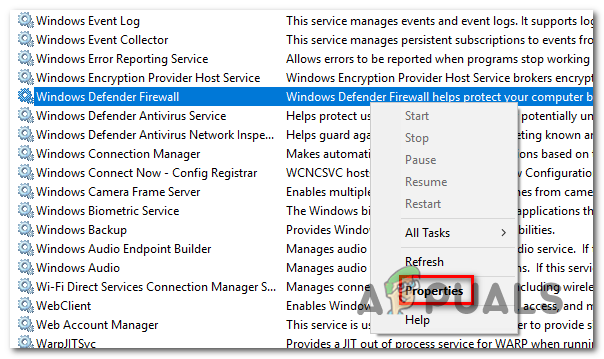
- In the Service window, locate and right-click on Windows Defender Firewall Service.
- Select Properties from the context menu.
- Set its start-up type to Automatic.
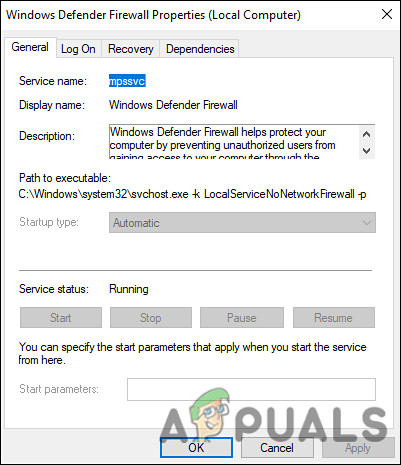
Set the service to automatic - Now in the same Services window, set the start-up type of the following services to Manual.
- Microsoft Defender Antivirus Service – Manual
- Windows Security Center Service- Manual
- Microsoft Defender Antivirus Network Inspection Service – Manual
- Windows Defender Advanced Threat Protection Service – Manual.
- Finally, close the Services window and check if doing so resolves the issue.
Clean Install Windows 11
If you have come this far and none of the methods above have worked, then your only viable option is to perform a clean installation of Windows 11.
When a device is having problems, a clean installation is a process of wiping out the hard drive and starting over with a new setup. During a clean installation, the hard drive is formatted and completely erased. Hopefully, clean installing Windows 11 will fix the Windows Defender issue once and for all.


