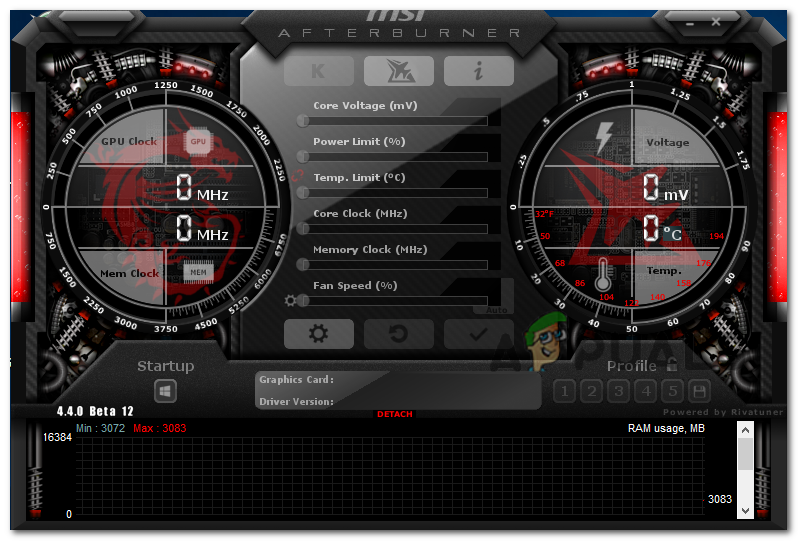
FIX: MSI Afterburner Not Detecting GPU On Windows 11/10
There have been several reports by Windows users that their MSI Afterburner is not detecting GPU on Windows systems. We had a look into the issue and discovered that your device might not be able to detect your GPU due to the following reasons:
- Unstable internet connection – If your internet connection is not working properly, the services depending on it will fail to function like they are supposed to, causing issues like the one at hand.
- Faulty connection cables – there is also a chance that your connecting cable is faulty or you have not connected your display to the right port.
- Outdated Graphics Card driver – your operating system and programs use your graphics card driver to access your computer’s graphics hardware. If this driver is outdated or corrupt, your operating system will be unable to detect relevant hardware.
- Third-party antivirus – your antivirus program might be interfering with the legitimate processes of the operating system, preventing it from detecting the GPU.
Now that we know about the potential causes, let’s have a look at some effective troubleshooting methods that helped users fix the issue.
Check Your Cables
As we mentioned earlier, your connecting cable might be faulty, causing the issue at hand. The best way to check if your cable is working fine is by using it on another device. Also, if you are using an external display, ensure it is connected to the dedicated GPU port instead of the integrated one.
If the cable and ports are working fine, move down to the next method below.
Disable Low-Level IO Driver
Another fix that worked for several users by disabling the low-level IO driver from MSI AB’s properties. If you are facing an issue due to misconfigured settings, this method should do the trick for you.
- Launch MSI Afterburner.
- Click on the gear icon to access the Settings.
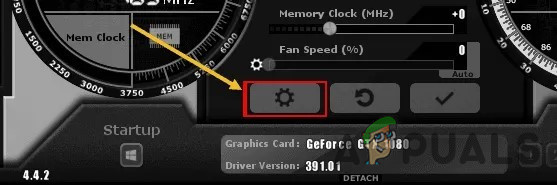
MSI Afterburner Settings - Head over to the General tab and under Compatibility properties, uncheck the box for Enable low-level IO driver.
- Click Apply and then OK to save the changes.
Uninstall and Reinstall Graphics Drivers
You should make sure you have the latest graphic card drivers installed. If you have already installed the drivers, it is best to reinstall them (probably a clean installation) and see if it resolves the issue.
However, note that It is important to turn off your antivirus software before installing the drivers. Some security software can interfere with the installation process, which is why it is best to disable them before proceeding. To do so, right-click the icon for your anti-virus software and select Disable.
Uninstall Vanguard (If Applicable)
According to several reports, the issue at hand in most of the cases was being caused by the Volarent’s Vanguard anti-cheat program. Apparently, this program interferes with the processes of MSI AB.
To check if Vanguard is causing the issue, try disabling the app. If the error is resolved by doing so, go ahead and uninstall the application via Windows Settings. Here is how you can do that:
- Press Windows + I keys simultaneously on your keyboard to open Windows Settings.
- Inside the Settings window, click on Apps.
- Select Apps & features from the left pane and locate the targeted application in the right side of the window.
- Click on it and select the Uninstall button.
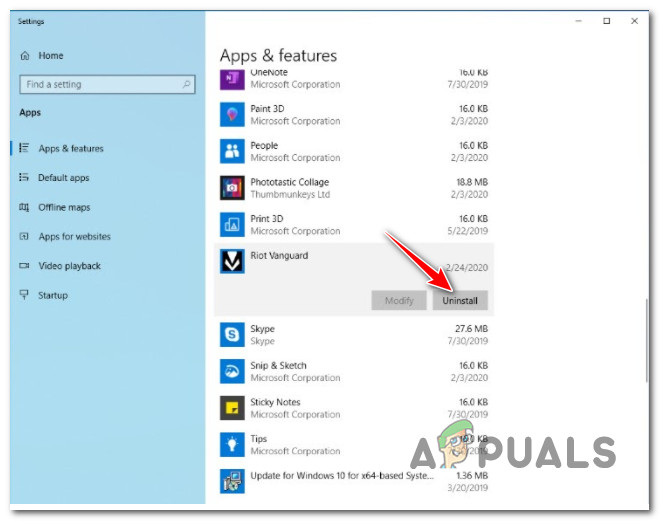
Uninstall Riot Vanguard - Then, follow the on-screen instructions to complete the uninstallation process.
Troubleshoot in a Clean Boot State
Using Clean Boot State can be helpful for diagnosing and troubleshooting advanced Windows problems. If the fixes mentioned above didn’t resolve your issue, try starting Windows in Safe Mode and repeating the action that caused the error. If the issue does not appear in Safe Mode, then perform a Clean Boot.
Here is how you can perform a clean Boot on Windows:
- Press Windows + R keys on your keyboard to open a Run dialogue box.
- In the text field of the dialogue box, type msconfig and hit Enter.
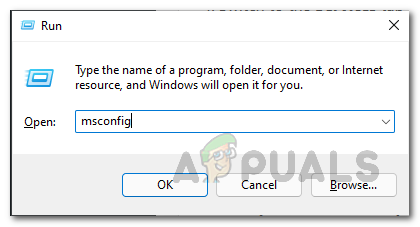
Opening up System Configuration - Now click on Normal startup and go to Services tab.
- Check the box against Hide all Microsoft services and then click on the Disable all button.
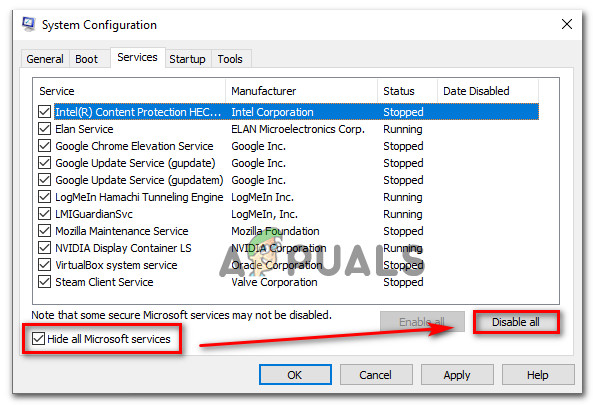
Hide all Microsoft services - Hit Apply and then OK.
- Finally, restart your PC and check if the issue persists.
Reinstall Afterburner’s Latest Version
In the event that MSI Afterburner isn’t working properly on your computer, you may want to uninstall the current version proceed with the latest version. Updates typically involve several bug fixes and security updates and thus might help you with the issue.
Here is what you need to do:
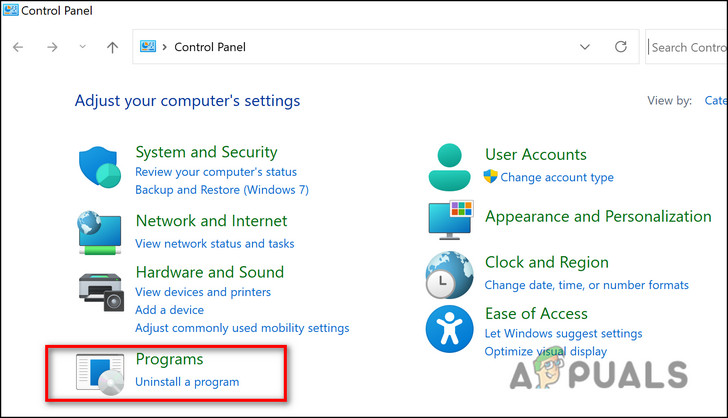
- Go to the Start menu and search for Control Panel.
- Under the Programs section of the Control Panel, select View as – Category and click Uninstall a program to get started.
- Locate MSI Afterburner tool in Control Panel and right-click on it. Select Uninstall.
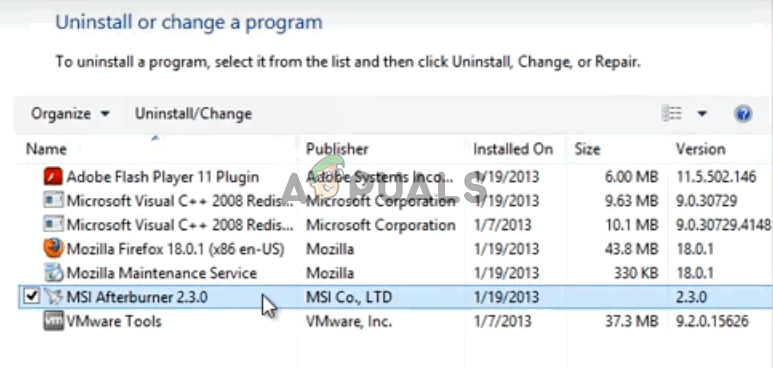
Uninstall MSI Afterburner - Once the uninstaller has completed the process, click Finish and restart your computer to see if errors persist.
- Once done, visit this website, download the installation file, and try installing MSI Afterburner again to verify that it is working properly.