How to Boot Windows 11 in Safe Mode
Windows 11 might crash, freeze, or keep restarting when you turn it on, which makes it hard to get to the desktop. Safe Mode is a special way to start Windows with only the most important drivers and services. This helps you find and fix the problem.

Most of the time, issues are caused by a new driver, a broken system file, or software that doesn’t work well with Windows. On newer computers, the old F8 key doesn’t work to start Safe Mode because Windows starts up too quickly. Instead, you need to use recovery options or hold Shift while clicking Restart.
How to Boot Your Windows 11 Computer in Safe Mode
There are four different ways you can start your Windows 11 computer in Safe Mode, Safe Mode with Networking, or Safe Mode with Command Prompt:
- Boot Windows 11 in Safe Mode via Advanced Startup (WinRE)
- Boot Windows 11 in Safe Mode via System Configuration (msconfig)
- Boot Windows 11 in Safe Mode via Command Prompt (CMD)
- Boot Windows 11 in Safe Mode via Command Prompt during Boot
1. Boot Windows 11 in Safe Mode from Startup (WinRE)
- Press the Start key or click the Start icon to open the Start menu.
- Click the power icon, then hold the SHIFT key while clicking on Restart.
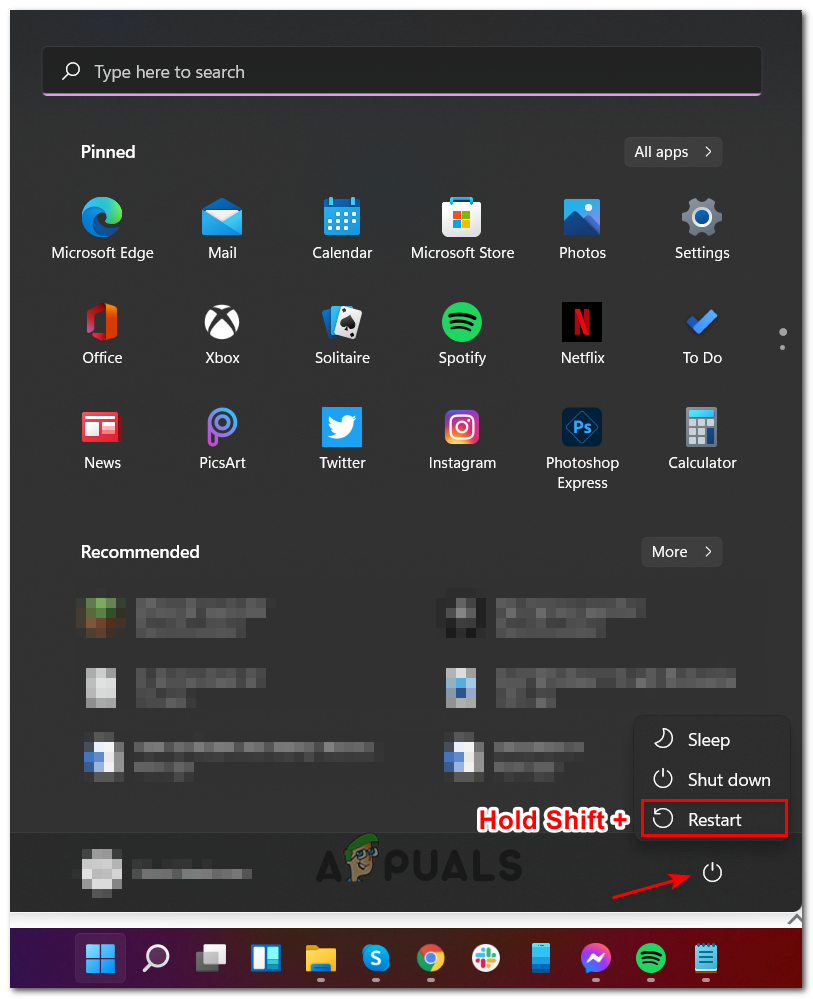
Boot to the Advanced Startup menu Note: This will restart Windows 11 directly into the Advanced Startup (WinRE) menu.
- After your PC restarts into the Advanced Startup menu, click on Troubleshoot.
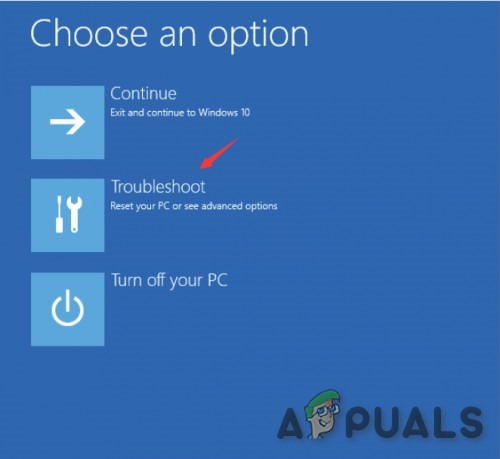
Accessing the Troubleshoot tab - Inside the Troubleshoot menu, click on Advanced Options.
- From the Advanced Options menu, click on Startup Settings.
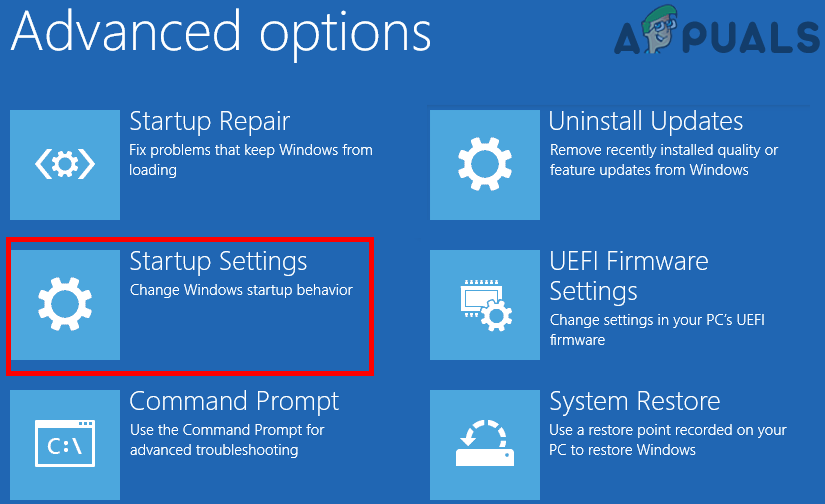
Accessing the Startup Settings - On the next screen, click on the Restart button and wait for your PC to restart again.
- Once you’re on the Startup Settings screen, press one of the following keys depending on which Safe Mode you want to use:
4 - Enable Safe Mode
5 - Enable Safe Mode with Networking
6 - Enable Safe Mode with Command Prompt
- After a moment, Windows 11 will start in the Safe Mode you chose.
2. Boot Windows 11 in Safe Mode from System Configuration (msconfig)
- Press Windows key + R to open the Run dialog box. Type ‘msconfig’ and press Enter to open the System Configuration window. If prompted by User Account Control, click Yes.
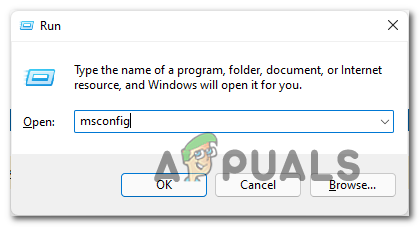
Accessing the System Configuration utility - Click the Boot tab at the top.
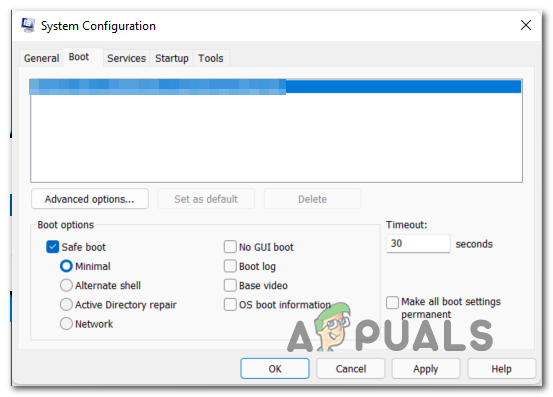
Booting in Safe Mode from System Configuration - Change the Boot Options according to what type of Safe Mode you want:
Safe Mode: Check Safe Boot, select Minimal, and leave everything else unchecked.
Safe Mode with Networking: Check Safe Boot, select Network, and leave everything else unchecked.
Safe Mode with Command Prompt: Check Safe Boot, select Alternate shell, and leave everything else unchecked.
- Click Apply, then restart your computer to enter Safe Mode.
3. Boot Windows 11 in Safe Mode via Command Prompt (CMD)
- Press Windows key + R to open the Run dialog box. Type ‘cmd’ then press Ctrl + Shift + Enter to open Command Prompt as an administrator.
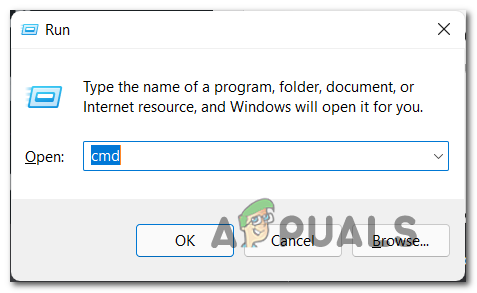
Open a CMD prompt Note: If you see UAC (User Account Control), click Yes to allow administrative access.
- In the elevated Command Prompt window, type one of the following commands and press Enter after each, depending on the Safe Mode you want to use:
Safe Mode: bcdedit /set {current} safeboot minimal Safe Mode with Networking: bcdedit /set {current} safeboot network Safe Mode with Command Prompt: bcdedit /set {current} safeboot minimal bcdedit /set {current} safebootalternateshell yes - Restart your computer to boot into the Safe Mode option you set up.
4. Boot Windows 11 in Safe Mode via Command Prompt during Boot
- Insert your Windows 11 installation media and boot your PC from it.
- When you reach the first Windows Setup screen, press Shift + F10 to open Command Prompt.

Opening CMD prompt from the Windows Setup screen - Type one of the following commands and press Enter to set up your Windows 11 installation to boot in the selected Safe Mode:
Safe Mode: bcdedit /set {default} safeboot minimal Safe Mode with Networking: bcdedit /set {default} safeboot network Safe Mode with Command Prompt: bcdedit /set {default} safeboot minimal bcdedit /set {default} safebootalternateshell yesNote: {default} is a placeholder. If needed, replace it with the actual identifier for your system (for example, “Windows 11”).


