How to Fix “iOS update requested” Error on iPhone [2024]
 Reviewed by Huzaifa Haroon
- This status indicates your iPhone is trying to download an update but can get stuck due to server overload, software glitches, or poor Wi-Fi connectivity.
- To fix the issue, check Wi-Fi stability, clear storage space, hard reset the device, update via iTunes/Finder, use iOS repair tools, or reset all settings.
- Stay informed about updates, ensure device compatibility, back up data, use Wi-Fi for downloading, and keep the device charged during updates for smooth operation.
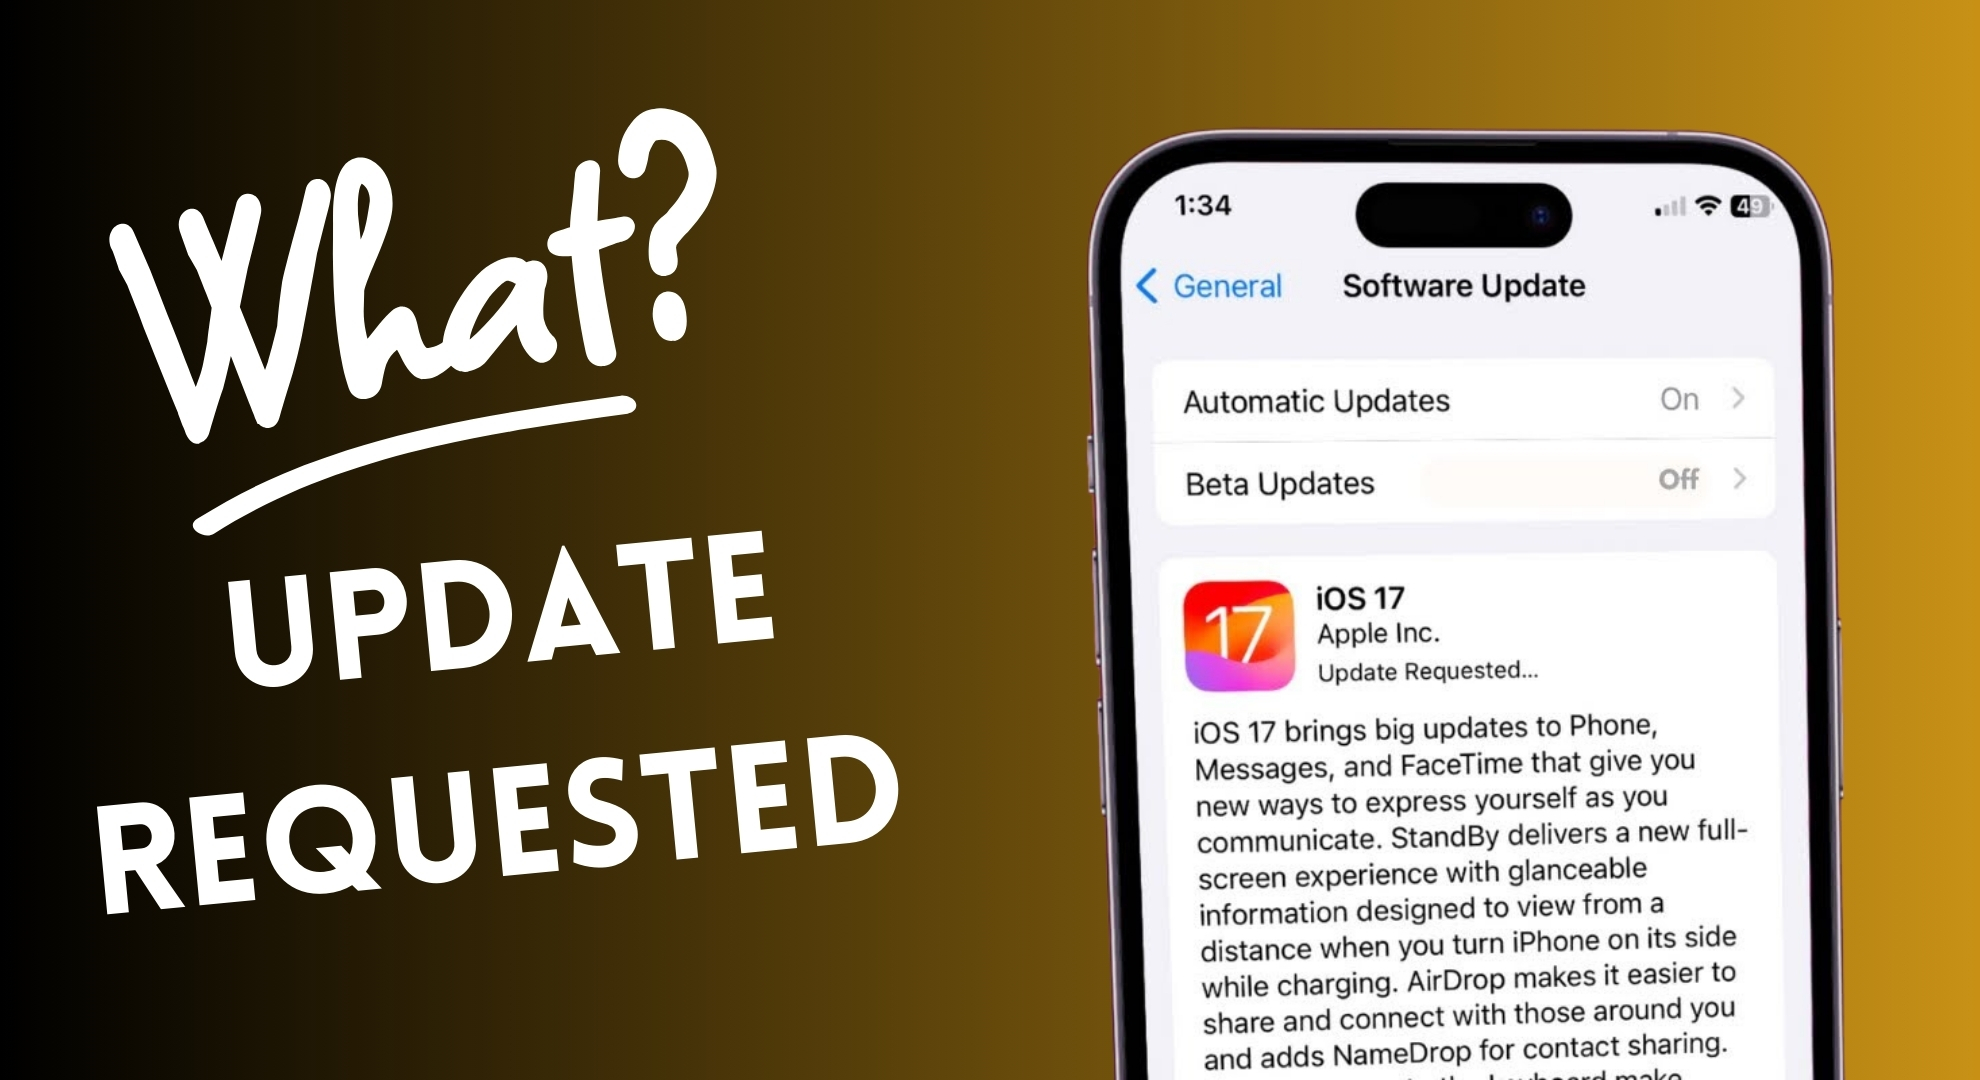
iOS regularly updates to enhance functionality, address security issues, and introduce new features. The arrival of iOS 17 has been eagerly anticipated for its significant enhancements.
Nevertheless, the upgrade process from an older iOS version to a newer one can occasionally encounter a problem, with the device persistently displaying “Update Requested” without proceeding to the actual update.
This issue, though common, can be effectively resolved. This guide explores seven comprehensive and effective solutions to the iOS update requested problem, facilitating a seamless update process.
Table of Contents
What does Update Requested mean?
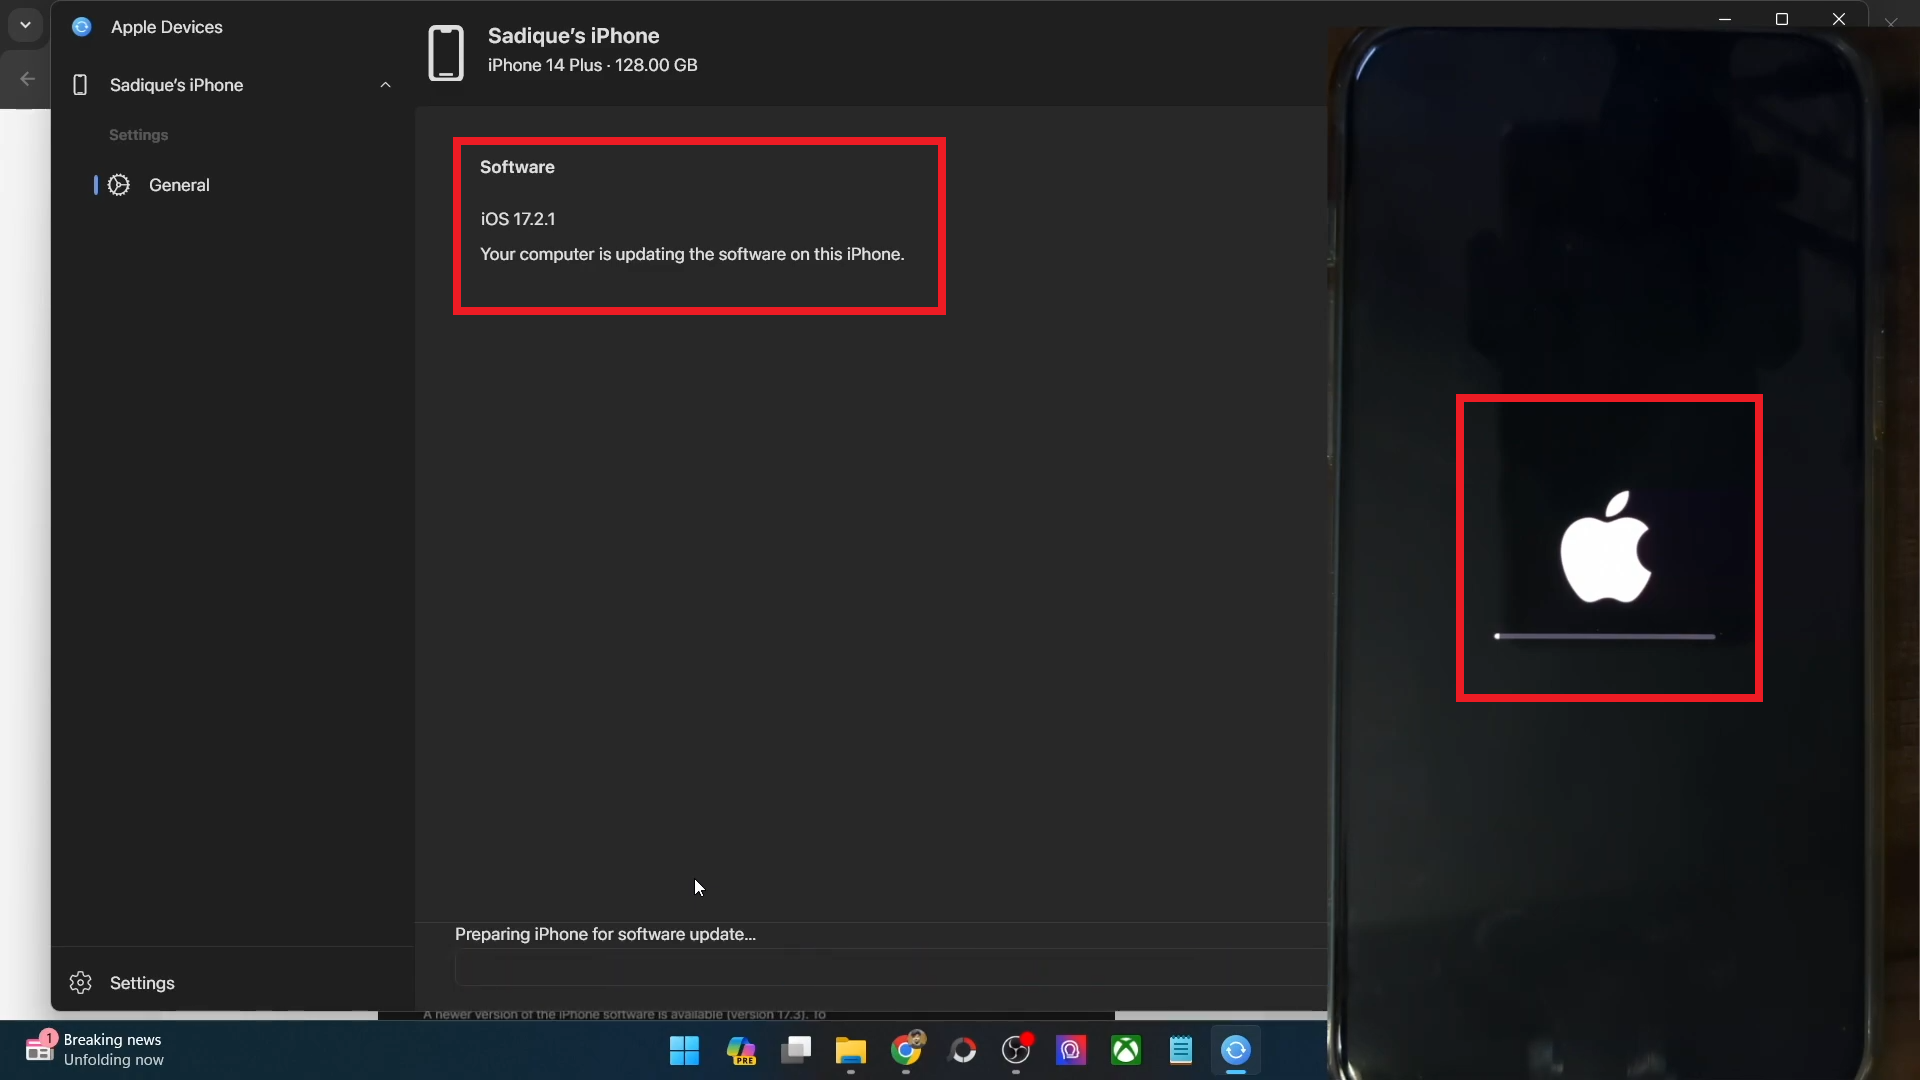
When you access the Settings app, navigate to General, and tap on Software Update, your iPhone promptly checks for available updates. Upon finding an update, tapping the Download button initiates the update process.
At the start, the device might show two process details “estimating time remaining,” and “update requested.” This indicates that your device is in the process of communicating with Apple’s servers to download the necessary firmware.
Unfortunately, many users have reported that the device gets stuck at this step without initiating the download or moving forward.
READ MORE: 7 Easy Fixes for iPhone Not Sending Pictures [2024 Update] ➜
Why iPhone stuck at the iOS update requested?
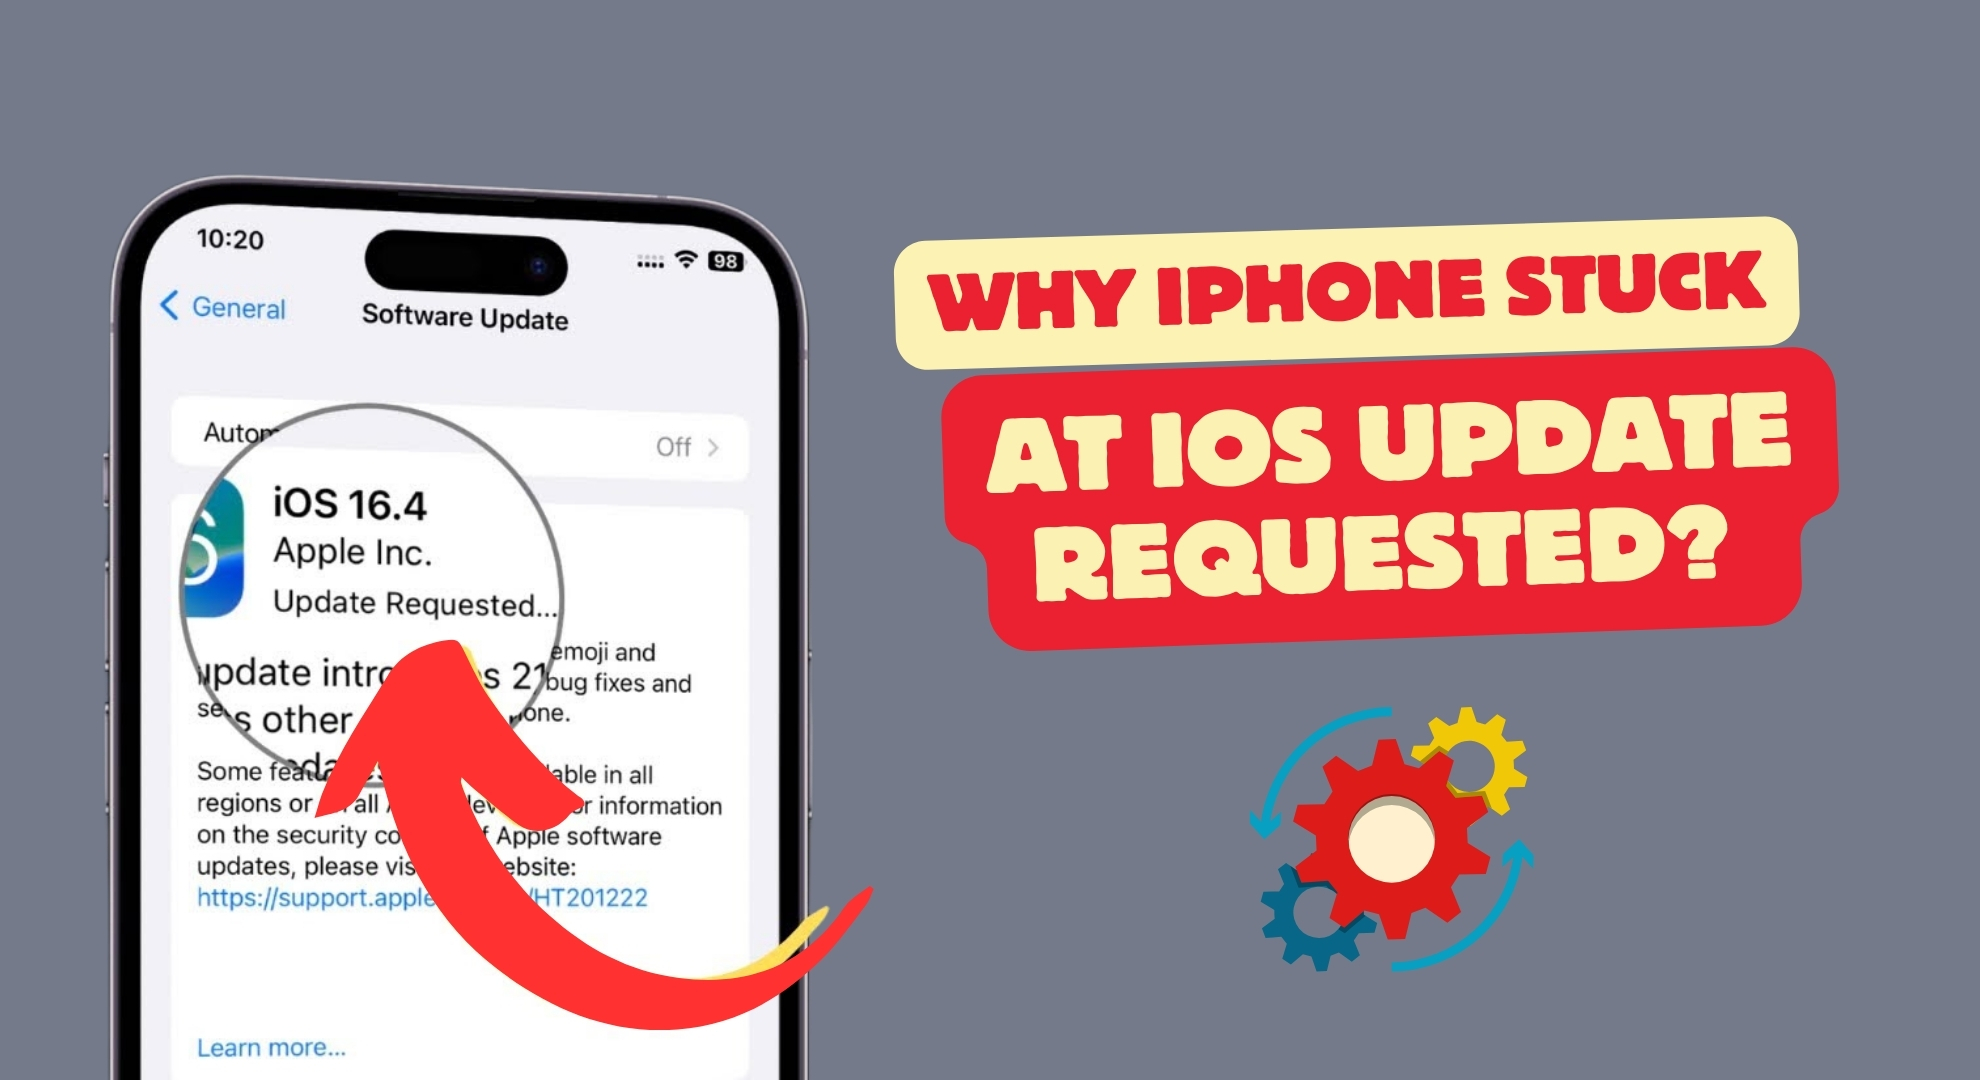
Several factors can cause this frustrating issue:
- High Traffic Volume: Excessive simultaneous downloads by numerous users can lead to server overload.
- Software Issues: Minor glitches or more severe software problems can cause the update process to freeze.
- Inadequate Wi-Fi Connectivity: A strong Wi-Fi connection is essential for successfully communicating with Apple’s servers to download updates.
READ MORE: Apple Rolls Out iOS Update to Address iPhone Spyware Exploit ➜
How to fix iOS updated requested issue?
The persistent issue of being stuck on “Update Requested” when trying to upgrade to the iOS version can be quite frustrating. However, there’s good news: a variety of solutions are available to address this problem.
Below, you’ll find a comprehensive list of methods designed to resolve the error of your iPhone or iPad being stuck on the update request screen.
1. Check your Wi-Fi connection
Ensure your iOS device is linked to a Wi-Fi network. The duration of the update download varies based on the size of the update, the specifications of your device, and the speed of your internet connection.
During the launch of new iOS versions, a high volume of users attempting to download the update simultaneously from Apple’s servers can cause delays. Therefore, it might be necessary to patiently wait a few hours, or possibly until the next day, for the download process to proceed.
READ MORE: What is Jitter? Decoding The Key to Faster Internet Speeds ➜
2. Free space on your iPhone
If your iPhone lacks sufficient storage, the update process can encounter issues. To check if you’re running low on storage, follow these steps:
- Open the “Settings” app on your device and select “General.”
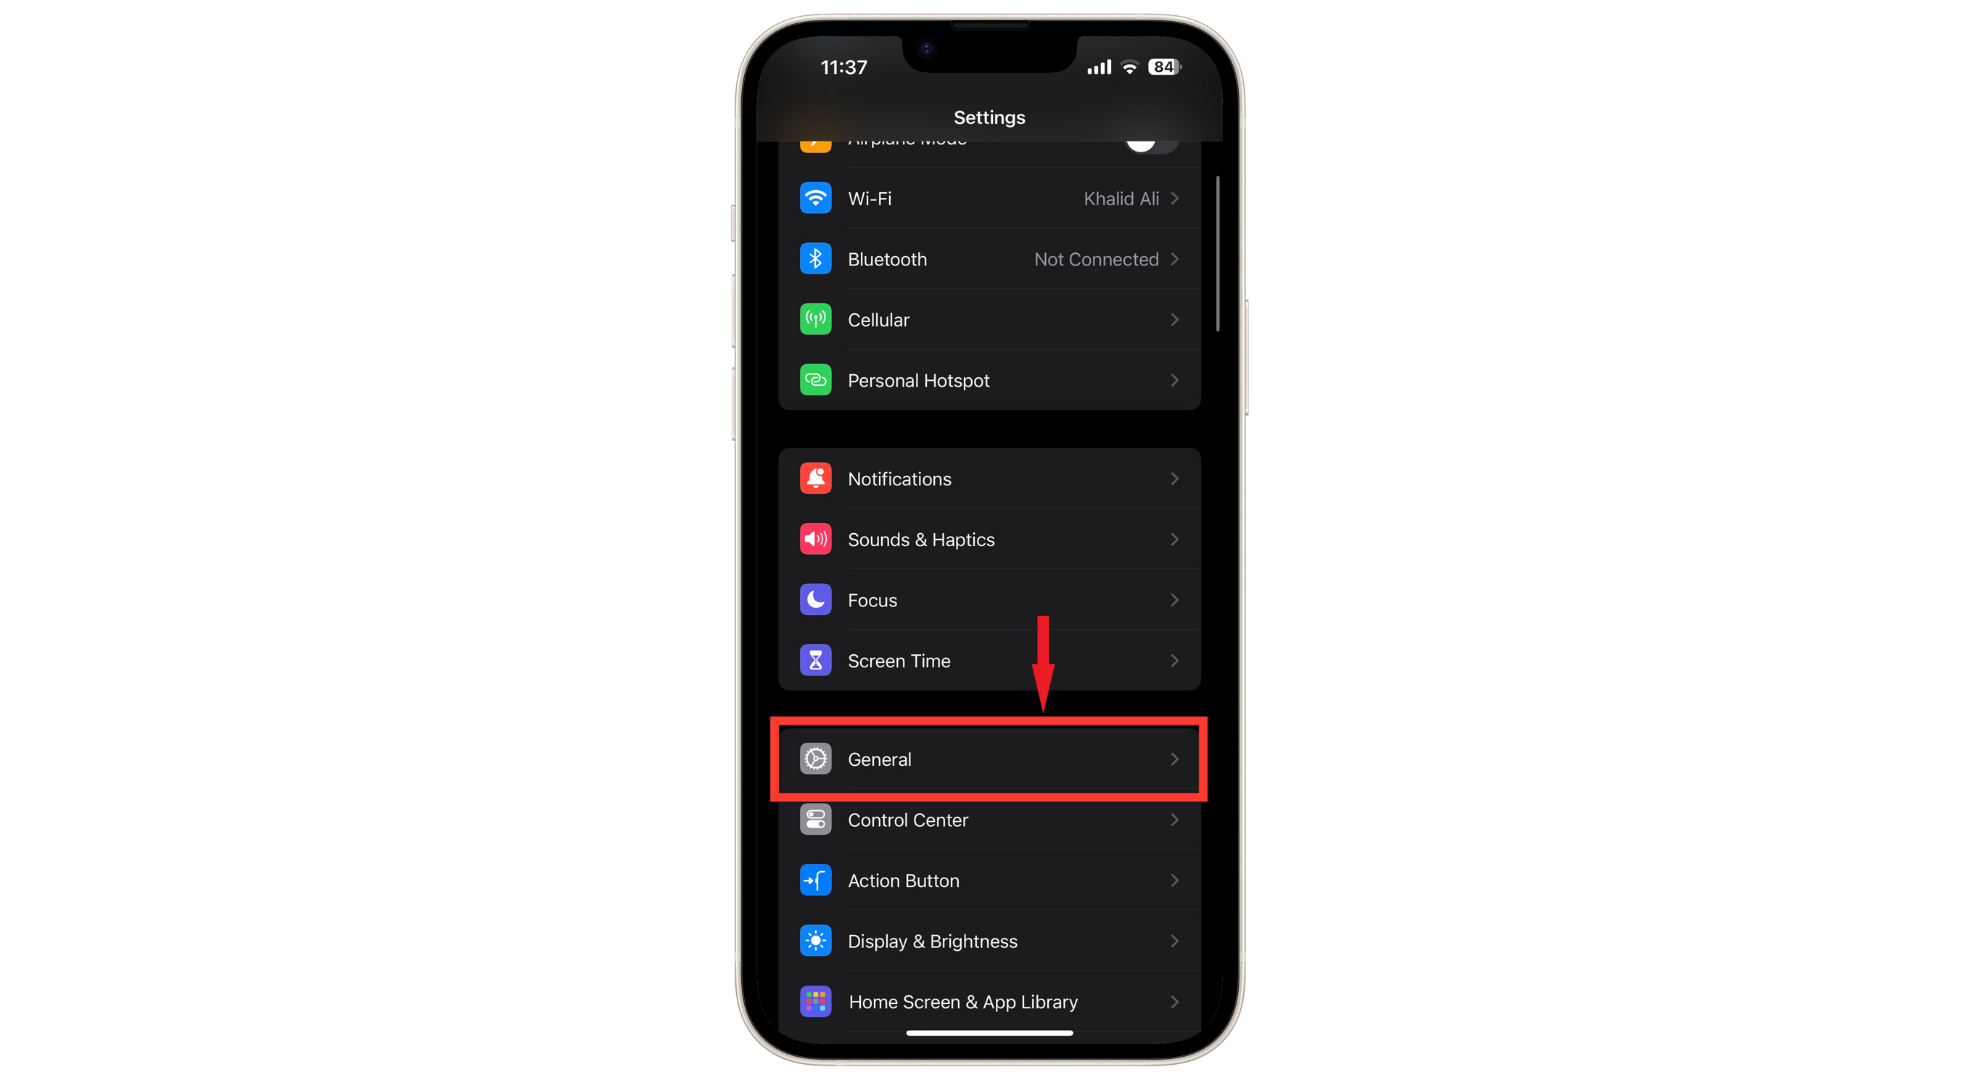
Tap General - Tap on “iPhone Storage.”
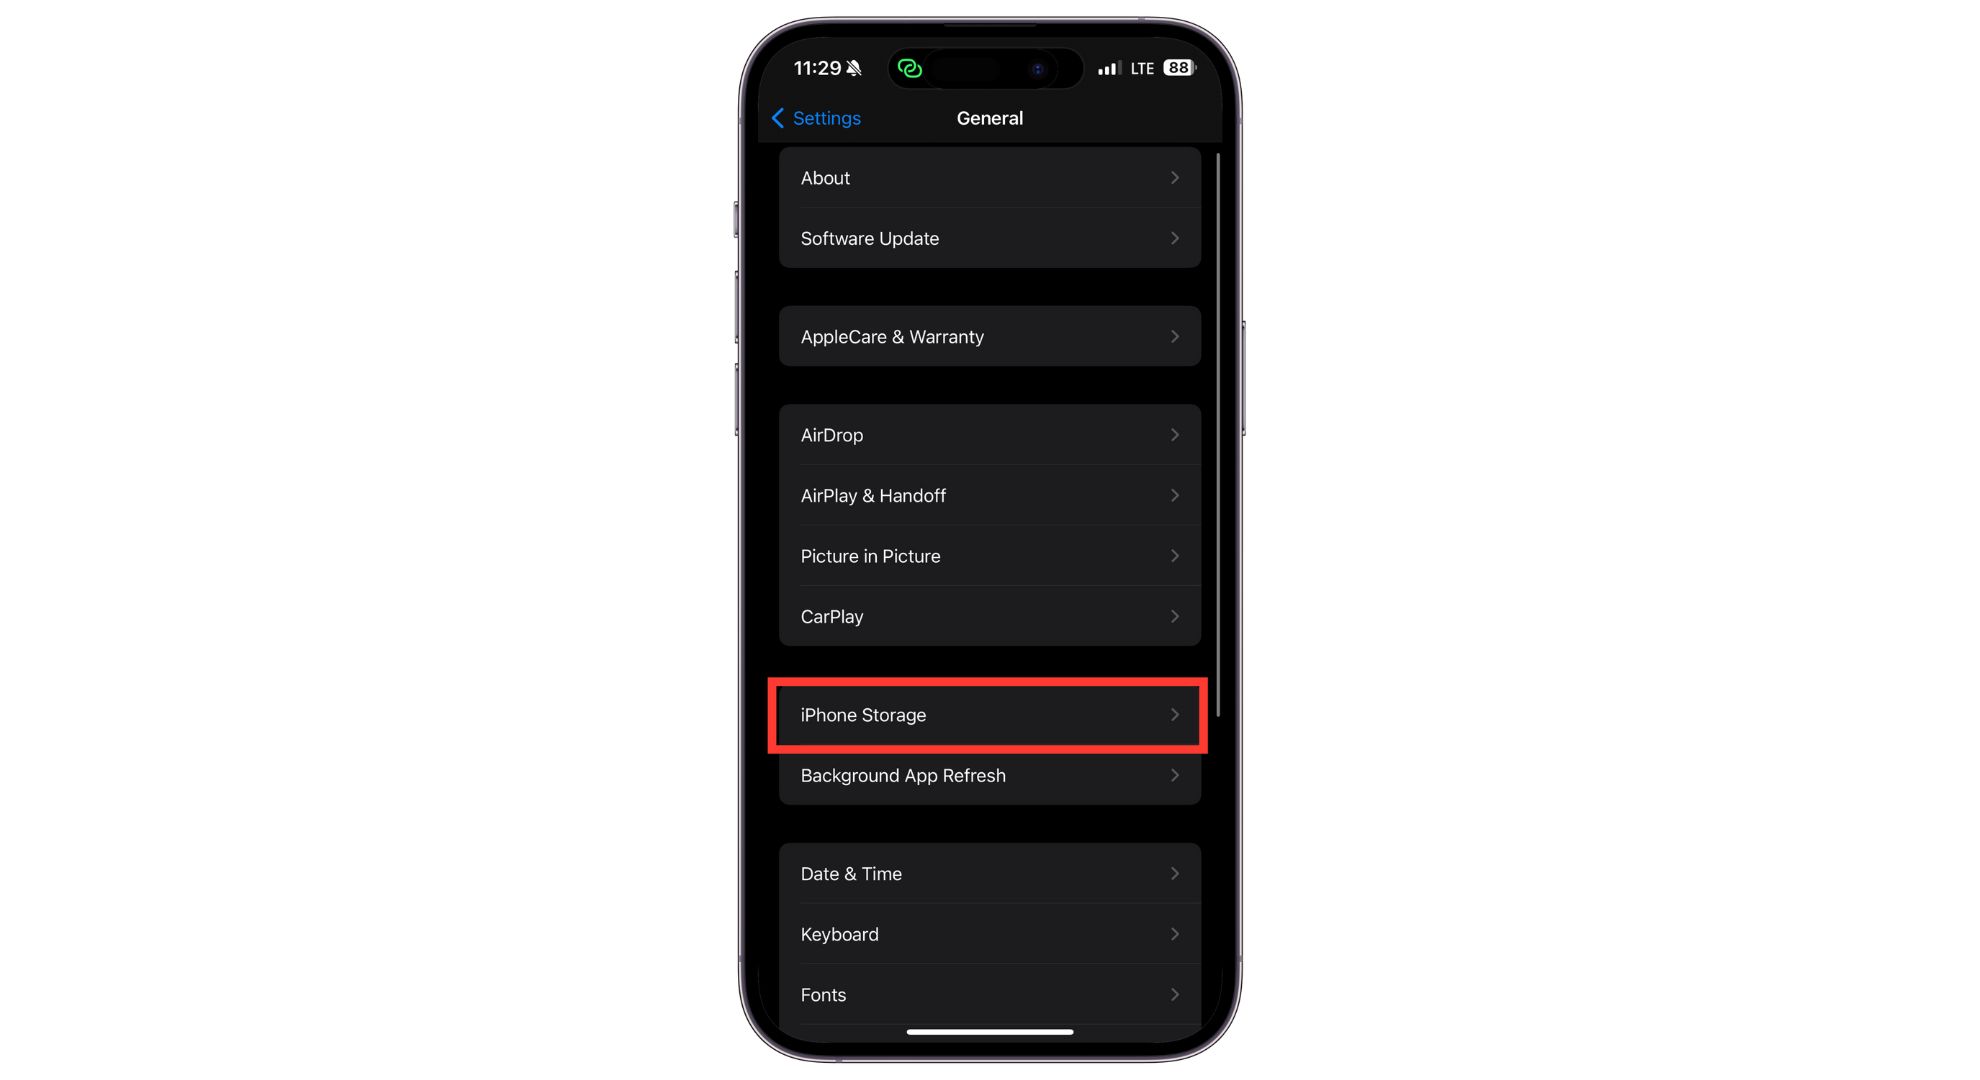
Tap iPhone Storage - Your device will then take a moment to calculate and display the storage space utilized by various categories.
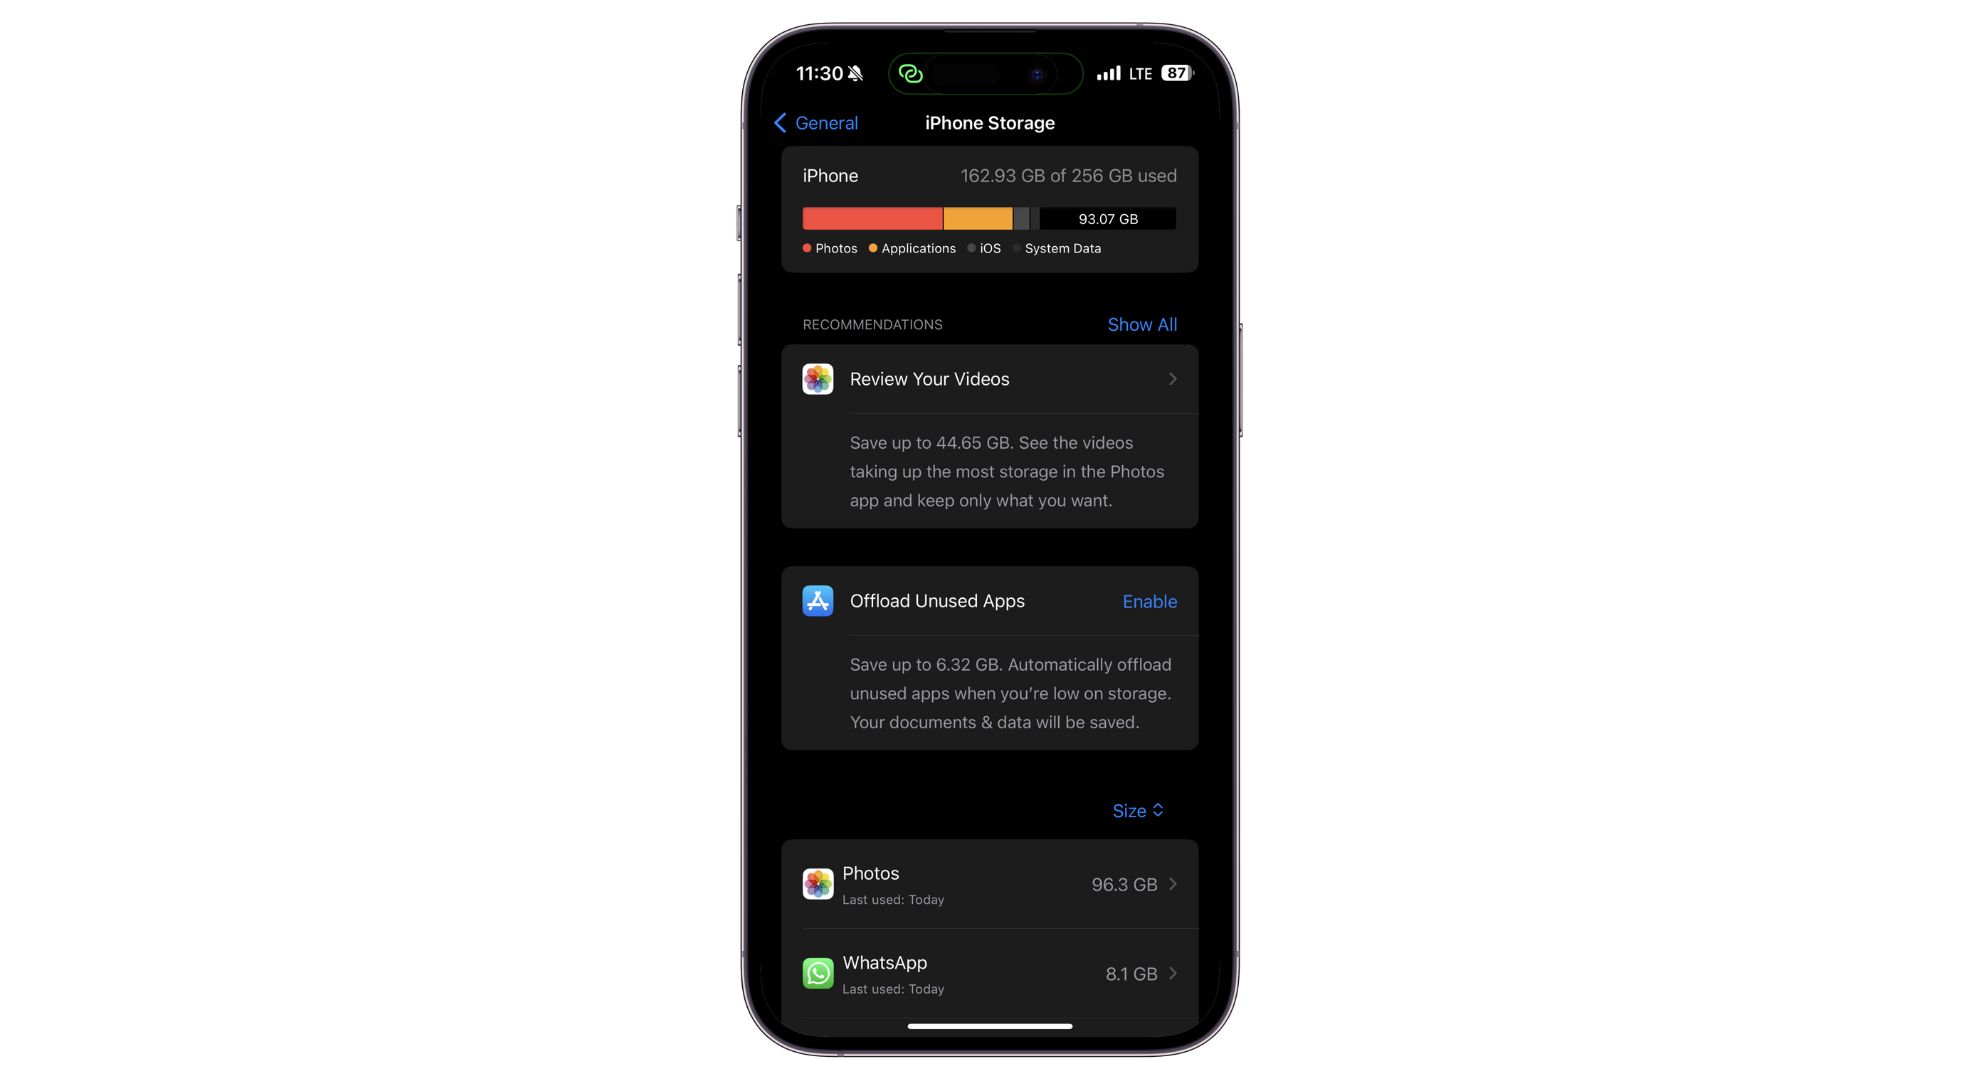
Your storage details
You can free up space by removing extra applications, photos, videos, music, and files. Aim to clear about 6 to 7 gigabytes of storage to ensure the update can proceed smoothly.
3. Hard Reset your iPhone
A software crash could be freezing your device and not allowing iOS updates. Performing a Hard Reset can reboot your iPhone without erasing data.
The procedure varies by model:
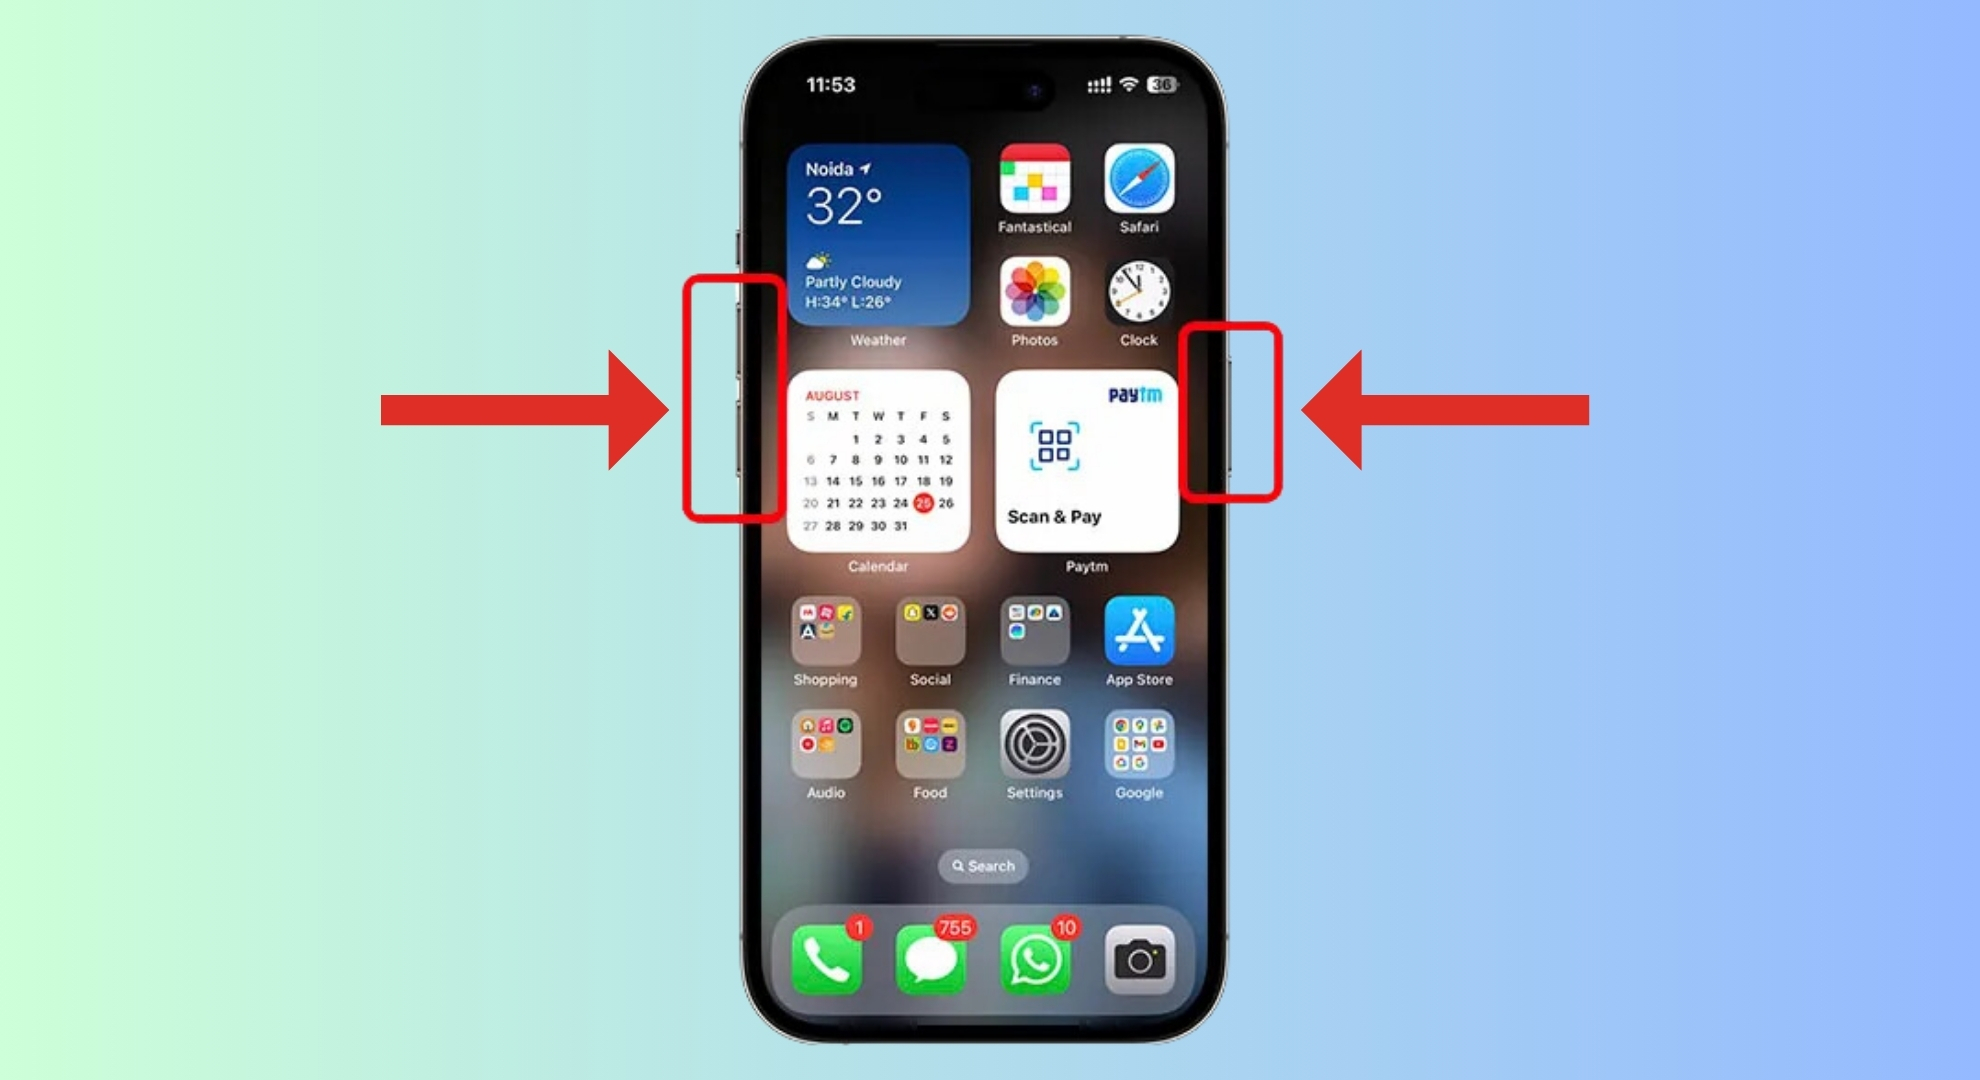
↪ For iPhone 15/14/13/12/11/X, and iPhone 8 series:
- Start by quickly pressing and then immediately releasing the “Volume Up” button. Proceed to do the same with the “Volume Down” button: press and release it.
- After that, press and hold the “Side Sleep/Wake” button. Continue holding until the Apple logo appears, then release the button.
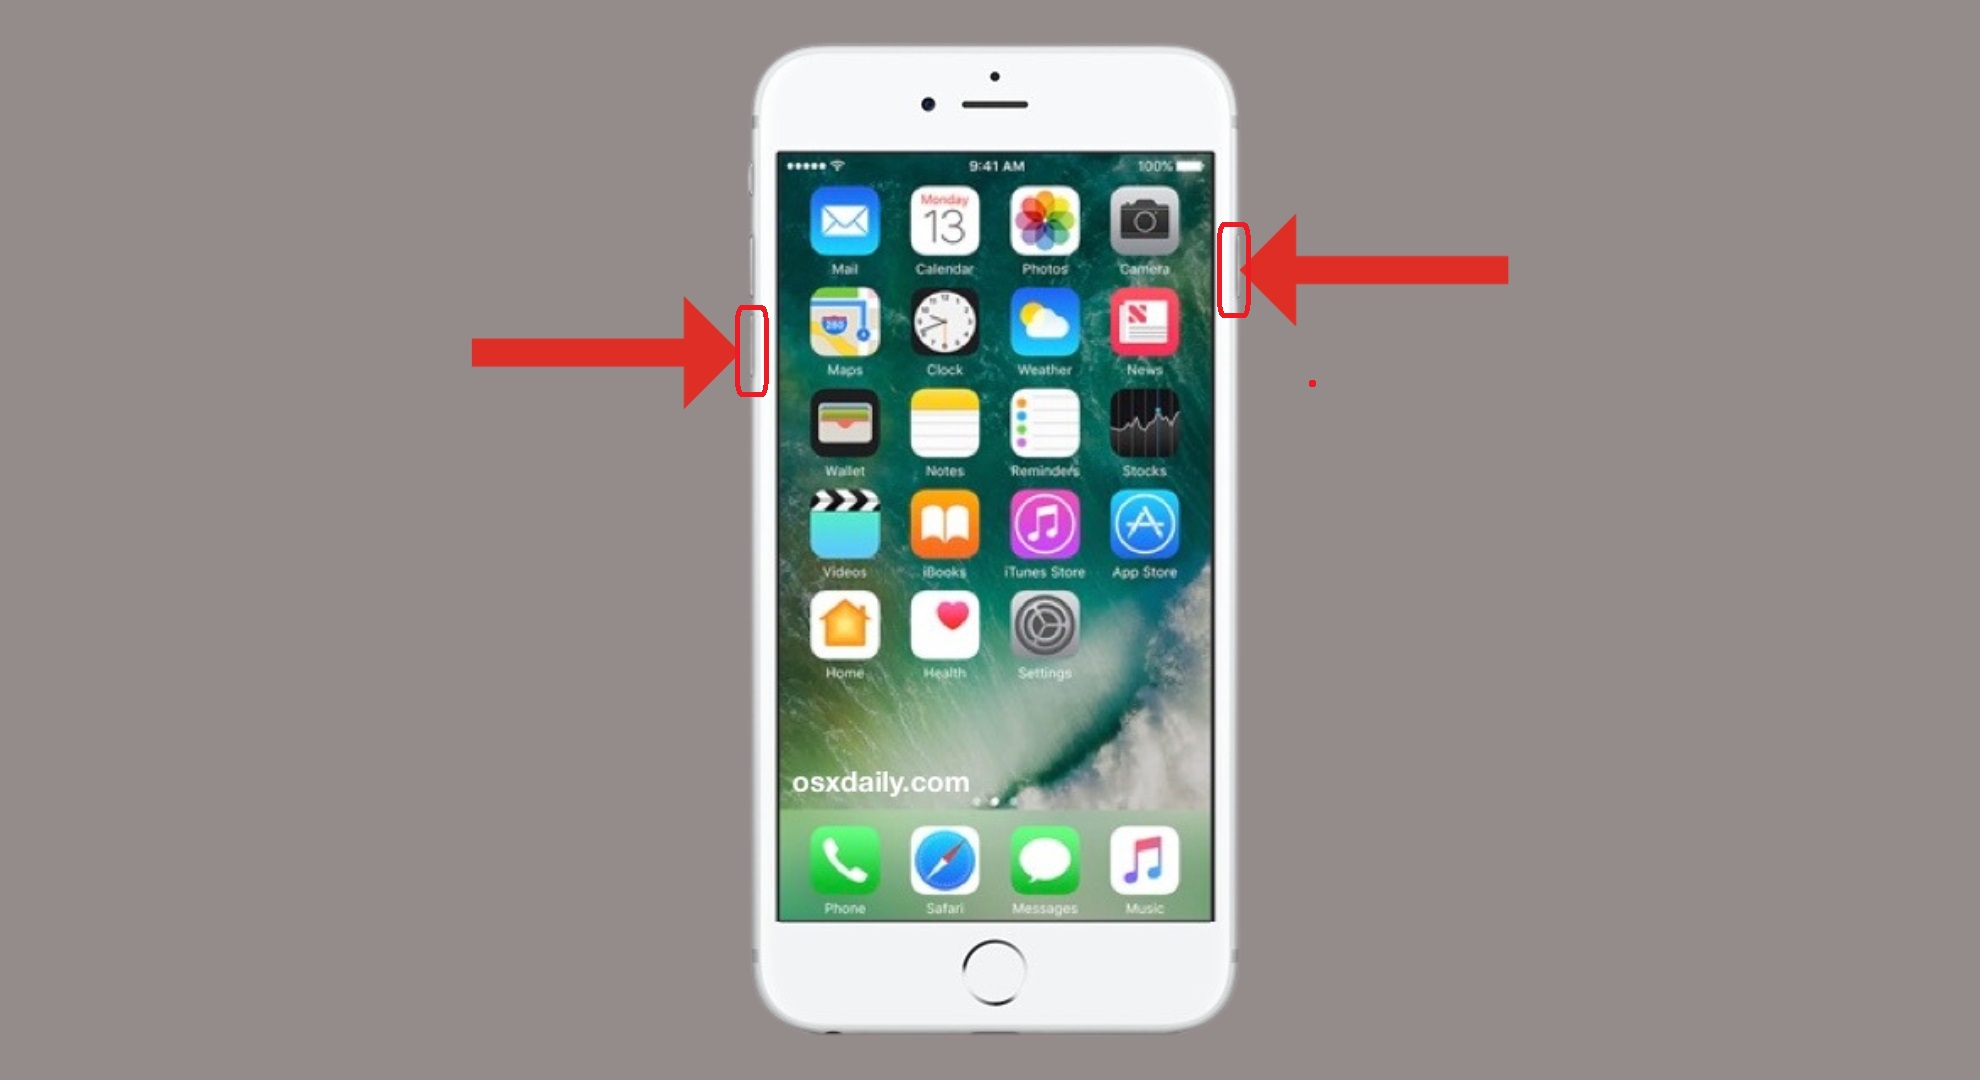
↪ For iPhone 7 or iPhone 7 Plus:
- Simultaneously press and hold the “Volume Down” button and the “Sleep/Wake” button.
- Continue to hold both buttons until the Apple logo is displayed on the screen, then release them.
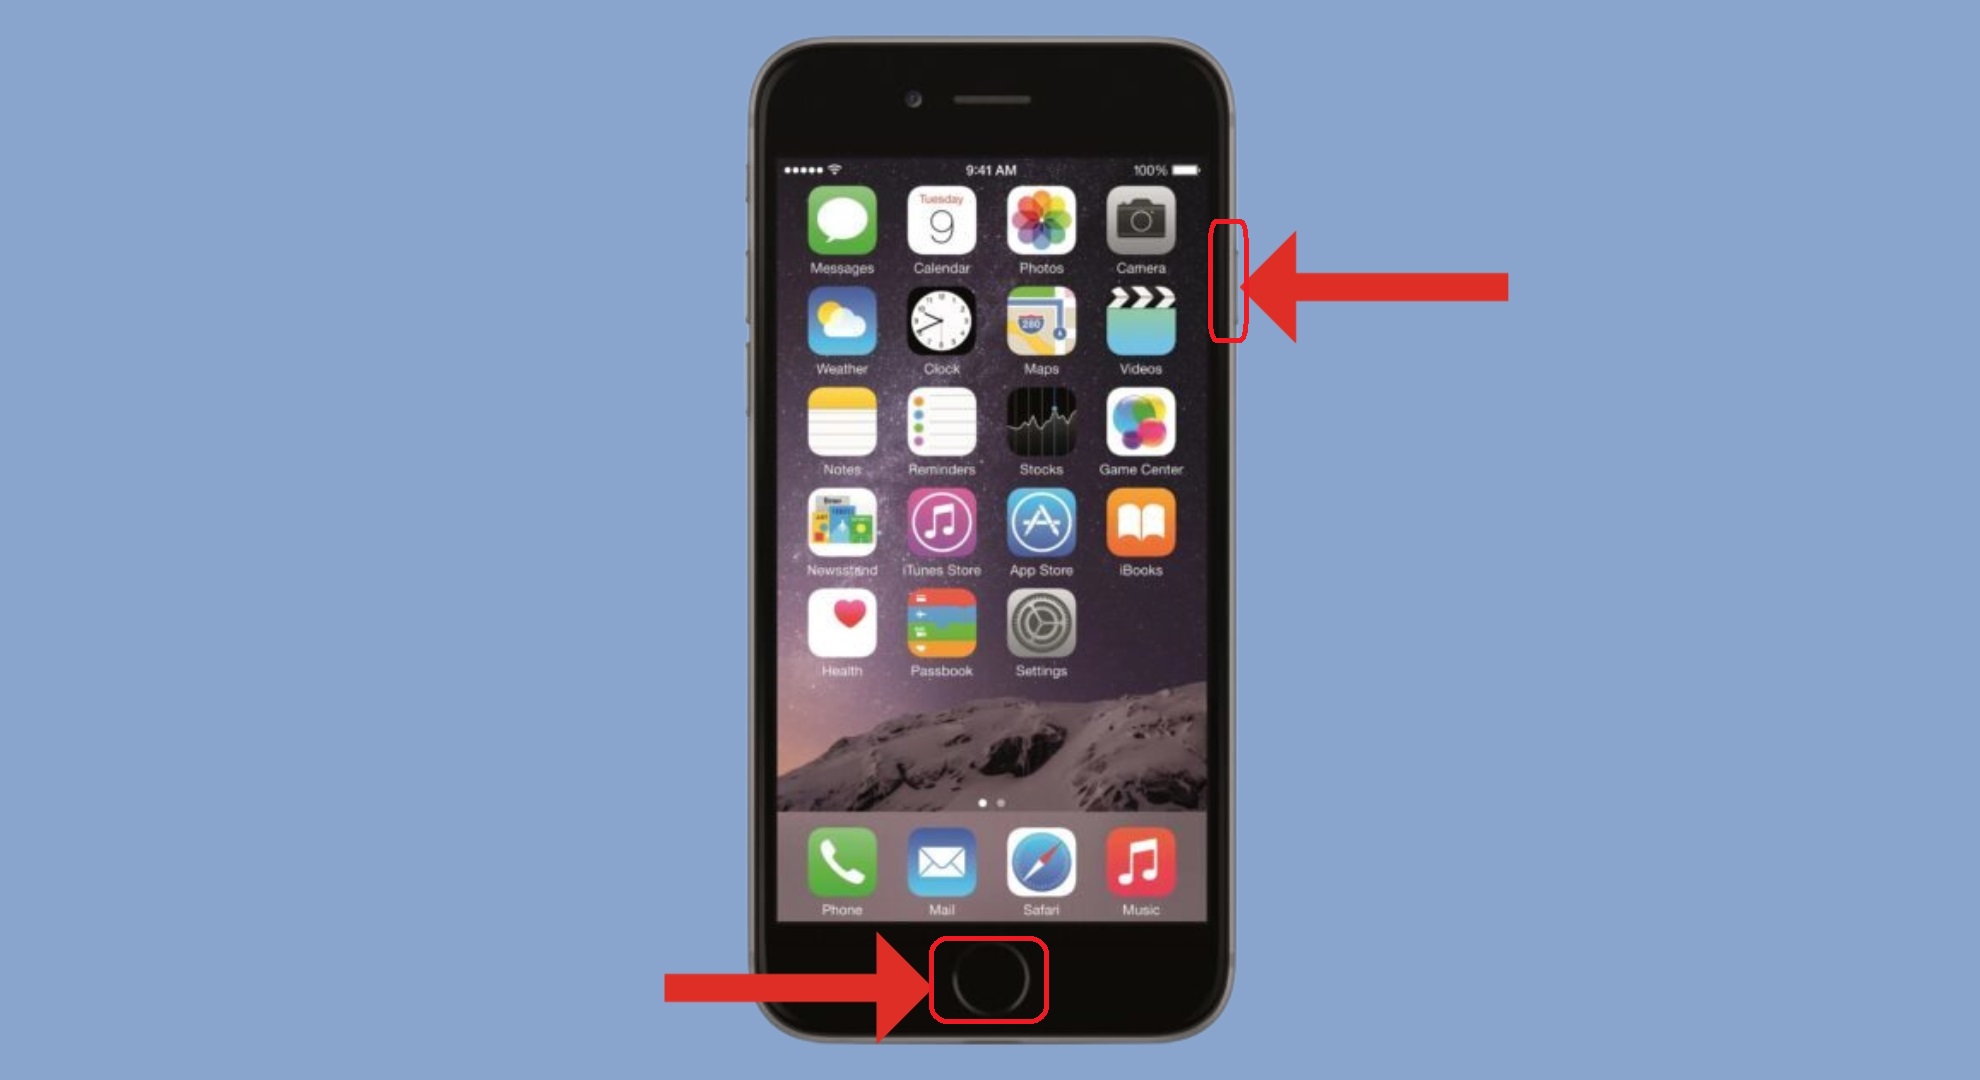
↪ For iPhone 6, iPhone SE, and older models:
- Press and hold down the “Sleep/Wake” button and the “Home” button at the same time.
- Keep holding both buttons until the Apple logo appears on the screen, then release both.
READ MORE: iPhone Force Restart Not Working? Try These 9 Easy Fixes ➜
4. Update iPhone with iTunes

Apple offers multiple methods to update your iOS devices. Besides the direct update through the Settings app, there’s an alternative method for those encountering difficulties. This involves using either iTunes (for Windows or older macOS versions) or Finder (for macOS Catalina and newer) on your computer to perform the iOS update.
This approach allows you to download the update onto your computer before installing it on your iPhone, which can be particularly useful if you’re experiencing issues with the update request directly from your device. Here’s how to proceed:
- Connect your iPhone to your computer and open either iTunes or Finder, depending on your operating system and click on the “Update” button to search for available updates for your iPhone.
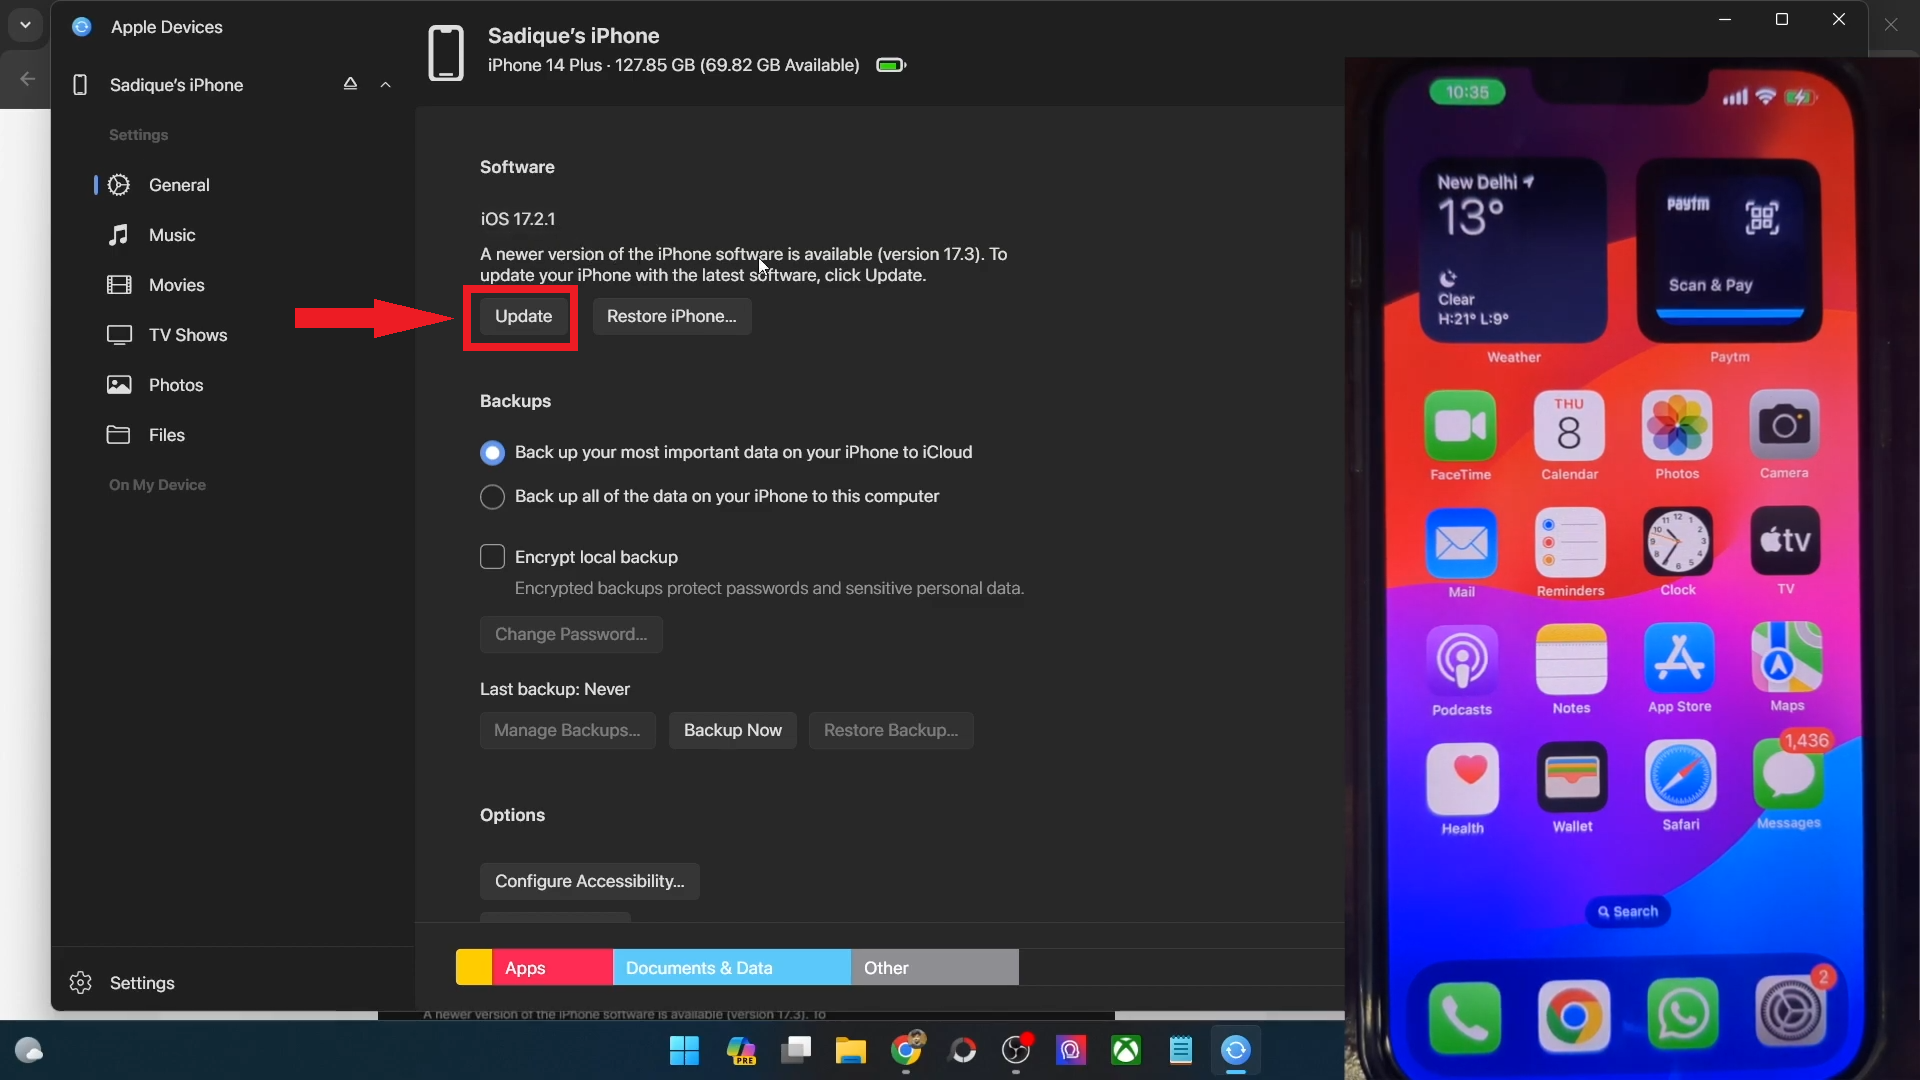
Click on Update Button - A new prompt will appear, click on “Update” again.
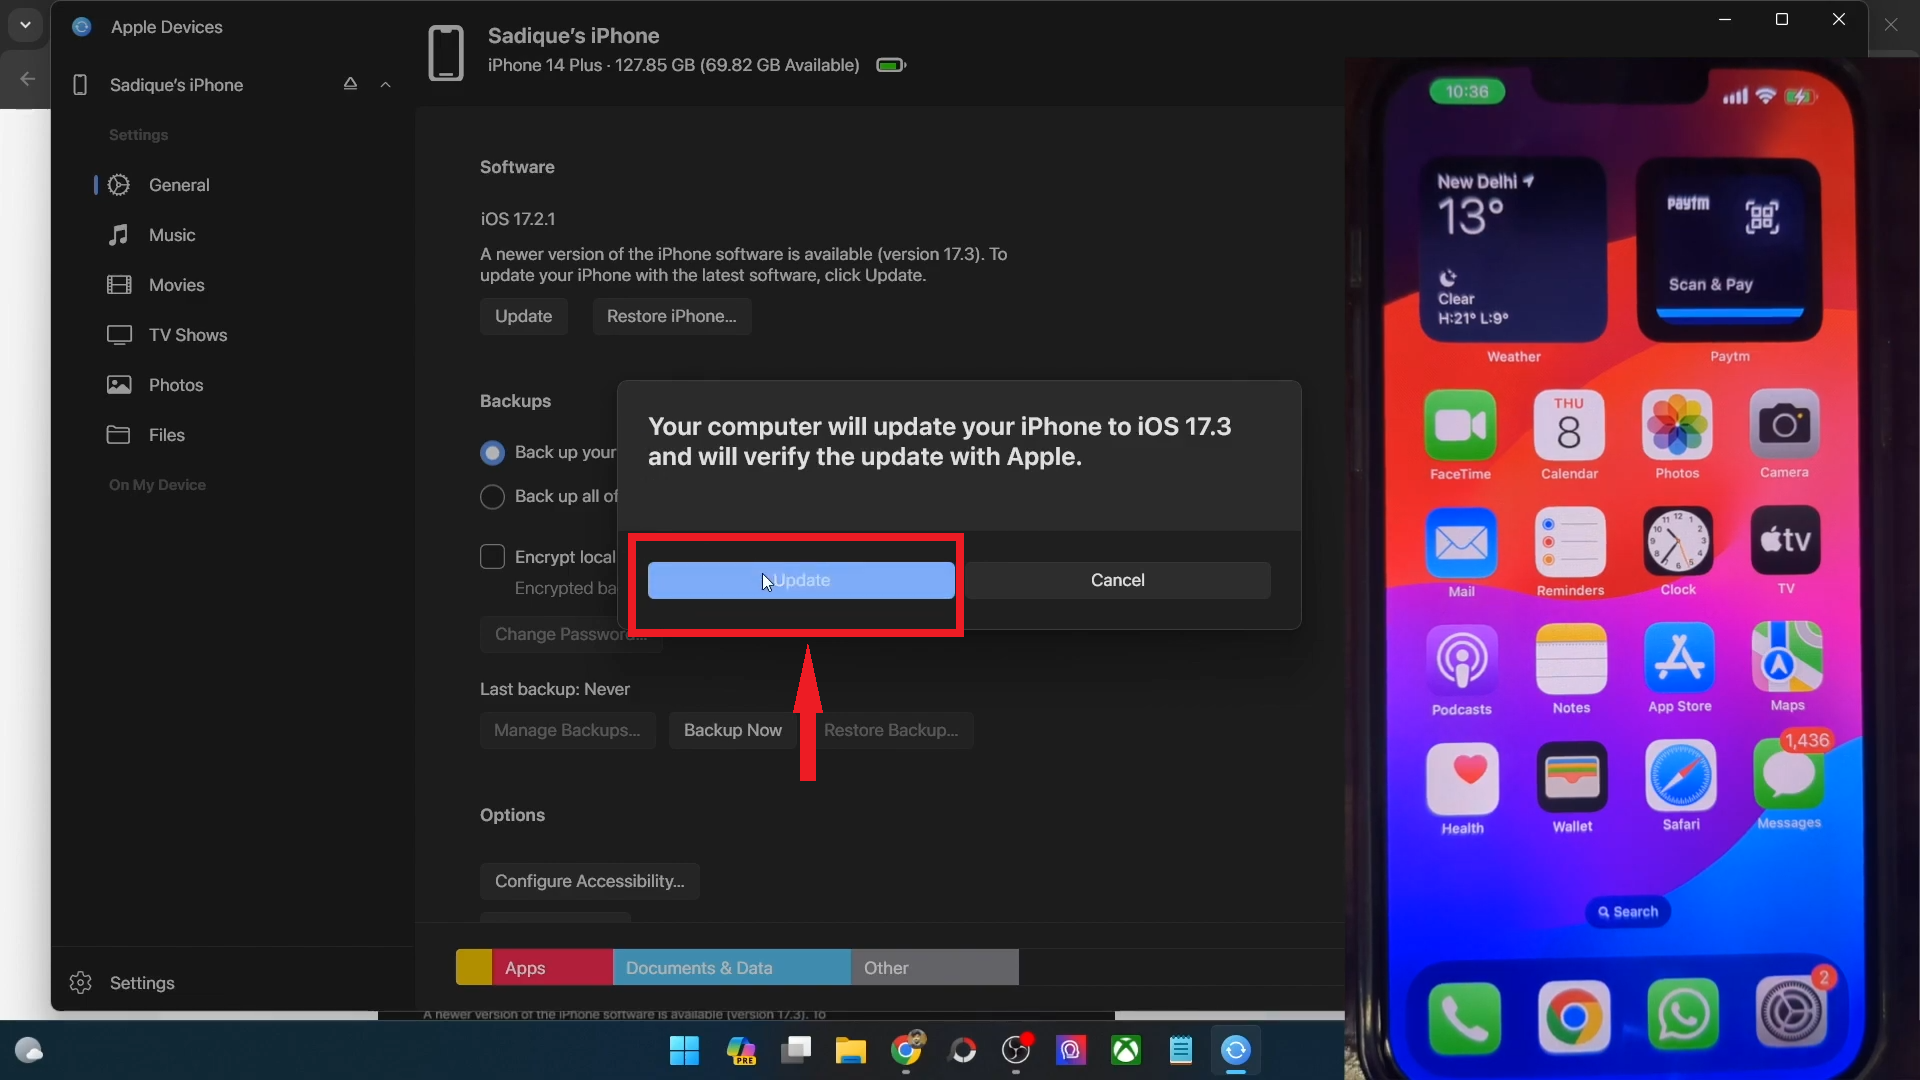
Click Update option again - Input your 6-digit passcode to proceed with the update.
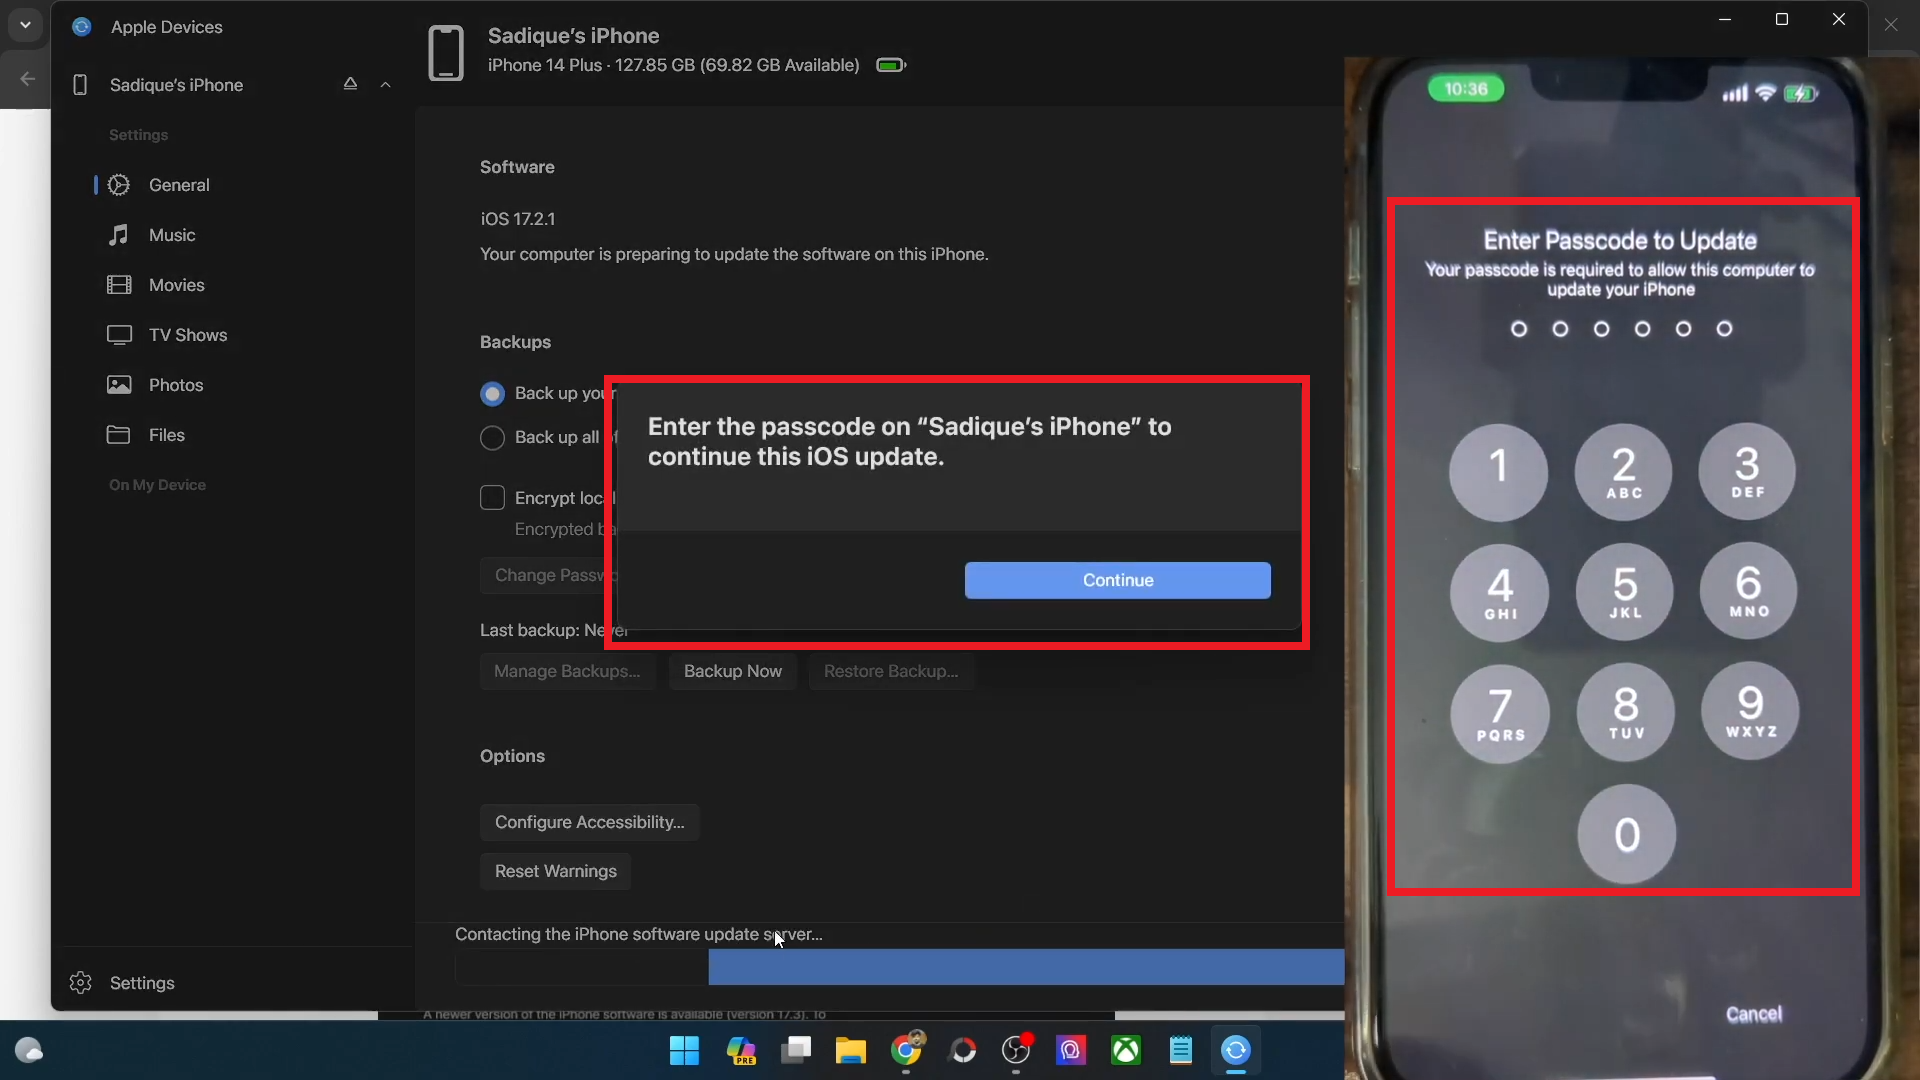
Enter your Passcode - The update process will start, and your iPhone will be updated.
Update will begin
Images sourced from Droidwin
5. Fix with iOS Repair Tool
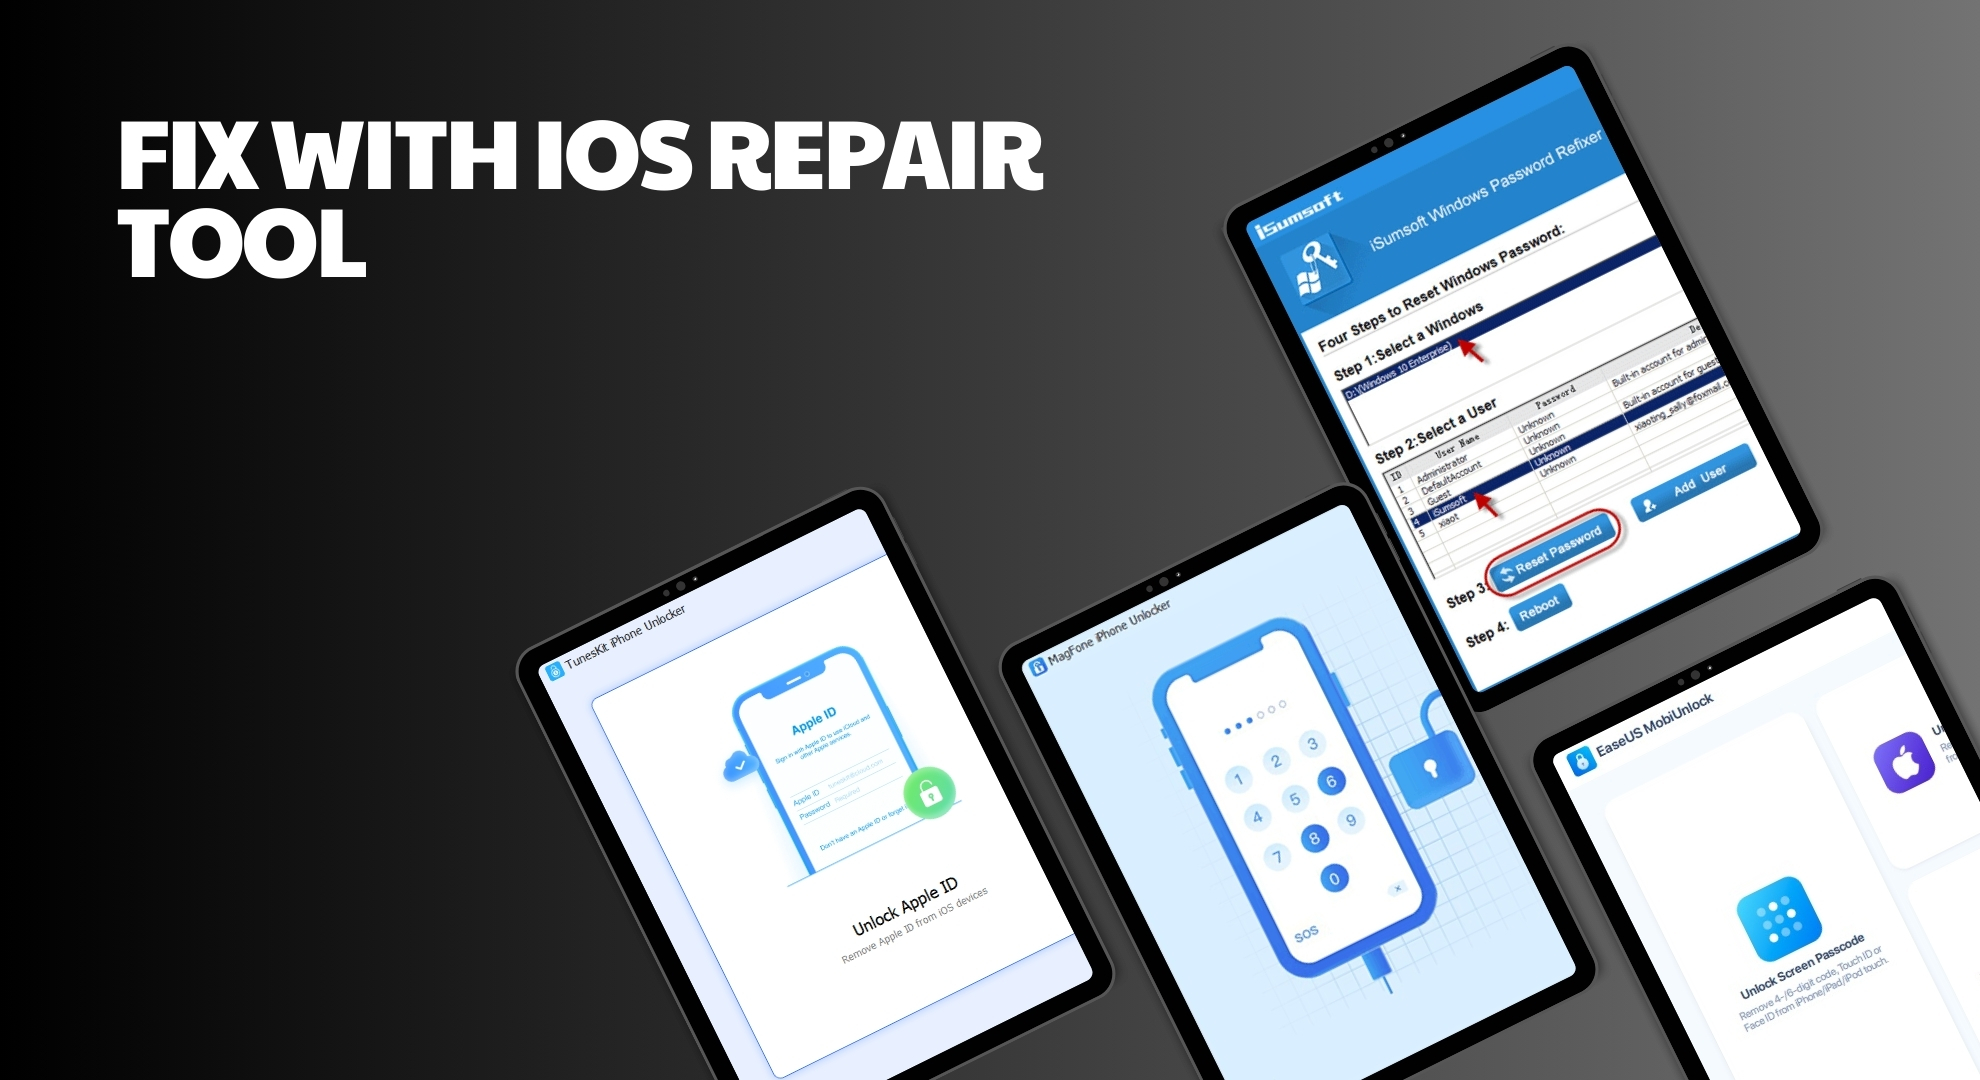
If the methods mentioned previously fail to resolve the iOS update requested issue on your device, it may be beneficial to explore tools such as MagFone, iSumsoft, TunesKit iPhone Unlocker, and EaseUS MobiUnlock. These applications offer a more user-friendly experience compared to iTunes.
These tools are specifically designed to assist with iOS update challenges, effectively addressing common problems like the persistent update requested error and other update-related issues on both iPhones and iPads.
Utilizing one of these tools can simplify the update process, helping you bypass glitches and smoothly update your device.
READ MORE: 20 Guaranteed Solutions To Fix iPhone Not Ringing Problem ➜
6. Reset all settings
If nothing else works, resetting all settings on your iPhone can be a useful step to troubleshoot various issues, including this one. Here’s how you can reset all settings on your iPhone:
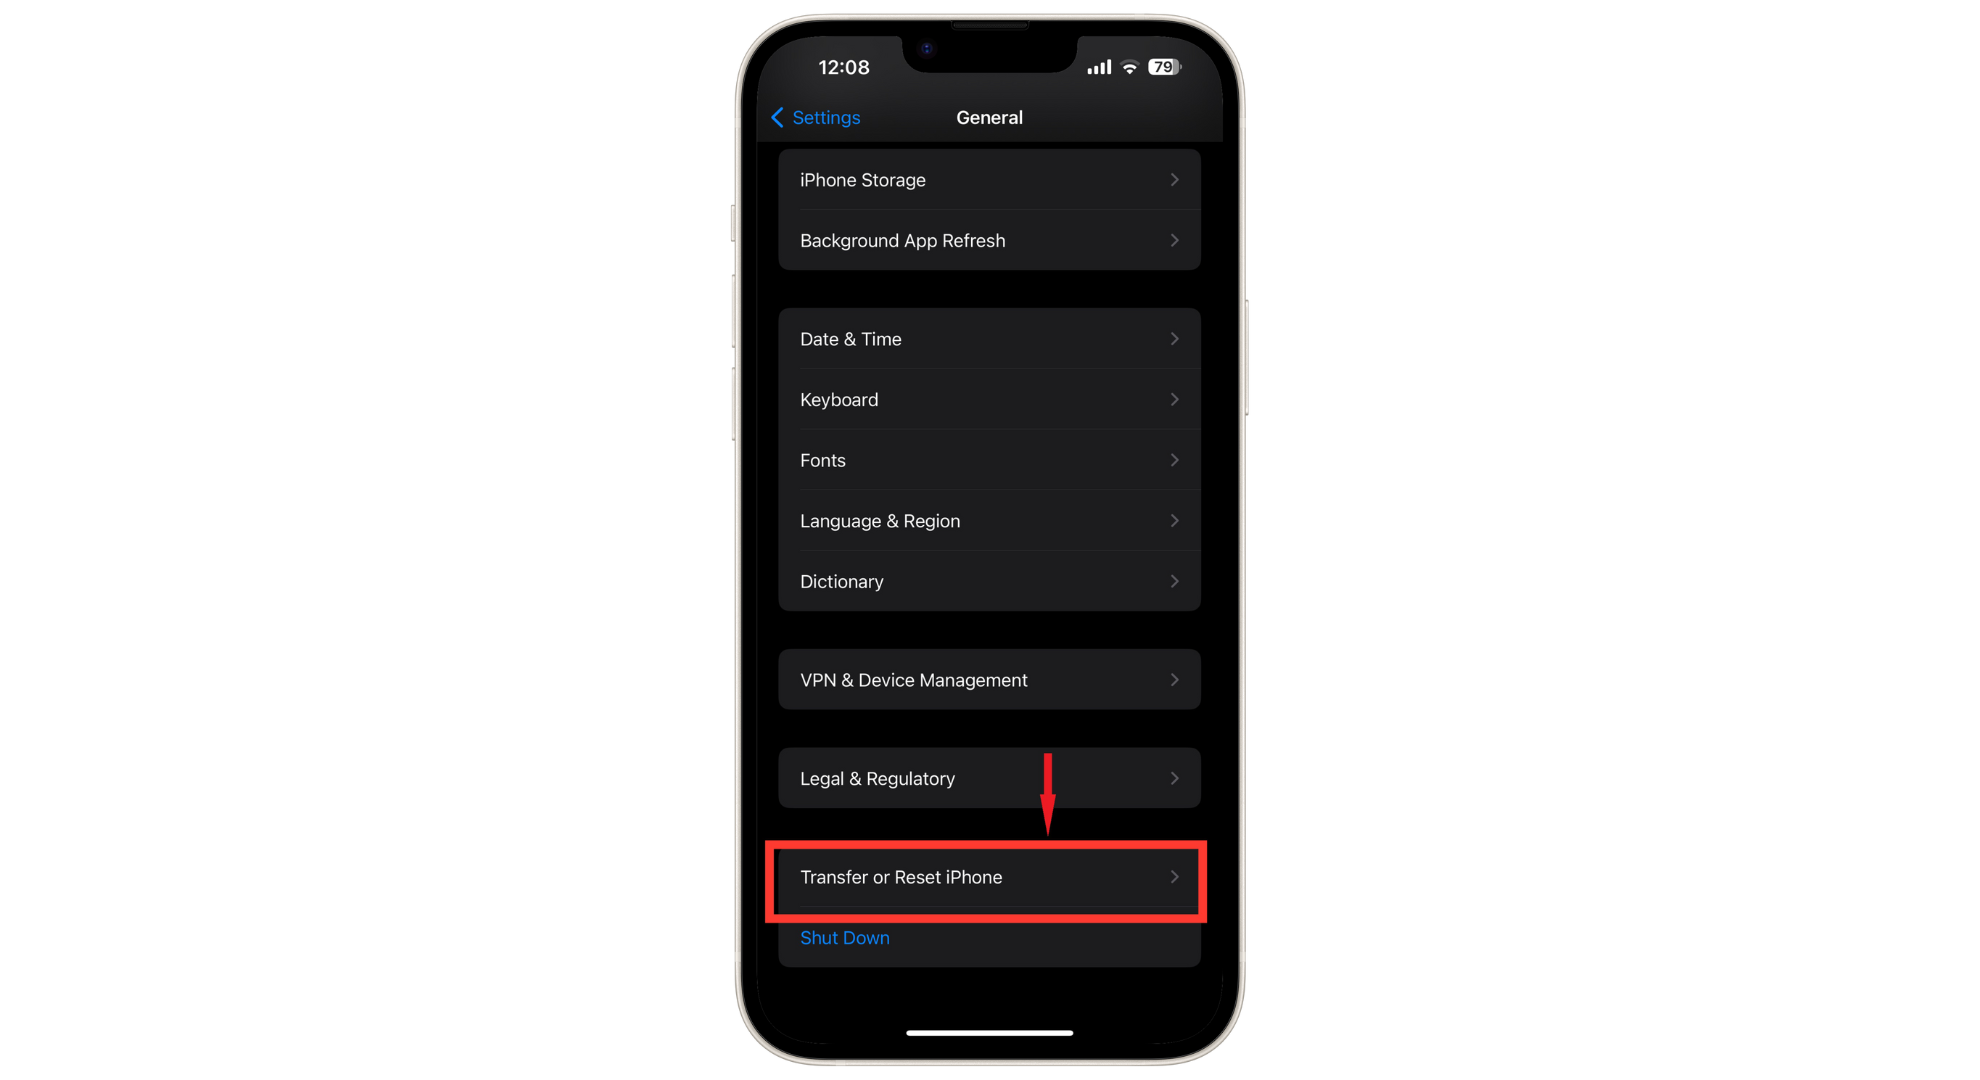
- Open the Settings app on your iPhone. Scroll down and tap on “General.”
Tap General - Scroll to the bottom and select “Transfer or Reset iPhone.” On older iOS versions, you might see “Reset” directly under General.
Tap on Transfer or Reset iPhone - Tap on “Reset.”
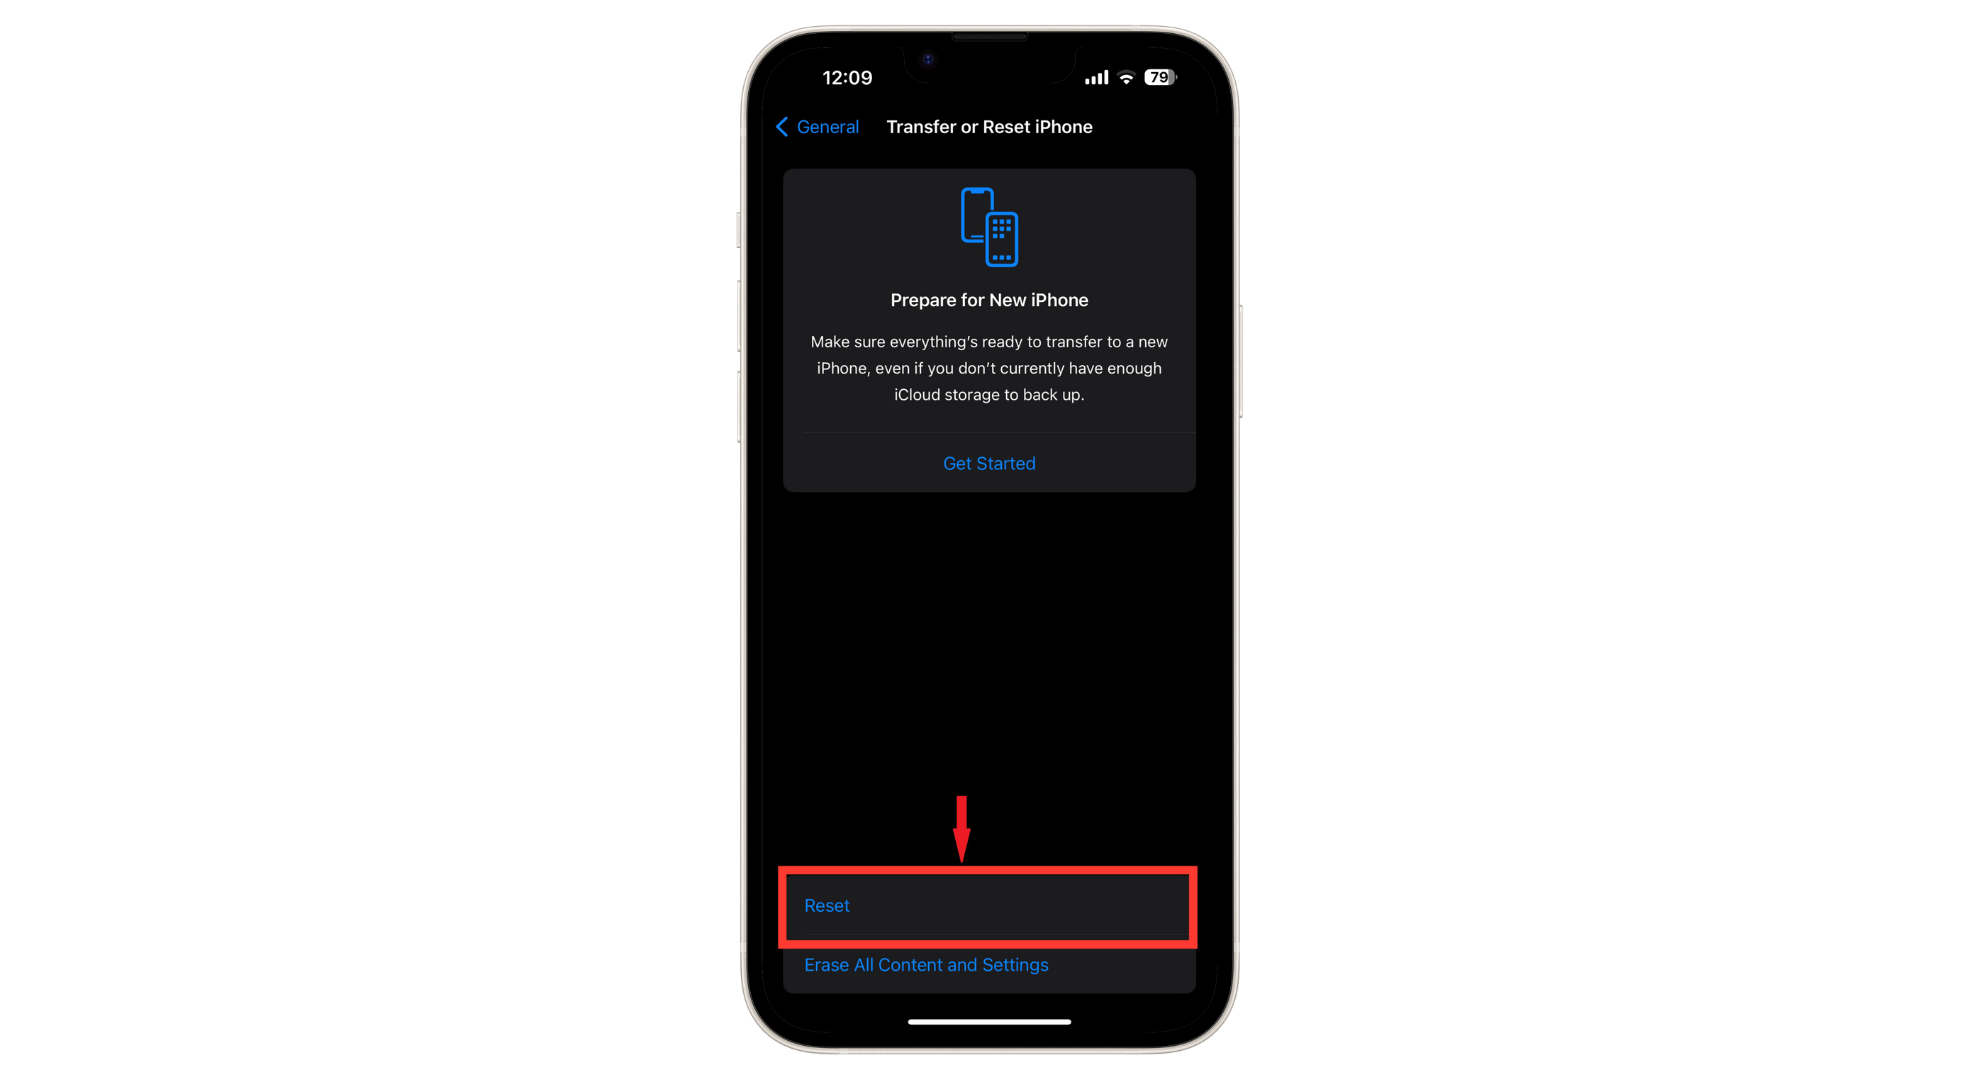
Tap Reset - Choose “Reset all settings” from the menu options. This option will reset all system settings to their defaults, including Wi-Fi networks and passwords, privacy settings, and all customizations like wallpaper and home screen layout, but it won’t delete your apps or personal data.
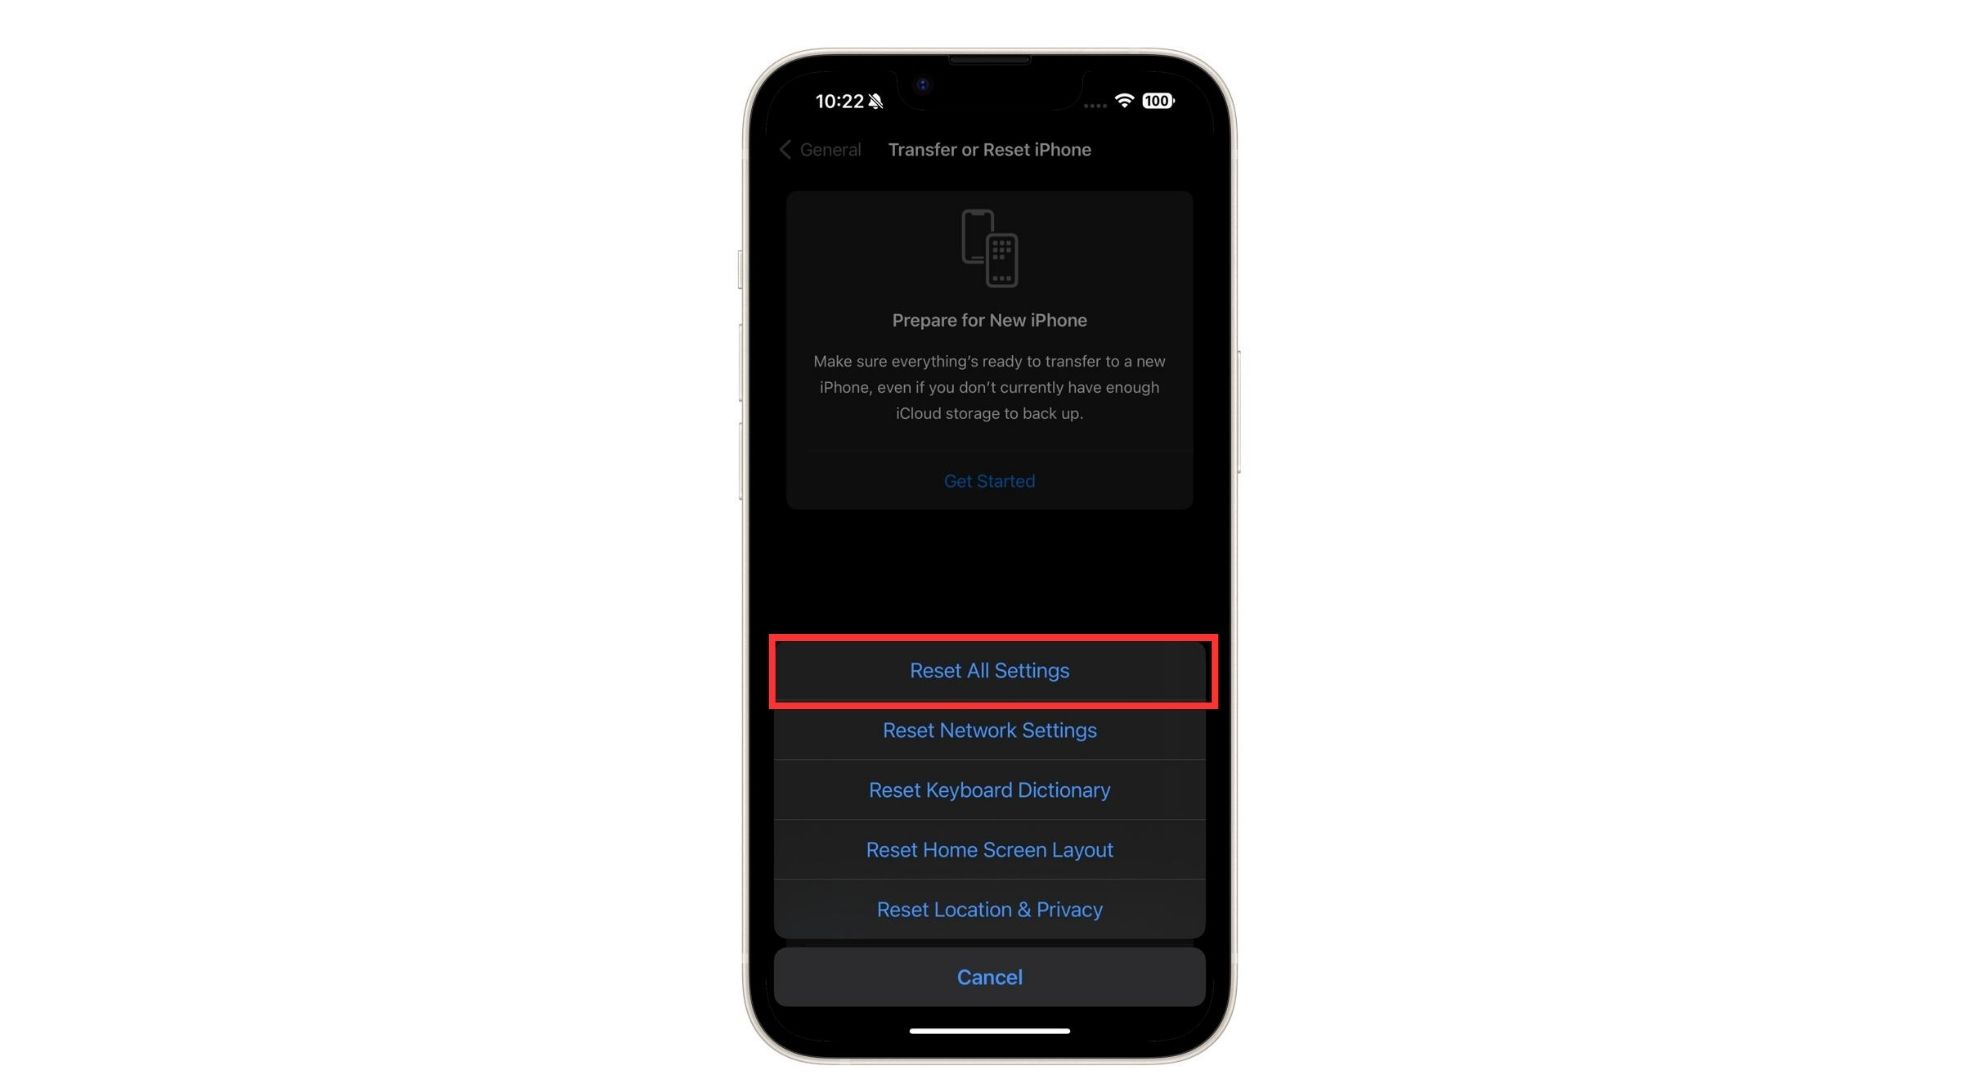
Tap Reset All Settings - You will be prompted to enter your passcode if you have one set up. Enter it to proceed.

Enter the passcode
Your iPhone will then begin the reset process, which may take a few minutes. Once completed, your device will restart with all system settings returned to their original defaults. This process can often resolve remaining issues by providing a fresh start for your device’s settings.
READ MORE: How to Reset an iPhone without Password? ➜
How to properly manage iOS updates?
Managing iOS updates effectively is crucial for maintaining the performance, security, and functionality of your iPhone or iPad. Proper management ensures that your device benefits from the latest features and security patches without disrupting your daily usage.
Here are some tips on how to properly manage iOS updates:
- Stay informed: Keep well-informed of upcoming updates by checking tech news or the Apple website. Understanding what each update offers helps you decide its urgency for your device.
- Check compatibility: Ensure your device supports the latest update. Older models may not be compatible with newer iOS versions. Like you can not update to iOS 17 if you have an iPhone X or lower models.
- Backup your device: Before updating, backup your device using iCloud or iTunes to safeguard your data.
- Connect to Wi-Fi: Download updates over a Wi-Fi connection to avoid using your data allowance and ensure a stable download.
- Charge your device: Ensure your device has enough battery life to complete the update or keep it connected to a charger during the process.
READ MORE: iOS 16 Jailbreak – Current Status & Everything to Know [2024] ➜
Final thoughts
Efficiently managing iOS updates is key to enhancing your device’s performance and security. By staying informed, ensuring compatibility, and preparing your device properly, you can make the most of new features and improvements.
A mindful approach to updates, including regular backups and adequate storage management, ensures a smooth transition to the latest iOS version, keeping your device up-to-date and running optimally.
FAQs
The required storage space varies depending on your current iOS version and iPhone model. Minor updates may need around 1.8GB, while major version leaps could require upwards of 5GB. Ensure you have sufficient free space before attempting the iOS 17 update.
Apple typically releases major iOS updates annually, with minor updates and bug fixes occurring throughout the year based on necessity.
Reverting to an older iOS version is generally not supported by Apple. It’s advisable to thoroughly consider updates before installation.
No, iOS updates are designed to upgrade your system software without deleting personal data. However, it’s recommended to back up your device before updating it as a precaution.
Reviewed by Huzaifa Haroon