FIX: Resetting This PC Stuck at 37%
There have been several reports of users that the ‘Resetting this PC’ functionality on their Windows operating system has been stuck at 37%.
In some cases, the problem may be temporary, and it will resolve after a few hours, but it is also possible that it will get stuck forever, in which case you need to fix it. There have been quite a few methods that have helped Windows users during this process, and we have listed them all below. Let’s get right into it!
Let the Screen Run For a Few Hours
Apparently, the process is quite slow in some cases, and some users report that leaving the process running for a few hours actually helped to fix the resetting issue. This is why we recommend leaving your PC overnight to let the process finish.
In spite of being stuck at a certain percentage, if the process finishes, the problem is resolved. However, if the screen is still stuck at the same percentage even after leaving it overnight or you do not want to wait this long, jump to the next method below.
Perform a Hard Shut Down
If you have waited for a few hours already, you can stop the resetting process by performing a hard shut down. Here is how you can do that:
- Press the shut down button for 5 – 10 seconds.
- Wait for a few seconds and boot your PC again. Upon boot, Windows will either complete the reset or roll it back.
- If it rolls back, you can start another reset. To do so, click on the Power icon on your screen.
- Click on Restart while holding the Shift key. This will boot the PC into the Windows Recovery Environment.
- In the Recovery Environment, select Troubleshoot.
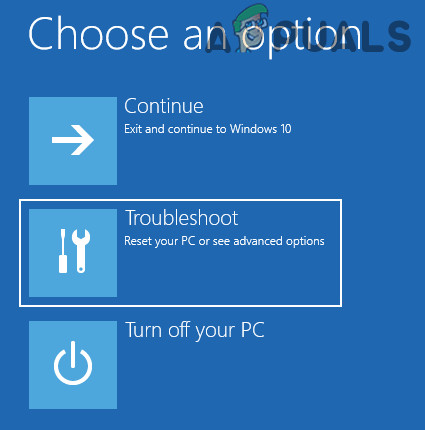
Open Troubleshoot in the Windows Recovery Environment - Then, click on Advanced Options.
- Finally, select Reset this PC. From here, you can either choose to keep or delete your files.
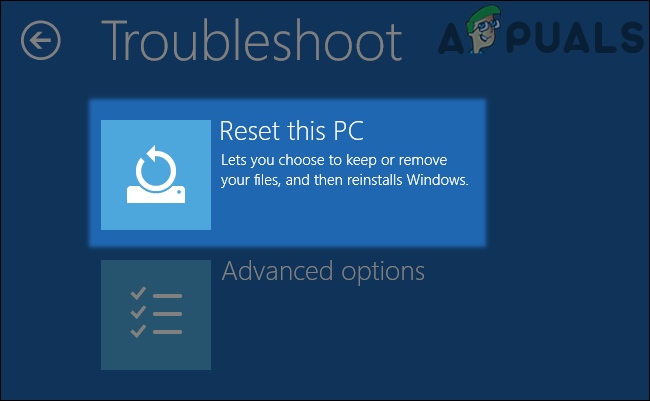
Click on Reset This PC - Once done, click Reset.
Boot with a Bootable USB
Multiple users reported that this method was effective for them for fixing the resetting problem. Using the Media Creation Tool, you can create a bootable USB drive that will allow you to perform a full clean install of your Windows operating system.
Here is what you need to do:
- Download the Media Creation Tool from Microsoft’s official website.
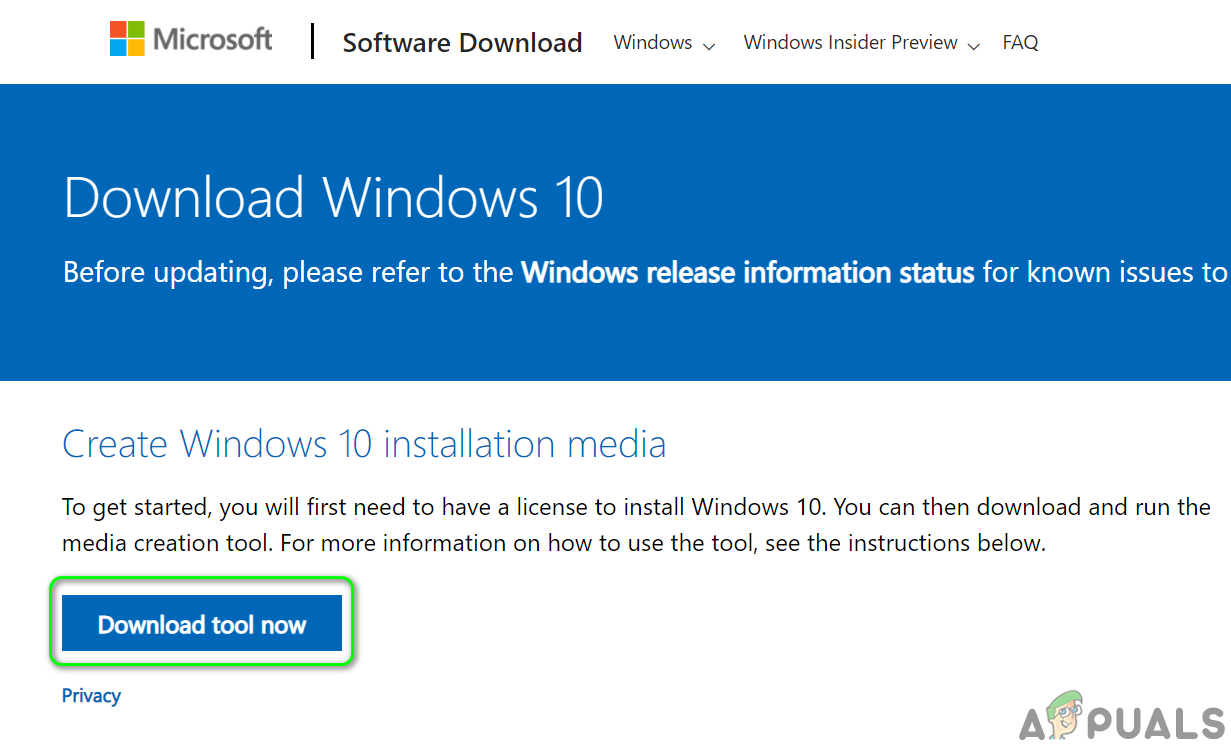
Download Media Creation Tool Now - Double-click on the newly-downloaded file called MediaCreationTool.exe to launch the tool. Click Accept.
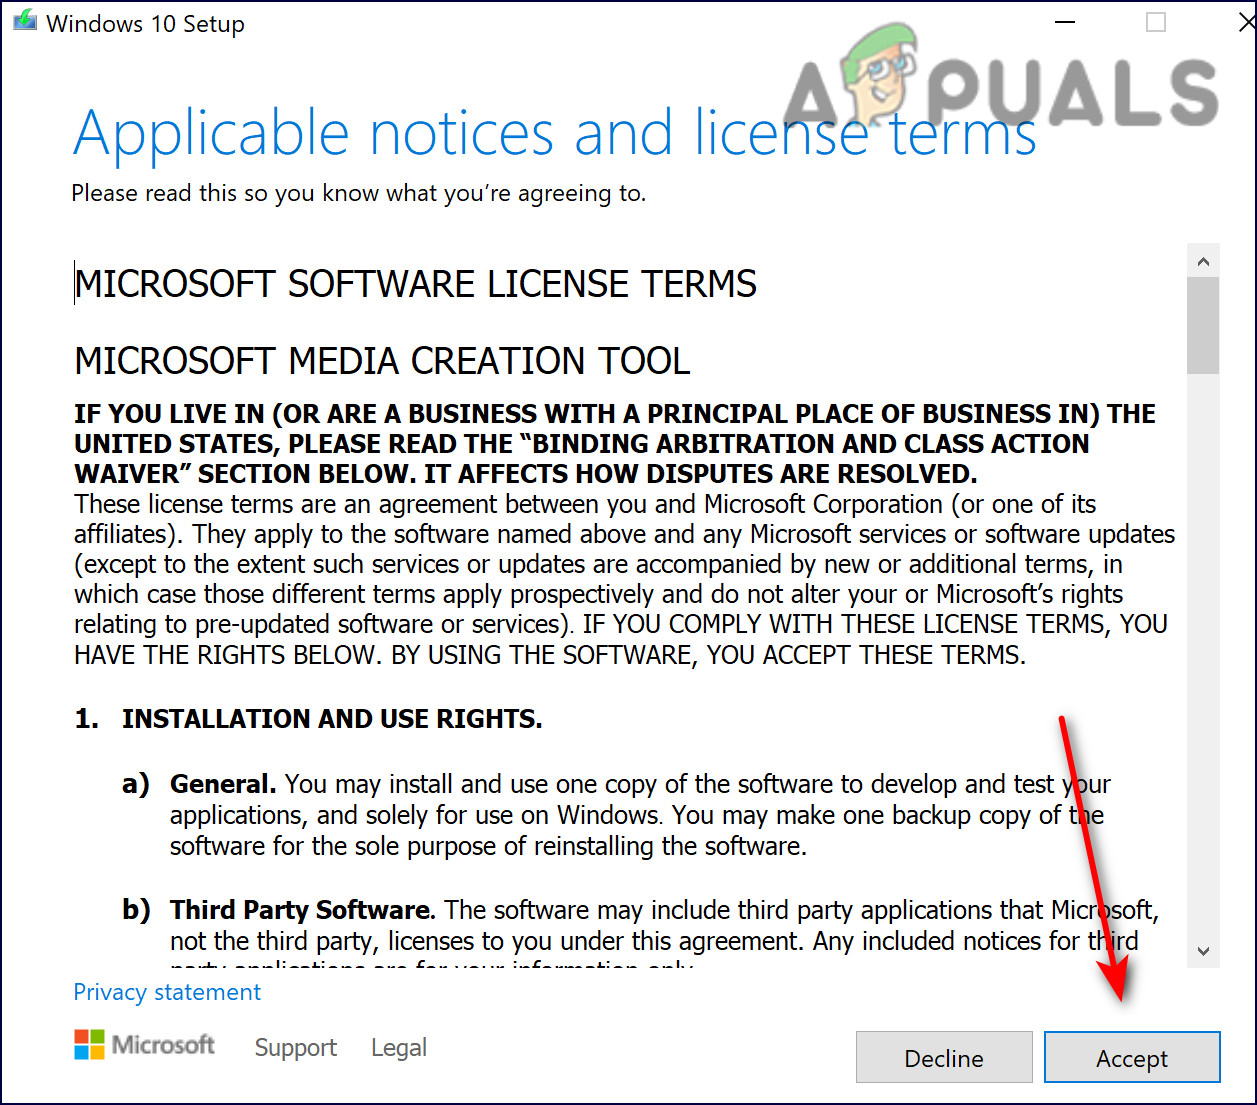
Accept download terms - Select the Create installation media (USB flash drive, DVD, or ISO file) for another PC option from the first screen displayed after launching the tool.
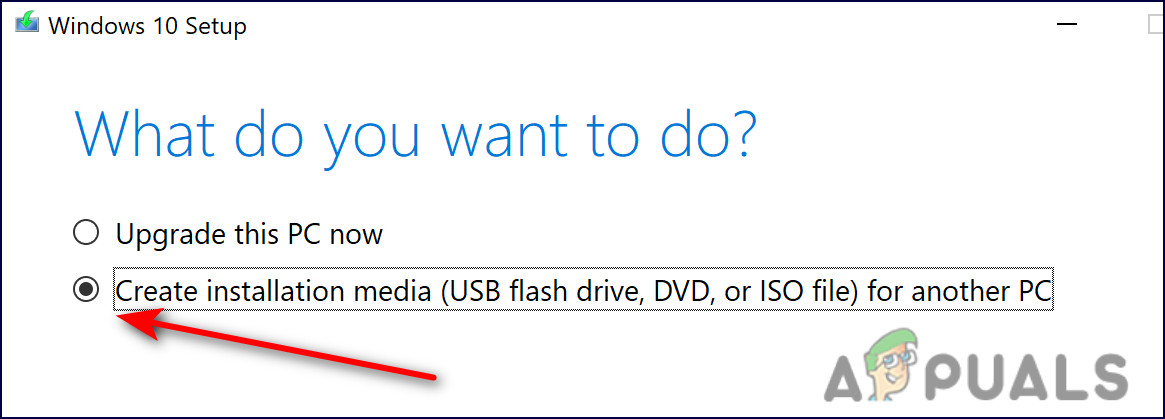
Select create installation media - It will automatically select the language, architecture, and edition of the bootable drive based on your computer configuration. You can also clear the ‘Use the recommended options for this PC’ setting if the computer you want to connect the USB to has separate settings.
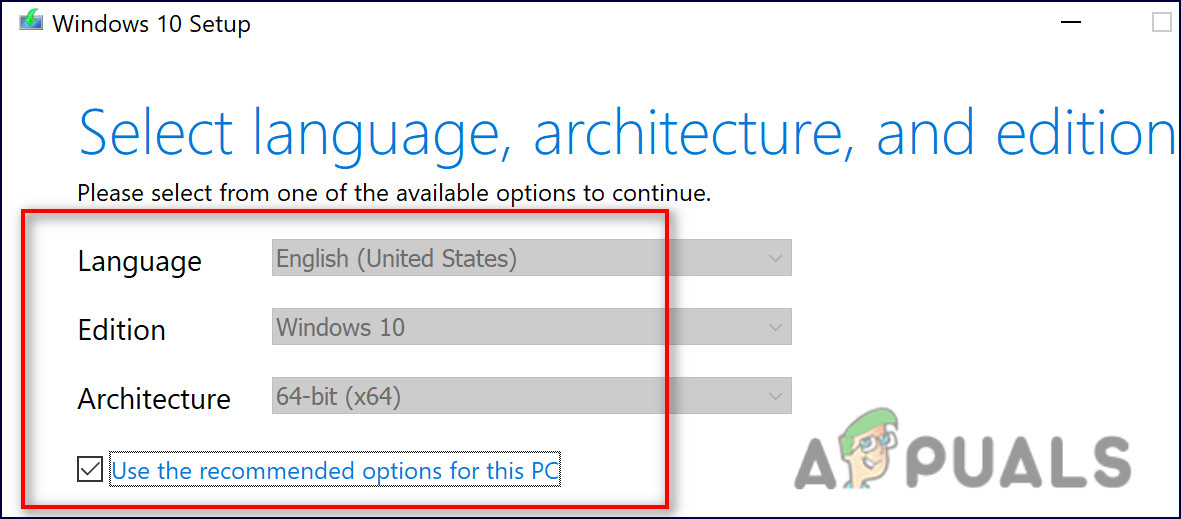
Media creation tool language-setup - Click Next and in the next window, select the USB flash drive option when prompted to choose between USB or DVD.
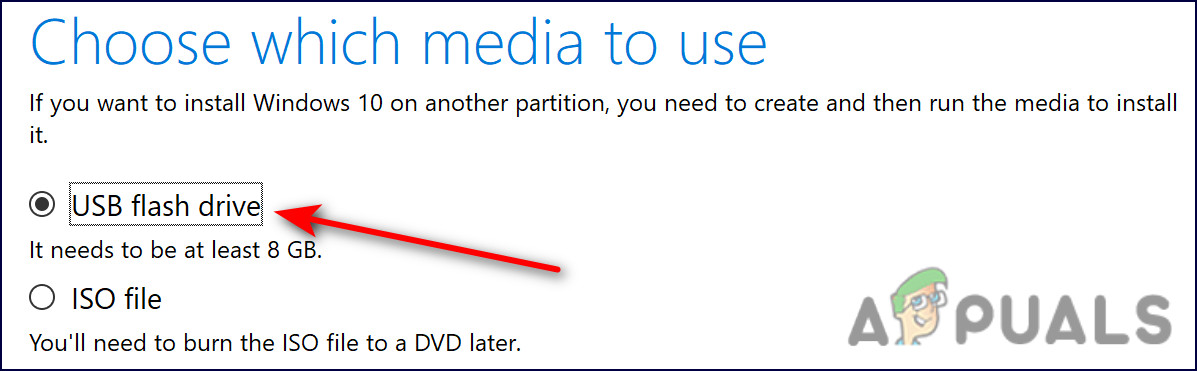
Select USB flash drive - Click Next and pick the removable drive that displays the storage devices connected to your computer from the list of options available.
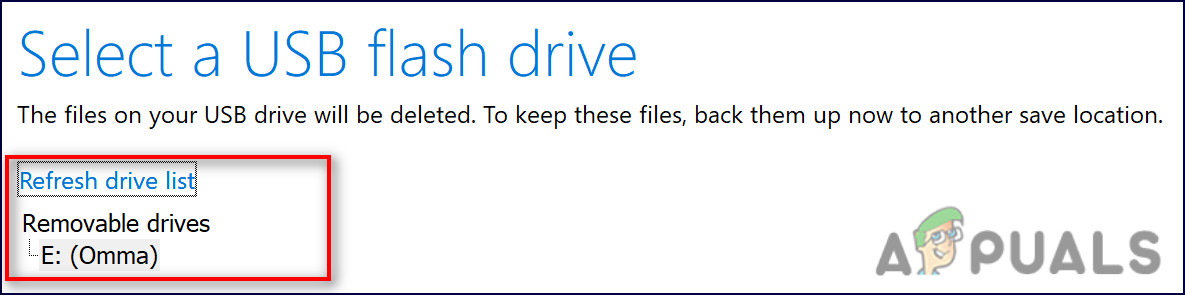
Locate the USB flash drive - Click Next to continue and the Media Creation Tool will start downloading the files needed for your installation of Windows 10, and then it will create the bootable media, which should work with most legacy BIOS devices and with the newer ones that use UEFI.
Once you create a bootable USB, you can use it to boot your computer. A bootable USB is better than a DVD because it is easier quicker to use. After you have performed the steps mentioned above, proceed with the next listed below to resolve the resetting issue:
- Once you’ve followed the steps above, turn on your computer and insert a bootable Windows 10 DVD or USB drive that you created previously.
- Restart your computer after inserting the drive and boot from it.
- You should be prompted to enter the language, time, and date settings in the Windows Setup window.
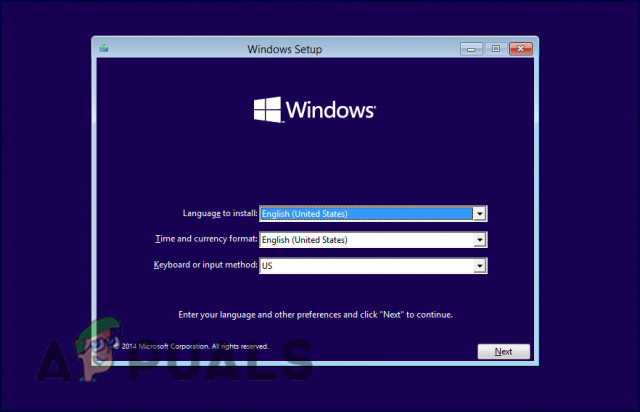
Choose language boot settings - After that, choose Repair your computer.
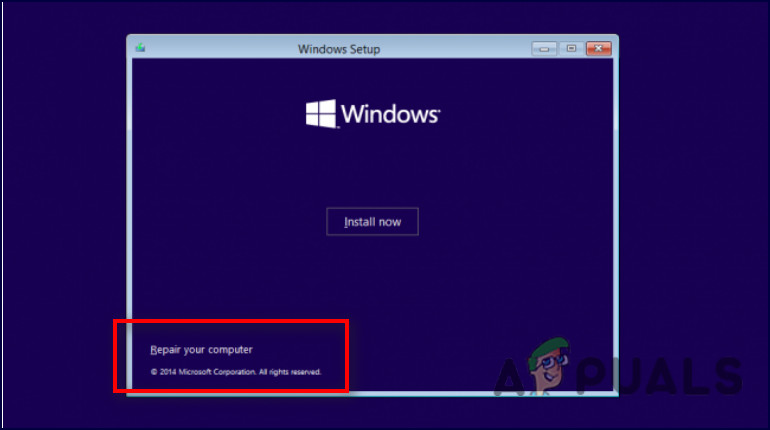
Choose repair - This should launch the Advanced Startup Options window.
- Click on the Troubleshoot option.
- Next, select the Advanced options.
- From the Advanced options screen, click on Startup Repair. This will launch the tool immediately.
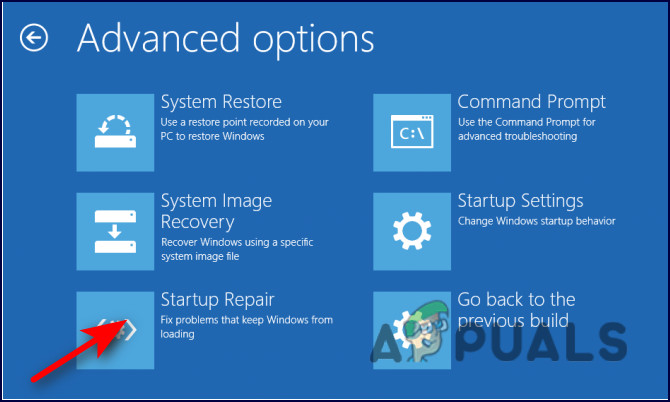
Choose startup repair - Follow the on-screen instructions to perform Startup Repair. When the tool has completed its operation, restart your computer and test the Reset this PC option. Hopefully, the resetting issue will no longer appear.


