How to Install New Font on CrossOver Mac [Updated Method]
- CrossOver Mac enables running Windows applications on a Mac without a separate Windows license. Installing new fonts can help match the specific aesthetic or functional needs of your projects.
- To install new fonts, download and unzip the font files, preferably in .ttf or .otf formats. Install these fonts to your Mac, and they'll become available in CrossOver Mac applications.
- Ensure fonts are compatible with Windows applications and are installed in the correct bottle. If issues arise, consider restarting the bottle or checking file permissions.
Installing new fonts on CrossOver Mac is both exciting and essential, especially for those who use unique typography in their work, such as designers and writers. CrossOver allows you to run Windows applications on a Mac without needing a separate Windows license.
Although it comes with its own set of fonts, there may be occasions when you require a specific font that isn’t included. This guide aims to assist whether you’re familiar with CrossOver or just beginning to use it. We will explain what CrossOver Mac is, why adding new fonts is beneficial, and how to install them.
We will also cover where to safely download new font files and provide tips for resolving common issues. By following this guide, you can ensure your applications reflect your creative vision and functionality.
Table of Contents
What is CrossOver Mac, and why do you need to install fonts?

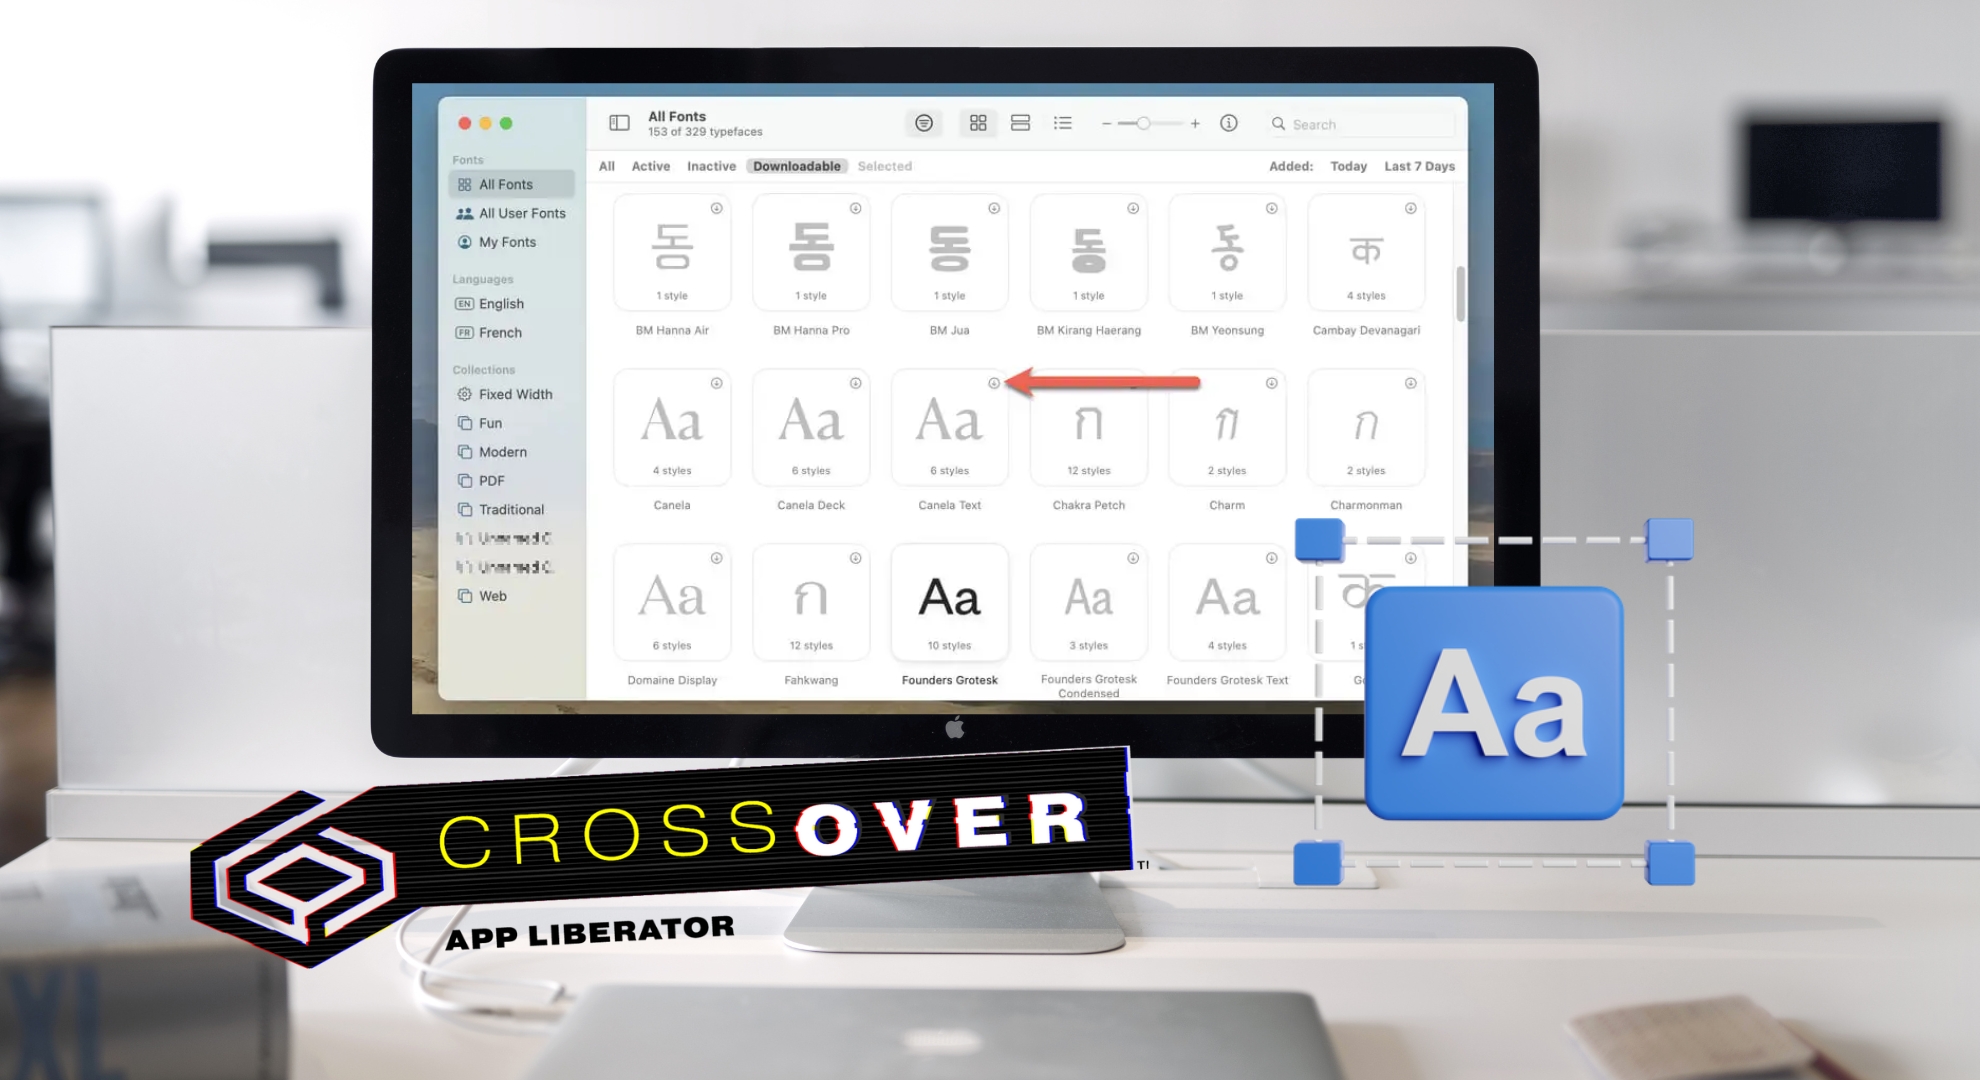
CrossOver Mac, developed by CodeWeavers, is a specialized program that allows you to run numerous Windows applications on a Mac. This eliminates the need for a separate Windows license or partition on your computer, streamlining the process.
While CrossOver provides its own Windows-like fonts and tools to ensure seamless app functionality, the variety of fonts isn’t as extensive as those available on macOS and Windows.
Occasionally, you may require a highly specific font for your project that CrossOver does not include. Here are some reasons why adding new fonts is advantageous:
- Access unique fonts that are not pre-installed in CrossOver for specialized design tasks.
- Ensure consistency in the appearance of your documents across various platforms.
- Some Windows apps require specific fonts to display content accurately.
- Personalize your CrossOver experience on your Mac, aligning it with your style.
How to install a font on CrossOver Mac?
Let’s delve into the primary task—installing a new font on CrossOver Mac. We have simplified each step to facilitate the addition of distinctive fonts to enhance your creative work effortlessly.
Step 1: Find and Download a Font
Begin by searching for and downloading the font you wish to use. Numerous websites offer both free and paid fonts. Ensure the font file is compatible with Windows apps, typically in .ttf or .otf format.
Step 2: Unzip the Font File
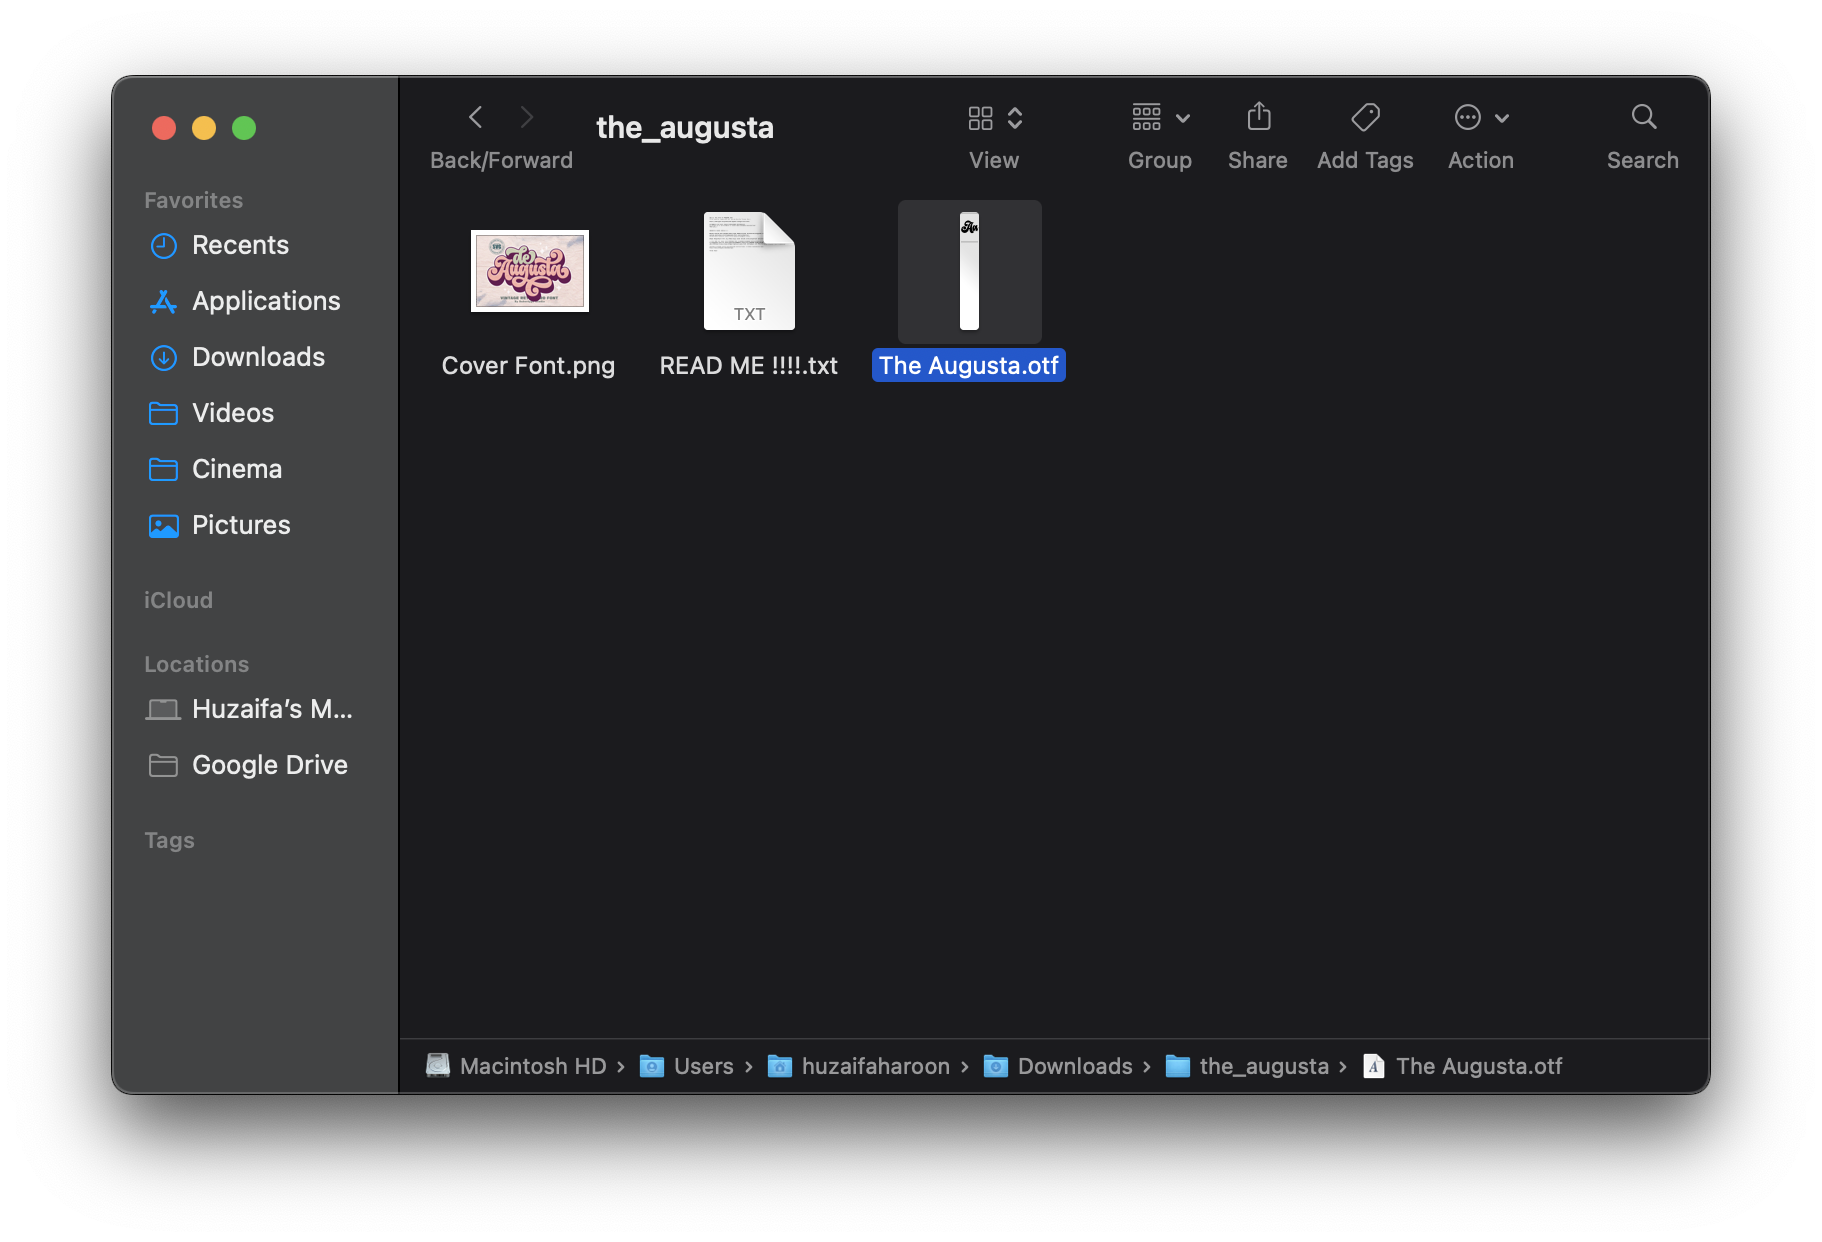
Locate the downloaded file, often in .zip format, and double-click to extract its contents. This action will reveal the underlying font files.

Step 3: Install the Font
- In the extracted folder, locate the file ending with .otf, which is your font file. Double-click on it, prompting a preview window to open.
Double click on the font file with .otf extension - In the font preview window, you’ll find an “Install” button. Click it to add the font to your Mac’s font library.
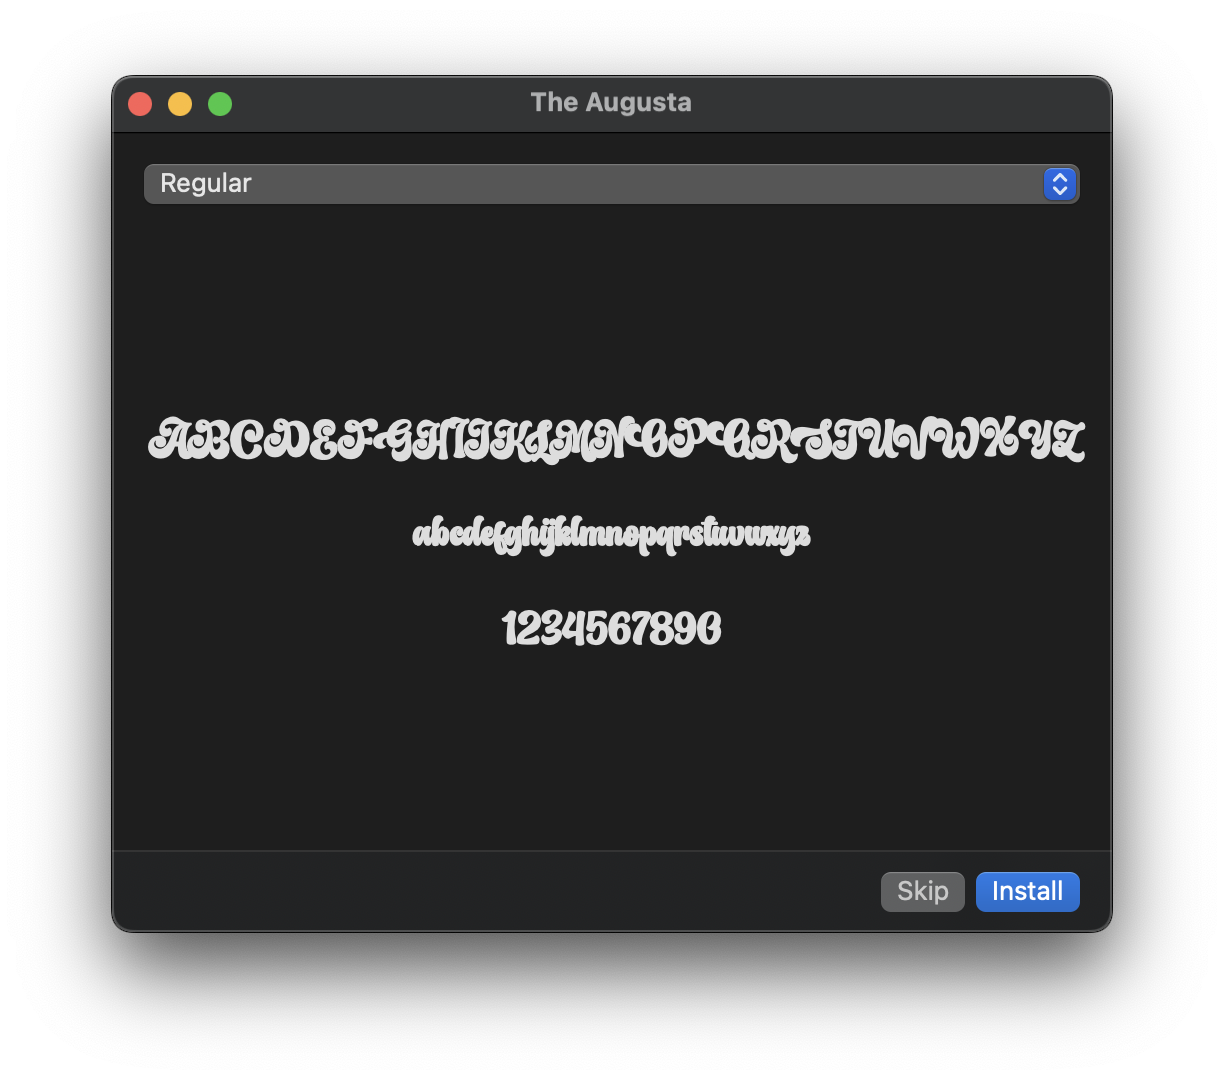
Click on the Install option to install the font
Step 4: Font Availability Across Applications
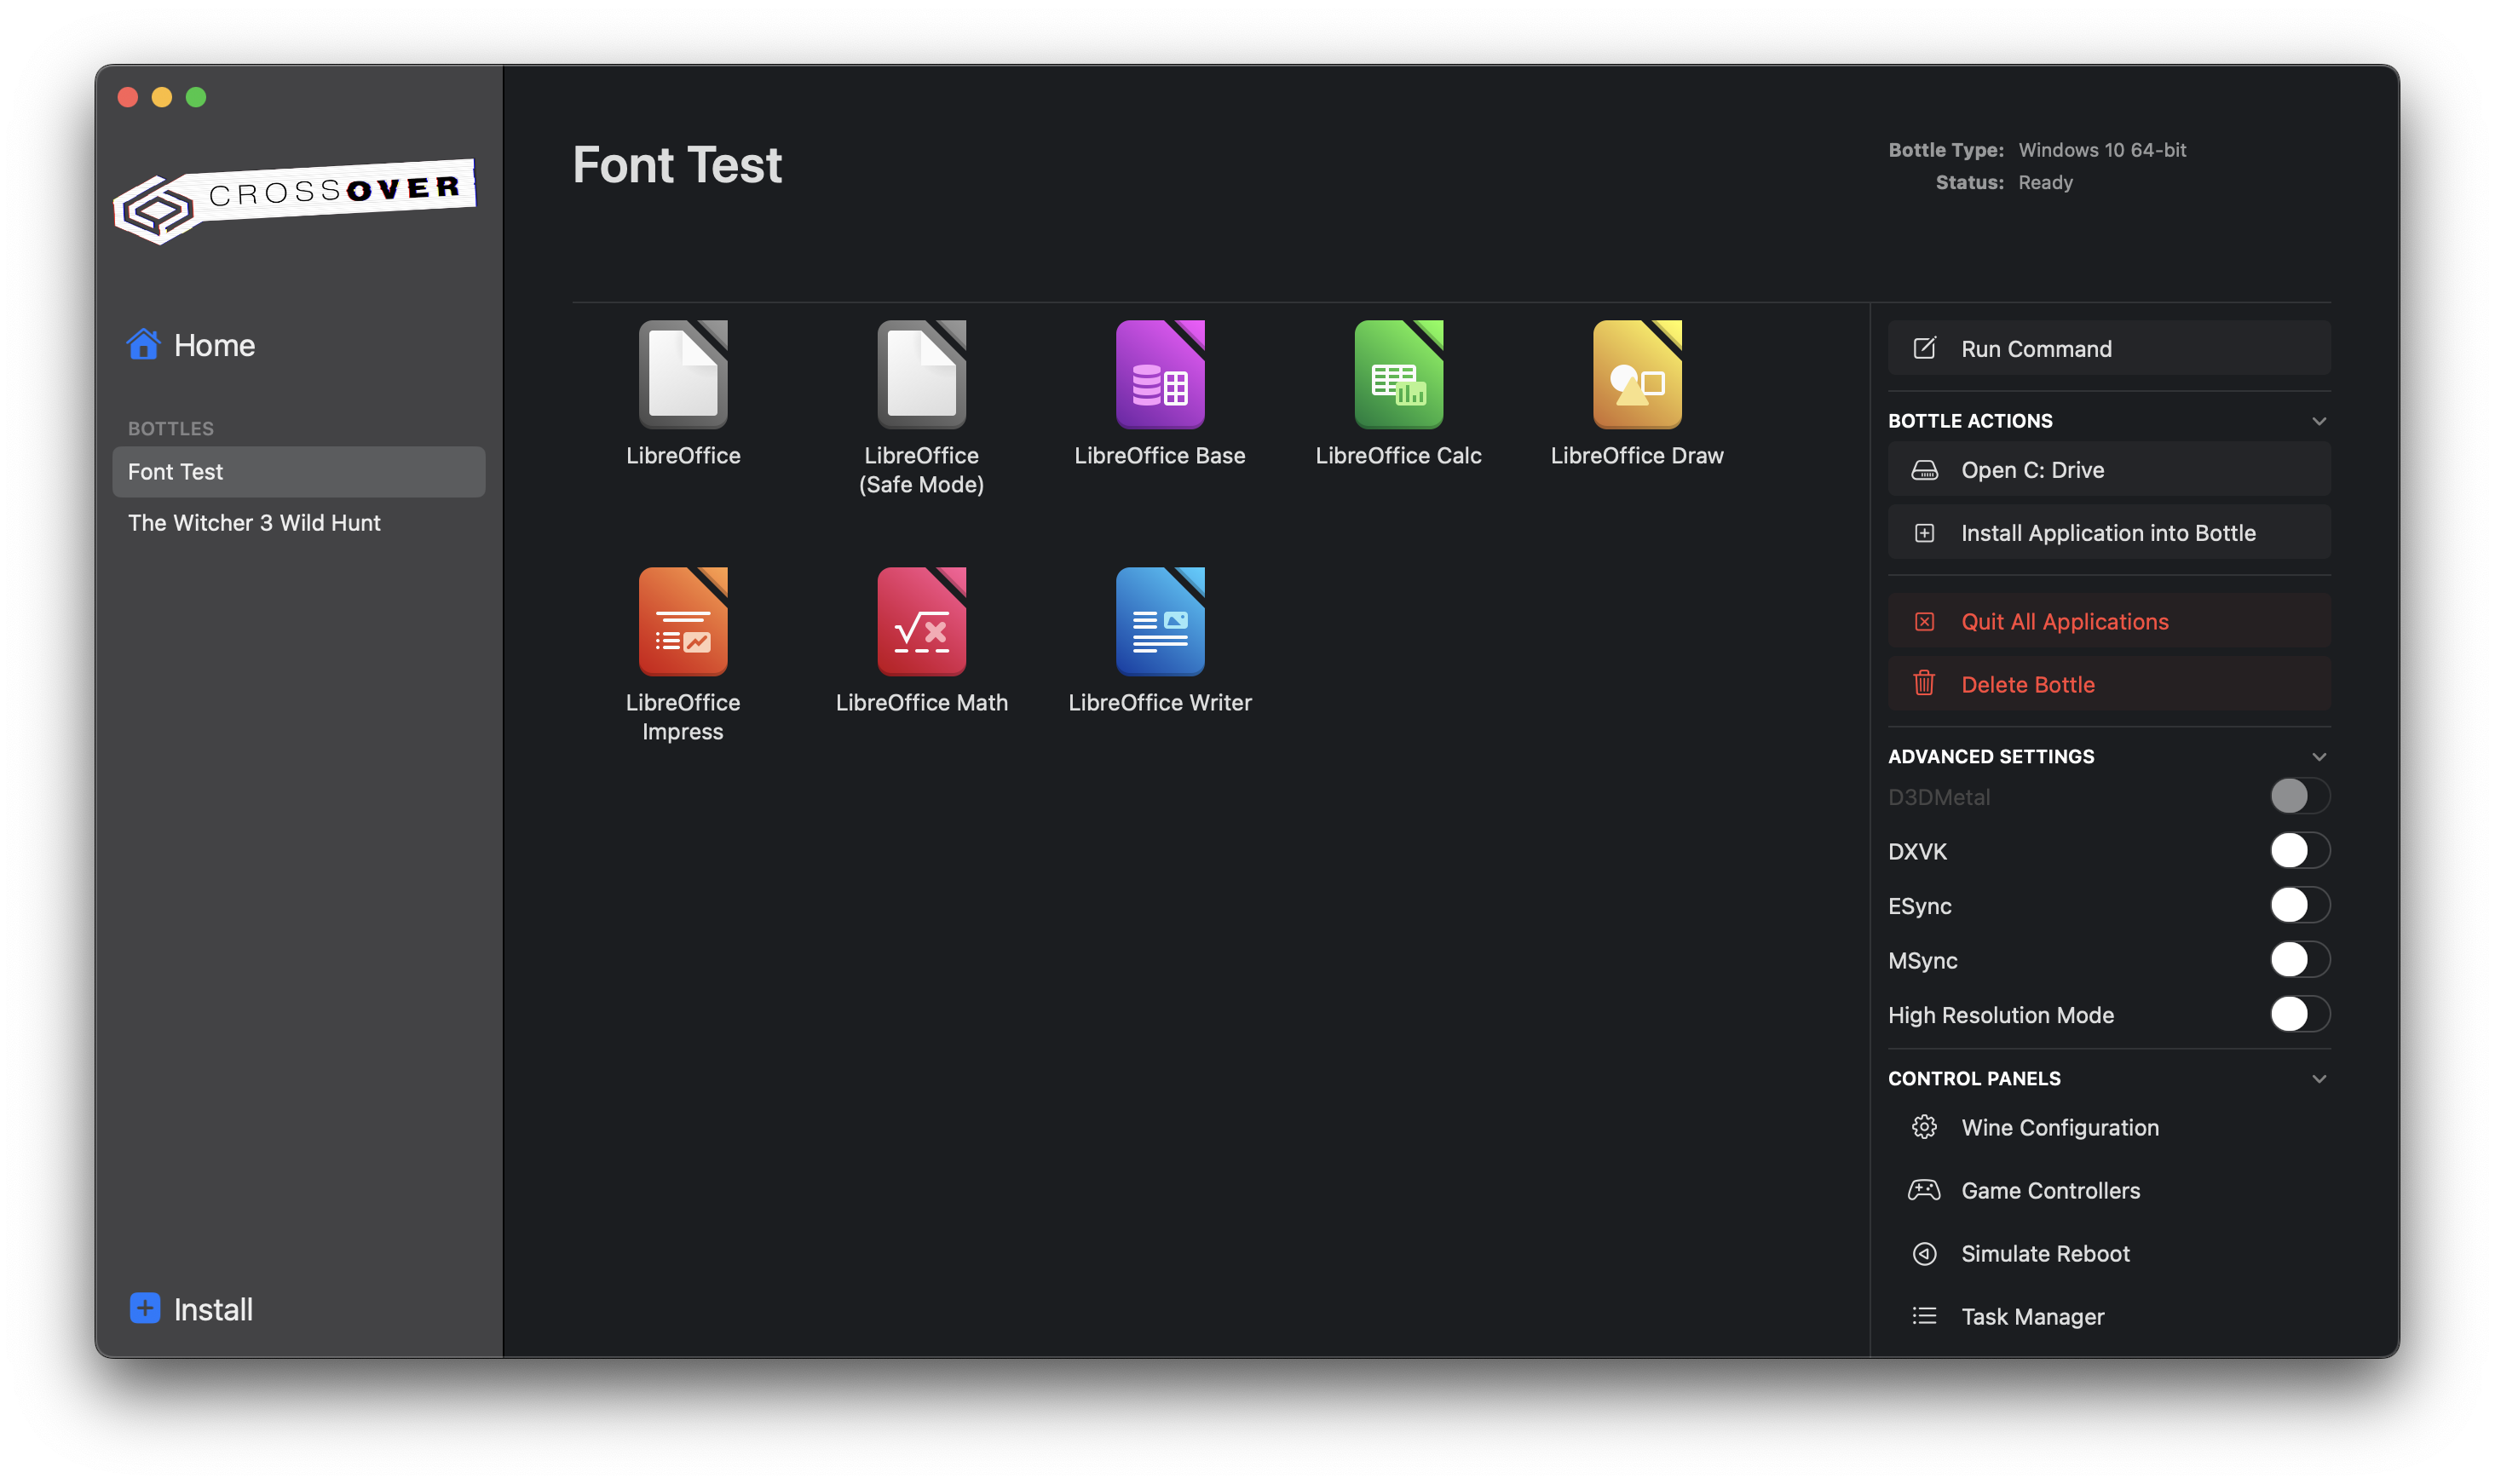
Once installed, the font becomes accessible in all applications on your Mac, including those running via CrossOver. To verify its availability, open CrossOver and check in any bottle or application. We created a new bottle named “Font Test” specifically for this purpose.
Step 5: Check and Use the Font in CrossOver Applications
- Launch any application within CrossOver Mac. For instance, we used LibreOffice Writer. In the application, navigate to the fonts list, typically located in the toolbar or under formatting options, and search for the newly installed font.
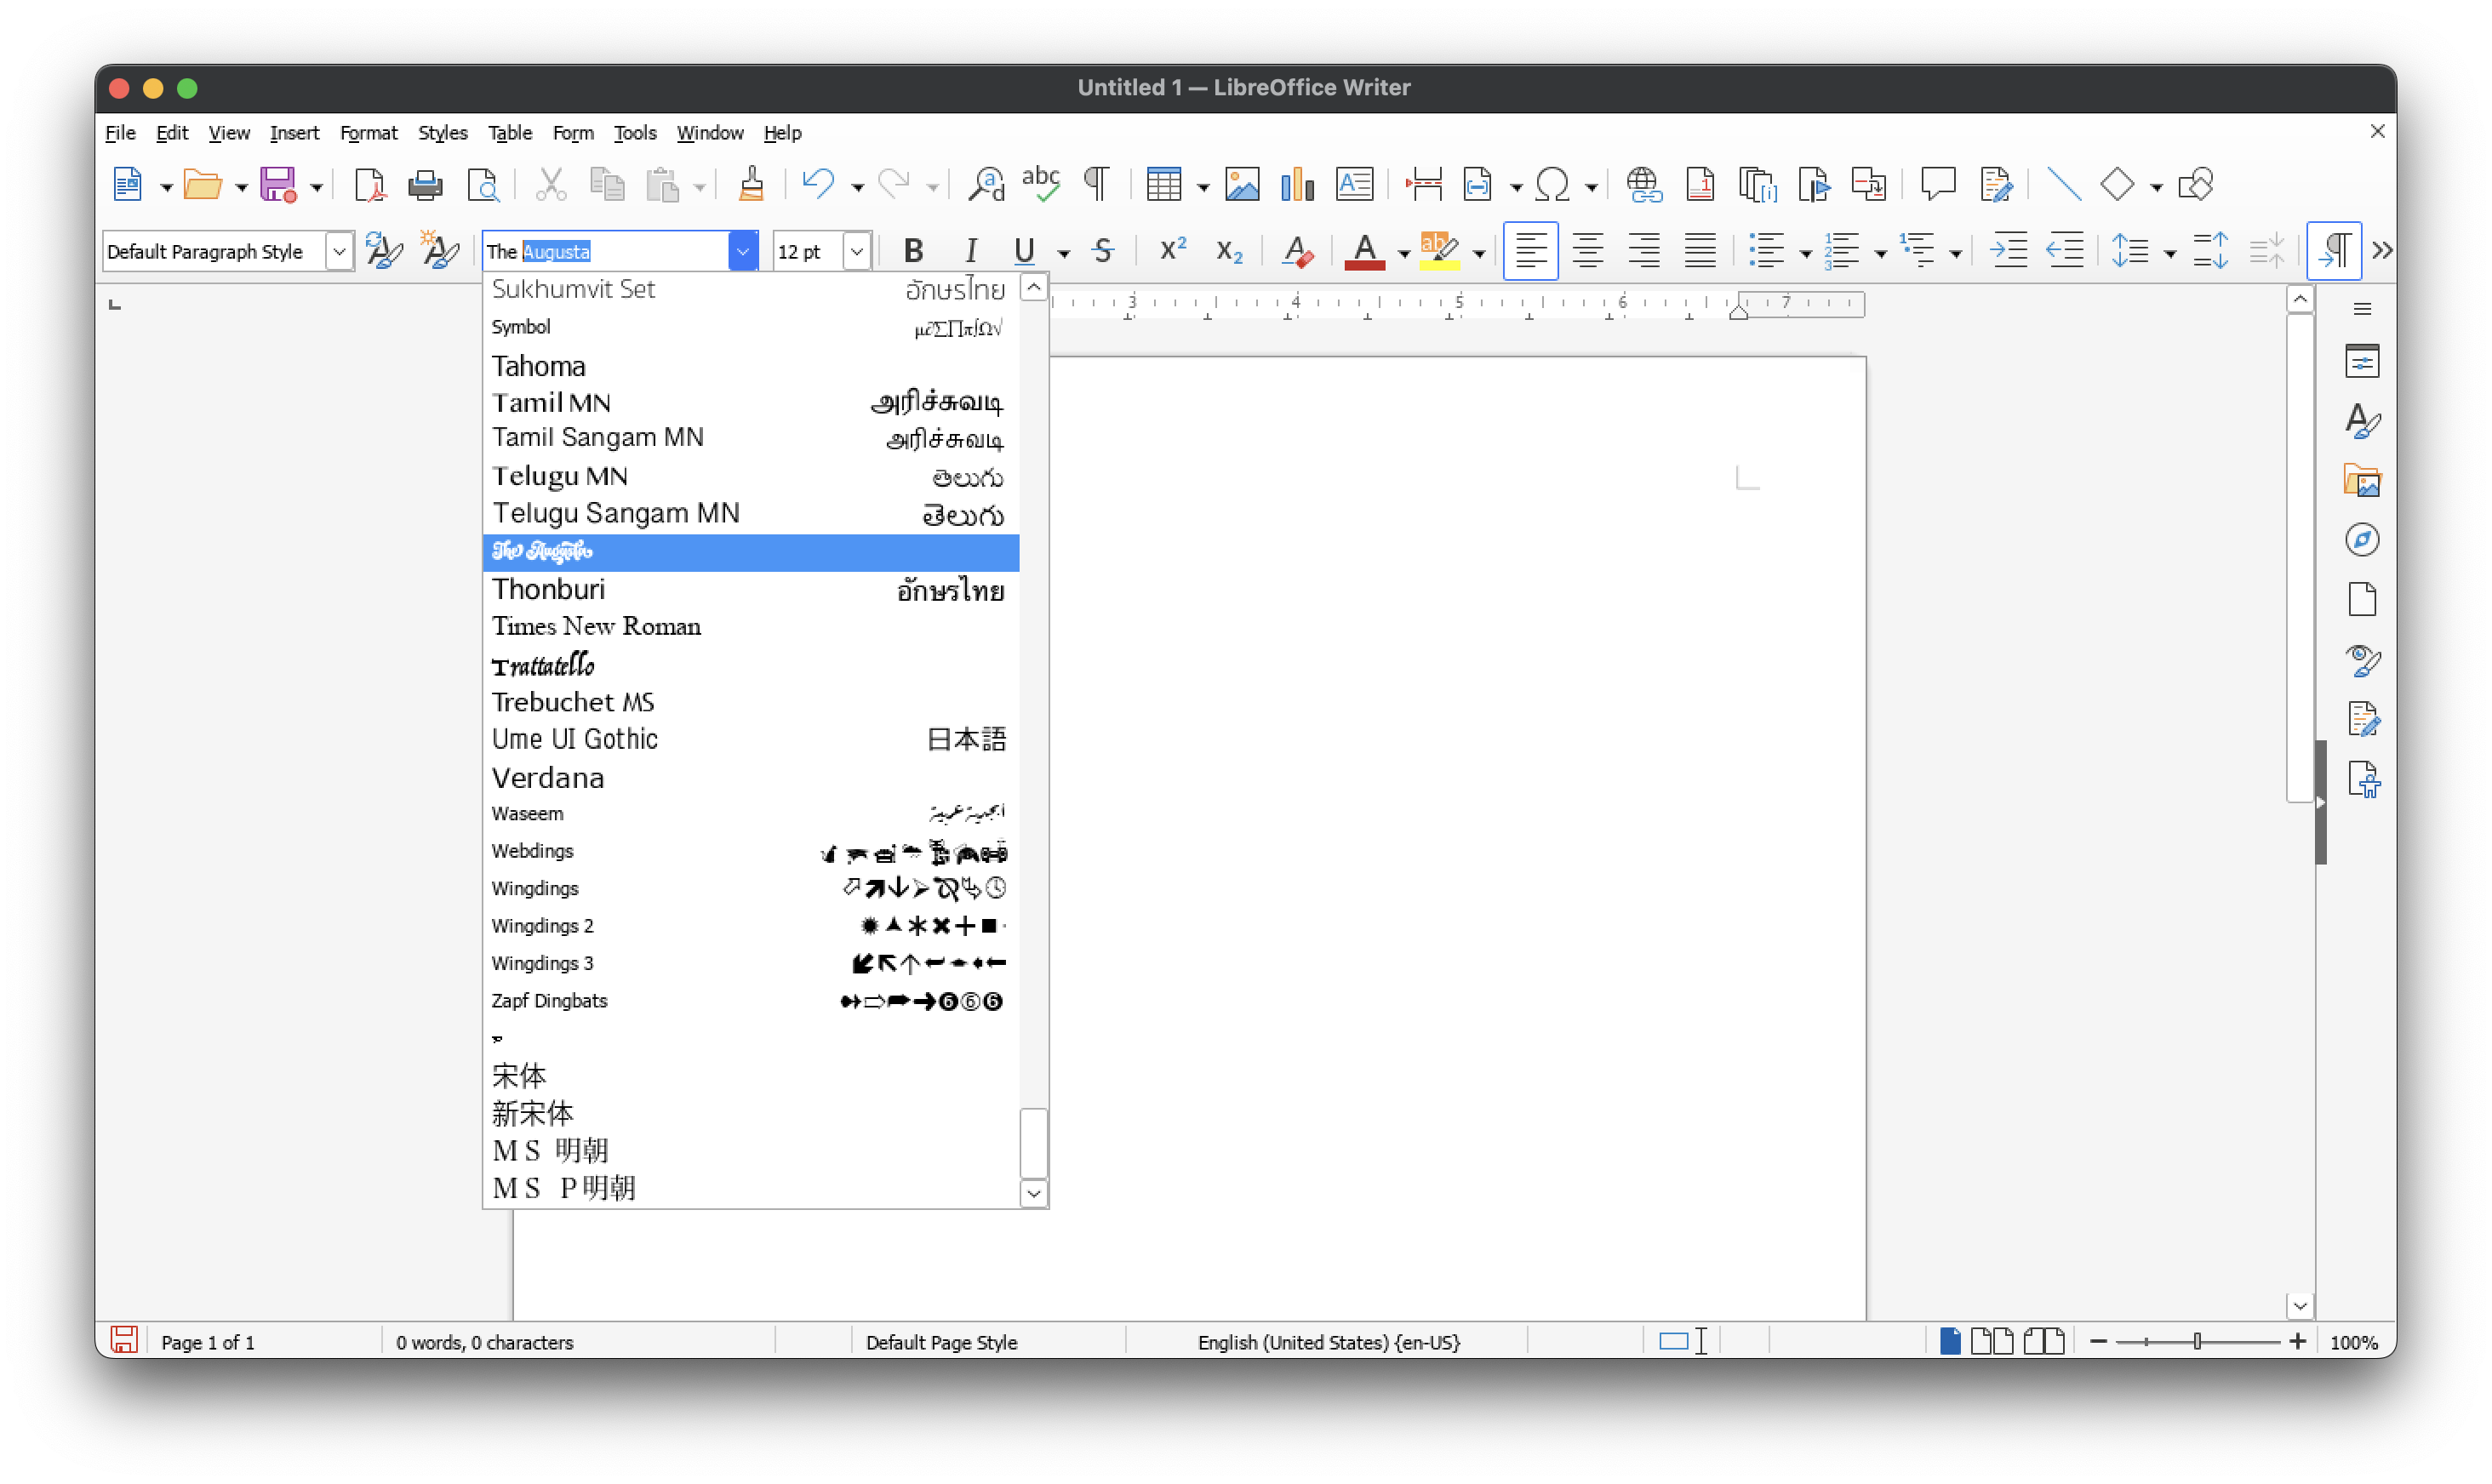
Search the font in the font’s list - Once located, select the new font from the list and begin typing in your document. Your text will now appear in the freshly installed font.
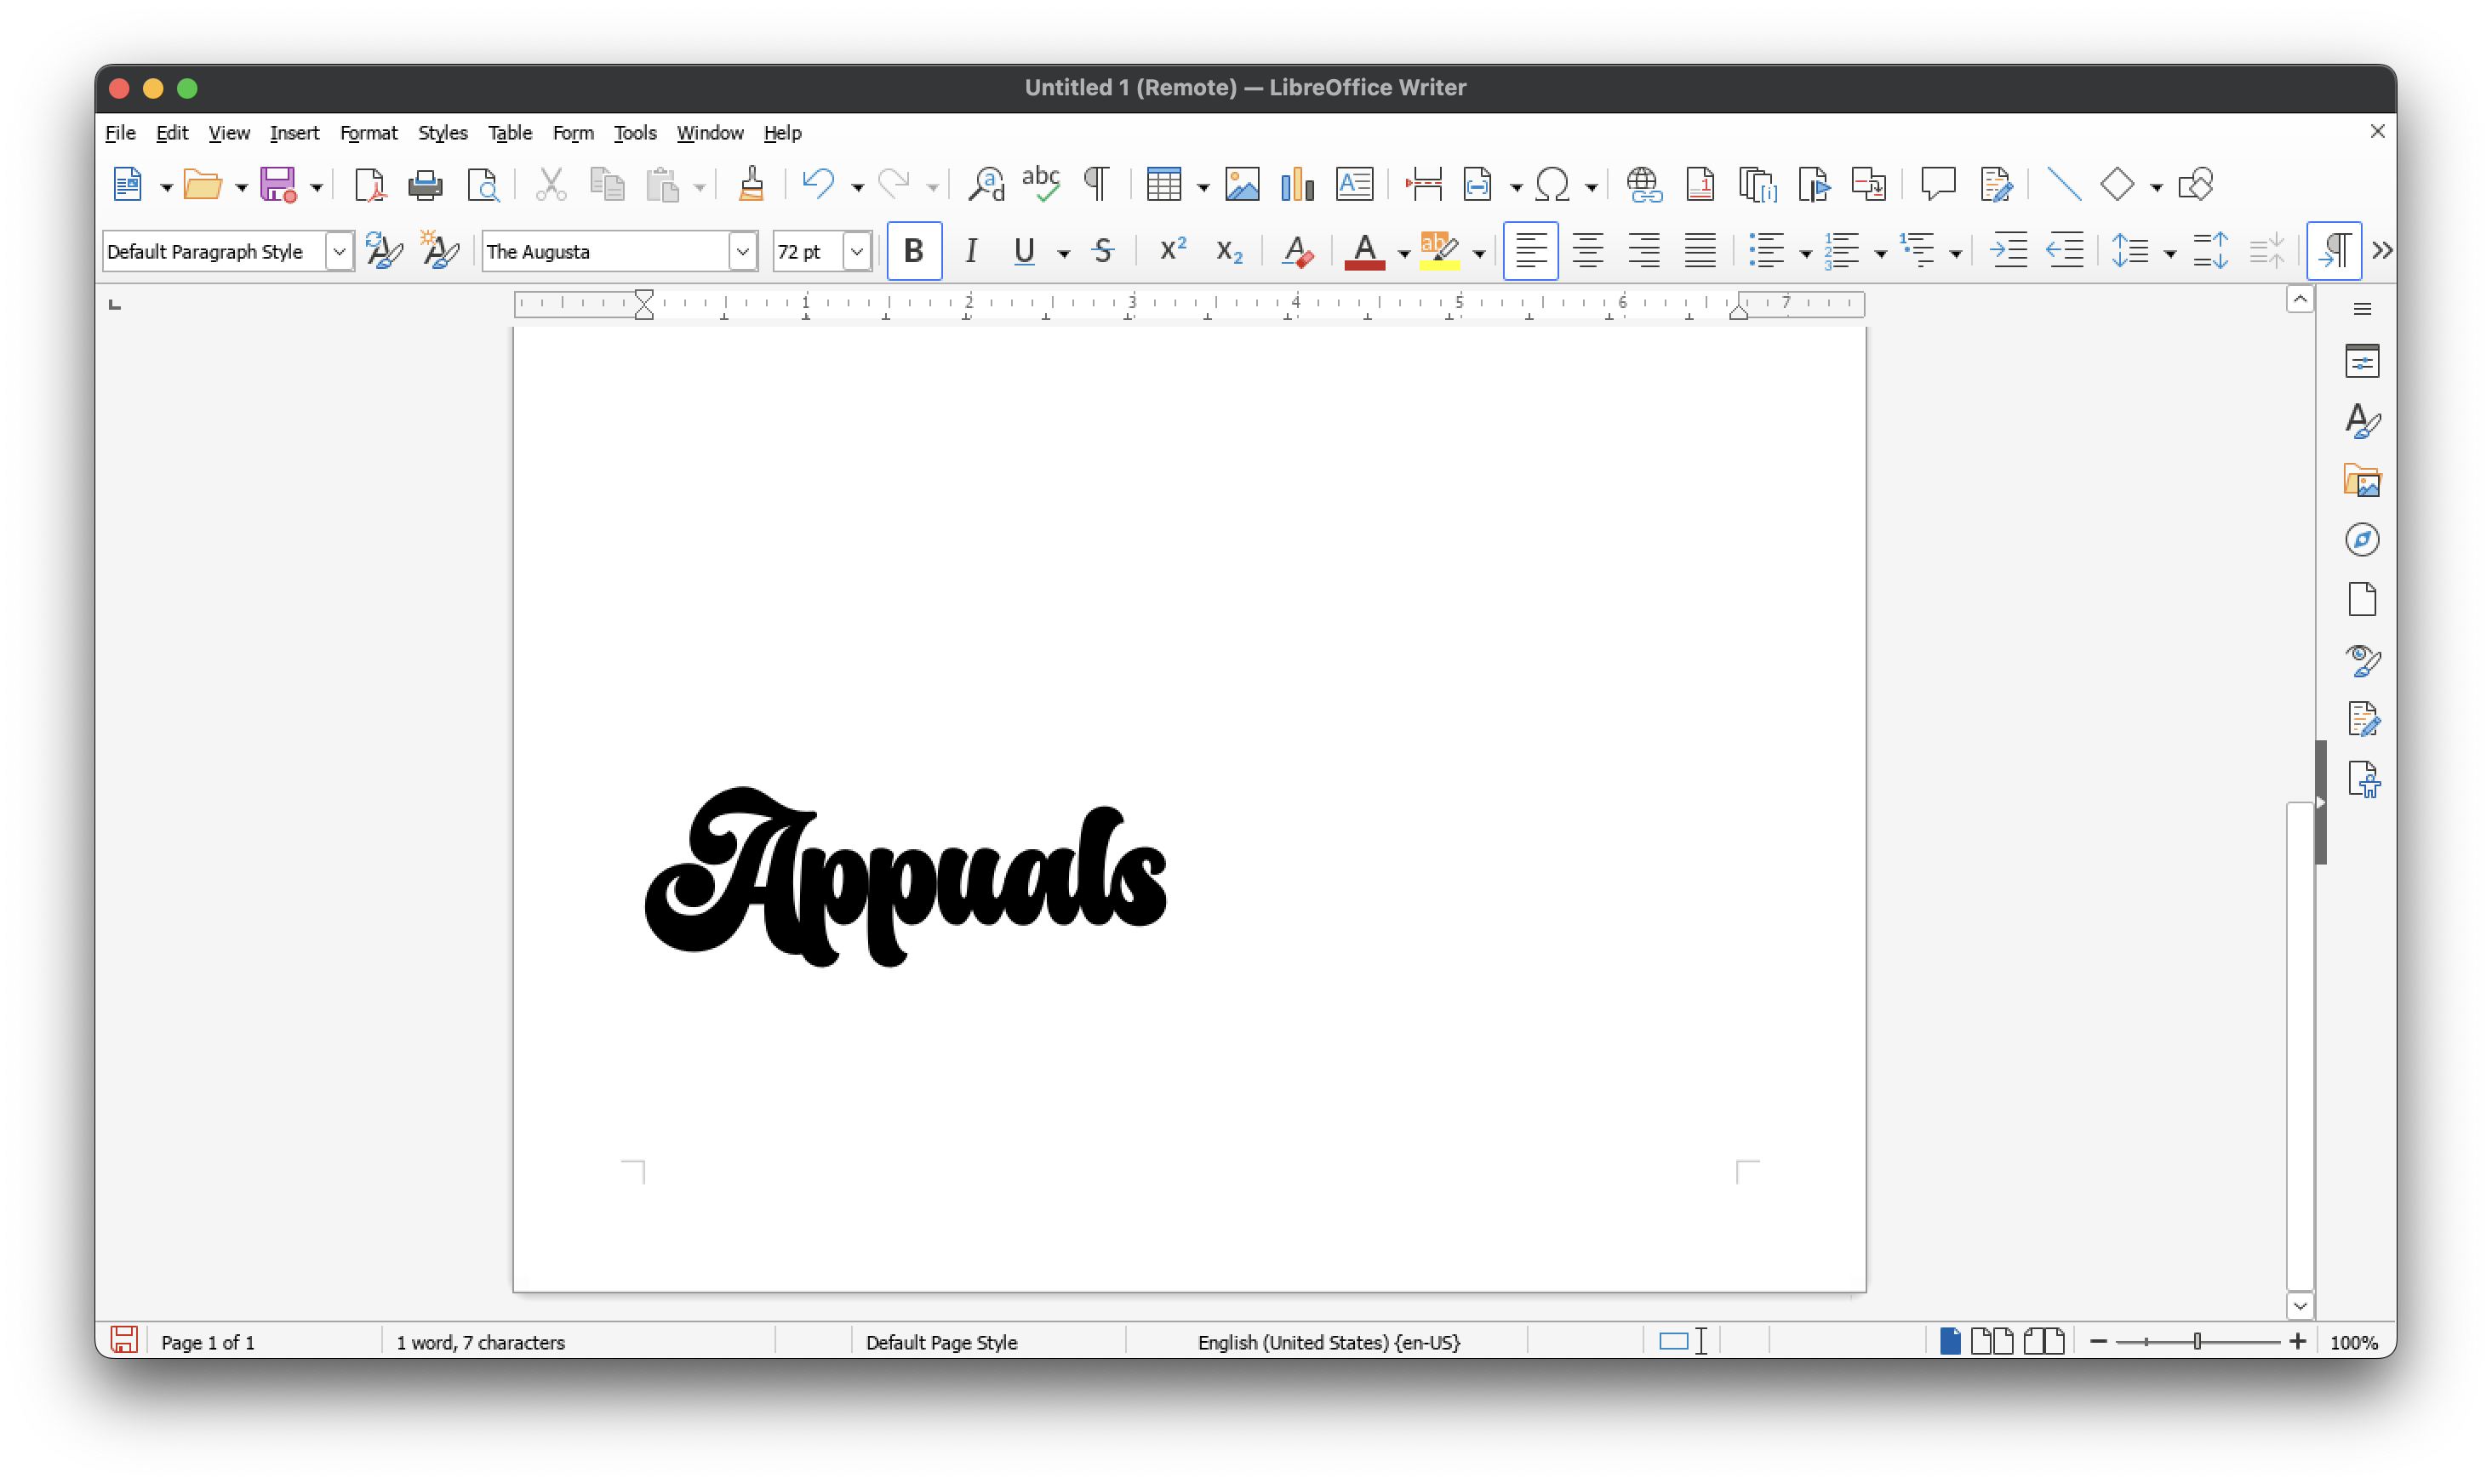
Font is installed and ready to be used
Downloading font files from trusted sources
Prior to installing fonts, acquiring the font files is crucial. Here are reliable sources for downloading quality fonts:
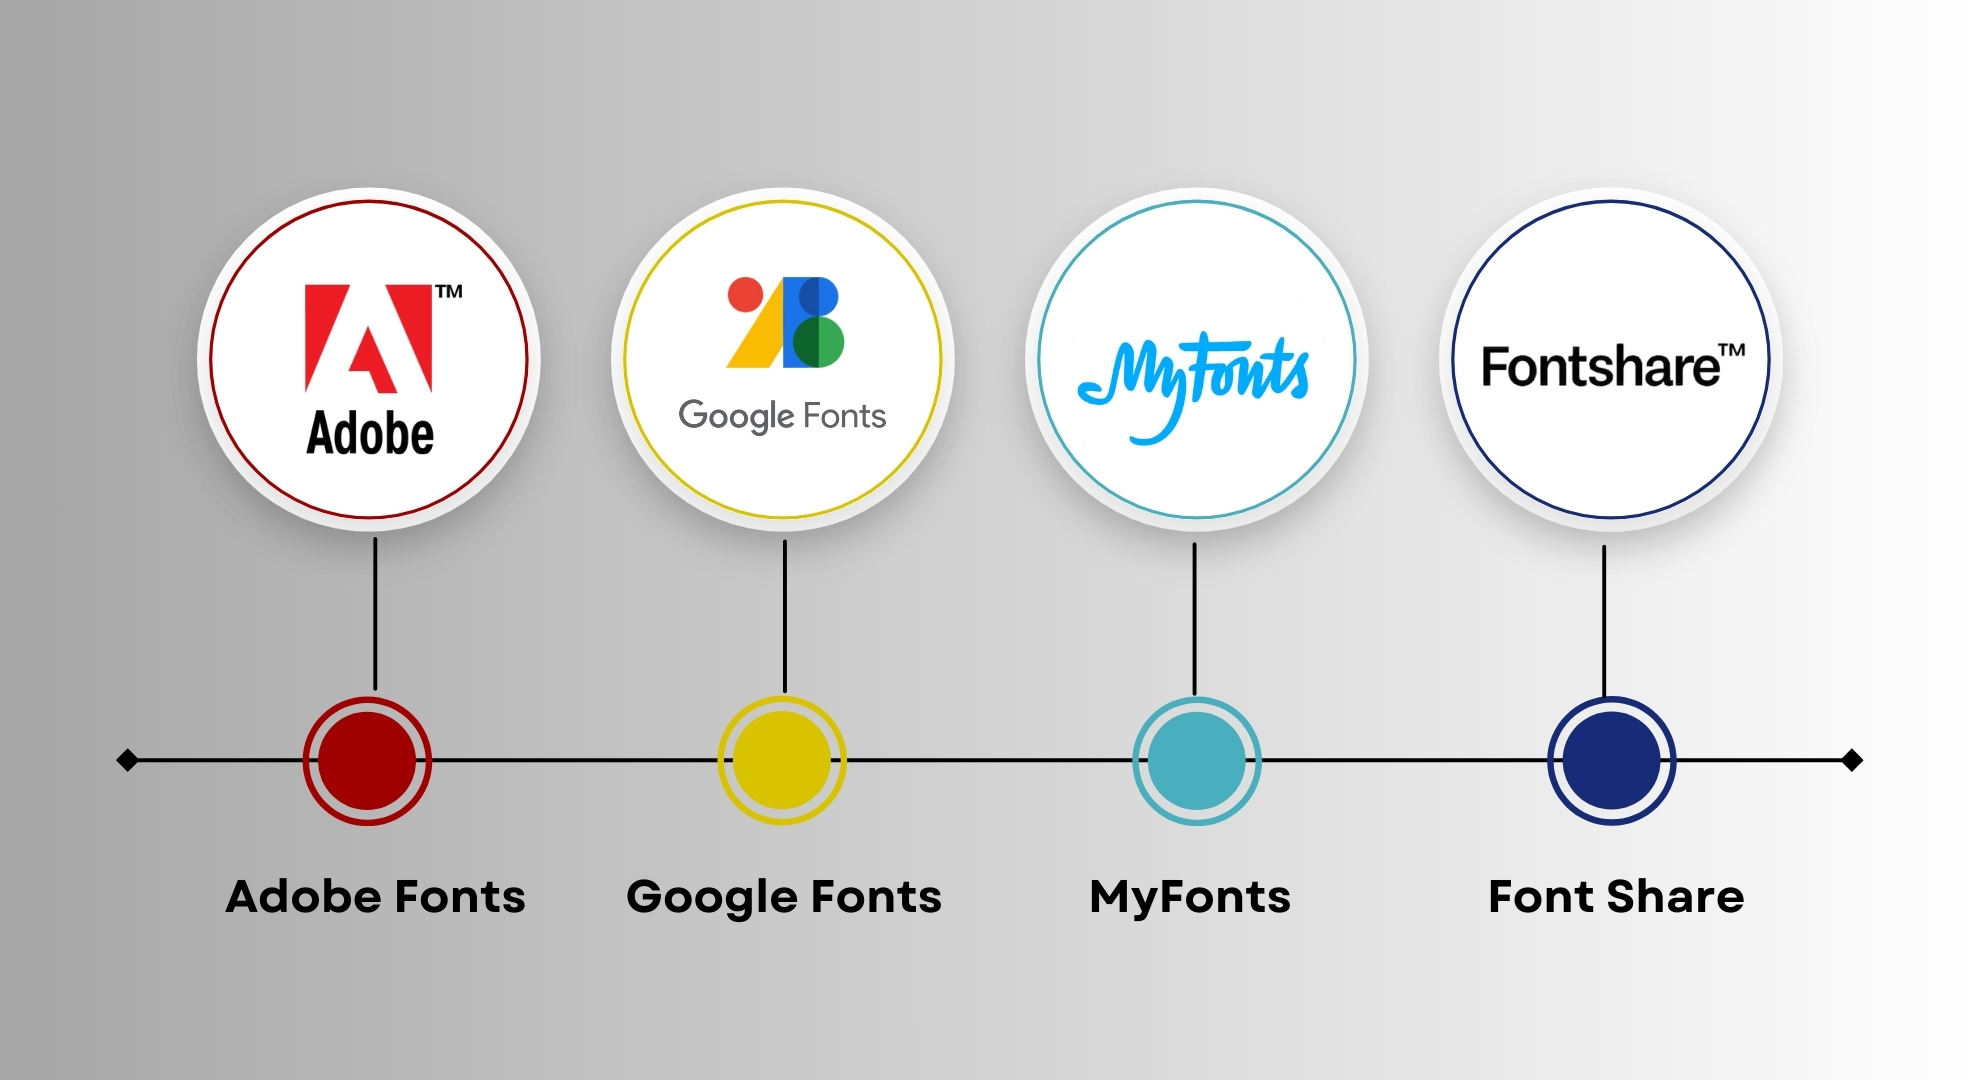
- Adobe Fonts: Adobe offers a vast selection of free and paid fonts. Creating a free Adobe account is necessary to download them.
- Google Fonts: This extensive collection of free, open-source fonts is easy to download and suitable for commercial use.
- MyFonts: A renowned marketplace for purchasing fonts from professional designers. Quality is high, though it may involve costs.
- Font Share: A community-based platform for sharing fonts. Carefully review licenses to ensure they are free to use.
After obtaining font files, verify they are in .ttf (TrueType Font) or .otf (OpenType Font) format. These are compatible with CrossOver and most other software.
Common issues and troubleshooting tips

Here are common problems along with their solutions to assist you when working with fonts in CrossOver Mac:
- Ensure the font is compatible with Windows applications, as some might not be.
- Check the font’s file type; Windows usually requires .ttf or .otf formats.
- Install the font in the correct bottle. Fonts installed in one bottle will not be visible in others.
- If issues arise during font copying, review the security settings on your Mac.


