How to Effectively Monitor AWS Cloud Instances?
Virtual machines have been rising rapidly in this era and for the right reason. As more companies become reliant on data and networks, the costs of the physical hardware is something that everyone has to consider. While having a physical network setup can give you more overall control over your network and hence more flexibility, virtual servers are not something to overlook either. Most of us opt for going with a virtual IT infrastructure instead of a physical one because of the obvious costs and the amount of time and effort it requires to set everything up. Instead, who wouldn’t want an easy ready to go solution that you can control per your desires.
Amazon Cloud Instances are very popular for this purpose and thus widely used. However, having a network is merely one part of the job. What is even more important is for system administrators to monitor the virtual systems as well as keep track of the performance of the network. For this purpose, there are a wide variety of tools available that you can choose from. One of the most famous companies that have established a solid footprint when it comes to network and system management is none other than SolarWinds. Using their wide set of products, you can do almost everything that you desire as well as easily monitor your network for performance issues and so much more. We will be using their Server and Application Monitor in this guide to show you how to monitor your AWS cloud instances.
Installing Server and Application Monitor
Before we get started and you are able to monitor your cloud instances, we first need to install the product. To do that, go ahead to this link and download the Server and Application Monitor tool from SolarWinds. If you wish, you can download the product and try out the free two weeks evaluation period that SolarWinds provides. Once you have downloaded the Orion installer on your computer, follow the instructions given down below to install it.
- First of all, go ahead and run the Orion installer that you downloaded from the link provided above.
- Once the Orion Installer is up, you will be asked the type of installation you wish to go for.
- If you wish to evaluate the product, you can go with the Lightweight Installation which installs all the needed components which includes an SQL Server. However, if you wish to use your own SQL Server, choose the Standard Installation instead. After that, at the bottom, you can also change where the product is installed on your computer. Then, click the Next button.
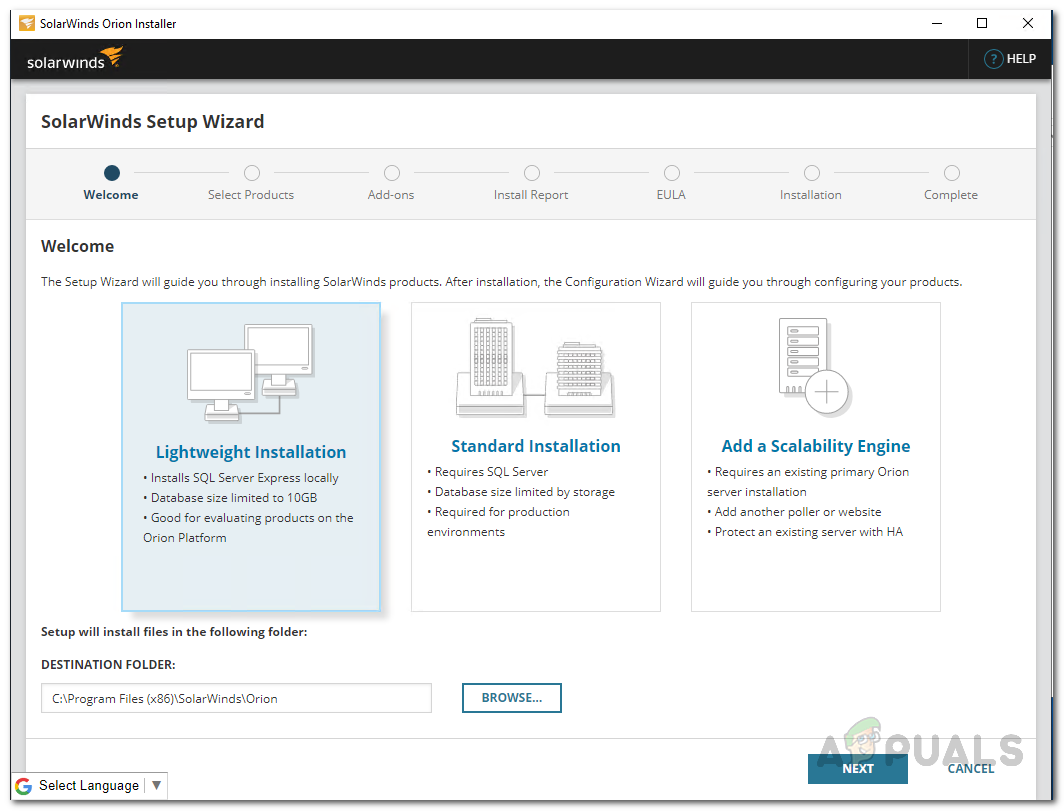
Choosing Installation Type - Now, on the Select Products page, check that the Server and Application Monitor product is selected. After that, click Next.

Choosing Server and Application Monitor - Next up, on the Add-ons page, you can choose to install Orion Log Viewer by clicking the More Info button provided.
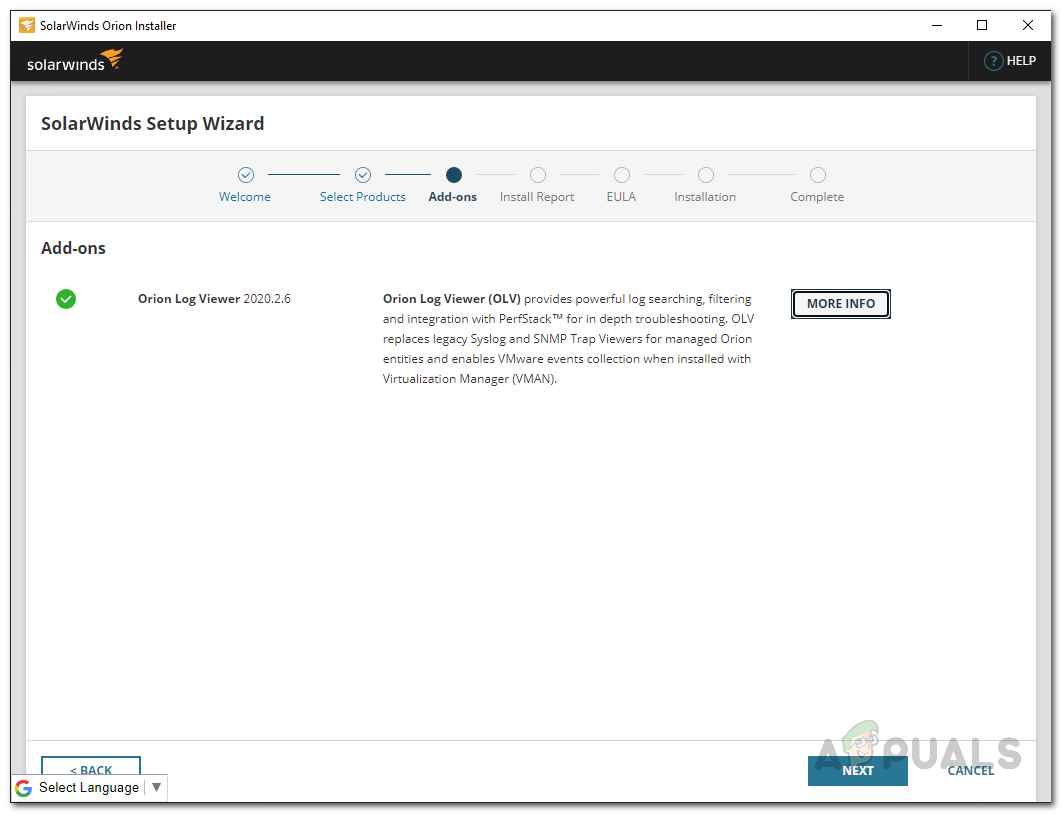
Installing Log Viewer Add on - After that, the Orion Installer will run some tests so wait for that to complete. It shouldn’t take long. Then, agree to the License Agreement and click the Next button.
- The Orion installer will now start downloading the required files and then install them on your computer. Wait for the process to finish.
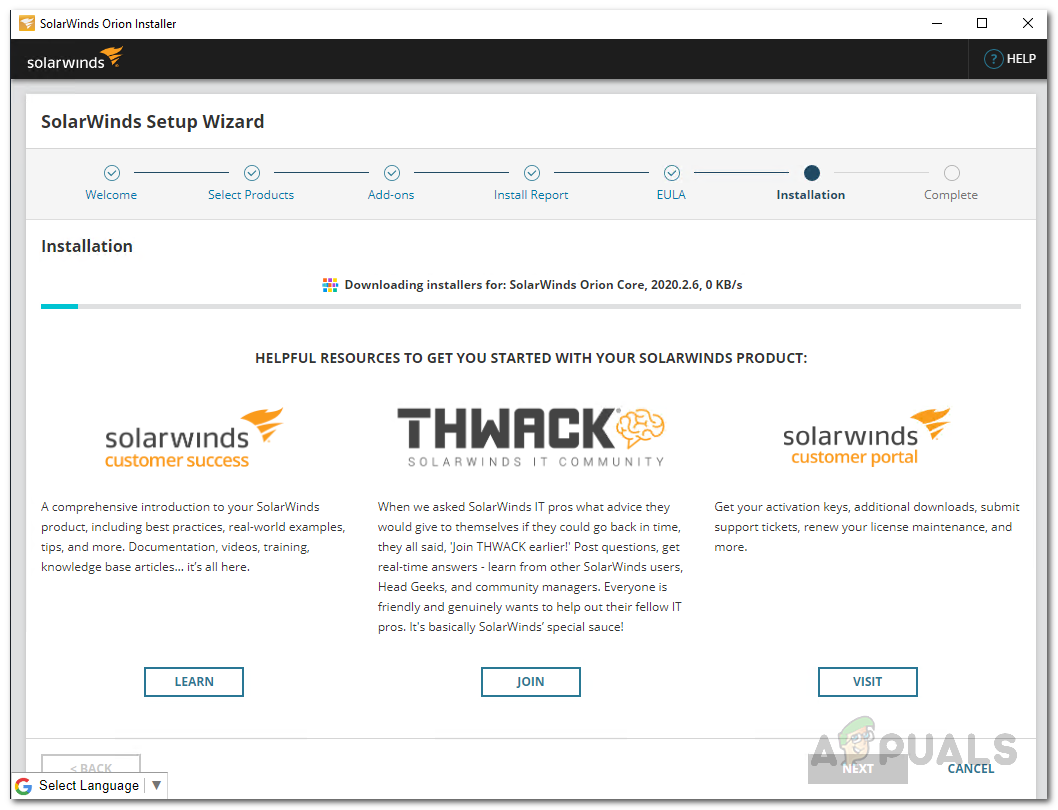
Installing Server and Application Monitor - After the installation has completed, click the Finish button provided.
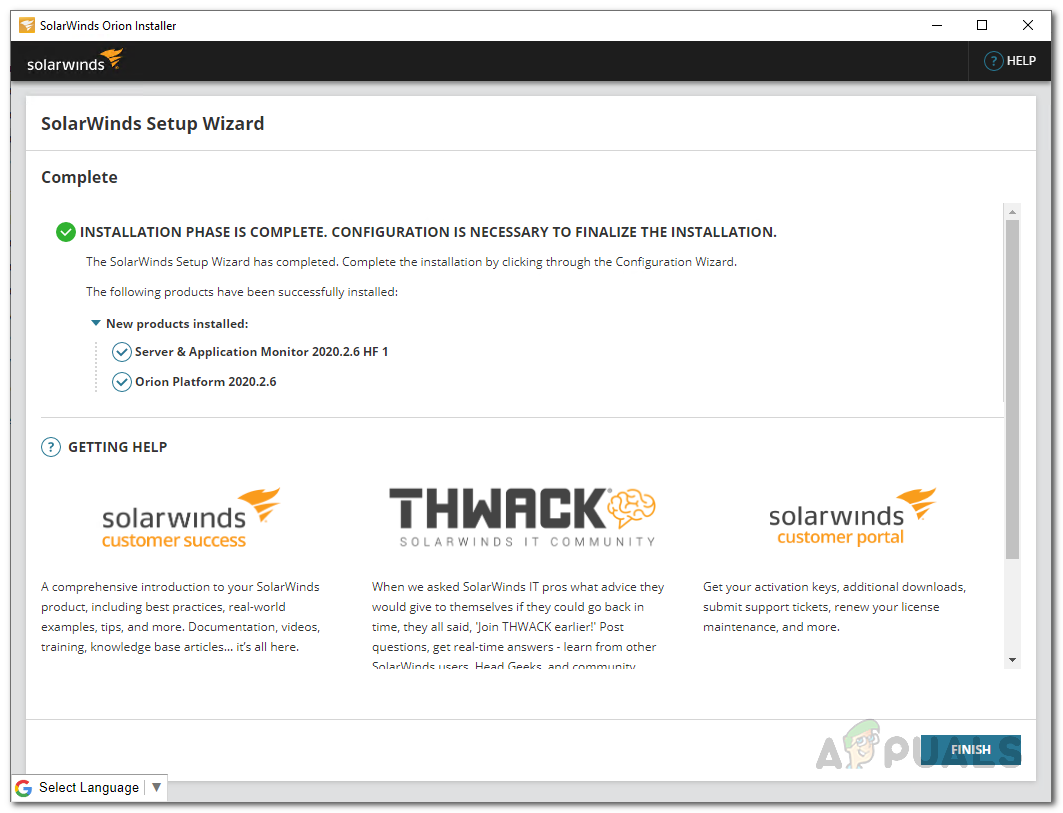
Server and Application Monitor Installation Completed - Next up, the Configuration Wizard will come up where you will have to provide your database credentials in case you went with Standard Installation. Otherwise, it should configure itself automatically so wait for it to finish.
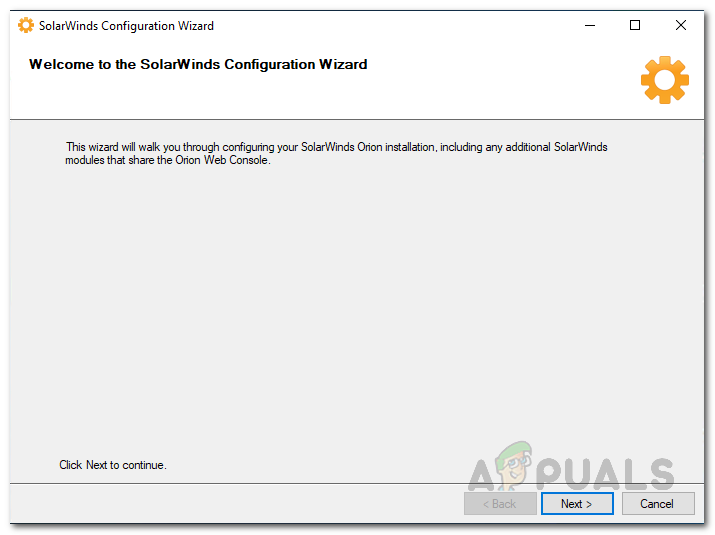
Configuration Wizard - On the Database Settings screen, select your SQL Server and then provide the required login credentials. After that, click the Next button.
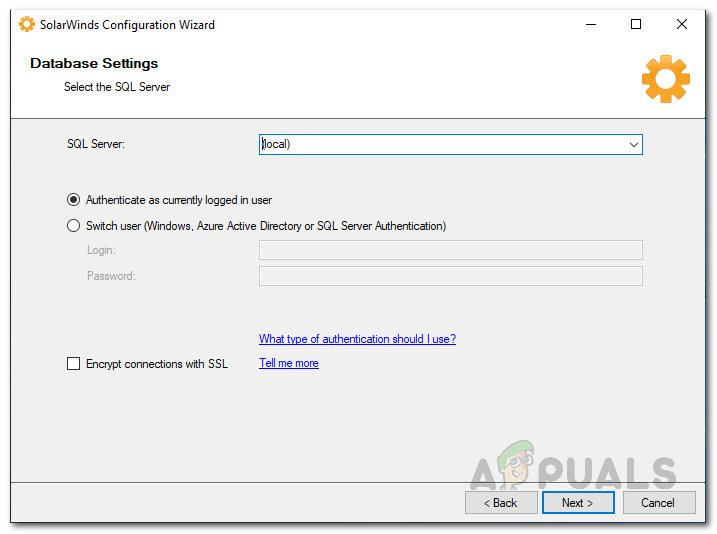
Choosing SQL Server to Use - Then, you can choose if you wish to create a new database or use an existing one. Once done, click the Next button.
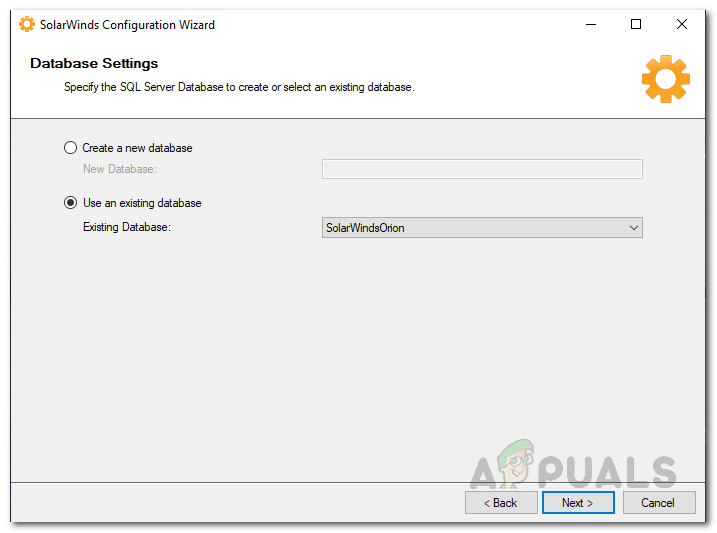
Using Existing Database - Click the Finish button once the configuration wizard has completed.
Configure AWS Account for Monitoring
Now that we have installed the Server and Application Monitor, we need to configure our AWS account so that the Orion Platform is able to interact with an AWS account which is able to retrieve CloudWatch metrics. Follow the instructions given down below:
- First of all, go ahead and login to your AWS Management Console.
- Once you have logged in, open up the IAM Management Console.
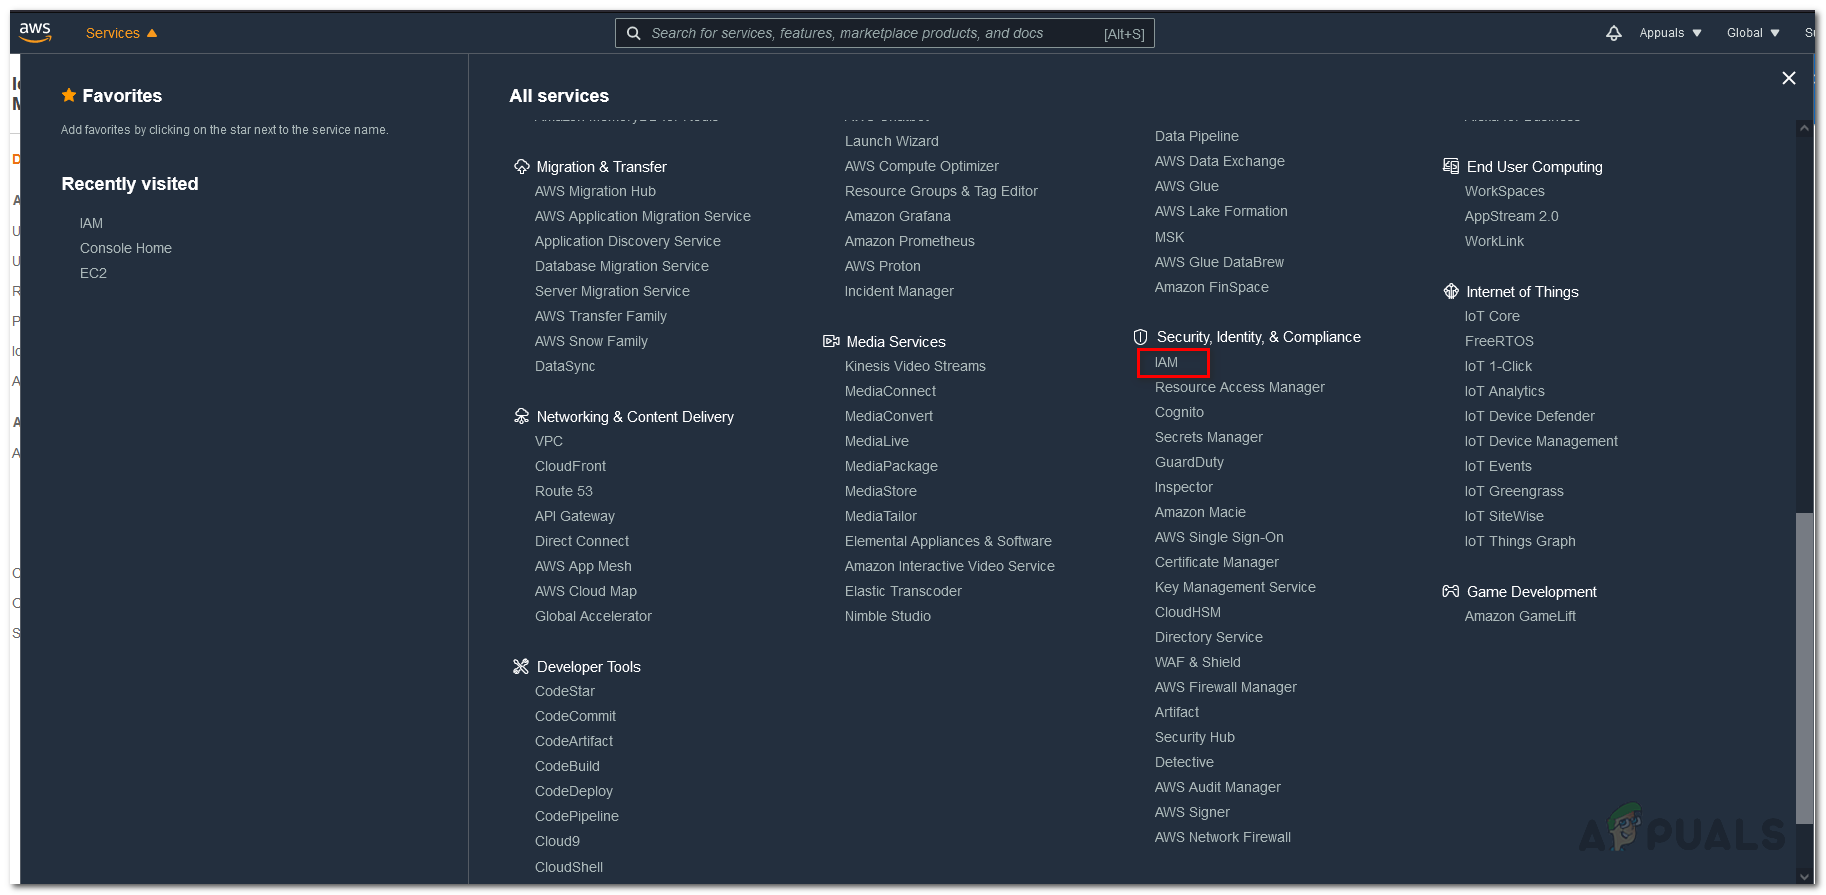
Opening IAM Management Console - After the IAM Management Console is open, on the left-hand side, click on the Policies option.

Opening up Policies Page - On the Policies page, click the Create Policy button.

Creating a New Policy - Switch to the JSON tab on the Create policy screen and paste the following policies:
{
	"Version": "2012-10-17",
	"Statement": [{
		"Effect": "Allow",
		"Action": [
		"ec2:DescribeInstances",
		"ec2:DescribeAddresses",
		"ec2:DescribeVolumes",
		"ec2:DescribeVolumeStatus",
		"cloudwatch:GetMetricStatistics",
		"autoscaling:DescribeAutoScalingInstances"
	],
	"Resource": "*"
    }
  ]
}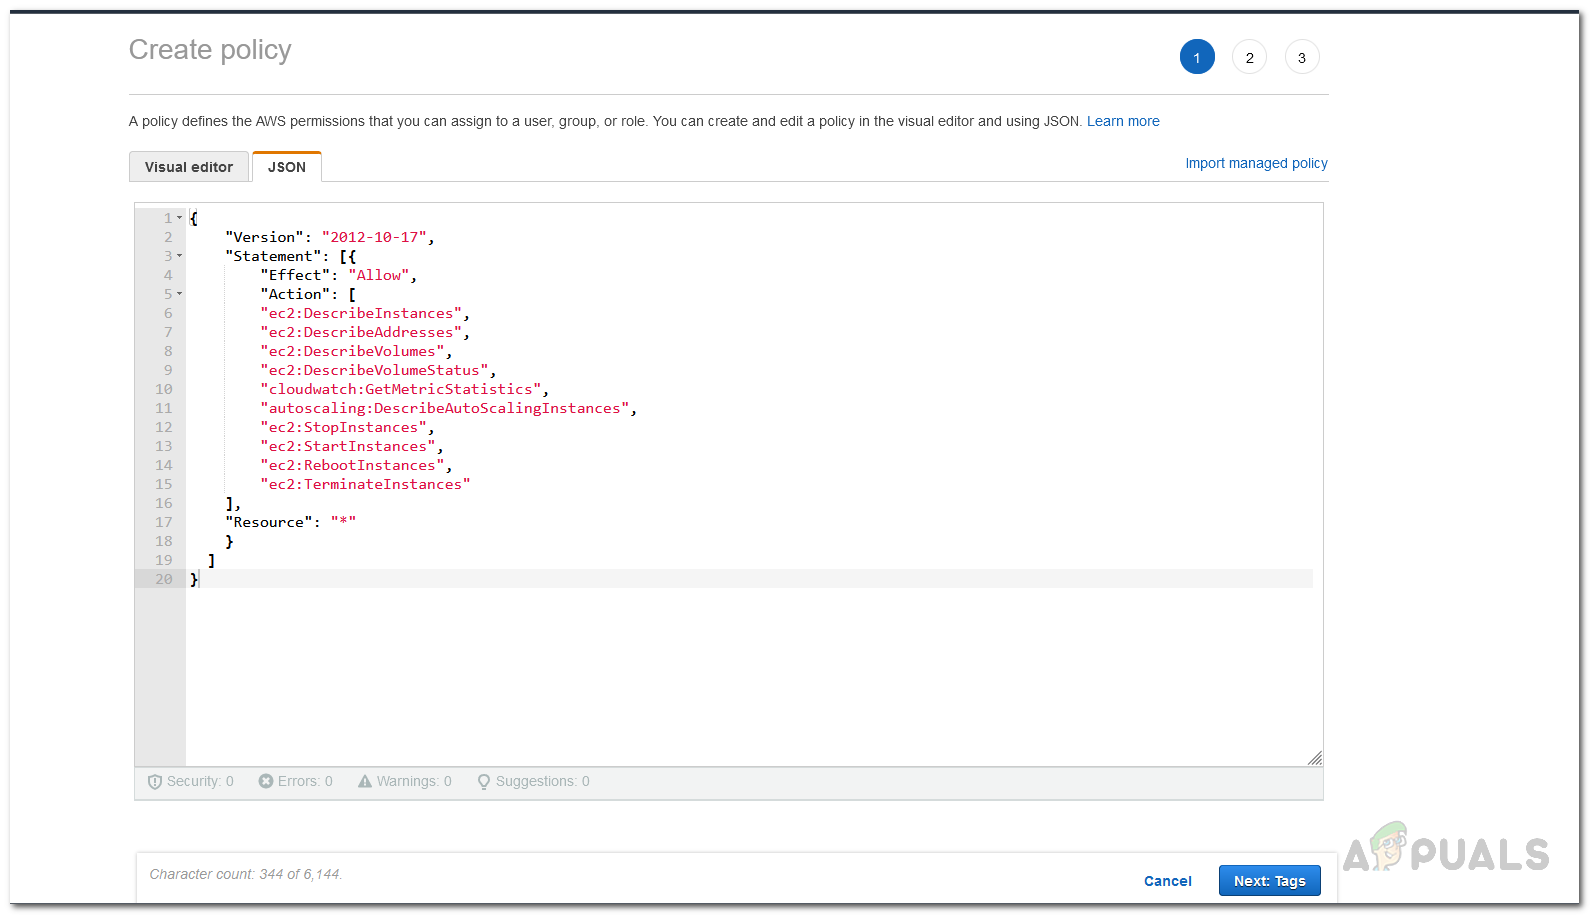
Pasting Policies in JSON Tab - After doing that, click the Next: Tags button at the bottom.
- On the Tags page, you can choose to add any tags if you want and then click the Review button.
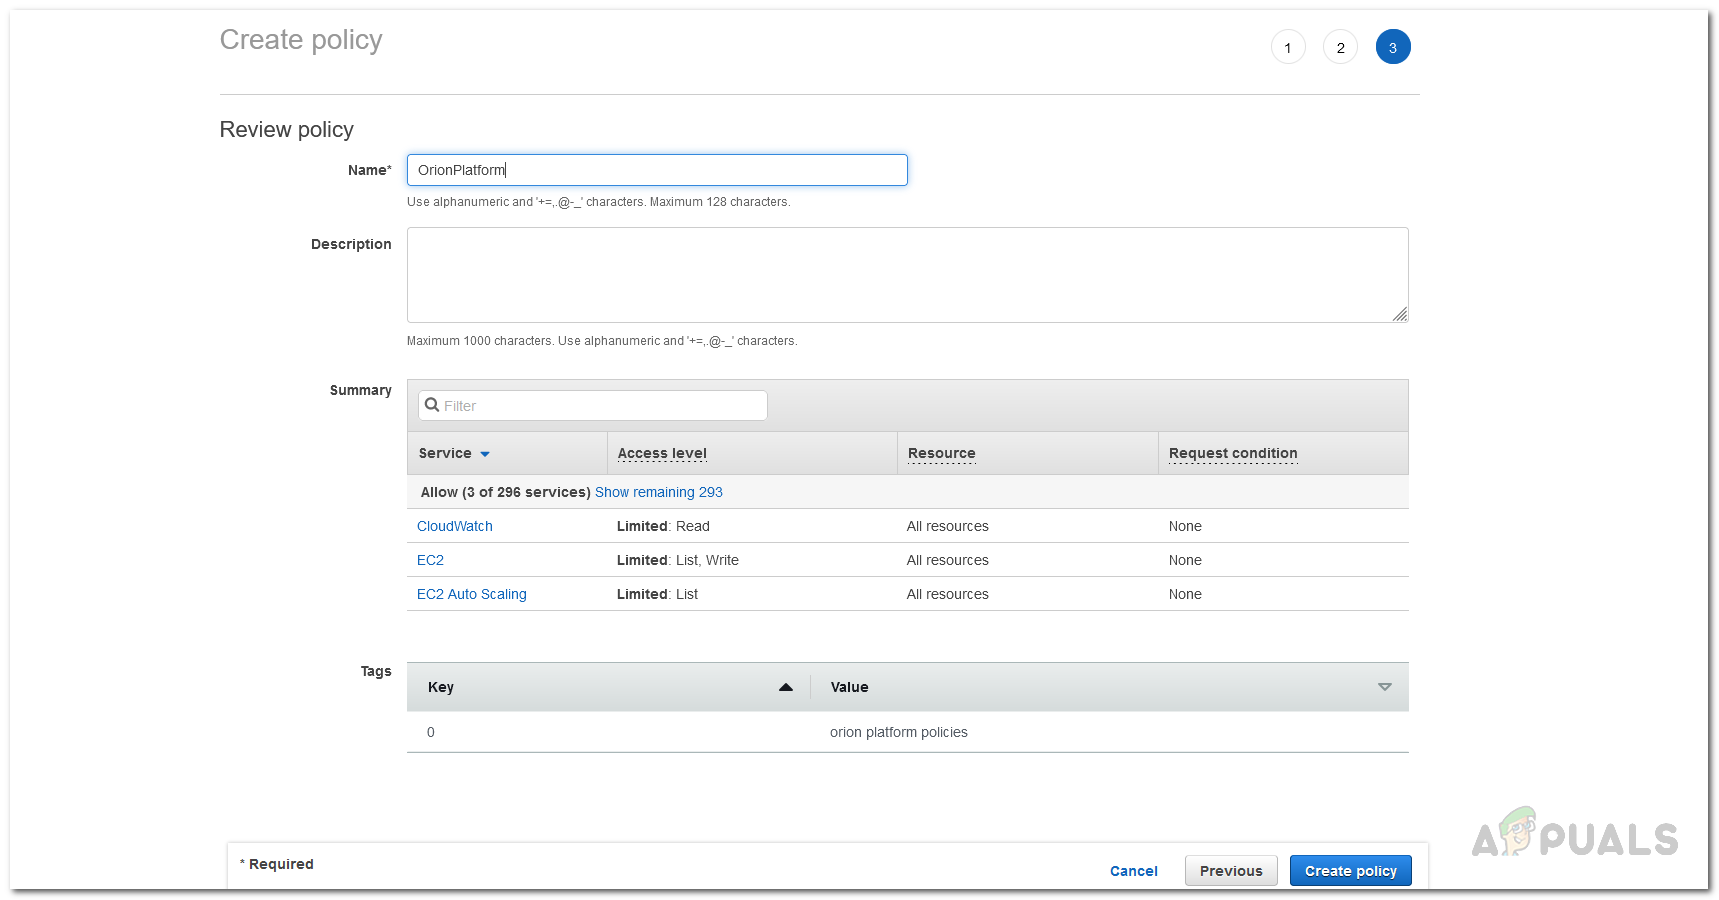
Reviewing Policy - After that, give the policy a name and provide a description if you wish to.
- Finally, click the Create policy button to create the policy.
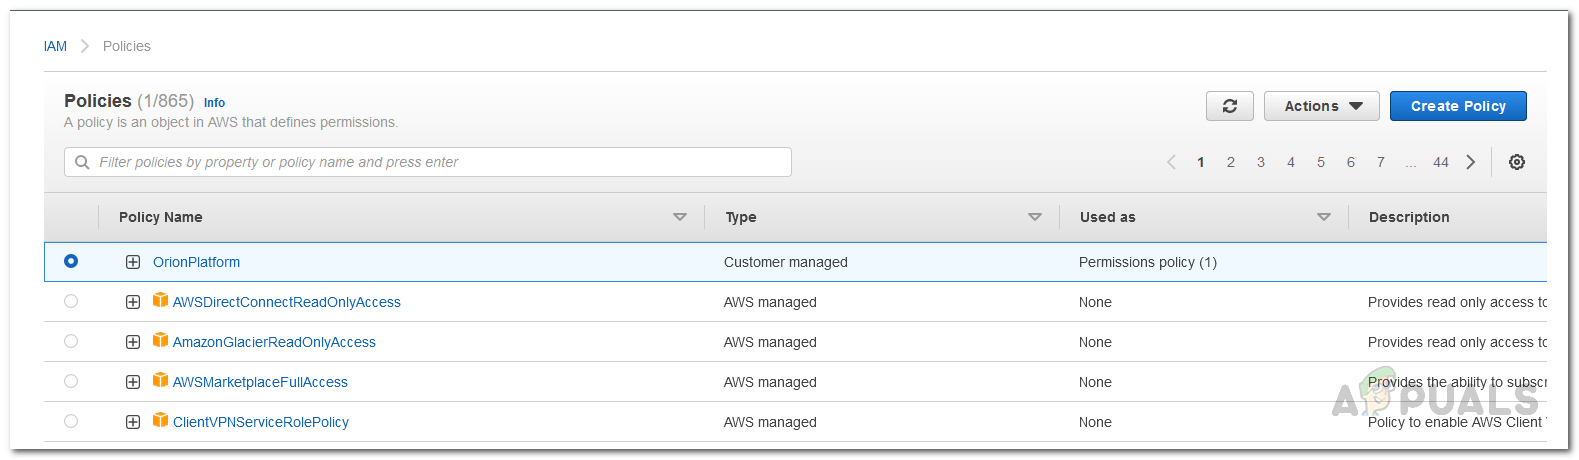
- Now that we have created a policy, it is time to attach the policy to an account.
- On the Policies page, click on the policy that you just created.
Selecting Newly Created Policy - Then, click on the Actions button and from the drop-down menu, choose Attach.
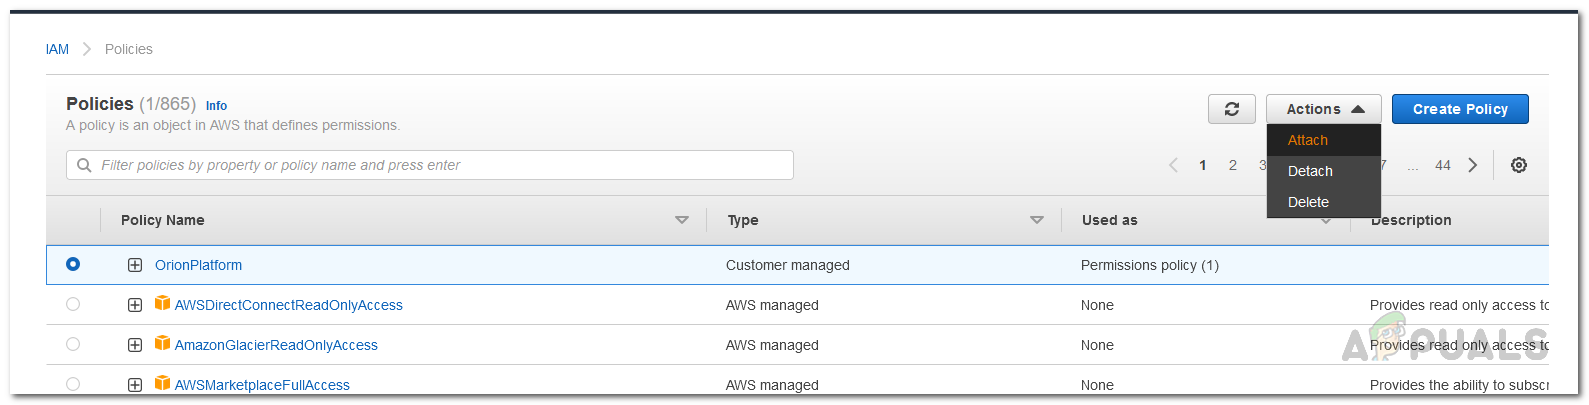
Attaching New Policy - On the Attach policy page, choose the user account that you wish to attach it to and click the Attach policy button.
Add AWS Cloud Account to Orion Platform
At this point, we have configured the AWS account that is to be used on the Orion Platform for monitoring purposes. Before we proceed, make sure that you have the account’s credentials with you. With that said, follow the instructions down below to add the account to the Orion web console:
- First of all, once you close the Configuration Wizard, the Orion web console should come up automatically. You can also access it going to “hostnameORIPaddress:8787” where 8787 is the default port for the Orion web console.
- Once you have opened up the web console, you will be asked to create a password for the admin account if this is your first time opening up the console. Create a password and then click the Save and login button.
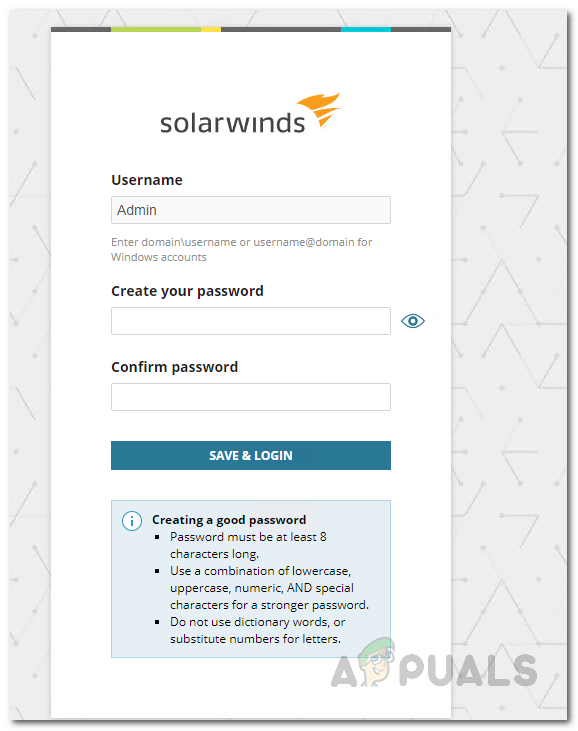
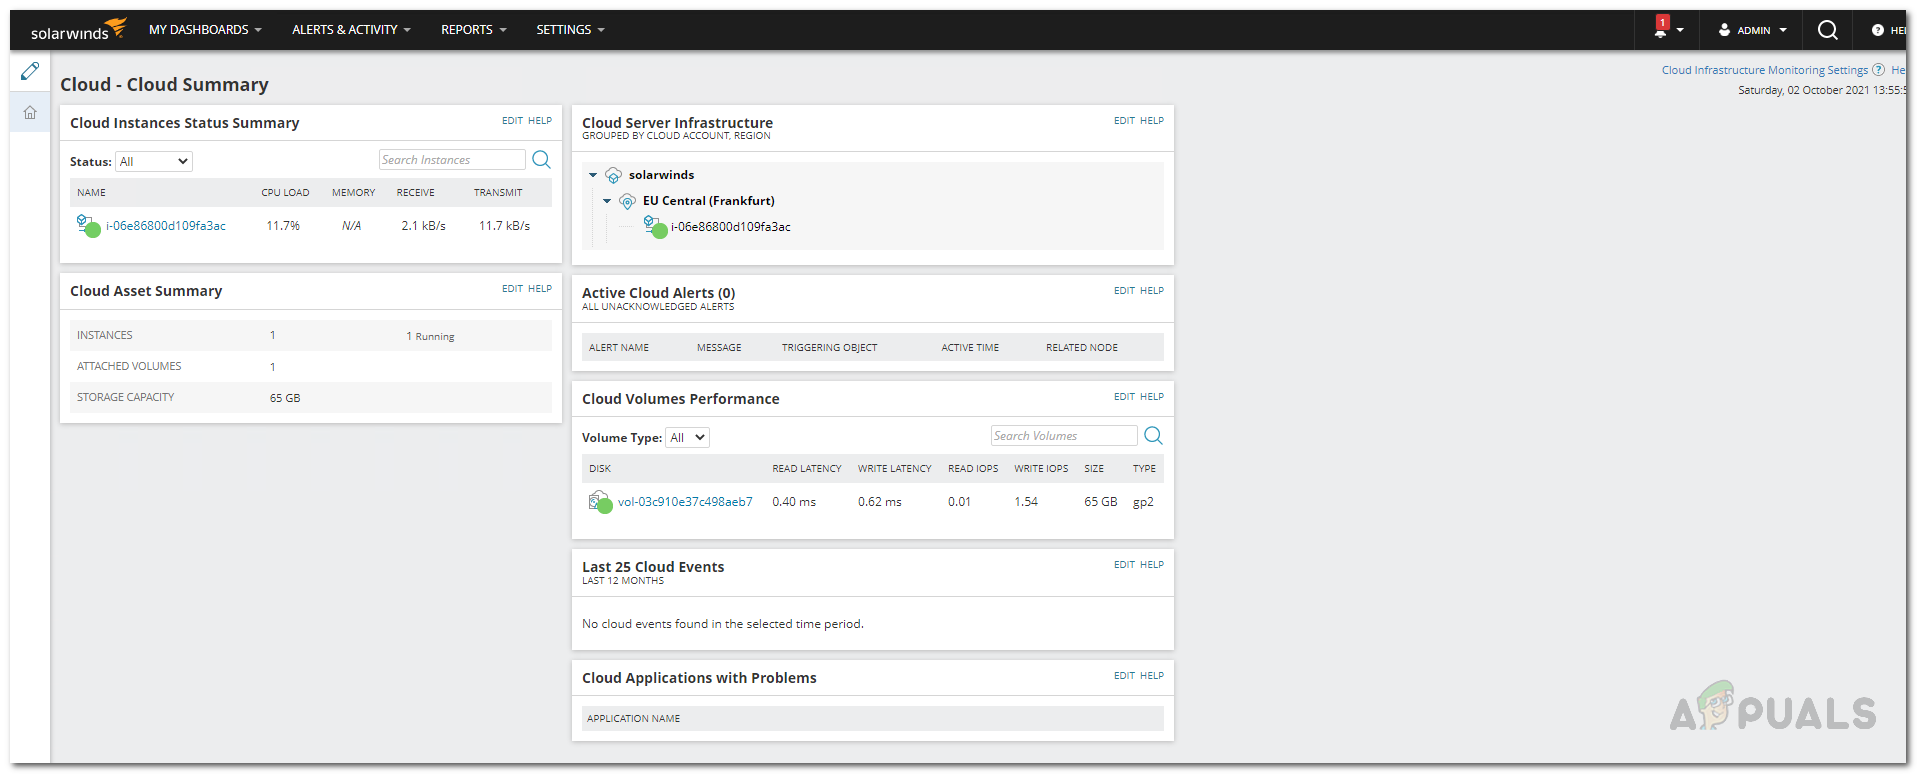
Creating Password for Admin Account - After that, click on My Dashboards > Cloud which will take you to the Cloud Summary page.
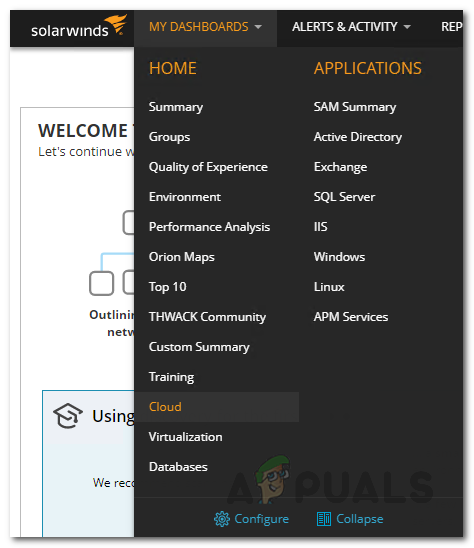
Navigating to Cloud Summary Page - There, click on the Monitor My Cloud Instances button in the Getting Started resource.
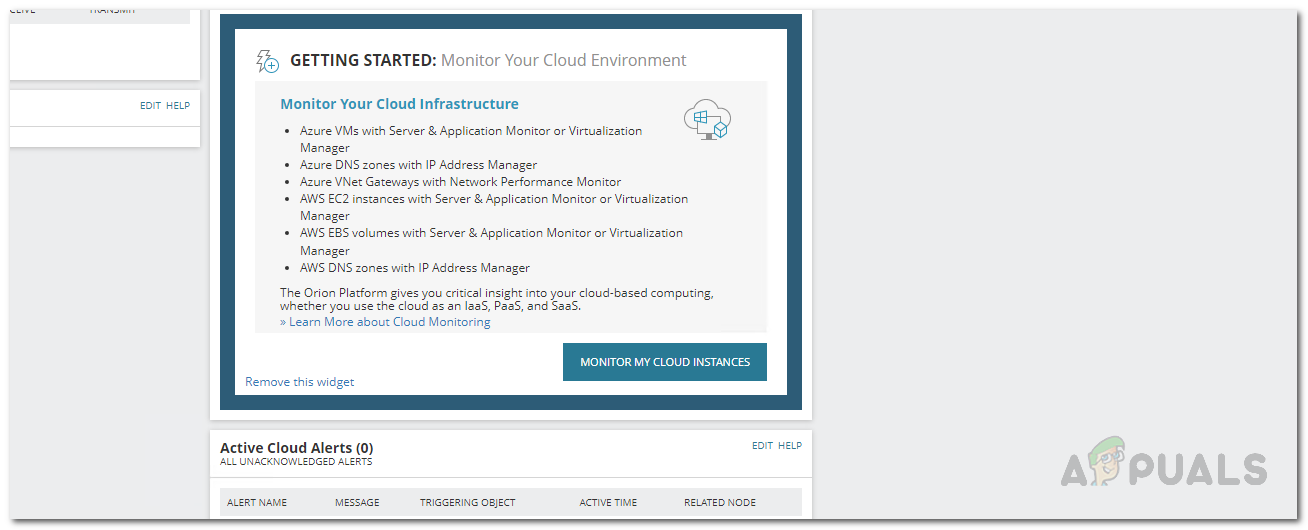
Adding Cloud Account - On the Add Cloud Account screen, you will have to first choose your service provider on the Cloud Service Provider tab. Choose Amazon AWS and then click the Monitor AWS button.
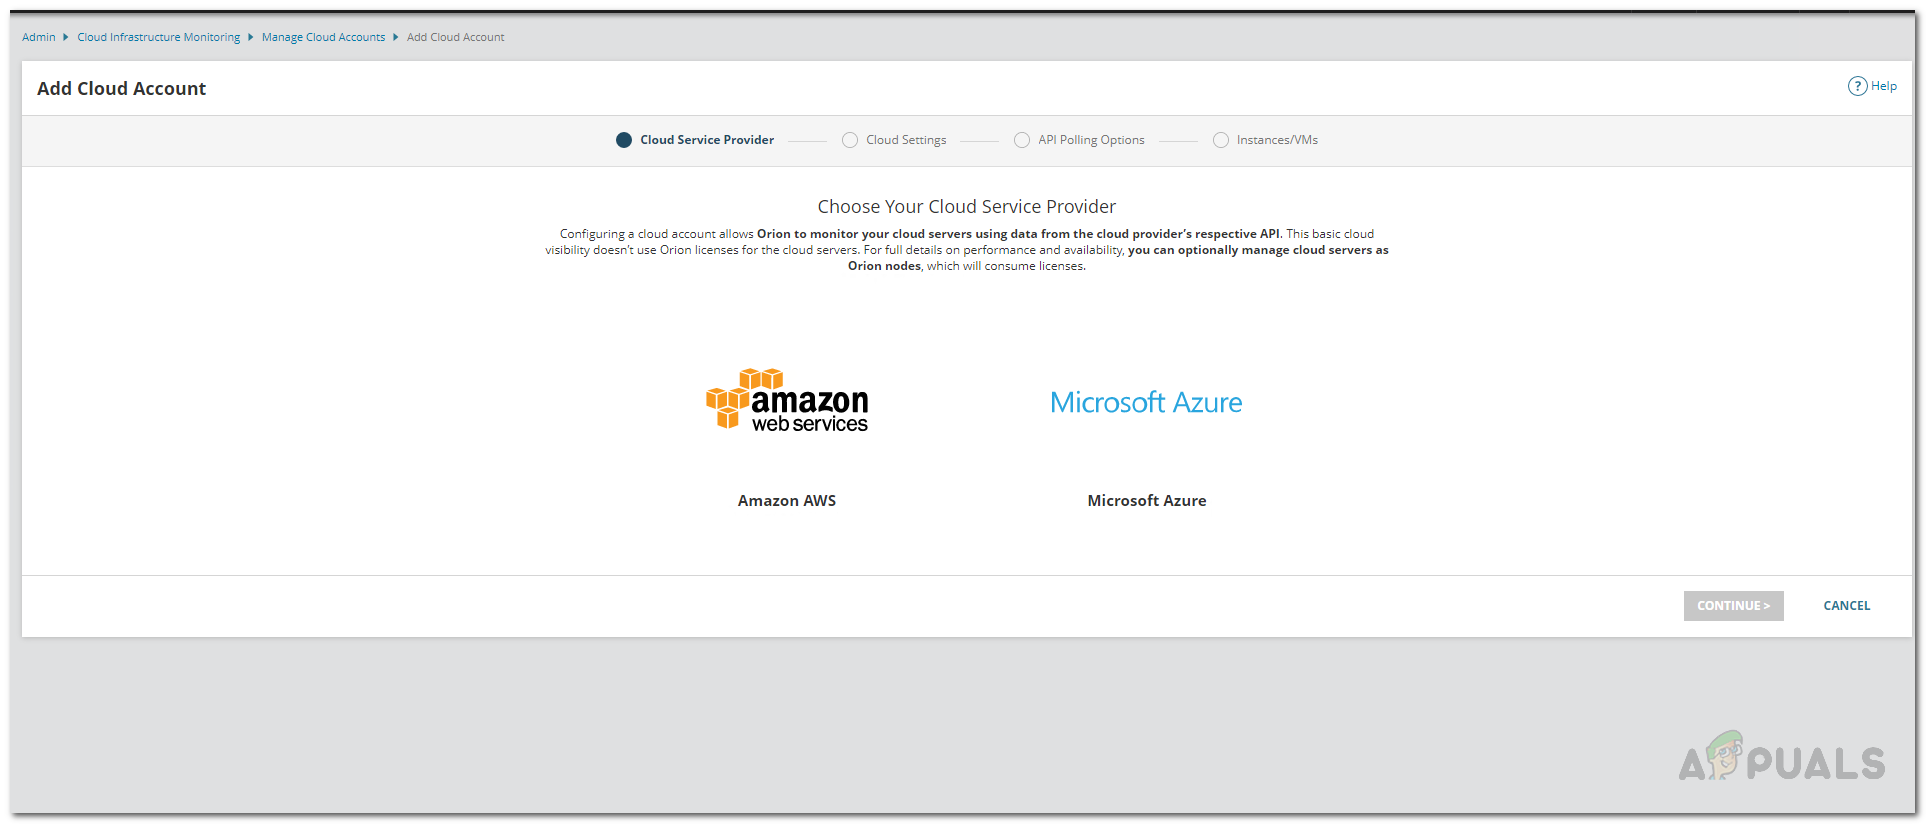
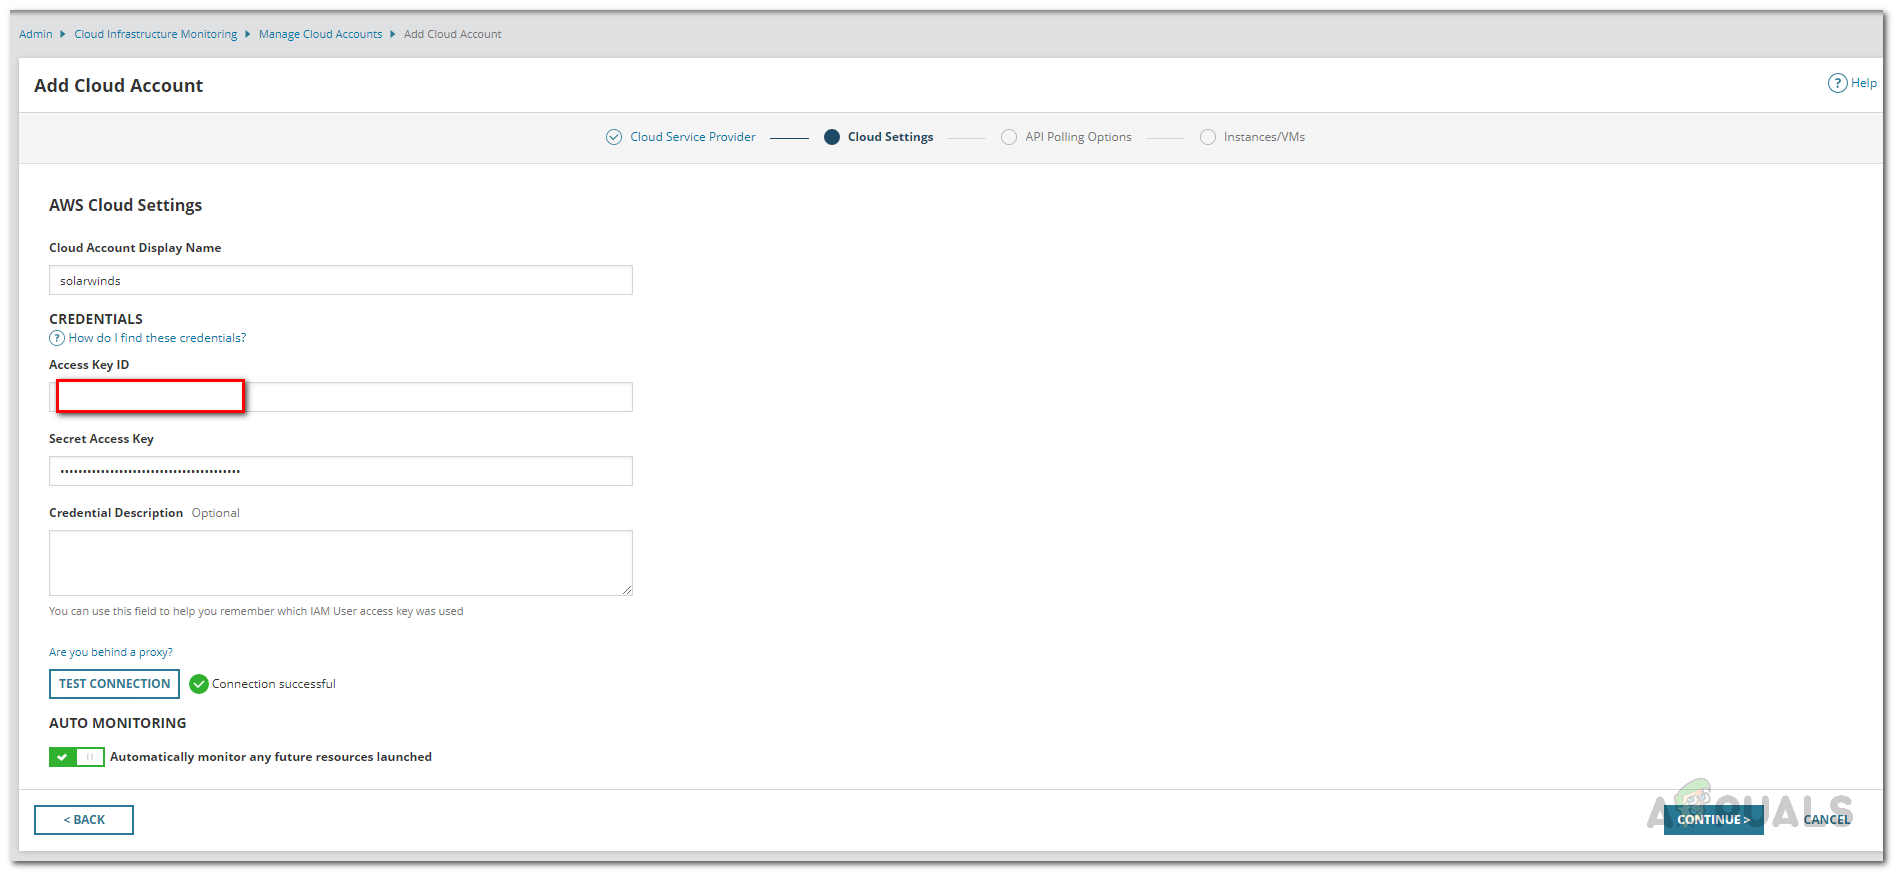
Choosing Cloud Service Provider - After that, on the Cloud Settings page, provide the required details which includes the Access key ID as well as the Secret Access Key of the account that you are going to use.

Providing Cloud Account Details - To test the connection, click on the Test Connection provided. If it is able to connect successfully, you will be shown a Connection successful message.
Checking Cloud Account Details - After that, on the API Polling Options, choose how often you want the Orion platform to update its data.
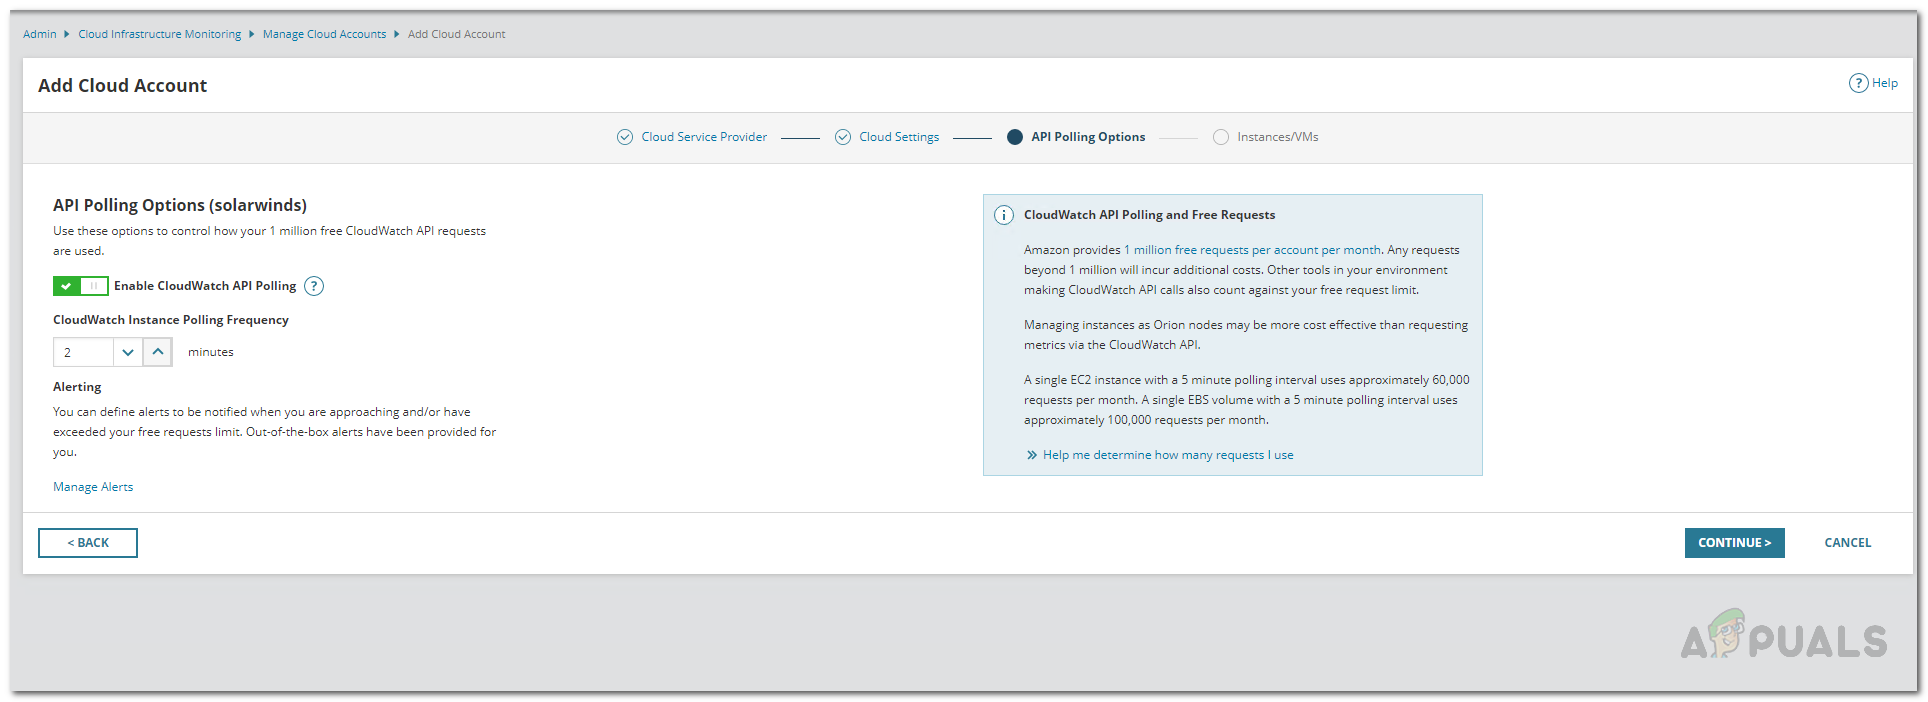
Choosing API Polling Settings - In addition, you can click on the Manage Alerts option to define any alerts per your requirements.
- On the Instances/VMs tab, choose the cloud instances that you wish to monitor and then finally click the Finish button.
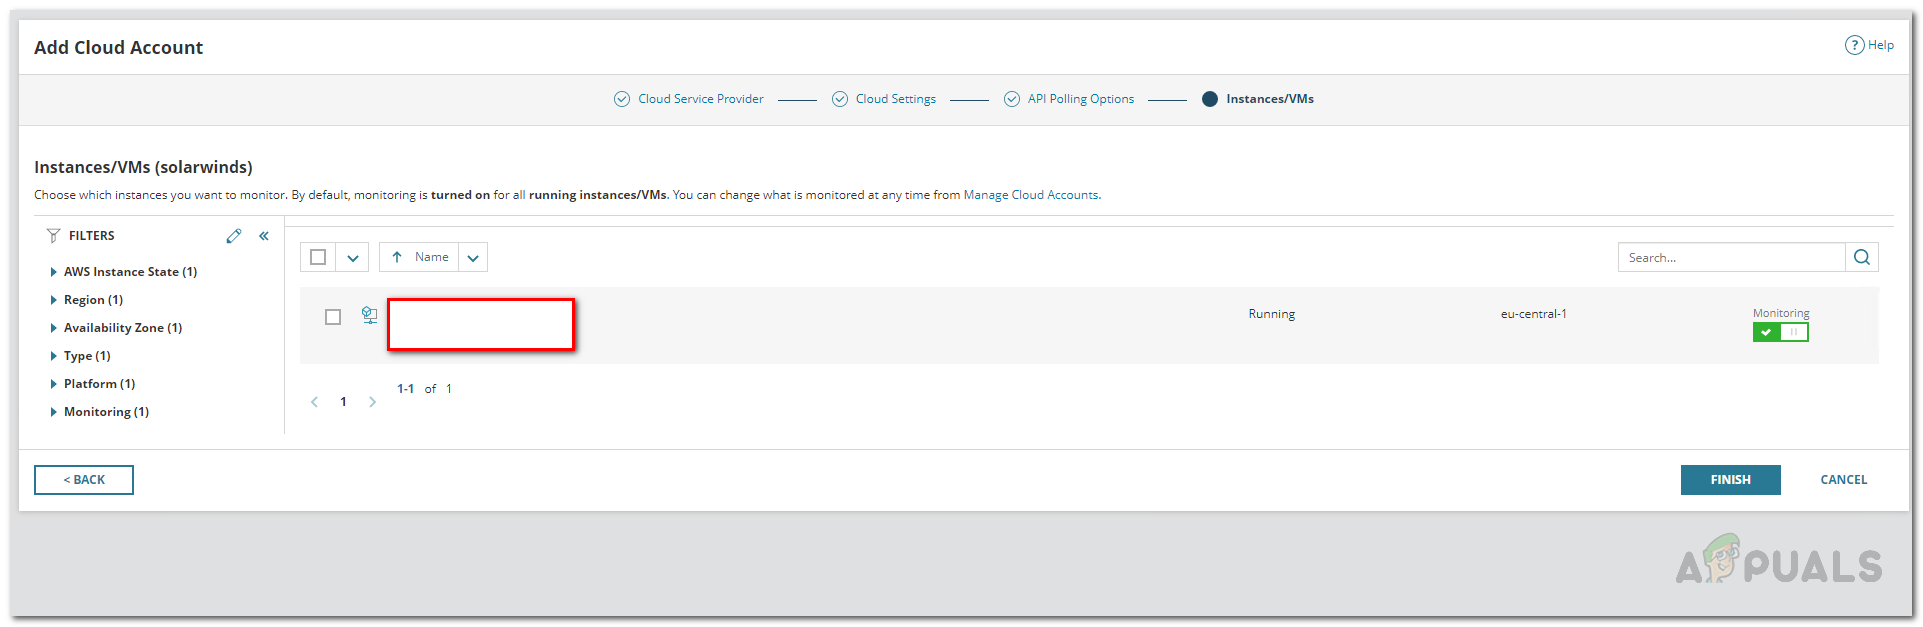
Choosing Instances to Monitor
Monitor AWS Cloud Instance
Now that you have installed the Server and Application Monitor, configured the AWS account to be used by the Orion Platform for polling and monitoring as well as added the cloud account to the Orion Platform, you can finally monitor your cloud instances without any worries. To view the summary of your added cloud accounts, simply go to the My Dashboards > Cloud page where a summary will be shown. It won’t be available instantly as it depends on the polling time that you decided earlier so wait for it and you will have your metrics momentarily.