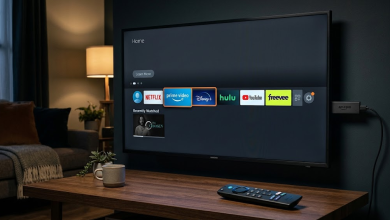
How to Fix Hisense TV Not Connecting to Wi-Fi?
A Hisense TV can stay Not connected while your phone streams normally on the same Wi-Fi. The TV may not find the network, reject its password, or lose the connection again after standby.
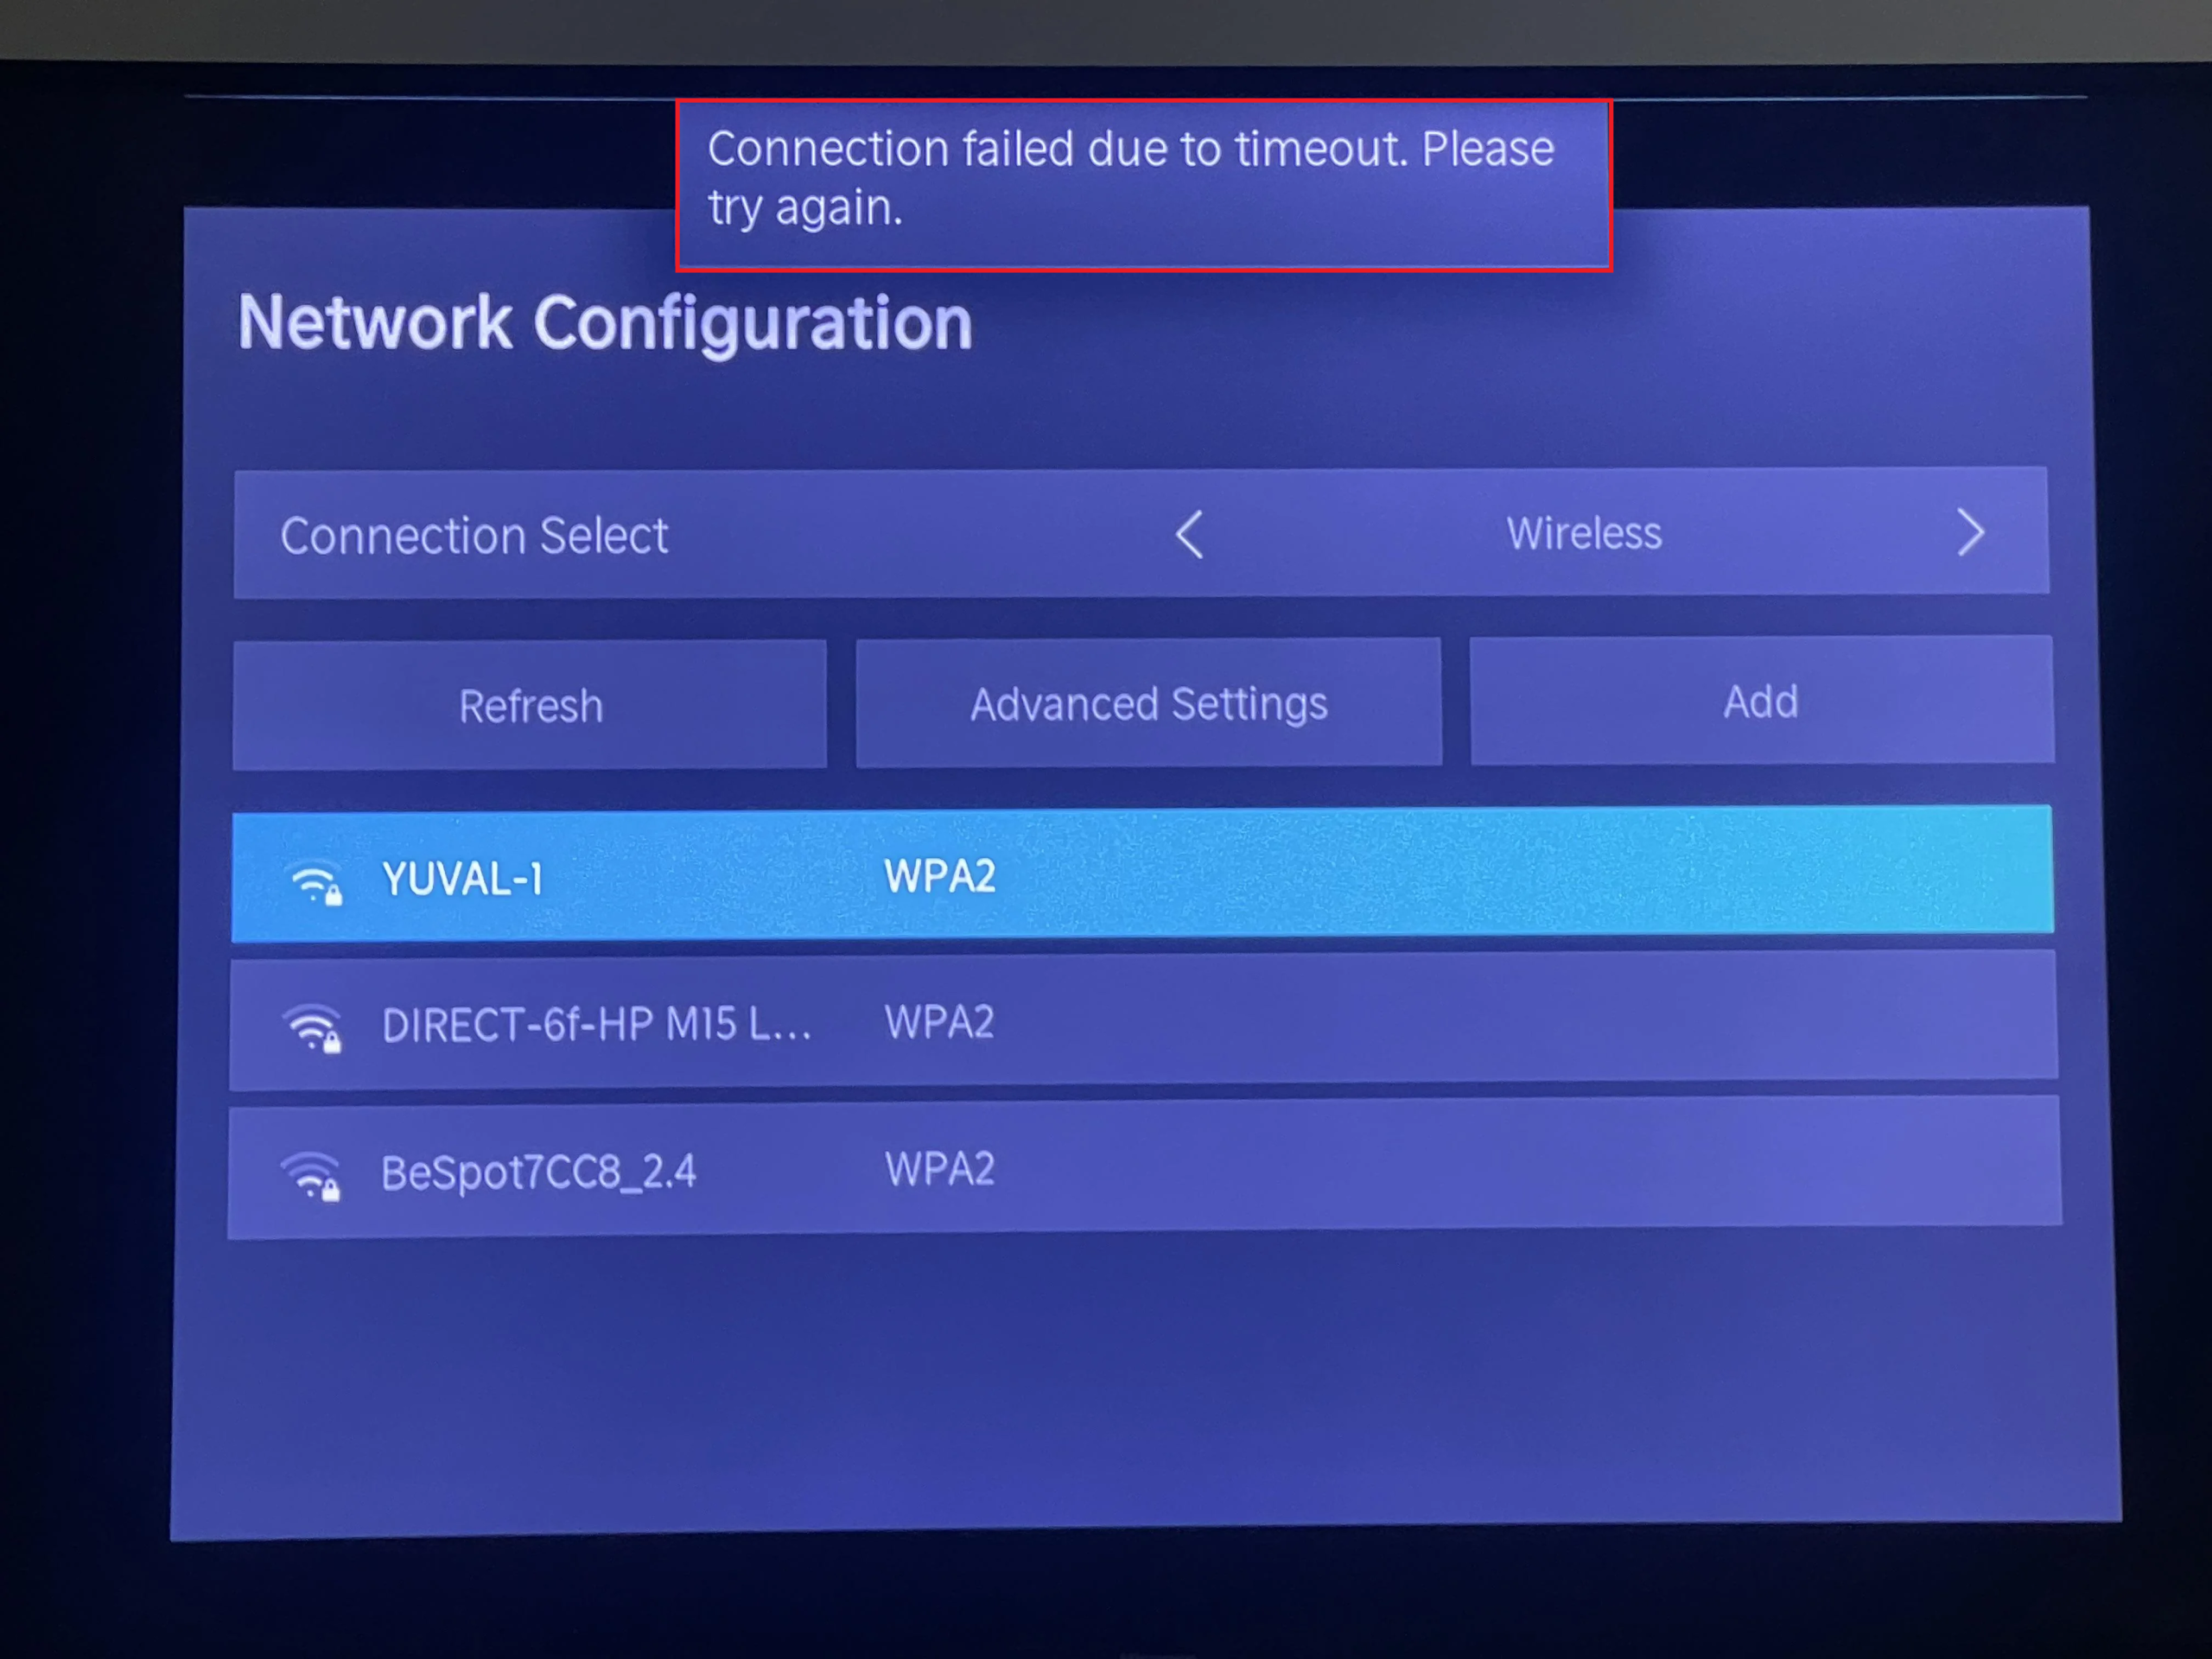
This does not necessarily mean your internet service is down. A saved password, weak signal or Wi-Fi compatibility problem can affect the TV without disconnecting the other devices in your home.
Check the Connection and TV Menus
Load a website on another device using the same Wi-Fi, making sure it is not using cellular data. If that fails too, ask the router owner to restart the router/modem or check with the internet provider.
Hisense sells TVs with different operating systems. These are the network menus used below; for another layout, find your exact model through Hisense product support or its regional support site.
| TV system | Wi-Fi settings |
|---|---|
| Google TV / Android TV | Settings > Network & Internet; turn Wi-Fi on. |
| VIDAA | Settings > Network > Network Configuration; select Wireless on layouts with this menu. |
| Roku TV | Settings > Network > Set up connection > Wireless. |
A Hisense remote that does not respond needs attention before menu-based fixes. A phone remote app may also be unavailable while the TV is off the network.
1. Restart the Hisense TV Completely
Pressing Power may put the TV into standby rather than restart it. Disconnecting power starts the TV again without erasing its setup and can restore a connection that stopped responding.
Wait for any software update to finish first. Use an accessible outlet; avoid moving a large or wall-mounted TV to reach its cable.
- Turn off the TV, unplug its power cord from the outlet and leave it disconnected for five minutes.
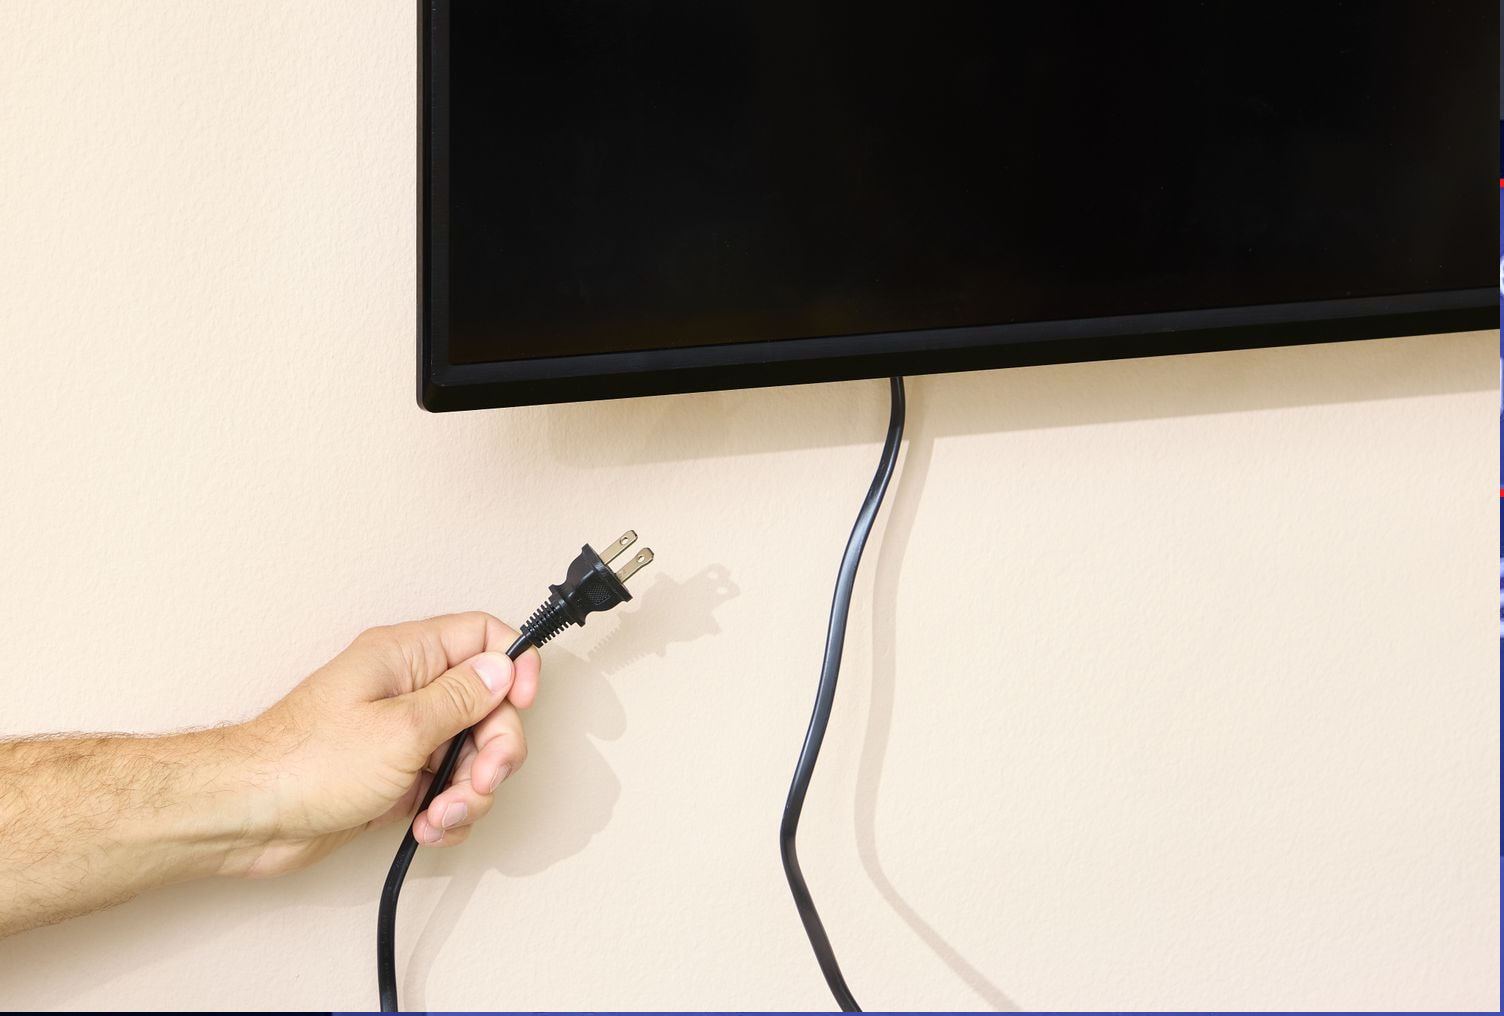
Disconnect power only when no software update is running. - Reconnect power, turn on the TV and let its home screen finish loading.
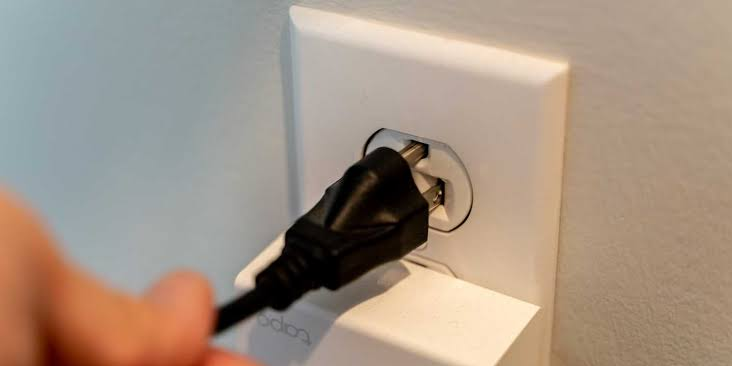
Reconnect power after five minutes and allow startup to finish. - Open the matching network menu above, select your home Wi-Fi and enter its current password. After connecting, open a streaming app and play a video.
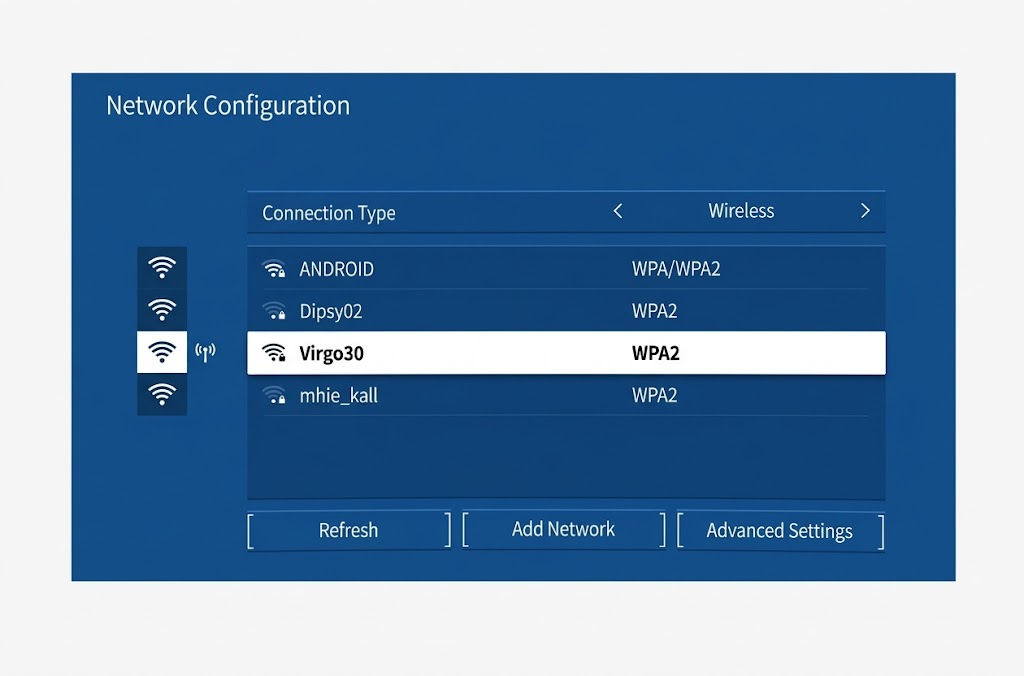
Check the TV connection and open an app to test internet access.
If streaming works, put the TV into standby and turn it back on once. A connection that fails again at startup still needs attention; a single successful video does not establish a lasting fix.
On Google/Android TV, an outdated saved password can be replaced by selecting the network, choosing Forget network, then reconnecting with the current password. Have that password ready before forgetting it.
2. Add a Missing Wi-Fi Network Manually
A hidden network will not appear like a normal broadcast network. Manual entry lets the TV try its exact name, but it cannot overcome an unsupported band or security setting.
This applies to Google/Android TV and VIDAA layouts with an Add control. If your network is already listed, select it normally rather than adding duplicate entries.
- Open the TV’s network settings. On Google/Android TV, turn Wi-Fi on; on the illustrated VIDAA menu, set the connection type to Wireless.
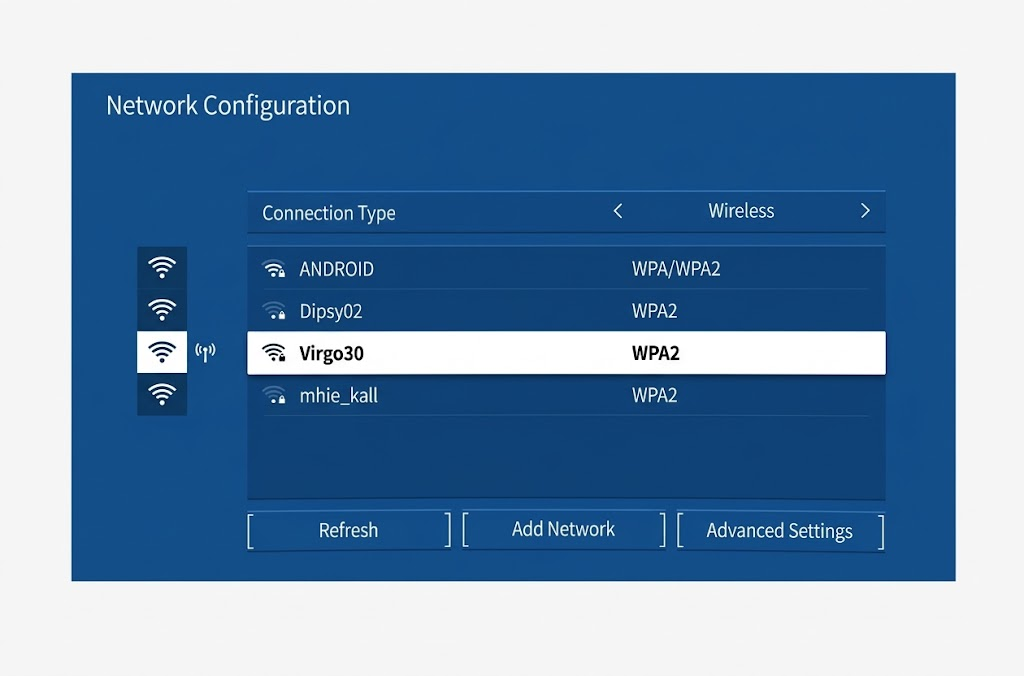
Google TV and Android TV use Network and Internet; the illustrated VIDAA model uses Network Configuration. - Check See all on Google/Android TV or Refresh on VIDAA. If the network is still absent, select Add new network or the VIDAA Add / Add Network control.
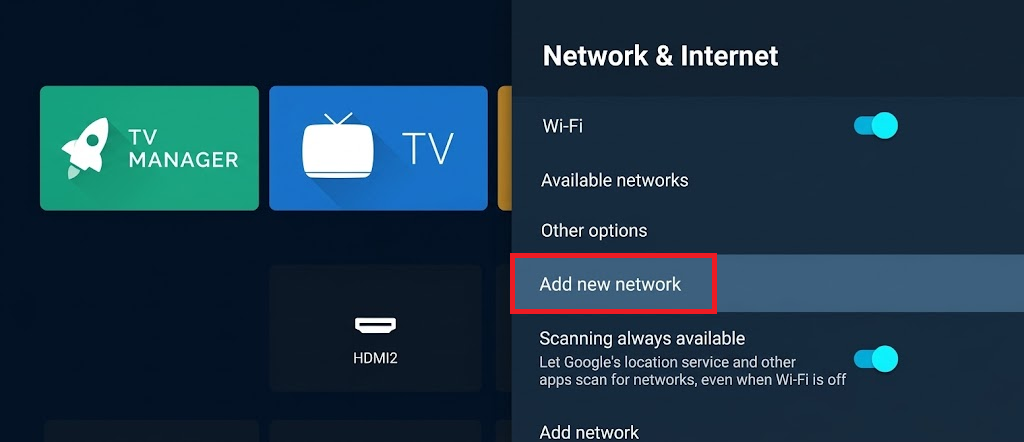
Use manual entry only when you know the exact network details. - Enter the exact network name (SSID), security type and password supplied by the router owner. Use the current details, not the sample values in the image. Do not remove encryption to make it connect.
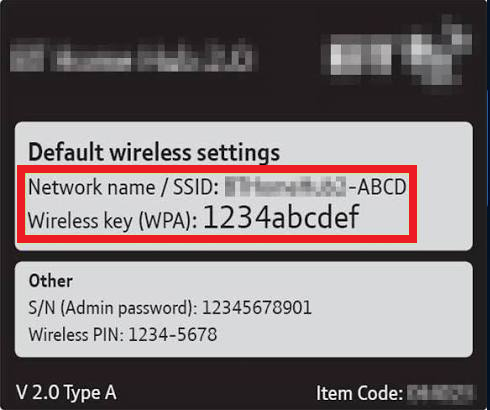
Enter the correct name, security type and password without changing the router’s security. - Finish connecting and test a streaming app. If the network is saved but the TV still cannot join, record the error rather than repeatedly adding it.
A completely empty network list is different from one missing home network. Test another known working network before concluding that the password or TV hardware is at fault.
3. Test the Router’s 2.4 GHz Network
A 2.4 GHz network can offer better range through walls than 5 GHz. Try it when the 5 GHz connection keeps disappearing or dropping, rather than assuming every Hisense TV must use 2.4 GHz.
The router must already offer a separately named 2.4 GHz network, or its owner must provide one. A shared network name may not let you choose a band from the TV.
- Ask the router owner, or check its app, for the verified 2.4 GHz network name and password. A name containing 2G or 2.4 is only a clue, not proof of the band.
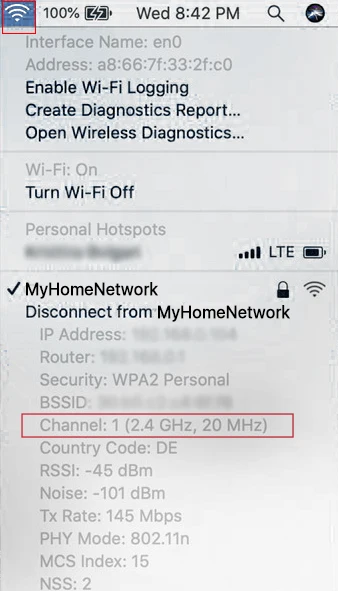
Enter the correct name, security type and password without changing the router’s security. - Select that network on the TV and enter its password. Keep the TV in the same location for the comparison.
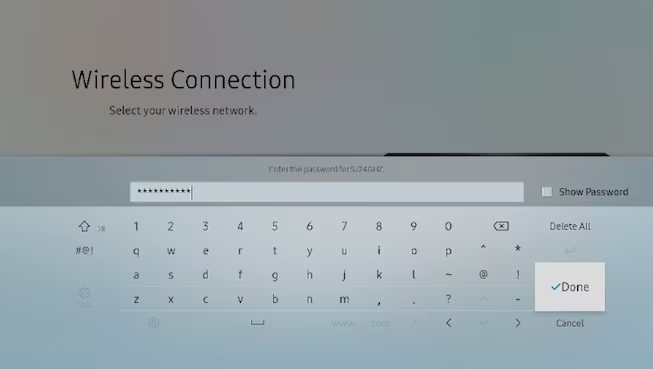
Connect the TV to the existing 2.4 GHz network using its correct password. - Play the same video and retest after standby. Keep 2.4 GHz if it stays reliable; restore the previous network if nothing improves.
If only 5 GHz fails, ask the router owner to check channels supported by your TV. Roku’s wireless guidance notes that some models cannot use certain 5 GHz channels. Leave shared or managed router settings to its administrator.
4. Reset the Connection on a Hisense Roku TV
On Roku, a network connection reset removes the saved Wi-Fi configuration so you can set it up again. It is different from a factory reset and is not the menu to look for on every Hisense TV.
- Press Home, then open Settings > System > Advanced system settings > Network connection reset.
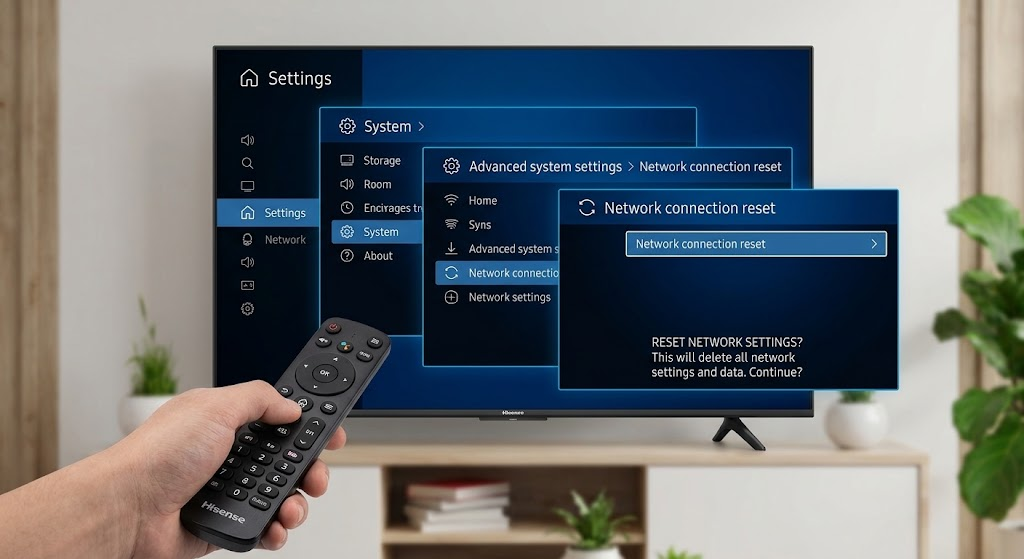
Choose Network connection reset, not Factory reset. - Select Reset connection and allow the TV to restart. This is the network-reset procedure documented by Roku.
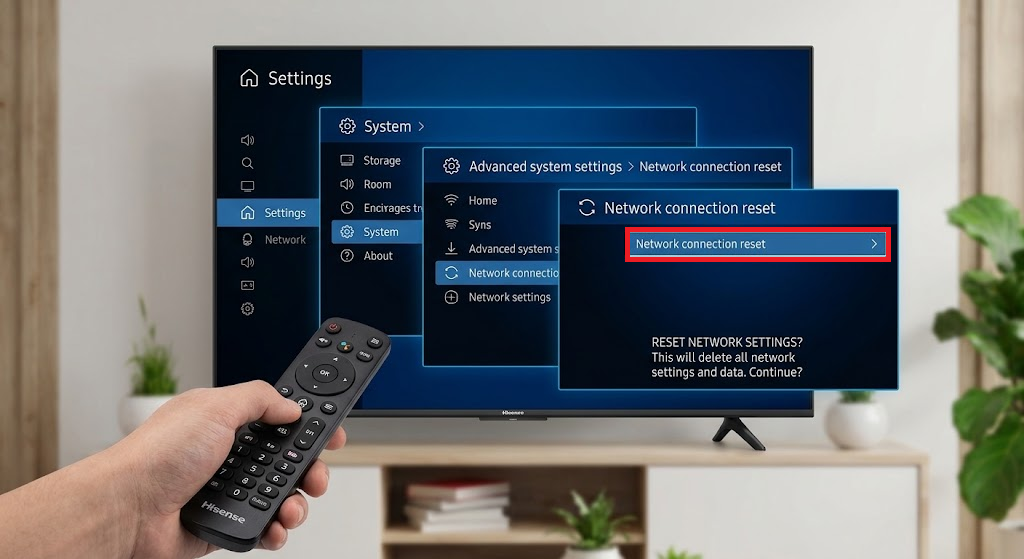
Have the Wi-Fi password ready before confirming this network reset. - Open Settings > Network > Set up connection > Wireless. Select your network, enter its password and test streaming after connecting.
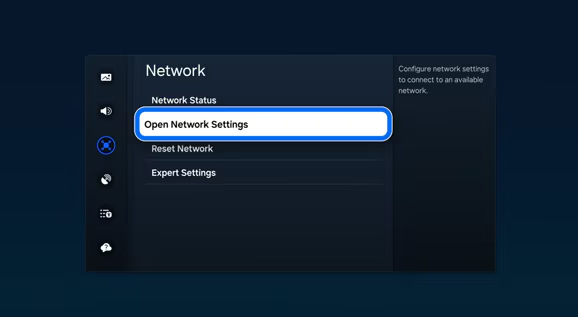
Reconnect to the intended network and test an app.
Menu clarification: the last image uses a different network layout. On Roku, follow the Set up connection > Wireless labels above, not Open Network Settings.
Keep any error code if reconnection fails. Roku error 016, for example, identifies a connection problem to include in a support report.
5. Clear the TV’s System Cache Where Available
A repeated Wi-Fi warning can persist even while apps stream. Clearing the system cache has helped some Hisense owners, but the control is model-specific; it is not a standard Roku network fix.
- On supported Hisense Google TV models, open Settings > System > Advanced System > Clear Cache. Other layouts may use Device Preferences or Application Settings; confirm the control in your model’s manual.
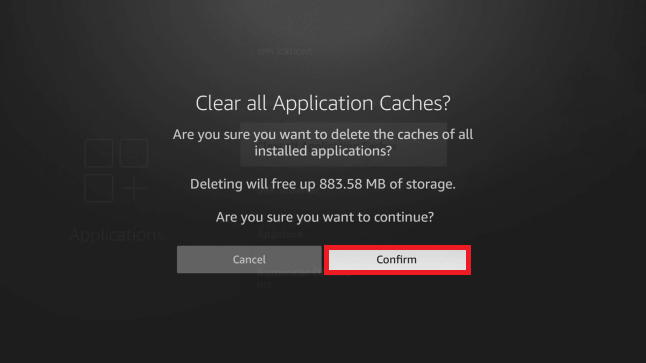
Some models include app or browser user data; review the warning before confirming. - Select Clear Cache and check what it will remove. The Hisense U8H manual documents this control as one example, not a universal menu for all models.
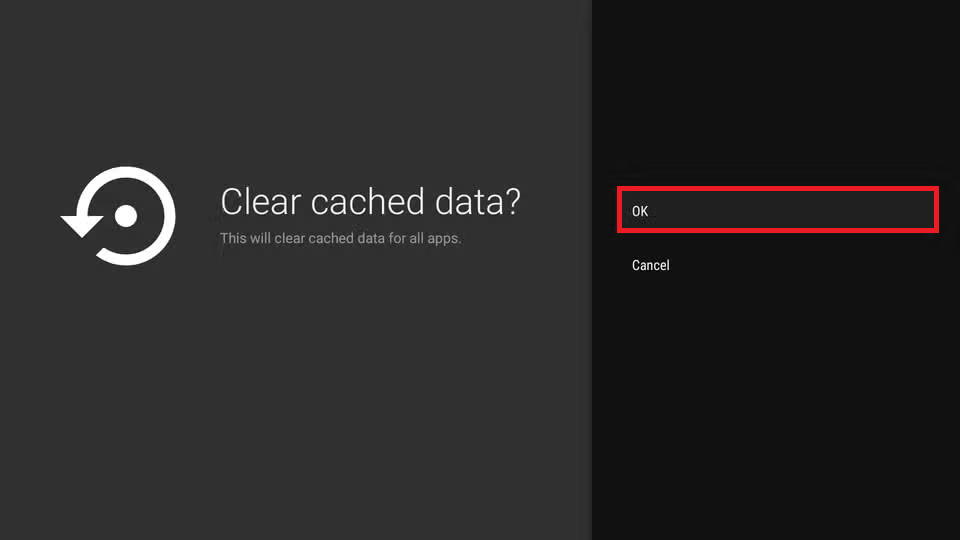
Some models include app or browser user data; review the warning before confirming. - Proceed only if you accept the stated scope. Finish any restart, reconnect to Wi-Fi and test the same app, including after standby.
If cleanup makes no difference or the warning returns, repeated clearing is unlikely to be useful. Record whether streaming actually stops or only the warning reappears.
If the TV Still Cannot Get Online
Connected to Wi-Fi, but no internet: check the TV’s date, time and time zone. On Google TV, use Settings > System > Date & Time. Correct an inaccurate clock; use automatic time if it supplies the correct value.
Try another known working, password-protected Wi-Fi network with permission. A phone hotspot is useful for a brief test, but video can use paid mobile data. Turn it off afterward.
- Another network works: ask the home-network owner or ISP to check device blocking, supported bands/channels and security compatibility. A working phone does not rule out a TV-specific router setting.
- No networks work: record whether the TV sees networks or finds none. Ethernet, if available, provides another test and temporary access, but working Ethernet alone does not prove the Wi-Fi hardware has failed.
With internet access restored, check for an update offered by the TV. Google’s system-update instructions cover Google TV. For offline updates, use only Hisense’s firmware lookup and confirm the file matches your exact TV and region.
Give Hisense the full model, software version, exact message, standby behavior and alternate-network results. Hotel or school networks may need administrator assistance. If other apps stream normally and only one fails, troubleshoot that app rather than resetting the TV.