How to Connect Apple Pencil to iPad: All Generations Guide
- Connecting the 1st generation involves removing the cap, connecting, and tapping "Pair."
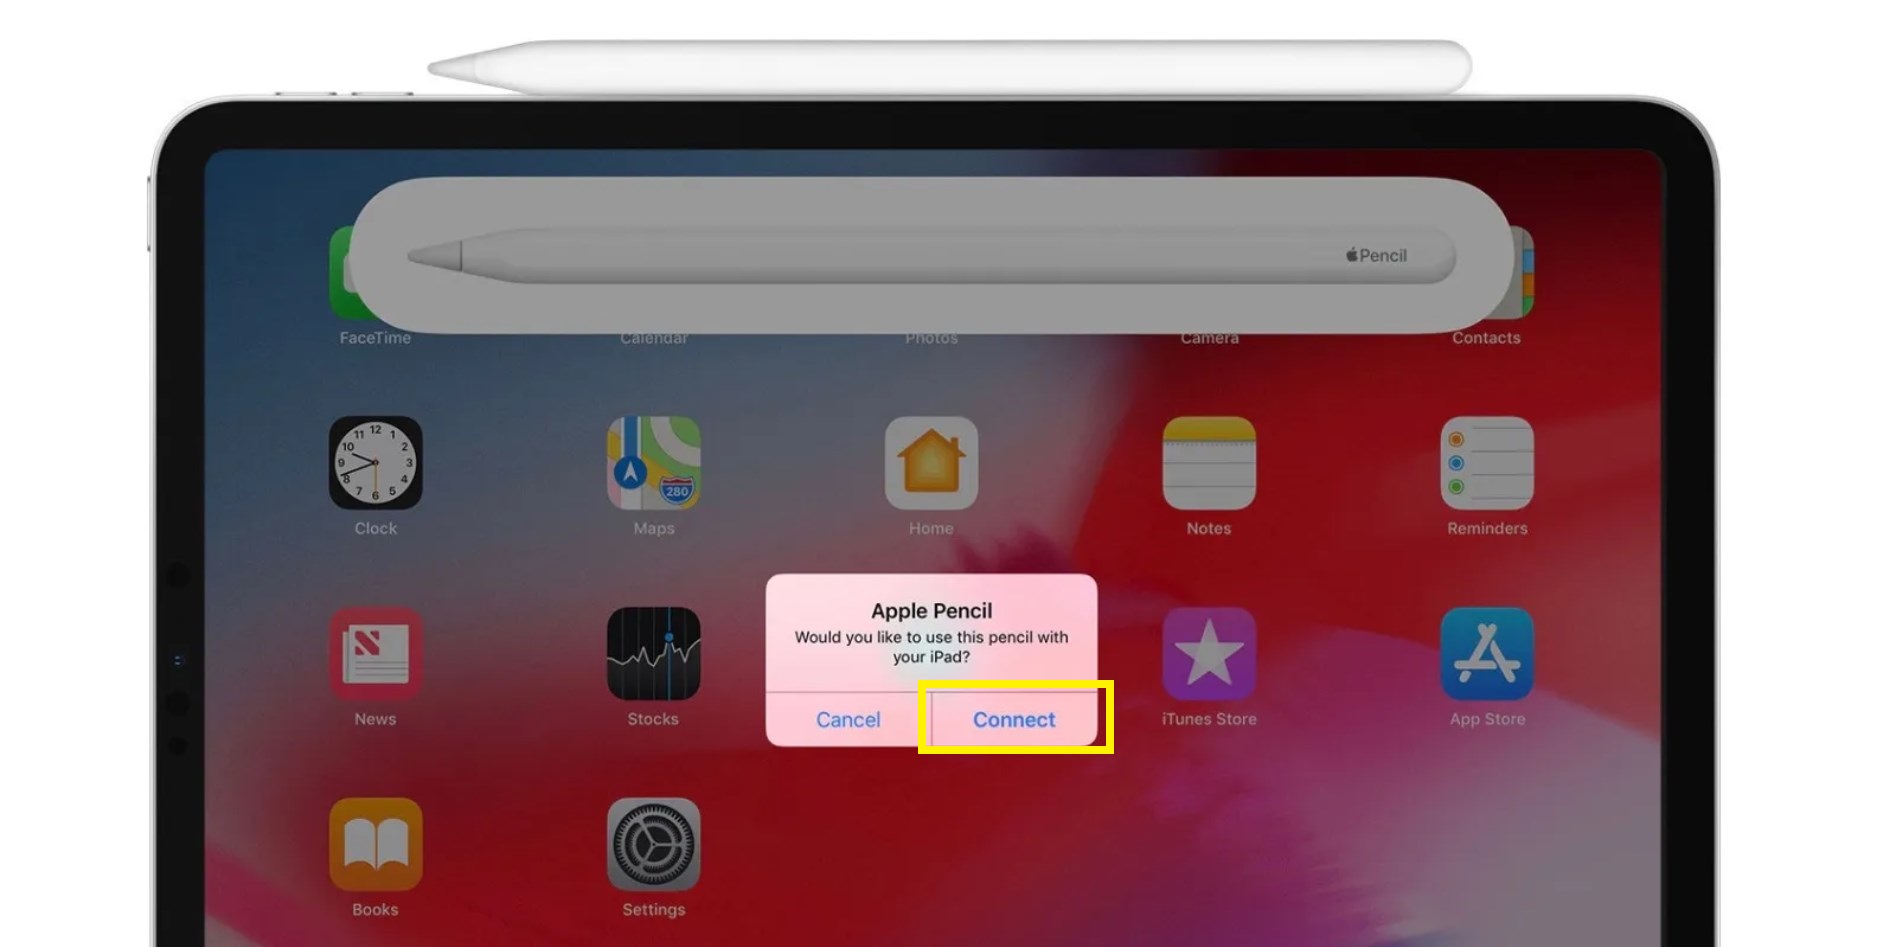
- For the 2nd generation, simply magnetically attach it to your iPad and tap "Connect."
- The latest Apple Pencil involves USB-C attachment, followed by tapping "Pair" to complete the connection.
With the recent launch of the new USB-C Apple Pencil and four concurrently running iPad lineups, it can get confusing as to which one is compatible with what. Especially now that Apple is starting to completely switch over to USB-C. Well, fear not as this guide is your go-to resource for understanding how to connect Apple Pencil to iPad seamlessly.
Whether you’re a seasoned user or just unwrapping your Apple Pencil, we’ll walk you through the essentials, making sure you get the most out of this powerful duo. Let’s dive in and explore the simplicity of harnessing your artistic potential with the Apple Pencil and iPad.
Table of Contents
How to Identify Your Apple Pencil
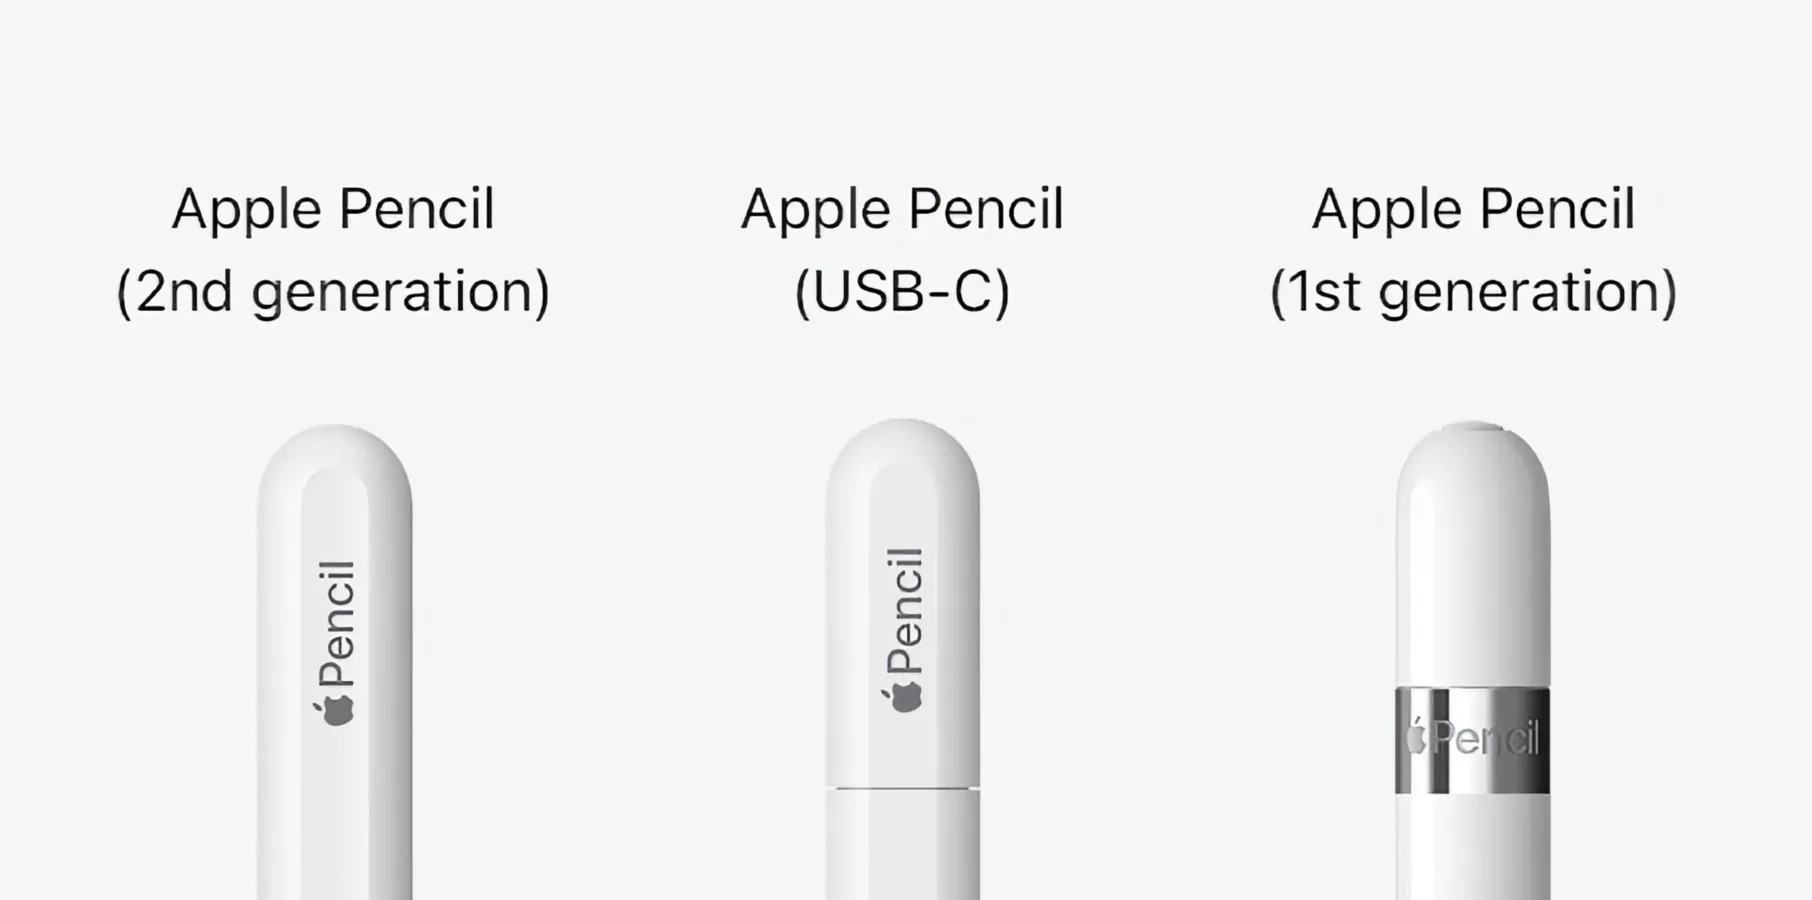
The foremost step when connecting your Apple Pencil is to identify which version you own. This also makes it easier to determine the compatibility of it to your iPad. Here’s how you can do so:
READ MORE: Rumor – Apple Scraped $49 Apple Pencil ➜
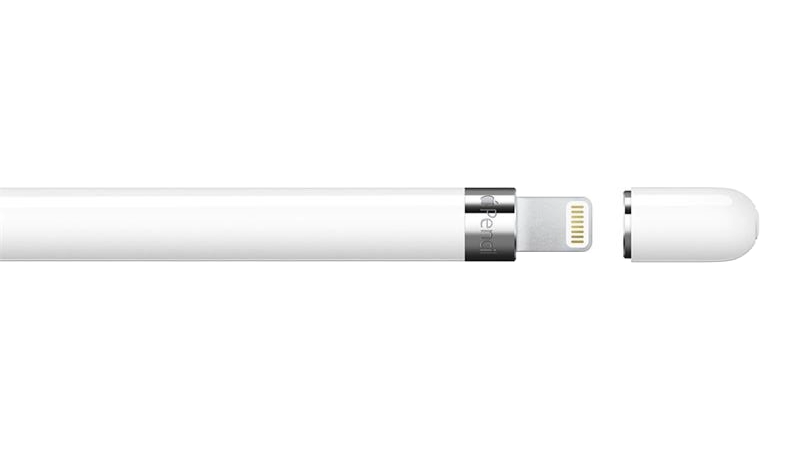
1st Generation
The 1st generation Apple Pencil is distinguished by a silver cap at the end, covering the Lightning connector. It is compatible with the following iPads:
- iPad (6th generation and later)
- iPad Mini® (5th generation)
- iPad Air® (3rd generation)
- iPad Pro® 12.9 inch (1st or 2nd generation)
- iPad Pro 10.5 inch
- iPad Pro 9.7 inch
2nd Generation
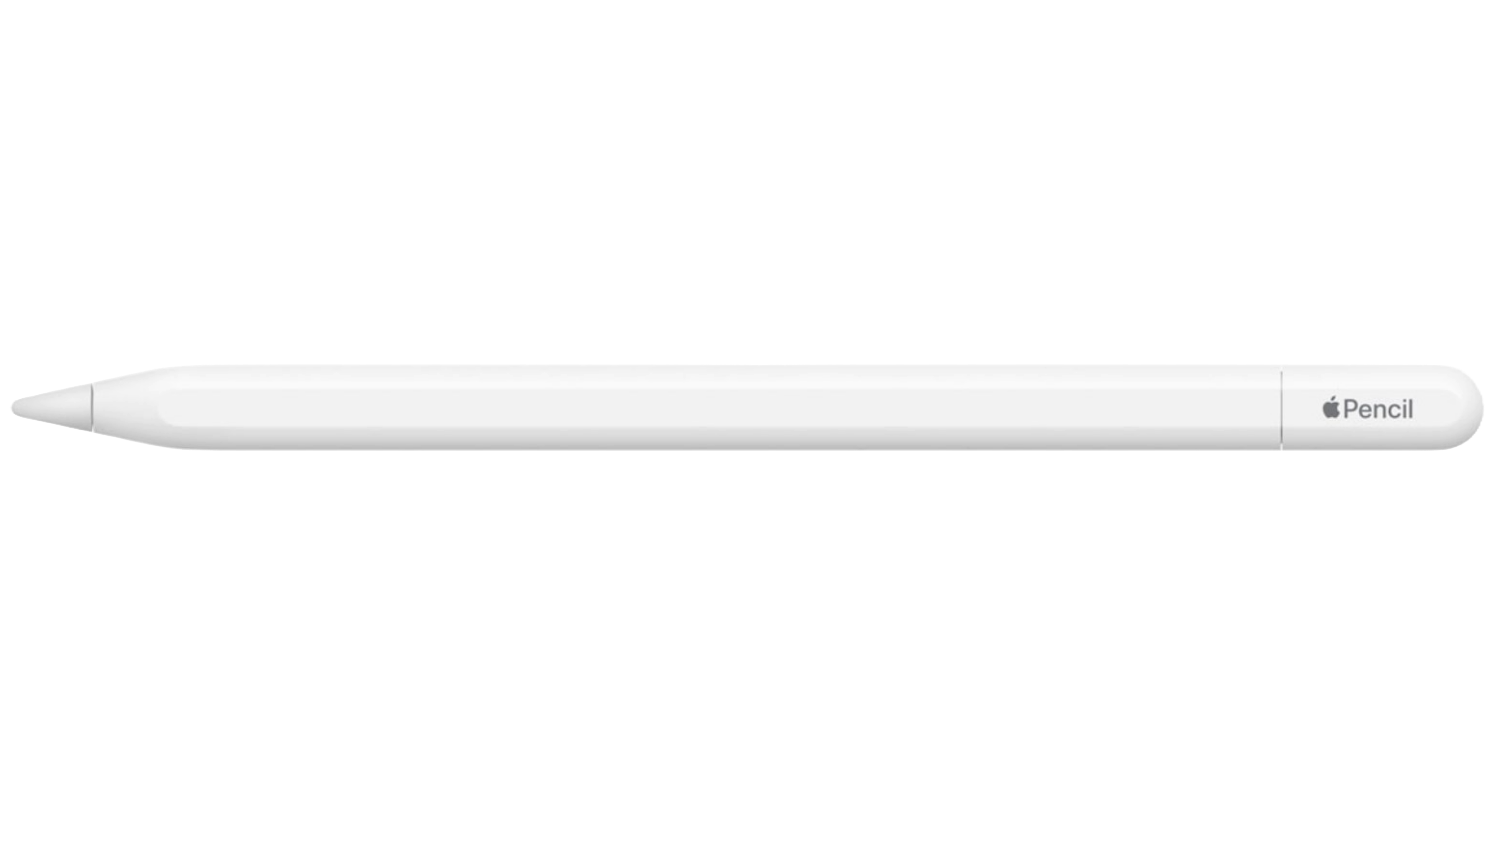
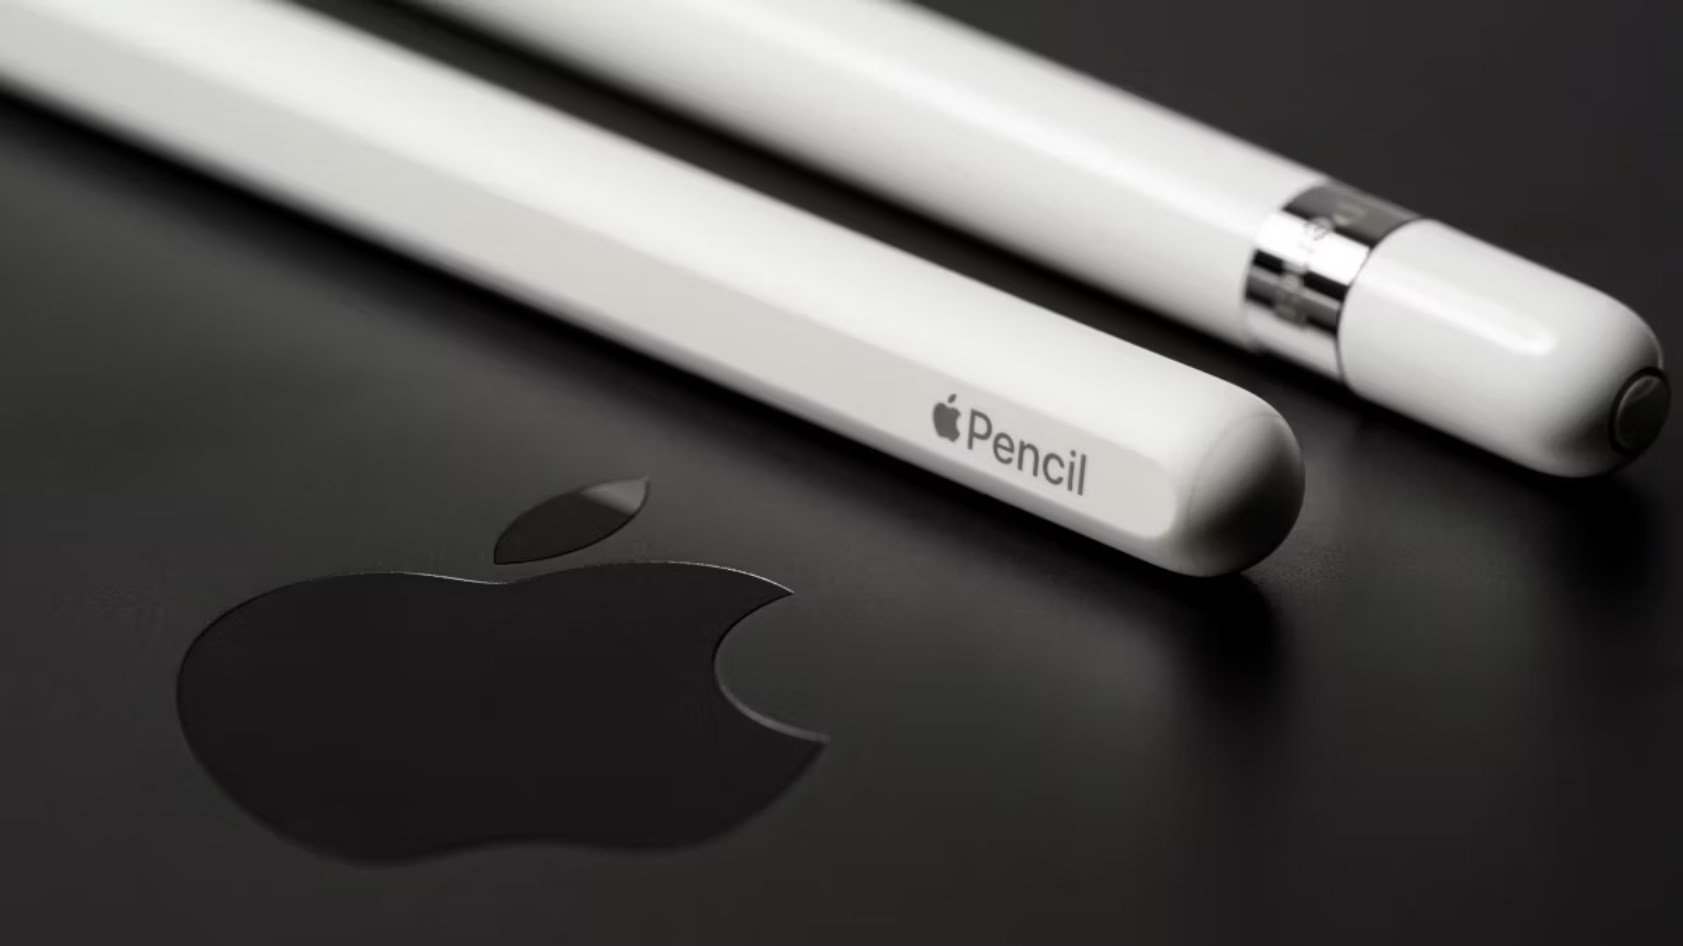
Sleeker, matte finish, no silver cap, and magnetically attaches to the side of an iPad for charging. The iPad models it is compatible with are:
- iPad Mini (6th generation)
- iPad Air (4th generation)
- iPad Pro 12.9-inch (3rd generation and later)
- iPad Pro 11-inch (1st generation and later)
USB-C Apple Pencil
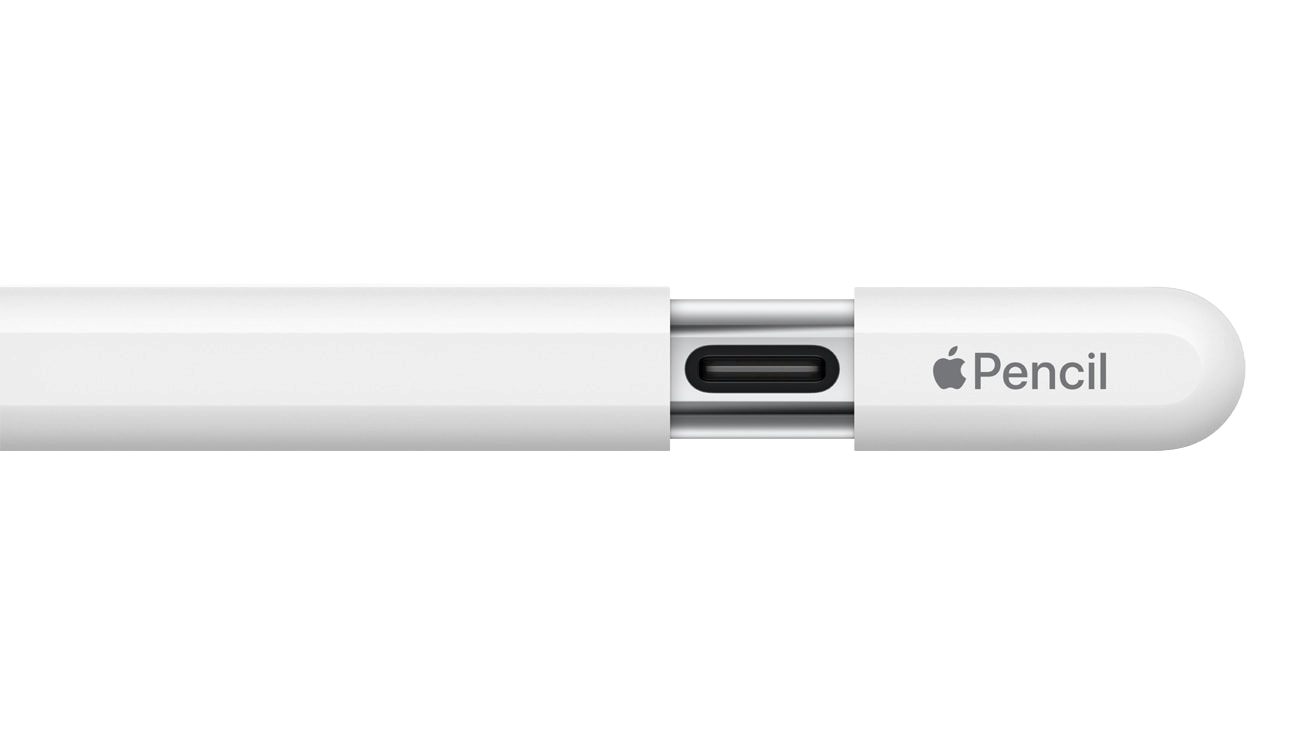
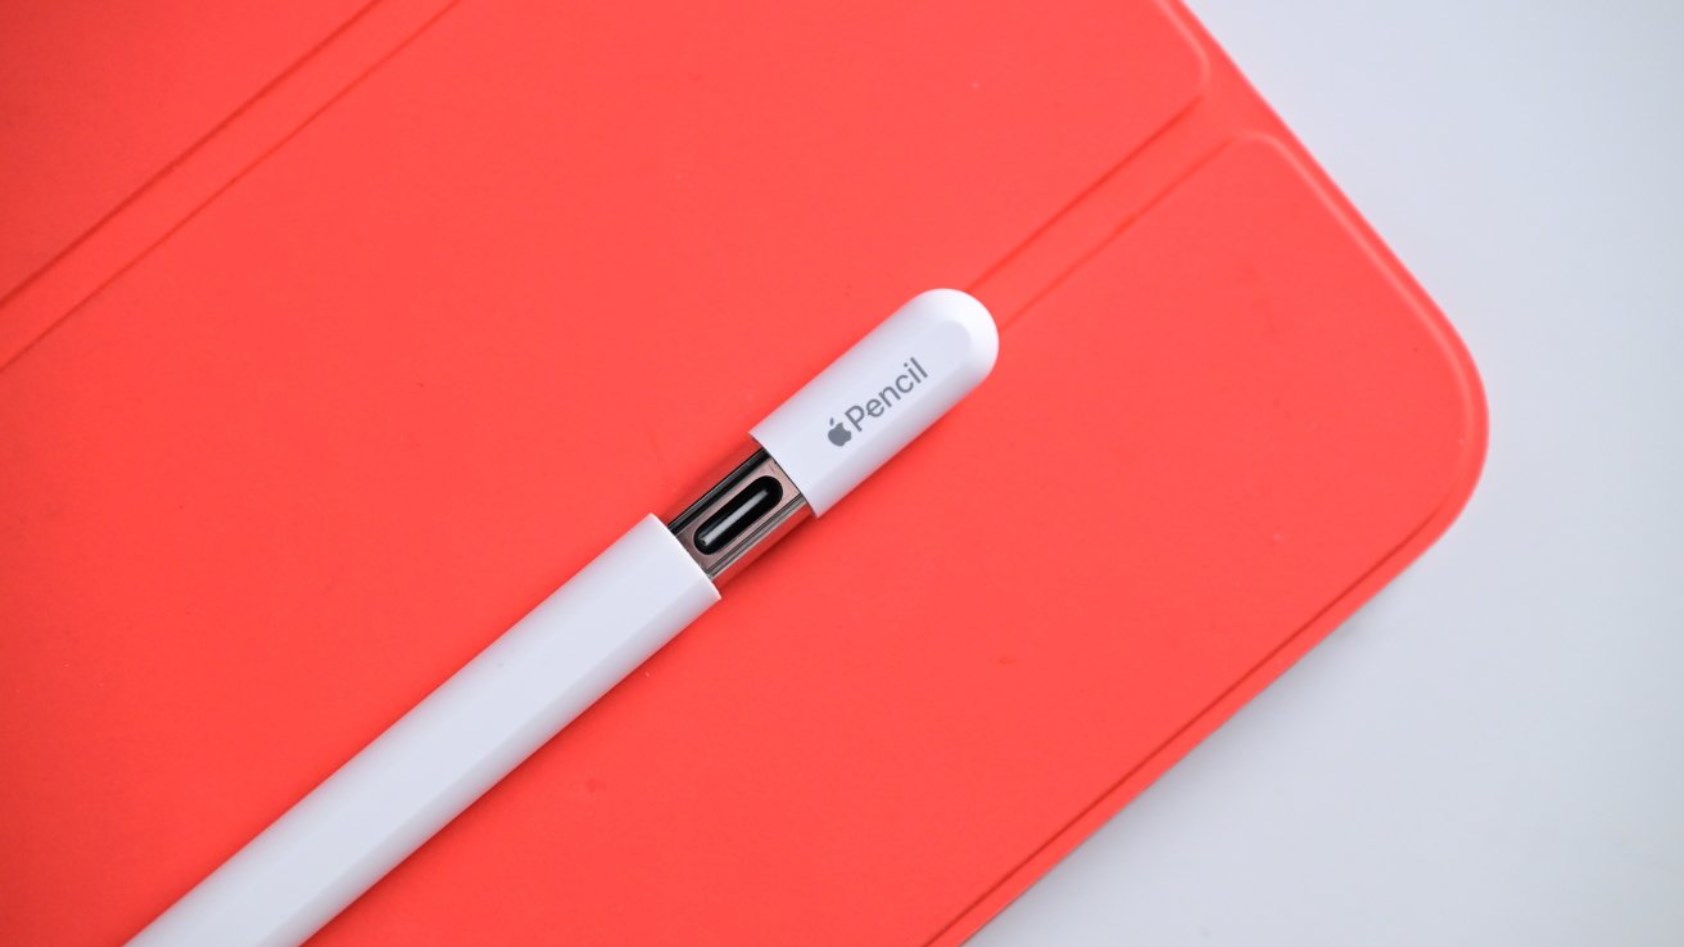
Look for a USB-C port when you pull the cap. This Apple Pencil is significantly shorter than the rest. You can pair it with the following iPads:
- iPad (10th generation)
- iPad mini (6th generation)
- iPad Air (4th generation and later)
- iPad Pro 11-inch (all generations)
- iPad Pro 12.9-inch (3rd generation and later)
READ MORE: Apple Pencil Not Working? Try these methods
Prerequisites to Connect the Apple Pencil to the iPad
Before connecting your Apple Pencil, ensure the following:
- iPad is updated to the latest iOS version.
- Bluetooth is enabled on the iPad.
- The Apple Pencil is charged.
How to Connect Apple Pencil to iPad
Here are the specific methods to connect your Apple Pencil to your iPad.
↪ 1st Generation
To connect the 1st Generation Apple Pencil to an iPad, follow these steps:
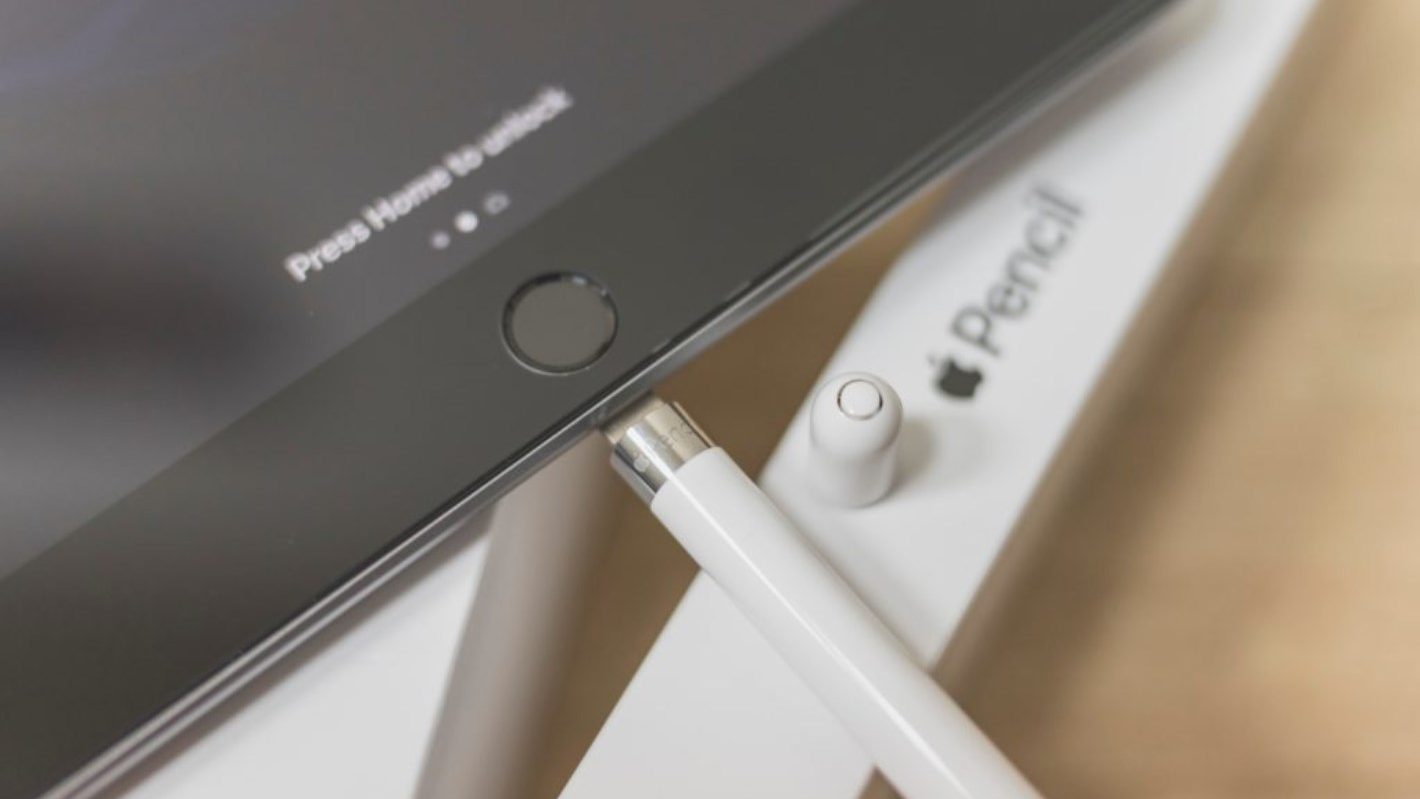
Step 1: Remove the Cap:
Take off the cap at the end of the 1st generation Apple Pencil.
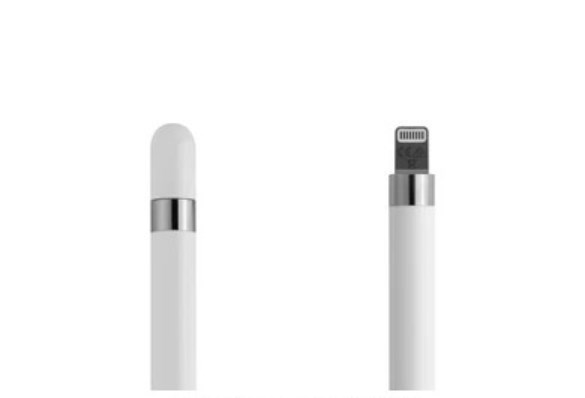
Step 2: Connect the Lightning Connector:
Plug the lightning connector into the corresponding port on your iPad.
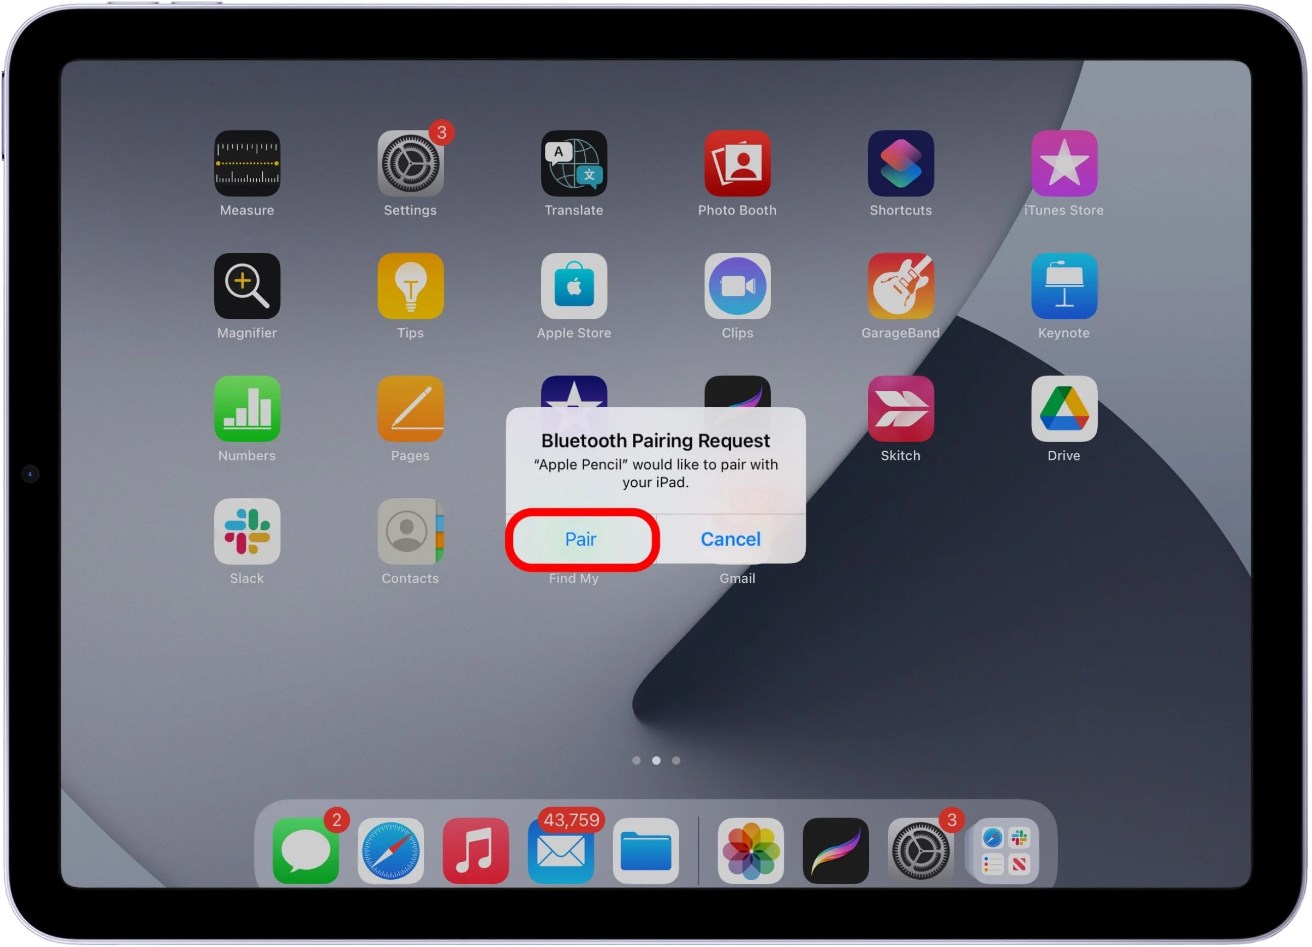
Step 3: Tap “Pair” When Prompted:
Look for the pairing prompt on your iPad screen and tap “Pair” to establish the connection.
↪ 2nd Generation
Here’s how you can connect the 2nd generation Apple Pencil to your iPad:
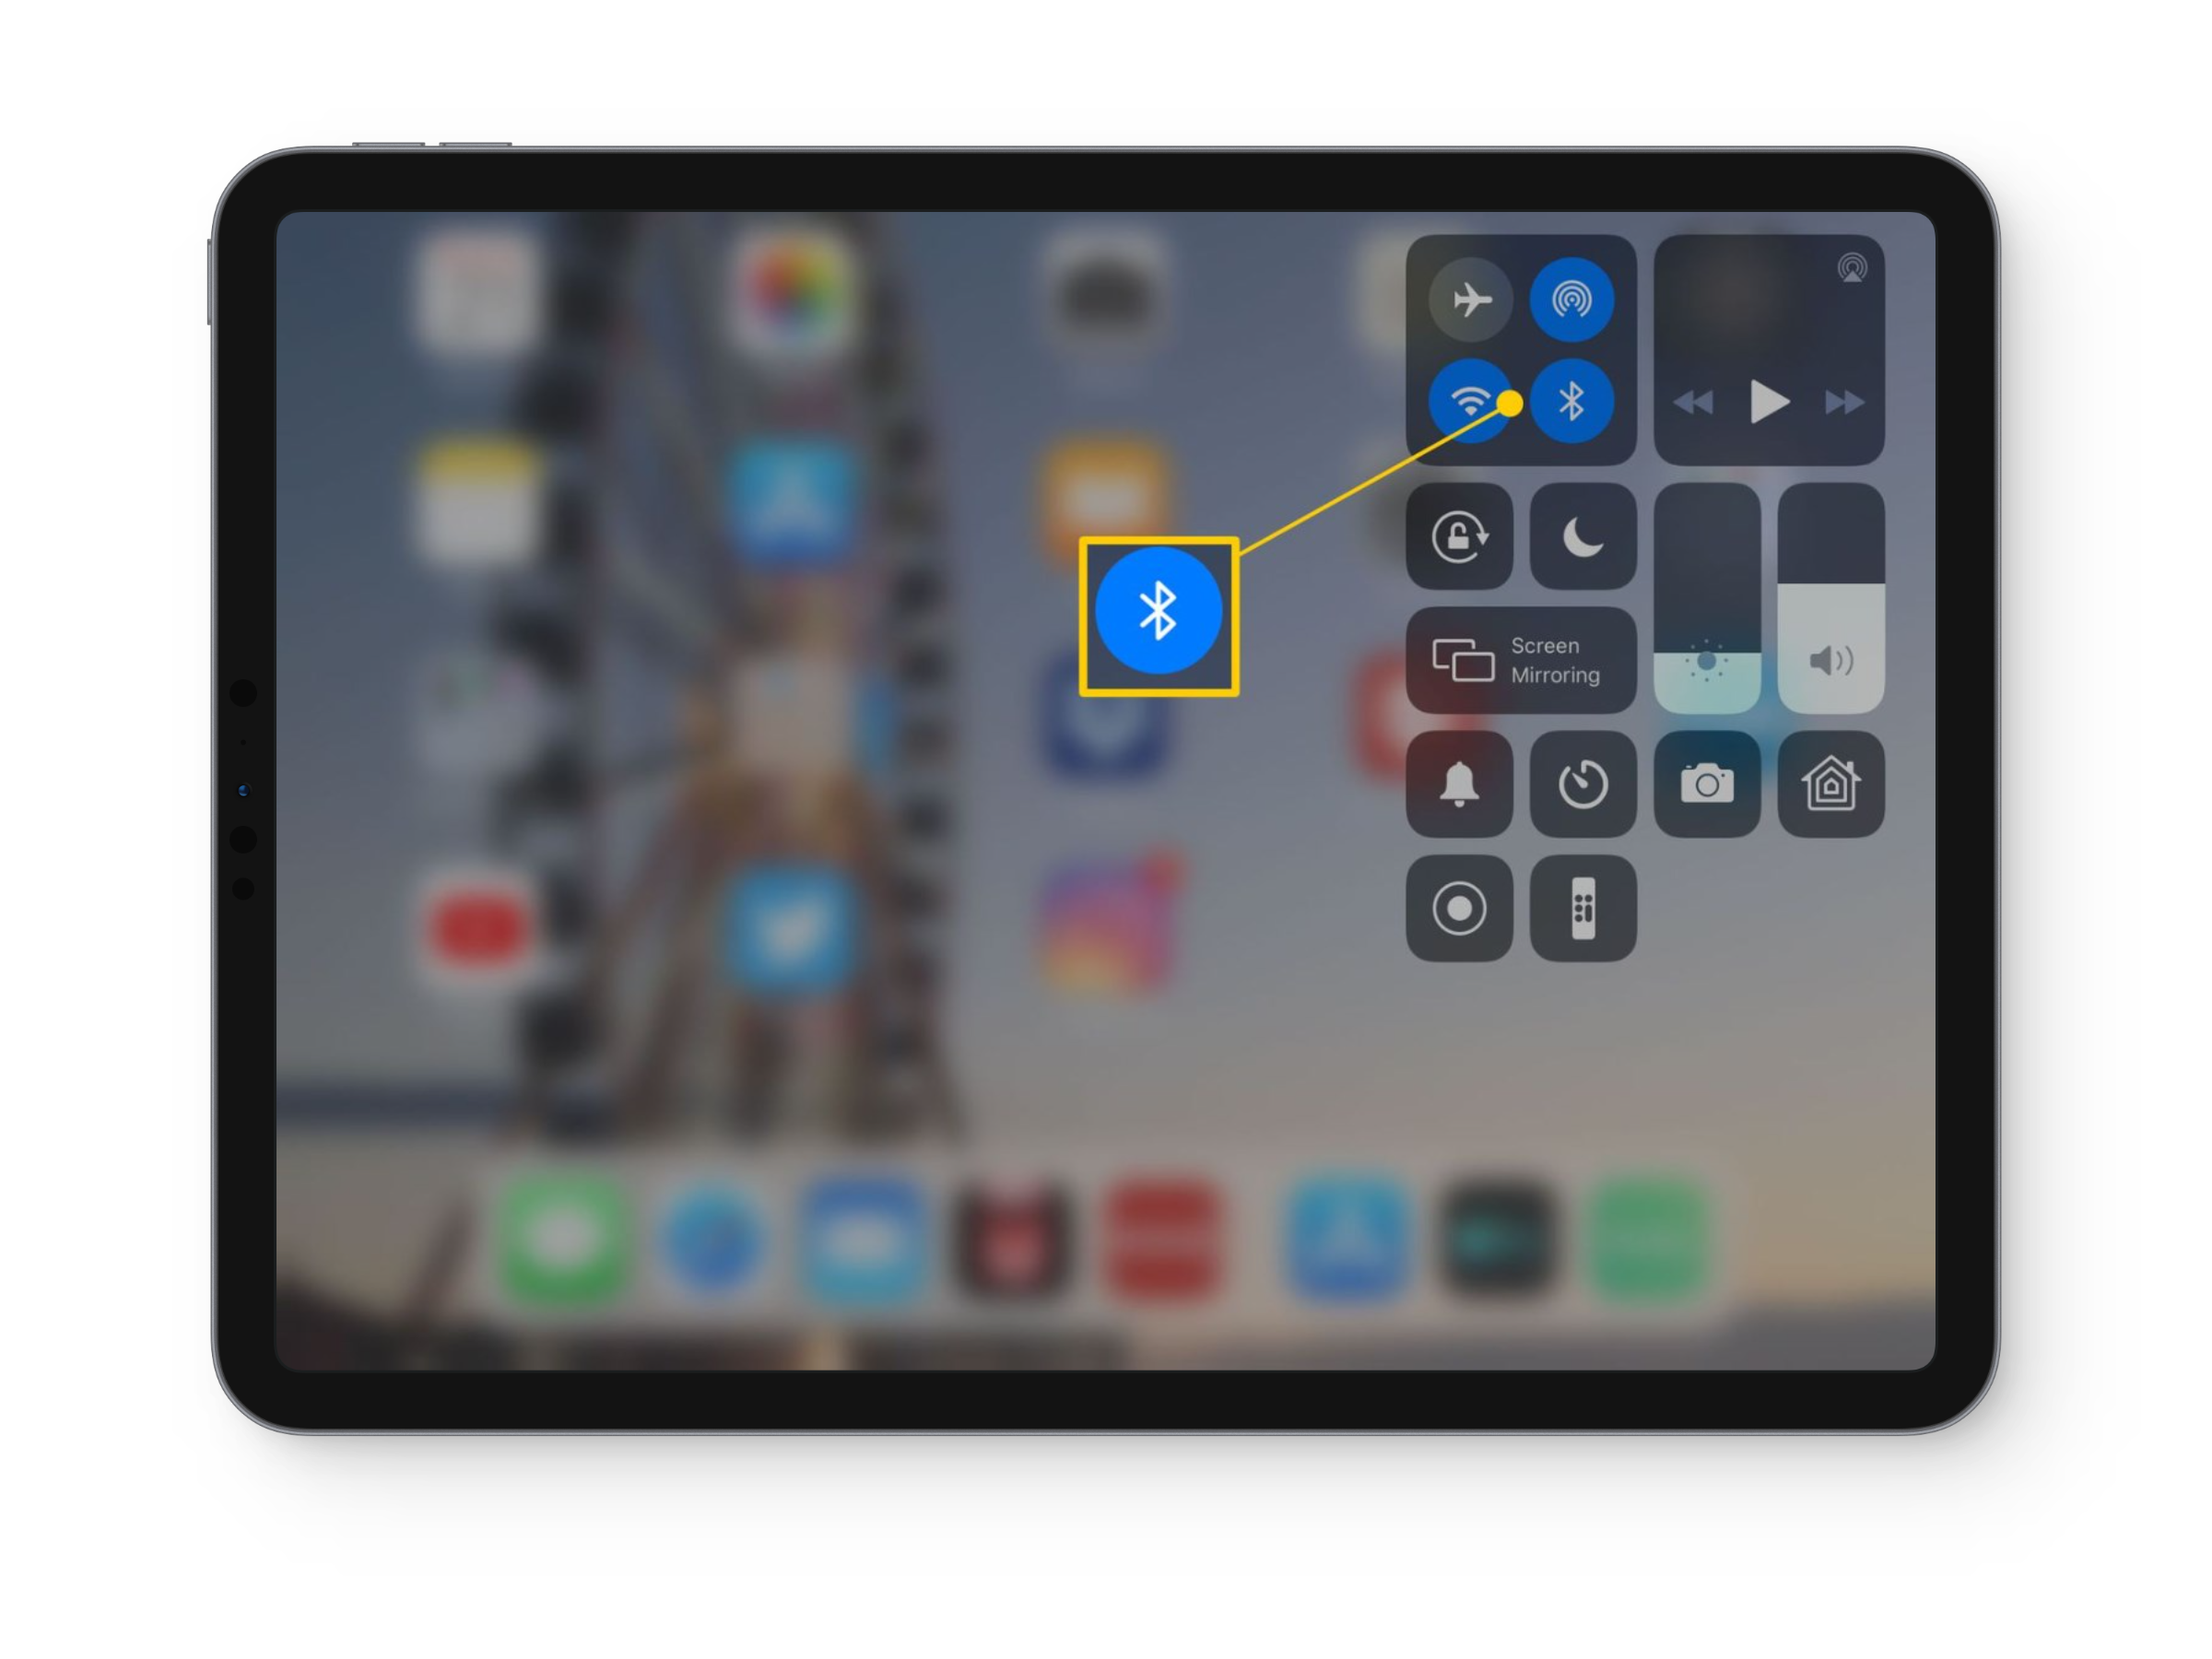
Step 1: Activate Bluetooth:
Swipe down from the upper right corner of your iPad’s screen to access the Control Center. Confirm that Bluetooth is enabled; if not, toggle it on.
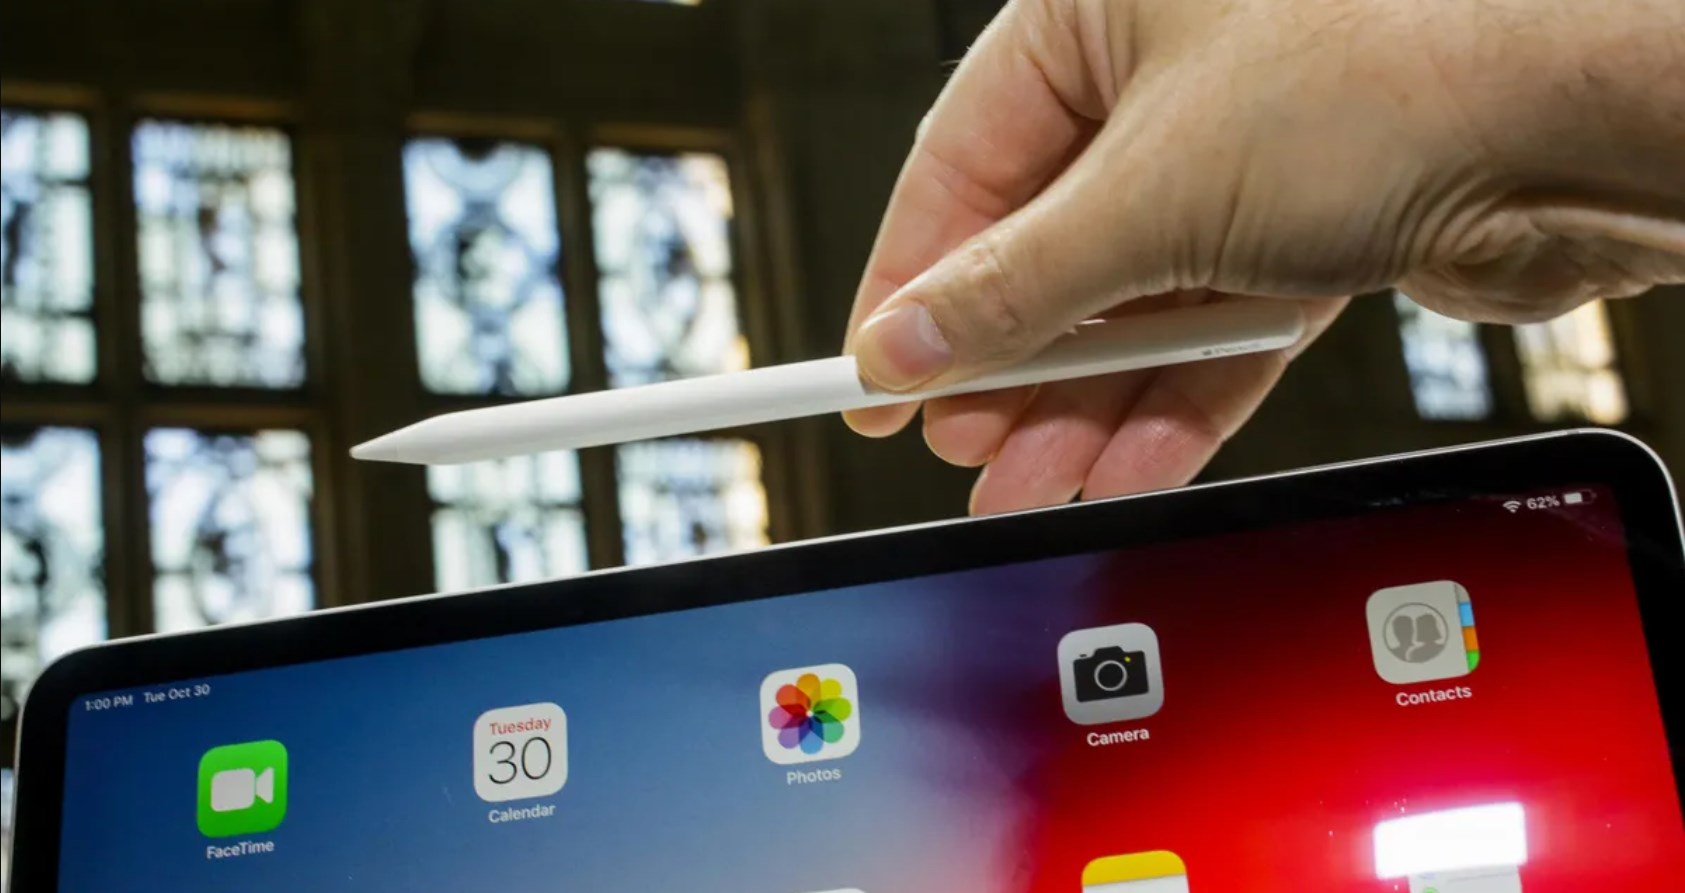
Step 2: Attach the Apple Pencil:
Hold the Apple Pencil and attach it to the right side of your iPad. The built-in magnetic connector ensures a reliable and secure attachment.
Step 3: Connect the Pencil:
As you attach the Apple Pencil, an overlay will appear on the screen. Simply tap the “Connect” option, and you’re done!
↪ USB-C Apple Pencil
To connect the latest Apple Pencil (USB-C), you have to follow the below-mentioned process:
Step 1: Update iPadOS:
Ensure your iPad is running iPadOS 17.1 or a later version. To check this, open Settings and go to General, then tap Software Update.
Step 2: Prepare Apple Pencil (USB-C):
Slide open the end of the Apple Pencil (USB-C).
Step 3: Connect USB-C Cable:
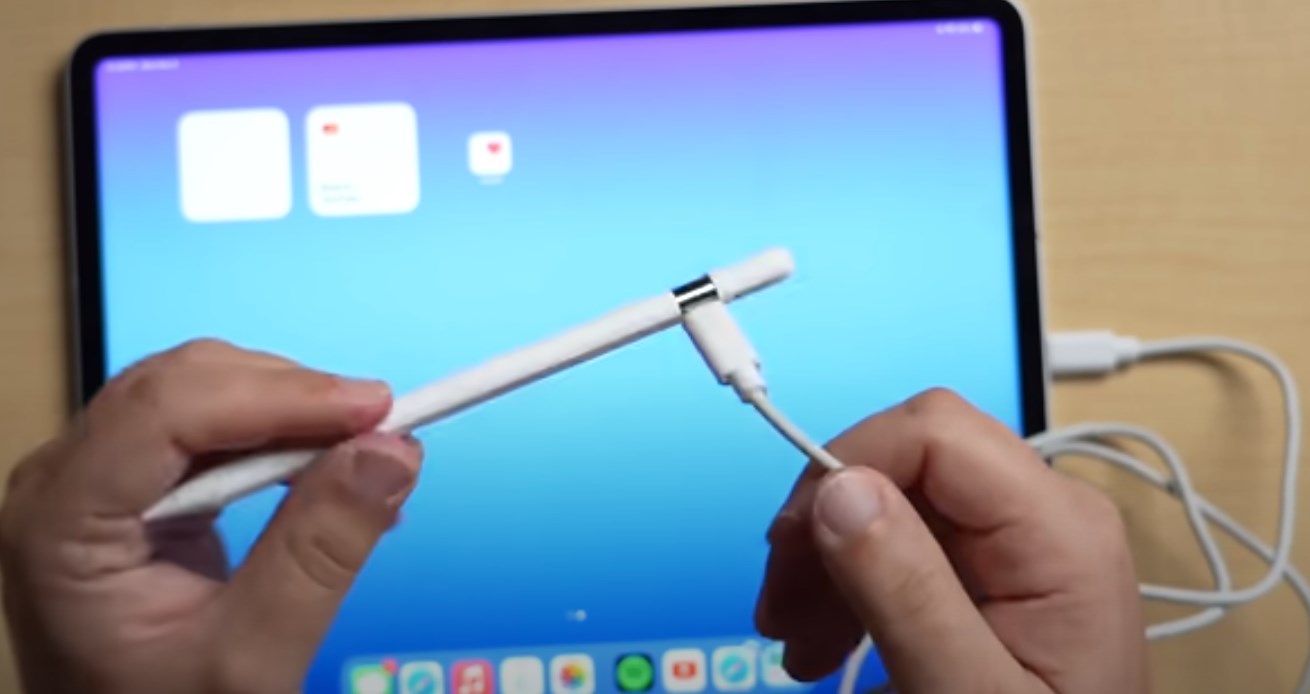
Attach a USB-C cable into the open slot of the Apple Pencil.
Step 4: Connect to iPad:
Plug the other end of the USB-C cable into your iPad. Now, your Apple Pencil (USB-C) is successfully connected to your iPad.
READ MORE: How To Mirror iPhone or iPad to TV – 3 Different Methods That Work in 2024 ➜
Troubleshooting Common Issues
If you encounter any problem while connecting the Apple Pencil to your iPad, refer to these troubleshooting methods:
- Ensure your Apple Pencil is adequately charged. Connect it to your iPad or use an appropriate charging cable.
- Confirm that Bluetooth is enabled on your iPad. If not, activate it through the Control Center.
- Restart your iPad and attempt to repair the Apple Pencil. This often resolves connectivity issues.
- Examine the Apple Pencil for any physical damage or wear. Damaged components may affect functionality.
- Update your iPad to ensure that it is running the latest iPadOS version. Some issues can be resolved with software updates.
- Make sure the app you’re using is compatible with your Apple Pencil model. Some features may not work in certain applications.
- If using a magnetic attachment, try an alternative charging method. Use the appropriate cable to connect your Apple Pencil directly to the iPad.
- If issues persist, consider resetting your iPad’s settings. Go to Settings > General > Reset > Reset All Settings.
- If problems persist after trying these steps, it may be beneficial to contact Apple Support for further assistance.
READ MORE: How to Change iPhone Name in 5 Easy Steps ➜
Wrapping Up
There you have it – quick and simple. You’ve mastered the basics: identify your Apple Pencil, connect it smoothly to your iPad, and troubleshoot issues like a pro. Keep that iPad software up to speed, check for any bumps on your gear, and remember, if you get stuck, Apple Support is just a message away.
Now, with your Apple Pencil and iPad in sync, go unleash your creativity. Whether you’re drawing, writing, or designing, your tools are ready. So, dive in and make something awesome. Enjoy the creative journey, and if you need backup, Apple Support has your back. Happy creating!
FAQs
Swipe down from the iPad’s top-right corner to access the Control Center and check the battery widget.
The 1st gen uses a lightning cable and the USB-C one utilizes a USB-C cable, while the 2nd gen charge magnetically when attached to the iPad.
You can check the battery level by swiping down from the iPad’s top-right corner to access the Control Center and examining the battery widget.
Check the charge of your Apple Pencil, ensure Bluetooth is enabled on your iPad, try restarting your iPad, and consider re-pairing the Apple Pencil. If issues persist, inspect for physical damage.
 Reviewed by
