[FIX] OneNote Keeps Crashing on iPad
Having the ability to save notes immediately is really appropriate. OneNote is Microsoft’s solution to this. With the cross-platform feature, users are able to use it on their Apple devices as well. There is a pretty common issue that often is faced by multiple people that try to use the OneNote application on their iPad. As it turns out, the application crashes after a certain amount of time i.e. 30 seconds or so. This is really annoying especially when you are trying to take notes during a class/meeting or whatever.

This problem is not limited to a specific cause as the application can crash due to several reasons depending on your scenario. However, there are some most common reasons for the crash that we are going to cover down below. So, without further ado, let us get started.
Now that we are done with the possible causes of the problem, let us get started with the different workarounds that you can implement to get rid of the issue and start using the application without any worries. Please follow through.
Method 1: Checking Deleted Notes or Recycle Bin Folder
The first thing that you should do when your OneNote keeps on crashing is to check if you have any unwanted notes leftover that you have previously deleted. Often, as it turns out, the notes that you delete aren’t removed permanently and can be accessed from the Deleted Notes or Recycle Bin folder that is located under the View tab at the top.
The issue is caused when you have any corruption in the files that you had previously deleted which ultimately crashes the application and prevents you from using it. Therefore, make sure you don’t have any unwanted files stored in these folders. Here’s how to do this:
- First of all, open up the OneNote application.
- Once the application has launched, go to the View tab found at the top.
- On the View tab, click on Deleted Notes or Recycle Bin (depending on whatever option you see).
- This will open up the deleted notes folder. Check if there are any unwanted files in here.
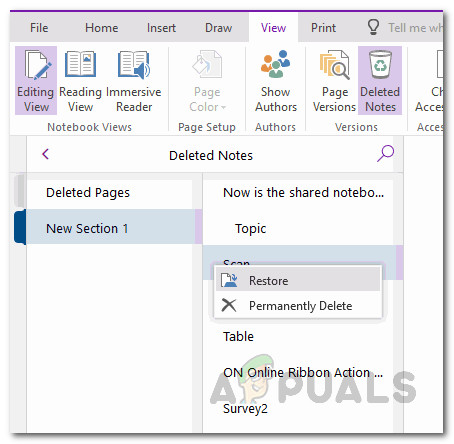
Deleted Notes - If there is nothing that you want, just tap on the files and then choose the Permanently Delete option to get rid of the files completely.
- Once you have deleted all the files, close the OneNote application, and then launch it up.
- See if the app still crashes.
Method 2: Turn off Auto Sync
As it turns out, OneNote often crashes when the notebook that you are trying to open was originally created on a Mac device or PC. Since such notebooks can often be very large in size, opening as well as syncing such files on your iPad can cause the application to crash. If this case is applicable to you, what you have to do is turn off the auto-sync feature that comes enabled by default in the OneNote settings menu.
This will prevent the application from syncing your files to the cloud automatically and as a result possibly save your application from crashing all the time. To do this, follow the instructions given down below:
- To turn off the Auto Sync feature, first of all, launch the OneNote application on your iPad.
- Once the application has launched, click the Settings icon at the top right corner of the application.
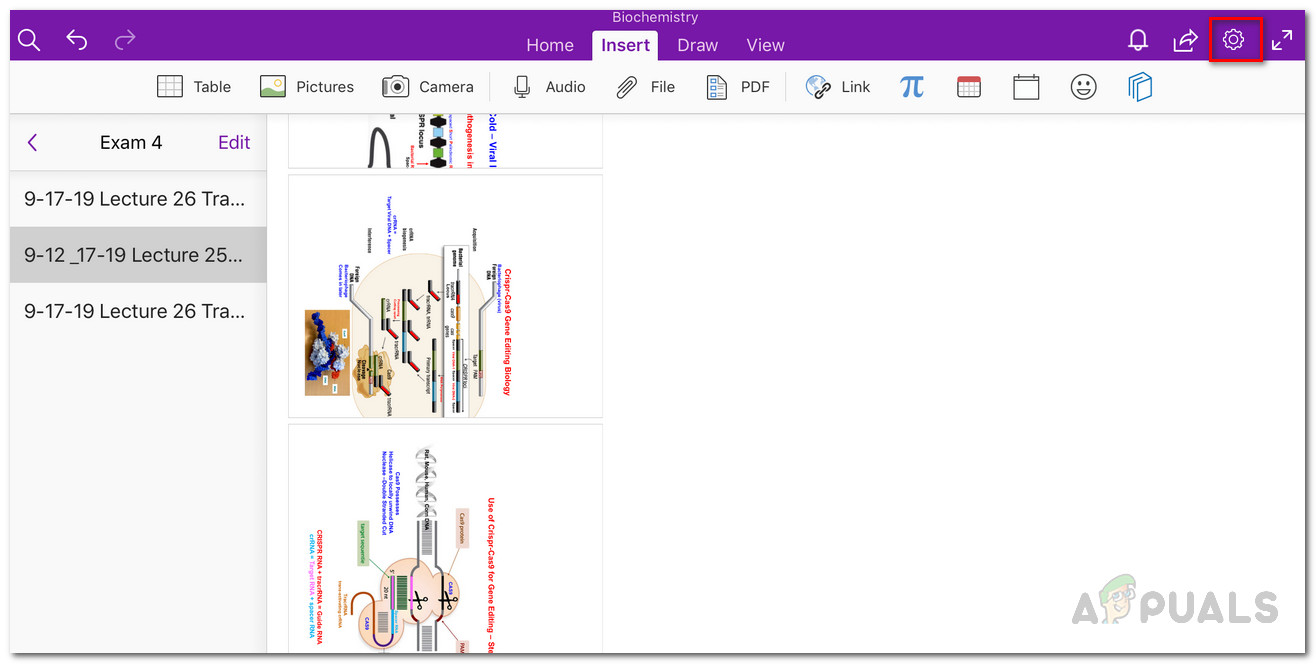
OneNote - Then, in the Settings menu, go to the Sync tab.
- From there, turn off the Auto Sync Attachments.
- This will turn off the auto-sync feature. See if that resolves the issue.
Method 3: Reinstall OneNote
Another cause of the issue can be any corrupted installation files. It is pretty obvious that if the installation files of the application are corrupted, you won’t be able to use it properly and it’ll throw one issue or another. Therefore, in order to make sure that your installation is complete, you will have to uninstall the application and then reinstall it on your device.
This has been reported by multiple users who have been facing a similar issue, thus, it is worth the try. However, before you proceed, please make sure that before you uninstall the application, your files are backed up or synced to the cloud because uninstalling the application might result in you losing your notebook files. There are two ways that you can actually uninstall OneNote. We will go through both of them. With that said, follow the instructions down below to uninstall the OneNote application
- The first way you can uninstall the application is to hold any app on your home screen and then tap the Edit Home Screen option.
- This will cause all the applications to jiggle. Tap the cross icon on the OneNote application and then finally tap the Delete option to uninstall the application.
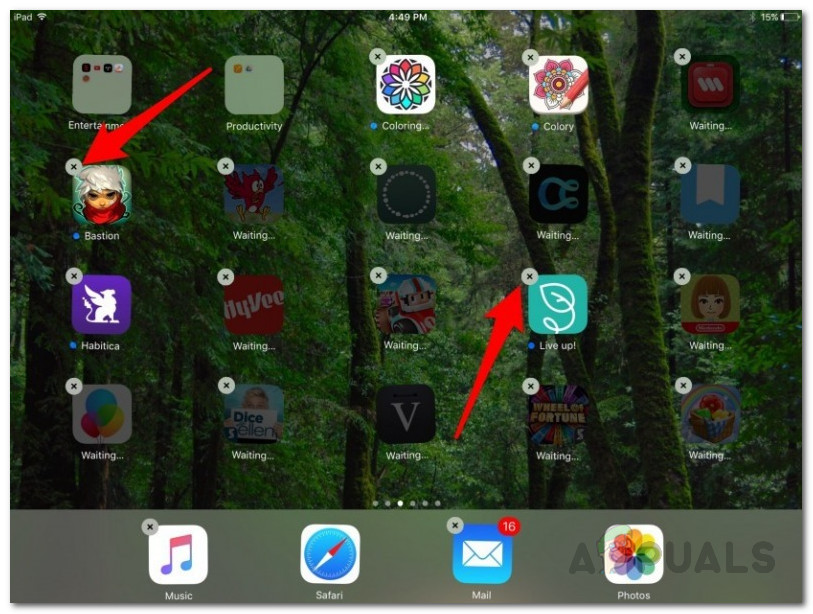
Deleting iPad Apps - Another way of doing this would be to go to your iPad’s Settings.
- From there, tap on the General option to go to General options.
- Then, tap on the iPad Storage option.
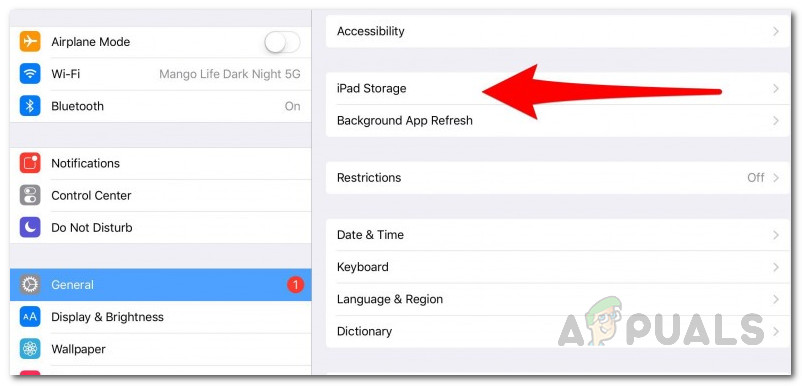
General Settings - There, you will be able to see a list of all the applications installed.
- From the list, find OneNote and then tap it.
- Finally, tap the Delete App option to delete the app from your device.
- Once uninstalled, install the application again from the App Store.
- This should hopefully solve your issue.