Troubleshoot if your iPad is not charging (Explained)
Typically the first part of an iPad to break is the charging port or cable. However, there’s also a potential software cause that you need to troubleshoot before you give up and send your device in for repairs.
Unless you’re dealing with a port issue that requires expert help, getting your Apple device to charge again is a simple fix that involves swapping your cable or cleaning the involved ports. However, there are times when a more substantial issue, like a software problem, is responsible for an iPad that won’t charge.
Below you have a collection of confirmed methods that other users have successfully used to fix their charging issues.
1. Clean your iPad’s charging port
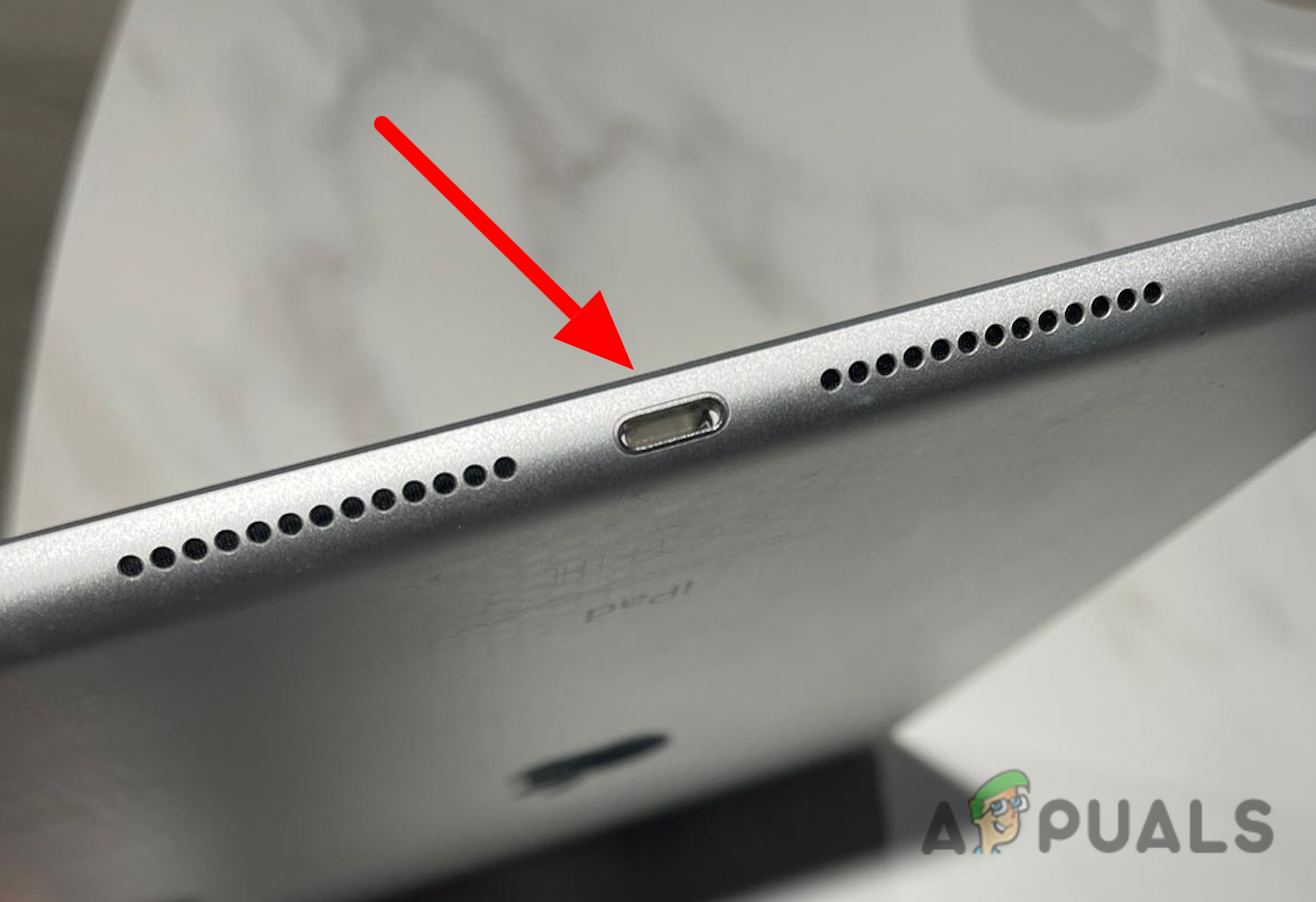
If you have used your iPad for an extended period of time, there is a good chance that lint and other types of dirt have accumulated in the charging port. You might be surprised at how much dirt can collect in that tiny space. This might be the primary cause of why your device starts having difficulties charging.
This prevents the battery connectors from making a reliable electrical connection. After some time, the iPad’s battery will either stop charging completely to 100%, will show that it is charging but will not actually charge, or will not charge at all.
Note: This is likely if you do a lot of traveling and you have the habit of tucking your device along with clothes and other fiber texture objects.
The first and most important thing that you need to do when starting to clean the charging port is to Shut Down your device. This will reduce the risk of causing an electrical short while you’re in the process of cleaning.
IMPORTANT: When you start cleaning, don’t use something metallic to clear the charging port, it can cause more damage than good. Instead, use a toothbrush that was never used before or a wooden toothpick. Wooden toothpicks are the most accessible and convenient tools for this procedure because they are pointy and can fit into your device’s tiny crevices without conducting electricity.
2. Replace the charging cable (if applicable)
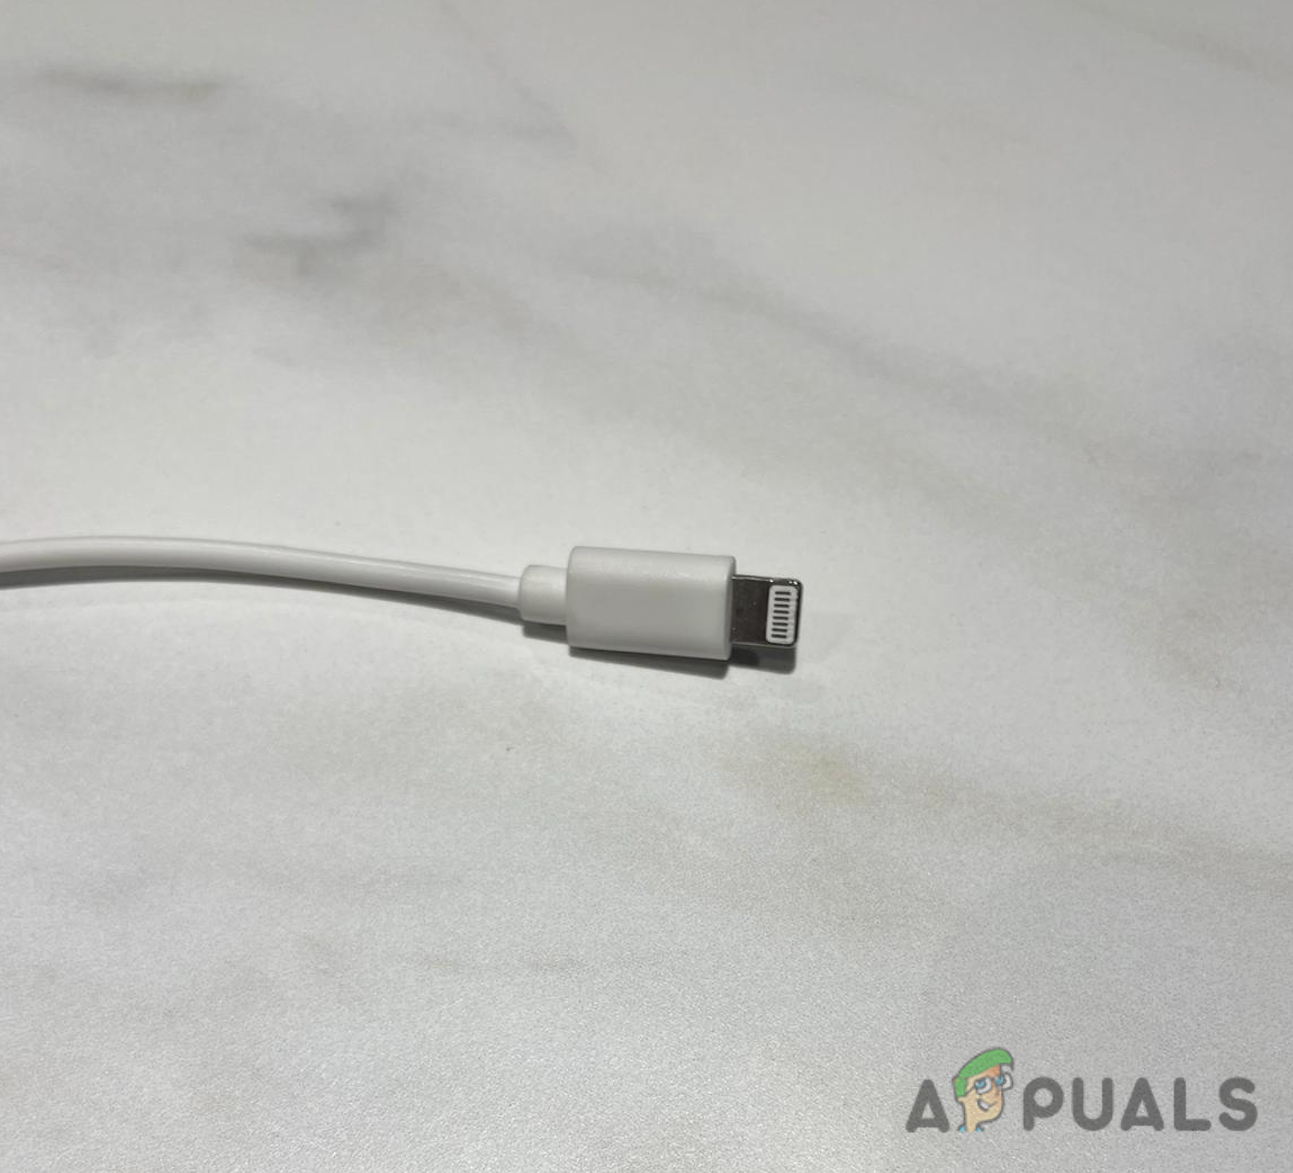
The connection itself might be a key contributor to the fact that your iPad will not charge, so check your charging cable very carefully.
It’s quite possible that the cable got twisted or torn due to daily plugging and unplugging, causing it in failing to transmit power to your iPad. If it’s not 100% congruent, charging might be affected.
Even if you cannot see it with your bare eyes, your cable may be internally damaged. Try charging your iPad with a different Apple lightning cable if you have one lying around your house or you can borrow one from a friend.
Just plug a different cable into the charger and see if that works. If it begins charging, the issue is likely due to a non-congruent lightning cable.
3. Use a different charger
If your iPad still won’t charge, try using a different charger. Using a different charger to see if the iPad begins charging normally is a good indicator that the issue was caused by the original charger.
Keep in mind that if you have a charger from a different territory, the difference in voltage might affect the charging of a device if you are using an adaptor.
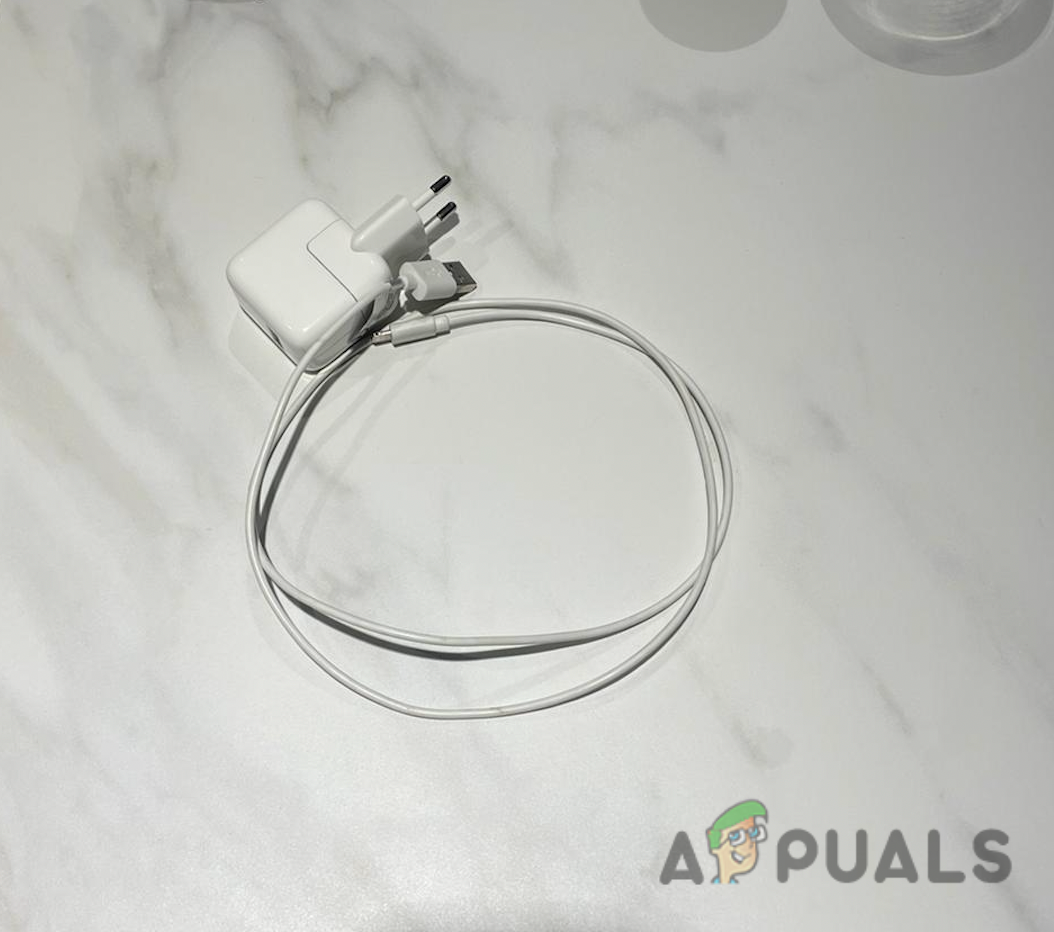
Note: If you have a charge from another Apple device (iPhone, Apple Watch, or Mac) feel free to use it instead to see if your iPad charges without issues.
In case you have no issues charging your device with a different charger, you’ve successfully identified your culprit.
4. Hard Reset your iPad
There will be situations where you might think that your iPad is not charging but you’re in fact dealing with a software glitch that’s causing the screen to go black. This used to be a huge problem with iPad devices prior to the firmware overhaul in 2021.
If you’re still on an old build for some reason, performing a hard reset should help you fix the vast majority of firmware inconsistencies.
Note: The instructions on doing this will be different depending if you have an iPad with a physical home button or not. We covered both scenarios.
Here’s a quick guide on how to perform a hard reset if your iPad has a physical Home button:
- Press and hold the Home button + Power button at the same time.

Performing a hard reset - Do not let go until you see the Apple logo appearing on the screen.
- If your device begins restarting and you see the screen lighting up, the procedure has been completed successfully.
If your iPad does not have a physical home button, follow these instructions instead:
- Press and release the Volume Down button.
- Press and release the Volume Up button.
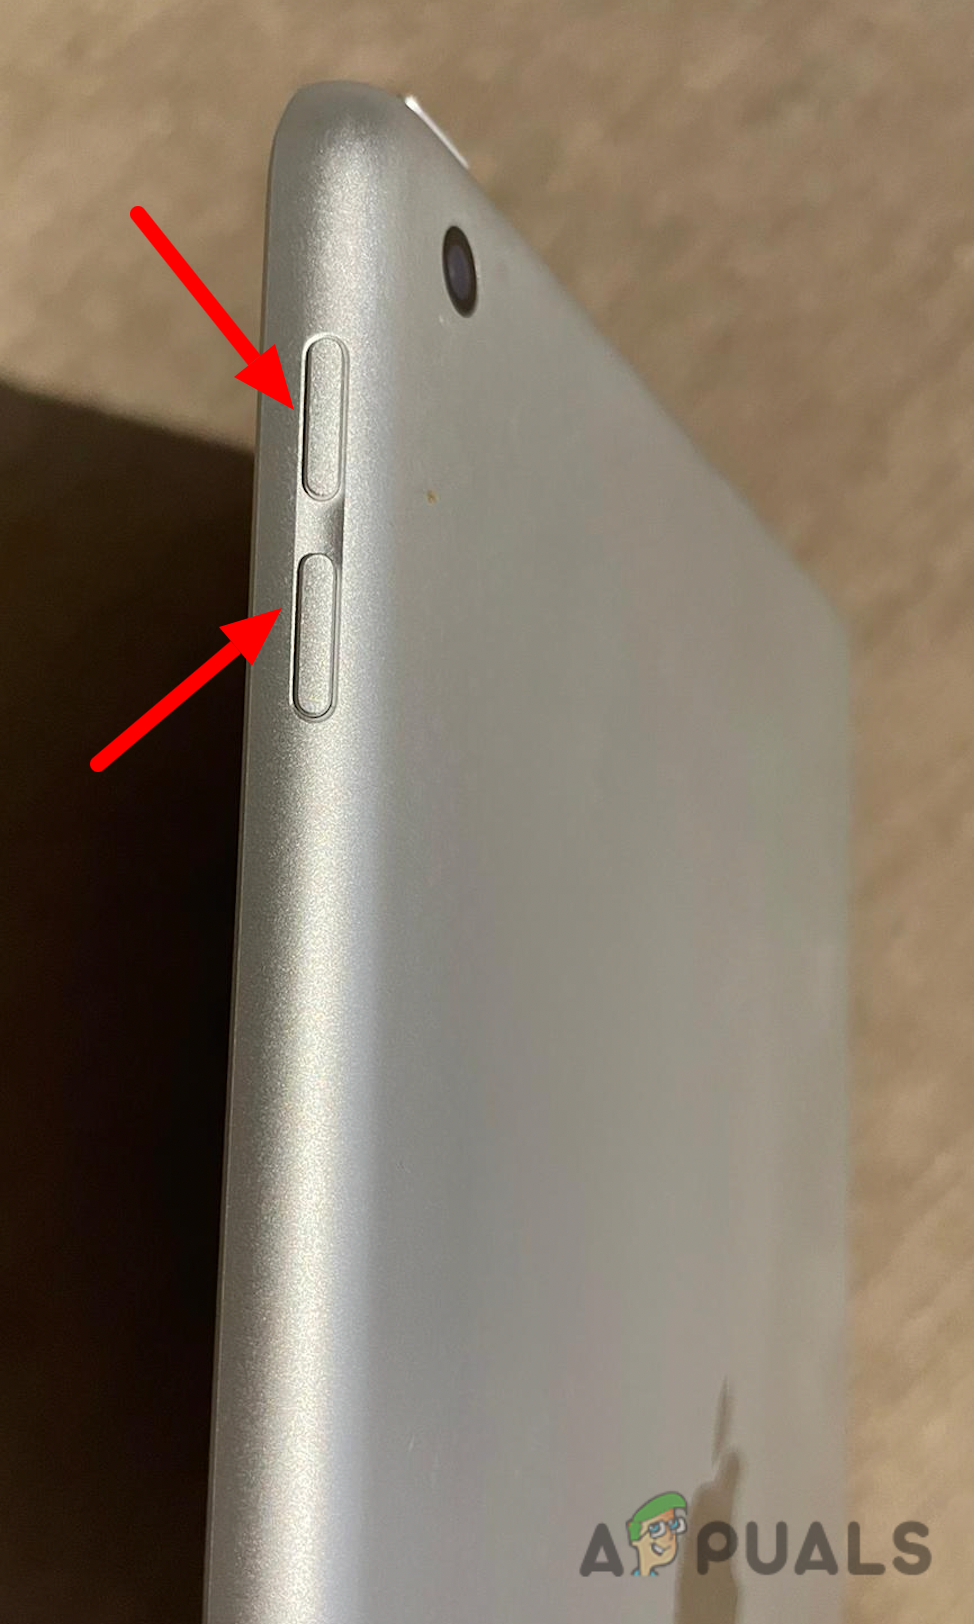
Pressing the volume up + volume down button - Press and hold the Power button until the Apple logo appears on the screen.
- Wait until the device restarts and see if the device powers up completely.
After you’ve performed the hard reset, insert the charging wire into your iPad and check to see whether it can be charged or not. If your iPad turns on after a hard reset, the problem was likely caused by a software malfunction.
5. Send it for repairs
If everything fails, your best hope for resolving the issue is to consult a technician. Prolonged water exposure or another liquid is one of the most common causes of iPad charging troubles.
This can irreparably harm the connectors within your iPad’s charging port, leaving it incapable of charging.
Note: Bring the charger with you so that it can be inspected for any damage.