How to Fix Your iPhone 8/8 Plus and iPhone X Charging Issues
While using your iDevices in everyday life, millions of tiny particles get into their ports. The accumulation of debris and dirt in the lightning port of your iPhone X may prevent the contact between the cable and the charging port. This also applies to all of your iDevices with a lightning port. If there is no contact, your device does not charge. Sounds simple right? Well, let’s move on to the next section where we will examine the non-charging symptoms in details.
The Symptoms of the Non-Charging iPhone
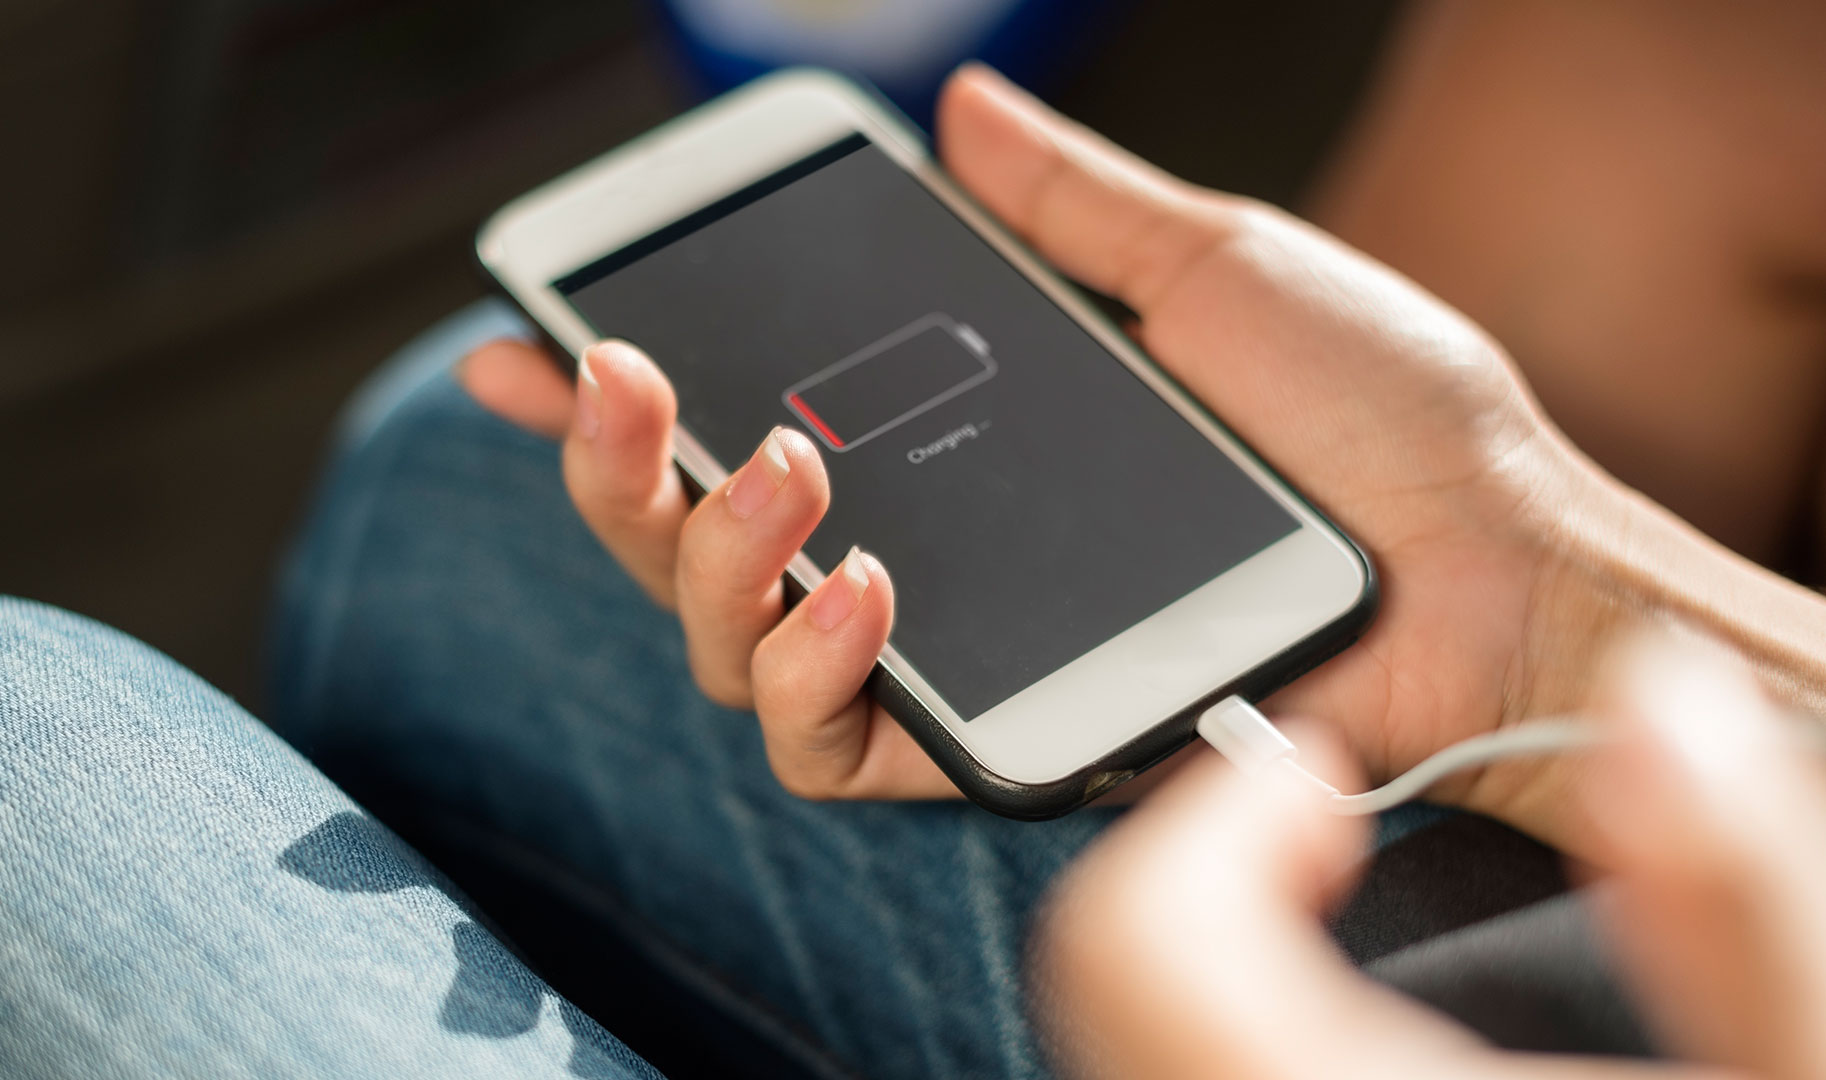
For some iFolks, the Non-Charging iPhone scenario means having devices that wouldn’t charge at all. Others report that their devices sometimes charge and sometimes don’t. In some situations, iDevices even show the charging symbol while they really aren’t charging at all. Users who deal with these problems repeatedly get an authentic cable message on their devices, when plugging in. And, if you are still reading, I am pretty sure that you have experienced some of the issues from above.
Trying to find a solution for the charging problem, iFolks wiggle the cables inside the lightning port to get the connection. And, sometimes placing the iDevice and the cable at the specific angle may help. However, these and all the similar solutions that iPhone users practice are only temporary. They may work once, or twice, but definitely not all the time.
That’s why I will explain a permanent solution that will fix the charging problems that you have with your iDevices on the long run.
The Solutions for the Non-Charging iPhone
If you are like me, and your iPhone 8 or iPhone X doesn’t charge correctly, you are definitely not in the mood for trying many tricks before you throw the thing out the window. That’s why I won’t bother you with generic and non-useful “tips and tricks.” I will present you solutions that will directly affect the core of your problem.
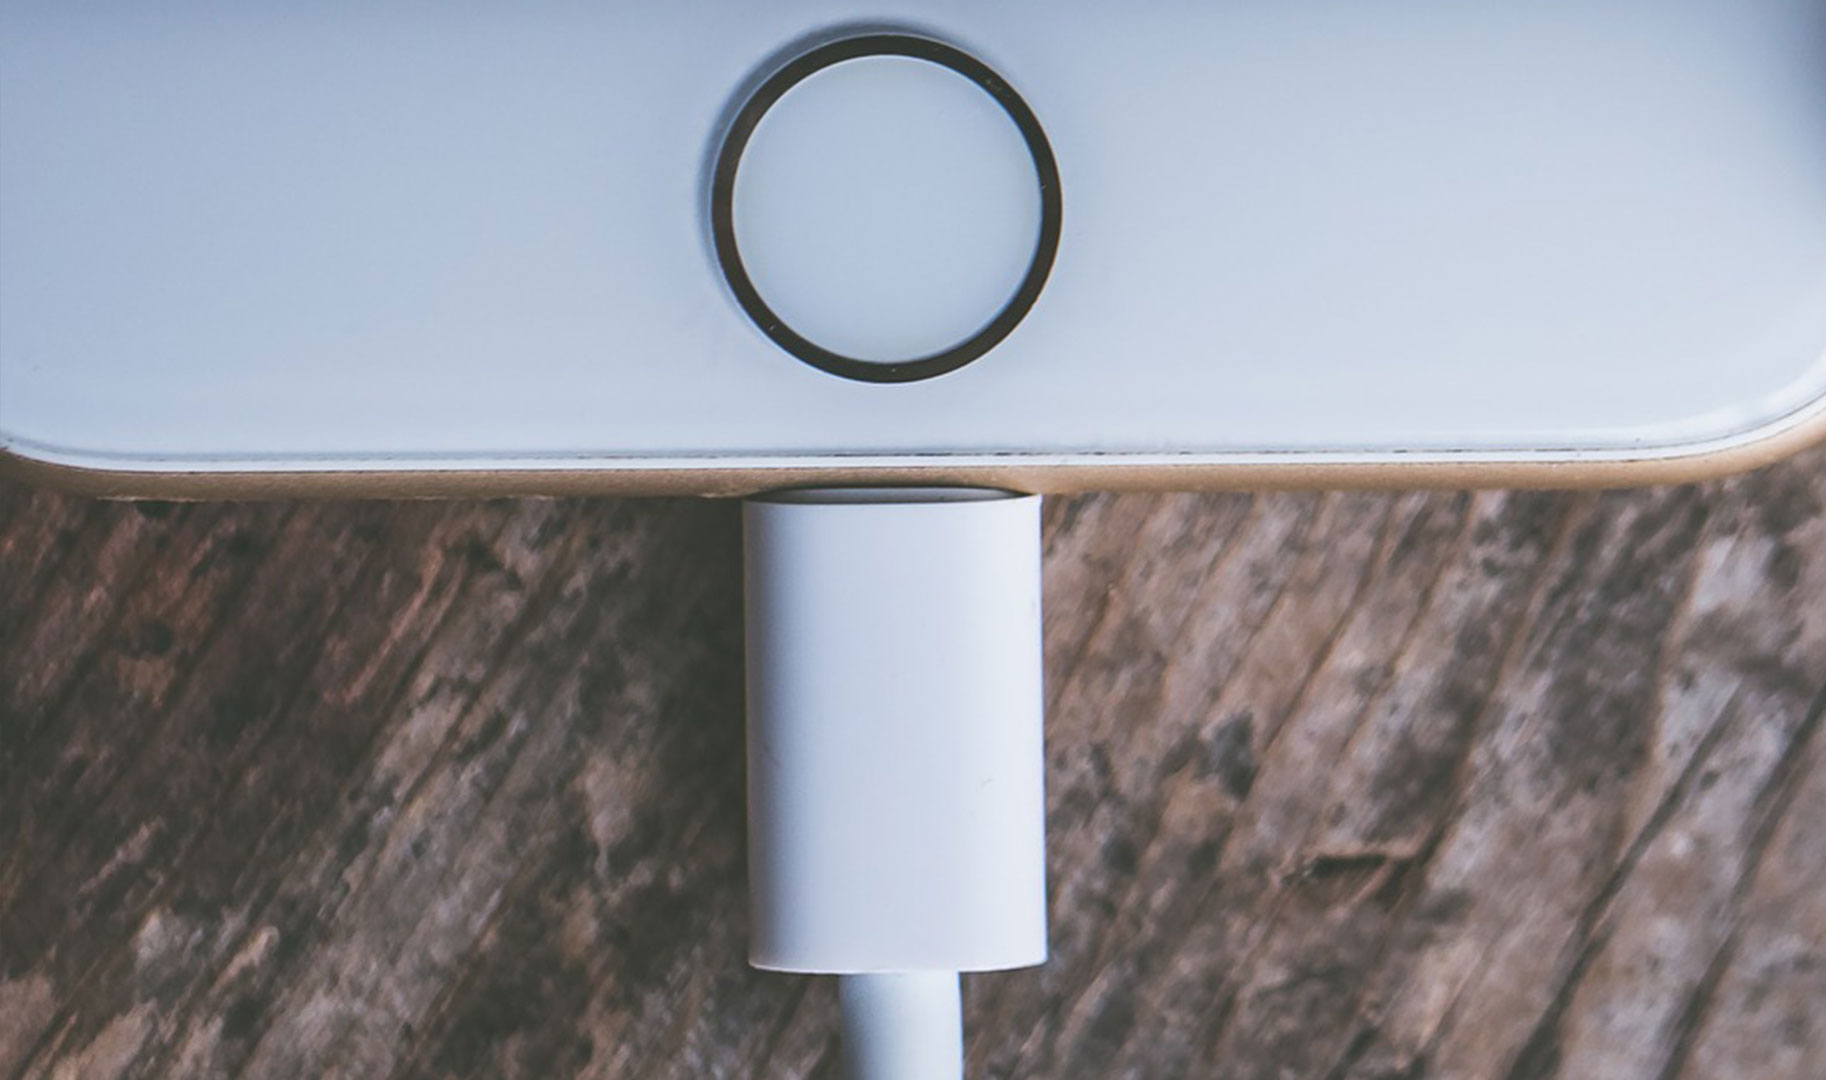
The lightning port of your iDevice is a pretty small. If you look at it with a naked eye, you won’t notice much more than a dark opening. However, things and dust usually block our charging port without we even realize. As the amount of dirt inside the hole rises, the chances for Non-Charging issues become much larger.
Additionally, the everyday exposure to moisture cause corrosion on the charging port contacts. This is not something that you can stop from happening during the regular use of your iDevice. All air contains moisture. However, over time the humidity creates a thin corrosion layer on metal surfaces. That includes the contacts of your iOS device’s lightning port.
But, the best thing in this whole story is that the lightning port is pretty easy to clean. You just need to perform the procedure carefully and use the right techniques and tools.
Last Thing to Do Before Cleaning the Lightning Port
Before you become the Lightning-Port-Cleaning expert, make sure to check the following things about your charger condition.
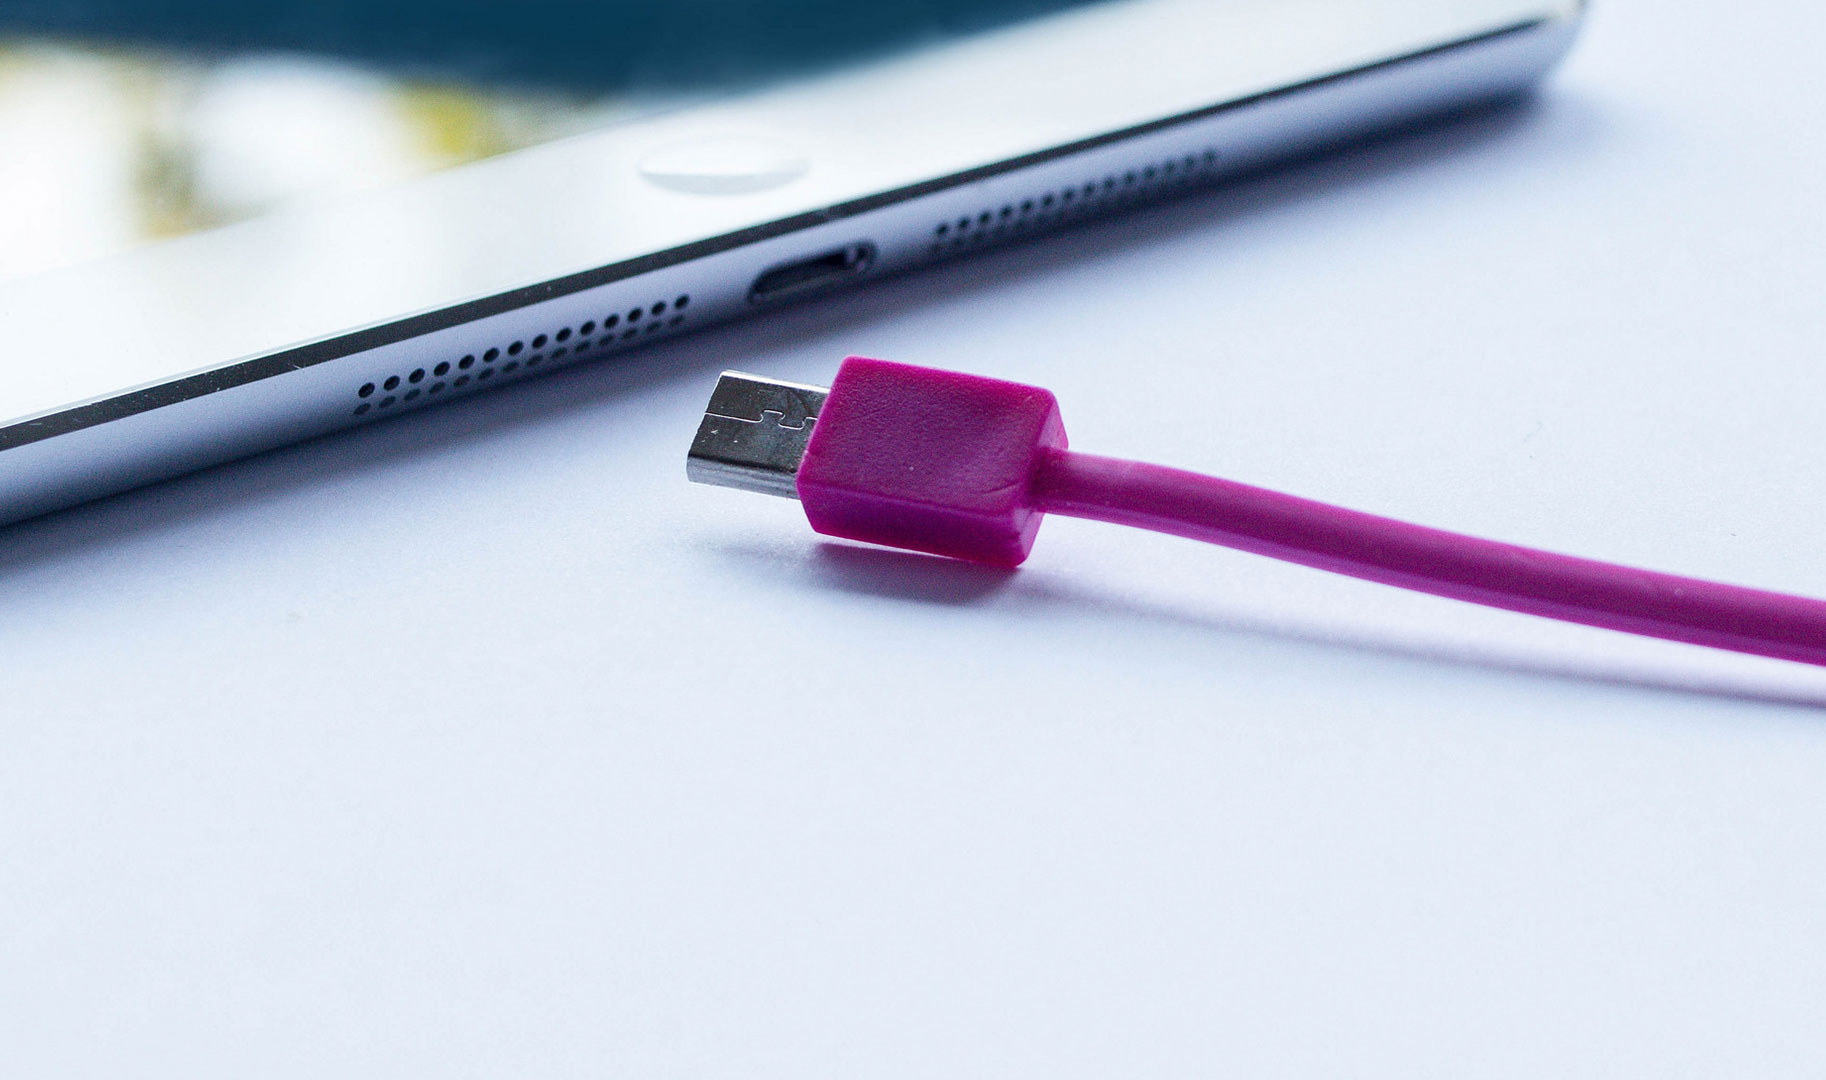
- Make sure your charging cable is not kinked, frayed, or even chewed through. If it is, get a new cable and see if you still have the non-charging issue. The best you can do is using an original Apple lightning cable instead of some 3rd party products.
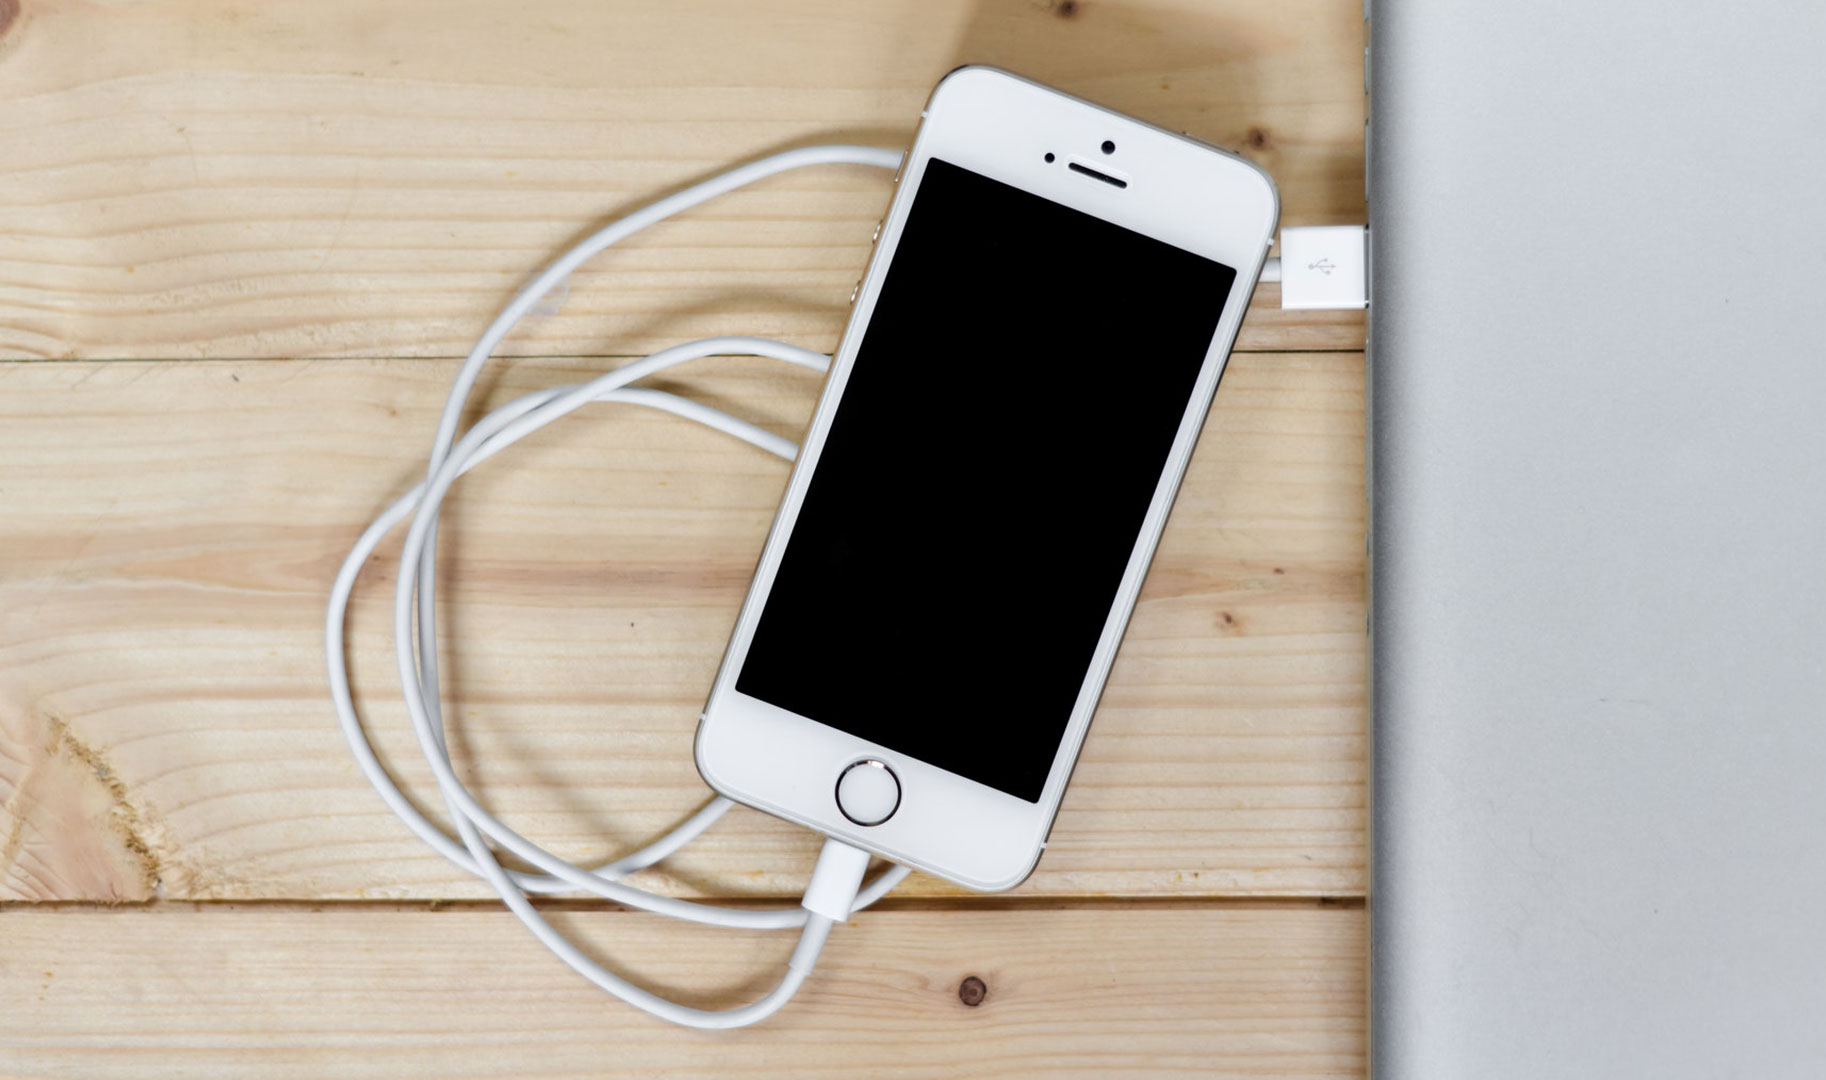
- If charging via your computer, get a wall adapter and use it instead. Check if your iPhone or other iOS device charges up. Many times, USB ports on Macs and PCs lack the power needed to charge our devices properly.
- Try changing the wall adapter to see if the problem is in your charging unit. You don’t need to buy a new one, just borrow one from your family members, neighbors, or friends.
If you tried all the methods from above and you are still experiencing the same non-charging issue, you should definitely continue reading. In the next part of the article, I will explain the cleaning procedure that will fix your problem.
How to Clean Your iPhone’s Lightning Port
Whether you own an older iPhone model or one of this year Apple’s flagships like iPhone 8/8Plus or iPhone X, fist and the most obvious thing you need to do is to turn off it off before we perform the cleaning process.
Corrosion Removal Process
- Plug and unplug the lightning cable repeatedly from 5 to 10 times. That will polish off the corrosion.
- Try using an electrical contact cleaner. It removes corrosion, dirt, and oil from the contacts.
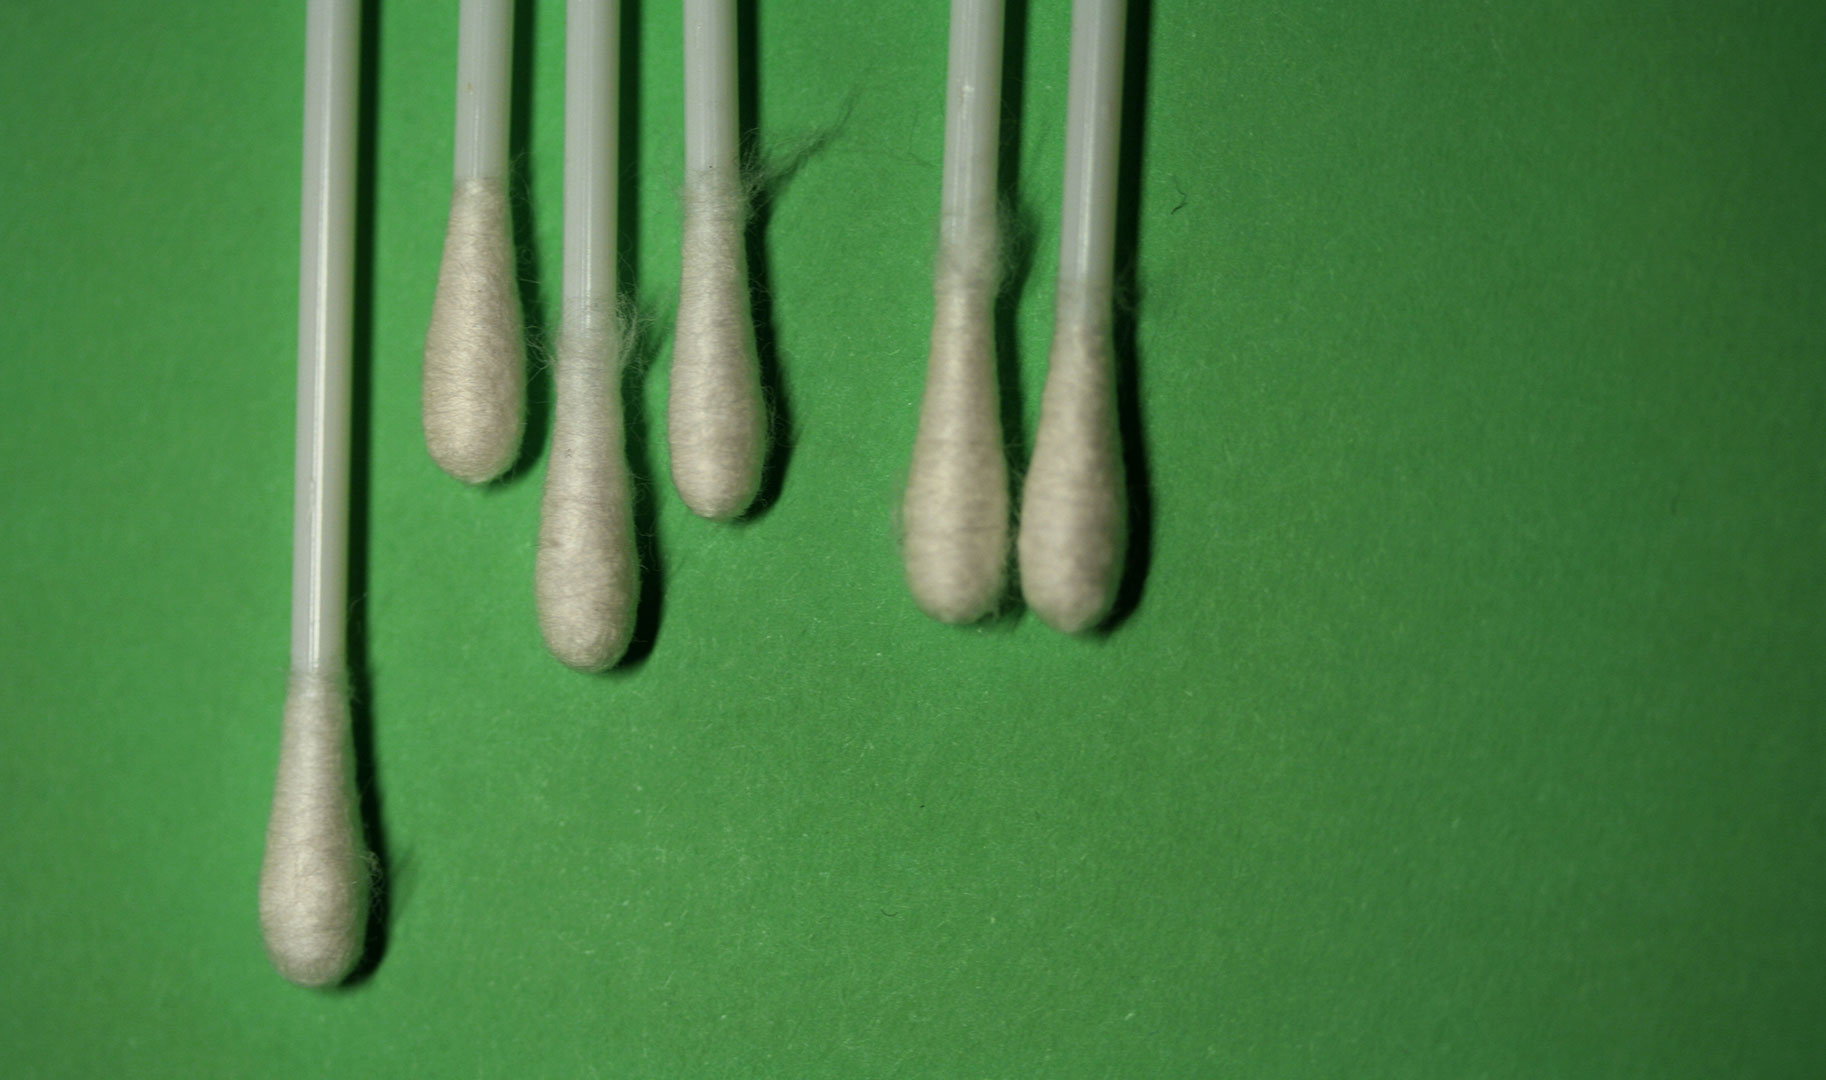
- Spray with the electrical contact cleaner onto a Q-tip.
- Insert the Q-tip gently into the charging port.
- Spray onto the cable plug.
- Insert the cleaned cable plug into the lightning port and wiggle it around to wipe the device’s port.
Note: DO NOT spray into the iDevice’s lightning port directly. The substances in electronic contact cleaners may damage the nearby parts of the device. - Make sure you clean all the contacts on the device as well as on the lightning cable.
- Make sure all the contacts on the cable and the lightning port are completely dry before using. (Leave the device at least 1 minute before you turn it on)
Debris, Dust, and Dirt Removal Process
- Scrape the inner area of the lightning port with an unused nylon bristled makeup brush, plastic or wooden toothpick, or something similar. This will remove most of your fat clumps of debris, dust, and lint. The best results you can achieve if you slightly shave down a wooden toothpick with a sharp blade so that it is very thin.
- Get a flashlight and magnifying glass if available and check deep into the opening of the port.
- Search for any dirt caked at the bottom and in the corners.
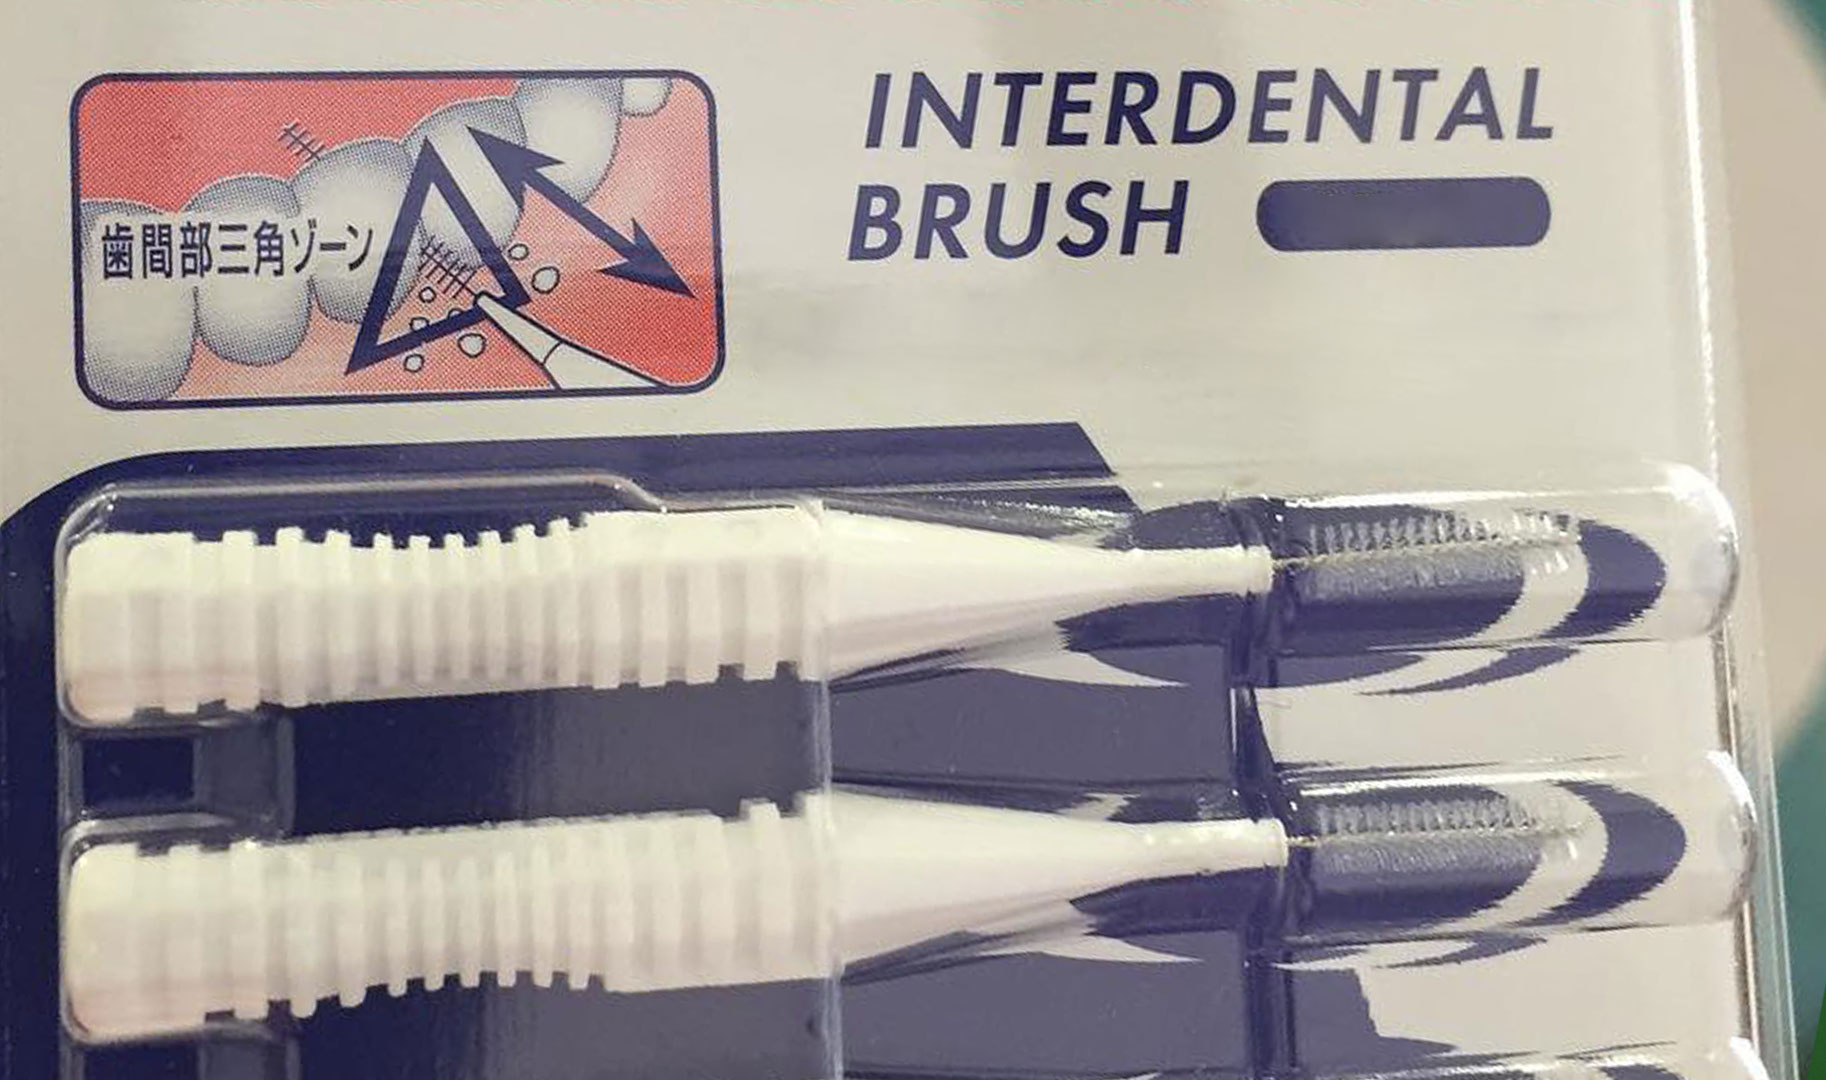
- If the bottom and corners are still dirty, get a paperclip or any other thin and strong object. You can use dental flossers or interdental brushes, for example.
- Carefully scrape the dirt and remove it from the port.
- Spray your charging port with some compressed canned air.
- Get a Q-tip, dip it in a rubbing alcohol and clean the inside of the port.
- Place a piece of a screen cleaning wipe, or surgical gauze over the port and push it in with the lightning cable. The wipe or gauze will trap the grime and dirt clogging the port’s insides.
Do not forget to leave your phone for a minute or two, allowing the port to do dry. Canned air and rubbing alcohol are designed to evaporate for a couple of seconds. However, waiting an extra minute will not harm you, and may prevent many unpleasant scenarios.
After your iDevice is completely dry, you can turn it on. Now, plug your lightning cable and check if your device starts to charge.
Is Your Device Still Not Charging?
If you performed the cleaning steps from above, and your iDevice is still not charging, you should again verify that your wall adapter and lightning cable work properly. You can do that using another iDevice borrowed from your family members or friends. If the cable and the wall adapter work, try performing a hard reset (force restart) to your iDevice.
Press and hold the combination of buttons adequate for your iPhone model. If you want to know which combination is the right for your model, click on the following link and search for the Force Restart section in the article https://appuals.com/fix-iphones-dead-wont-turn-on/ There you can find the force restart (hard reset) procedures for all iOS devices.
If any of the above methods didn’t solve your problem, contact Apple Support. Another option is to consider DYI repair, replacing the lightning connector yourself.

Conclusion
Discovering that your brand new iPhone X or iPhone 8 do not work as they should, is really frustrating. In today’s world, iDevices and other gadgets are so much a part of us. We use them wherever we go. They make our lives richer, easier, and hopefully better. So, plugging in and charging our devices is second nature. We never think about that, except when we have some charging issues.
If you find that your iPad or iPhone just isn’t charging up, or showing an intermittent charging behavior, use the tips from above, and you will get your device back on track.
Additionally, if you want to keep your iDevices in a good overall condition, make sure you clean them from time to time. Pick up your cleaning tools of choice and give your charging port a quick maintenance treatment. These are the steps that will prevent the charging issue from happening in the future.
If your iDevice’s usage taught you some other tips and tricks for fixing the iPhone charging issues, feel free to share them with us. Sharing experiences and knowledge is the thing that pushes the humanity forward.
Sorry if im being rude, but u r trying to be more dramatic instead wrtiting straght about solution, wasted my time