Can’t Boot Windows 11 After Enabling Hyper-V Virtualization? Try these fixes
Hyper-V turned on on a Windows 11 system can cause the startup to stop at the manufacturer logo or loop into automatic repair mode. This shows a startup failure caused by virtualization settings clashing with the normal startup order.
The main cause is turning on Hyper-V or Virtual Machine Platform in the BIOS or Windows features on hardware that is not fully compatible; other causes include firmware bugs, IOMMU problems, and fast boot problems.
1. Uninstall Trusteer Rapport (or similar application)
I know this might seem like an unlikely culprit, but many users using security apps recommended by banks have found that the app responsible for preventing Windows 11 from booting is Trusteer Rapport.
There might be other similar apps causing the same issue, but so far Trusteer Rapport is most often blamed.
Unfortunately, if you’re very dependent on Trusteer Rapport, there isn’t a reliable way yet to keep both the app and virtualization enabled at the same time — it’s either one or the other.
If you want to keep virtualization enabled, the only way to allow your Windows 11 computer to boot is to uninstall the conflicting software.
Note: It’s possible that a different app using similar security techniques is causing this behavior. If you have a suspect, uninstall it as shown below for Trusteer Rapport.
- Boot your computer normally and press the Setup key immediately after you see the initial screen to access your BIOS settings.
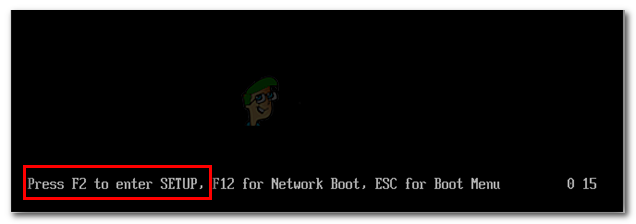
Accessing the BIOS menu Note: If the setup key is not displayed on the screen, look online for instructions on accessing your BIOS settings according to the official documentation provided by your motherboard manufacturer.
- Once you’re inside the BIOS menu, go to the Advanced settings and look for a sub‑menu named CPU Configuration.
- Inside it, look for an option named Secure Virtual Machine Mode and set it to Disabled.
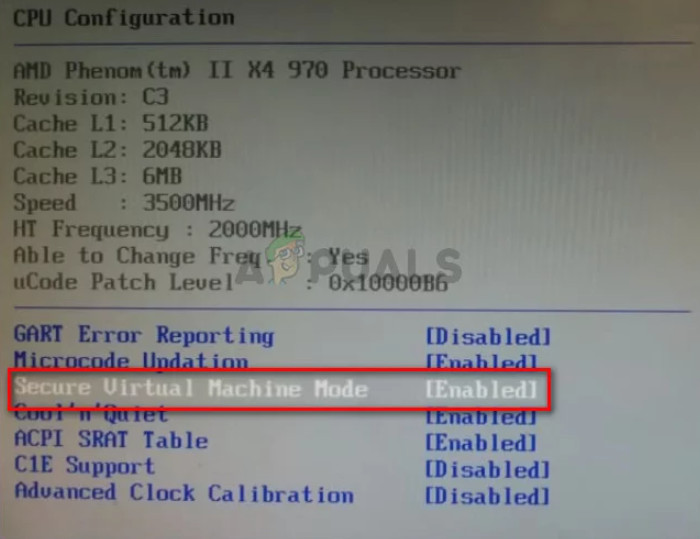
Secure virtual machine mode Note: The names and locations of the virtualization setting will differ from one manufacturer to another.
- After you’ve disabled virtualization, save the changes and allow your PC to boot normally.
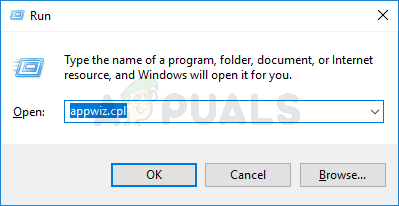
- After your PC boots back up, press Windows key + R to open a Run dialog box. Inside the Run box, type ‘appwiz.cpl’ and press Enter to open the Programs and Features menu.
Opening up the Programs and Features menu - Once you’re inside Programs and Features, scroll down through the list of installed programs and locate the entry associated with Trusteer Rapport (or the similar app you suspect is causing this issue).
- After you locate it, right‑click on it and choose Uninstall from the context menu that appears.
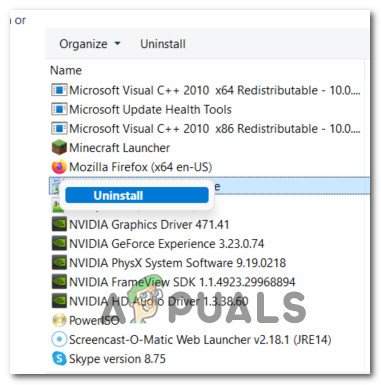
Uninstalling the Trusteer Rapport (or similar app) - In the uninstaller, follow the on‑screen instructions to remove the app.
- Reboot your PC and press the Setup key during the initial startup screen to return to the BIOS screen, then re‑enable virtualization (set the option back to Enabled or its equivalent).
Secure virtual machine mode - Let Windows 11 boot normally and see if the issue is now fixed.
2. Fix the Boot Repair Loop
Unfortunately, the notorious issue that plagued previous Windows versions (Boot Repair Loop) is back in Windows 11. Apparently, when you enable Hyper‑V to use features like Core Isolation, there’s a small chance an important flag will be set to AUTO, which causes the Boot Repair Loop.
Resolving this is the same as before — you’ll need to boot in Safe Mode, then set HyperVisorLaunchType to OFF before rebooting.
- Boot your computer normally and insert a compatible installation media.
Note: If you don’t have compatible installation media, you can easily create a bootable flash drive with Windows 11 by following these instructions. - When asked if you want to boot from the installation media, press any key to boot from it.

Press any key to boot from installation media Note: If you don’t get the screen asking you to boot from the installation media, you need to access your BIOS settings and change the boot order.
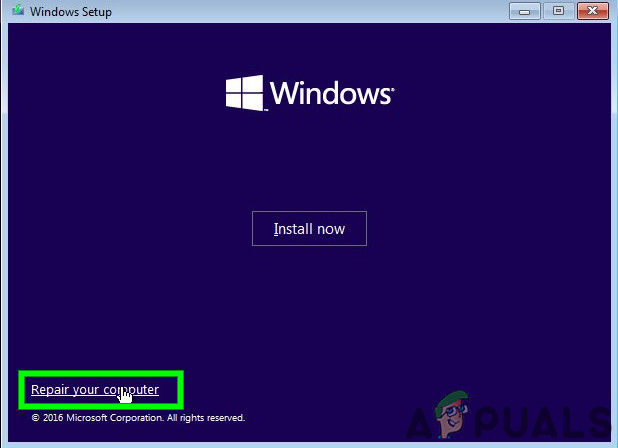
- Once you arrive at the first Windows Setup screen, click Repair this PC in the top‑left corner.
Repair your computer - Inside the first Advanced Startup screen, click Troubleshoot.
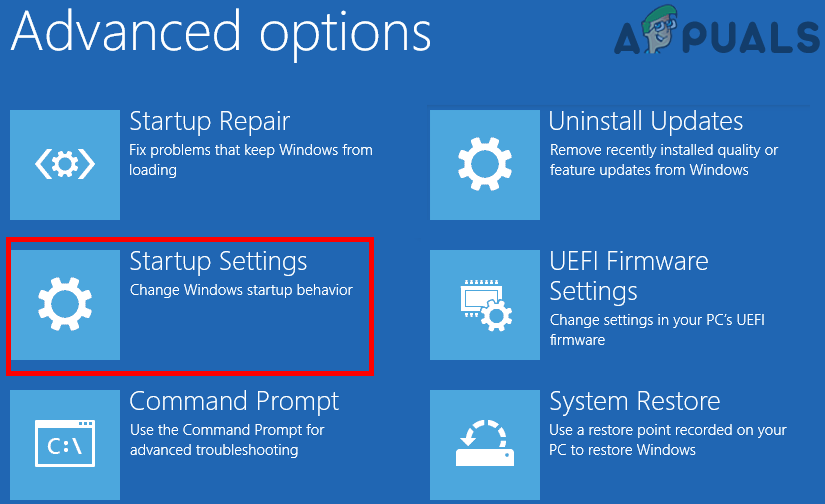
- In the Troubleshoot tab, click Advanced Options, then select Startup Settings.
Accessing the Startup Settings menu - At the next screen, click Restart and wait until your PC restarts directly into the Startup Settings screen.
- Once you’re inside the Startup Settings screen, press the F5 key to boot Windows 11 in Safe Mode with Networking.
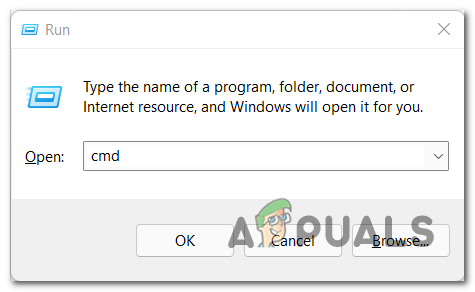
- After your Windows 11 PC boots into Safe Mode, press Windows key + R to open a Run dialog box. Inside the Run box, type ‘cmd’ and press Ctrl + Shift + Enter to open an elevated Command Prompt.
Open up an elevated CMD prompt - If you’re prompted by User Account Control (UAC), click Yes to grant admin access.
- Once you’re inside the elevated Command Prompt, type the following command and press Enter:
BCDedit /set hypervisorlaunchtype Off
- After the command runs successfully, reboot your PC and enable virtualization in the BIOS before booting normally to see if the problem is fixed.
3. Use a healthy System Restore point
If the methods above were not effective in your case, one last thing you can try before refreshing every system file is to restore a healthy System Restore snapshot using the System Restore utility.
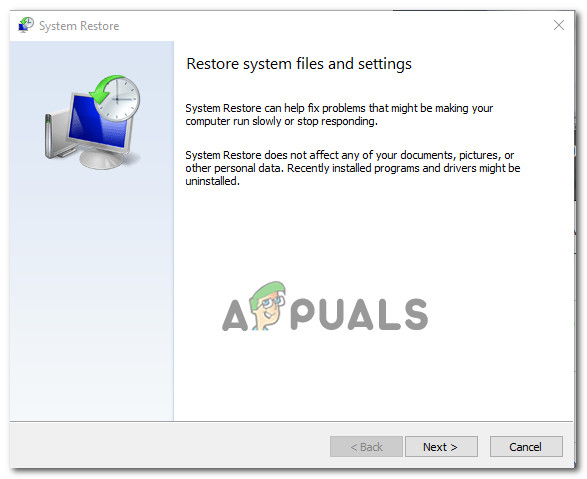
If the problem is related to a recent system change that caused a conflict with virtualization, this will likely fix it.
4. Perform a Repair install
If you’ve come this far, the best option is to replace the Windows system files to resolve any corruption that might be causing issues with Hyper‑V virtualization.
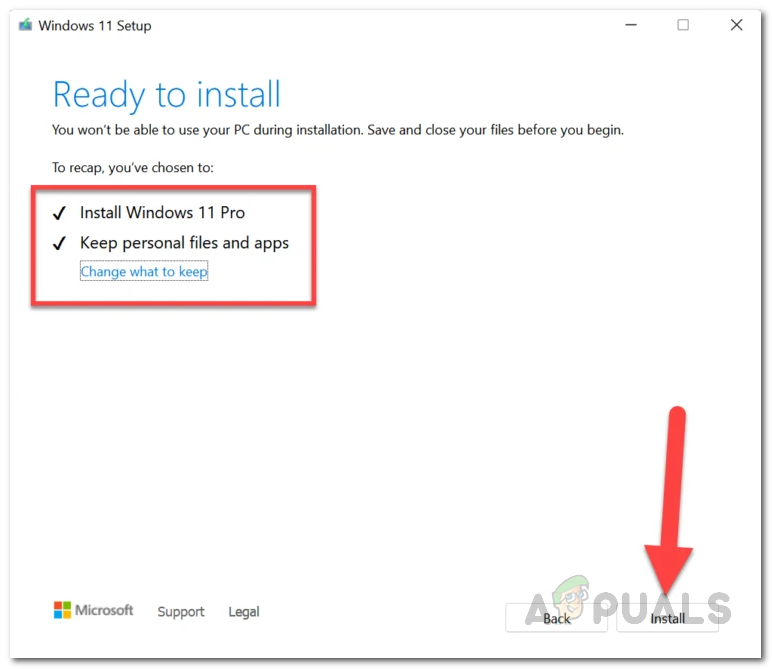
You can always clean install Windows 11, but a better approach is to perform a repair install (in‑place upgrade) — this lets you keep all your personal files, apps, and documents that are stored locally. Only the Windows 11 system files are replaced.


