Can’t install Windows 11 on VM? Here’s How to Fix It
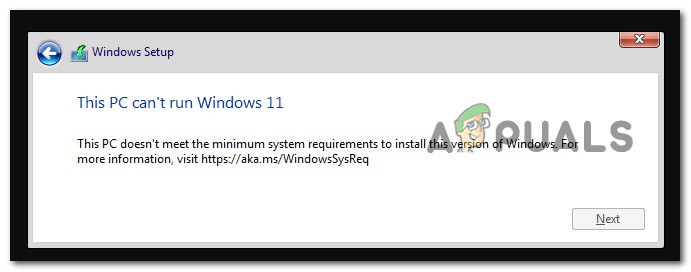
Installation attempts in a virtual machine may stop on the setup screen, go back to the boot manager, or show a stretched Windows logo before not continuing. The message shown “This PC doesn’t currently meet Windows 11 system requirements” means that the VM is missing required parts for Windows 11.
The most common cause is missing or disabled TPM 2.0 and Secure Boot, followed by using a non-UEFI or Generation-1 VM; other causes are a small virtual disk, an incompatible ISO, or not enough CPU.
Now that you are familiar with the possible causes, let’s get to the fixes.
1. Meet the minimum requirements
If you’re just beginning to troubleshoot the ‘This PC can’t run Windows 11‘ error with VMware Workstation, the first thing you should do is make sure your current PC setup meets the minimum requirements:
- The system disk needs to be 64GB or larger
- At least 4 GB of RAM
- Processor – 1 gigahertz (GHz) or faster with 2 or more cores on a compatible 64-bit processor or System on a Chip (SoC)
- The PC must support Secure Boot
- The PC must support TPM 2.0
- TPM 2.0 must be enabled
Note: While the TPM 2.0 and Secure Boot requirements can be bypassed with the workarounds below, the others are mandatory. Before proceeding, make sure you meet the free disk space, RAM, and processor requirements.
2. Enable Secure Boot and TPM 2.0 on VMware
The most common cause of this problem is that your system supports Secure Boot and TPM 2.0, but they’re disabled in VMware Workstation’s virtual machine settings. Enable Secure Boot under the Firmware section and add a Trusted Platform Module to the VM to resolve this.
You can fix the error by encrypting your virtual machine and then adding a virtual Trusted Platform Module (TPM) if you use VMware Workstation Pro.
Important: If you’re using VMware Workstation Player, move on to the next method, which involves a registry bypass and modifying the .vmx file.
- Open your installed VMware Workstation Pro.
Note: If you haven’t already, create a new virtual machine. - Right-click your virtual machine and select Settings.

Accessing the Settings menu - Open the Options tab in the Settings window.
- Select the Access Control section on the left.
- On the right, click the Encrypt button.
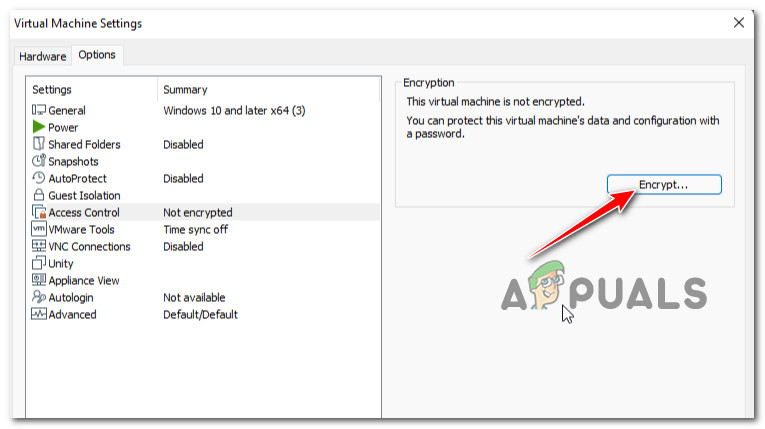
Click on the Encrypt button from the right-hand side - Enter an encryption password and confirm it a second time.
Note: You’ll need this password to access the virtual machine. Keep it safe. - Wait for the encryption process to finish.
- Click OK to save your changes.
- Now you can add TPM to your virtual machine. Right-click the encrypted VM and select Settings again.
- On the Hardware tab, click Add.
- In the Hardware Type window, choose Trusted Platform Module.
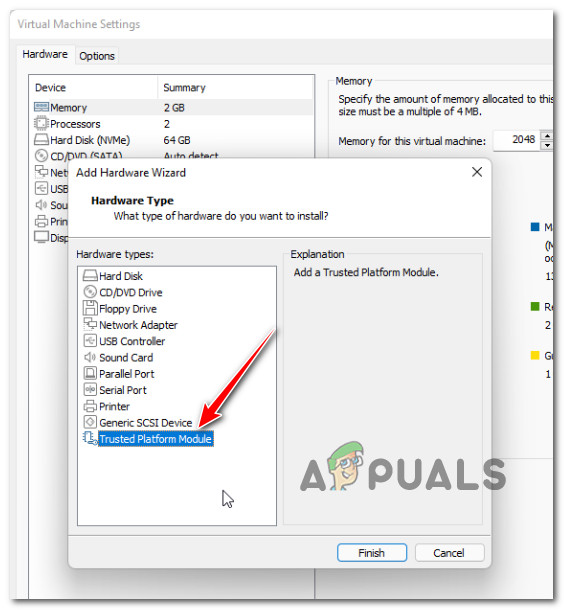
Access the Trusted Platform Module - Click Finish to add virtual TPM to the VM.
- In the Summary column of the Settings window, Trusted Platform Module should show as Present.
- Click OK to save the changes.
- Try installing Windows 11 in VMware again and see if the problem is resolved.
3. Edit the VMX File to Add VTPM
Another reason you can encounter this problem is when the virtual TPM (vTPM) isn’t set up for the Windows 11 VM. In this case, you can resolve it by modifying the VMX file so that vTPM is added in VMware Workstation.
Editing your virtual machine’s .vmx file and adding vTPM is a simple way to fix the “This PC can’t run Windows 11” issue. This works with all VMware Workstation variants, including Pro, Player, and Fusion.
- Open VMware Workstation.
Note: If you don’t already have a VM, create one first. Also, make sure any running virtual machines are powered off. - Right-click your VM and select Settings. In the Settings window, click the Options tab.
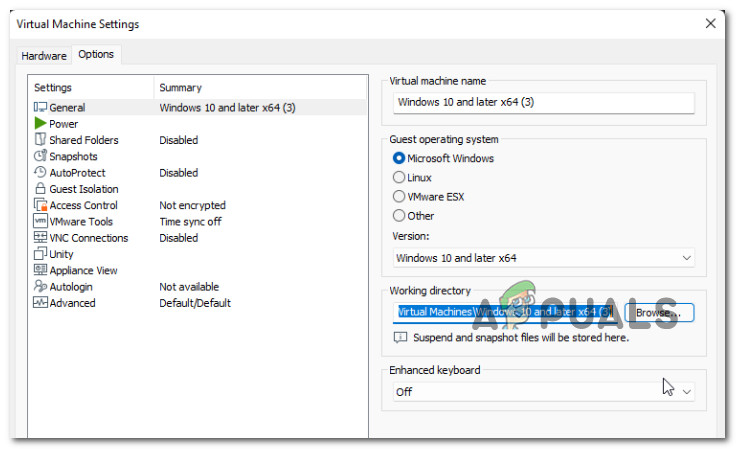
Accessing the Options tab - In the right pane, note the Working directory.
- This is where your virtual machine’s .vmx file is stored. Copy the working directory path to your clipboard.
- Click OK to close the Settings window.
- Press Win + E to open File Explorer, then go to the working directory path. The path varies based on where you created the VM.
- The default working directory path looks like this:
C:\Users\UserName\Documents\Virtual Machines\Windows 10 or Windows 11
- Open the folder (for example, Windows 10 and Later x64) and locate the .vmx file (for example, Windows 10 and Later x64.vmx).
- Right-click the .vmx file and select Open with > Notepad.
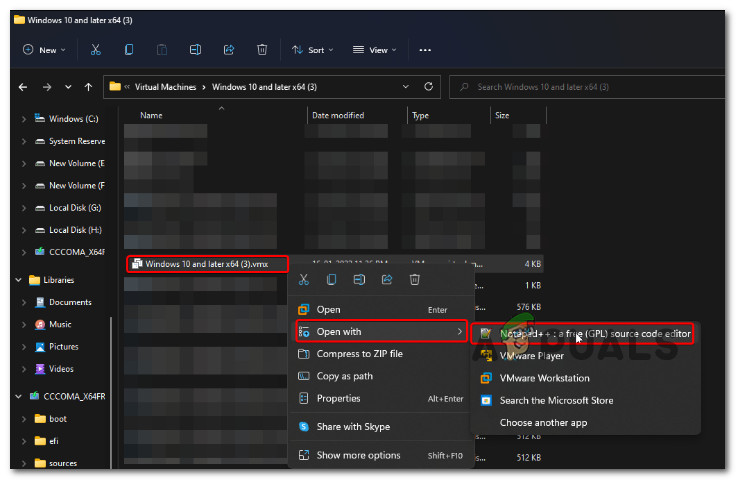
Opening with Notepad Note: You can use other text editors, such as Notepad++.
- Add the following lines to the end of the file (each on its own line):
autoAddVTPM = "software"
managedVM.autoAddVTPM = "software"
- Press Ctrl + S to save the file, then close Notepad.
- Restart VMware Workstation, Fusion, or Player.
- Start your VM and continue with the Windows 11 installation. If encryption is required, VMware will prompt you to encrypt the VM before adding TPM. After that, you should be able to pass the TPM check and finish the installation.
4. Bypass TPM Check for VMware via Registry Editor
If you meet all the other requirements except the TPM check, you can bypass it by adding a registry entry during setup. This lets you continue the installation inside VMware Workstation.
This method edits the Windows Registry when the system requirement warning appears on screen.
- Start the Windows 11 installation on your virtual machine.
- When the ‘This PC can’t run Windows 11‘ message appears due to missing system requirements, stop at that screen.
- Press Shift + F10 to open the Command Prompt.
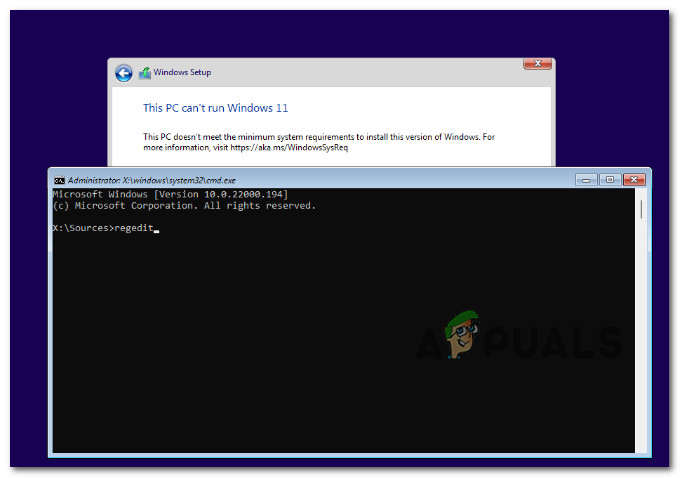
Opening Regedit - Type the following command and press Enter to open Registry Editor:
regedit
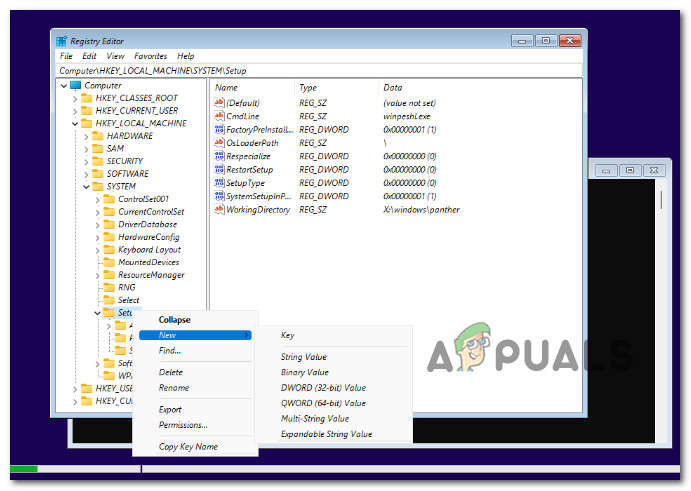
- In Registry Editor, navigate to:
HKEY_LOCAL_MACHINE\SYSTEM\Setup
- Right-click Setup, select New > Key, and name it LabConfig.
Tweaking the new setup - Right-click the LabConfig key and select New > DWORD (32-bit) Value.
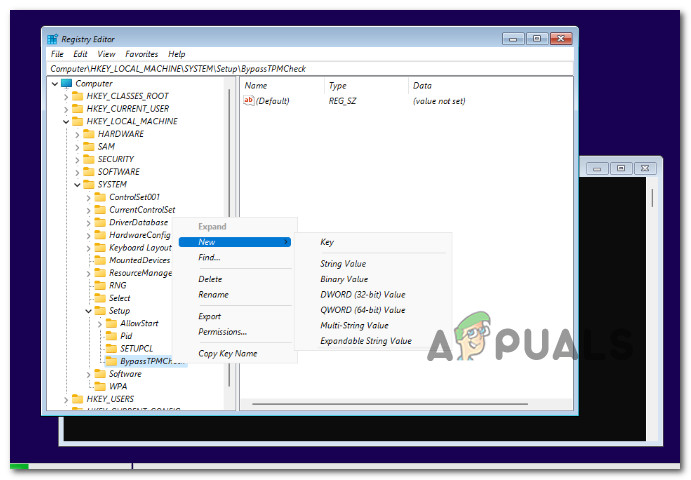
Bypass TPM checks - Name the new DWORD BypassTPMCheck.
- Right-click BypassTPMCheck and click Modify.
- Set Value data to 1 and click OK.
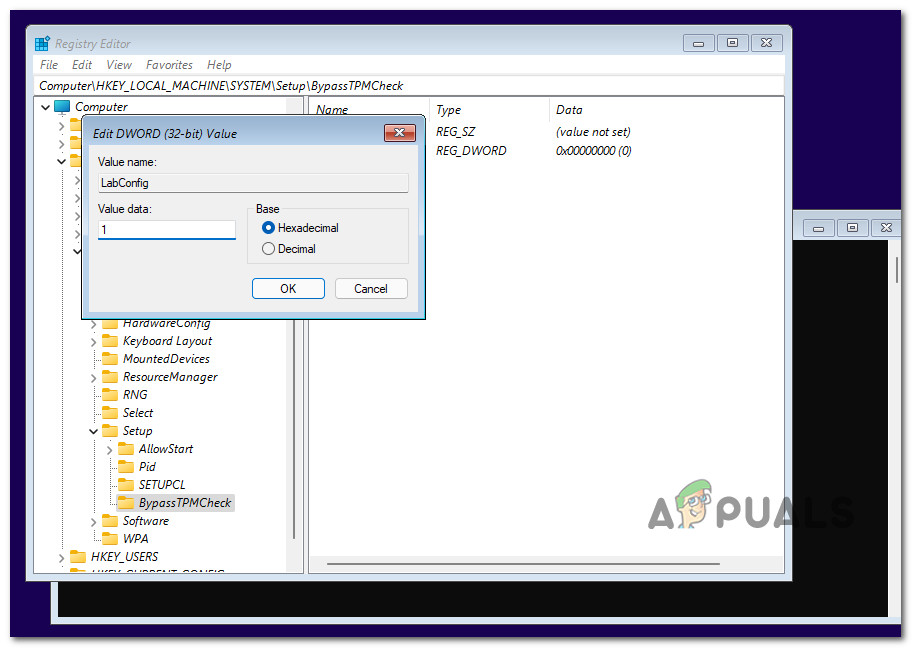
Creating the Labconfig value - (Optional but helpful) In the same LabConfig key, create these additional DWORDs and set each to 1: BypassSecureBootCheck and BypassRAMCheck.
- Close Registry Editor.
- Type exit in the Command Prompt and press Enter.
- Back in the Windows Setup window, click the Back button (top-left arrow), then proceed again with setup.
- You should now be able to complete the Windows 11 installation without the error.


Thanks a lot brother. Solved for me.