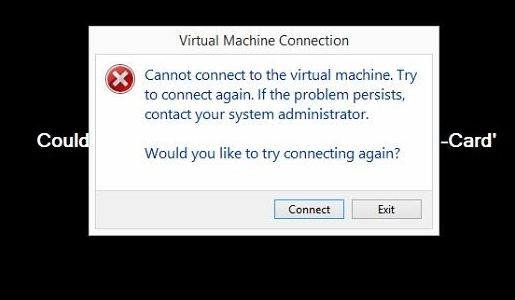
Fix: “Cannot Connect to the Virtual Machine” Error in Windows
You will usually come across an error where you are unable to connect to the virtual machine in Hyper-V Manager. This is a common error that occurs due to the selection of the “Do not store my credentials” radio button. This causes the Virtual machine to pass the credentials of the account logged in to Windows in place of the ones used for authenticating to the Self-Service Portal.
In this guide, we will explain the method to prevent the issue where you cannot connect to the Virtual Machine.
Workaround: Restart the Virtual Machine
Before making any changes to your system, you must make sure that you have re-started the Virtual Machine manually.
- Right-click on the Virtual Machine.
- Select the “Turn off” option on the context menu.
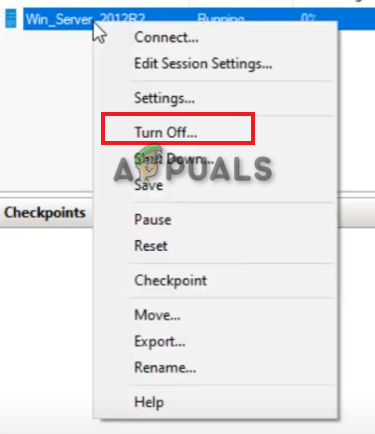
Turning off the virtual machine - Restart the Virtual Machine after a while.
1. Turn on Store my credentials
One of the major reasons why you are facing this error is due to the credentials of User 1 (account logged in to Windows) are being passed instead of User 2 (authenticate to the SSP). By default, the “Do not store my credentials” is selected which causes this error. Therefore, you must manually select the radio button “Store my credentials” on the SSP login page to pass the credentials through User 2.
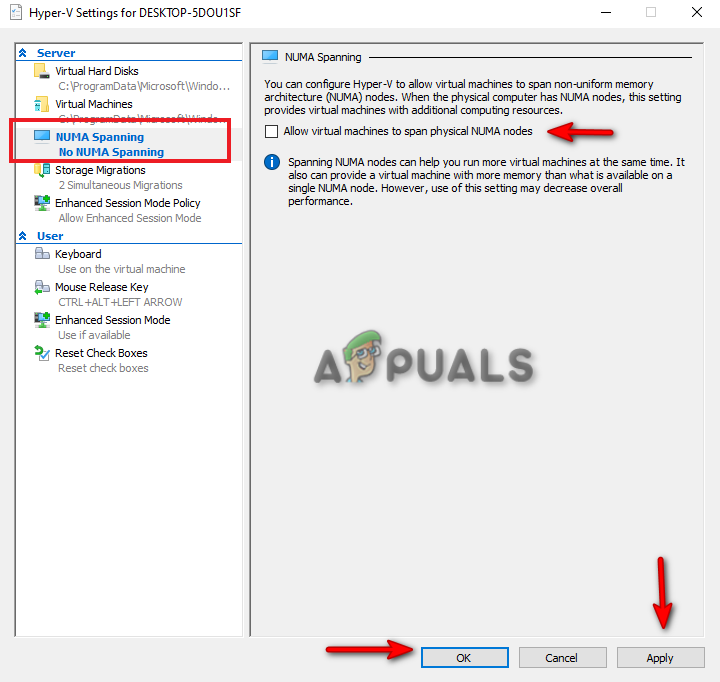
2. Turn off NUMA Spanning
NUMA Spanning is a setting in the Virtual Machine Manager that allows you to run multiple virtual machines simultaneously. Additionally, it provides extra memory to the virtual machine than the one available on the single NUMA node. However, this setting causes performance issues when connecting to the Virtual Machine. Below are the instructions for turning off the NUMA Spanning setting in the Hyper -V Manager.
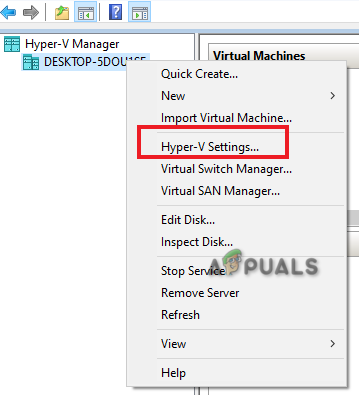
- Click on the Hyper-V Manager Action on the left panel.
- Right-click on your PC name and select “Hyper-V Settings.”
Opening Hyper V settings - Under “Server”, click “NUMA Spanning” and uncheck the “Allow virtual machines to span physical NUMA nodes” box.
- Confirm the action with Apply and OK.
Turning off NUMA spanning - Now, you can restart the Hyper-V Virtual Machine Management Service and connect to the virtual machine.
3. Uninstall third-party VPN software
Although VPNs are a safe way to keep your data Unencrypted and secure, they are known to cause connection issues with the Virtual Machine you create on Hyper-V. Therefore, it is best to run a VPN directly within the virtual machine and remove any third-party VPN software from your system:
- Press Win + I to open the Windows Settings.
- Navigate to Apps > Apps and features.
- Locate the VPN software on your system.
- Click on it to expand it and select “Uninstall”
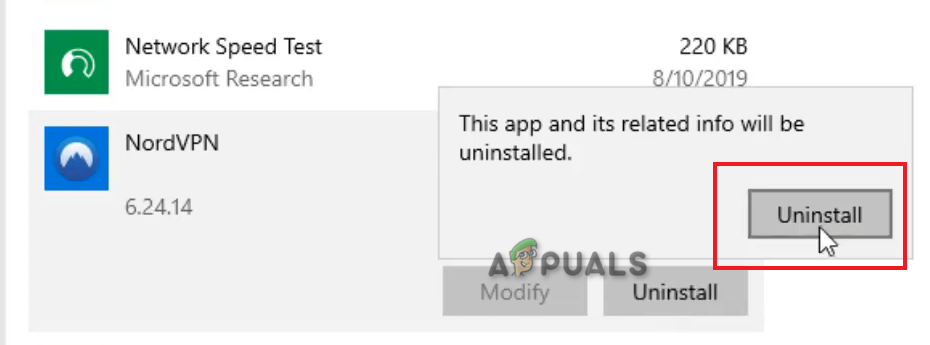
Uninstalling VPN software
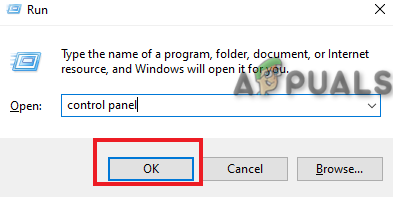
- Open the Run command with Win +R keys.
- Type “control panel” and click OK.
Opening the control panel - Click on the View by option and select “Large icons”

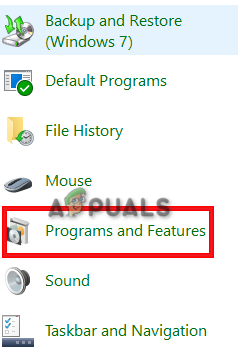
Settings Icons at Large Font Size - Open Program and Features.
Opening program and features - Select the installed VPN software and click “Uninstall”
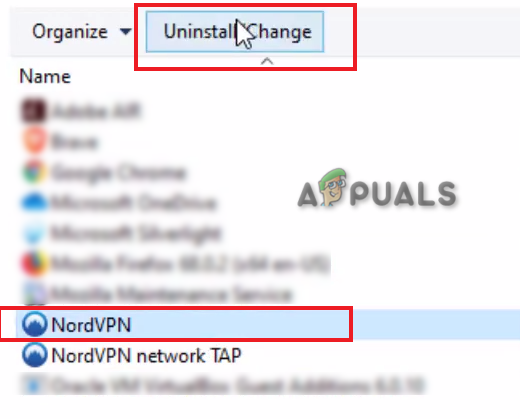
Uninstalling VPN
4. Uncheck the override system setting
Code flow guard is a feature in Windows that helps minimize memory corruption. However, it can also be a cause that prevents you from connecting to the Virtual Machine in Hyper-V. Therefore, you must turn it off.
- Open the Windows Settings by pressing the Win + I keys.
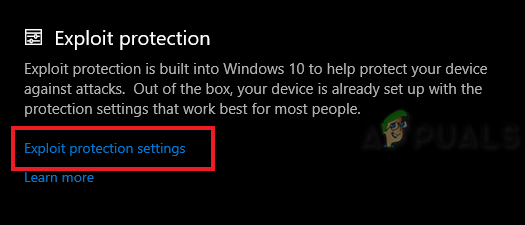
- Navigate to Update and Security > Windows Security > App and browse control.
- Open the Exploit protection settings under “Exploit protection”
Exploit protection settings - Click on the Program settings and expand the following path:
C:\WINDOWS\System32\vmcompute.exe
- Click Edit and find Code flow guard (CFG).
- Uncheck the Override system settings option.
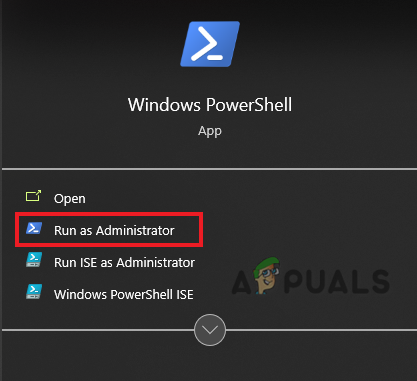
- Open the Windows start menu and type “Powershell”
- Run Windows PowerShell as an administrator.
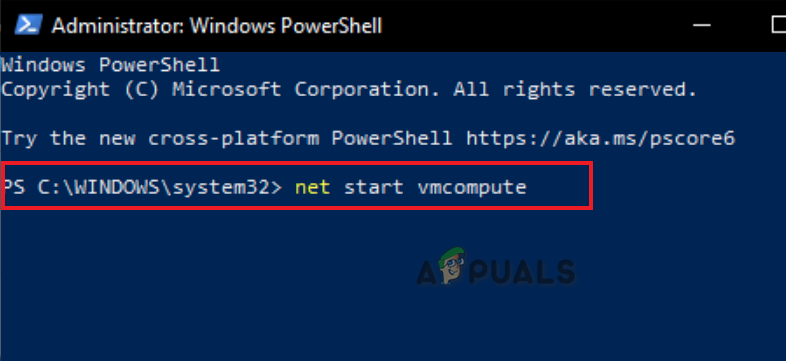
Running PowerShell as an administrator - Lastly, type the following command to start vmcompute:
net start vmcompute
vmcompute
5. Restart each Hyper – V related services
An error in the Hyper-V services can be causing this connection error. Therefore, you must restart the Hyper-V-related services running in the background. You can do that with the instructions below:
- Open the Windows start menu with the Win key.
- Type “cmd” and run it as an administrator.
- Type the following commands and press Enter to restart each Hyper-V service:
sc config vmickvpexchange start= demand
sc config vmicguestinterface start= demand
sc config vmicguestshutdown start= demand
sc config vmicheartbeat start= demand
sc config vmicvmsession start= demand
sc config vmicrdv start= demand
sc config vmicvss start= demand
6. Remove manual DNS entry
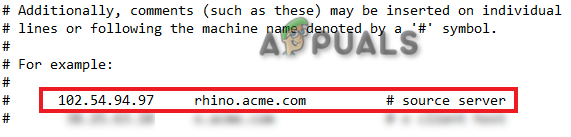
Having a manual DNS Entry saved in your Host file is also a reason that prevents you from connecting to the virtual machine. Therefore, you must check your host file and remove any manual DNS entries such as “rhino.acme.com” present there. You can do that with the steps listed below:
- Press Win + E to open the file explorer.
- Paste the following path into the file explorer and press Enter.
C:\Windows\System32\drivers\etc\hosts
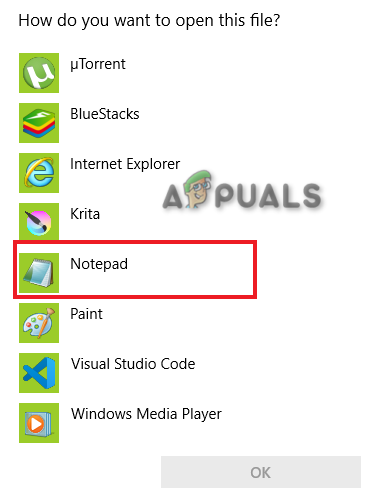
- Select Notepad and click OK to open your host file.
Opening host file in notepad - Remove the Manual DNS Entry called 102.54.94.97 rhino.acme.com with the Delete button.
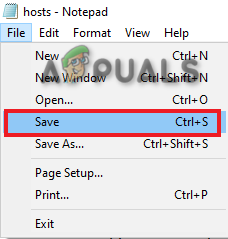
DNS Entry - Save the Notepad file and relaunch the Hyper-V Manager.
Saving host file
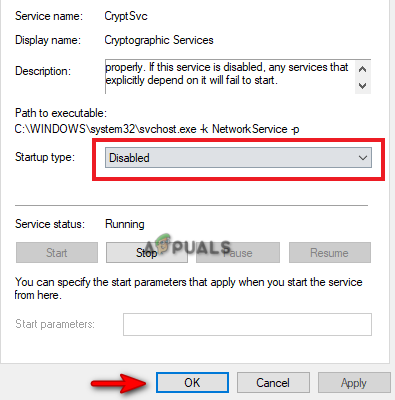
7. Disable the Cryptographic services
Cryptographic services are used for encrypting and decrypting the available data and information stored on the storage devices upon accessing them. However, when connecting to the Virtual Machine, this service will interfere and prevent the connection from being made. Therefore, you must follow the instructions below to disable this service:
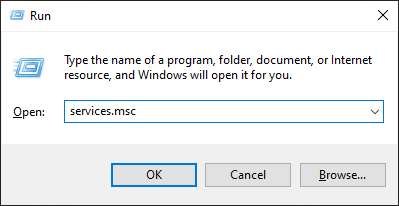
- Open the Run command with the Win + R keys.
- Type “services.msc” and click OK to open Windows services.
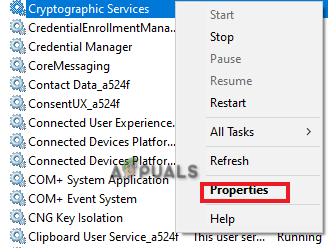
Type in services.msc - Right-click on Cryptographic services and open its properties.
Opening cryptographic services properties - Change the Startup type to “Disabled.”
- Click on Apply and OK.
Disabling the service
8. Change the default Windows port number
Windows has a default port number for the Hyper-V and Virtual Machine connectivity. When Windows fails to communicate with that port number, it fails to connect to the Virtual Machine. Changing this port number is known to fix connectivity errors. Therefore, you can change your default port number with the following instructions:
Turning off the virtual machine
- Right-click on the Virtual Machine.
- Select the “Turn off” option on the context menu.
Turning off the virtual machine
Checking port number
- Open the run command with the Win +R keys.
- Type “regedit” and click OK to open the registry editor.
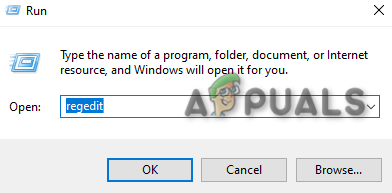
Opening registry editor - Navigate to the following path:
HKEY_LOCAL_MACHINE\SOFTWARE\Microsoft\Windows NT\CurrentVersion\Virtualization
- Now, check the Listener port number on the right pane.
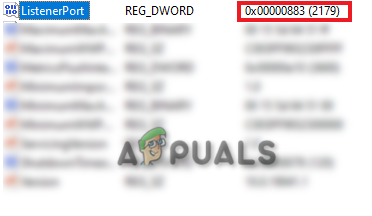
Verifying listener port number
Verifying port number connection
- Open the Windows start menu with the Win key.
- Type “cmd” and run it as an administrator.
- Type the following command and press Enter
netstat -ano | find "2179"
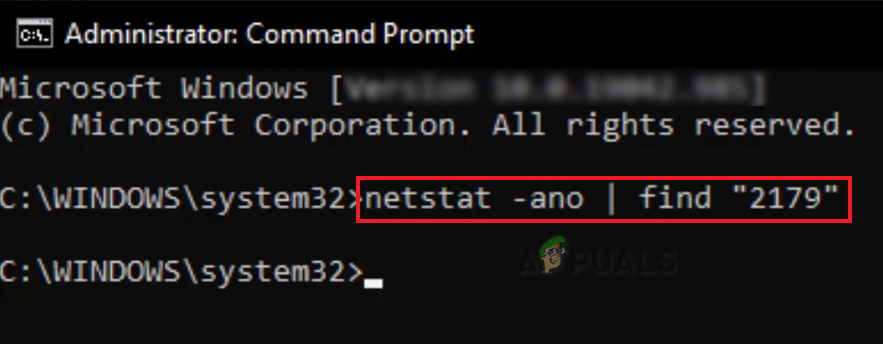
Verifying port connection - The command fails to run which indicates that Windows has failed to connect to the Port.
Changing Port number
- Minimize the command prompt and return to the Registry Editor.
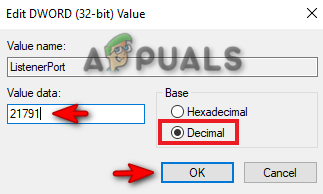
- Right-click on the Listener Port Registry key and select modify.
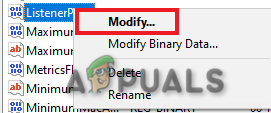
Modifying the registry key - Change the value to “21791” and select the Decimal radio button.
- Click OK to apply the changes.
Changing value data
Restarting the service
- Open the Windows start menu and type “PowerShell.”
- Run “Windows Powershell” as an administrator.
- Type the following commands to restart the virtual machine services:
stop-service vmms
start-service vmms

Restarting the Virtual machine service - Open the minimized command prompt (as an administrator)
- Type the following command and press Enter
netstat -ano | find "21791"
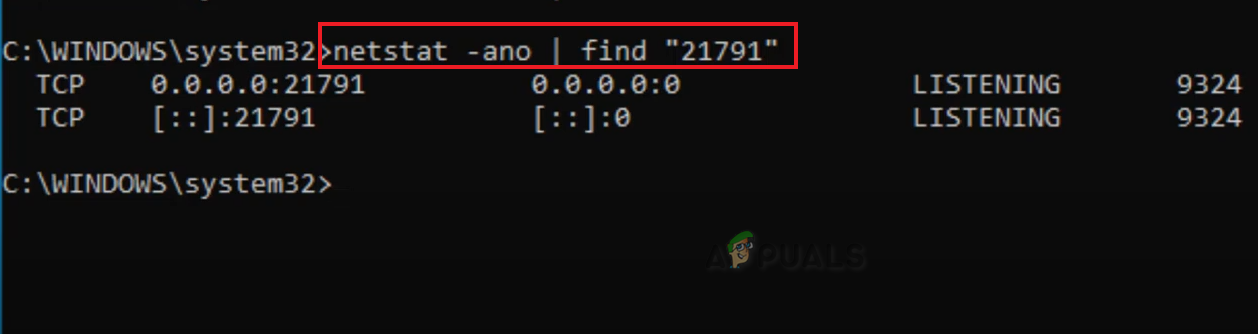 Changing the state of the port
 - When both TCPs are “LISTENING”, you can launch the Virtual Machine.


