Fix: Blue Screen of Death (BSOD) Errors
A Blue Screen of Death (BSOD) happens when your computer crashes and restarts, often during things like gaming or after adding new drivers. This error means Windows found a serious problem and has to stop everything to avoid damage. It usually shows a code on the screen to help find out what went wrong.
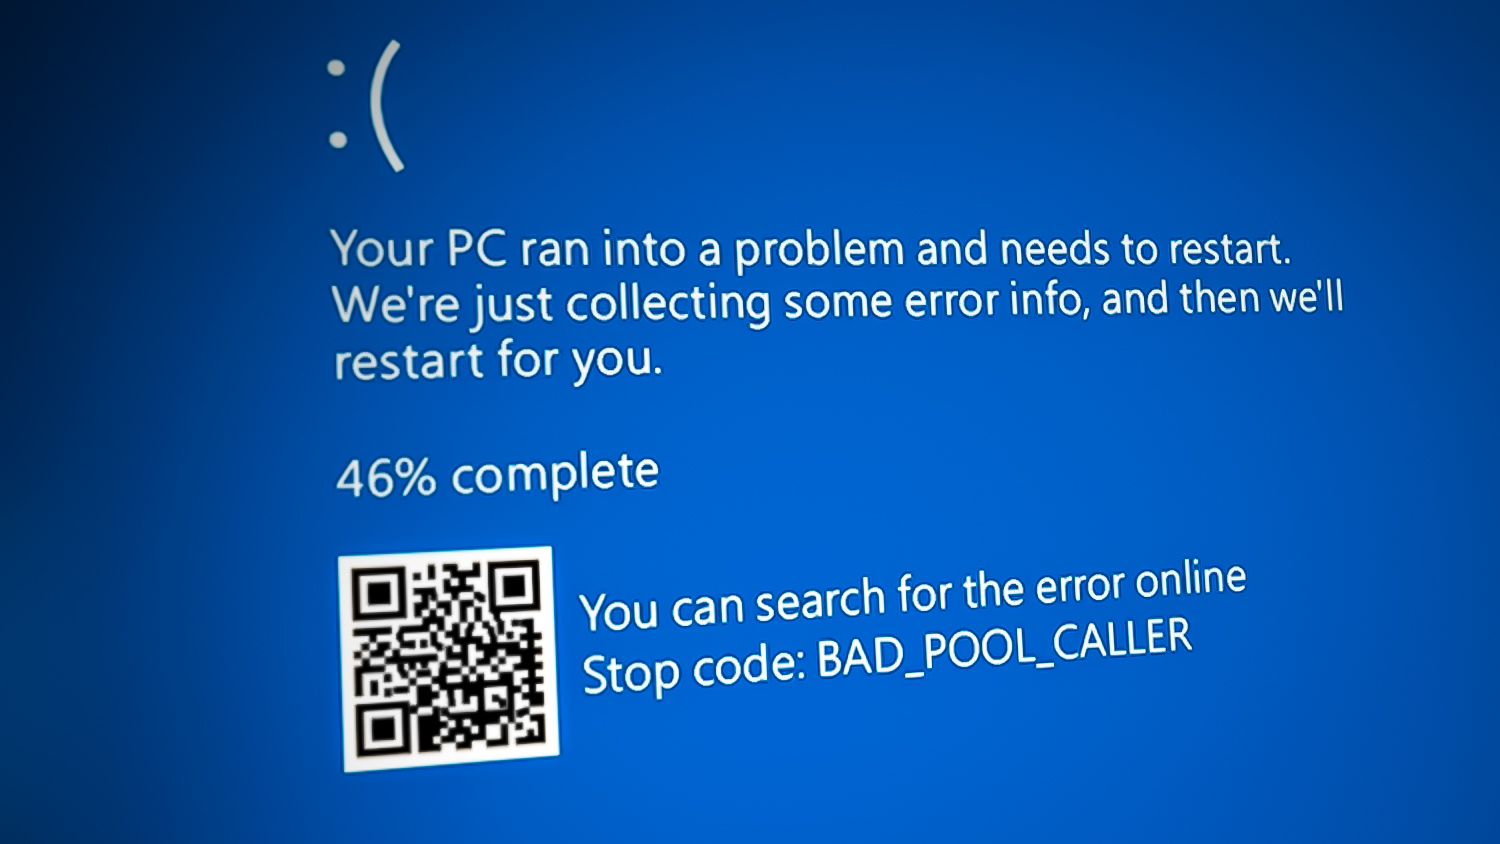
The most common reasons are bad memory (RAM) or unstable drivers, but it can also happen if your computer is too hot, the power supply is weak, system files are broken, or the hard drive is failing.
Most Common BSOD (Blue Screen of Death) Errors
Hundreds of different BSOD errors exist, but some are far more common. We’ve covered the most frequent ones. If you see one of these errors, read further to understand what causes them.
- stop code memory management
- stop code critical process died
- stop code system service exception
- stop code inaccessible boot device
- stop code 0xc000021a
- stop code reference by pointer
- stop code driver power state failure
- stop code bad system config info
- stop code kernel security check failure
- stop code dpc watchdog violation
- stop code unexpected store exception
- stop code kmode exception not handled
- stop code machine check exception
- stop code ntfs file system
Boot Windows into Safe Mode (If Needed)
First, check if your Windows is able to start. Sometimes, Windows won’t boot because of a BSOD error. If that’s the case, you’ll need to boot into Safe Mode by following these steps:
Remember: If Windows isn’t starting normally, it doesn’t always mean your hardware is broken. It could just be a driver issue.
- Turn off your PC completely.
- Power it back on and wait for the Windows logo to appear.
- As soon as you see the logo, hold down the power button for 5-10 seconds to force shutdown.
- Repeat this process twice more. The next time you start your PC, you should see the Windows Recovery Environment.
- Once there, select Troubleshoot > Advanced Options > Startup Settings.
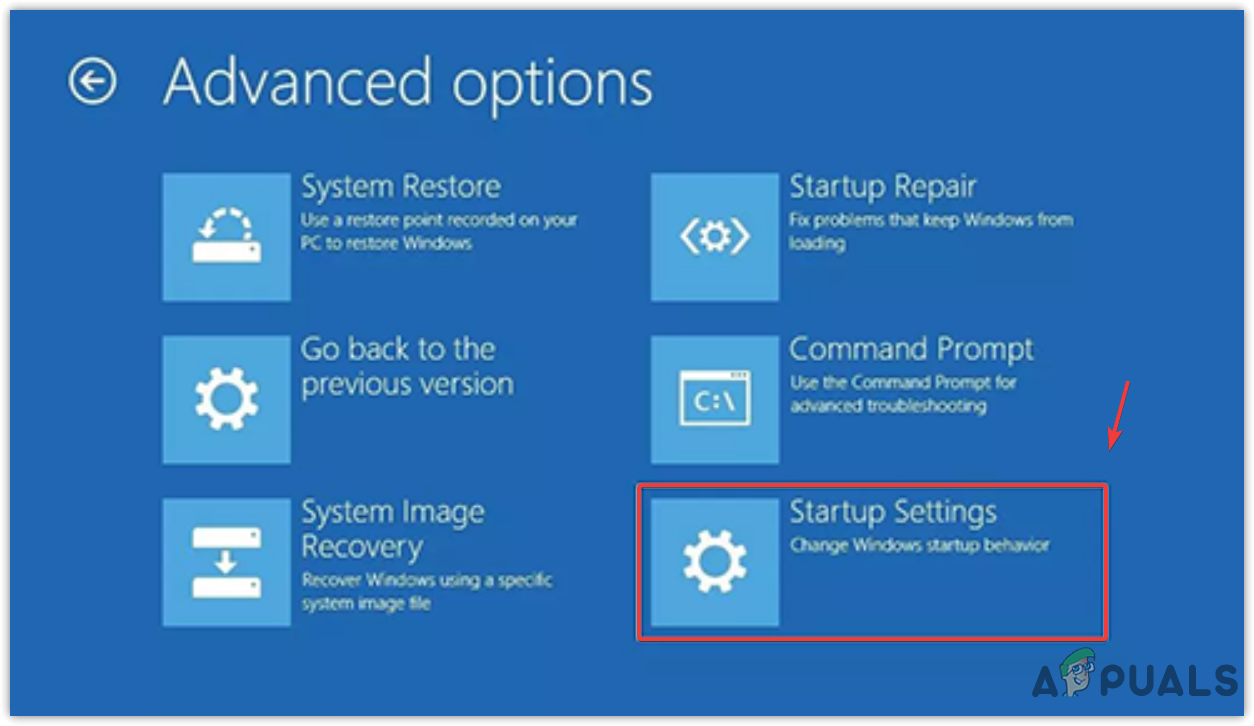
Selecting Startup Settings to enable Safe Mode - Click Restart at the bottom right, and your PC will restart.
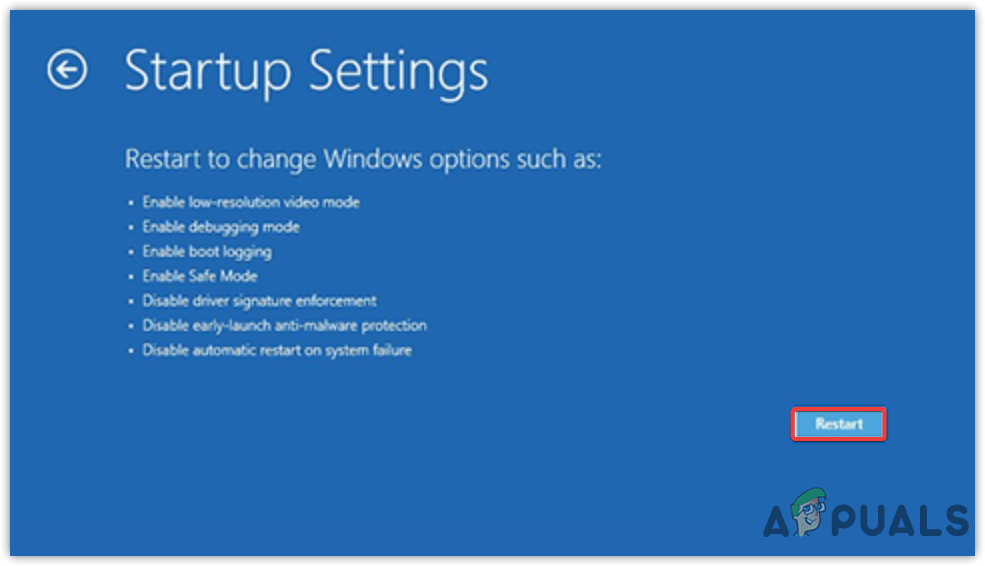
Restarting Windows to enable Safe Mode - On the next screen, press F5 or 5 to boot into Safe Mode with Networking.
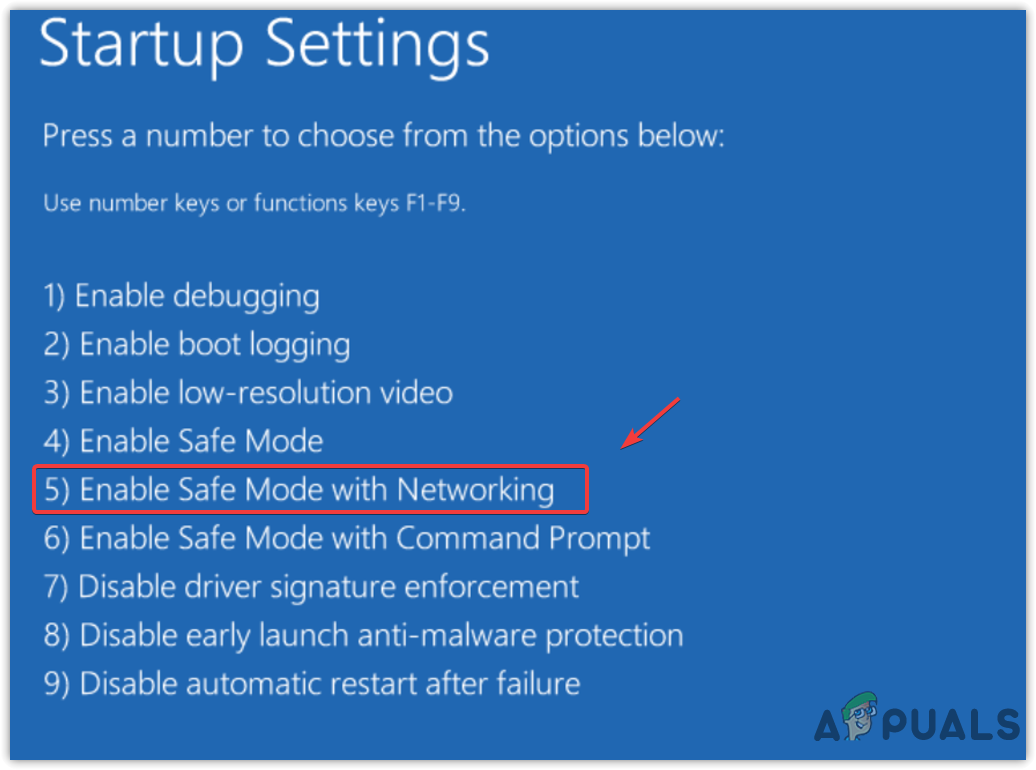
Enabling Safe Mode with Networking from Windows recovery environment - Now, once Windows has started in Safe Mode, try the following solutions.
1. Analyze a Minidump File
A minidump file contains information about why your system crashed. This file can help you find the root cause of a BSOD or Stop Code error by showing you which driver or process caused the issue.
It’s better to find the specific corrupted driver rather than uninstalling all of them.
1.1. Configure Minidump File
Windows needs at least a 2 MB paging file on your system drive to create minidump files. Usually, Windows is set up to make these files by default.
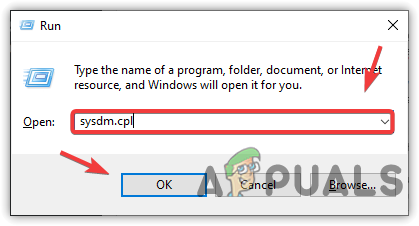
- Hold the Windows key and press R to open Run.
- Type sysdm.cpl and press Enter to open System Properties.
Navigating to System Properties Window - Go to Advanced and click Settings under Startup and Recovery.
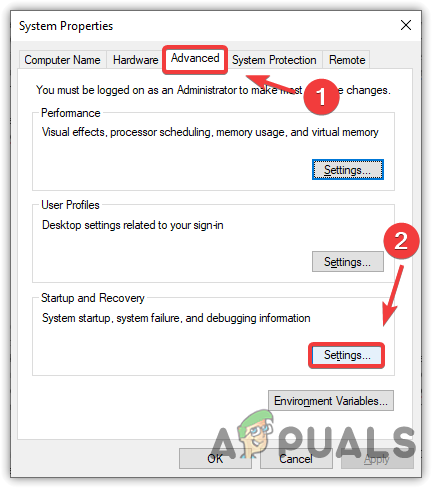
Opening system failure and debugging settings - In the drop-down for Write debugging information, select Small memory dump (256 KB).
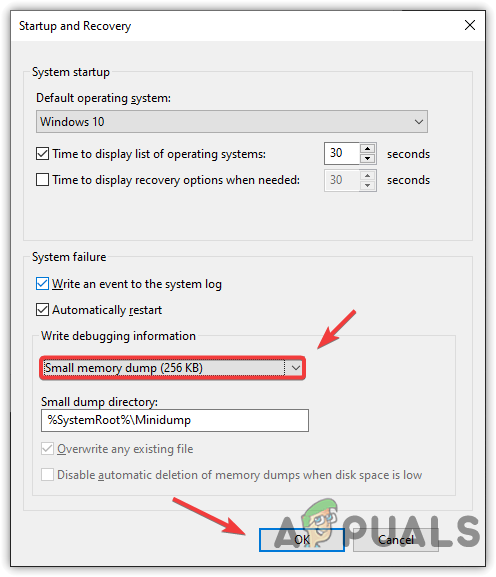
Configuring Minidump file - Click OK to save.
1.2. How Do I Read a Minidump File?
To analyze a minidump file, you’ll need a software tool from Microsoft’s Windows Software Development Kit (SDK).
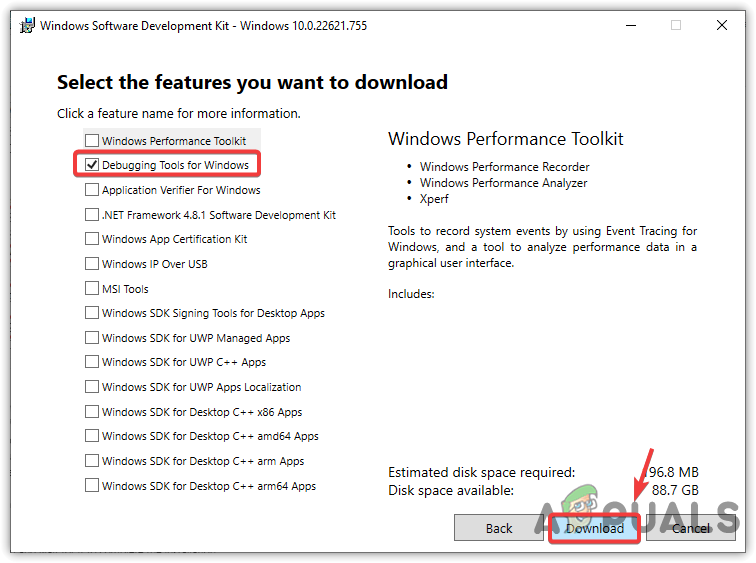
- Download the Software Development Kit (SDK).
- Install it, and during setup, select only Debugging Tools for Windows, then continue.
Installing debugging tools for Windows - Navigate to the debug tools folder on your PC. The typical directory is:
C:\ProgramData\Microsoft\Windows\Start Menu\Programs\Windows Kits
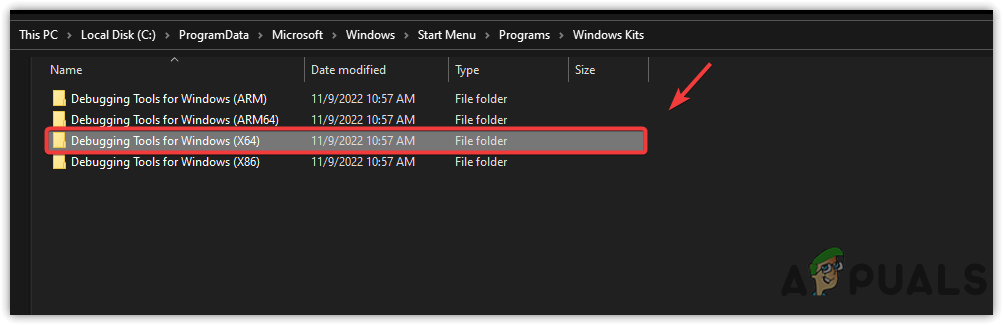
Navigating to the debugging tools folder according to the Windows architecture - If you’re not sure about your Windows version, search for About your PC in Start to check under ‘System type’.
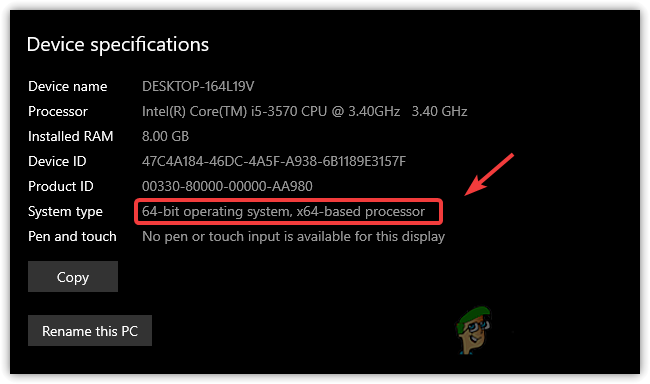
Checking Windows architecture - Open the debug tool application.
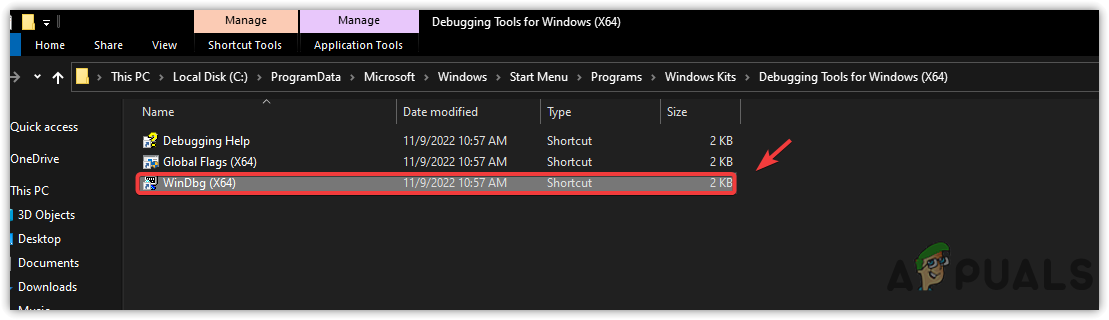
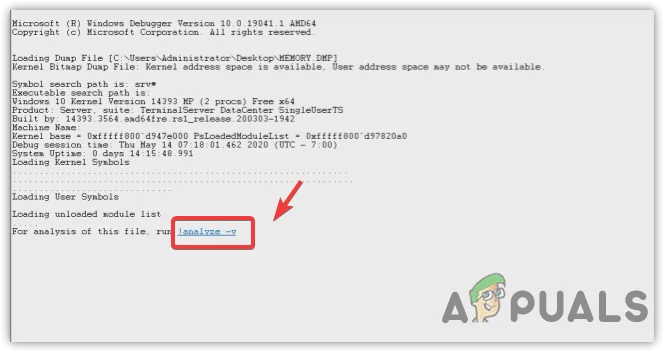
Opening Windows debug tool - Go to File > Open Crash Dump.
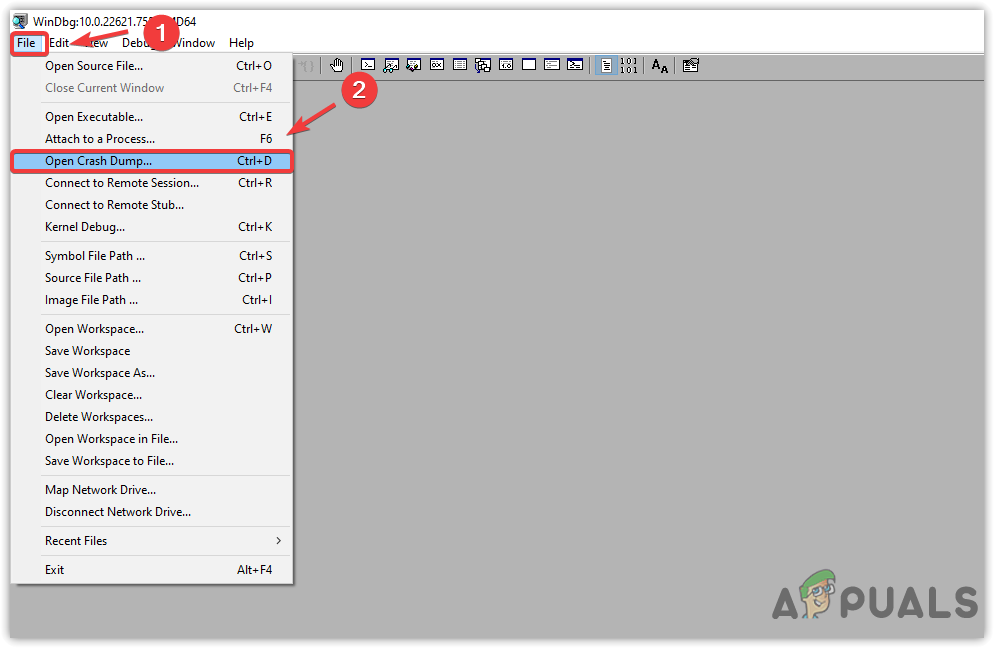
Opening a minidump file - Browse to
C:\Windows\Minidump, select the file, and open it. - Click Analyze -v to get details about the crash.
Analyzing Memory Dump file using a software - Copy the driver name found under Image Name.
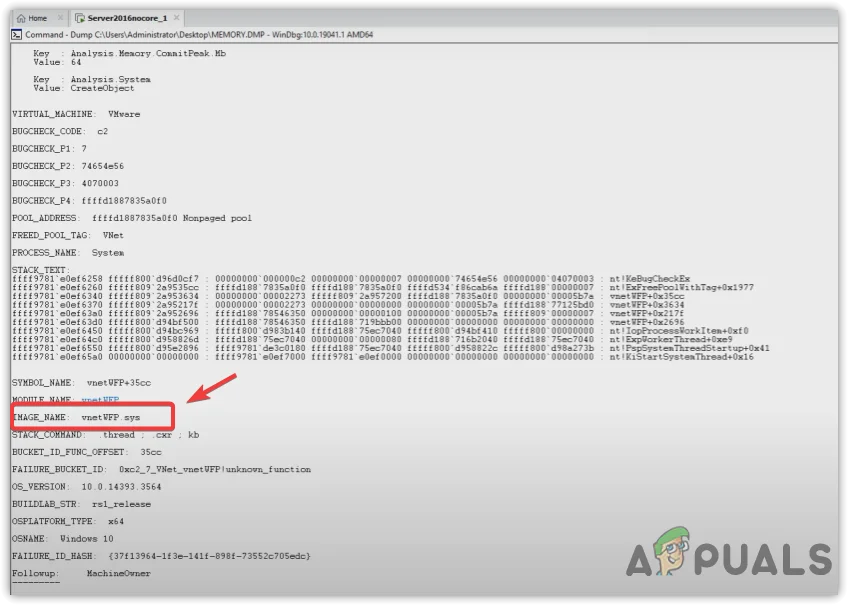
Copying Driver Name - Search the driver name on Google to find out what hardware or software it belongs to.
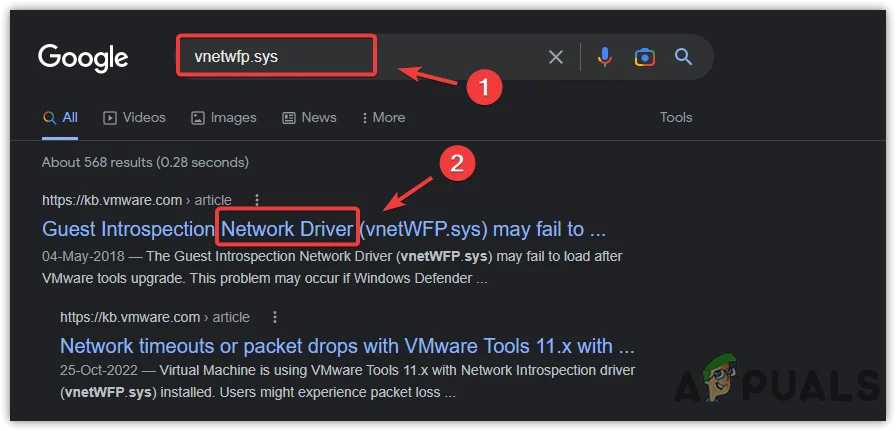
Searching a corrupted driver on Google analyzed by a minidump file - If it’s a network driver, graphics driver, or any other device driver, reinstalling it might solve your Stop Code issue.
1.3. Uninstall a Corrupted Driver
Once you know which driver is causing the problem, uninstall it:
- Right-click the Start Menu and select Device Manager.
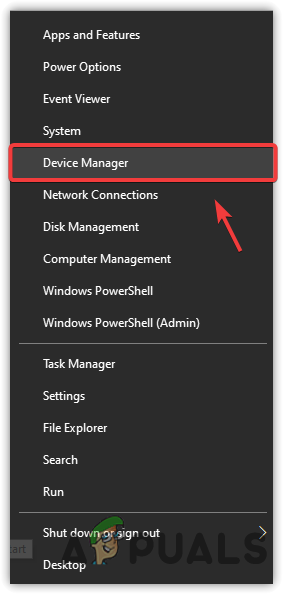
Launching device manager - Find the corrupted driver.
- Right-click on the driver and select Uninstall device.
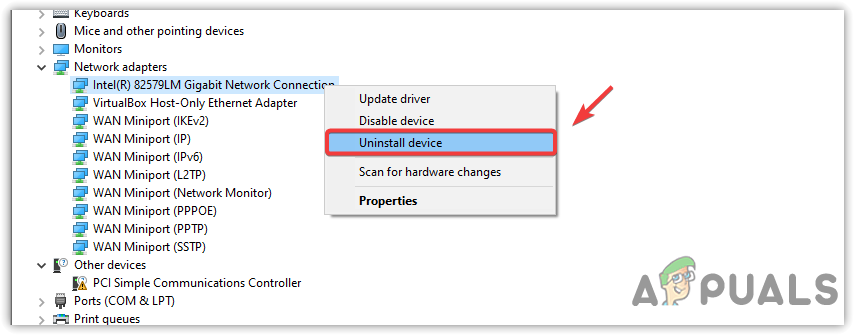
Uninstalling a corrupted driver - Confirm by clicking Uninstall in the prompt.
1.4. Install the Correct Driver
After uninstalling the corrupted driver, you need to reinstall it. If it’s for basic hardware like your keyboard or mouse, Windows should reinstall it automatically when you restart. For graphics cards, audio, or other specialized hardware, visit the manufacturer’s website first to download the latest driver.
We suggest always using the manufacturer’s website for drivers to ensure you have the most recent and bug-free version.
- To find your model, press Windows + R, type msinfo32, and hit Enter.

Opening System Information Window using a command - Look for System Model and copy it.
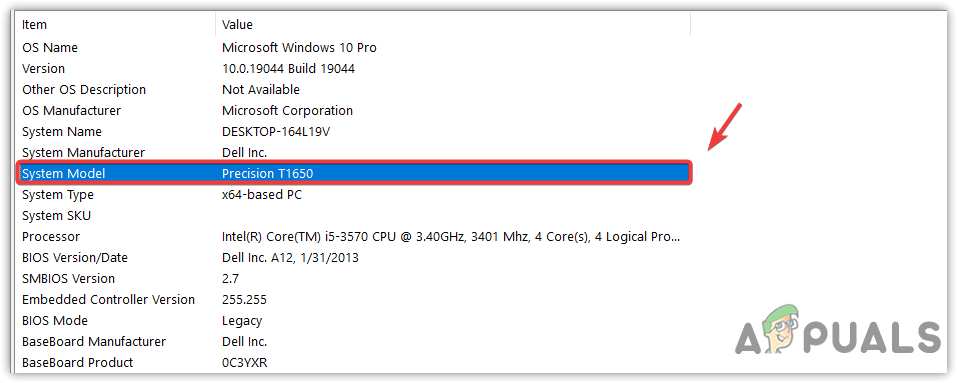
Copying system model number - Go to your PC or motherboard manufacturer’s website and search for your model number.
- Download and install the latest driver following the on-screen instructions.
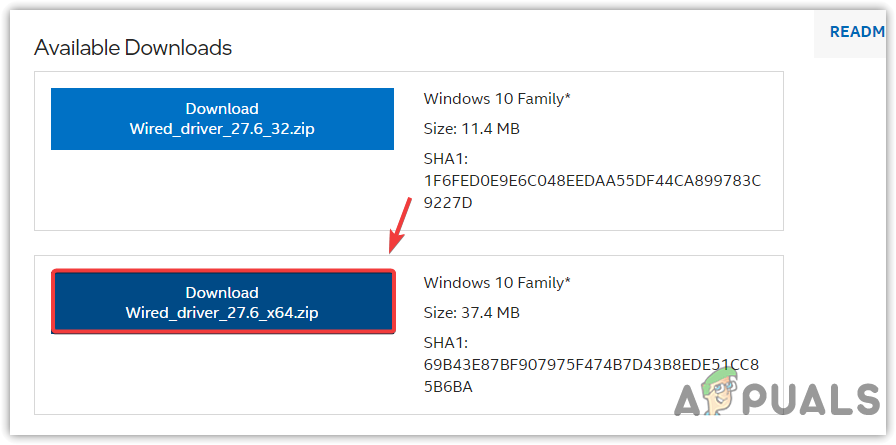
Downloading Network driver for network adapter
2. Use a System Restore Point
If your BSOD is caused by recent software or driver issues, restoring your PC to a previous state can help. System Restore takes a snapshot of your vital system files, drivers, and settings.
You must have created a restore point before the problem started.
- Click Start Menu and search for rstrui.
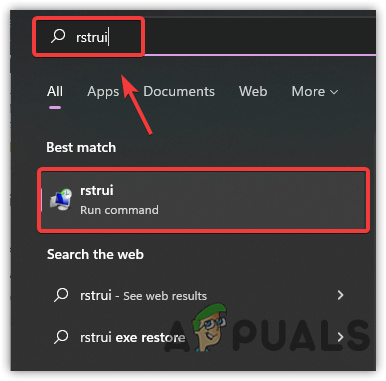
Opening System Restore from the Start Menu - Open System Restore, click Next, then select a restore point.
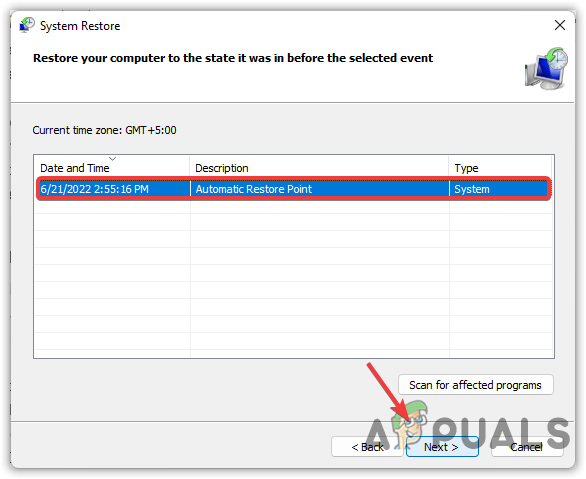
Selecting a Restore Point - Click Finish to begin restoring Windows.
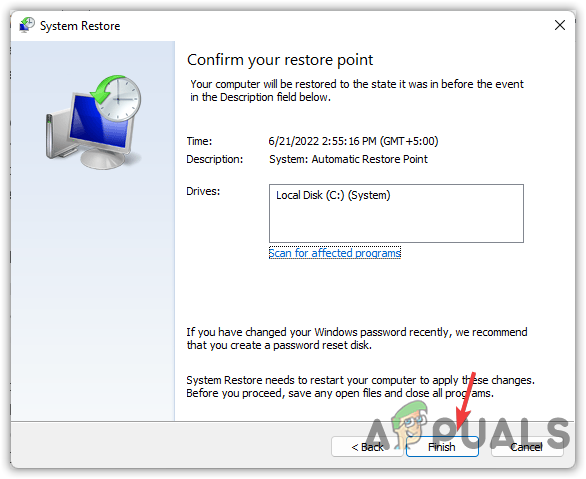
Clicking Finish to start restoration - Your PC will restart after the process is complete.
3. Disconnect Peripherals
Peripheral devices are things like keyboards, mice, headphones, speakers, USB storage, and external hard drives.
Each needs a driver to work correctly, and if a driver is faulty or not compatible, it can cause a BSOD error.
- Disconnect all peripheral devices.
- Restart your PC and see if the BSOD still occurs.
- If the problem is gone, plug in the devices one at a time and check after each one until you find which caused the issue.
- Uninstall and reinstall that device’s drivers as needed.
4. Run System File Checker
System File Checker (SFC) is a built-in Windows tool that checks and repairs corrupted system files.
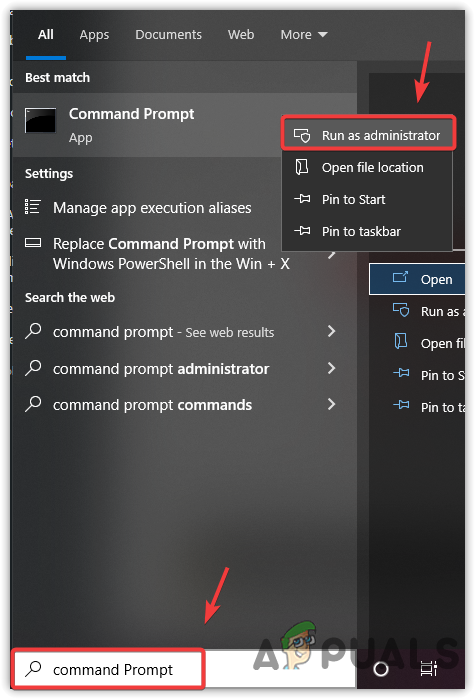
- Open Command Prompt as administrator (search for it, right-click, and choose “Run as administrator”).
Running Command Prompt as administrator - Type
sfc /scannowand press Enter. Let the tool scan and repair system files.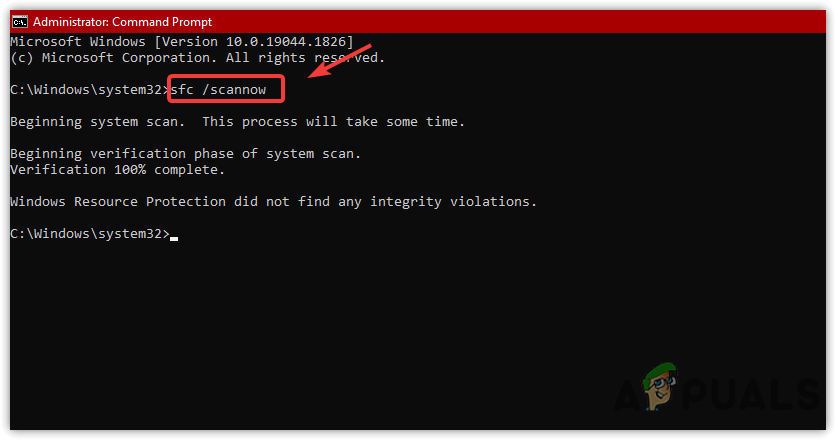
Fixing corrupted system files using a command line utility - After it completes, check if the BSOD error is resolved.
5. Check for Hardware Problems
Faulty hardware—especially RAM—is a common cause of BSOD errors. Test your RAM by removing and reseating modules one at a time and see if the error stops.
Also, disconnect any secondary hard drives. If the issue is still not fixed, it might be time to seek help from a repair shop.
6. Reset Windows Without Losing Data
If nothing else works, you can reset Windows while keeping your personal files.
- Search Reset this PC in the Start Menu.
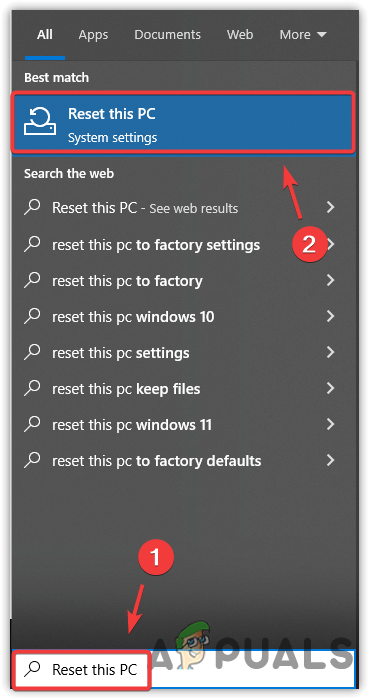
Navigating to Recovery System to Reset Windows - Click Get Started under Reset this PC.
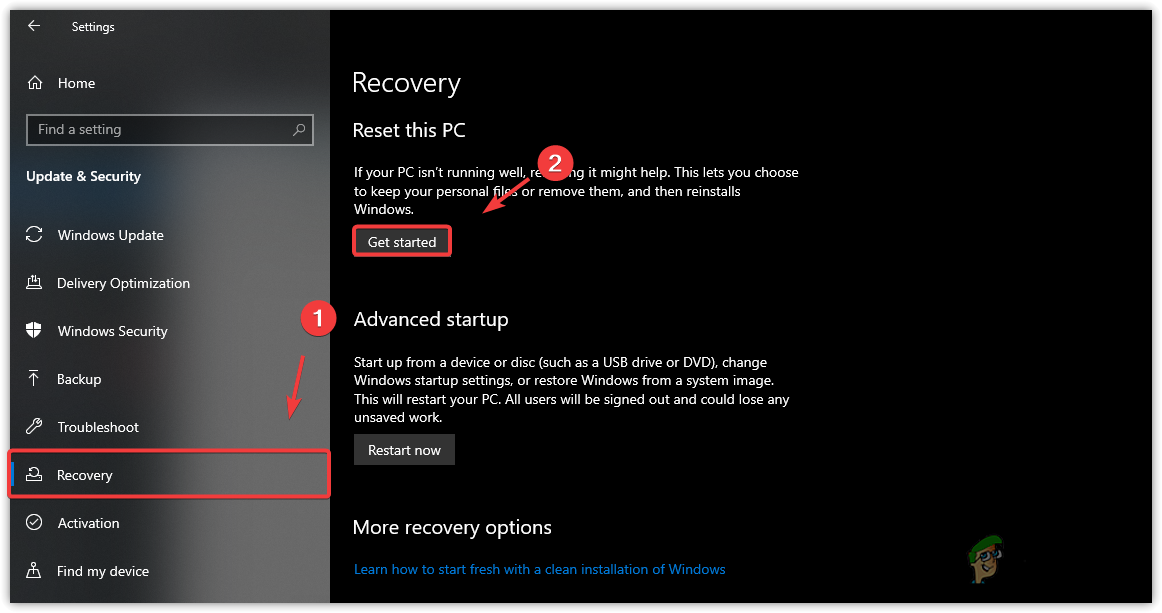
Getting Ready to reset Windows - Choose Keep my files, then Local Reinstall.
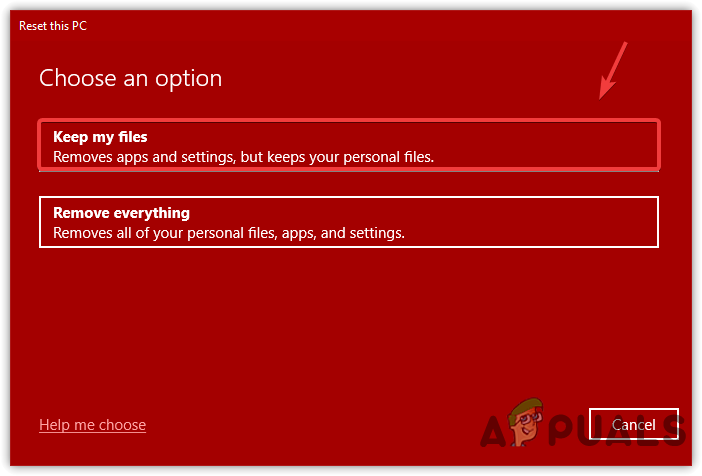
Choosing Keep My Files option - Click Next and then Reset to start the process.
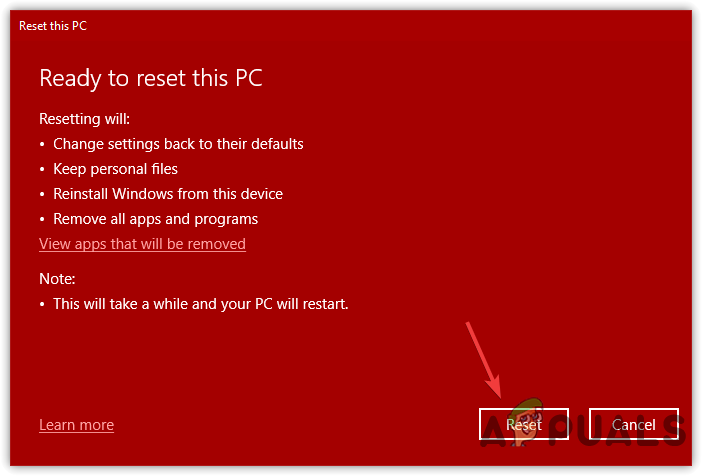
Resetting Windows
Once reset is complete, the BSOD error should be resolved. If the problem still occurs, it’s likely a serious hardware issue.


