Fix: Machine Check Exception Blue Screen
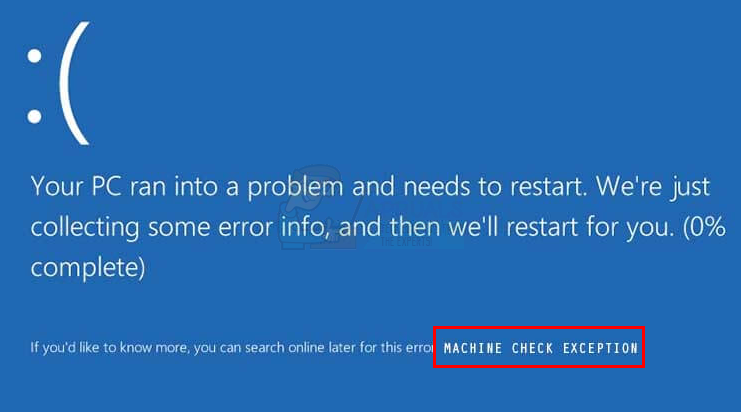
BSOD or Blue Screen of Death is very common among Windows Users. A Blue Screen of Death, as its name indicates, is a blue screen that shows up whenever your system encounters a critical error. A Blue Screen of Death shows an error message on the screen which gives us a lot of information about the type of error and what might have caused the error. In our case, the error message will be “Machine Check Exception” error. This error can appear while performing a specific activity but it will most likely appear after you successfully log in to your Windows. So, in majority of the cases you won’t have a lot of time before looking at this Blue Screen of Death with Machine Check Exception error. Also, you might experiencing some sort of freezing with this error. For example, your computer or your game might freeze before showing this error.
The good thing about BSODs is that most of these errors are caused by driver or hardware issues. So, if you recently updated your driver or installed a Windows Update or upgraded to newer version then these should be your first suspects. If updating the drivers or reverting back to the previous versions (in case the problem started after updating the driver) doesn’t solve the issue then the most likely cause is a hardware issue. A hardware issue should be your prime suspect if problem started after installing a new piece of hardware. There are other things as well that can cause this issue but we will address those later on. So, let’s first start with updating and fixing of drivers.
If you can’t get into the Windows
Since the BSOD can appear at the beginning of the Windows login, it is possible that you might not get enough time to follow any of the methods given below. We have seen cases where people couldn’t even get to the Windows login screen. So, if you are one of those users then you have two options. The first option is to use Safe Mode and perform the steps given in our methods. The second option is to get your important documents (backup) and reinstall the Windows.
We have provided the steps for getting into the Safe Mode without logging in to your Windows. You will also find the steps to copy your important documents in case you want to reinstall the Windows. It is up to you whether you want to reinstall the Windows or try to fix the problem by going into the Safe Mode.
Get into Safe Mode via Windows Login Screen
The easiest way for you to get into the Safe Mode is via the Windows Login screen. If you can’t even get to the Windows login screen then move to the next section
- Turn on your computer and wait until you get to the Windows login screen
- Once you are on the login screen, Hold Shift and click the power button located at the bottom corner of the screen. Select Restart (While Holding the Shift key).
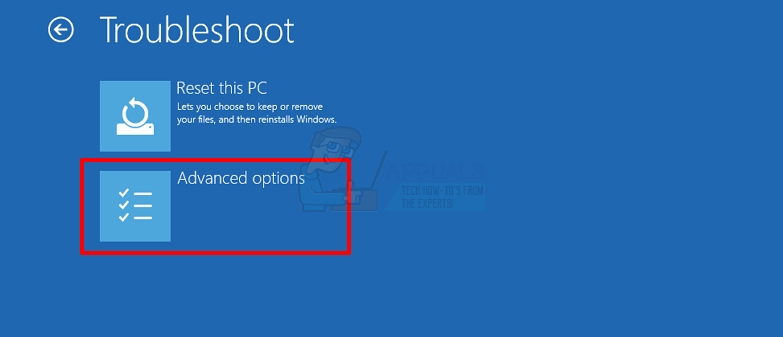
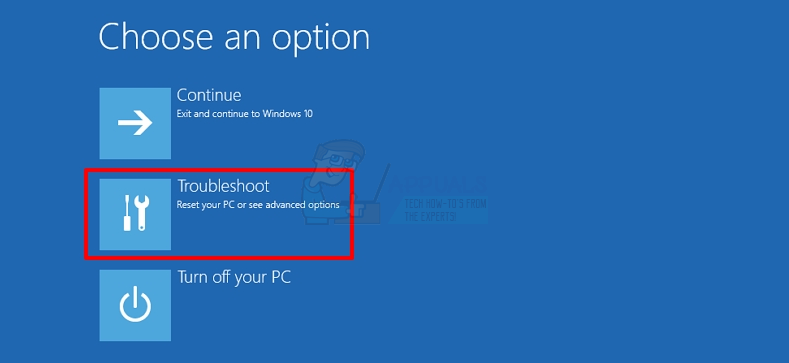
- Click Troubleshoot

- Click Advanced options
- Click Startup Settings

- Click Restart
- Press F4 key to run your PC in Safe Mode without Networking. You should be able to see the numbers associated with the actions. For example, if you see the 3 number associated with an option, you will press F3 (not just the 3 number). If you want to perform tasks that requires internet access then you should pick the option with Safe Mode Networking.
That’s it, if you do it correctly, your system should start in the Safe Mode
Get into Safe Mode with Windows Installation Media
You can use Windows Installation Media or CD/DVD to get into the Safe Mode. Follow the steps given below.
- You have to use another PC for this. On one of your other PCs, click here and download the Windows Media Creation Tool. Note: You need to have internet access in order to download the Windows Media Creation Tool
- Once downloaded, double click the Downloaded file and click Accept
- Select Create installation media for another PC and click Next
- Select the appropriate settings. But, these settings should match with the one installed on the PC that you are going to repair. So, if the problematic PC is a 64-bit Windows 10 Home then you need to select the same settings here as well.
- Once done, you will have to pick the Media. Click USB Flash Drive and follow any additional on-screen instructions.
Now, you need to use the USB to repair your problematic PC. You will have to boot via the USB and you need to have the proper boot order for that. If you don’t know how to change the boot order then follow the steps given below
Setting the Boot Order is the first thing that you will have to do. Basically, the Boot Order defines the order in which the drives will be checked for operating system information. In most cases, your Hard Drive is at the top of the Boot Order mainly because it contains your operating system. Now, since our USB contains the Windows Installation files, we want the USB to be at the top order so our computer reads from the USB Flash Drive first.
- Restart or start your computer
- Look for a message “Press <some key> to enter SETUP”. The message will vary a little bit depending on your manufacturer. This message will be shown when your manufacturer’s logo is appearing on the screen. Note: The key that you will have to press will also vary depending on your manufacturer. It might me Del or F2 or some other key. But it will be clearly mentioned on the screen.
- Now you should be in your BIOS, if you aren’t then you should be able to see a menu with multiple options. One of these options should be BIOS settings or BIOS menu (or a variation of it). You can use your arrow keys and to navigate through the list and select the BIOS option. Press Enter to go into an option.
- Now, you should be in the BIOS menu. Look for a tab or option named Boot Order or Boot. It should either be a separate tab/option or it might be a sub option in the Boot tab/option or it might be the Boot tab itself. So, navigate (by using arrow keys) to a tab/option related to Boot and you should find this option there.
- Once you are in the boot order, you need to change the boot order. The external drive that you will be using to boot into Windows should be on the top of the order. For example, if you have a Windows 10 CD then the CD ROM option should be on the top of Boot Order. On the other hand, if you are using a bootable flash drive then Removable Devices should be on the top. Use the enter key to select an option and then use arrow keys to move its order. The instructions of how to change the boot order should be given on the screen as well
- Once you are done, exit the BIOS and save the changes you made
- Restart your computer (if it doesn’t already)
- Once your computer restarts, it should boot through your bootable device.
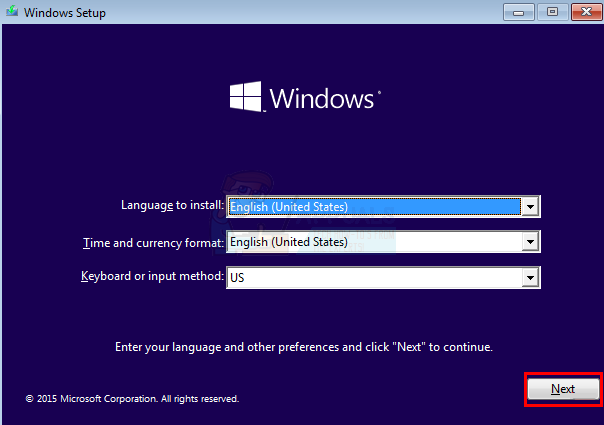
Once your system is booted via the USB Flash Drive, you should see a Windows Installation screen.
- Select Appropriate Languages and other options and click
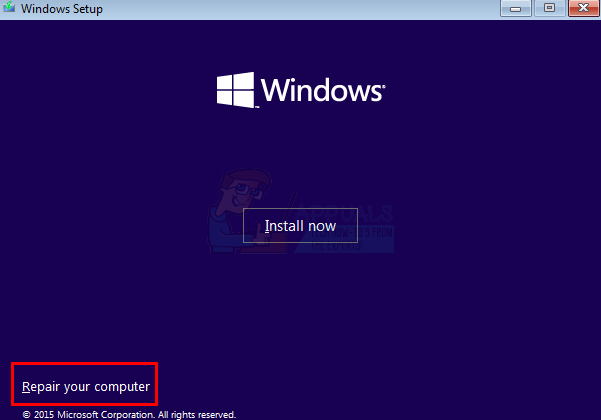
- Click Repair your computer
- Click Troubleshoot

- Click Advanced options

- Click Startup Settings

- Click Restart
- Press F4 key to run your PC in Safe Mode without Networking. You should be able to see the numbers associated with the actions. For example, if you see the 3 number associated with an option, you will press F3 (not just the 3 number). If you want to perform tasks that requires internet access then you should pick the option with Safe Mode Networking.
- Pc will restart and load safe mode
That’s it. Once you are done, your system should be in the Safe Mode and your BSOD shouldn’t appear anymore. This will also confirm that the BSOD was caused by one of your drivers.
Use Command Prompt to Back up your Data
If you can’t access your Windows and you want to back up your data before reinstalling the Windows then follow the steps given below
- Make sure your USB has the Windows Installation files and your Boot order is correct. If you haven’t done this then scroll up and follow the steps given in the beginning of this section.
- Insert your USB Flash Drive (with Windows Installation Media) and reboot
- Once the system is booted, you should see a Windows Installation screen. Select Appropriate Languages and other options and click Next

- Click Repair your computer

- Click Troubleshoot
- Click Advanced options

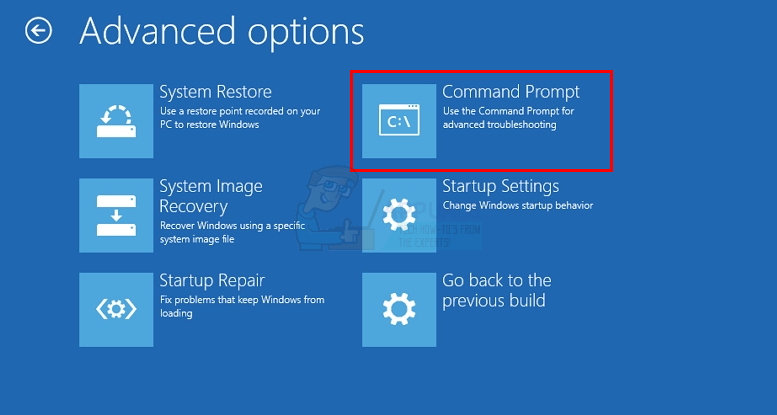
- Click Command Prompt
- Type notepad and press Enter
- Click File and select Open
- You should be able to see the File Explorer now. Connect another USB drive (where you want to copy the important files)
- Now, use the File Explorer to navigate and copy/paste the files into the USB drive.
Once done, you can reboot
Method 1: Fix the Driver
Sometimes, the problem might be happening because of the drivers. Now, there are multiples things that you can do with the drivers depending on whether you recently installed a driver or not. If you have recently installed or updated a driver or installed a new hardware (and downloaded its driver) then you should try to uninstall that specific driver. If you updated the driver then you should try to revert back to the previous driver.
Note: Since we don’t know what type of driver you might have installed, we are showing you the steps for uninstalling the display driver. You should uninstall your specific driver (select your targeted driver at step 3 below).
Uninstall
- Hold Windows key and press R
- Type devmgmt.msc and press Enter

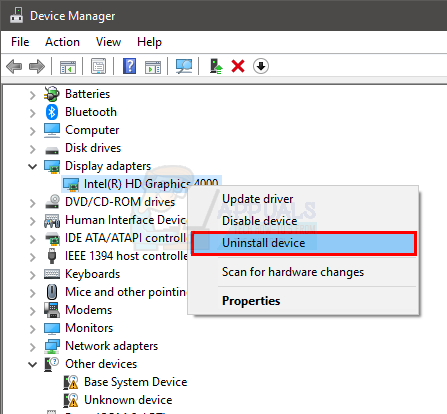
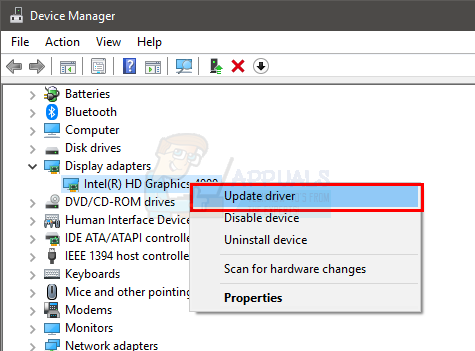
- Locate and double click Display Adapters (replace this with your driver)
- Right click your targeted device and select Uninstall or Uninstall device
- Wait for it to uninstall
Restart your PC once the driver is uninstalled. The Windows will install the most suitable and latest driver when your system will start again.
Roll Back Driver
If you recently updated your driver then you should roll back to the previous version. Windows provide a very useful option that lets you revert back to the previous version of the driver. Follow the steps given below
- Hold Windows key and press R
- Type devmgmt.msc and press Enter

- Locate and double click Display Adapters (replace this with your driver)
- Double click your targeted device
- Click Driver tab
- Click Roll Back Driver and follow any additional on-screen instructions
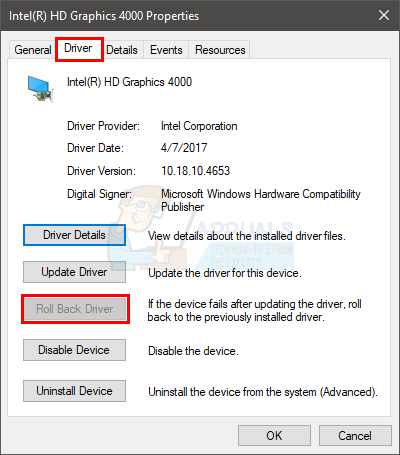
Note: If your Roll Back Driver button is greyed out then that means you can’t roll back the driver. There aren’t any workarounds to this so just simple move to the next section
Update
Now, if you didn’t install any new driver or updated any driver then your problem might be completely opposite. In some cases, this error can be caused by outdated drivers. So, if you recently upgraded your Windows or installed a new hardware then your old driver might not be compatible. So, simply updating the driver will resolve the issue. In fact, you should update the drivers even if you didn’t install a new hardware or upgraded to a newer version of Windows. The BSOD can be caused by any type of driver but the most likely culprit are Display drivers, Wi-Fi Drivers, USB drivers, and drivers for your newly installed hardware.
Note: Do not use third party driver updating utilities.
- Hold Windows key and press R
- Type devmgmt.msc and press Enter
- Locate and double click Display Adapters (or replace this with your driver)
- Right click your targeted device and select Update Driver

- Select Search automatically for updated driver software
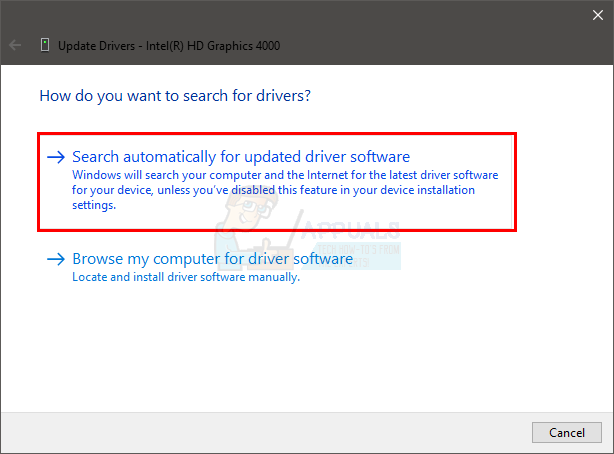
Now wait for the system to search for the updated driver. If your PC finds an updated version of your driver then it will automatically install it.
Manual Installation
If the automatic search for drivers doesn’t work then you can always do a manual install of the drivers. In order to manually install the drivers, you will have to download the drivers from your manufacturer’s website first. You can do this from your own PC or you can use another PC and copy the downloaded drivers on your problematic PC.
The complete step by step guide is given below
- Go to your manufacturer’s website and download the latest driver. If you are on another PC then copy the downloaded file in your USB and paste the contents somewhere on the problematic Pc
- On your problematic pc, Hold Windows key and press R
- Type devmgmt.msc and press Enter

- Locate and double click Display Adapters (or replace this with your driver)
- Right click your targeted device and select Update Driver
- Select Browse my computer for driver software
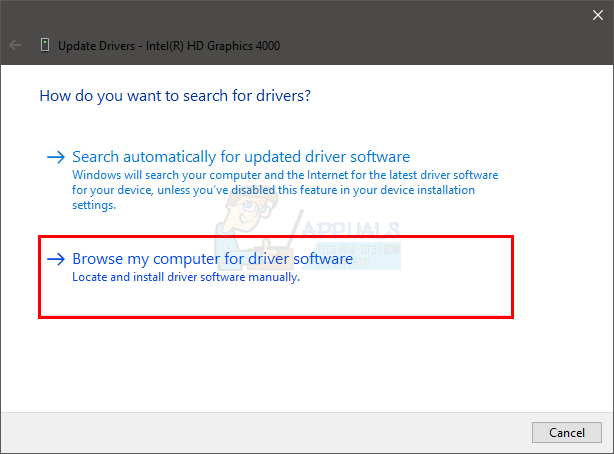
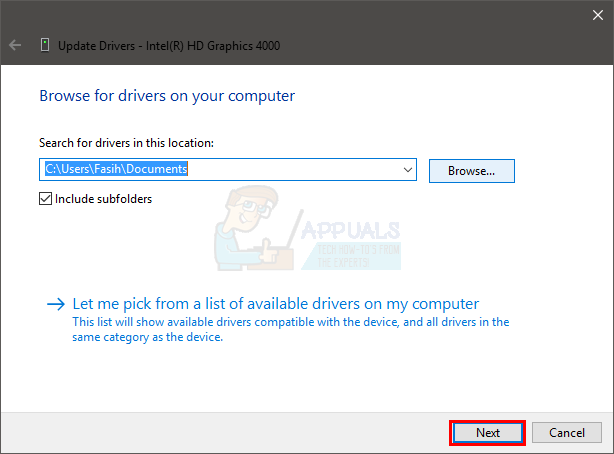
- Now click Browse and navigate to the location where you copied the downloaded drive (in step 1)
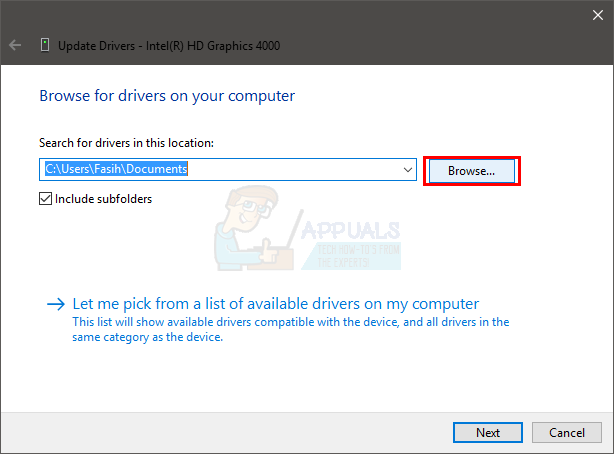
- Click Next and follow any additional on-screen instructions
Now follow any addition on screen instructions and reboot your computer when the driver is installed. This should fix the audio driver issue for you.
Check if the issue persists once you are done with uninstall/updates.
Method 2: Startup Repair
Performing a startup repair has worked for a lot of users. Startup Repair is a Windows feature that fixes the Windows issues and fixes any damaged system files. You can initiate the startup repair from the Recovery Environment. The steps for initiating the Startup Repair are given below
- Turn on your computer and wait until you get to the Windows login screen
- Once you are on the login screen, Hold Shift and click the power button located at the bottom corner of the screen. Select Restart (While Holding the Shift key).
- Click Troubleshoot

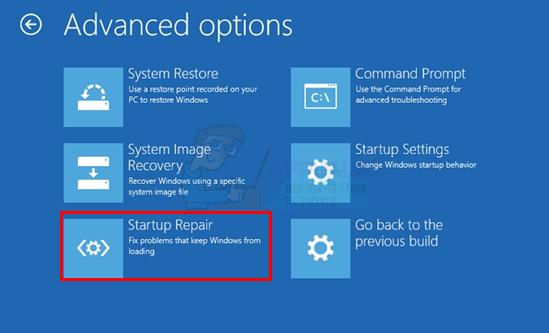
- Click Advanced options

- Click Startup Repair and follow any additional on-screen instructions
The startup repair should fix the issue for you.
Method 3: Clear CMOS
CMOS Battery is a Non-Volatile RAM which simply means that it retains the information even after your computer is turned off. A lot of users resolved their issue by taking out the CMOS Battery and putting it back in.
There are two ways to clear the CMOS battery. You can either use the BIOS or clear the CMOS through hardware approach. We will cover both in this section.
Clear CMOS via BIOS
Follow these steps to clear the CMOS from your BIOS menu
Note: The steps given below will reset your settings to the default. So, if you made some changes in the BIOS, you will have to change these back once you are done with clearing the CMOS.
- Turn on your computer
- Once the error is shown, press F1 or Del or F10. You will also see the button mentioned on the screen as well. The button you press to open BIOS depends on your manufacturer so it varies from manufacturer to manufacturer.
- Once you are in the BIOS, locate an option named “Set BIOS to Default” or some variation of that. This option will generally be on the main tab/screen of your BIOS. Select this option and save the settings. Use the arrow keys to navigate through the menu.
Now, restart your computer and check whether the error is still there or not.
Clear the CMOS via Motherboard
This is the hardware approach of clearing CMOS battery. This is generally useful when you can’t access the BIOS. We will recommend you to follow the instructions in the above Clear CMOS via BIOS section mainly because this section requires a bit of technical knowledge.
So, here are the steps to clear CMOS battery
Note: If you don’t feel confident then either use the computer manual or contact a computer expert.
- Open your computer casing
- Looking for a round silverfish cell shaped thing. Remember the round cells that you put in the wrist watches? It will be like that but larger in size
- Now, there are two options. You can either take out CMOS battery or use the jumper. Let’s first have a look at how to remove it
- Remove CMOS Battery: To remove the CMOS battery, just simply take it out. You won’t need any screws to take out the battery. It should be fitted or latched inside its slot. Note: Some mother boards don’t have removable CMOS batteries. So, if you can’t take it out then don’t use a lot of force. It should easily be removable. If you can’t take it out then that probably means that it is fixed.
- Reset via Jumper: Majority of the motherboards will have a jumper that can be used to clear the CMOS battery. Identifying the location of the jumper is pretty hard since it varies from manufacturer to manufacture. But, there should be CLEAR, CLR CMOS, CLR PWD, or CLEAR CMOS written near it. This should give you an idea of the jumper. You can also use the manual of your computer to pin point the exact location of the jumper.
- Once you have located the jumper, it’s pretty straightforward.
- Simply turn the jumper to the reset position
- Turn on your computer
- Turn off your computer
- Move the jumper back to its original position
Once you are done with these steps, simply close the closing of your system and turn on the computer. Everything should be fine.


