How to FIX AMD Driver Error 182?
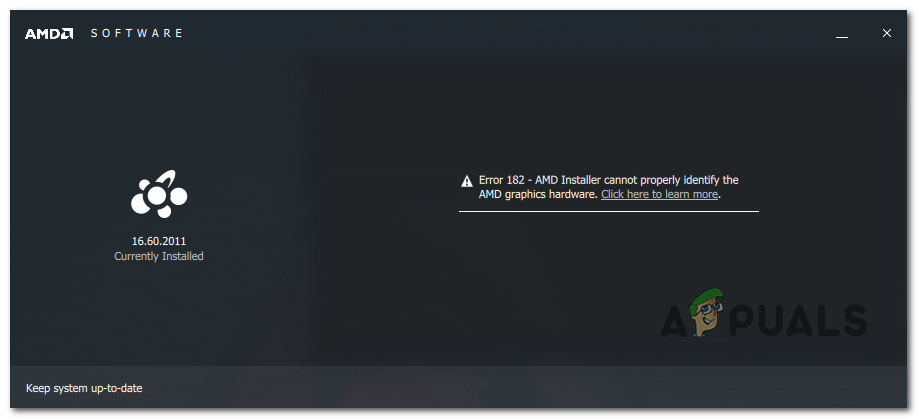
The AMD Installer shows Error 182 during installation when it can’t find a compatible AMD graphics card in your computer. When this happens, your computer may switch to using the Microsoft Basic Display Adapter instead of your regular graphics drivers. Error 182 means the installer did not find any AMD hardware that matches the driver you are trying to install.
This usually happens if you are trying to install regular drivers on systems with special (OEM), built-in (embedded), or older (legacy) AMD graphics cards. Sometimes, this error can also appear because of incorrect BIOS settings or damaged firmware.
In this article, we will discuss different ways to solve this error.
1. Use the AMD Driver Selector
AMD Software includes generic drivers that support many AMD graphics products. However, certain products are not supported by AMD Software:
- Customized AMD Graphics (tailored for specific manufacturers or OEMs)
- Legacy AMD graphics (over 5 years old)
- Embedded AMD graphics
If your graphics card falls into any of these categories, AMD Software won’t be able to update your drivers and you’ll need to use the AMD Driver Selector website tool to manually find and install the correct driver.
- Open your web browser and go to the AMD Driver Selector.
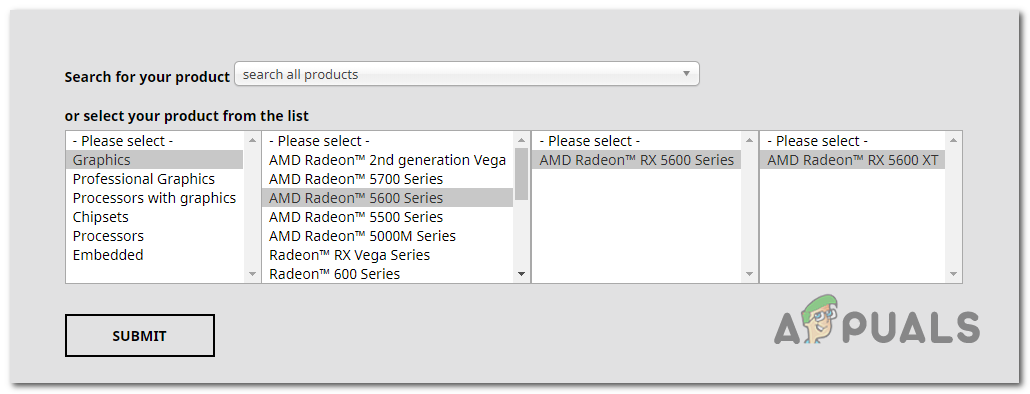
- Scroll down to the product selection section. Use the search bar or select your graphics card manually from the menu below. After selecting your product, click on Submit and wait for the results.
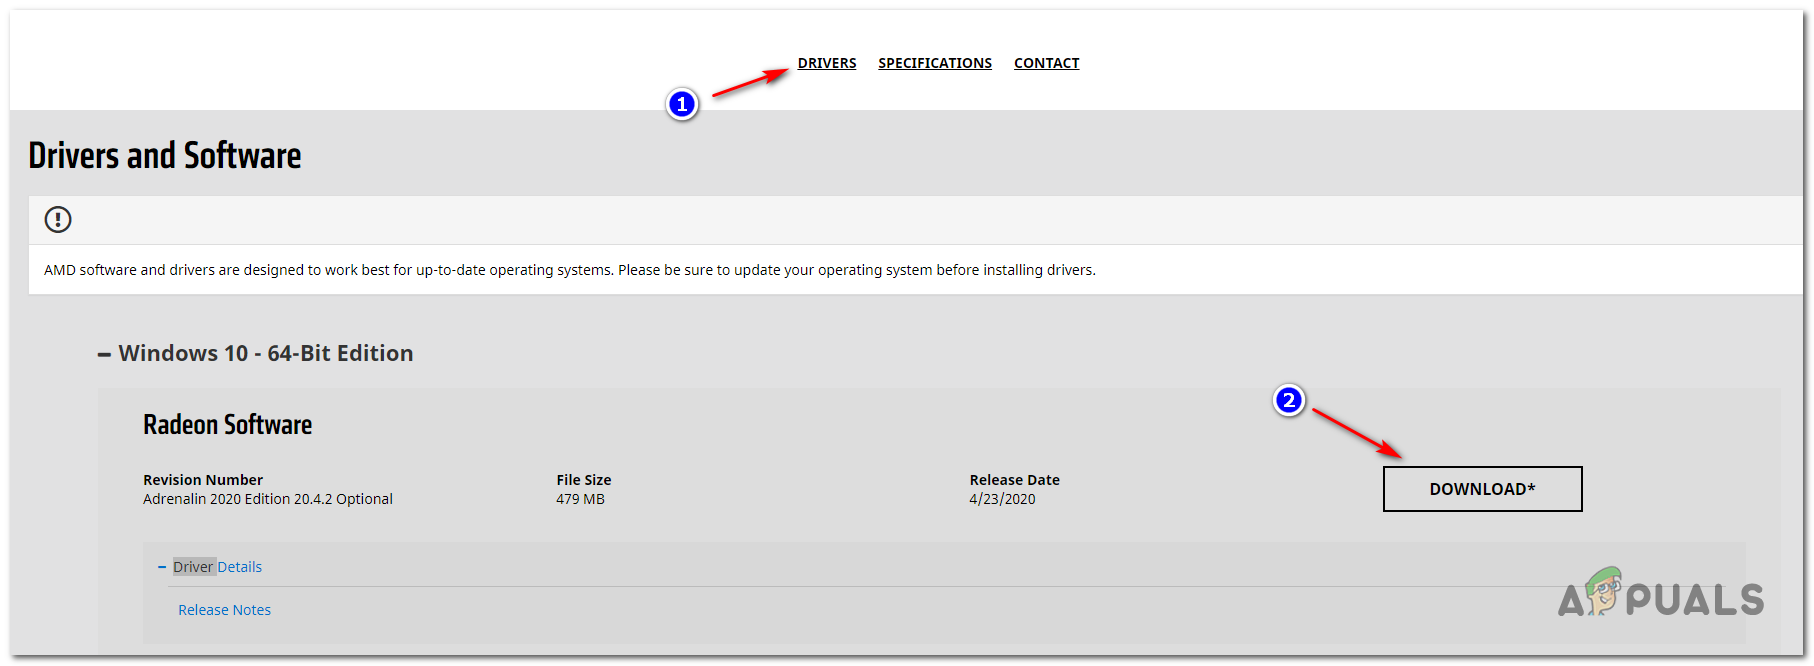
Finding the driver via Driver Selector - When the results appear, click the Drivers tab, then expand the menu for your operating system. Click Download to start downloading the newest compatible driver.
Downloading the latest compatible Driver version - Once the download finishes, open the installer and follow the on-screen steps to complete the installation.
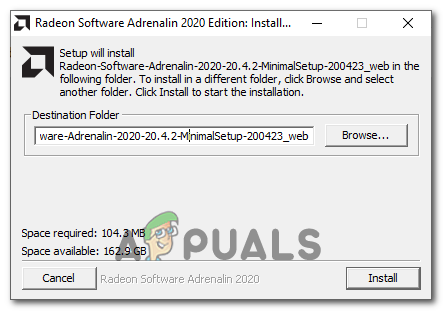
Installing the AMD driver Note: During installation, your screen may flicker a few times. This is normal and nothing to worry about.
- After installing, restart your computer to finish the process.
2. Update Driver via Windows Update (if applicable)
Some AMD APUs (Advanced Processing Units) are only supported through Windows Update, and AMD Software cannot update them. If you have one of these models, you’ll need to update your drivers through Windows Update.
- AMD A4/A6/A8-3000 Series APUs
- AMD E2-3200 APU
- AMD E2-3000M APU
- AMD E2-2000 APU
- AMD E1/E2-1000 Series APUs
- AMD E-200/300/400 Series APUs
- AMD C-Series APUs
- AMD Z-Series APUs
If you have one of these, follow these steps to update your AMD graphics driver via Windows Update:
- Press Windows key + R to open the Run dialog. Type ms-settings:windowsupdate and press Enter to open Windows Update settings.

Run dialog: ms-settings:windowsupdate Note: If you are on Windows 7, type wuapp instead and press Enter.
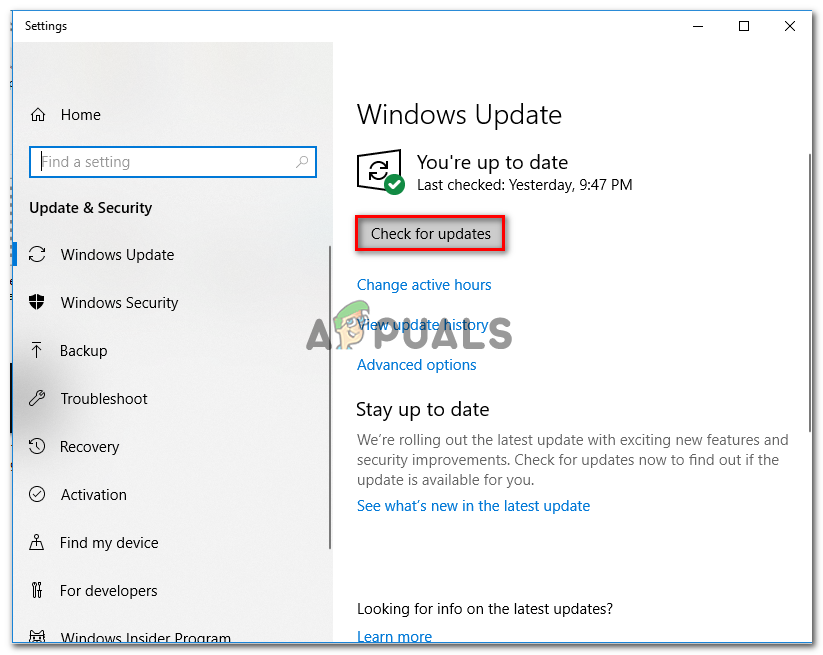
- In the Windows Update window, click Check for Updates.
- After the scan, install all available updates — including any AMD driver updates.
Installing every pending Windows update - When updates are finished, restart your computer.
3. Clean Installing GPU Driver
If none of the previous solutions have worked, driver files or their dependencies might be corrupted, making it impossible for AMD Software to update drivers. A clean installation is recommended. This process removes all AMD driver files and any leftover entries, ensuring a fresh installation.
- Press Windows key + R, type appwiz.cpl, and press Enter to open Programs and Features.

Type appwiz.cpl and Press Enter to Open Installed Programs List - Scroll through the program list, right-click every item published by Advanced Micro Devices, Inc., and select Uninstall.
- Follow the prompts to finish uninstalling, then restart your computer.
Uninstalling every AMD driver - After restarting, open File Explorer and go to C:\AMD. Delete everything inside this folder to remove leftover files.
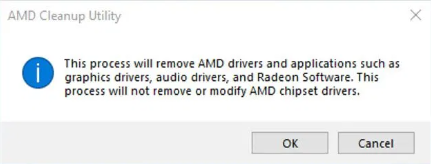
- Download the latest Display Driver Uninstaller from here.

Uninstalling the Display Driver Uninstaller Note: This free tool fully removes all GPU driver traces from your system.
- Extract the utility using a tool such as 7zip or Winzip.

Extracting the contents of the utility - Follow the instructions here to restart your computer in Safe Mode.
- After booting into Safe Mode, double-click the extracted utility and choose Yes at the User Account Control (UAC) prompt.
- In the Display Driver Uninstaller window, select your GPU from the Select Device menu. Next, click Clean and restart to clean up.
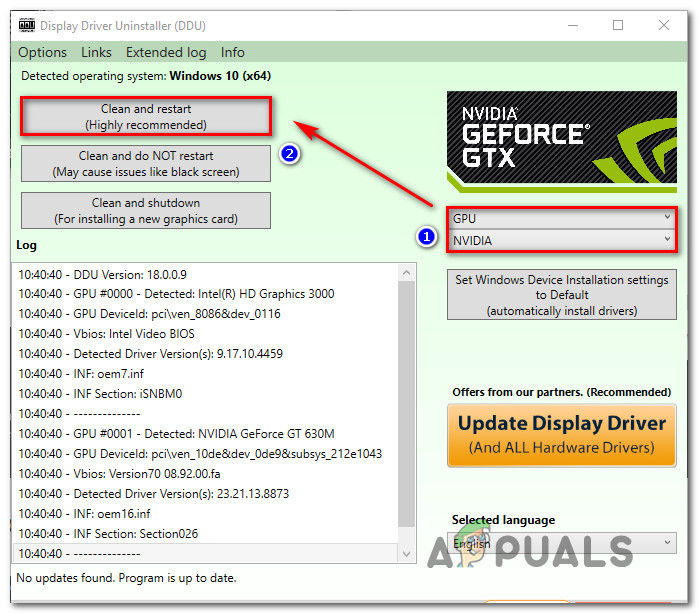
Cleaning up GeForce Experience & display drivers with DDU - Once complete, try reinstalling your AMD driver to see if AMD Error 182 is resolved.
3. Disable the Integrated GPU (if applicable)
On laptops or PCs with an integrated ATI Radeon GPU (often ATI Radeon 3000 and below), AMD Software might try updating the integrated (built-in) GPU instead of your dedicated one. Disabling the integrated GPU can fix this.
Depending on your system, you can disable the integrated GPU through either Device Manager or BIOS.
3.1. Disable Integrated GPU via Device Manager
- Press Windows key + R, type devmgmt.msc, and press Enter to open Device Manager.
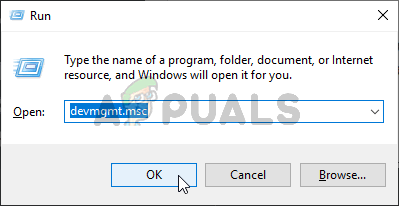
Running the Device Manager - Expand Display Adapters. Right-click your integrated GPU and select Disable device.

Disabling the integrated GPU - When the icon changes to show it’s disabled, restart your PC.
- Once restarted, try updating your AMD GPU driver again.
3.2. Disable Integrated GPU via BIOS
- If your computer is on, restart it. When the first screen appears, repeatedly press your Setup (BIOS) key (often Esc, Del, F2, F10, or F12) to enter BIOS.
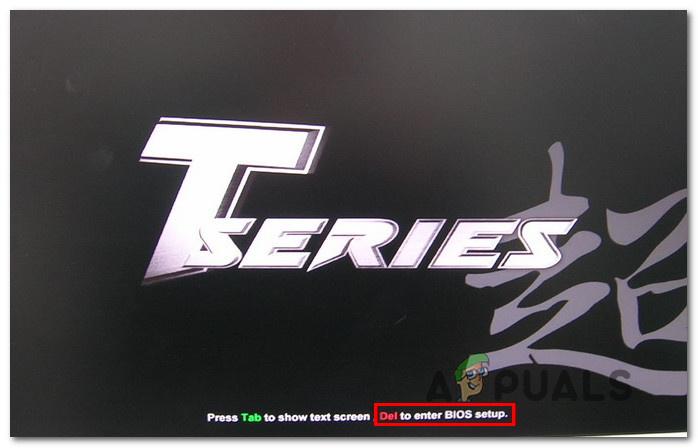
Pressing the Setup key to enter BIOS settings Note: The BIOS key varies by manufacturer. Look for a hint on the splash screen or search online for your model’s BIOS key.
- Inside BIOS, go to the Advanced tab and find Integrated Peripherals or a similar category. Disable IGP or Integrated Graphics. If you see an option to choose between Integrated Graphics and Discrete Graphics, pick Discrete Graphics.
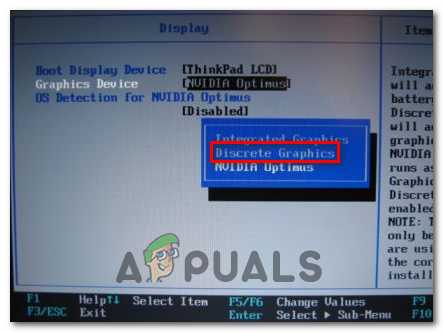
Forcing the usage of discrete graphics in BIOS Note: The exact option name can vary depending on your motherboard.
- Save your changes and exit BIOS.
- When Windows loads, try updating or installing the AMD driver again to see if the error is fixed.
4. Doing a Repair Install or Clean Install of Windows
If none of the above methods work, the best way to resolve persistent errors may be to reset or repair your Windows installation.
A repair install (also called an in-place upgrade) refreshes all system files without affecting your personal files, apps, or games. It’s like giving Windows a fresh start while keeping your data.
If you don’t mind losing your data or want a completely fresh system, you can do a clean install, which wipes everything and reinstall Windows.


Hi I have Msi R9 380 update to newest drivers but keep getting blackscreen how can I get my Gpu working again