How to Fix “Error Code: 4294967295” on WSL?
While trying to start their Windows Subsystem for Linux, users have been experiencing the error code 4294967295. The associated error message suggests that the connection failed because Windows, being the host, failed to respond.
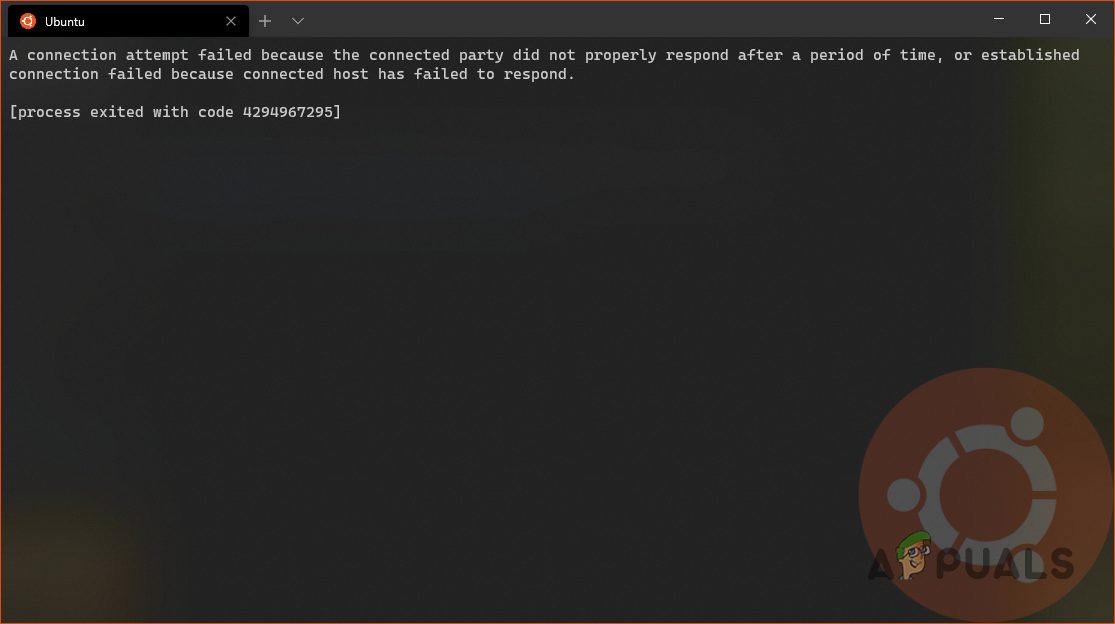
As per some user reports, this error code usually comes up when you are trying to browse your Linux distro using the Windows File Explorer and it fails to access the distribution out of nowhere with the error message “Attempt to access invalid address”.
As such, in this article, we are going to show you how to resolve the error message mentioned above so just follow through.
As it turns out, while using Windows Subsystem for Linux can usually be pretty easy as you can install WSL via a single command now, there are still, undoubtedly, some issues with the platform that can make the experience a bit troublesome such as the “An error occurred mounting one of your file systems” error message.
Fortunately, the problem in question can be resolved quite easily via a few different methods that we are going to be mentioning down below. Therefore, without any further ado, let us get right into it.
Run Windows Subsystem for Linux as Administrator
The first thing that you should do when you encounter the problem in question is to run WSL as an administrator. As it turns out, in some cases, it may be unable to start properly due to some permissions issues or due to the interference of a background process which can be resolved by running WSL with administrative privileges. To do this, follow the instructions that have been given down below:
- First of all, make sure that WSL is closed. Open up the Task Manager and close any ongoing WSL processes.
- Then, open up an elevated command prompt by opening up the Start Menu and searching for cmd. On the right hand side, click on the Run as administrator option provided.
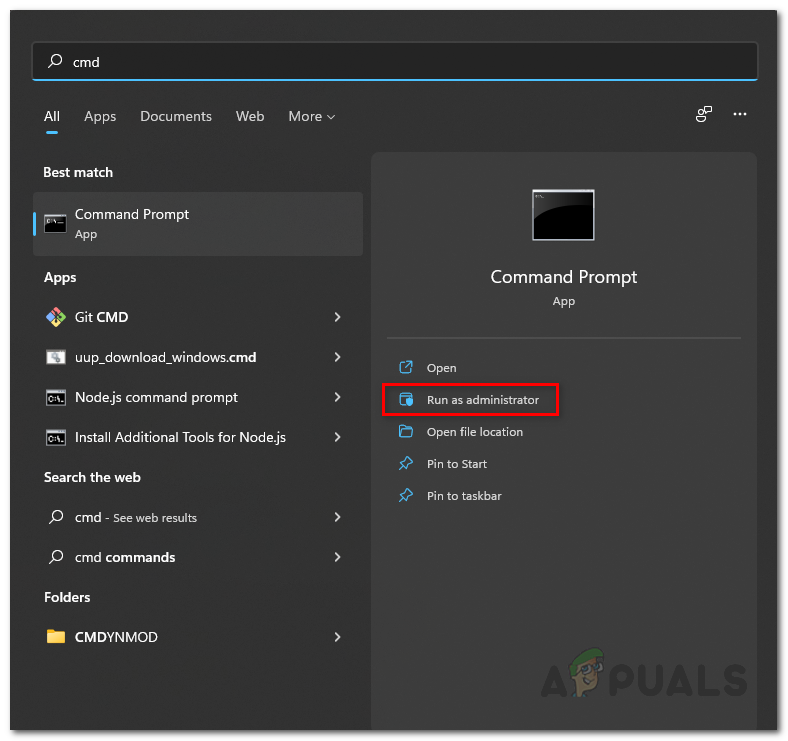
Running Command Prompt as an Admin - Once the command prompt window is open, start WSL by entering “wsl” in the command prompt without quotation marks.
- See if that fixes the problem for you.
Shutdown WSL
As it turns out, in some cases, the Linux distribution that you have installed may not be shut down properly from the previous use and ends up causing issues the next time you wish to start it up. In such a scenario, what you can do is manually terminate and shut down the distribution and then start it up. This can be achieved by two simple commands, follow the instructions down below to know-how:
- To start off, you are going to need to open up an elevated command prompt window. Do this by opening up the Start Menu, and then searching for cmd. Click on the Run as administrator option provided on the right.
Running Command Prompt as an Admin - With the command prompt window open, type in the “wsl –terminate distroName” command without quotation marks. Make sure to replace the distroName keyword with the name of your distro. If you are not sure as to what your distro is named precisely, use the “wsl –list” command.
- Once you have terminated the distribution, see if the problem still pops up.
- Alternatively, you can also use the “wsl –shutdown” command to completely shut down WSL.
- Once WSL is powered off, you can start up your distro using the “wsl -d distroName” command. Make sure to replace distroName with the name of your installed distro here as well.
Re-enable WSL
In some scenarios, you can resolve the error in question by simply re-enabling WSL on your system. This has been reported by a user who was facing a similar issue and it turned out to help many more. Disabling WSL for a while won’t erase your data from your system so you do not have to worry about that. To do this, follow the instructions down below:
- First of all, open up an elevated command prompt window by searching for it in the Start Menu.
Running Command Prompt as an Admin - Once you have the command prompt window open, type in the following commands one by one:
DISM /online /disable-feature /featurename:VirtualMachinePlatform /norestart
DISM /online /disable-feature /featurename:Microsoft-Windows-Subsystem-Linux /norestart
Disabling Windows Subsystem for Linux - With that done, go ahead and restart your system.
- Once your PC boots up, type in the following commands to enable WSL:
DISM /online /enable-feature /featurename:VirtualMachinePlatform /norestart
DISM /online /enable-feature /featurename:Microsoft-Windows-Subsystem-Linux /norestart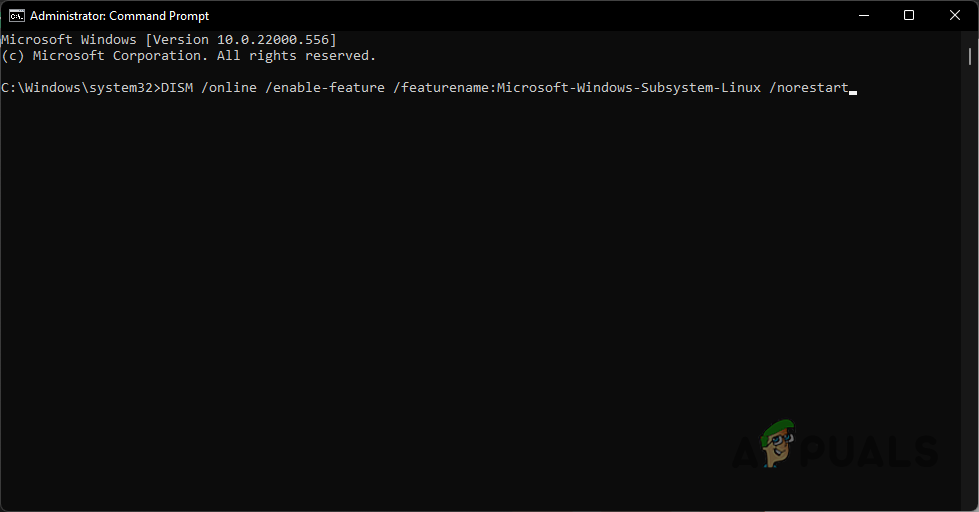
Enabling Windows Subsystem for Linux - See if the issue has been resolved.
Change Hypervisor Launch Type to Auto
A hypervisor is essentially software that allows you to create and run virtual machines. In order for Windows Subsystem for Linux to install and run other operating systems natively, it has to use a hypervisor. This is where the Windows Hypervisor Platform comes in which is a requirement for installing WSL.
As it turns out, you can get around the problem in question by simply setting the launch type of hypervisor to auto using the bcdedit command. Follow the instructions down below to do this:
- To start off, open up an elevated command prompt window.
- In the command prompt window, copy and paste the following command and then hit Enter:
bcdedit /set hypervisorlaunchtype auto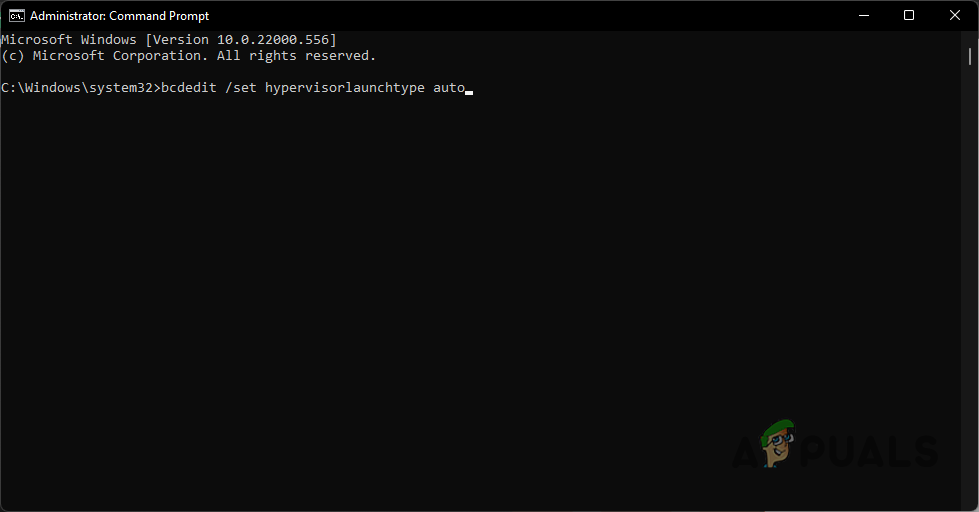
Setting Hypervisor Launch Type to Auto - With that done, perform a restart and see if the issue has been resolved.
Reset Winsock
Winsock is an important API that handles the input/output requests for internet applications in Windows. As it turns out, users have reported that resetting the Winsock Catalog has fixed the problem for them, so you can try doing the same. To do this, follow the instructions down below:
- First of all, open up an elevated command prompt by searching for it in the Start Menu.
Running Command Prompt as an Admin - Then, in the command prompt window, type in the following command and press Enter:
netsh winsock reset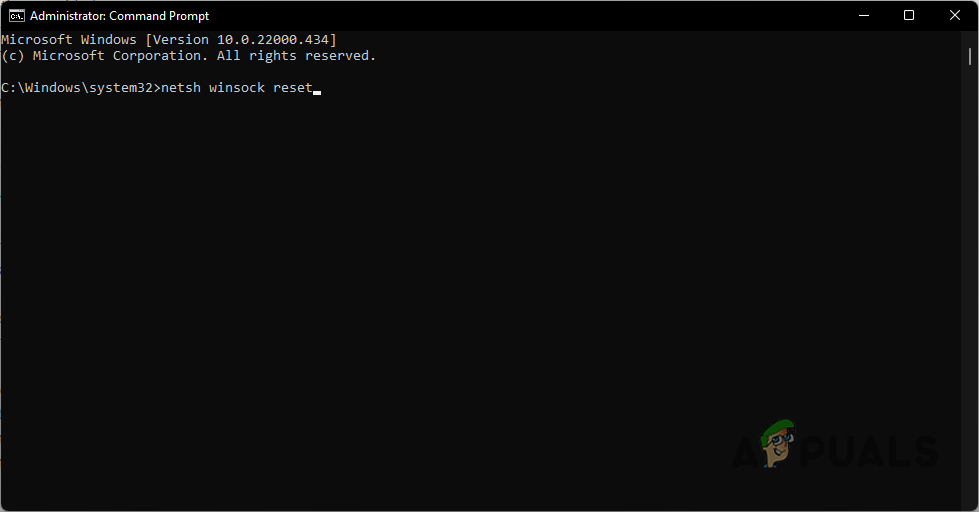
Resetting Winsock - With that done, go ahead and restart your computer.
- Once your PC boots up, see if the issue is still there.
Reinstall Docker Desktop (if applicable)
Finally, if none of the above methods has fixed the problem for you and you are using Docker Desktop, you can try reinstalling it in order to fix the issue. This has also been reported by a user with a similar issue who was using Docker Desktop. As it turns out, to get around the error message, go ahead and uninstall Docker Desktop from your computer. With that done, perform a system restart. Once your PC boots up, install Docker Desktop again and see if the issue has finally been fixed.


Thank you, Kamil ! The fix you suggested, re-enable WSL, solved my problem. Other fixes I applied prior to this, displayed on other websites, just didn’t work and one of them made the remote server unreachable. In my case, Error Code: 4294967295 appeared on Rancher Desktop after installing again Docker Desktop, since I was missing dockercli. Thanks again, super helpful tutorial !!!