Fix: “An error occurred mounting one of your file systems” on WSL
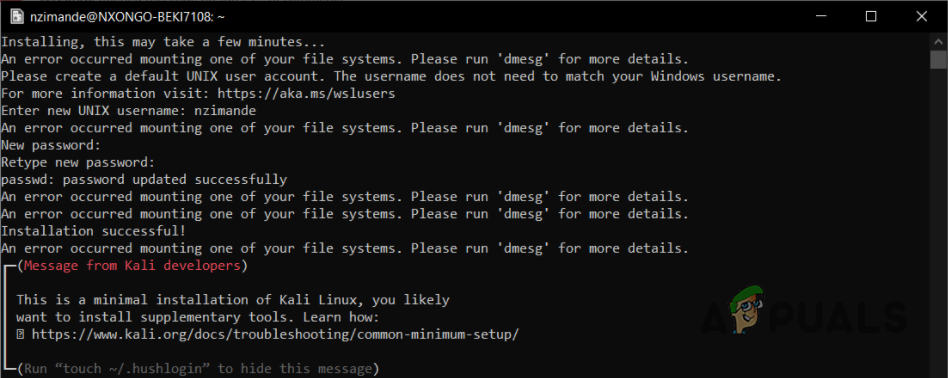
Some Windows Subsystems for Linux users have been experiencing the “An error occurred mounting one of your file systems. Please run ‘dmesg’ for details” error message when running their installed Linux distribution. As it turns out, the error message occurs when the distribution that you have installed, or simple WSL, is unable to mount your Windows drives. While this may sound like a huge problem, it really isn’t and you can easily get around it via a few different methods. In this article, we are going to show you how to resolve the error message in question so just follow through.
As it turns out, Windows Subsystem for Linux has been a game-changing feature for Windows especially when it comes to advanced users who are more into the developing field. Installing WSL is done quite easily and you can now get it done via a single command. Most of the users that have been encountering the issue in question have been using dockers and oftentimes, the problem arises when their distribution is not set as the default operating system.
With that said, there are various ways using which you can resolve the problem in the discussion. So, without any further ado, let us get started and jump right into it.
Update Linux Kernel or WSL
The first thing that you should do when you encounter the problem in question is to try to update Windows Subsystem for Linux which in turn will essentially update your Linux kernel. Doing so has reportedly fixed the problem for various users so it might do the trick for you as well. This is rather simple to do and is accomplished with a single command. Follow the instructions down below to do this:
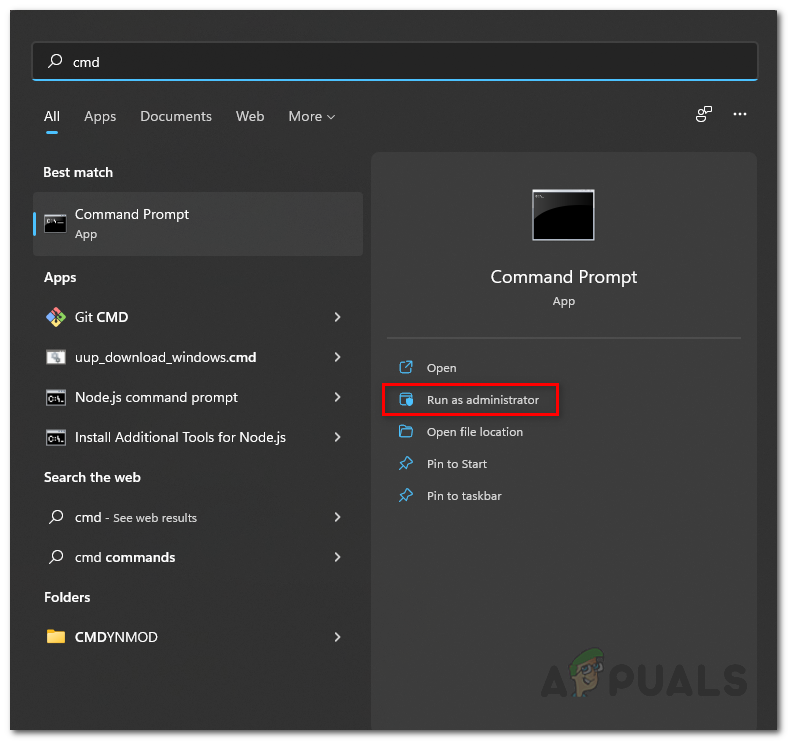
- First of all, open up an elevated command prompt. To do that, open up the Start Menu and search for the command prompt. On the right hand side, click on the Run as administrator option provided.
Opening up Command Prompt as an Admin - Alternatively, you can also use an elevated Powershell window.
- In the command prompt or Powershell window, type in “wsl –update” without the quotation marks and then hit Enter.
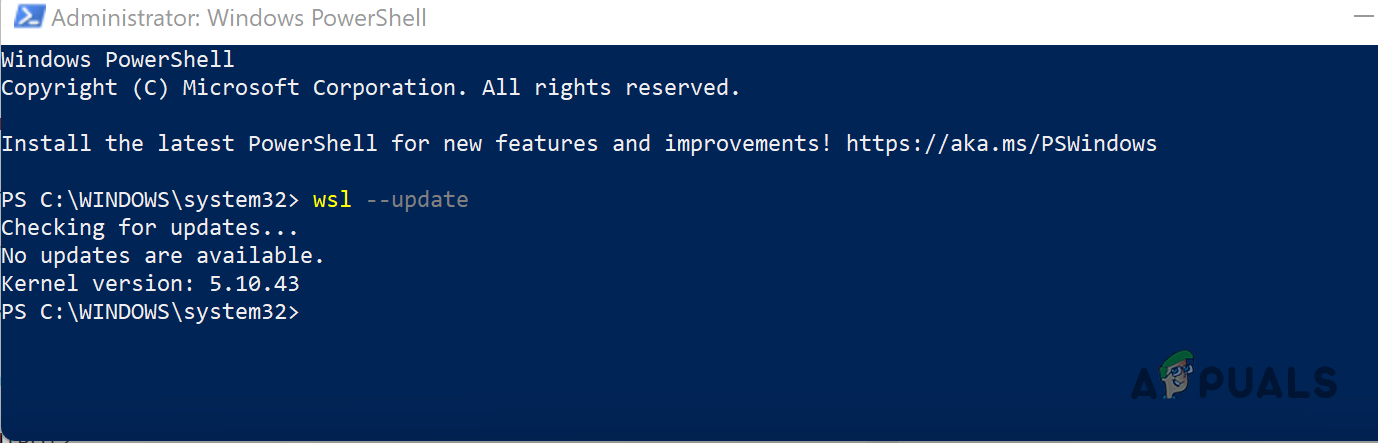
Updating Windows Subsystem for Linux - Wait for the update to complete. With that done, start WSL again to see if the problem has been resolved.
Check Default Distribution
As it turns out, in some cases, the problem can arise when you have installed docker on Windows Subsystem for Linux. As such, when you are trying to start a Linux distribution, it can run into the mentioned error message due to not being set as the default distro.
In addition to that, in case you only have docker alongside the docker-desktop-data distro, the latter may be set as the default distro which can trigger the issue. If this case is applicable, you will simply have to change your default distro respectively to solve the issue. To do this, follow the instructions down below:
- To start off, open up an elevated command prompt by opening up the Start Menu and searching for cmd. Click on the Run as administrator option provided on the right hand side.
Opening up Command Prompt as an Admin - Then, in the command prompt window, you can check your installed distributions along with the default one using the “wsl –list” command.
- If a wrong distro is set as the default one, you can change the default distro using the “wsl -s distroName” command. Obviously, you will have to replace the distroName keyword with the name of the distribution that is shown on the list.
- With that done, see if the problem is still occurring.
Install Windows Updates
Since Windows Subsystem for Linux is a part of Windows, it can directly be influenced by Windows updates. Some users have reported that the problem in question was resolved for them after they installed Windows updates. To be specific, the update KB5005191 seemed to have resolved the issue for various users.
Therefore, if you haven’t installed Windows updates in a while, we would recommend updating Windows as it might fix the issue for you too. Follow the instructions down below to do this:
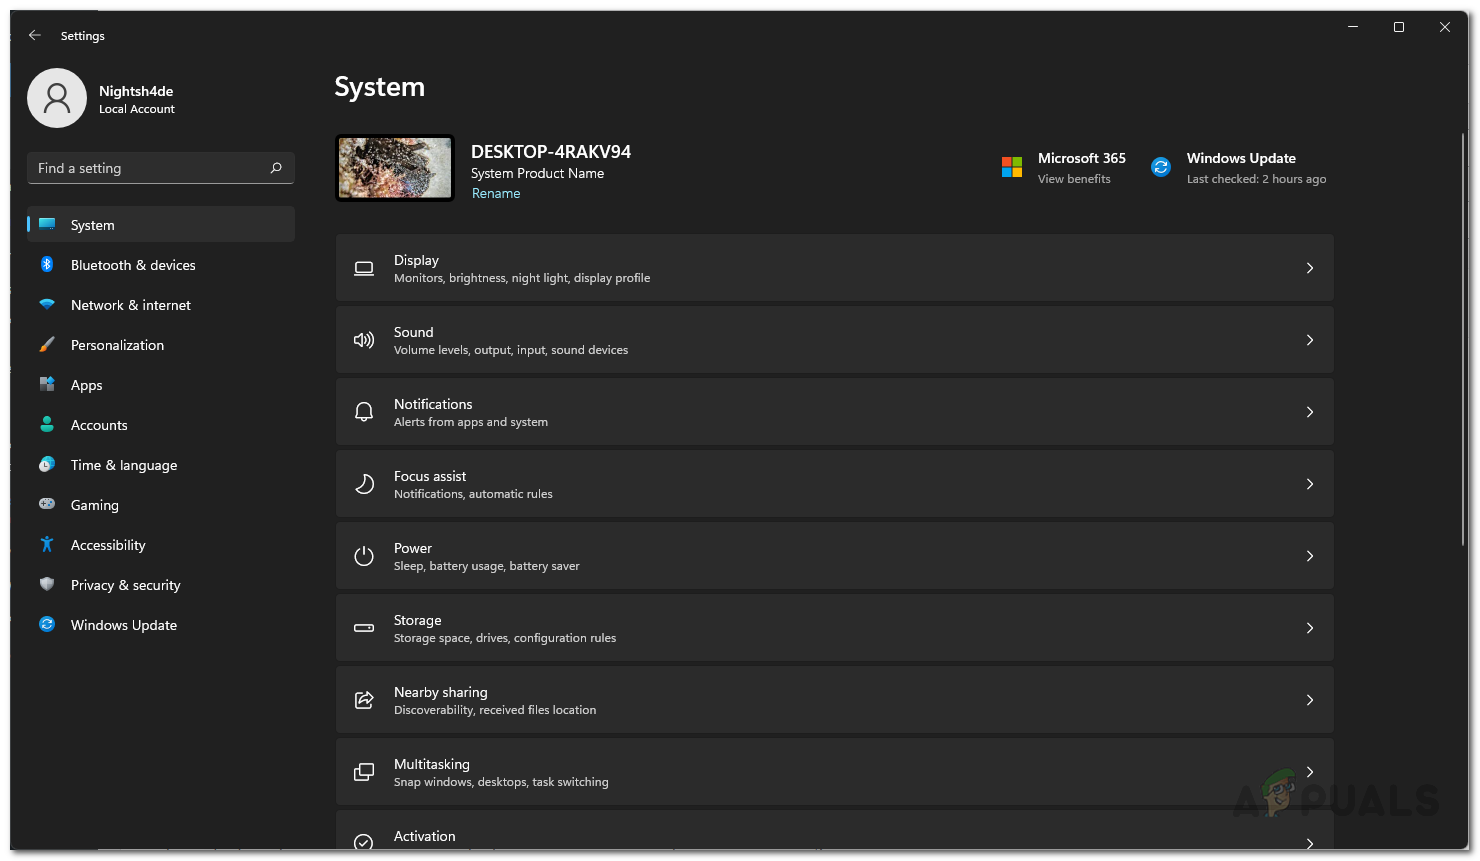
- First of all, open up the Windows Settings app by pressing the Windows key + I on your keyboard.
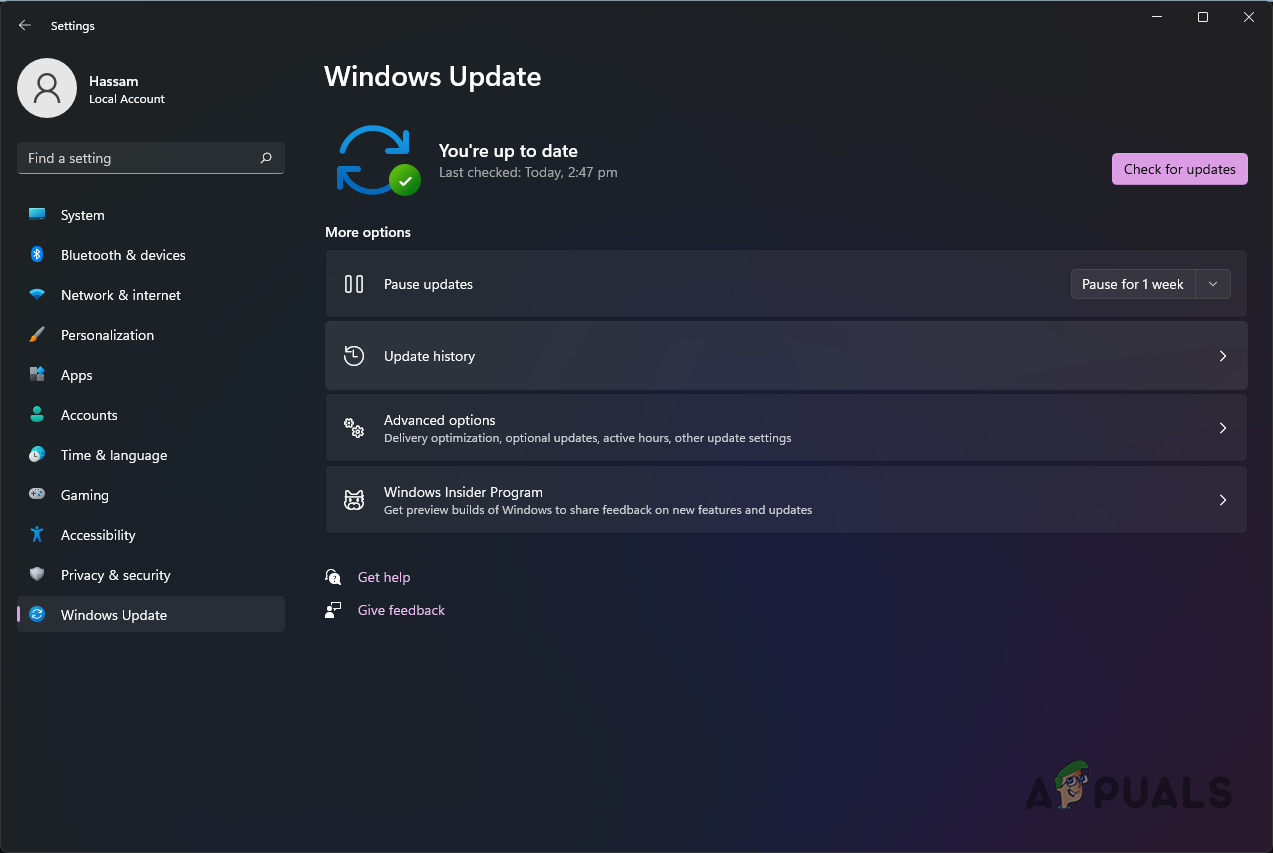
- On the Windows Settings app, navigate to the Windows Update section.
Windows Settings - There, click on the Check for updates option provided to download and install any available updates.
Windows Update Settings - Once the updates have been installed and your computer restarts, see if the error message is still there.
Uninstall Windows Hypervisor Platform
Finally, if the above methods have not fixed the problem for you, then uninstalling the Windows Hypervisor Platform feature might just work for you. This has been reported by a user who was facing a similar error message during the installation and configuration phase of Ubuntu using Windows Subsystem for Linux 2. To resolve the issue, he uninstalled the mentioned feature and the Ubuntu installations started working just fine. Follow the instructions down below to do this:
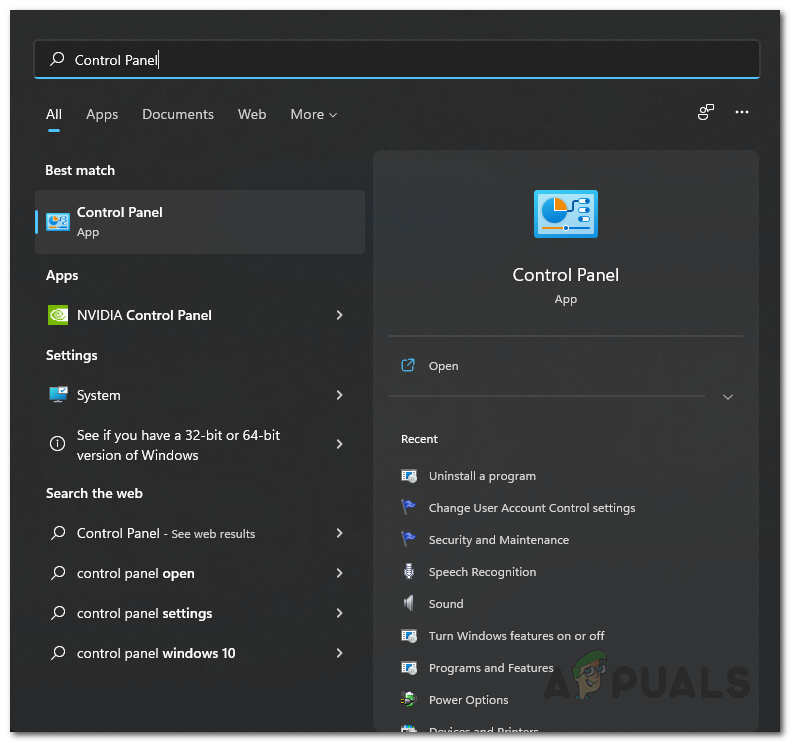
- To start off, open up the Control Panel by searching for it in the Start Menu.
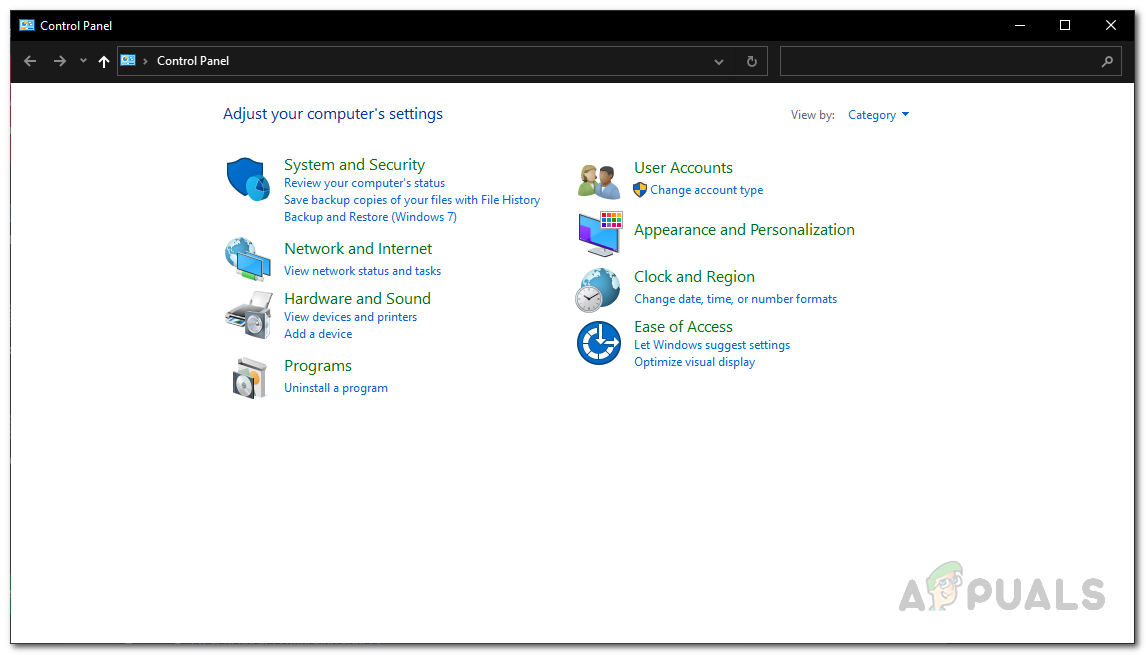
Opening up Control Panel - Then, make your way to Programs.
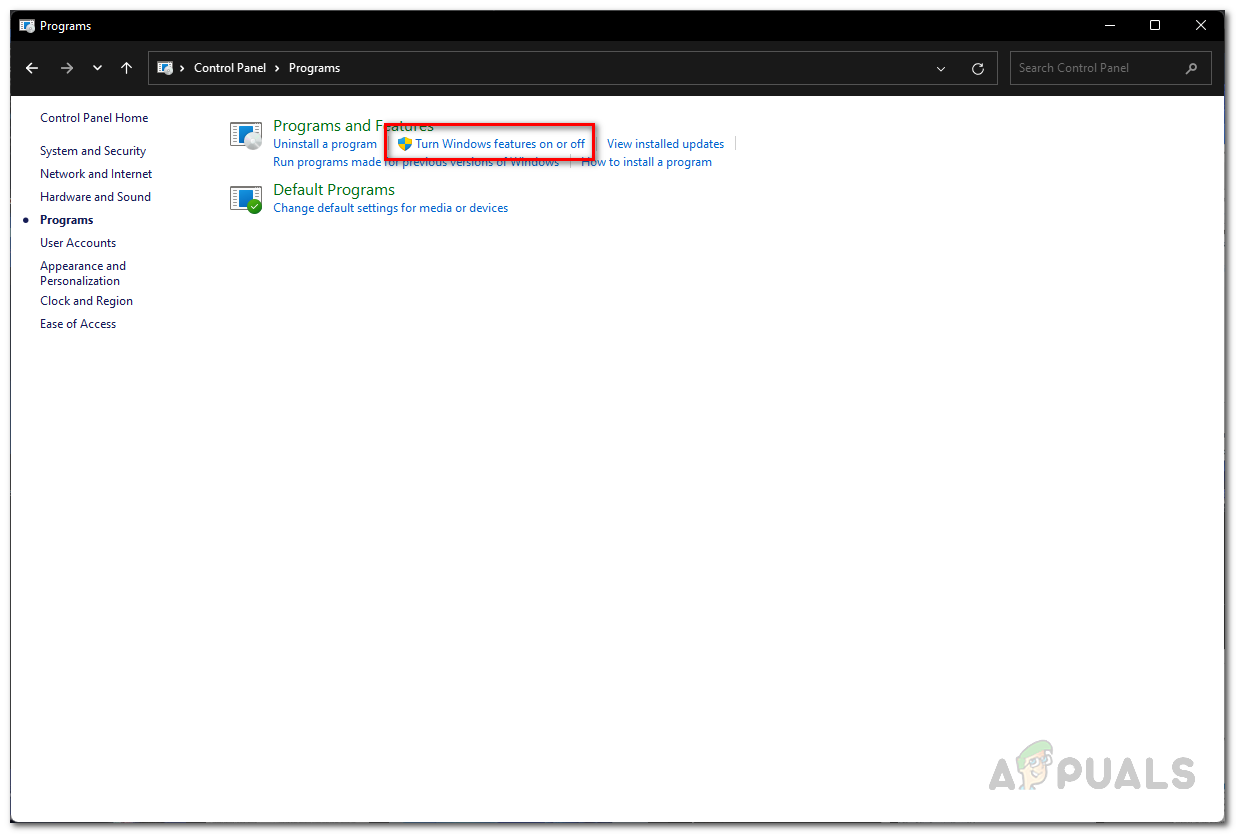
Control Panel - Once you are there, click on the Turn Windows features on or off option provided.
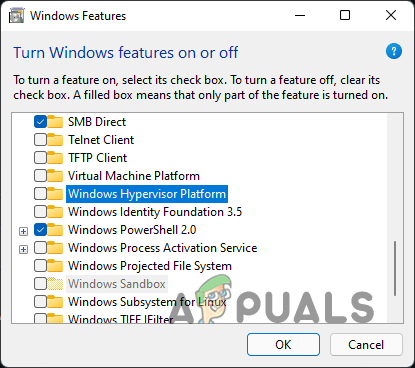
Navigating to Windows Features - On the follow up window, scroll down and locate Windows Hypervisor Platform.
- Untick the Windows Hypervisor Platform checkbox and then click the OK button.
Uninstalling Windows Hypervisor Platform Feature - With that done, the Windows Hypervisor Platform feature will be uninstalled.
- Now, go ahead and check if the error message is lurking around. You do not have to restart your computer before doing so.


